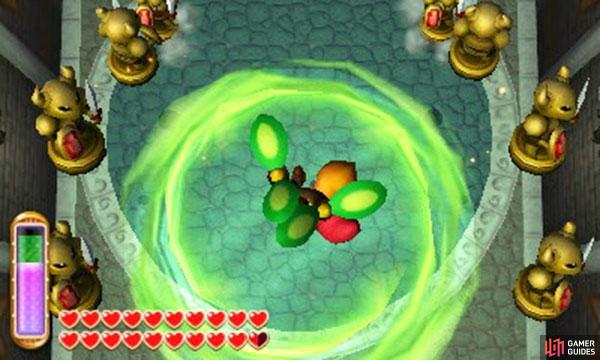
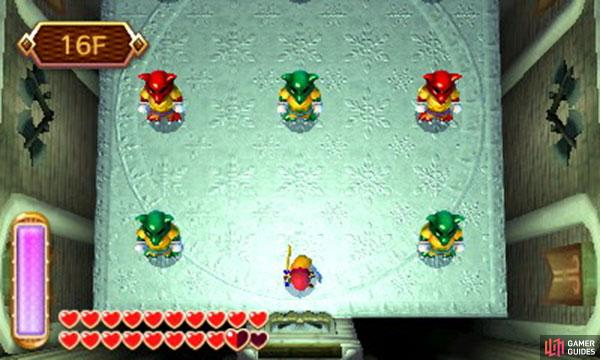
In Lorule, speak to Devilish Girl, in the top-righter corner of snowy Death Mountain (West), to play the Treacherous Tower mini-game. The aim of Treacherous Tower is to eliminate all the monsters in the tower and reach the top. The tower is split into many floors–each floor teeming with monsters (or one strong monster).
Before braving the tower, make sure to have full hearts and Bottles of fairies or Blue Potions for safe measure. There’s nothing worse than getting near the end and passing out because you entered half-prepared.
| **Level** | **Floors** | **Entry Fee** | **Reward** |
|---|---|---|---|
| Beginner | 5 | 100 Rupees | 200 Rupees |
| Intermediate | 15 | 200 Rupees | 1000 Rupees Piece of Heart (first time) |
| Advanced | 50 | 300 Rupees | 3000 Rupees Super Lamp (first time) Super Net (second time) |
$$$item 3954
The first two levels aren’t too hard, so definitely attempt them so you can grab the Piece of the Heart at least. Advanced is quite long and challenging, however, so you may want to it leave it for later. The reward items from Advanced aren’t really that useful and are curious novelties more than anything. However, if you wish to complete the StreetPass Challenges or collect every item in the game, you will need to tackle Advanced eventually.
Beginner
This level is a simple warm up to get you used to the mini-game. There are only 5 floors and the monsters inside are weak and very straightforward to defeat.
Intermediate
Here is where things ramp up slightly, as the number of floors increases and the monsters get tougher, but nothing you can’t handle. At this point, be sure to bring along the Tornado Rod and health-restoring potions if you haven’t done so already. Also; Floor 11 and above all have a slippery floor.
On some floors, you’ll get charged at by soldiers–don’t panic; just use the Tornado Rod to stun them all in one go. Floor 11 has four tough Snow Hinox, who throw snowballs to freeze Link–immobilise them with the Tornado Rod, Hookshot or Boomerang. You can also knock them into the chasm if they’re proving difficult to take down.
Advanced
Floor 11 to 20 all have a slippery floor.
Now this is where the real challenge lies; 50 floors is a heavy number, so make sure you’re prepared before going in. We recommend you store at least one fairy in a Bottle and two Blue Potions. Also, make sure you’ve rented or bought the Tornado Rod, Ice Rod and Fire Rod. The Hylian Shield is good for defence too.
If you’re in no hurry, you can make your life easier with the Great Spin attack, which can be obtained by rescuing all 100 Maimai and redeeming all the item upgrades. With the Great Spin, you can clear a lot of floors in mere seconds. Similarly, the Red Mail from the final dungeon will help immensely in keeping you alive.
In the beginning, you can fell a lot of monsters with the Great Spin or by stunning them with the Tornado Rod. So hopefully you shouldn’t break a sweat getting up to Floor 20. The Gigabari is probably the only annoying monster here, if only because you can easily bounce off it and fall off the arena.
Floor 29 is tough with three Lynels staking their turf. Block their flames with the Hylian Shield and repeatedly use the Hookshot or Boomerang to knock them into the abyss.
Floor 47 is a pain with the smiley face blocks shooting ice and the tough Fire Gimos. Use the Ice Rod to freeze the smiley faces and the normal and Fire Gimos, then swap to the Fire Rod when the Ice Gimos come. Floor 49 also introduces you to three tough-as-nails Lunels.
The final floor concludes with a stronger Moldorm. Just keep your distance and swipe its tail like you did in the Tower of Hera. When it’s taken a few hits and speeds up, pound it with the Hammer to stun it (a hit to the head will stun it for longer), before swiping its tail.


 Sign up
No Comments