As they trudge towards the end of the campaign, Tidus and his squad will be beset by a Heldrake - a proverbial fire-breathing dragon, born of the warp, and gilded with enough ornamentation to drive even the most dedicated Warhammer 40,000 hobbyist mad. In an unusual twist for a tabletop creature reborn as polygons in Space Marine 2, this foe isn’t destined to be defeated by Titus and his company. To partake in its downfall as more than a distant spectator, you’ll need to complete the Operations mode mission [Reliquary]. This page will provide strategies for defeating the Heldrake boss in Space Marine 2.
Page Breakdown
| Quick Search |
|---|
| Where to Find the Heldrake |
| Heldrake Boss Battle Strategies |
| Heldrake Boss Battle - Best Weapons |
| How to Beat the Heldrake |
Where to Find the Heldrake
The Heldrake will appear during the Operations mode mission [Reliquary] in Space Marine 2, first serving as an environmental gimmick during the middle of the stage, where you must cross a bridge in pursuit of this mission’s perpetual objective: “Proceed to the Warp Beacon”. Only when you arrive at the end of the mission will you be able to engage the Heldrake.
Heldrake Boss Battle Strategies
The Heldrake is more of a puzzle than a proper boss fight, with the Heldrake itself being invulnerable for most of the battle, serving as more of an environmental hazard that slows you down and keeps you honest while also enduring the endless waves of Cultists, Tzangors and Thousand Sons that spawn during the fight. Survival is your main goal, and your enemies are so diverse and plentiful that there’s a niche for just about every class and weapon in this fight.
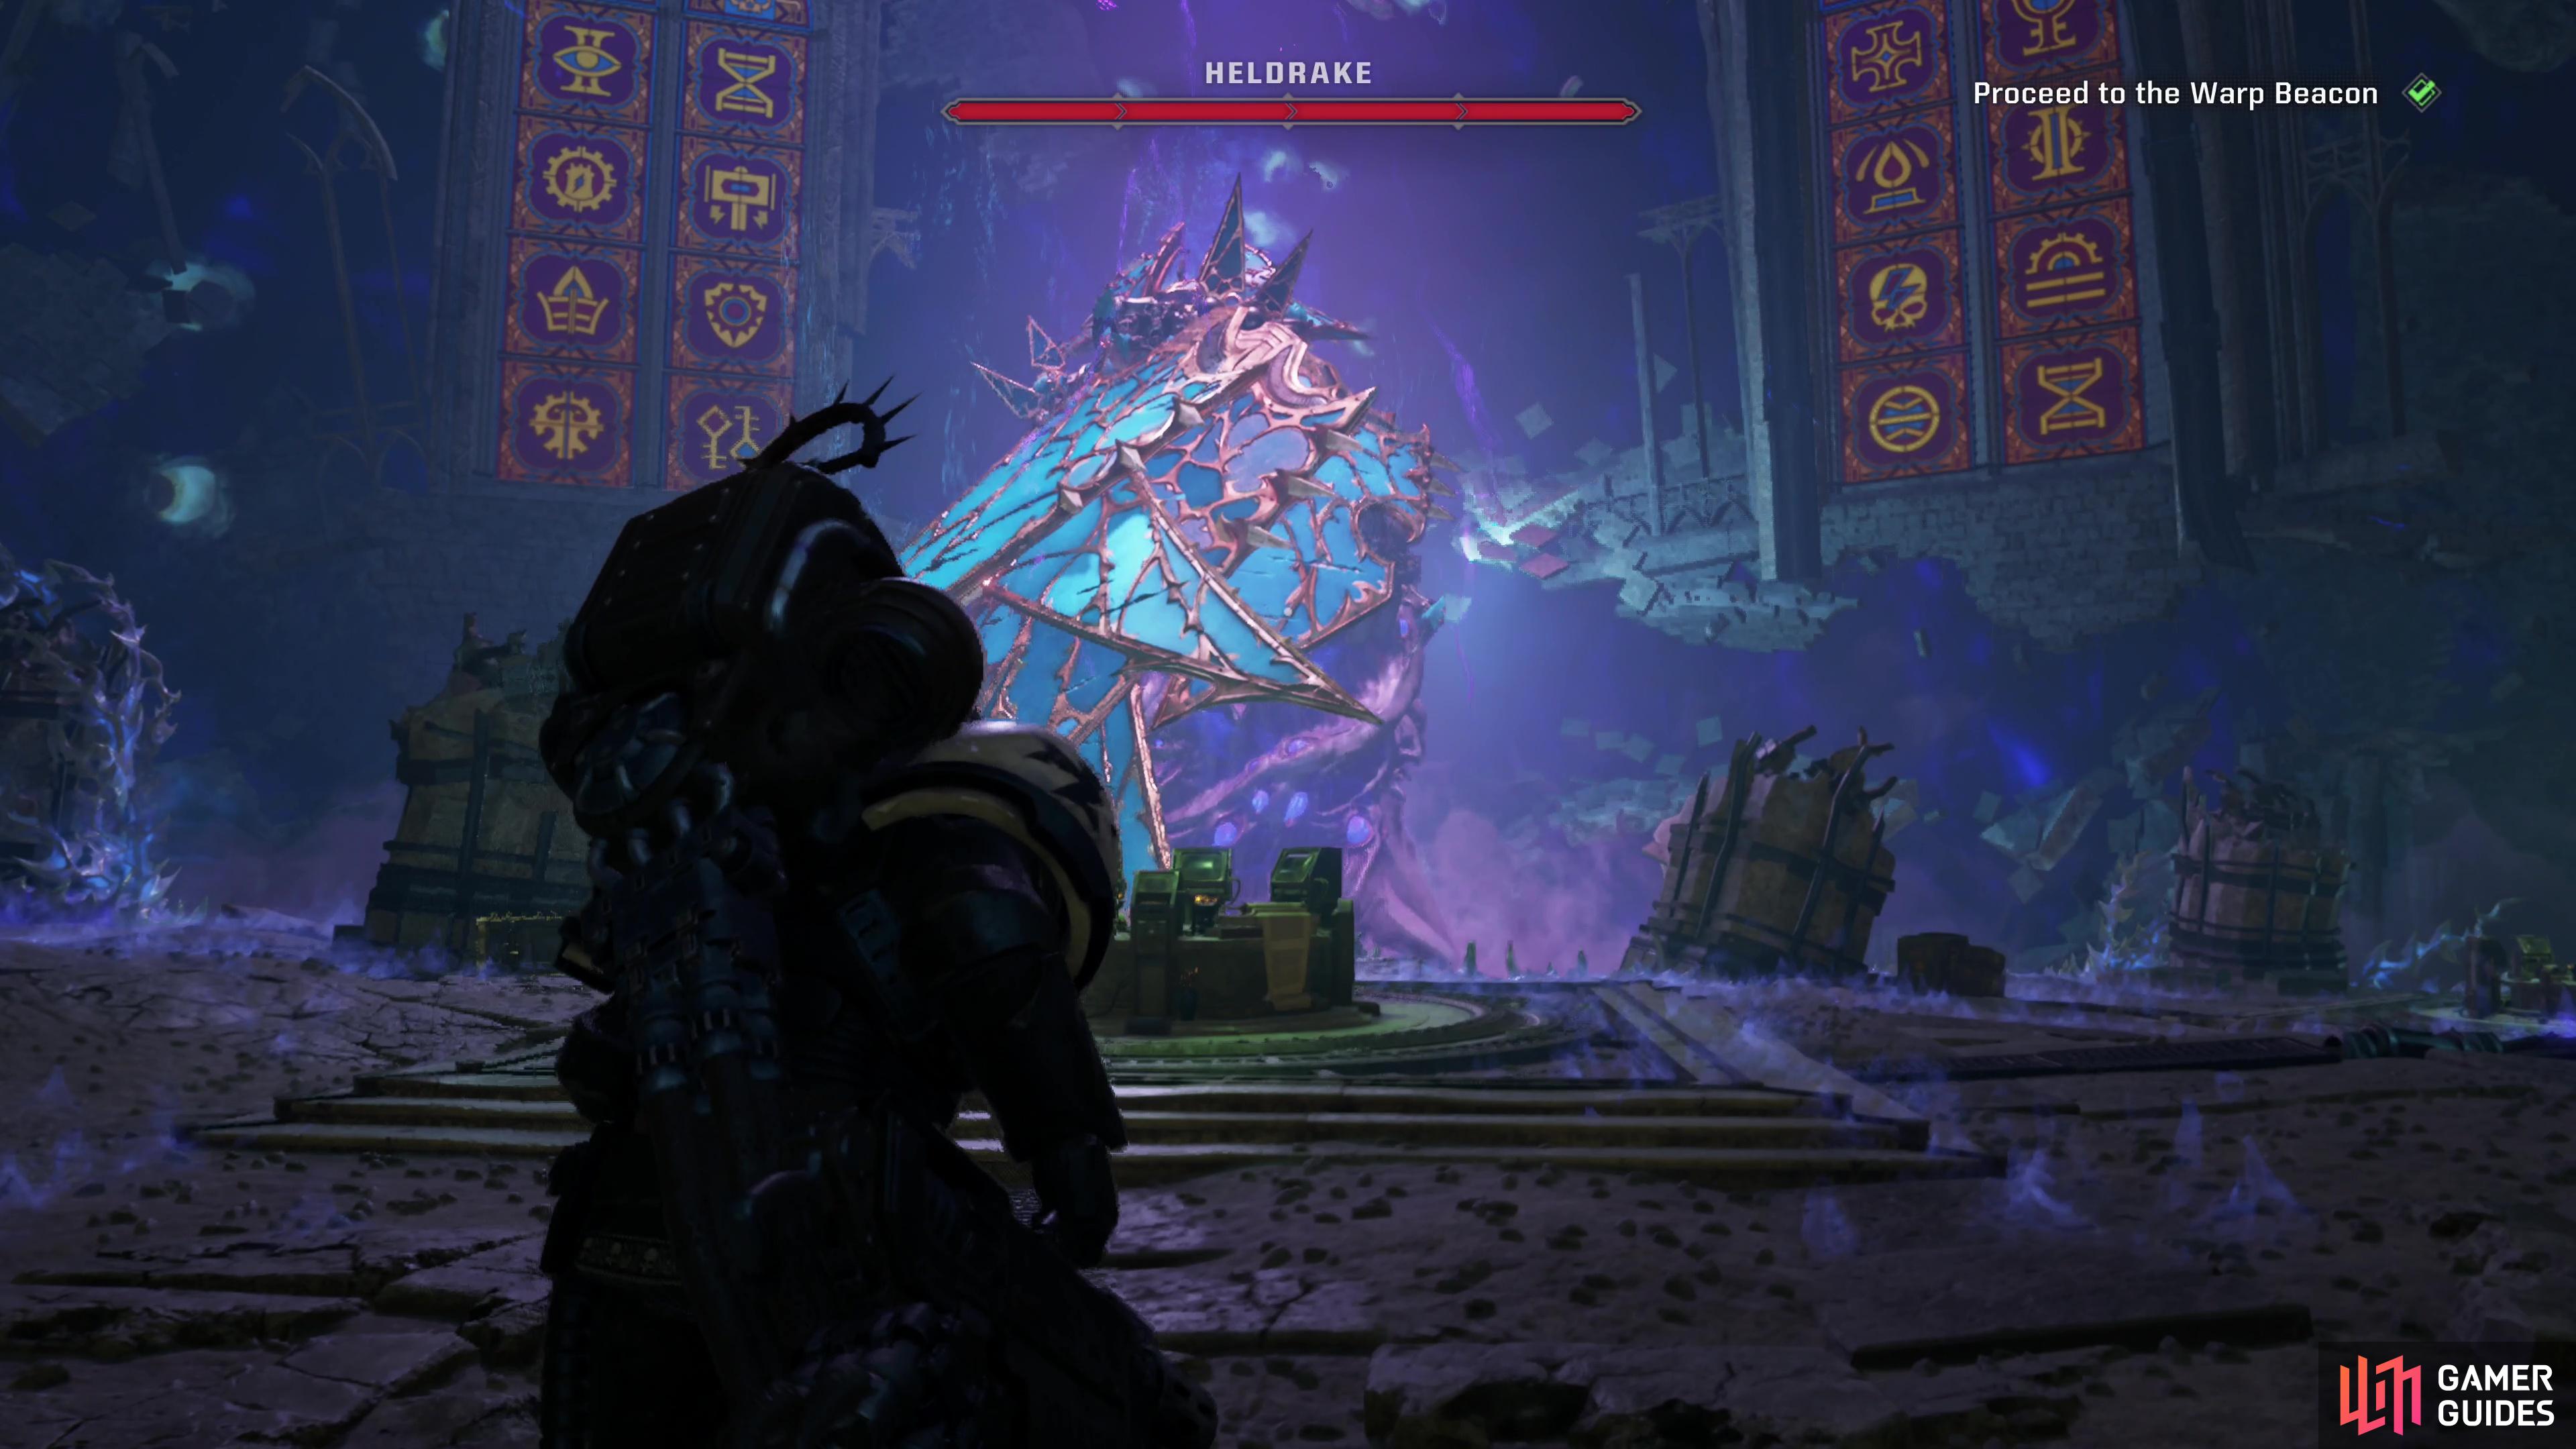
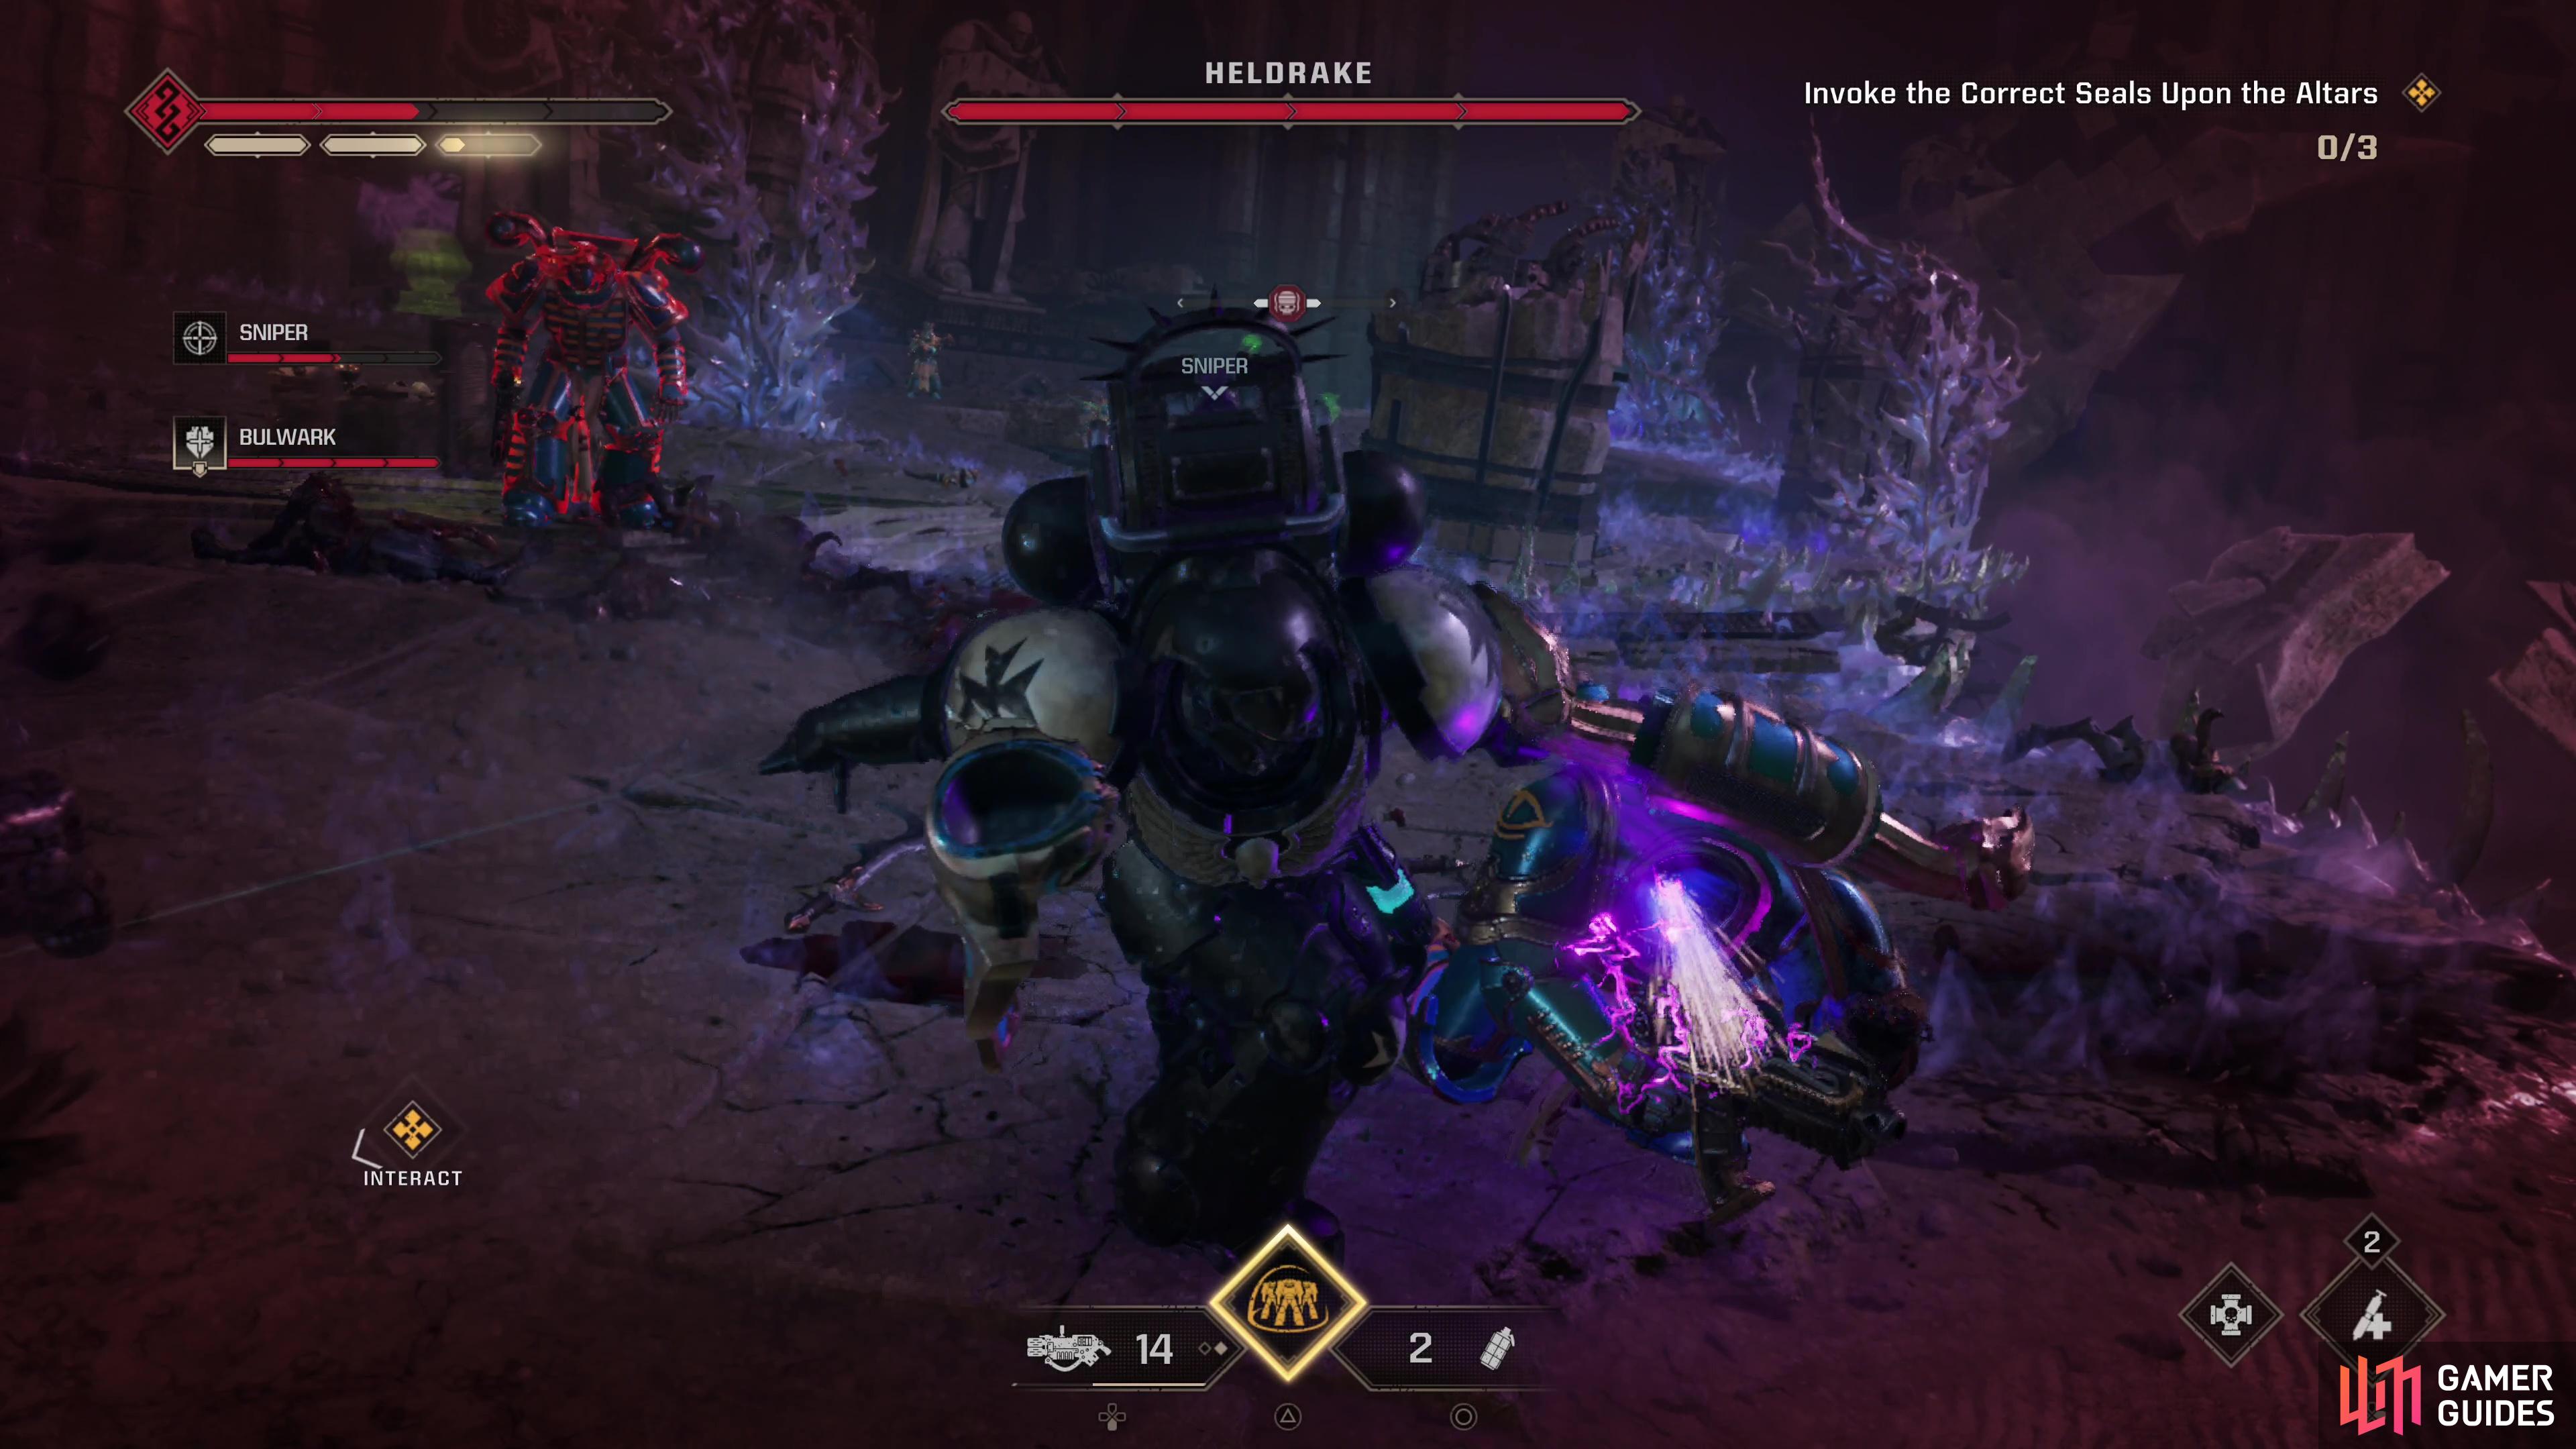
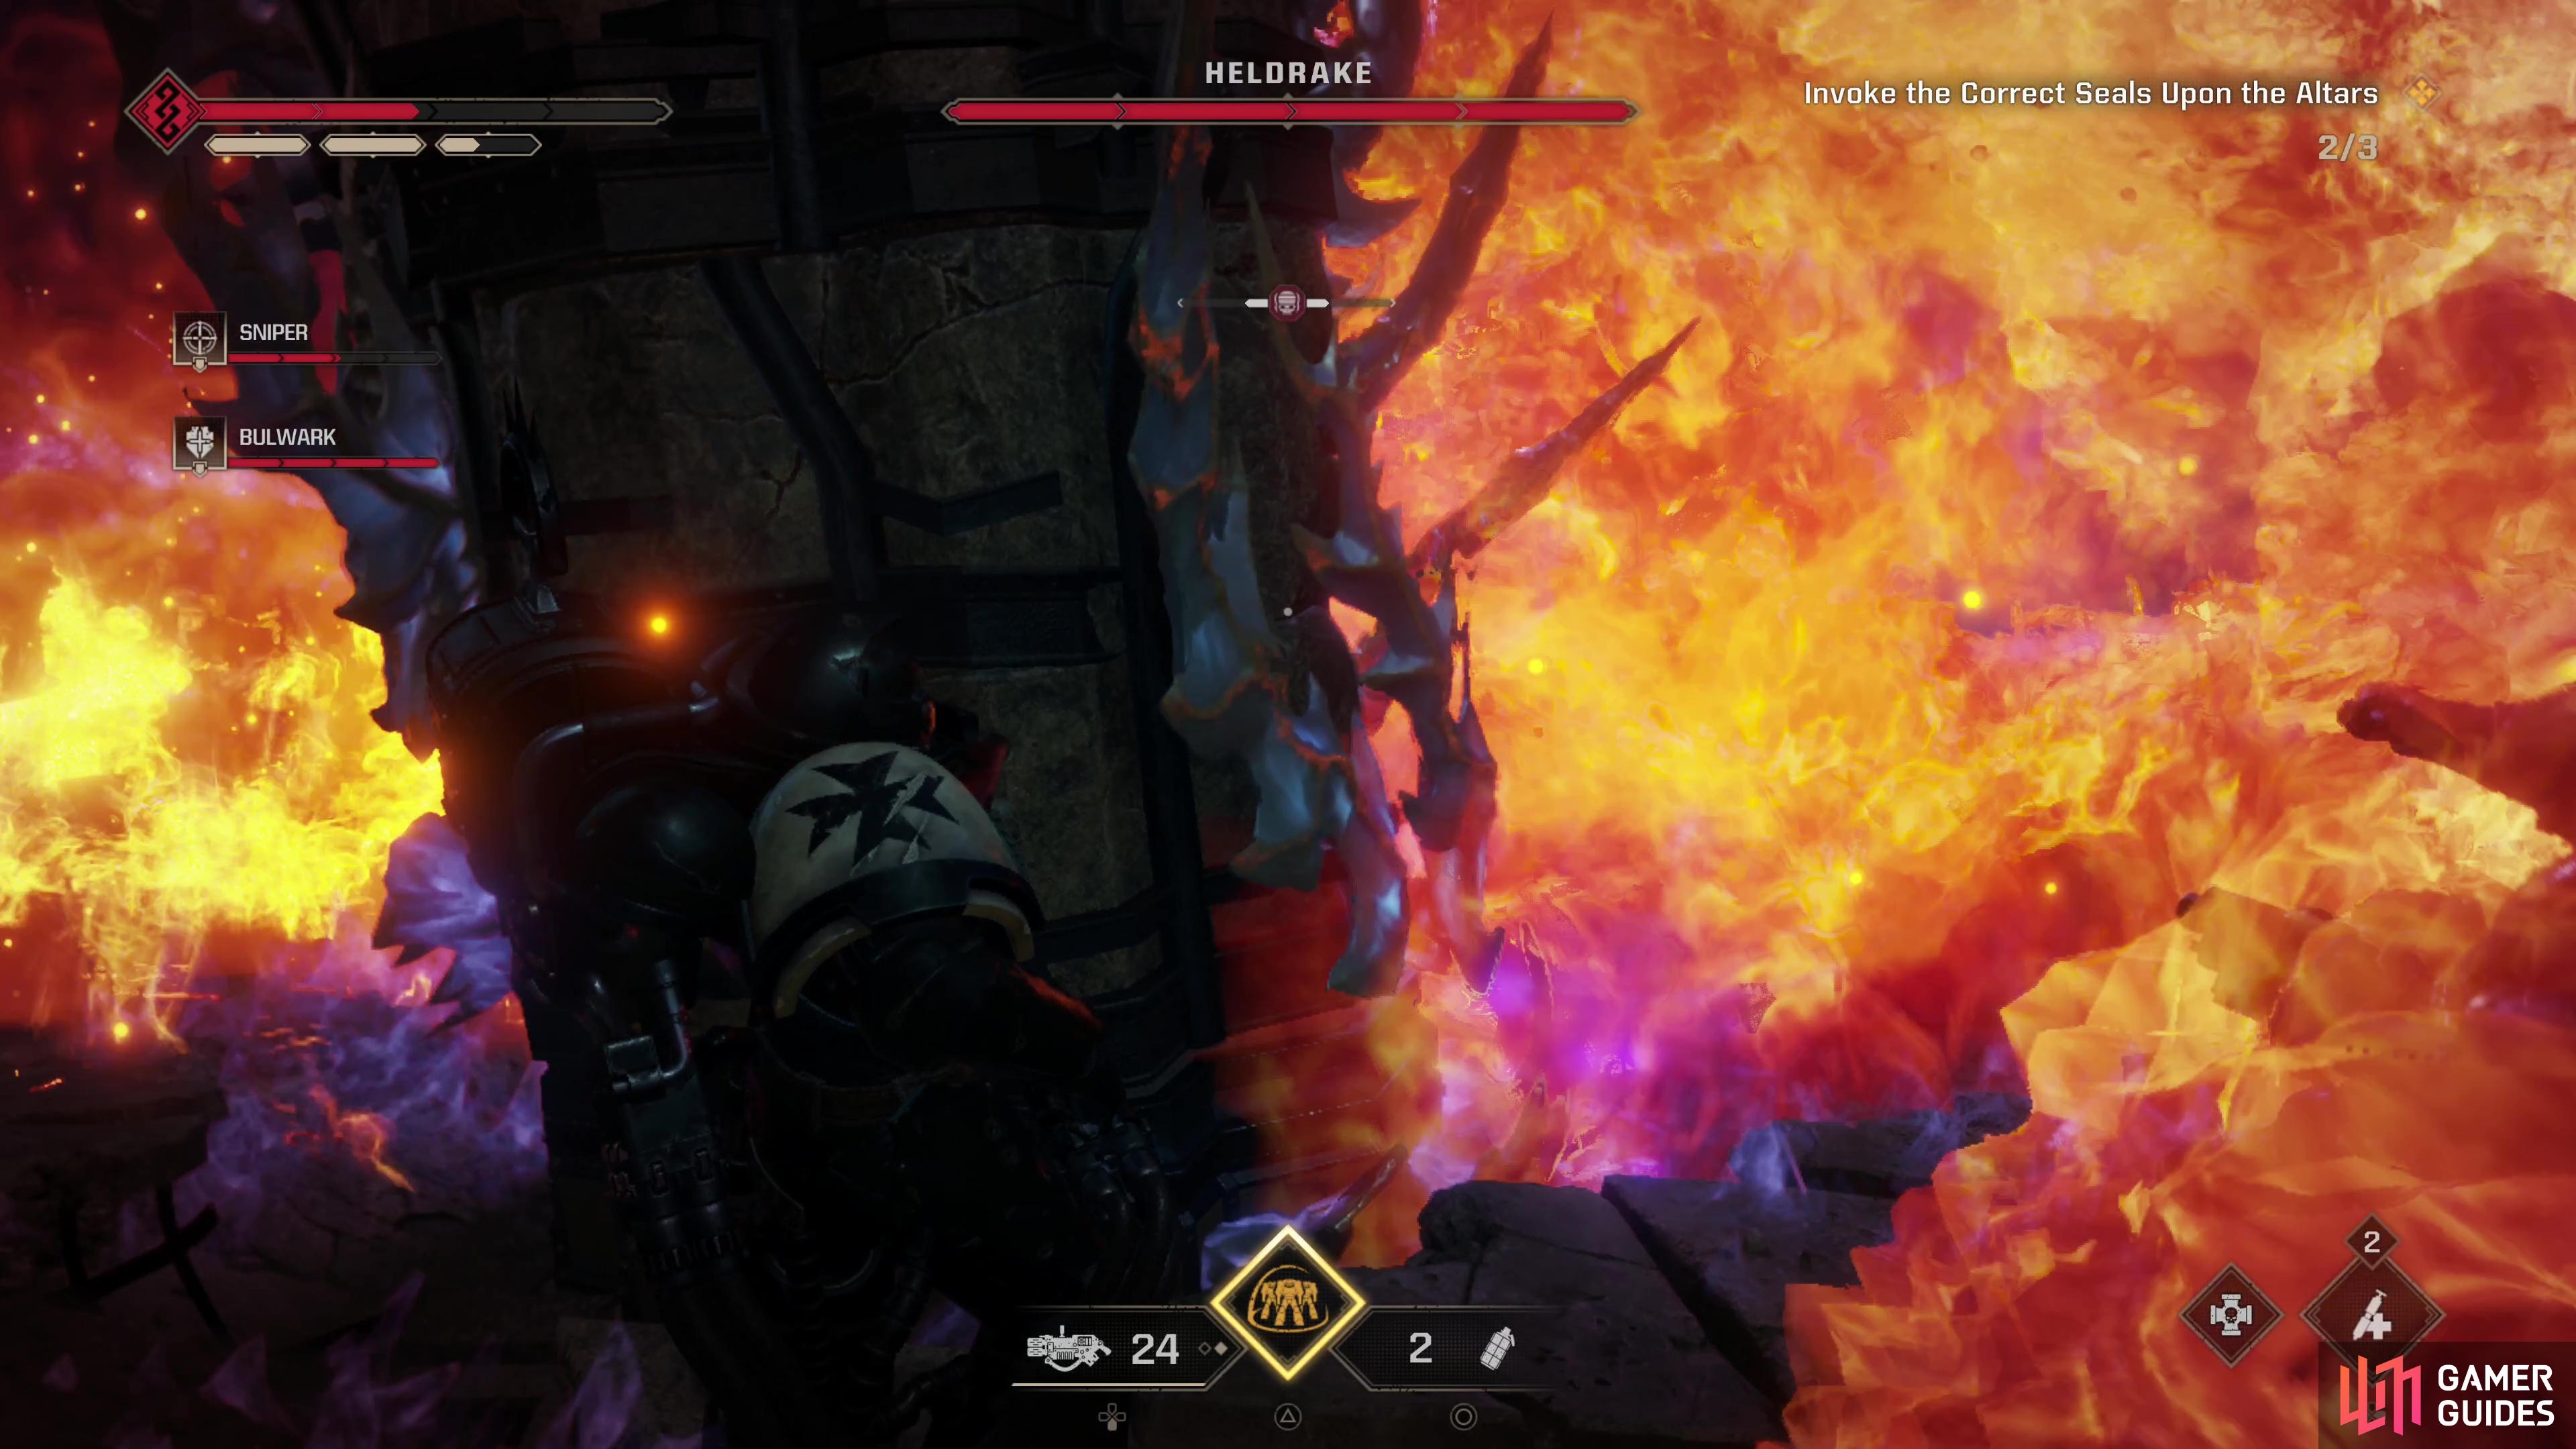
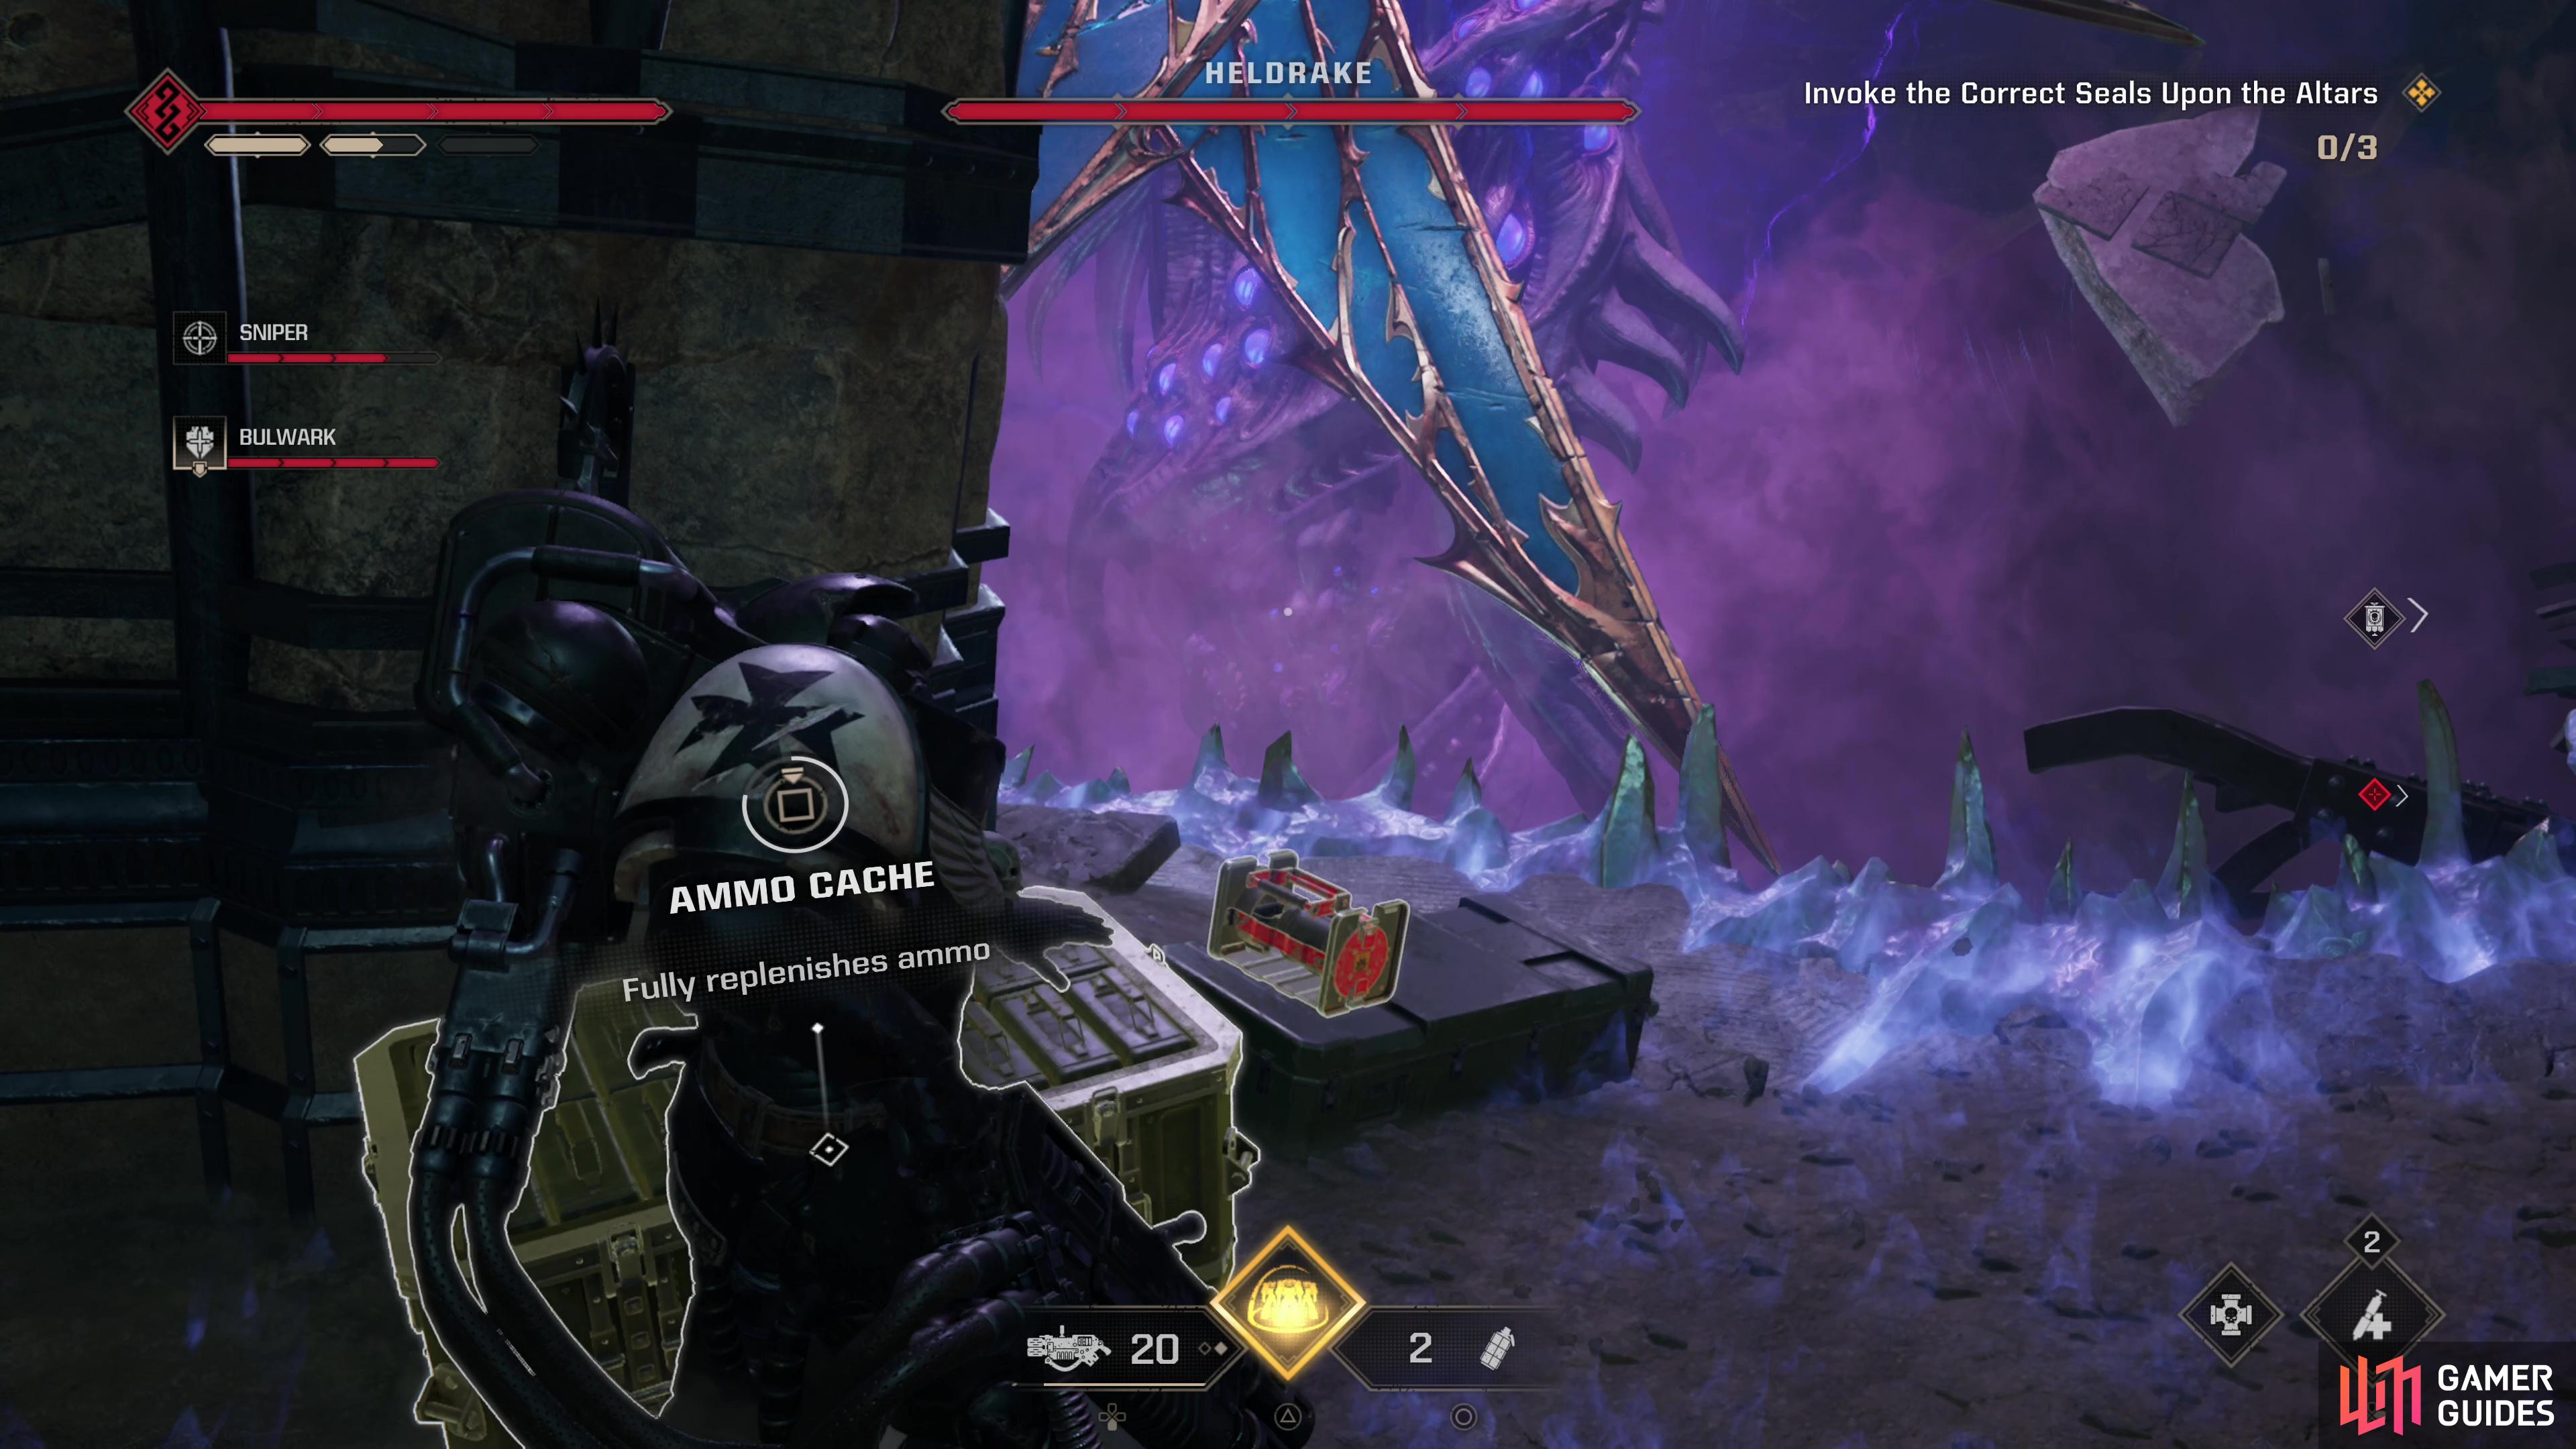
(1 of 4) The Heldrake isn’t a conventional boss - behind the shield provided by its wings, it’s impervious to small arms fire.
Heldrake Boss Battle - Best Weapons
A rare boss where most weapons will have value, this is because the Heldrake itself is both invulnerable most of the fight, and quite a distance away. The standard strategy of blasting the foe with Melta Rifles and Multi-Meltas isn’t effective here, as those weapons just don’t have the range to damage the Heldrake when it’s vulnerable. That said, you’ll mostly be fighting lesser foes, including all types of Chaos forces, from humble Cultists (sometimes annoyingly armed with las sniper rifles) to Thousand Sons Terminators. Anything that deals with these mobs will make your life easier, including Thunder Hammers, Power Swords and Meltas. To deal with the Heldrake itself, however, you’ll need something longer ranged - Heavy Bolters, Heavy Bolt Rifles and Plasma weapons all work well.
To reiterate: you will need weapons capable of both clearing out endless mobs of Cultists, Tzangors and Thousand Sons, as well as long-ranged weapons to deal damage to the Heldrake when it’s vulnerable - anything with a greater range than a melee weapon or Melta weapon should suffice for damaging the Heldrake.
How to Beat the Heldrake
As mentioned earlier, this battle is more of a puzzle than your standard boss fight. The Heldrake will spend most of the fight hiding behind its impenetrable wings, safe from any small arms fire you can direct its way. The courtesy of invulnerability does not apply to you, however, as the Heldrake will expose itself periodically to blast the battlefield with draconic, demonic warpfire. You’ll get a warning before this happens, and you’ll need to take cover behind some conveniently placed pillars to avoid damage.
The Heldrake isn’t your only foe, however - all manner of Thousand Sons and their minions will spawn in during the fight and must be regularly culled to keep things manageable and to ensure you won’t be interrupted by lesser foes when the Heldrake is vulnerable. There’s nothing special about these Thousand Sons foes here, they’re the same as anywhere else and what’s been effective against them before is effective now. There’s an Ammo Cache in the arena near a pillar and the edge close to the Heldrake you can use to ensure you never have to worry about ammo.
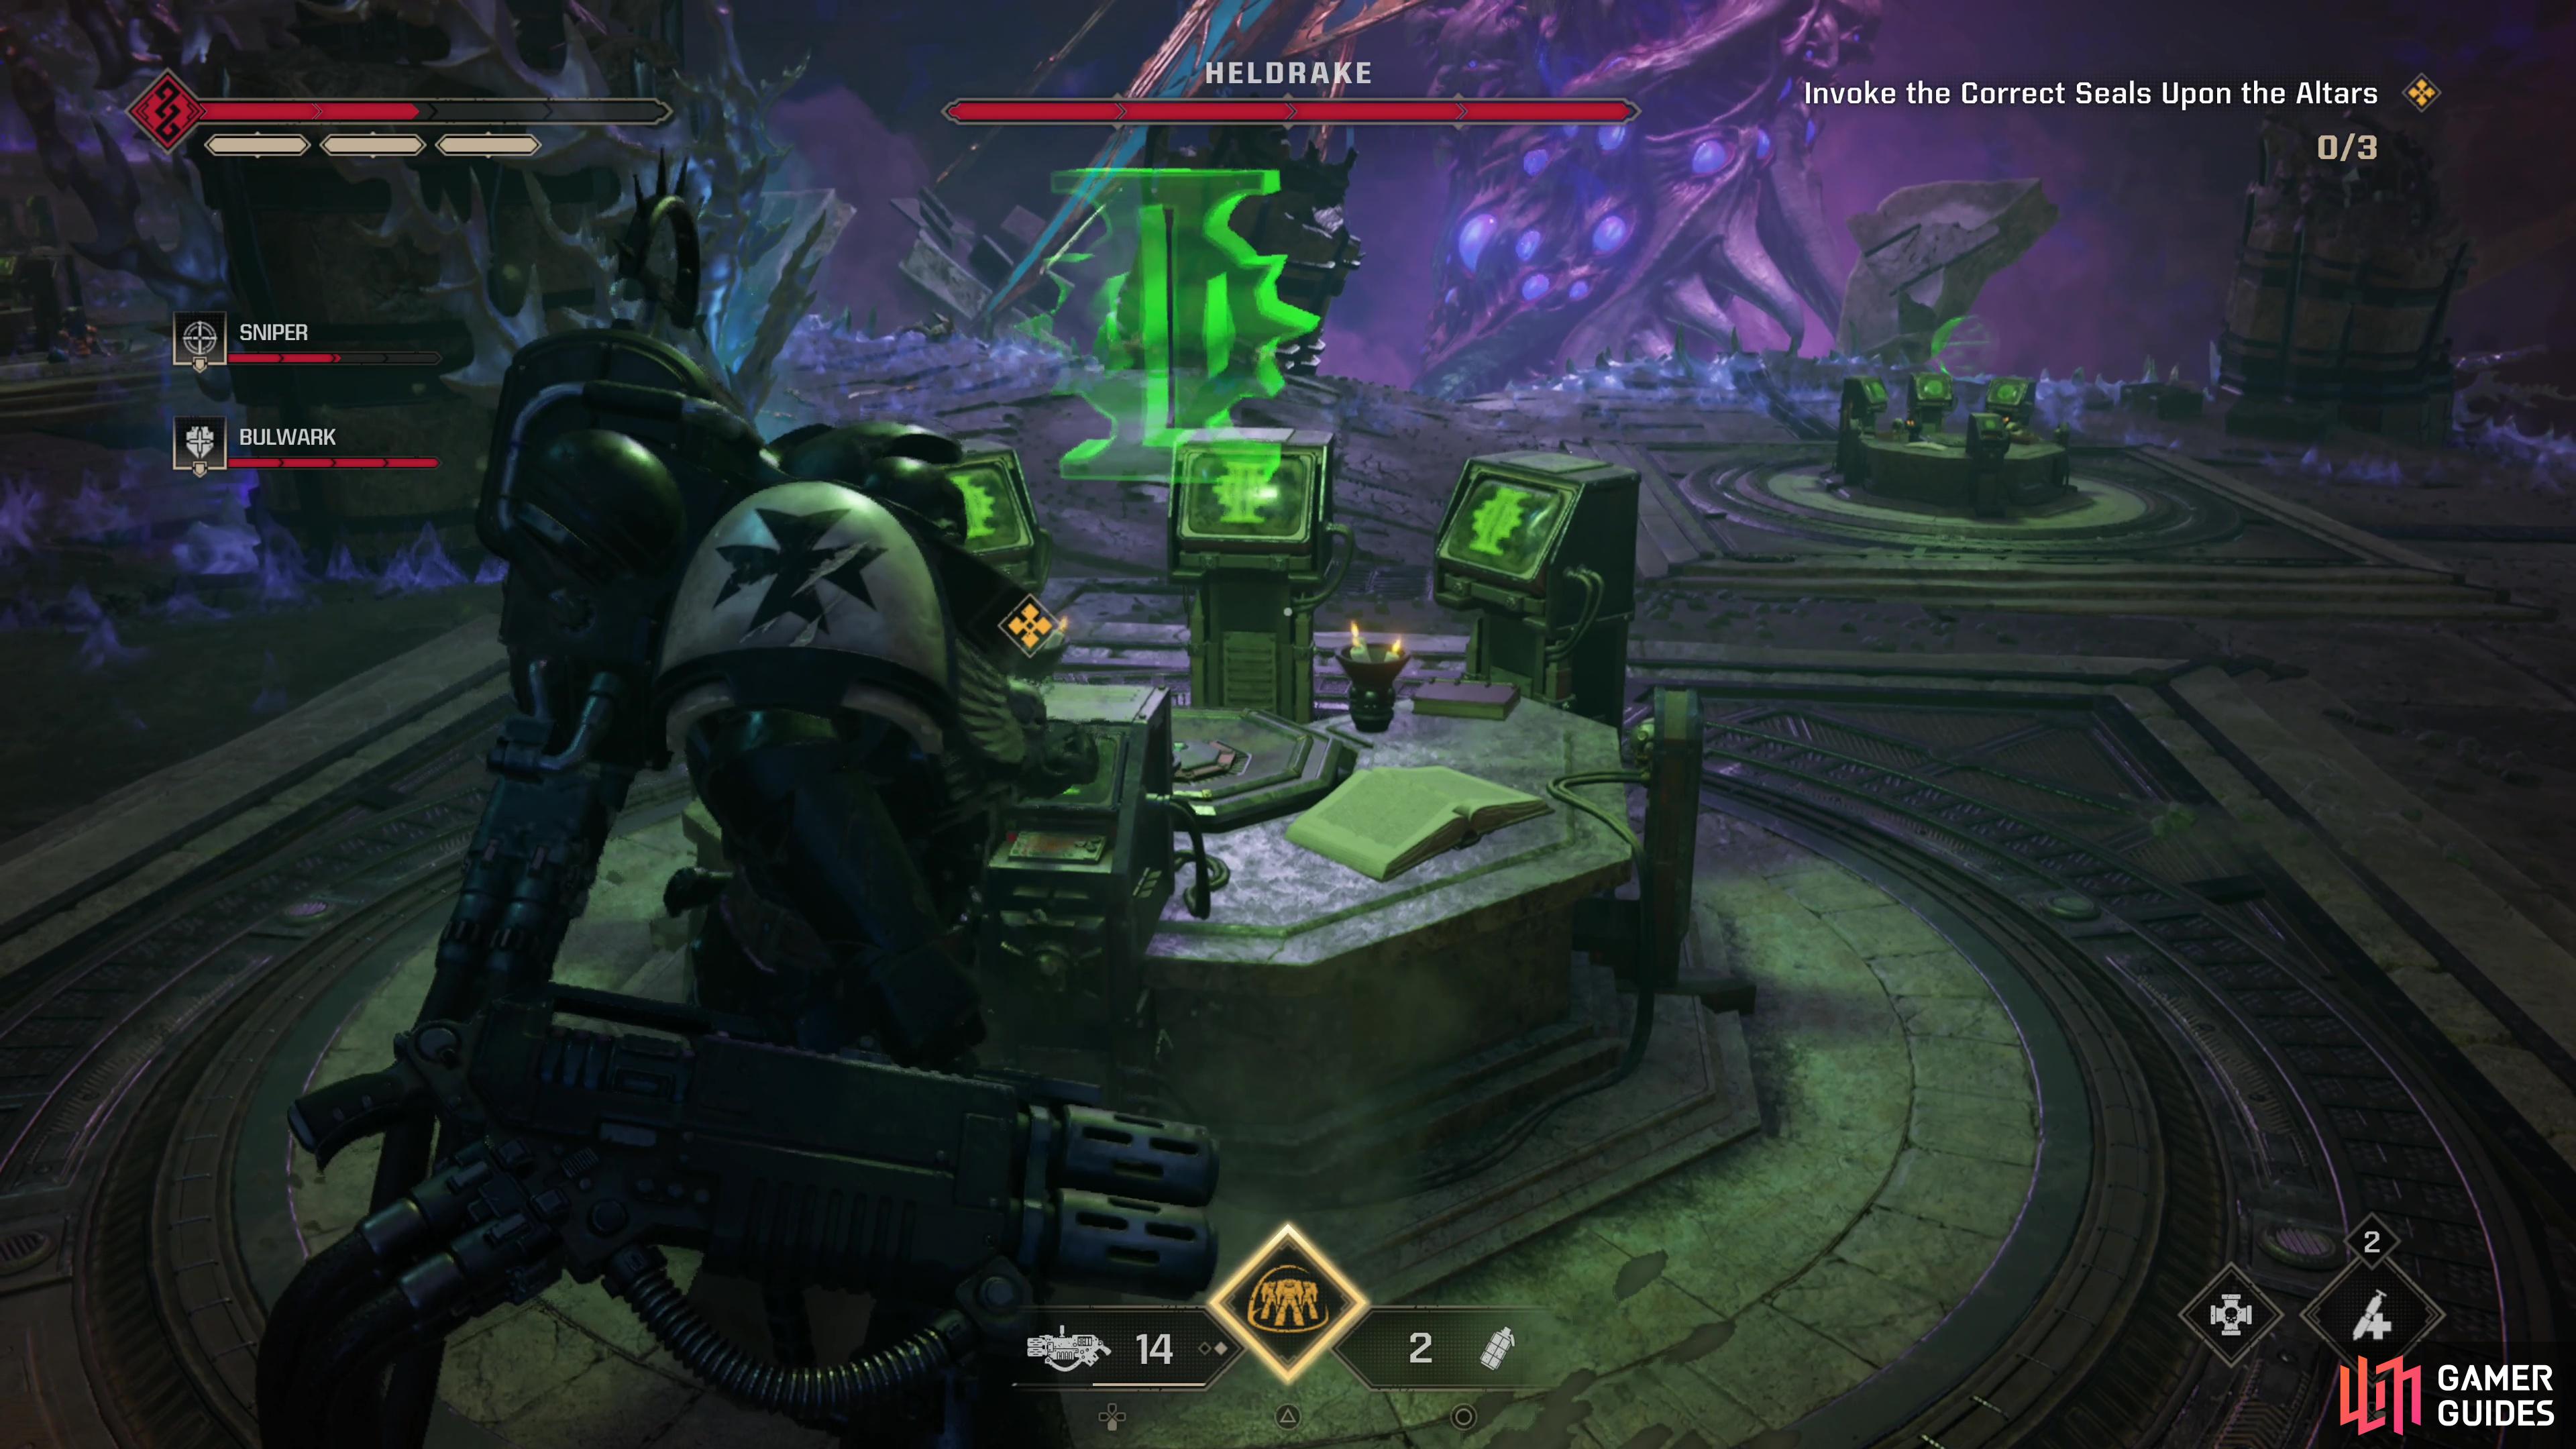
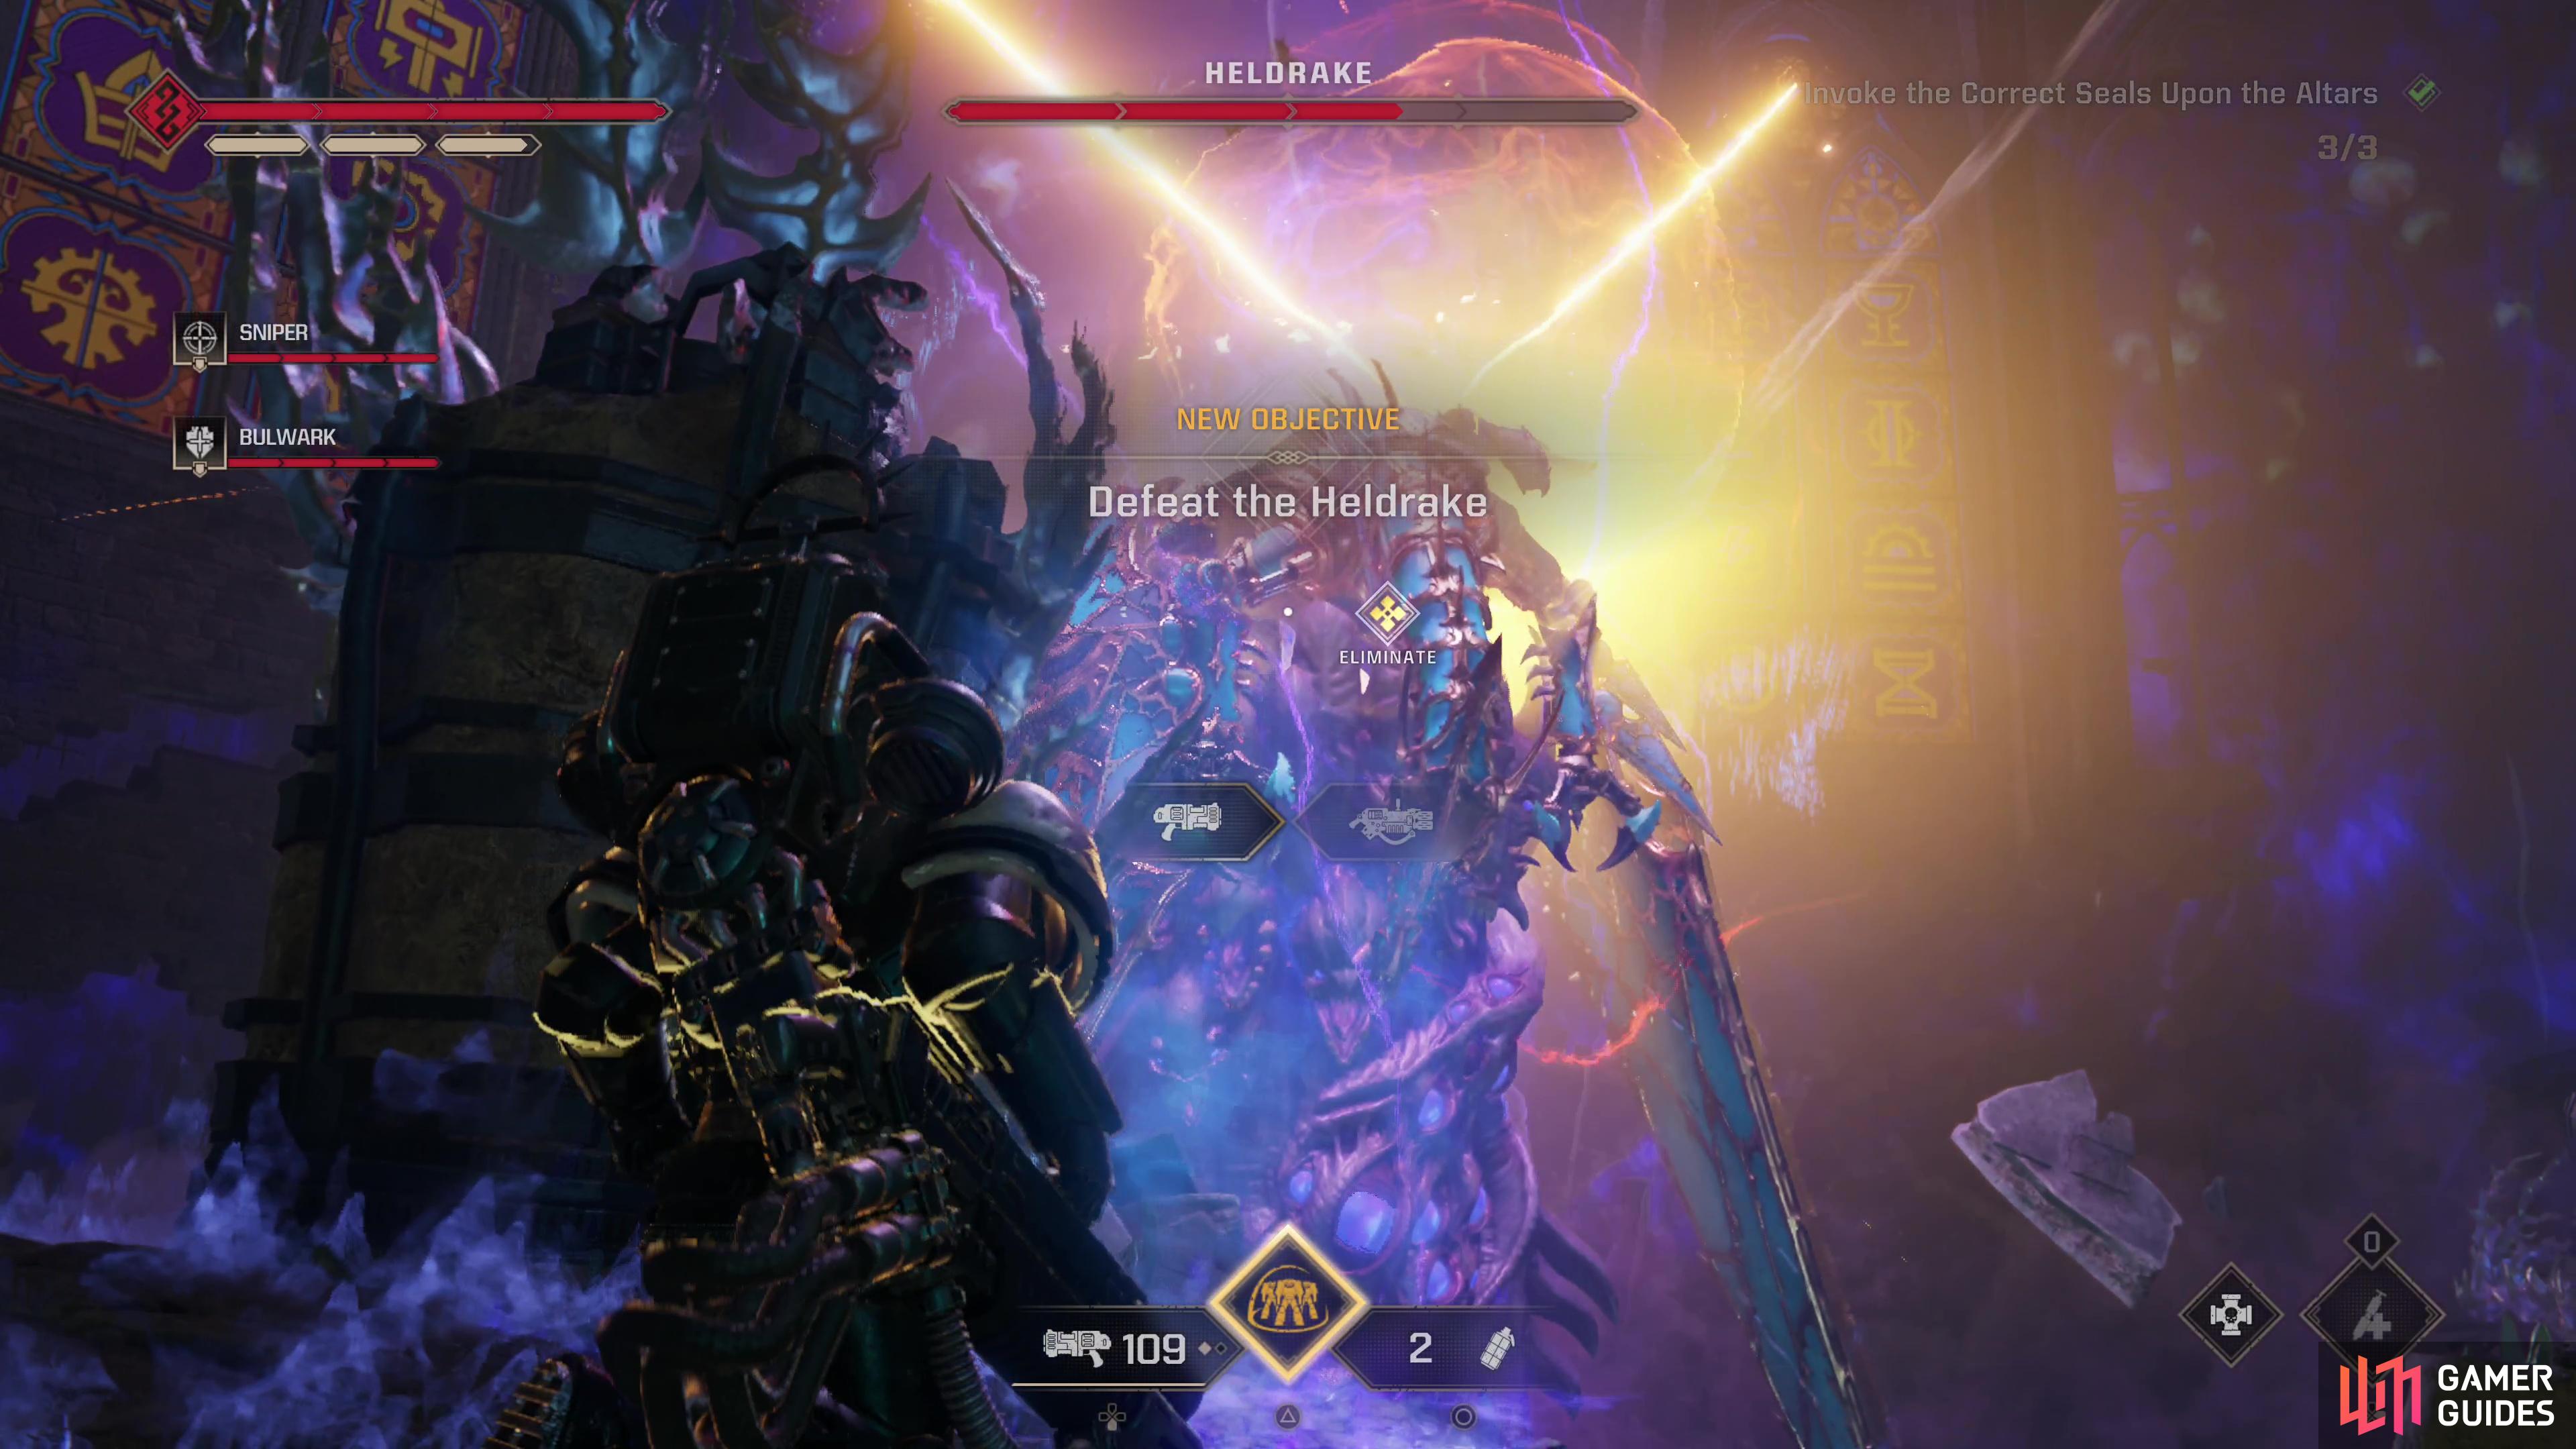
The Thousand Sons and the Heldrake’s fire breath are all mere distractions, however - your real objective here is to activate some altars scattered across the battlefield. The altars have different symbols on them and you need to hit the correct altars three times in a row. Which altars are the correct ones seems to be completely random,and if you hit the wrong altar the sequence will break and you’ll have to start over. Hit all three correct altars and the Heldrake will sustain damage and become vulnerable to conventional gunfire for a brief period.
(1 of 3) In the downtime between activating altars, you’ll need to cull the endless waves of Thousand Sons that spawn,
Obviously hitting the right altars is the only real strategy in this fight - botch this singular task and you’ll waste time, requiring you to endure more Thousand Sons assaults and Heldreak breath attacks. Unfortunately the only way we know to be certain you’re hitting the correct altars is to wait - eventually they’ll be marked by an objective marker, at which point you can fight your way towards them and activate them. This takes a few moments between each activation, so you’ll have plenty of downtime between altar activations to cull Thousand Sons.
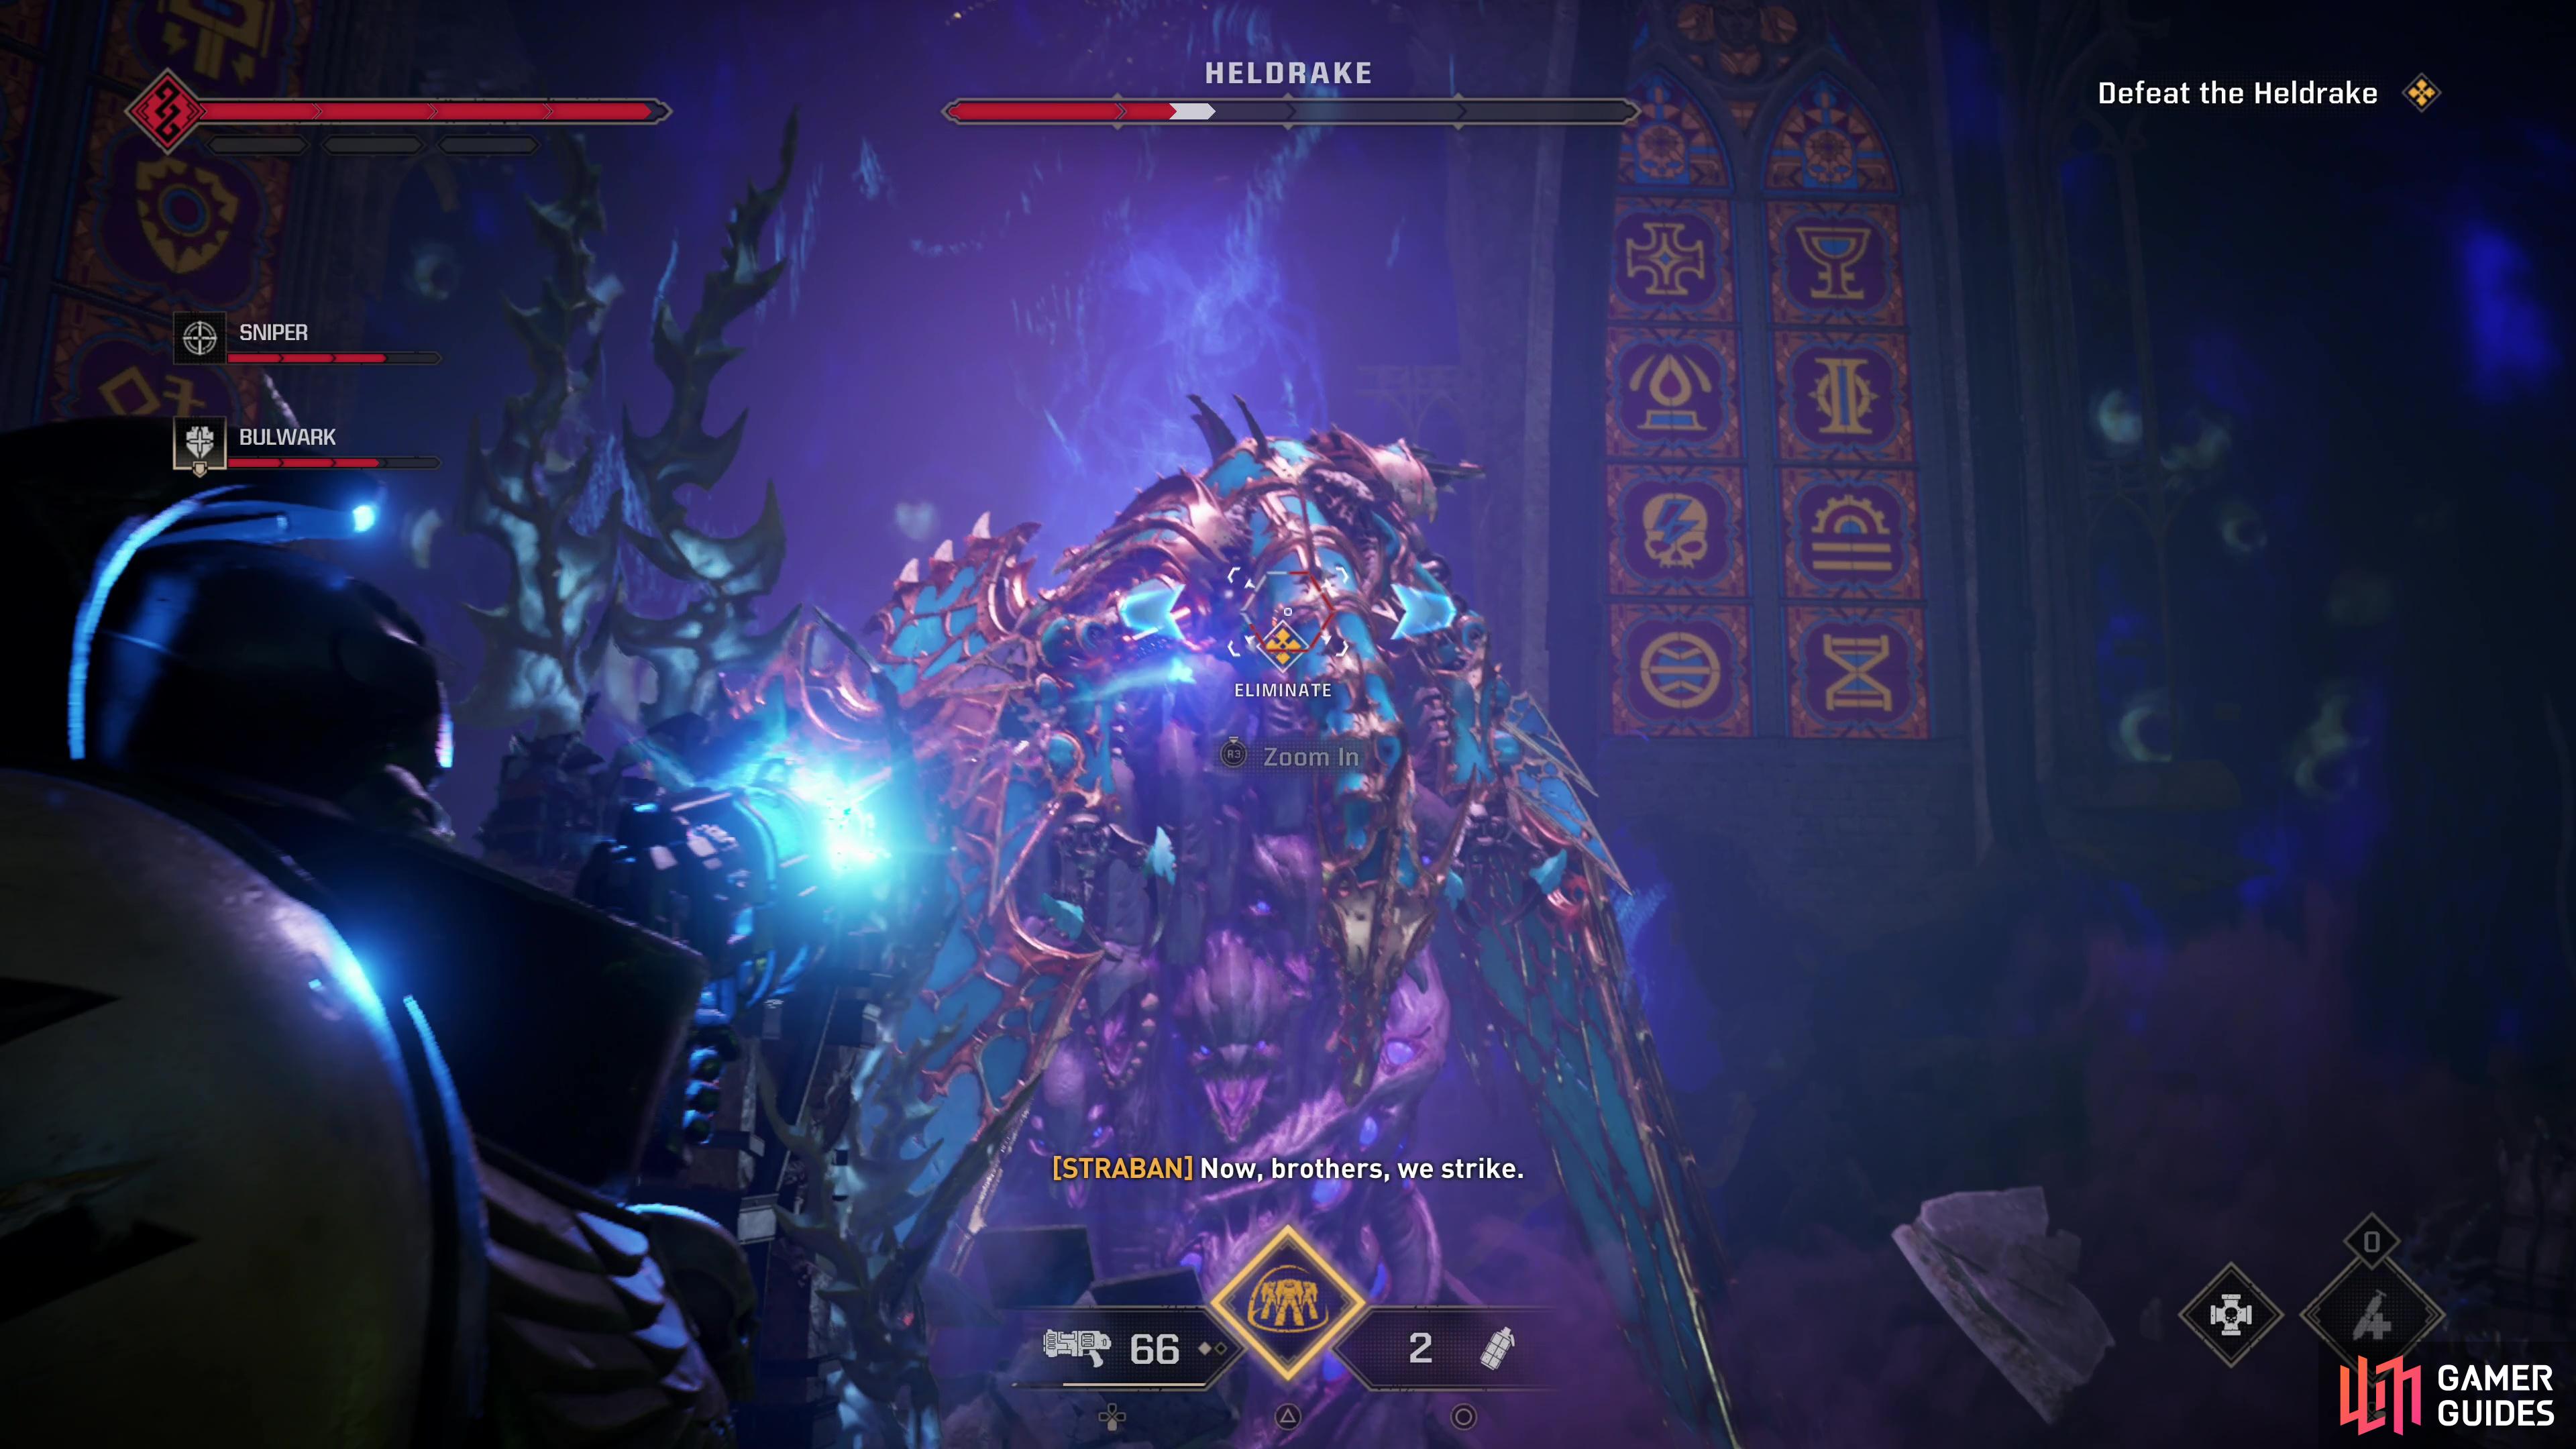
Your window to damage the Heldrake is quite short, so you should ensure the field is as clear as possible, your ammo is stocked, your guns are reloaded and not overheated before you hit the third altar. If you’re ready and concentrate your fire on the Heldrake when it’s vulnerable you can do massive damage each time, drastically shortening the fight. Unfortunately if you’re playing solo, your braindead AI will likely not be much help, as they seem loathe to target the Heldrake when it’s vulnerable… this is assuming your allies are even armed properly for the task. Obviously some classes will damage the Heldrake better than others - the Bulwark and any class armed with a Melta weapon will likely be better at exorcizing the Cultists, Tzangors and Thousand Sons that spawn than damaging the Heldrake, but even a humble Plasma Pistol can deal significant damage if its wielder is prepared to unload it on the Heldrake.
Deplete the Heldrake’s health bar and you’ll defeat it, ending the mission.
 Sign up
No Comments