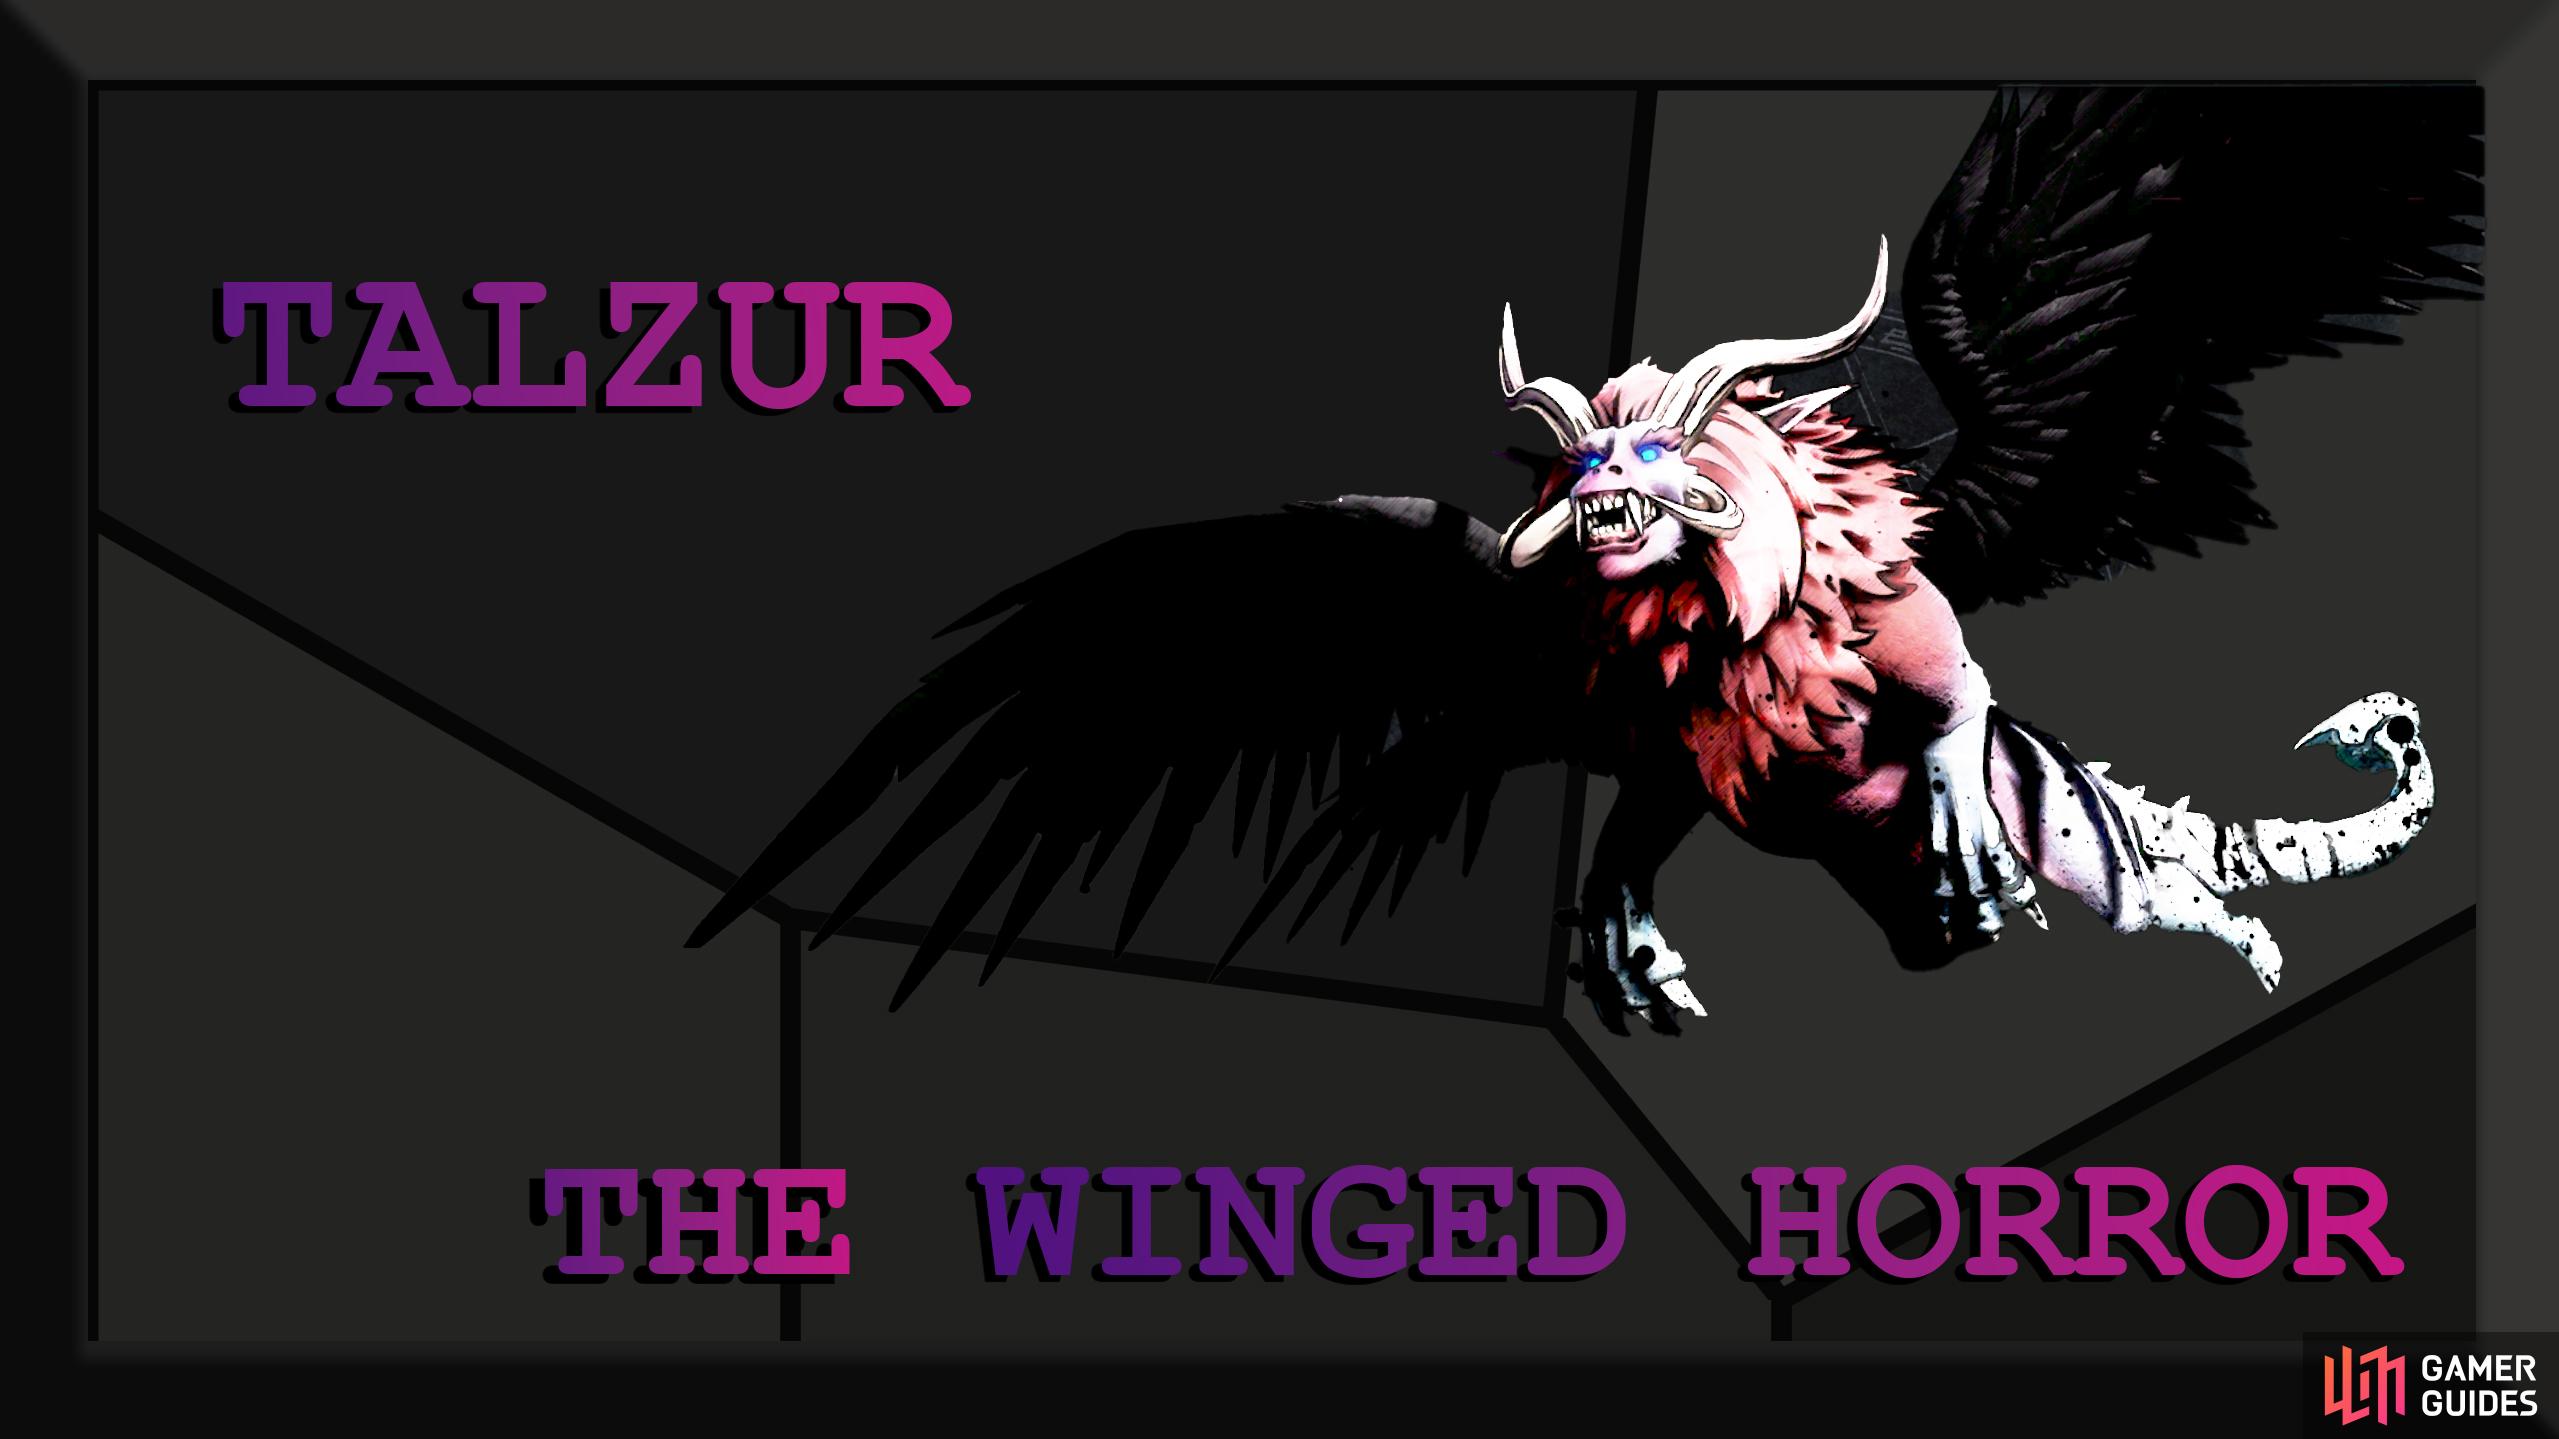
This page details how to find and kill The Winged Horror, one of the Soul Shard bearer bosses in V Rising. We’ll cover how to reach ![]() The Dreaded Peak in Farbane Woods, how to defeat the boss including an overview of their attacks, and recommended weapons / abilities for the fight.
The Dreaded Peak in Farbane Woods, how to defeat the boss including an overview of their attacks, and recommended weapons / abilities for the fight.
Talzur the Winged Horror is a level 86 Soul Shard boss in V Rising.
| Quick Jump | – | – |
|---|---|---|
| Attacks | Strategy | Recommended Weapons |
| Recommended Spells | Rewards | – |
Talzur The Winged Horror Location
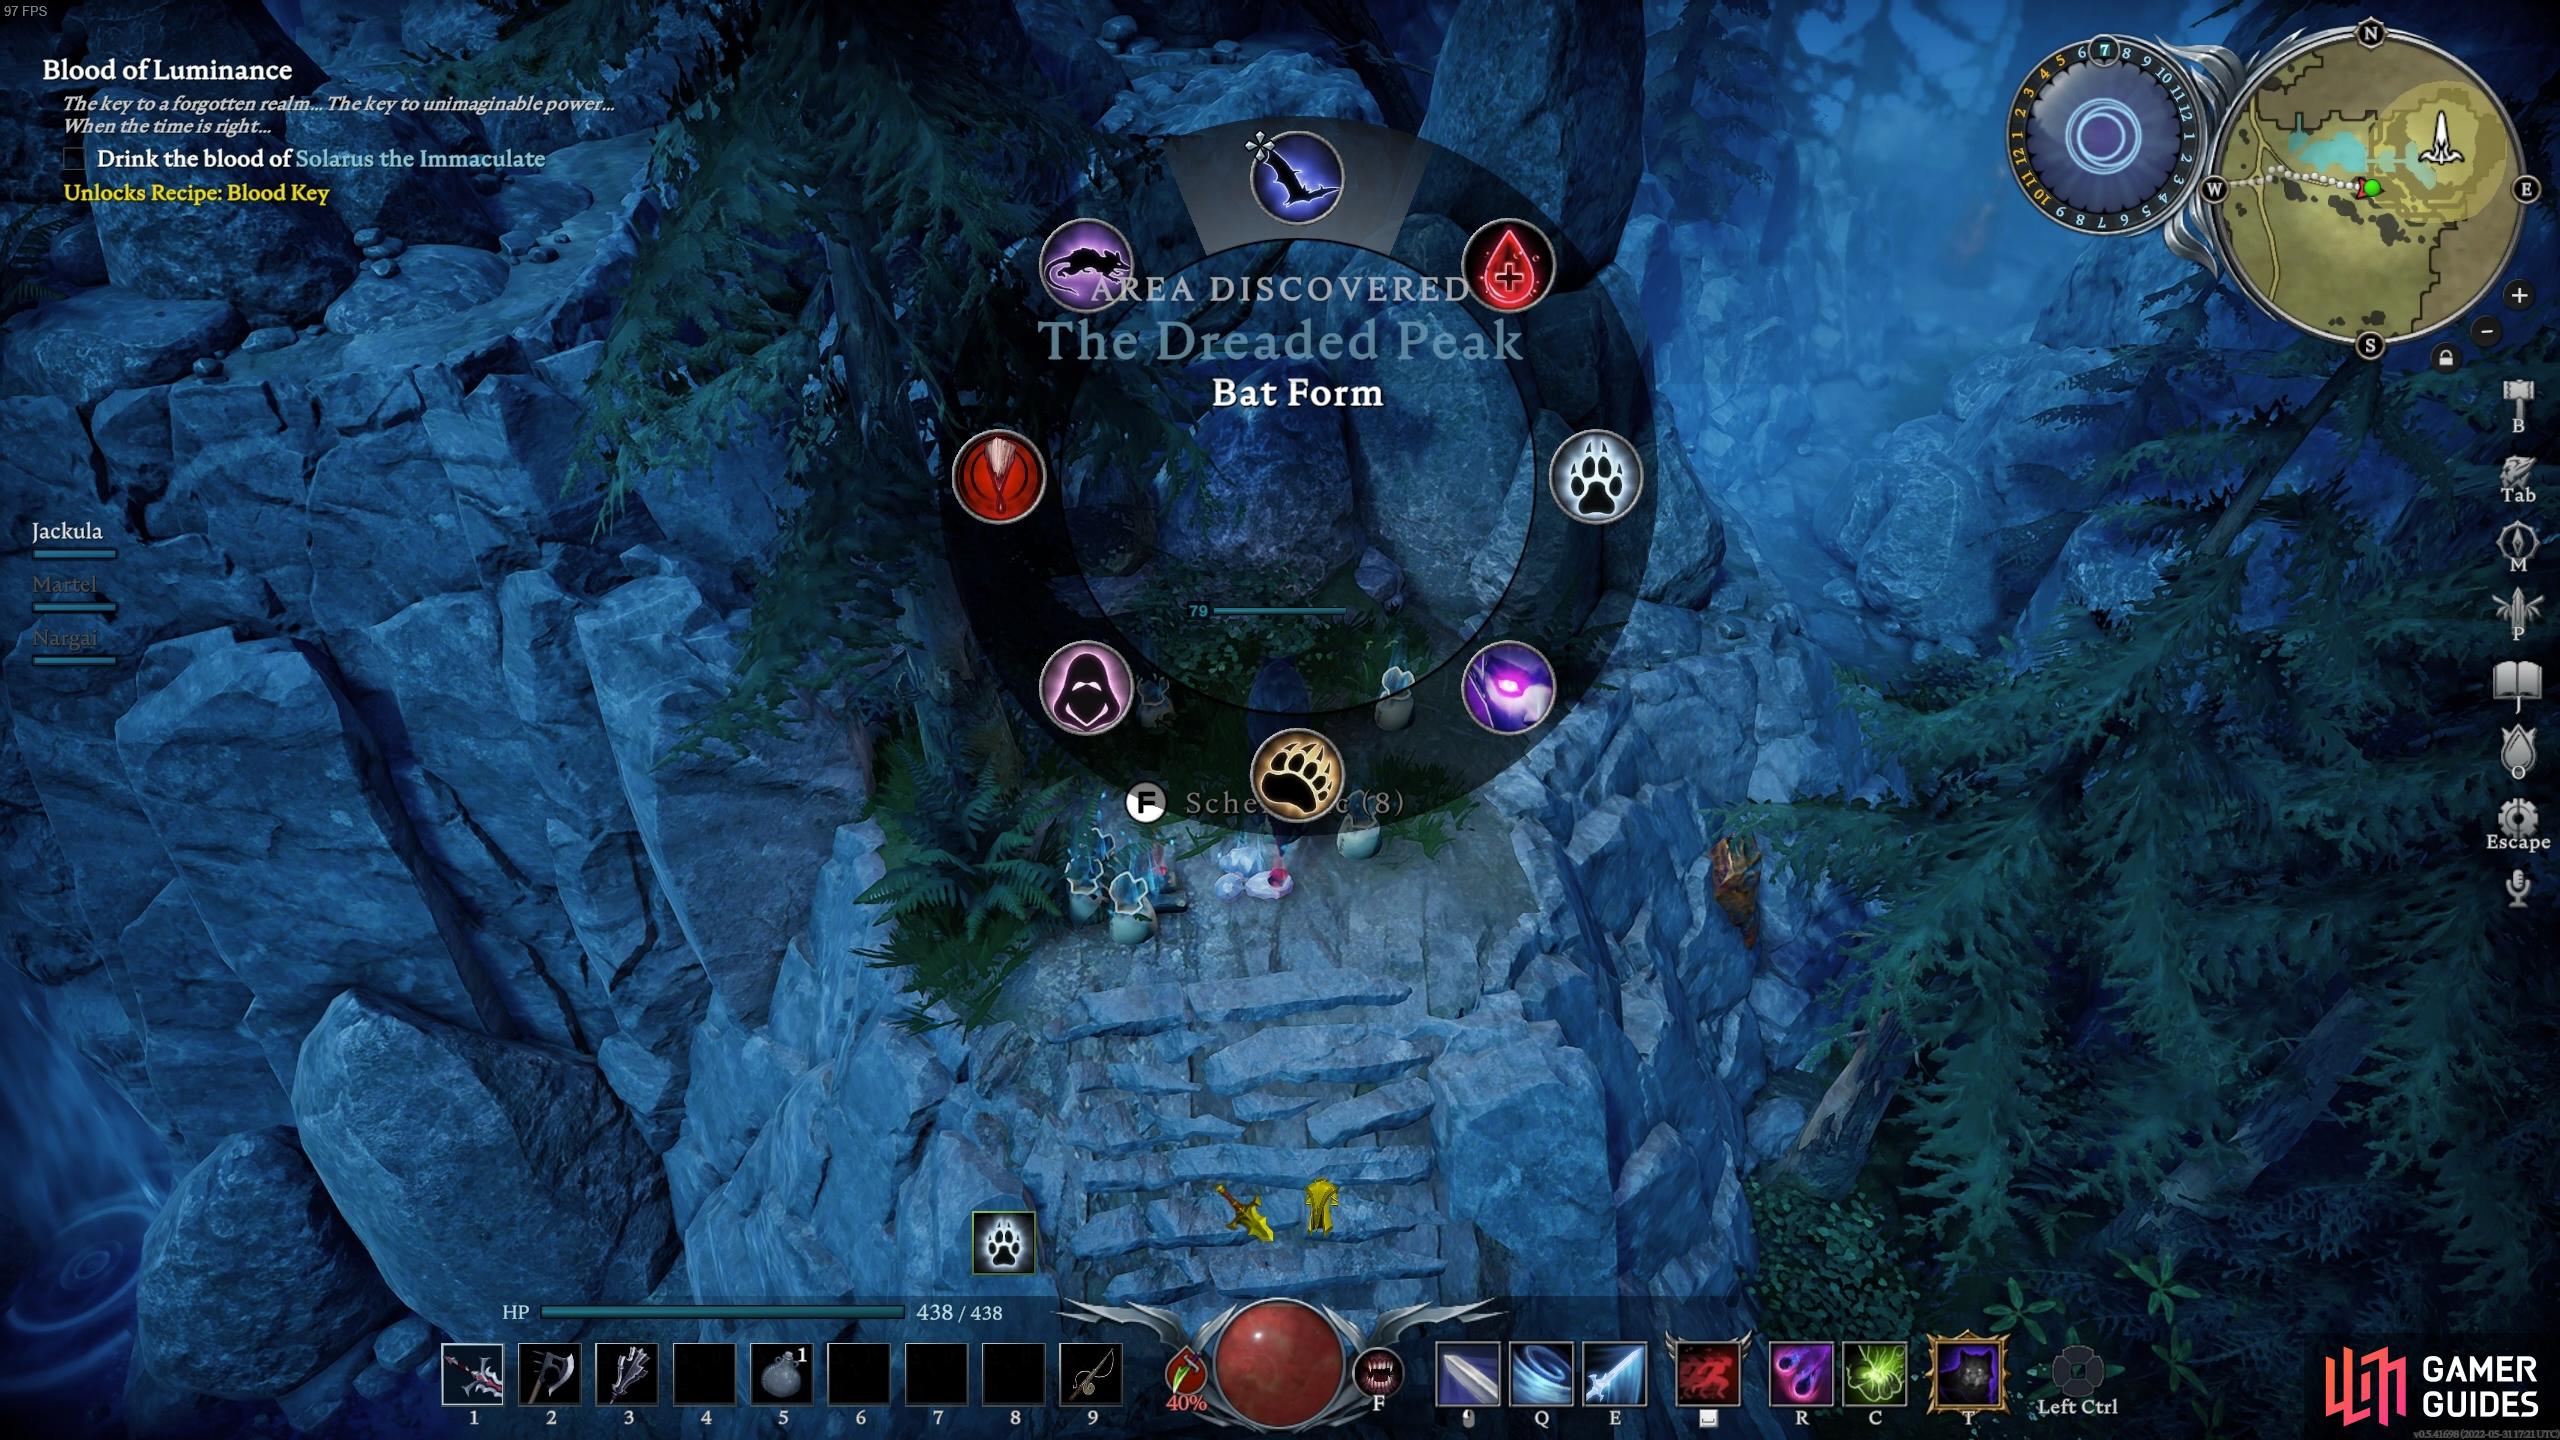
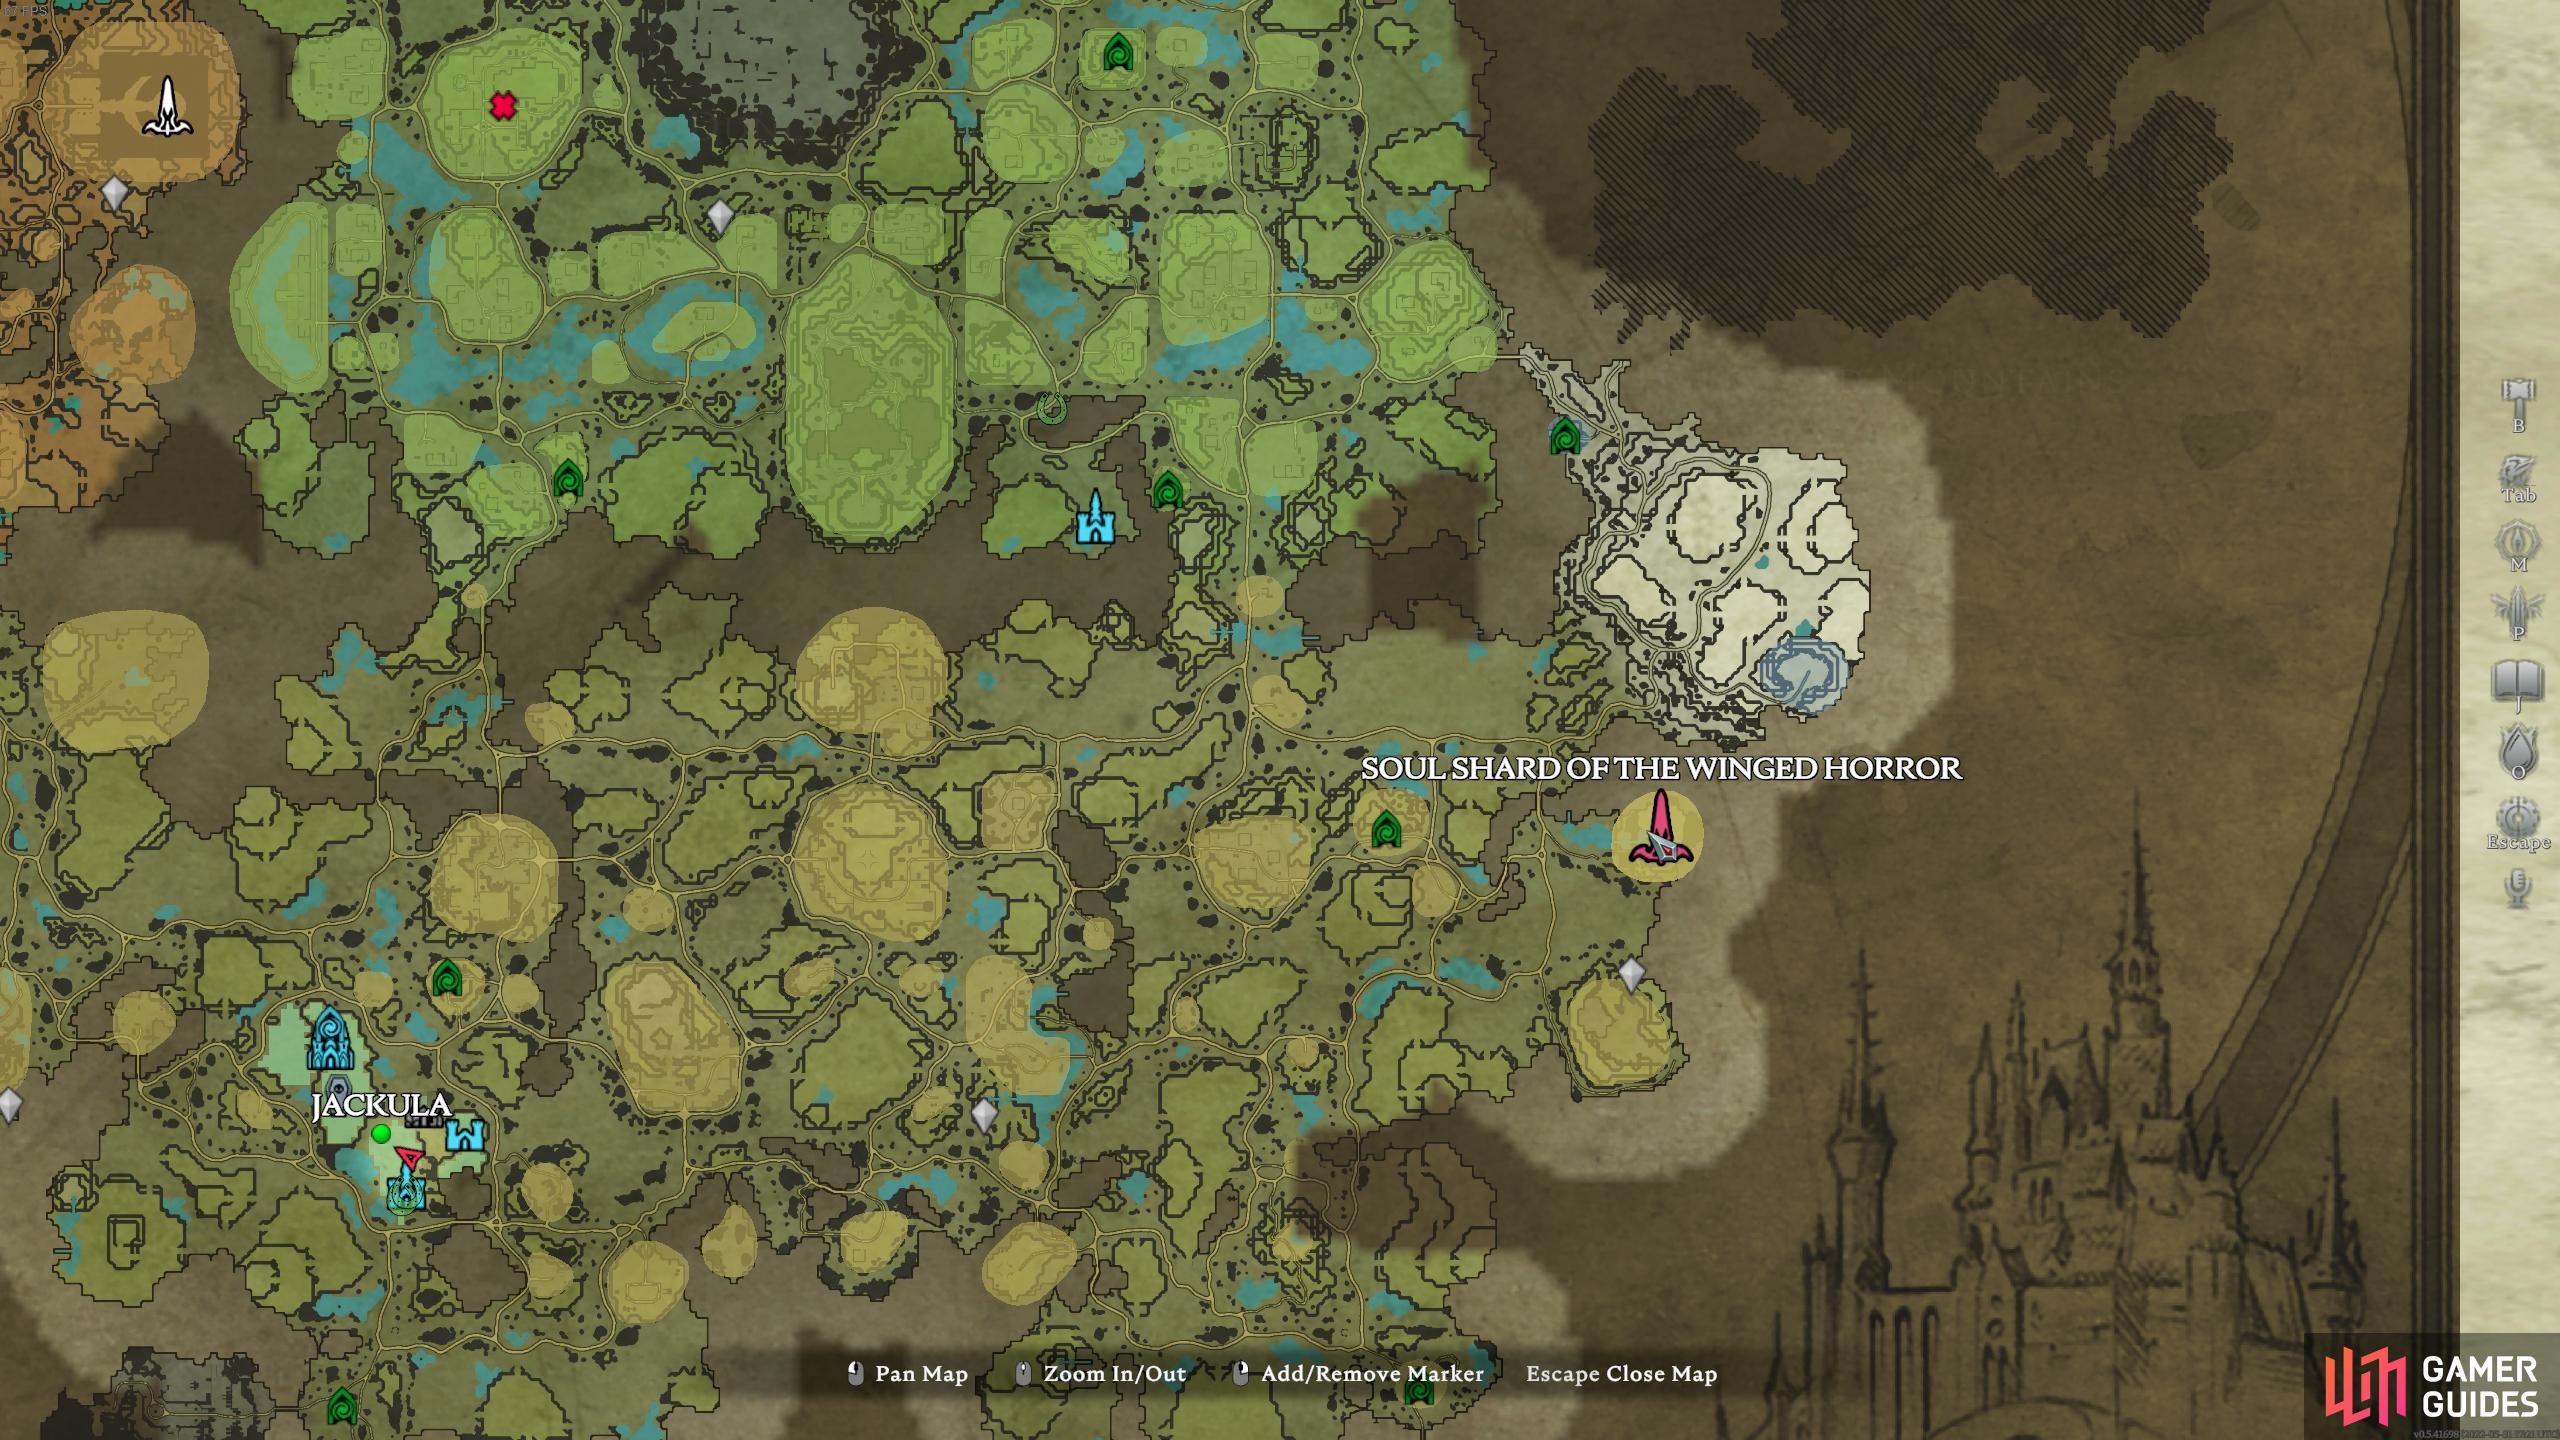
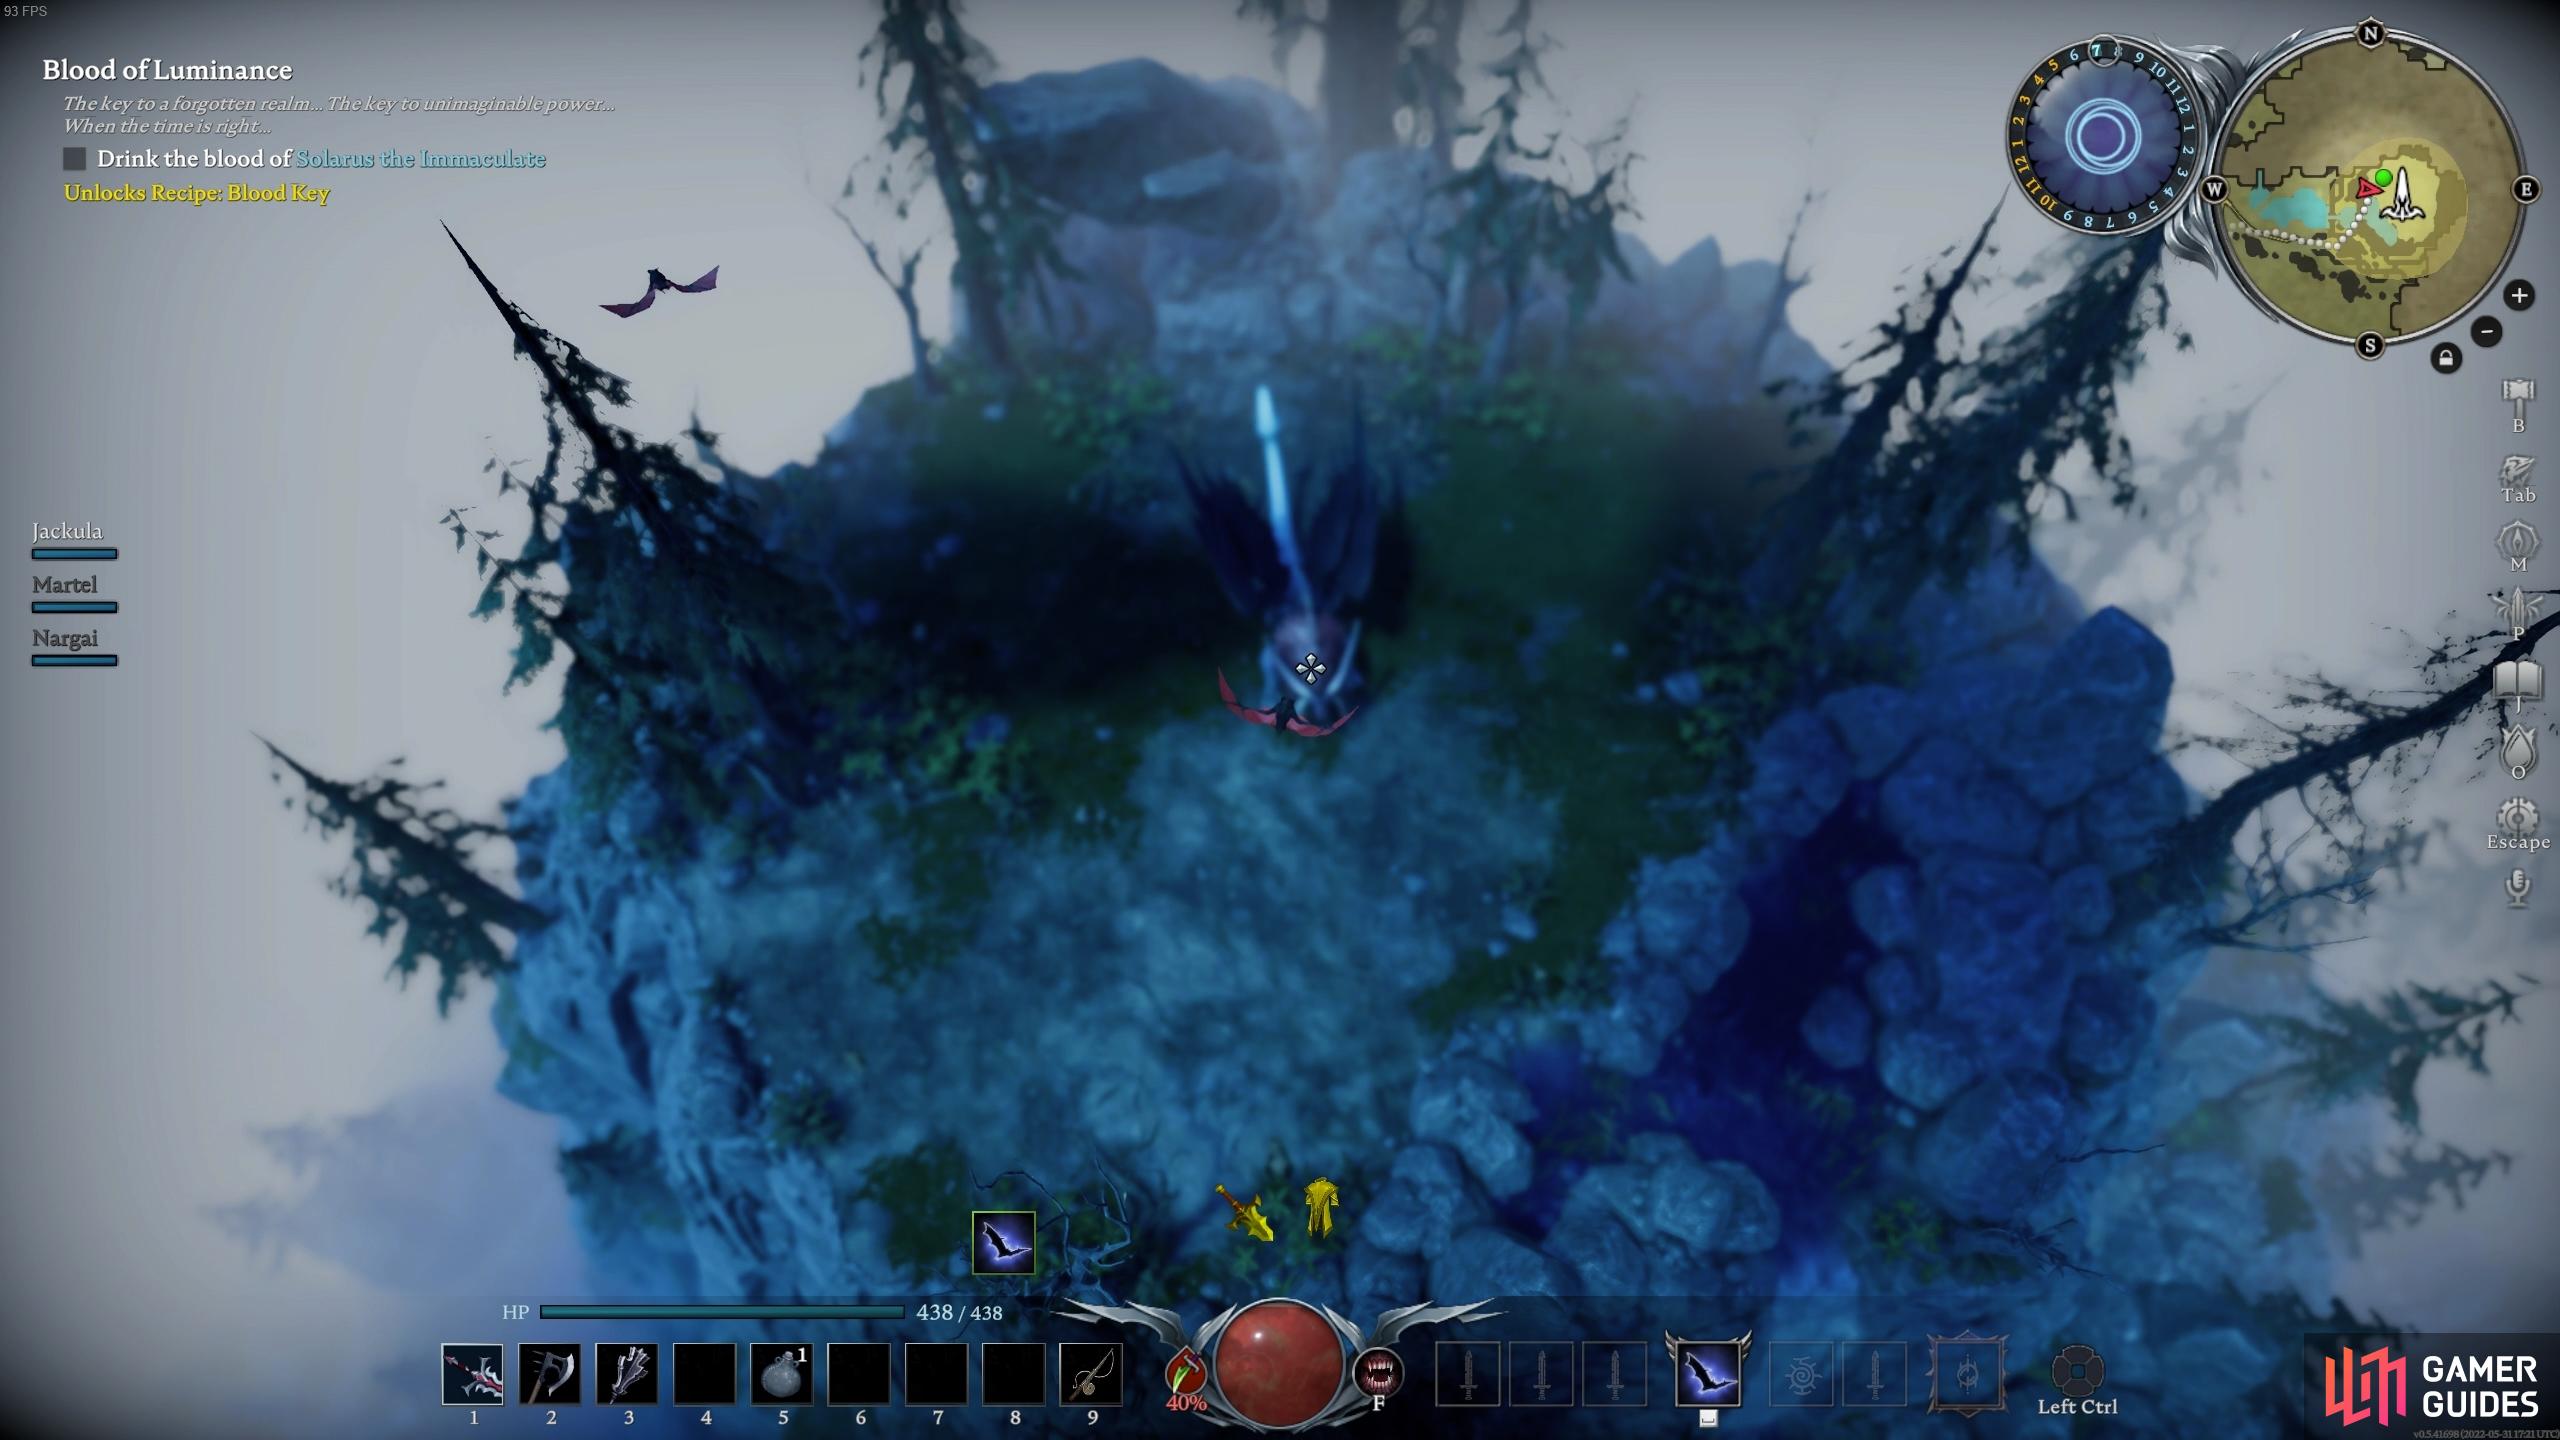
You’ll find The Winged Horror at The Dreaded Peak, which is located in the far east of Farbane Woods, just south of the Hallowed Mountains. To reach the platform where the boss dwells, you’ll need to use Bat Form to fly up to the area. This means you will need to kill ![]() Lord Styx the Night Champion first, who provides Bat Form as a reward. The platform where The Winged Horror waits is exposed to the sunlight, so you should aim to fight this boss at night. There are places where you can take cover from the sun on the platform, but given the chaotic nature of the fight, it’s best to avoid a day fight at all costs.
Lord Styx the Night Champion first, who provides Bat Form as a reward. The platform where The Winged Horror waits is exposed to the sunlight, so you should aim to fight this boss at night. There are places where you can take cover from the sun on the platform, but given the chaotic nature of the fight, it’s best to avoid a day fight at all costs.
(1 of 2) You will need to use Bat Form to reach the platform of The Dreaded Peak.
You will need to use Bat Form to reach the platform of The Dreaded Peak. (left), The location of The Dreaded Peak, in eastern Farbane Woods, just beneath Hallowed Mountains. (right)
Talzur The Winged Horror Attacks
Chaotic Charge
This charge attack is similar to the charge from ![]() Gorecrusher the Behemoth, but the boss is protected from frontal damage while charging and it ends in a chaos damage explosion. If you fail to avoid the charge, Talzur will flick you over its head. Either side of the boss there will be a chaos orb. If the orb hits you, you will still take damage, so make sure you avoid the boss altogether. Note that you can stand in between the chaos orb and the bosses hitbox to avoid the attack. However, the easiest way to avoid the attack is to dodge through the boss as it approaches you. If you dodge to the side, make sure you don’t get hit by the chaos orbs. You’ll know this attack is happening as the orbs will appear either side of Talzur just before it charges.
Gorecrusher the Behemoth, but the boss is protected from frontal damage while charging and it ends in a chaos damage explosion. If you fail to avoid the charge, Talzur will flick you over its head. Either side of the boss there will be a chaos orb. If the orb hits you, you will still take damage, so make sure you avoid the boss altogether. Note that you can stand in between the chaos orb and the bosses hitbox to avoid the attack. However, the easiest way to avoid the attack is to dodge through the boss as it approaches you. If you dodge to the side, make sure you don’t get hit by the chaos orbs. You’ll know this attack is happening as the orbs will appear either side of Talzur just before it charges.
Meteor Shower
Talzur will hover on one spot as it rains down meteors of chaos damage. Smaller chaos orbs will fly off in random directions across the arena. The easiest way to avoid the attack is to get away from the boss, and if a smaller chaos orb comes your way, move or dodge away from it. These orbs will leave chaos puddles across the floor that persist for a short while.
Meteor Storm
Talzur will soar into the sky and fly across the arena dropping numerous meteors from the sky across the arena. It’ll follow this up with a dive. Later on, Talzur will do this multiple times, but the dive will only occur on the last.
Ice Shards
This attack usually consists of the boss firing 5 ice shards from any part of its body, in any direction, often preceded by a spin animation. The attack can also occur with many more shards which are fired in every direction, making it much more difficult to avoid. If the shards hit you, more will fire in different directions from the same set of shards. This will afflict Chill on you which will slow you down. If you get hit by multiple shards, you could be frozen.
Chaos Bolts
This attack consists of the boss firing numerous chaos bolts in an arc in front of it. It will be difficult to avoid these, but it’s possible with some precise movement.
Chaos Wing Bolts
This attack is similar to the one above, with the main difference being that the chaos bolts are fired from under the wings of the boss, as it pushes you back with the force of the wind generated by them. Similar to the charge attack, chaos orbs will appear under Talzur’s wings before the attack begins. Keep your distance and weave between the incoming bolts/orbs.
Ice Storm
Talzur will throw it’s head forward before six large red markers surround it. After a second or two, ice will spring out of the ground, freezing you in the process. The safe zones for this attack are right next to Talzur or outside of the markers. If you choose to stand next to Talzur, it can and will use its Ice Shards attack that can push you into the ice. The safer method is to stand on the outside and wait for the ice to dissipate.
(1 of 6) Chaotic Charge: A simple charge attack that will flick you over its head if it connects.
Talzur The Winged Horror Strategy
Although the platform for this fight can become fairly cramped rather quickly due to the spread of chaos fire, the boss moves slowly enough for you to be able to dodge most attacks successfully. This becomes even easier when you realize that the boss only has five attacks that it will use consistently throughout the fight, rather than there being new attacks introduced at specific phases of the fight.
The result is that you can quickly learn all of the boss attacks, and how to avoid them. The charge attack from this boss is significantly easier to avoid than the one from Gorecrusher the Behemoth. The boss will lower its head and stomp the ground a few times before charging, giving you plenty of time to get out of the way once you recognize the animation. The charge will also only be performed once, and the boss will take a couple of seconds to recover after each charge. You should use this time to inflict high-damage attacks, especially those which require a stationary enemy.
The Ice Shard attack will be difficult to avoid if you’re close to the boss, but it becomes easier the further away you are from it, since you can see exactly where the relatively slow-moving shards are heading. The only trouble is that the boss can cast these shards at any time, sometimes with very little warning in the form of an animation. However, whenever the boss is going to cast numerous ice shards in every direction, it will usually perform a quick spin, so you can look out for this and begin moving backwards once the animation begins.
(1 of 3) The platform can be inspected from above before you decide to land, but it is exposed to the sun during the day.
The Chaos Bolt attacks are more easily evaded than the Ice Shards, since they move significantly slower and the animation which precedes the attack is much more visible. The boss will lower its head and move it from side to side, as you begin to see chaos fire emit from its mouth, before casting the regular Chaos Bolt attack. The winged version occurs when the boss stands on its two hind legs and begins beating its wings. There’s no use trying to get close to the boss at this time, as the power of the wind generated by the wings will force you back, so you might as well back up and try to avoid each bolt as it comes hurtling towards you.
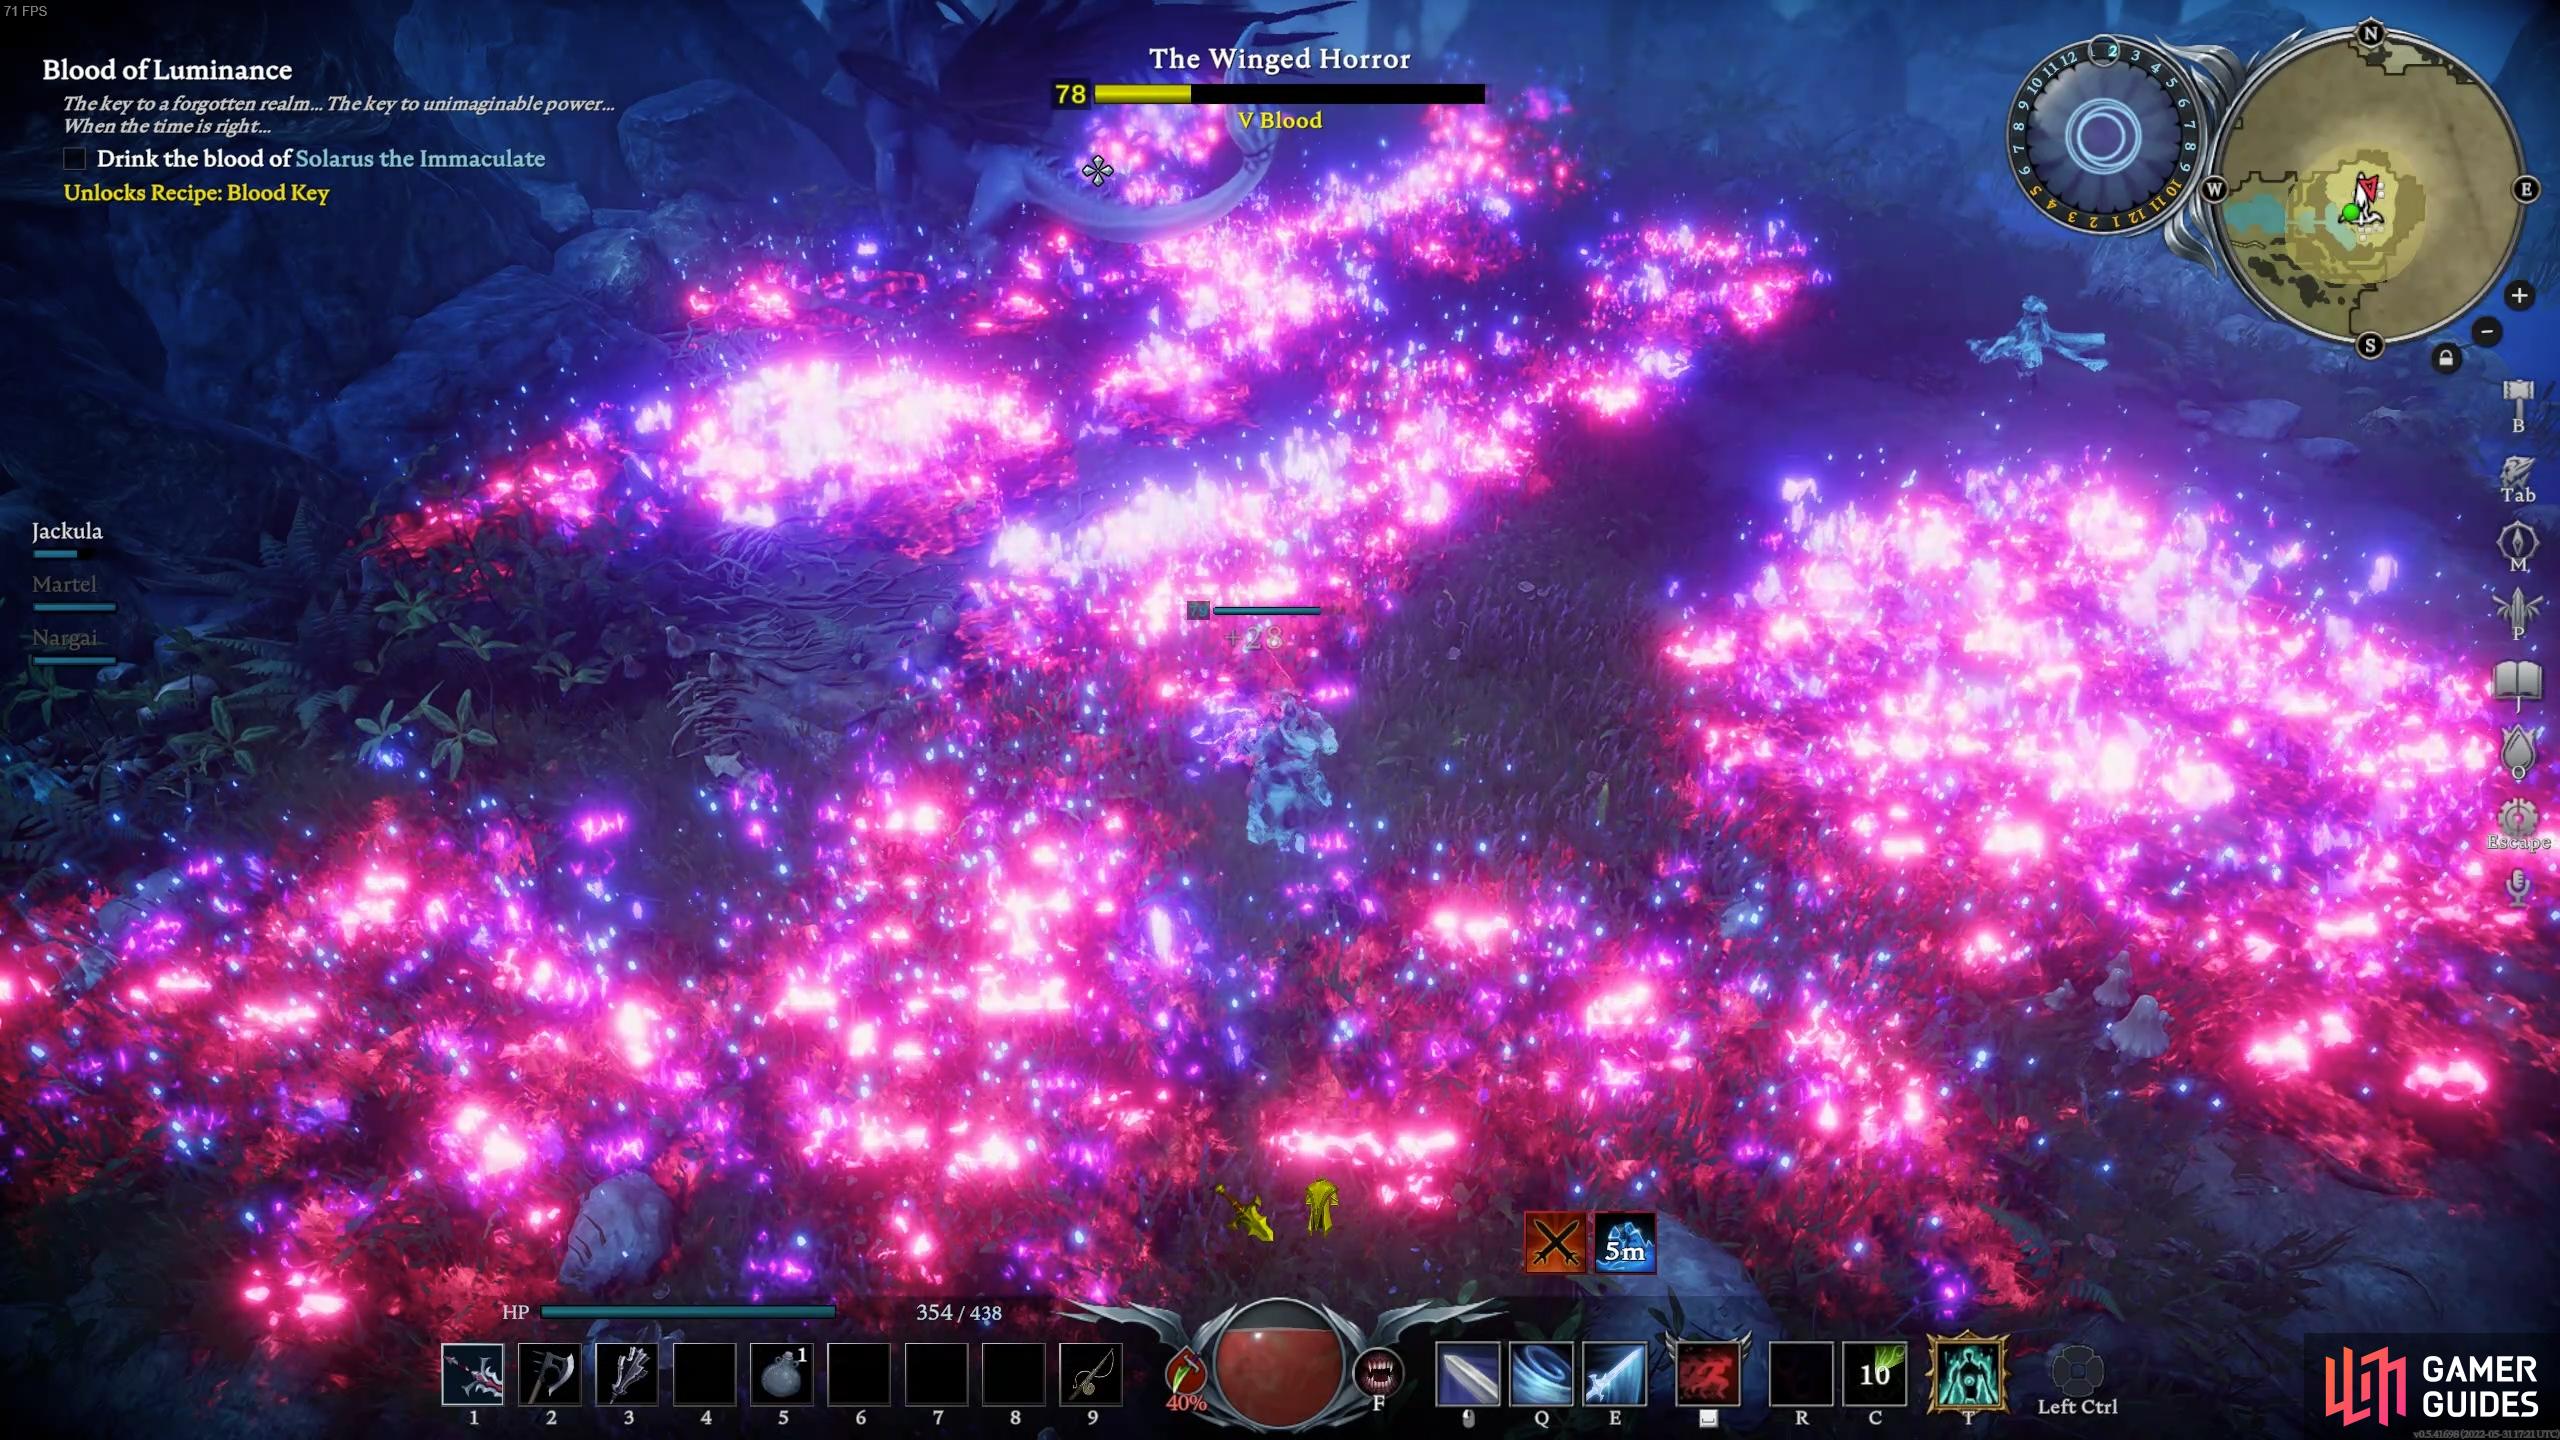
The meteor shower is another easy attack to avoid, especially since the areas where the chaos balls will land are indicated by small red circles. All you need to do is stand in between these circles to ensure that you don’t get hit as the bolts come raining down. You may find that you need to dash out of the way if you become surrounded however, since once the shower is over the surface around you will continue to burn for a significant amount of time. The main thing you want to be doing is ensuring that you have a route out of a chaos fire pit on the ground, giving you enough room to evade the other attacks. All the while, you can be using high-damage magic attacks to whittle down the health of the boss, while including the occasional weapon attack.
(1 of 2) Ice Storm: Six red markers will surround Talzur.
Ice Storm: Six red markers will surround Talzur. (left), Ice Storm: Before unleashing blocks of ices out of them. Stand on the outside to avoid the attack. (right)
Finally, the only other attack you need to worry about is Ice Storm. Talzur will place six large red markers on the floor around it before icicles spring out of them. This will Chill or Freeze you if you get hit by it as well as deal significant damage. Although standing next to Talzur is safe from the icicles, we recommend standing on the outside as Talzur will knock you into the icicles with its Ice Shards attack.
Due to the lack of speed, it’s relatively easy to avoid most of Talzur’s attacks. Remember if you’re in melee range, Ice Shards will come your way, so only attack it a couple of times, and then retreat to avoid the inevitable attack. Stand back when it uses either of the Chaos Bolt spells. Same goes for both of the Meteor spells. When Talzur is on the floor, continually throw ![]() Howling Reaper/
Howling Reaper/![]() X-Strikes at it to deal significant damage. Keep this up and chip away at its health and it’ll soon fall.
X-Strikes at it to deal significant damage. Keep this up and chip away at its health and it’ll soon fall.
Recommended Weapons
| Primary Melee | Secondary Melee | Ranged |
|---|---|---|
This boss is fairly similar to the fight with Gorecrusher the Behemoth, for the most part. The main differences are that it moves much slower on the ground, and it can fly in the air. The latter point is almost mute, since it becomes immune to damage while not on the ground. However, given that the boss is slower, that gives you more time to use the special abilities of a Reaper, Axes, or Pistols, without having to worry as much about them not hitting the mark. The Howling Reaper and X-Strike is just as useful here, since it can sustain melee damage on the boss as you stay back at a safe distance, giving you the time and perspective to anticipate special attacks from the boss.
The Axes are arguably one of the better weapon types in the game. They give you increased attack speed and i-frames with ![]() Frenzy while also dealing significant damage with X-Strike. Pair these up with
Frenzy while also dealing significant damage with X-Strike. Pair these up with ![]() Blood Rage, and/or
Blood Rage, and/or ![]() Power Surge to further increase your movement speed among other effects.
Power Surge to further increase your movement speed among other effects.
Ultimately, as with many other bosses, kiting with Pistols is a highly viable strategy here, since it gives you the most amount of time to view the boss animations, and therefore anticipate a special attack. Another thing that the Pistols have is an attack that gives you i-frames and acts like another dodge while dealing respectable damage. This skill is ![]() Explosive Bullet, and it will perform a small roll before unleashing a bullet that explodes for moderate damage.
Explosive Bullet, and it will perform a small roll before unleashing a bullet that explodes for moderate damage.
Recommended Spells
| Travel | Basic 1 | Basic 2 | Ultimate |
|---|---|---|---|
| Veil of Chaos |
As with any setup, the above are intended for a specific playstyle against this boss, but any may be replaced based on preference. The old reliable ![]() Chaos Volley is virtually irreplaceable for most fights, due to the high amount of damage it inflicts for a basic skill. You’ll want to be casting this at every opportunity to sustain the Damage over Time effect, but also to capitalize on the massive amounts of damage it inflicts with each strike. Chaos Volley also has excellent range, allowing you to cast it from most parts of the platform while still being able to hit the boss. The
Chaos Volley is virtually irreplaceable for most fights, due to the high amount of damage it inflicts for a basic skill. You’ll want to be casting this at every opportunity to sustain the Damage over Time effect, but also to capitalize on the massive amounts of damage it inflicts with each strike. Chaos Volley also has excellent range, allowing you to cast it from most parts of the platform while still being able to hit the boss. The ![]() Chaos Barrage Ultimate is essentially a more powerful version of Chaos Volley, which allows you to inflict even more damage over a longer period of time. The only catch with this skill is that it has a fairly long cast time, but so long as you time it well, while the boss is stationary, you should be able to make every hit.
Chaos Barrage Ultimate is essentially a more powerful version of Chaos Volley, which allows you to inflict even more damage over a longer period of time. The only catch with this skill is that it has a fairly long cast time, but so long as you time it well, while the boss is stationary, you should be able to make every hit.
The Blood Rage spell will bolster your movement speed while providing a small heal and health leech. Power Surge on the other hand will bolster your attack speed along with your movement speed while also adding Ignite to your attacks. Both can be equipped with a jewel that increases the duration of these spells as well as giving them the ability to remove negative effects. Both are great spells and work well together. You could lose a bit of damage by removing Chaos Volley, and adding both of these, which will give you more utility.
The Winged Horror Rewards
You’ll receive the following rewards upon defeating The Winged Horror:
| Name | Description |
|---|---|
| Pedestal of the Winged Horror | A pedestal that may hold a Soul Shard. |
| +31.9 Spell Power, 20% chance on primary hit to trigger Chaos Explosion igniting all nearby enemies. Replaces your Ultimate with Voidquake Vortex. | |
| Dracula Gloves Recipe | Contains recipes for |




 Sign up
No Comments