Entranceway
(1 of 2) Dungeon number 3 is a disused mining facility.
Dungeon number 3 is a disused mining facility. (left), After creating a safe platform, pull the left switch to open the door ahead. (right)
Once you enter, use the nearby Bird Statue. Toss some Bombs into the bowls of the statues along the western and eastern walls on the room to find a few Rupees within.
You’ll also find a few Arachas on the floor - they are those enemies that are easy one-hit kills, but can damage you if left alone.
Map
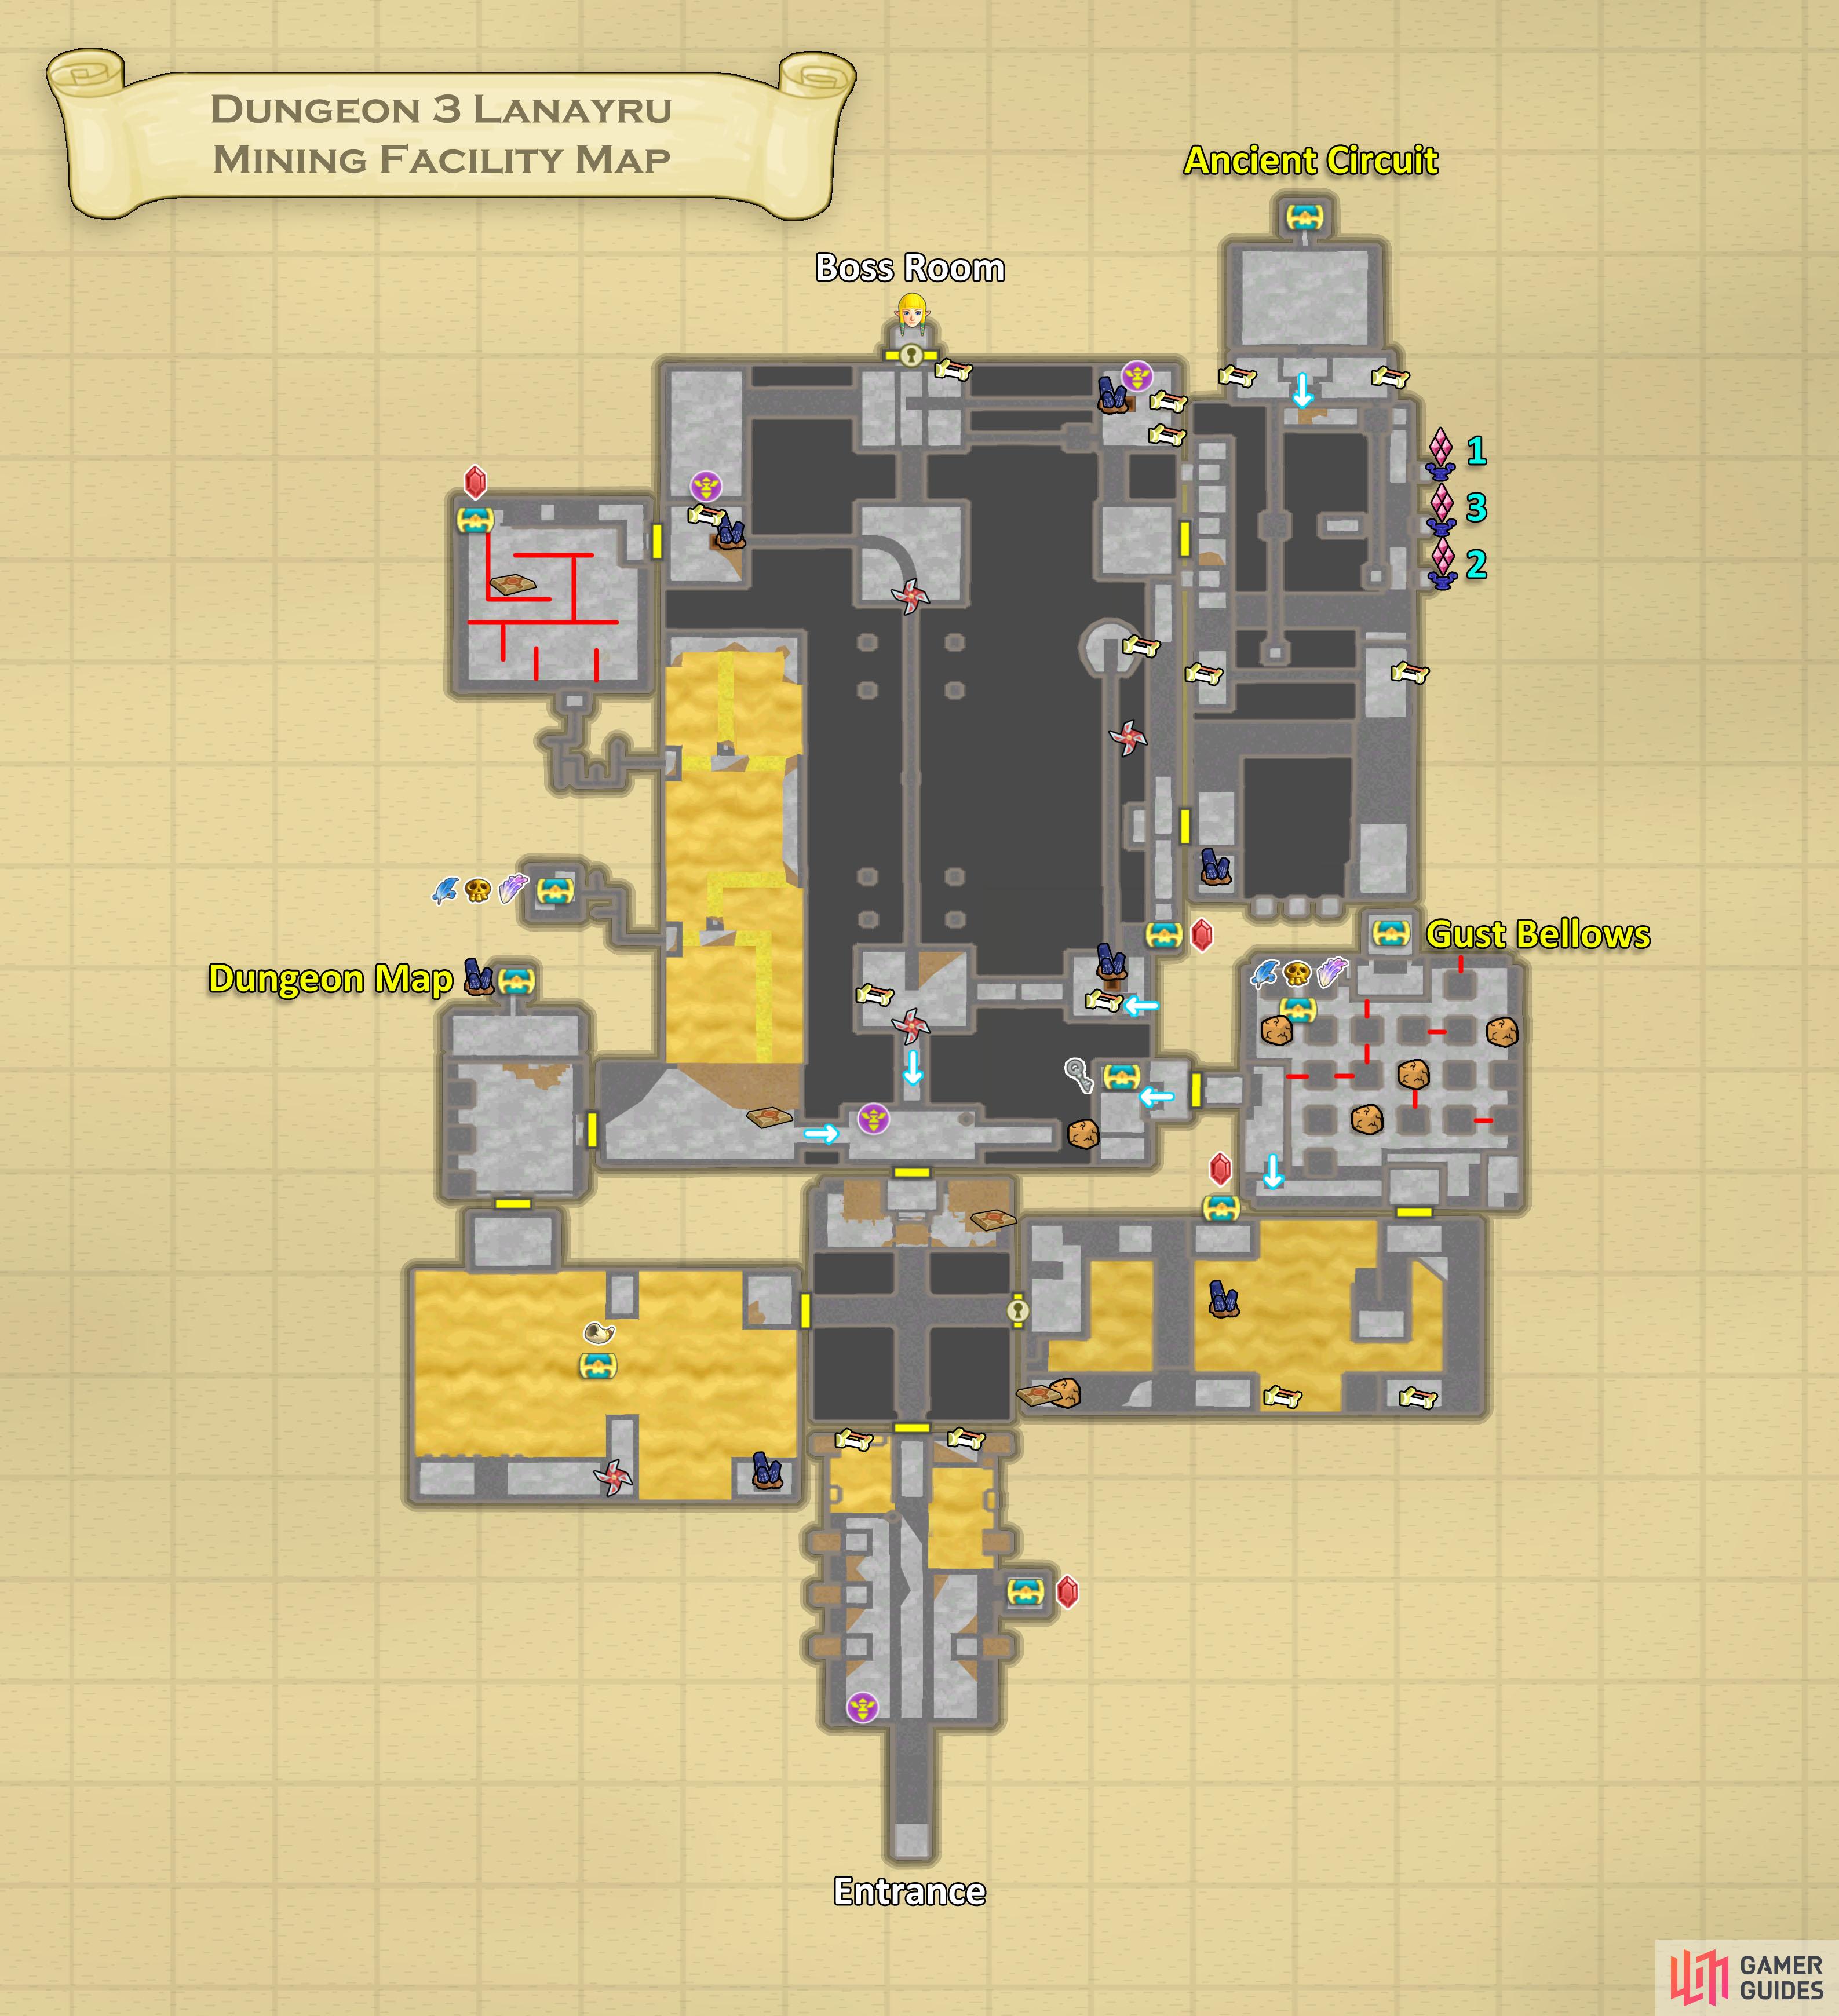
Map of the Lanayru Mining Facility.
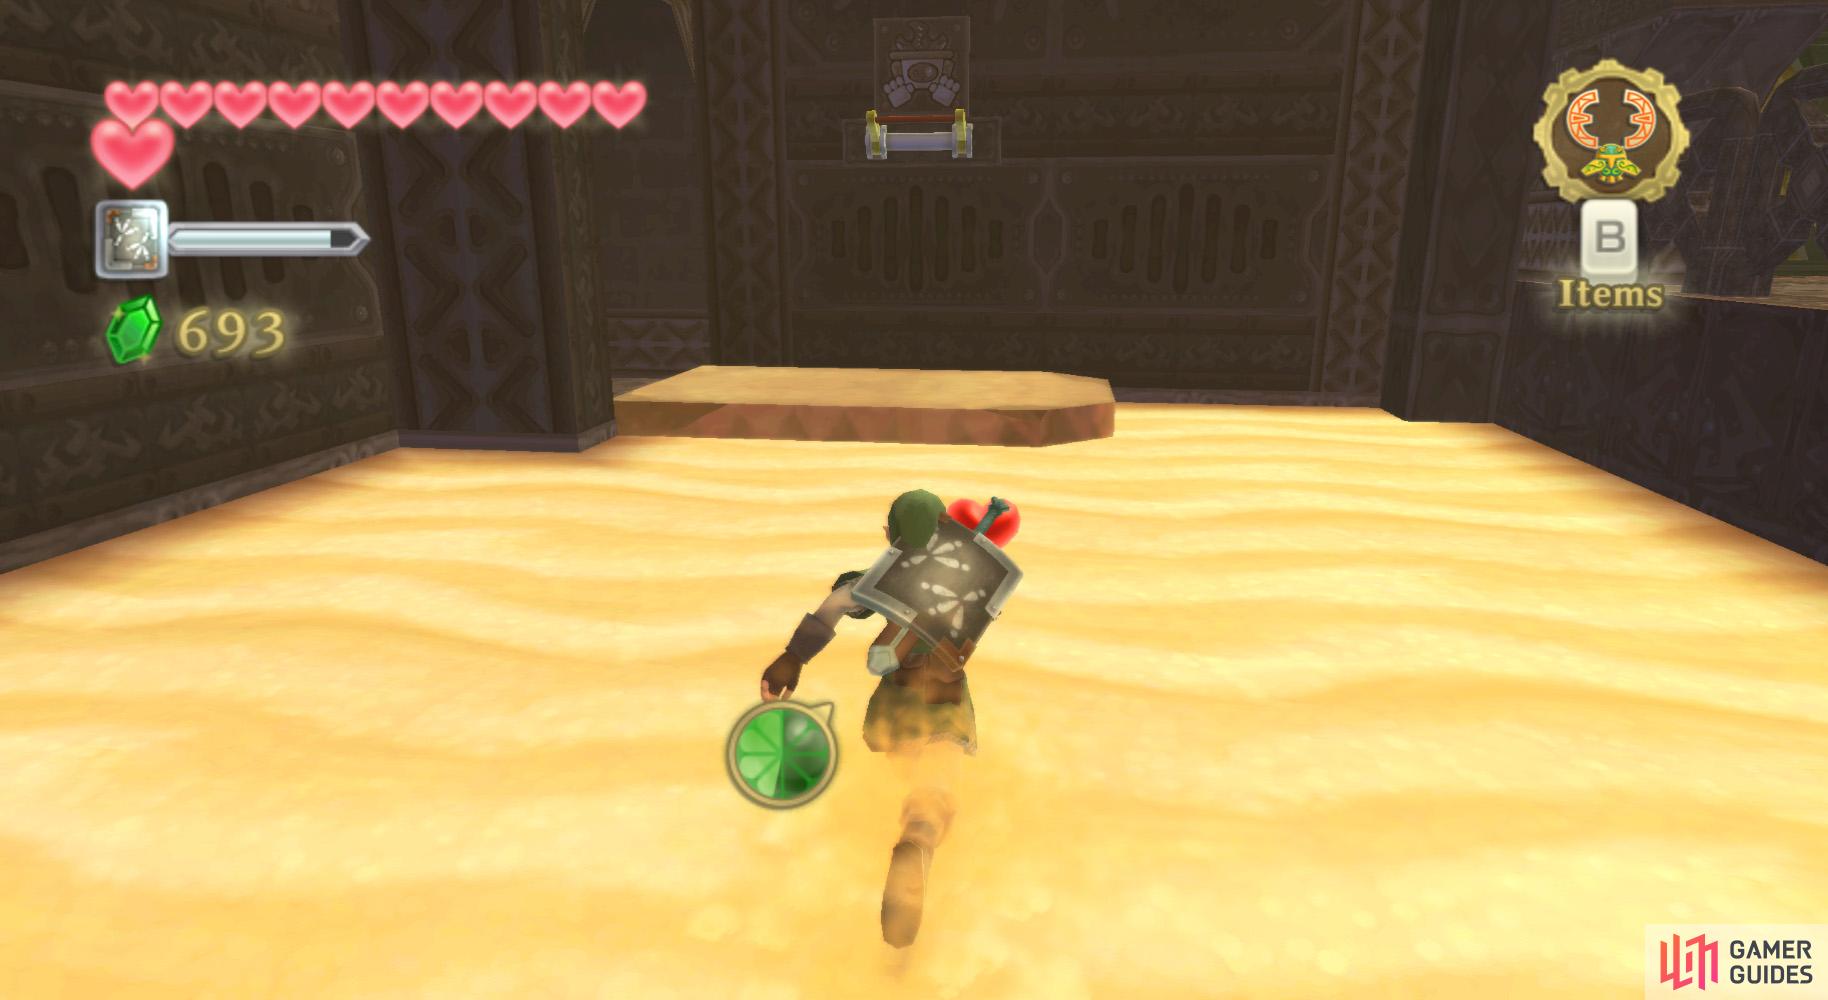
Go to the northern quicksand pits and drop a Bomb in each to kill the Electro Spumes. Then drop a Bomb via the Hook Beetle into the bowl-holding statue in the northwestern corner. Dash across to the platform on the other side of the pit.
Jump up the wall to grab a switch and open up the door. Go back across the pit afterwards. You can do the same with the northeastern pit to find a Red Rupee within a chest, then go north to the next room.
South Room
(1 of 2) These Staldra can be a test of patience.
These Staldra can be a test of patience. (left), Blow up these crates, to reduce the height difference. (right)
In this room, go forward to the intersection. On both sides, you’ll find some Staldras – remember, kill one head, then hit all three heads after they line up for the easy kills.
Afterwards, head to the northwestern corner of the room for about four Arachas. Push one of the blocks here eastward, against the wall, and dash-jump to the platform above. Go north to the next room.
Massive Room
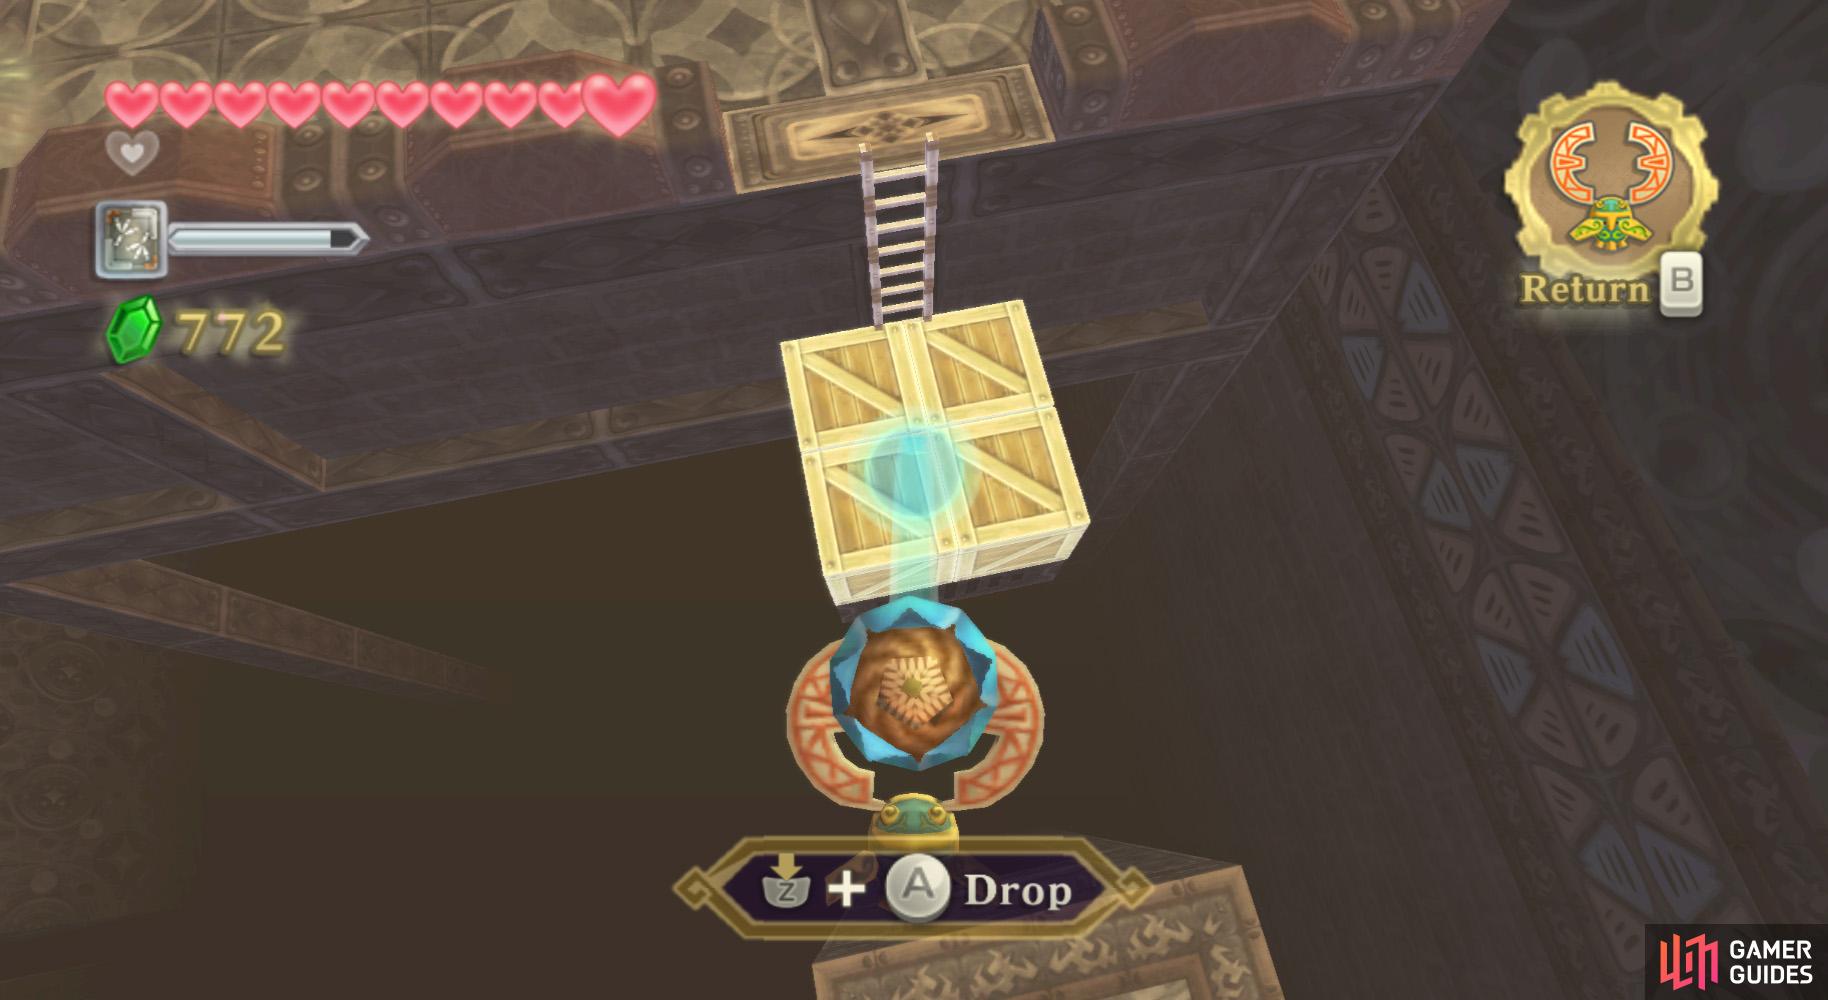
Utilize the nearby Bird Statue and go east. Defeat the Yellow Chuchu along the narrow path, then get your Hook Beetle out. Grab a Bomb Flower nearby and go along the path you’re on, dropping the Bomb Flower on the four crates.
Dash-jump across to the ledge and ascend the ladder. Open up the chest at the top to find a Small Key. Go back down the ladder and across the gap, then leave to the previous room to the south. There, go through the eastern door.
South-East Room
(1 of 2) If you must fight these, do so from afar.
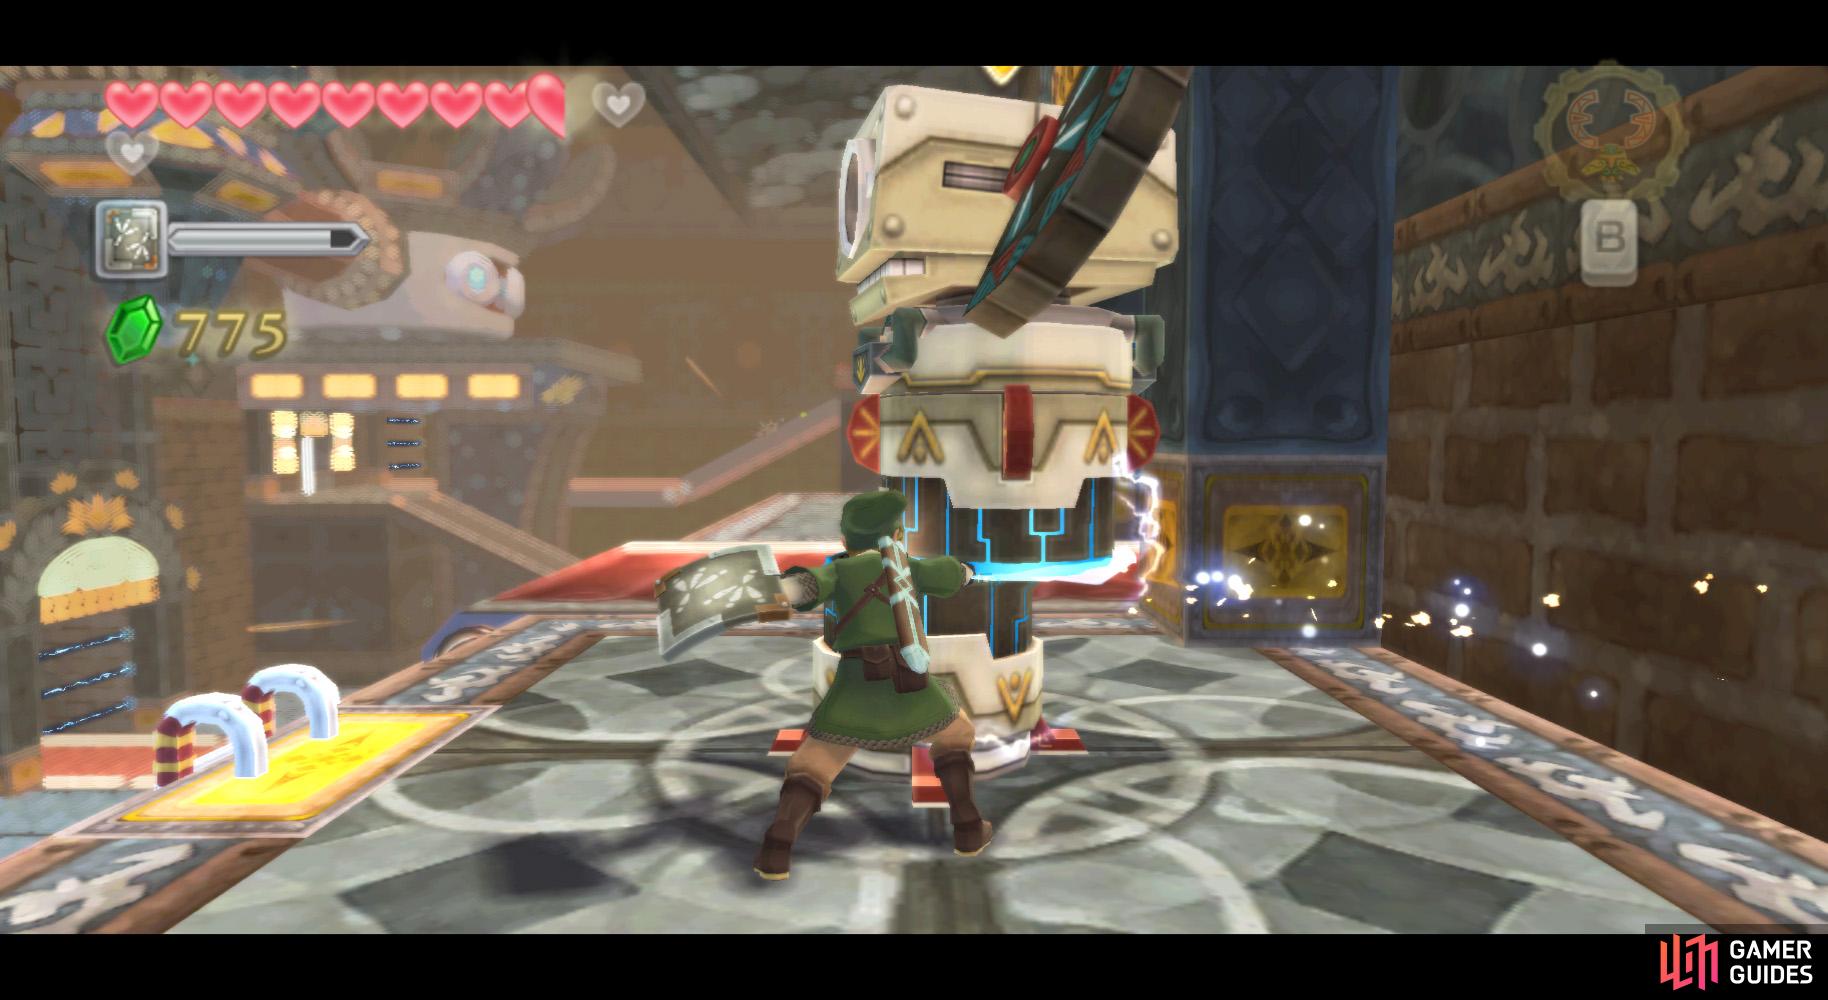
If you must fight these, do so from afar. (left), Use horizontal slashes, then finish with a thrust. (right)
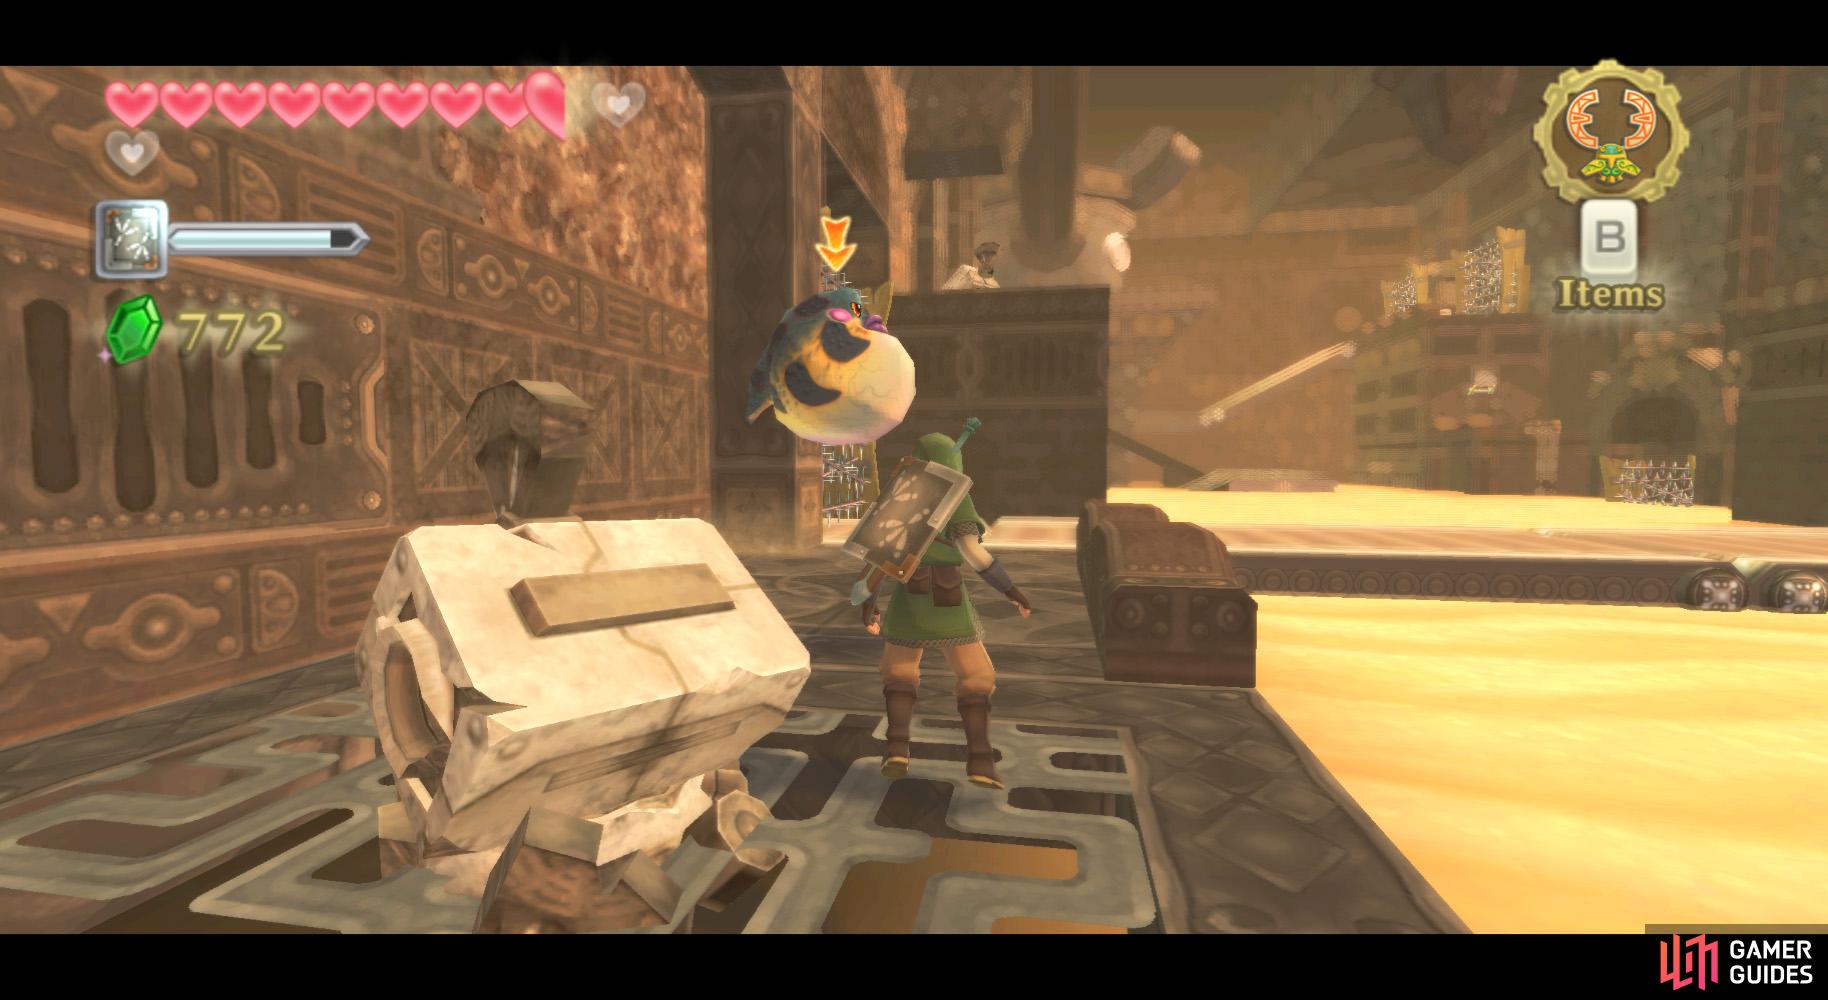
Follow the path and across the inactivate conveyor belt. In here, also note you’ll first encounter the Froak species of enemy – whenever they are hit, they bounce backwards, and will explode during this time if they hit something. Quite the blowfish, eh?
Go to the other end of the conveyor belt and defeat the Arachas on the wall. Climb the vinery to the upper level and go right to a ladder. Using the Hook Beetle, grab a Bomb Flower (there is one above the entrance you used) and go to the top of the ladder you’re at and blow up the crate atop it.
Climb the ladder now and stand on the weight-sensitive switch to lower the bars around a Timeshift Stone. Do not move or you’ll need to get on the switch. Use the Hook Beetle to hit the Timeshift Stone.
Climb down the ladder to encounter your first Beamos. Use a few horizontal slashes to bring its head to the ground and then thrust your sword into its eye – that is how you beat them!
Dash across the nearby conveyor belt to the other side. Defeat the Beamos and dash across this conveyor belt. On the other side, ascend the ladder and grab the switch on the wall. This opens an alcove.
(1 of 2) Run and don’t stop!
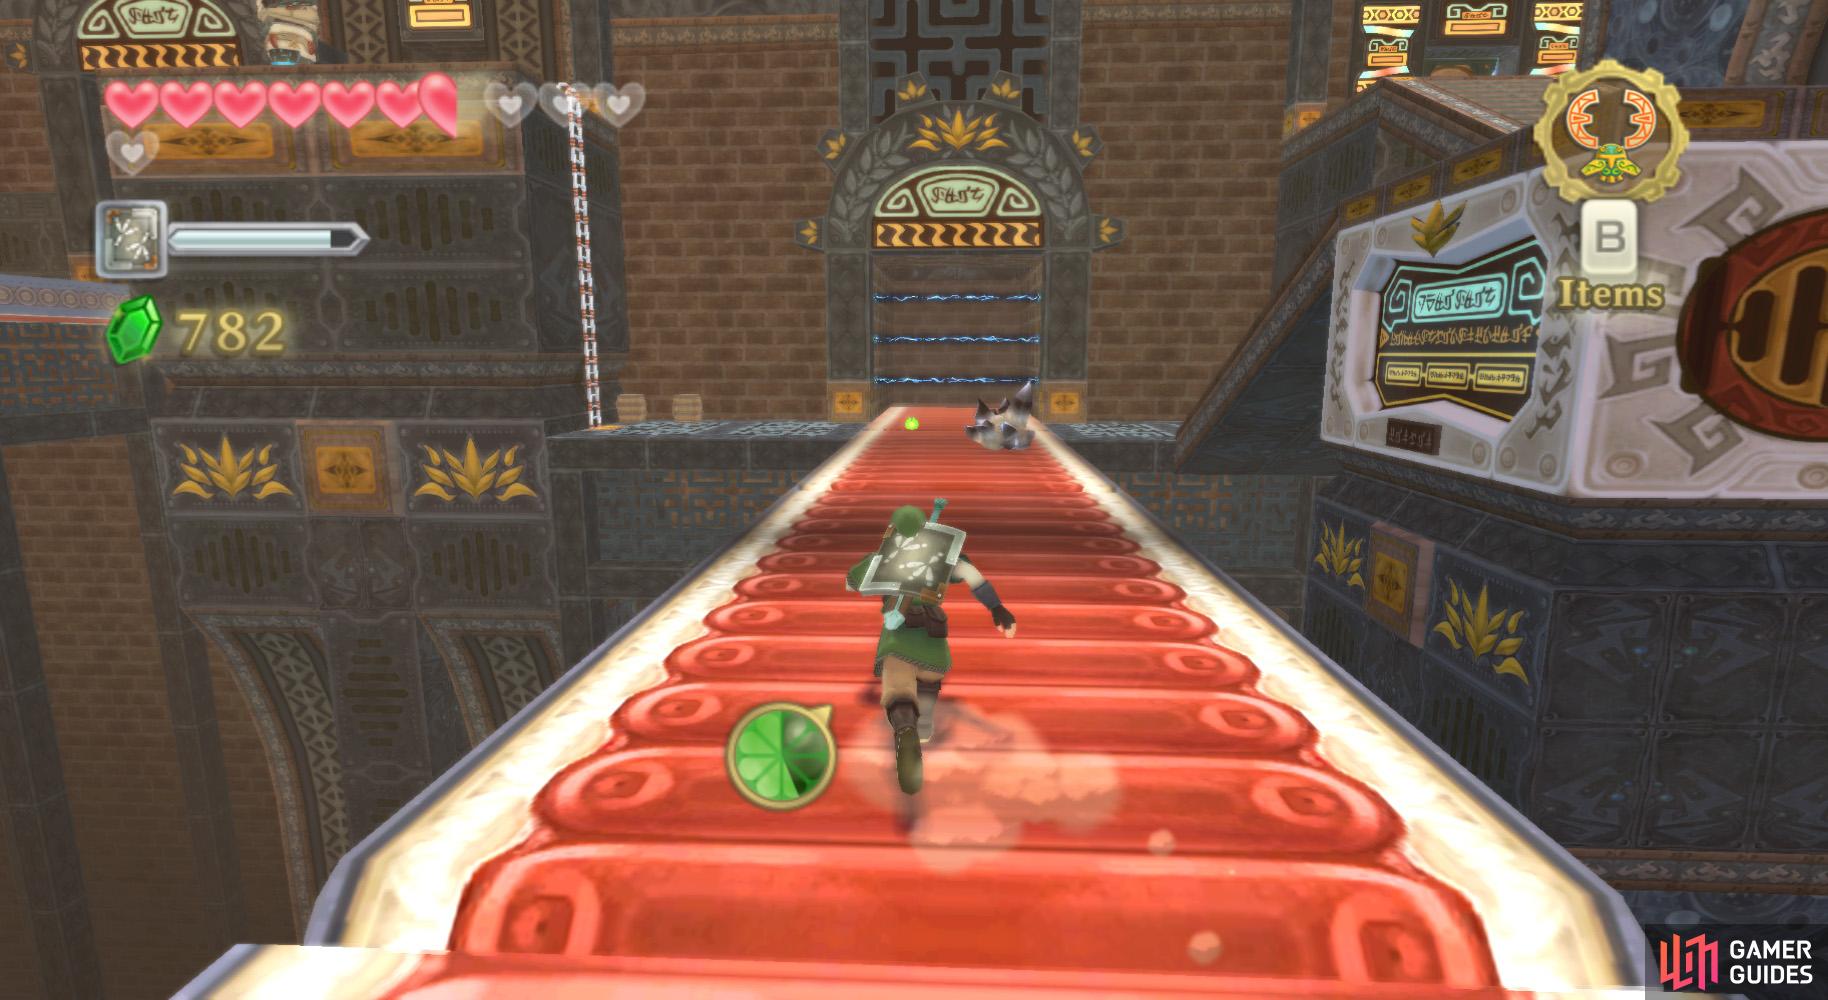
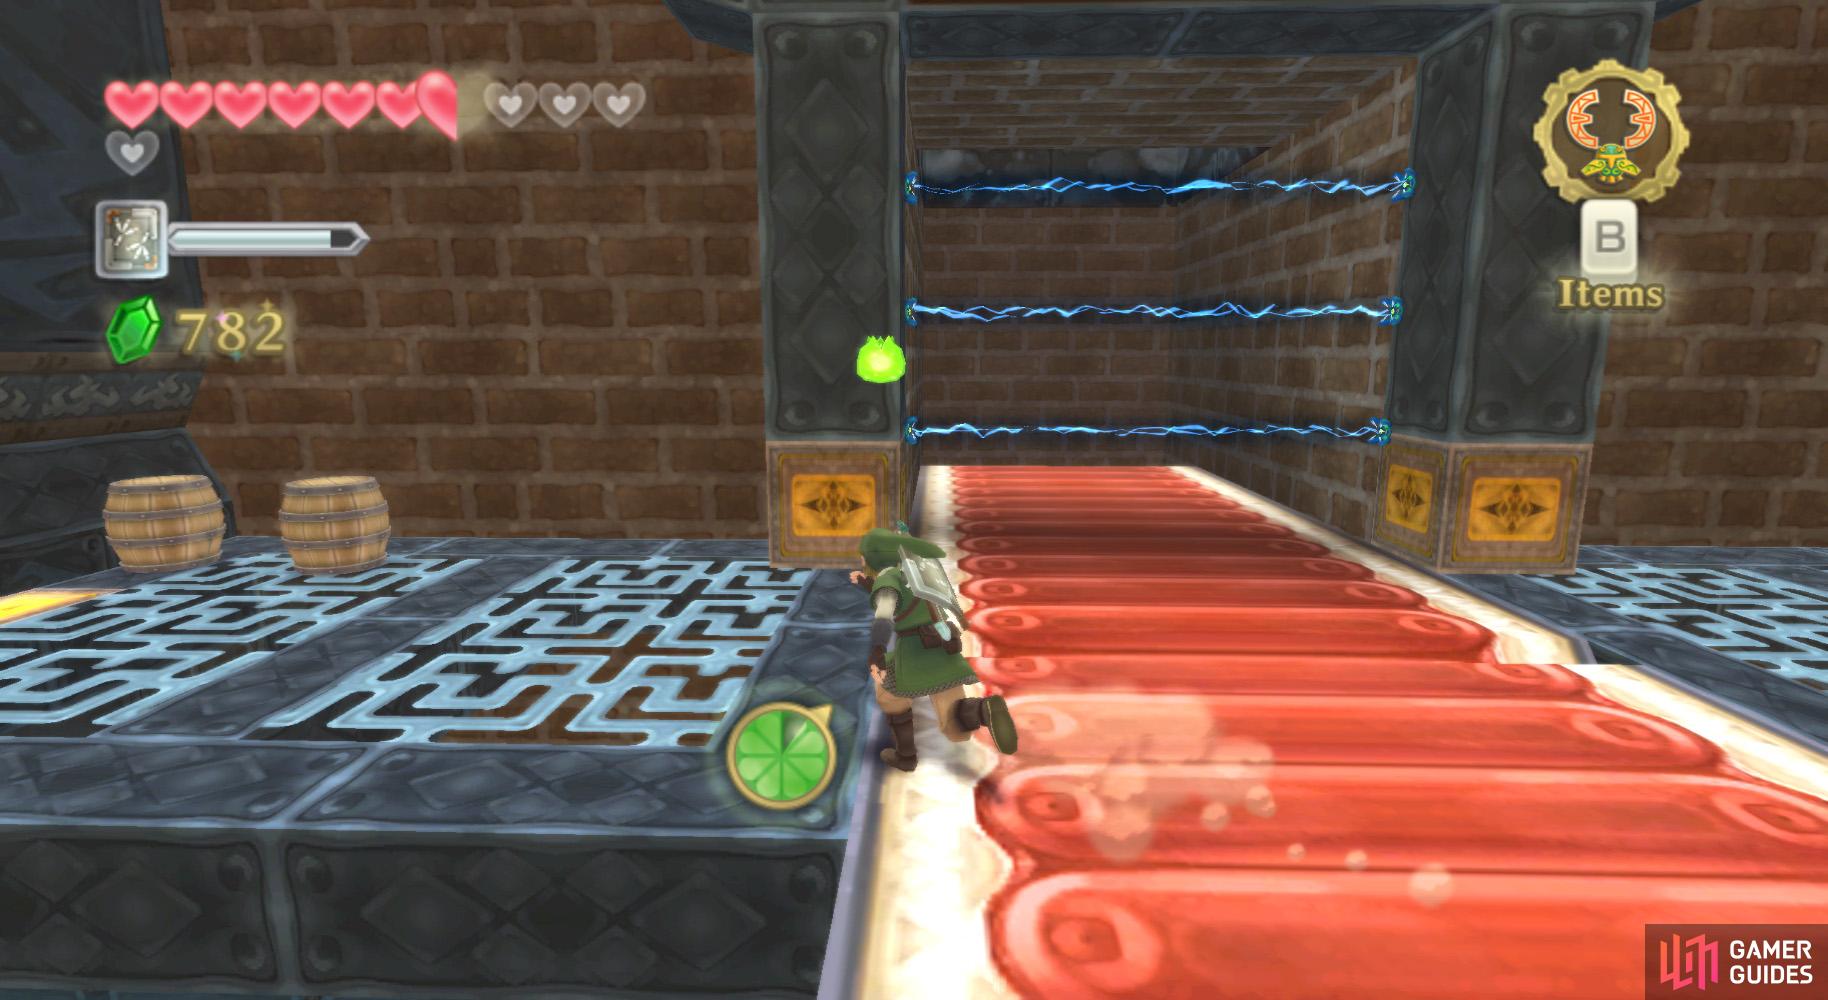
Run and don’t stop! (left), Phew, we made it. (right)
Anyhow, descend the ladder and look at the conveyor belt. Dash across and dodge the rocks while grabbing the Stamina Fruits – the latter is quite required.
On the other side, go left and up that ladder to find another chest with a Red Rupee. Then take the path lead to the right from the conveyor belt.
Go upstairs to find a locked door. Dash up the nearby conveyor belt, as before with the Stamina Fruit and all. At the other end, defeat the Beamos and grab the switch on the wall to open the door from earlier. Go back to the conveyor belt and ride across to the door. Go through it.
East Room
(1 of 2) You need to be a little creative to create a path ahead.
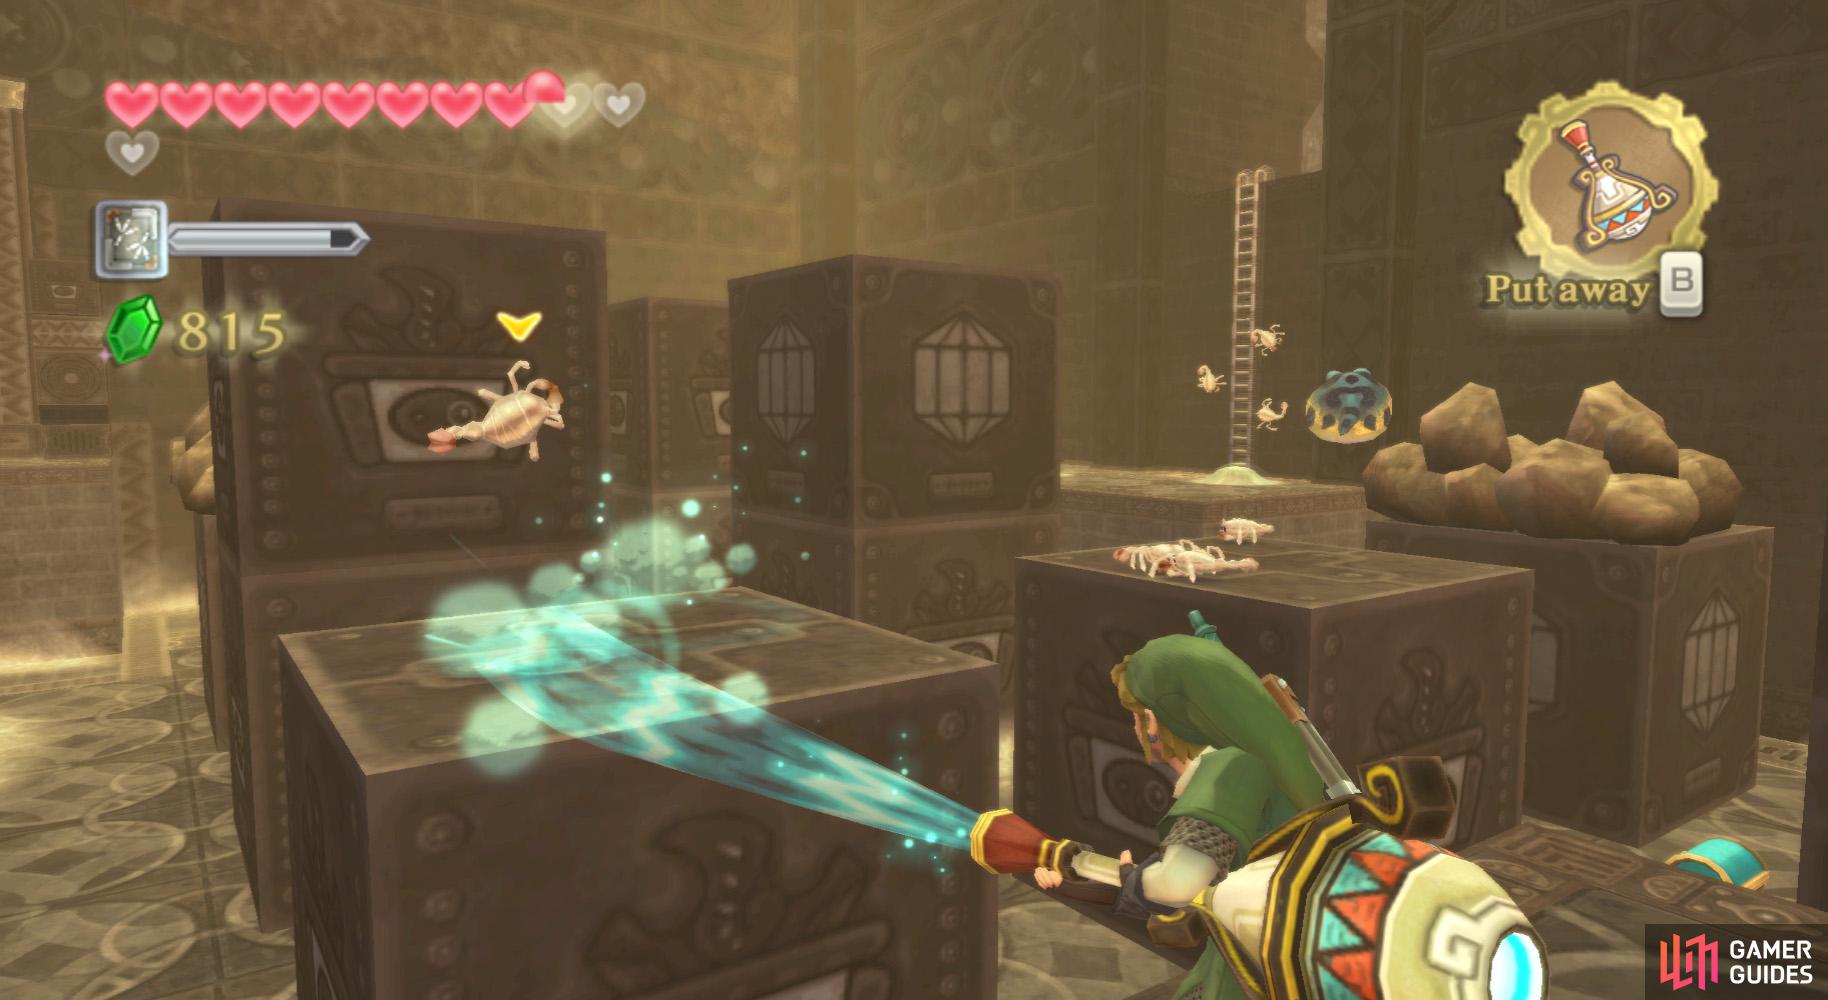
You need to be a little creative to create a path ahead. (left), The Gust Bellows is like a reverse vaccuum cleaner. (right)
In there, look to the right and drop down. Climb the ladder and get onto that platform. You’ll now need to make your way across the room by jumping across the platforms (the ground-level path is blocked by spikes).
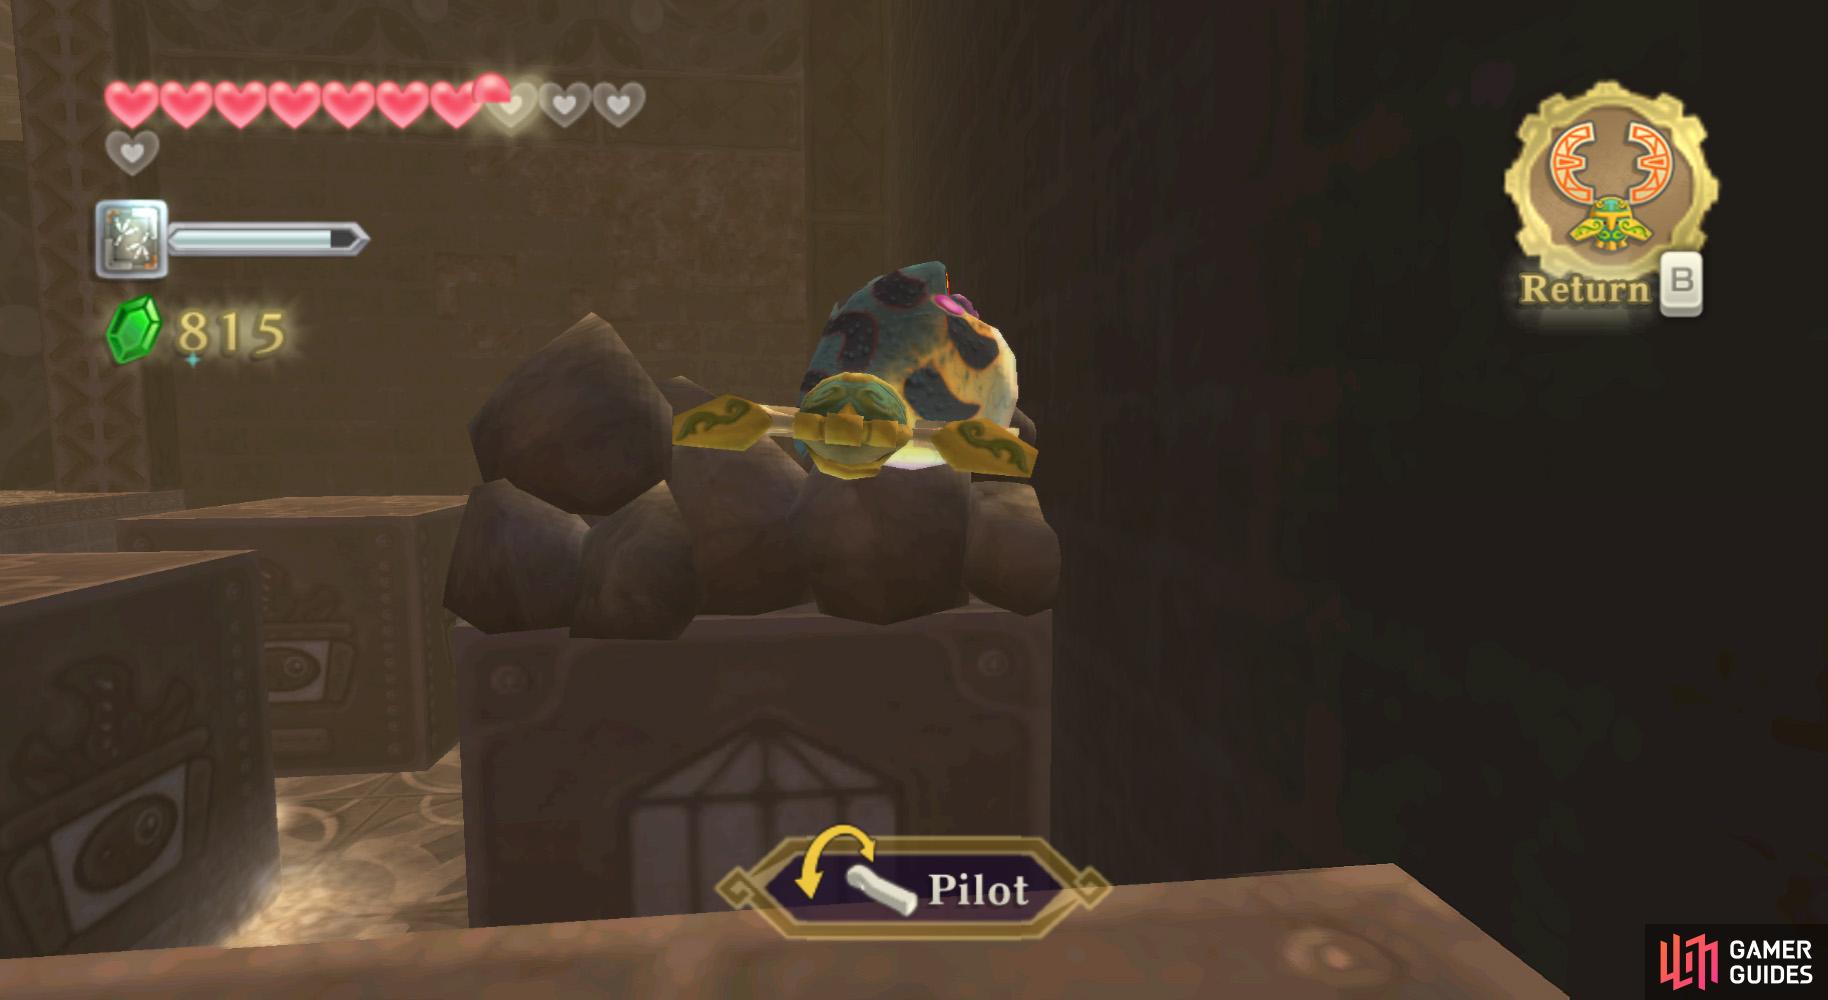
Along the way, you can use Froaks to clear the rock piles on some of the platforms, or Bombs (I prefer the former, so as to conserve Bombs).
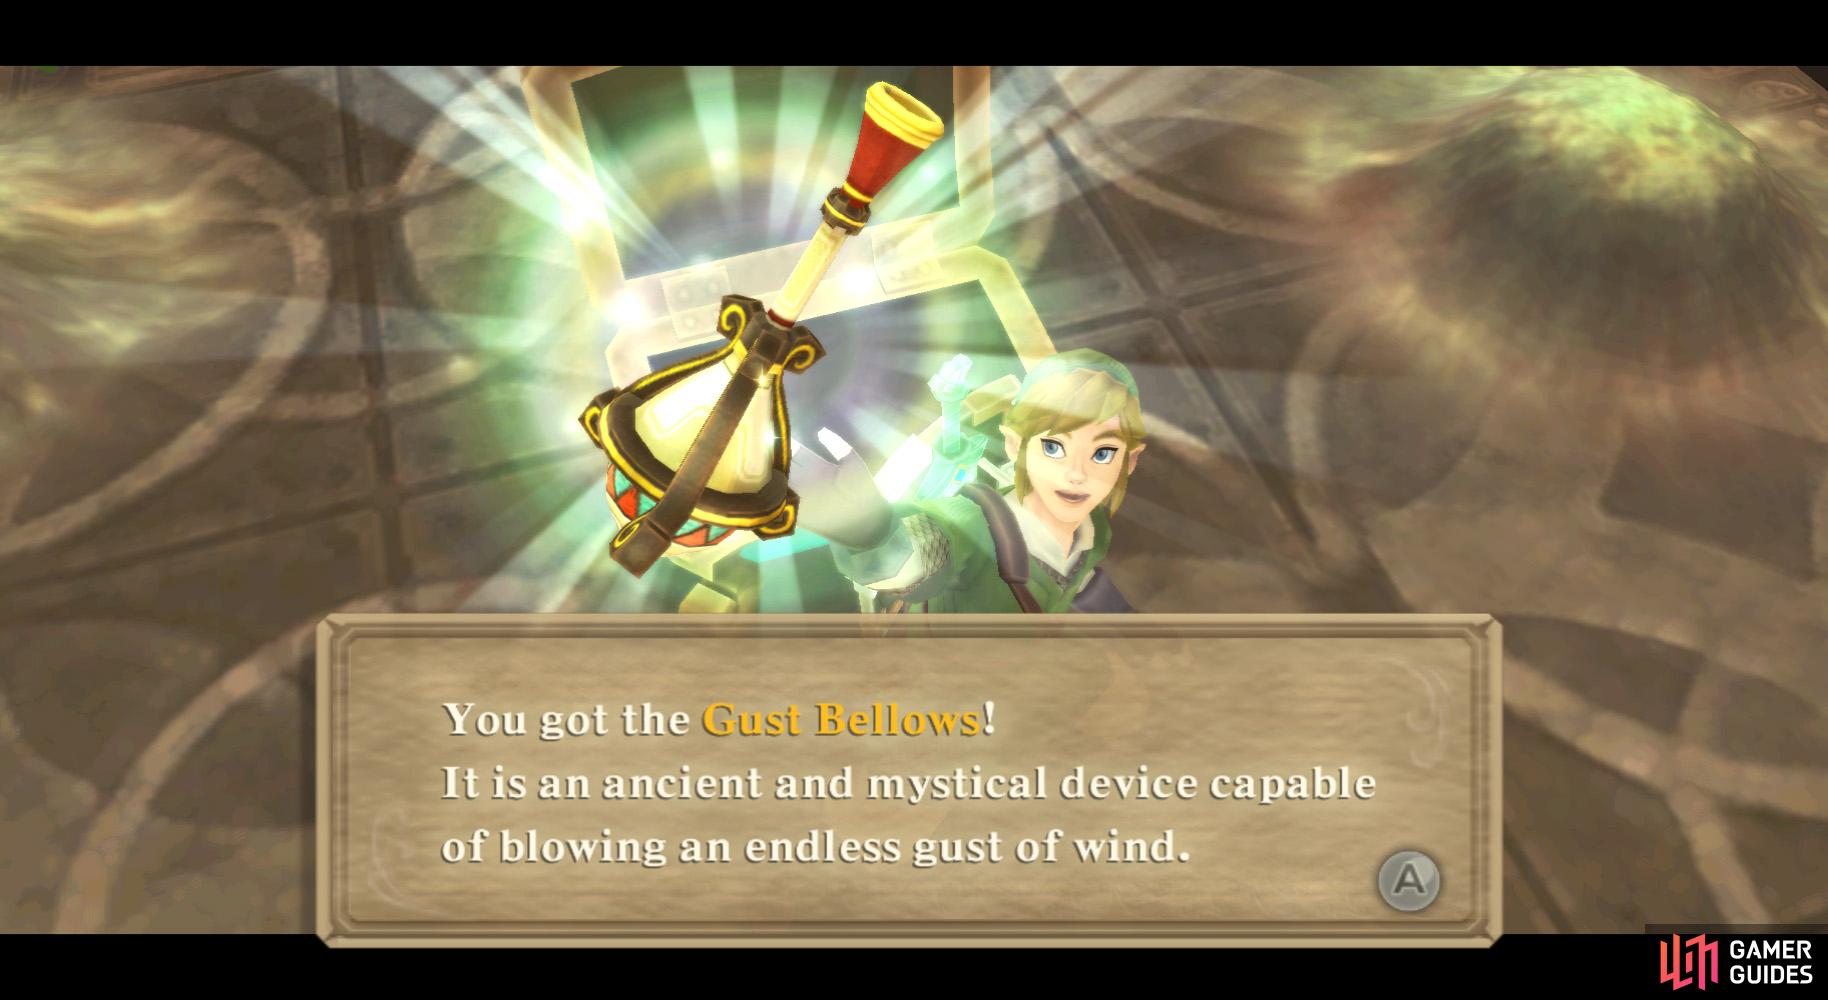
Head to the northern end of the room and go up the ladder. You’ll find a chest containing the Gust Bellows. This item allows you to blow high-speed winds at things, often to clear sand, stun enemies, and trigger switches. You can also use it to move around Froaks more easily (if you have a steady hand).
(1 of 2) OK, fellas, out of the way!
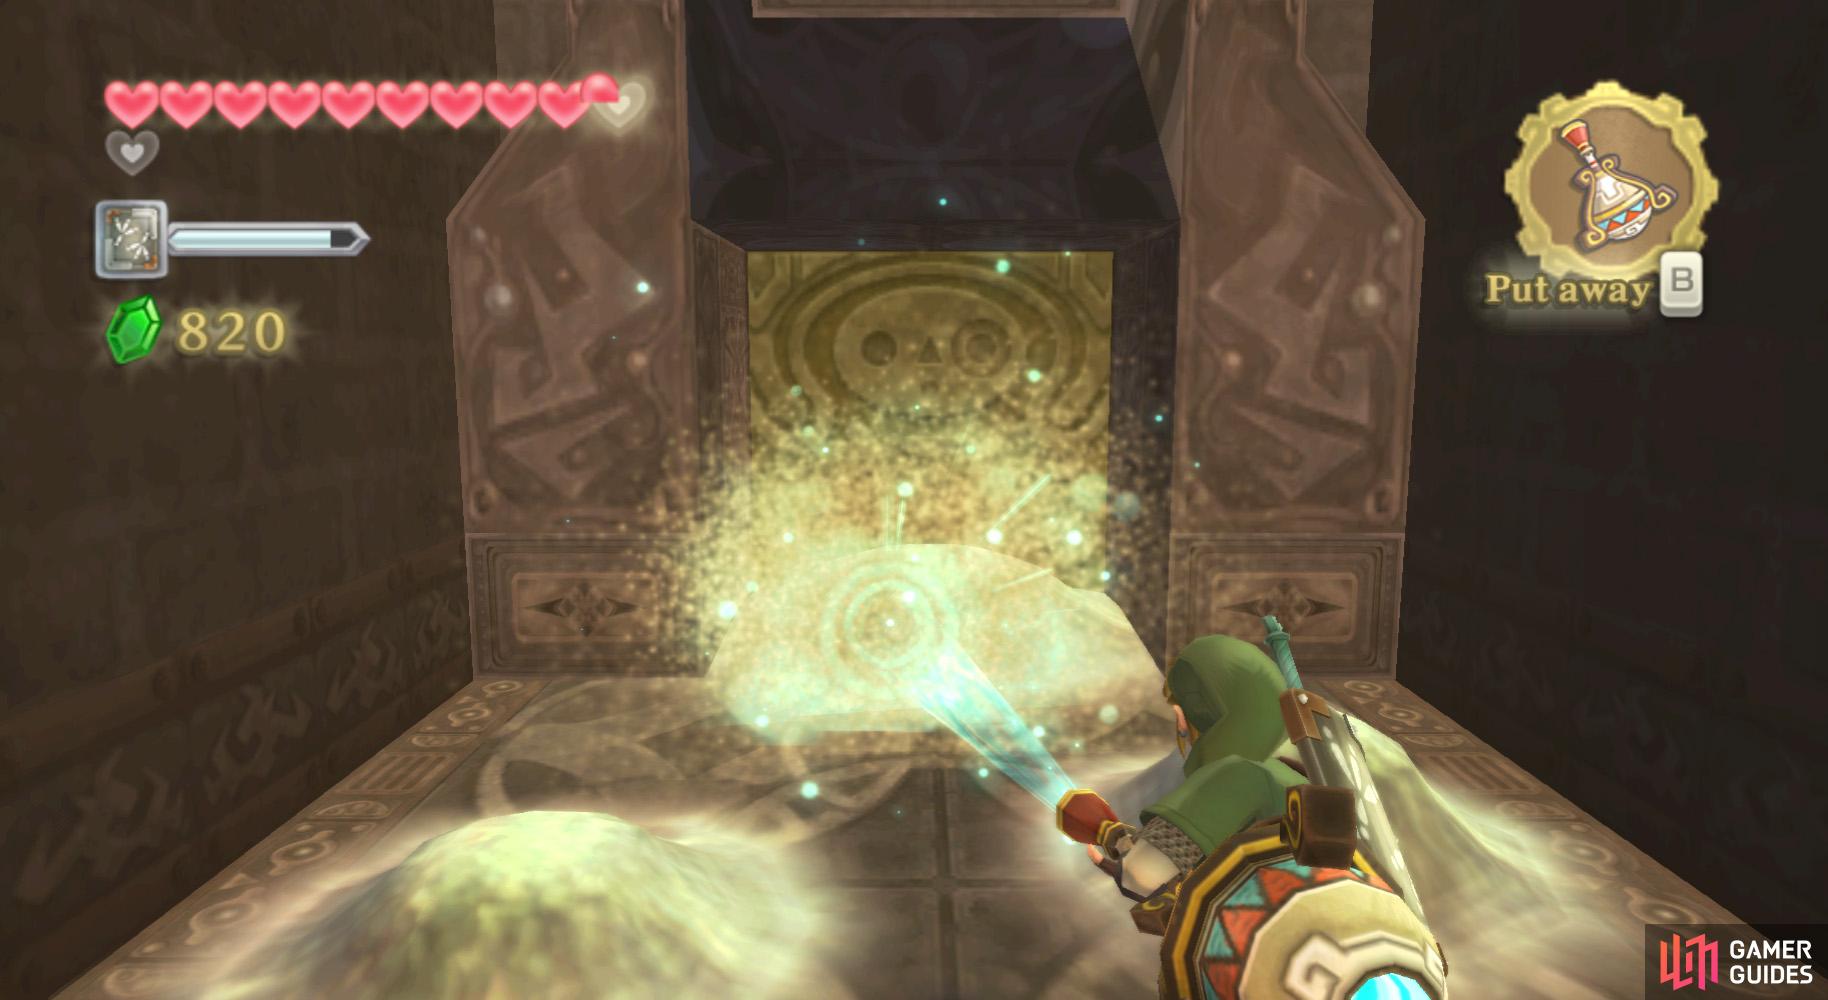
OK, fellas, out of the way! (left), As if a little sand is going to stop us. (right)
Drop down to the platform below you. Go off it, to the right, and you’ll find a chest with a random rare treasure within. Get back onto the platform and jump to the platform to your south.
Look to your right and blow the Arachas off that platform. Jump there and Bomb the pile of rocks. Then blow the Arachas off the next platform via the Gust Bellows.
Jump onto that ledge and you’ll find a ladder. Ignore it for the moment, continue along and push the block off of the platform for use as a future shortcut. Return to and ascend the ladder. Use the Gust Bellows to get rid of the sand, then go through the door.


 Sign up
No Comments