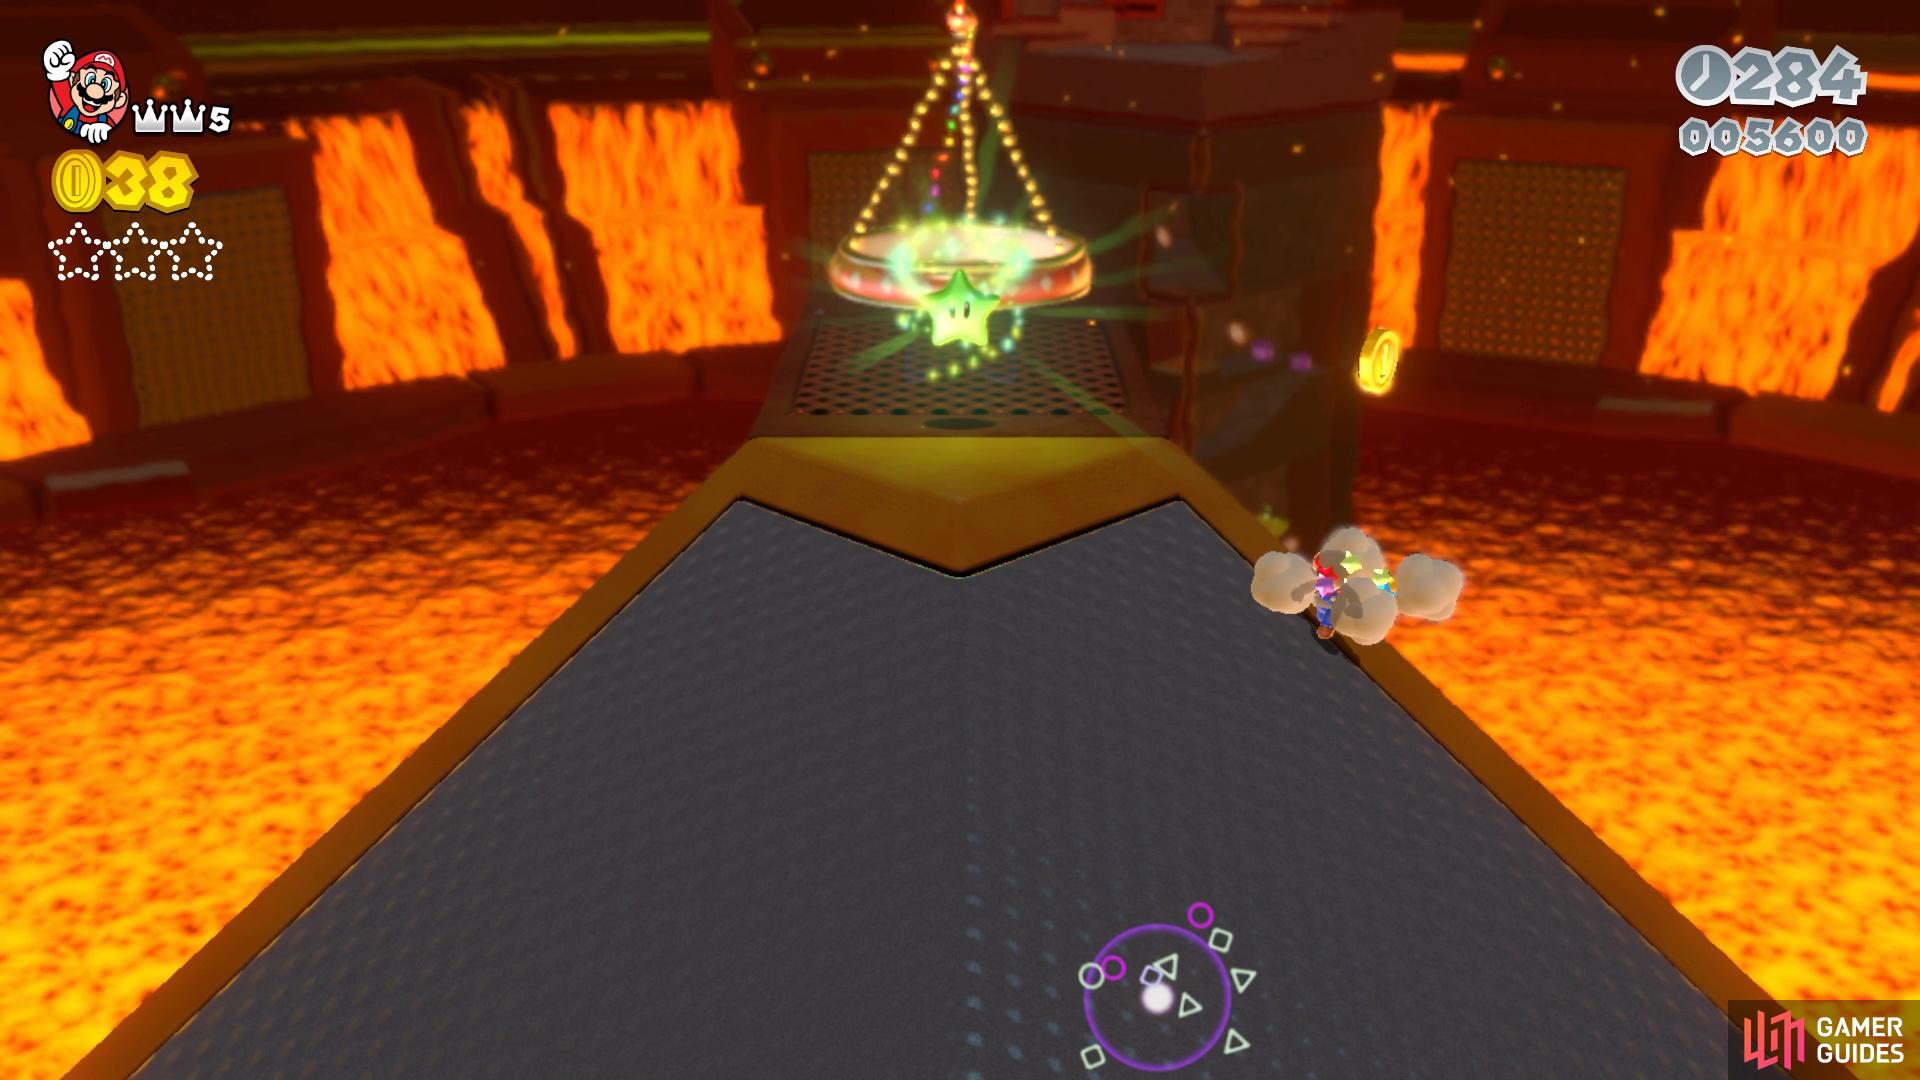
You will start out at the base of a tall tower, which will have Thwomps and moving platforms abound. Start off by moving underneath the first Thwomp and riding the rising platform to the next level. Around the corner, you will spot some ?-Blocks, one of which will contain a power-up (Super Bell). Note that you will need the Cat Suit in a mere moment, so you will definitely need it. Next to the ?-Blocks will be another elevator going up, so ride it to the top and you should spot a nearby ledge. Use the Cat Suit to reach this ledge and around the corner will be Green Star #1.
(1 of 2) The first Green Star can be found on this ledge after the second elevator
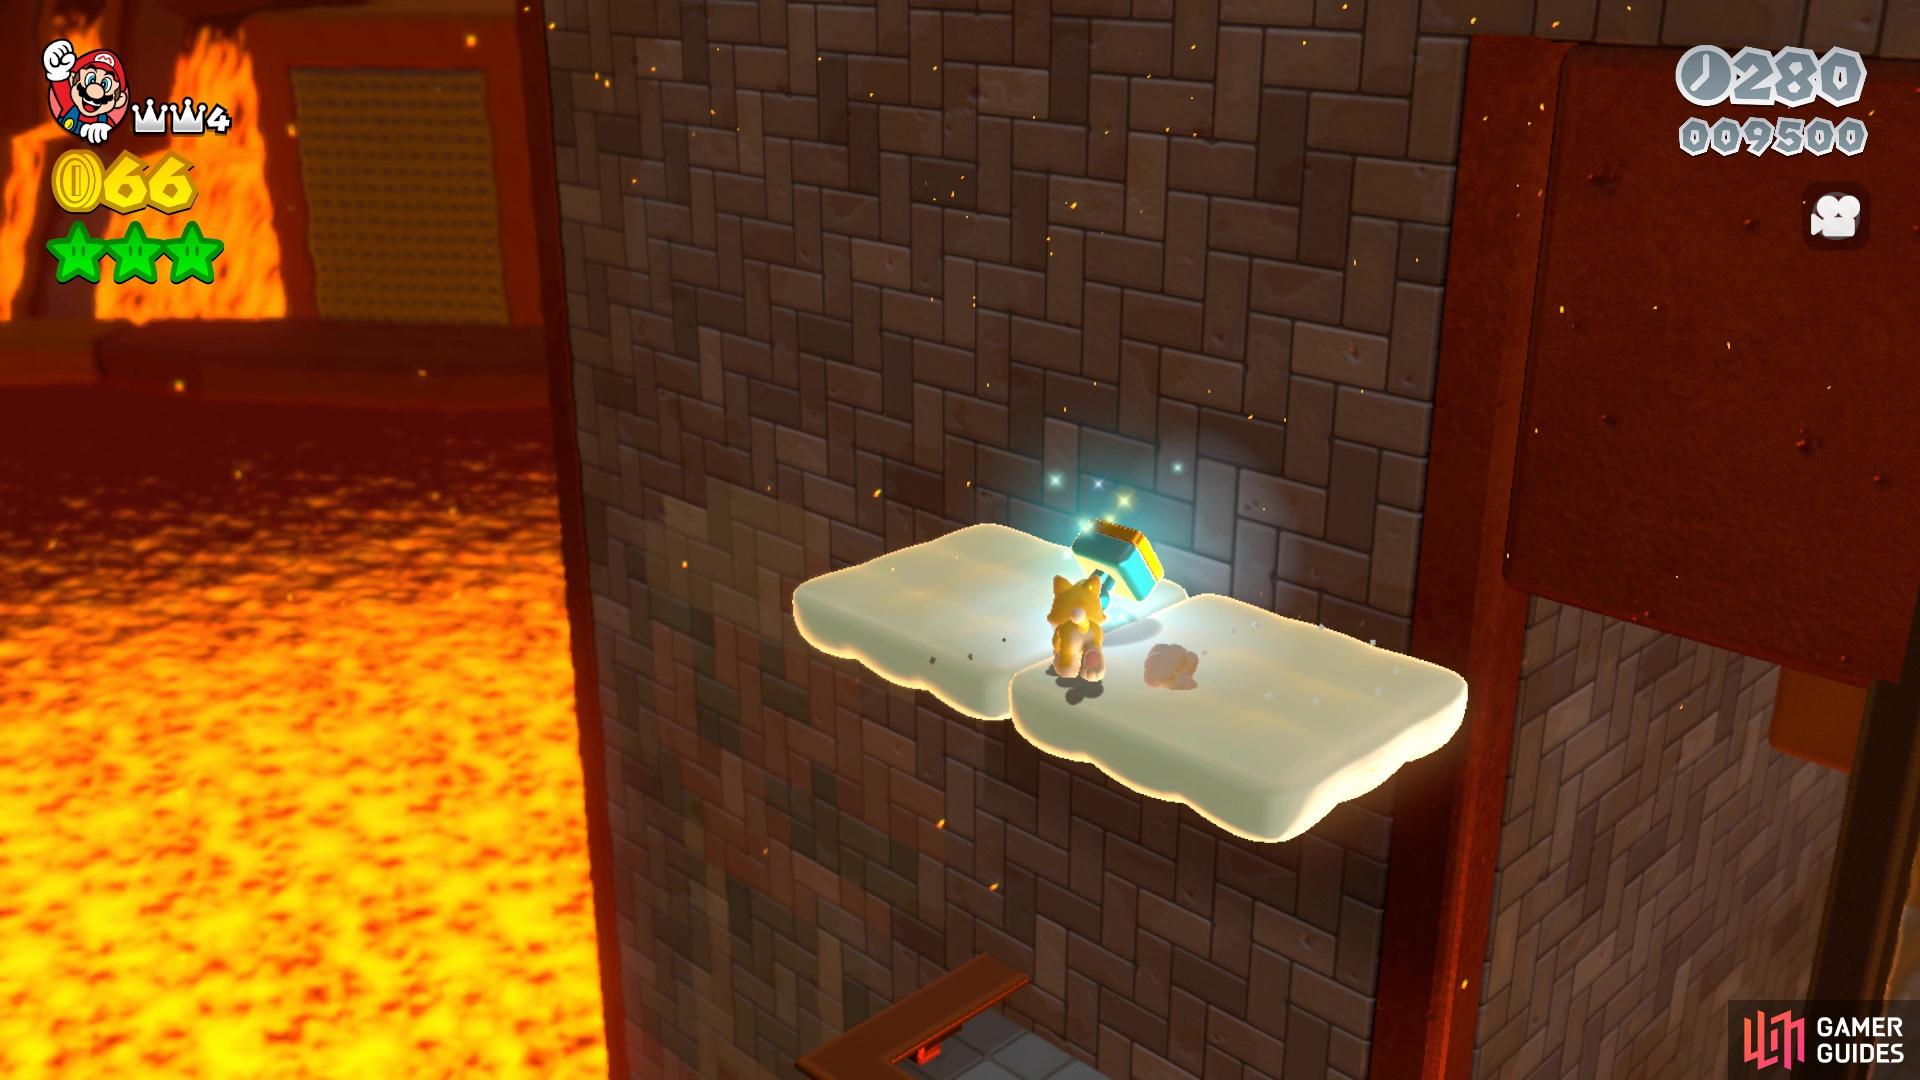
The first Green Star can be found on this ledge after the second elevator (left), The Stamp will be on a cloud platform right above the first star (right)
Right above that star, there will be some cloud platforms and on them will be the Stamp, so climb the wall to grab it. Note that you can actually drop down from the top of the tower, to the Stamp, if you wanted. Return to the main course and continue to the top, dodging more Thwomps. At the top of the tower, you will see some Magikoopas. Defeat all three of them to spawn Green Star #2, then take the gondola to the next section. You will be at the Checkpoint Flag and straight ahead is a locked Warp Box, meaning you will be hunting down five Key Coins. You will want to grab the Key Coins in order, as you will see shortly.
(1 of 2) Defeat all three Magikoopas to get the second Green Star
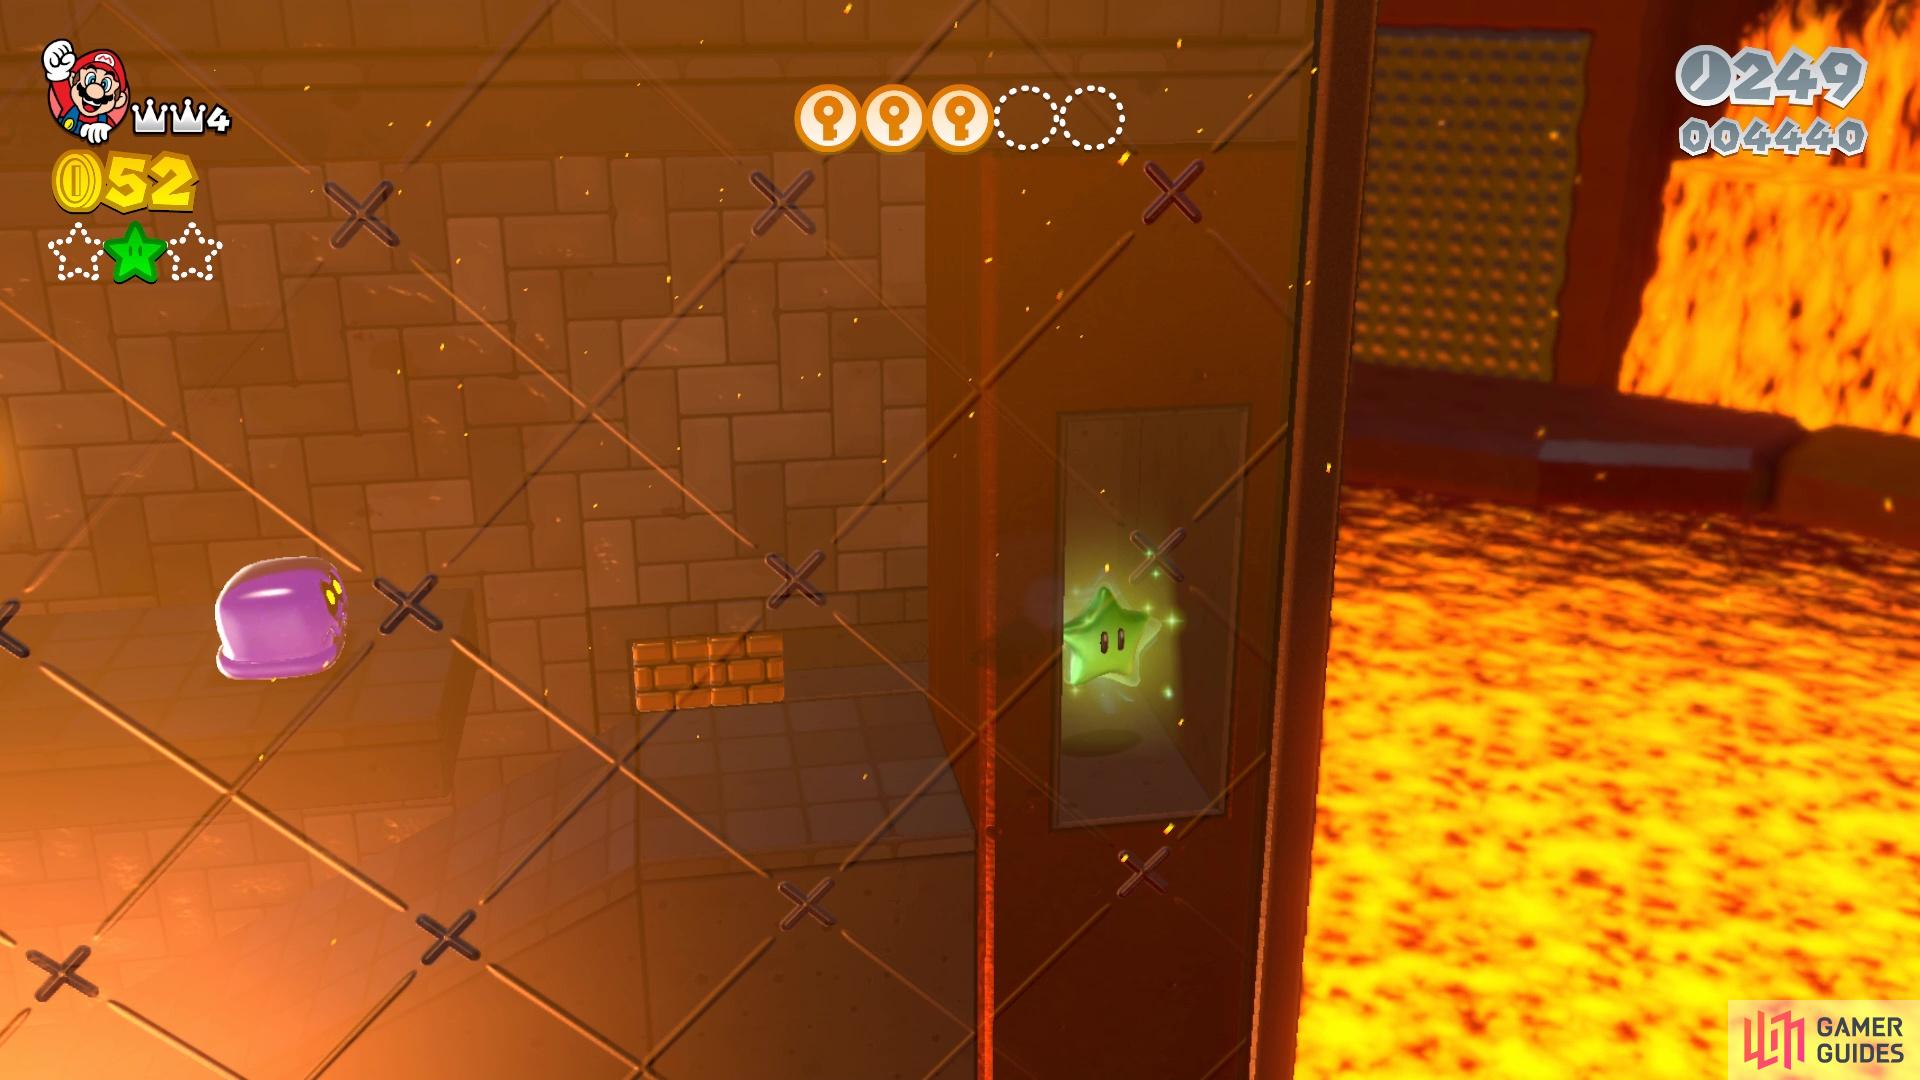
Defeat all three Magikoopas to get the second Green Star (left), Bust through the bricks at the base of the wall to find the third Green Star (right)
Start climbing past the first enemy, using the Jump Panel to grab Key Coin #1. Continue around the corner, defeating more enemies to find Key Coin #2 and then Key Coin #3 up the Jump Panel. Climb the ramp here and break the blocks at the lower part of the wall, then slide under them to the right to find Green Star #3. Climb up to Key Coin #4 and use the last Jump Panel to reach the top, then loop around Key Coin #5, grabbing it as you start to begin your descent down the tower. You’re doing this because a purple gas will start to come from the top down, and if you touch it at all, you will instantly lose a life. Slide down the ramps when possible and reach the Warp Box quickly, which will take you to the Goal Pole area.


 Sign up
No Comments