Outside of the original Chamber of Duality as part of the main story, the rest of the Jedi Chambers are all optional, but rewarding content. The first one you’ll encounter after Duality is the Chamber of Reason, located in the Basalt Rift on Koboh.
The Chamber of Reason is the first optional Jedi Chamber in Jedi Survivor.
How to Get to the Chamber of Reason
Your first call to action is to actually locate the Chamber of Reason. It stands to reason that you must have progressed the game to the point that you’ve met Zee and been given the objective to travel to the Forest Array. As part of your journey, you’ll find yourself in the Basalt Rift.
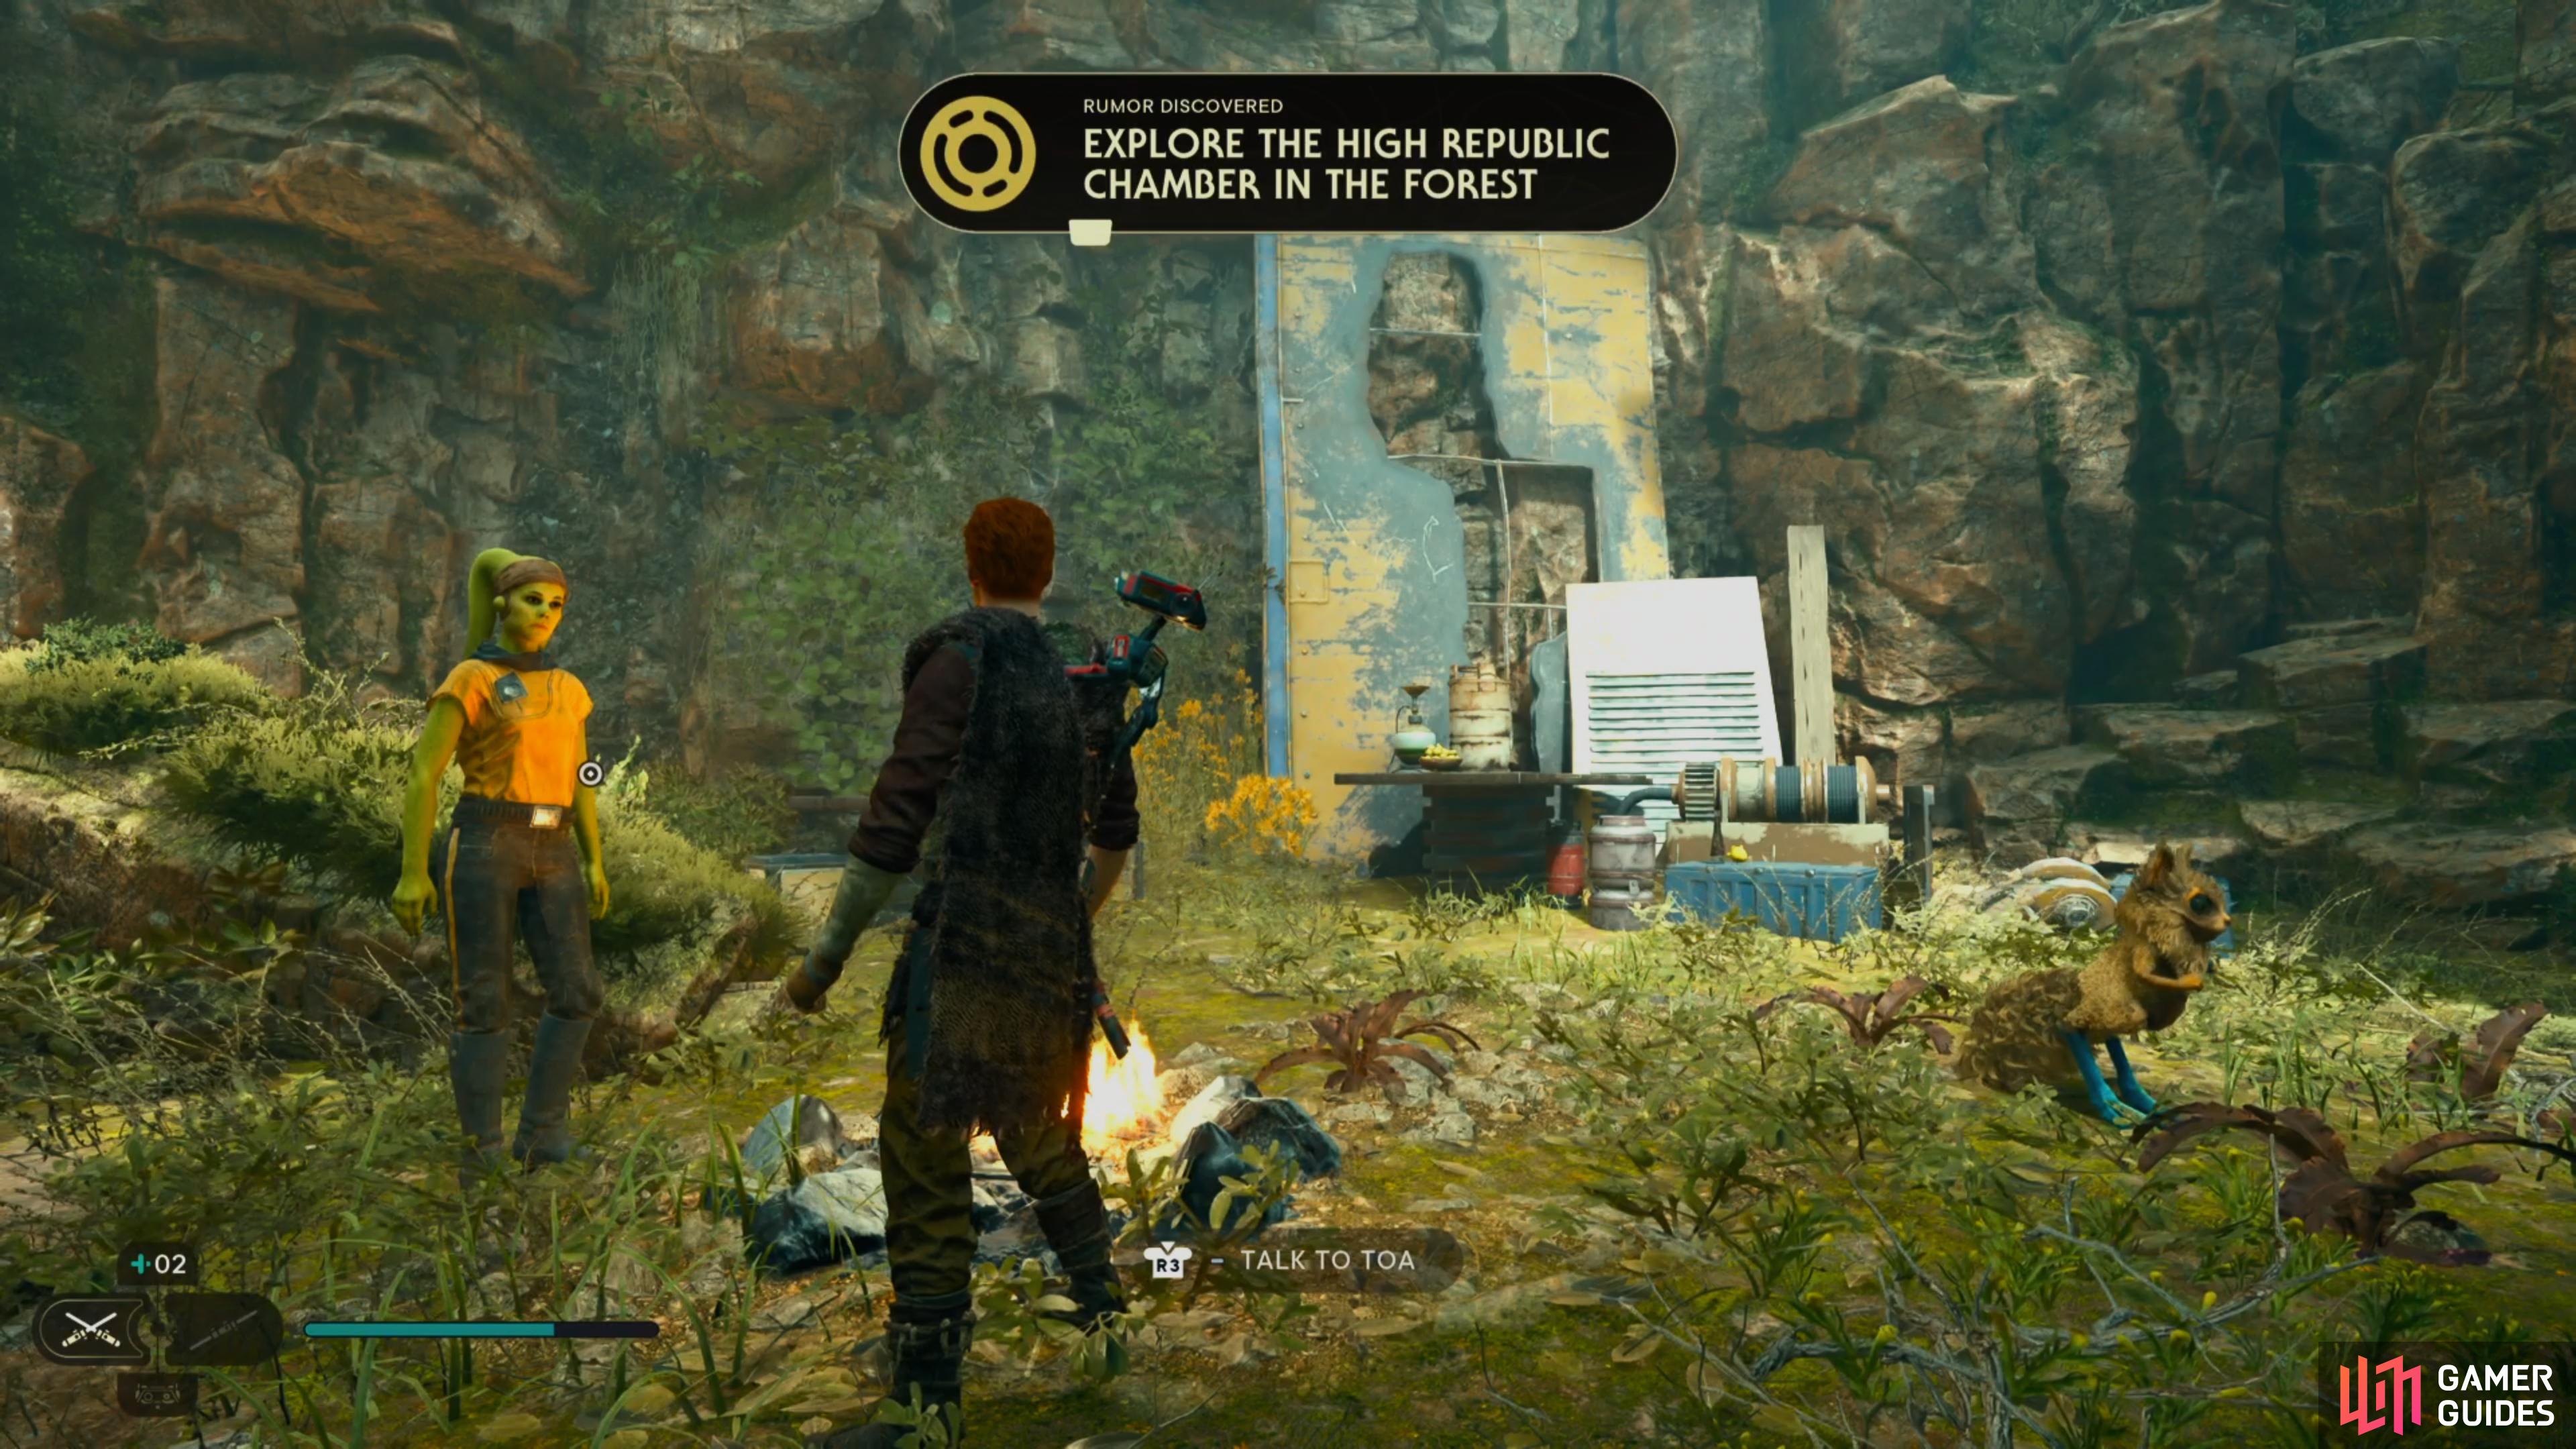
Continue through the area and you’ll meet Toa, who mentions the presence of a nearby High Republic structure. This will begin a rumor, which is to track down this structure. Continue on and once you pass through the archway, you’ll be presented with multiple paths you can take.
(1 of 3) Speak to Toa to obtain the Rumor
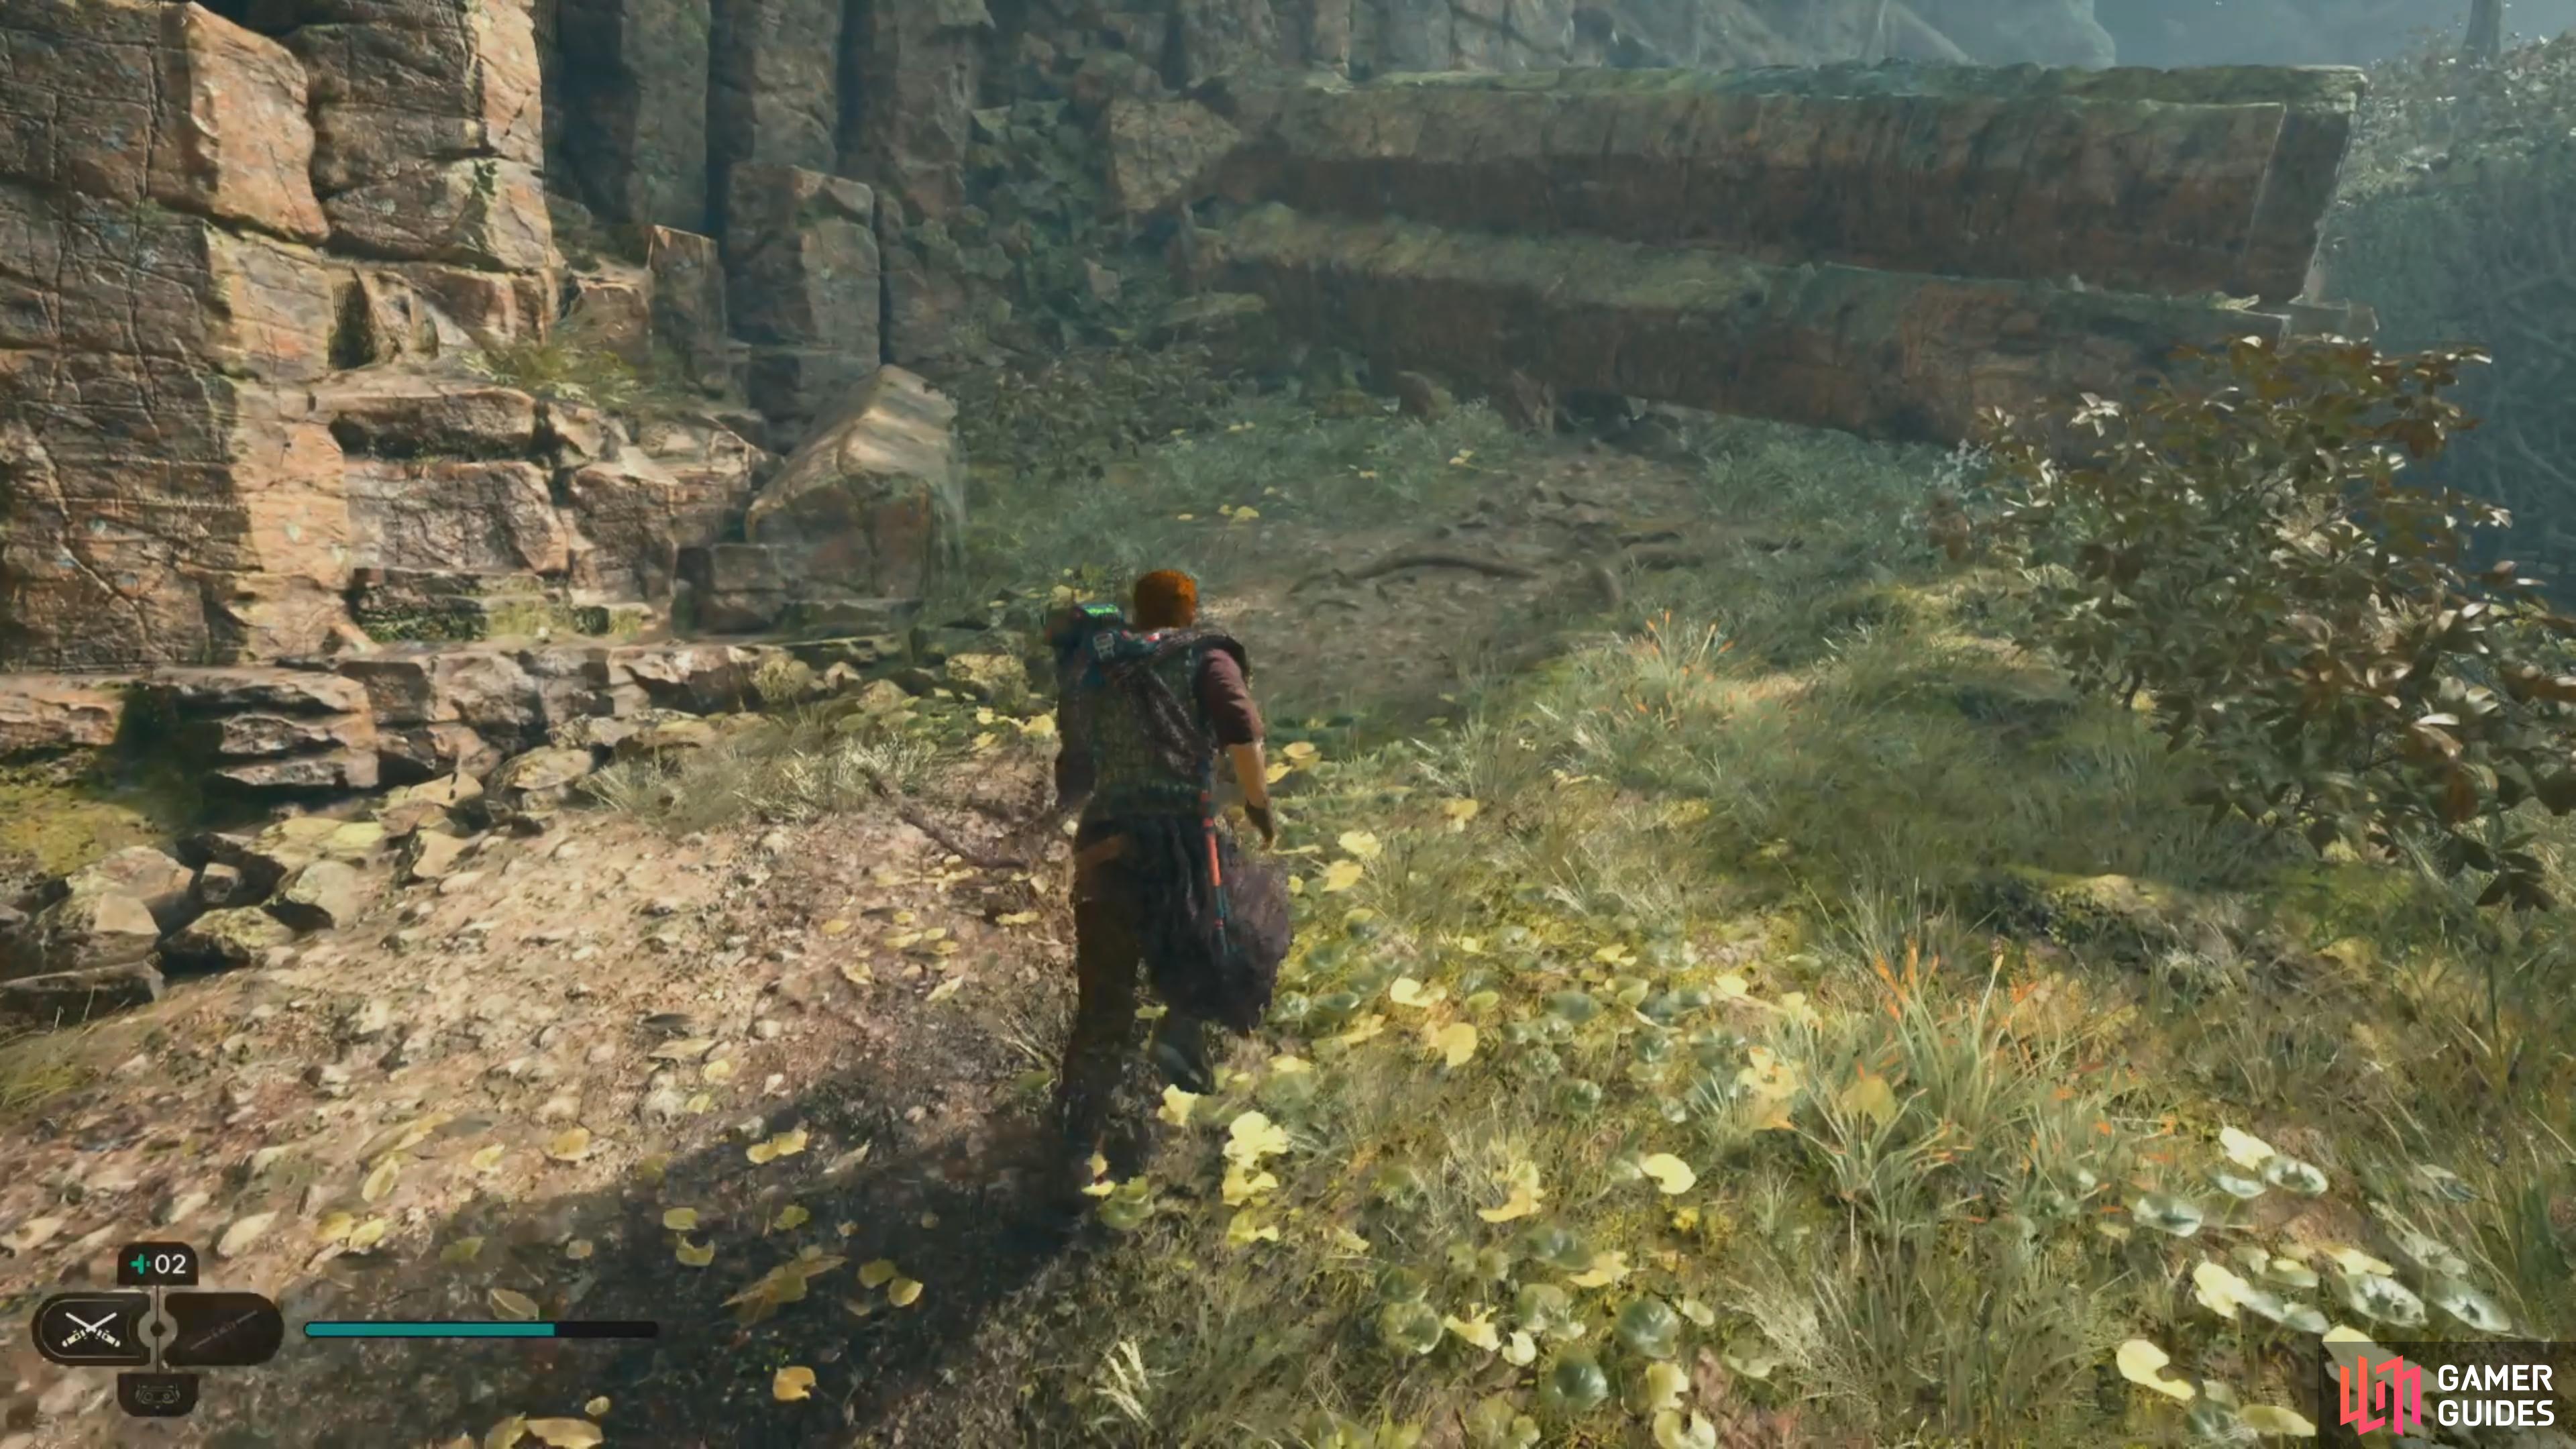
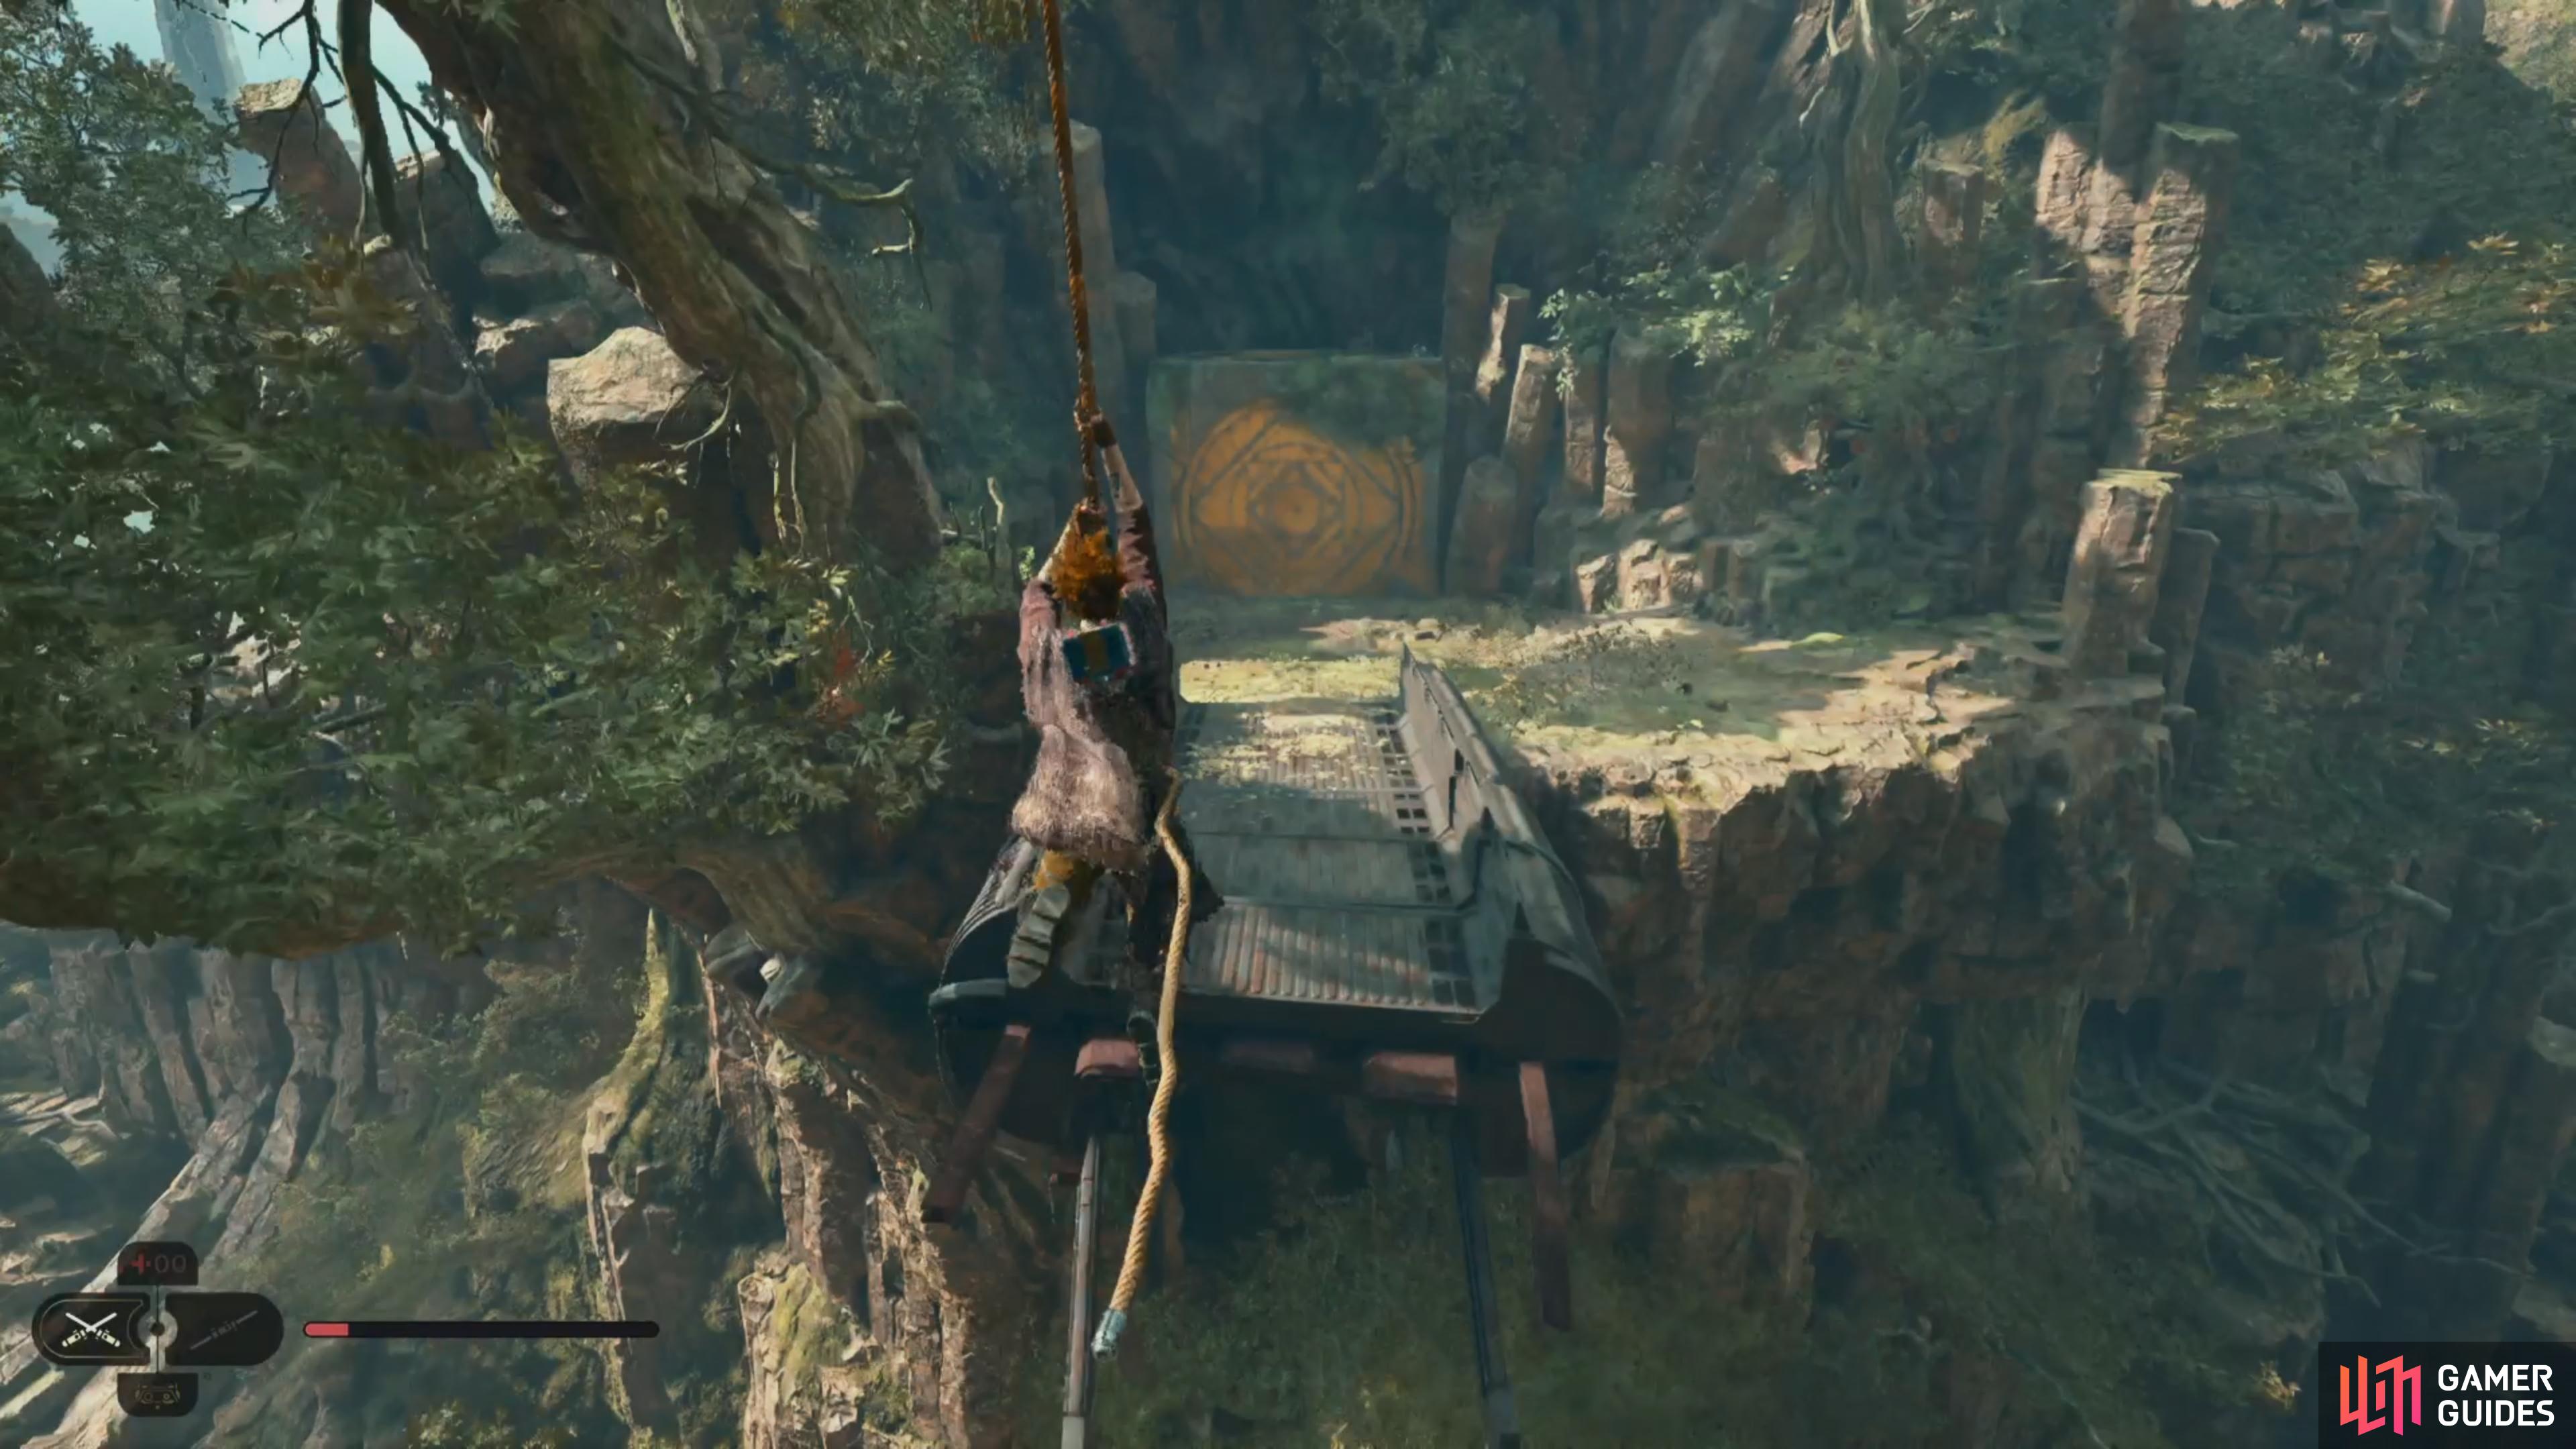
Begin by taking the upper path to the top, you’ll need to deal with your first Mogu here, so be patient with your attacks rather than rushing in as it’s easy to be killed here. Once the area is clear, run across the bridge and as you jump, Force Pull the rope to you, and use it to swing over to the other side. As you approach the door, it will open, allowing you to head into the Chamber of Reason.
How to Complete the Chamber of Reason
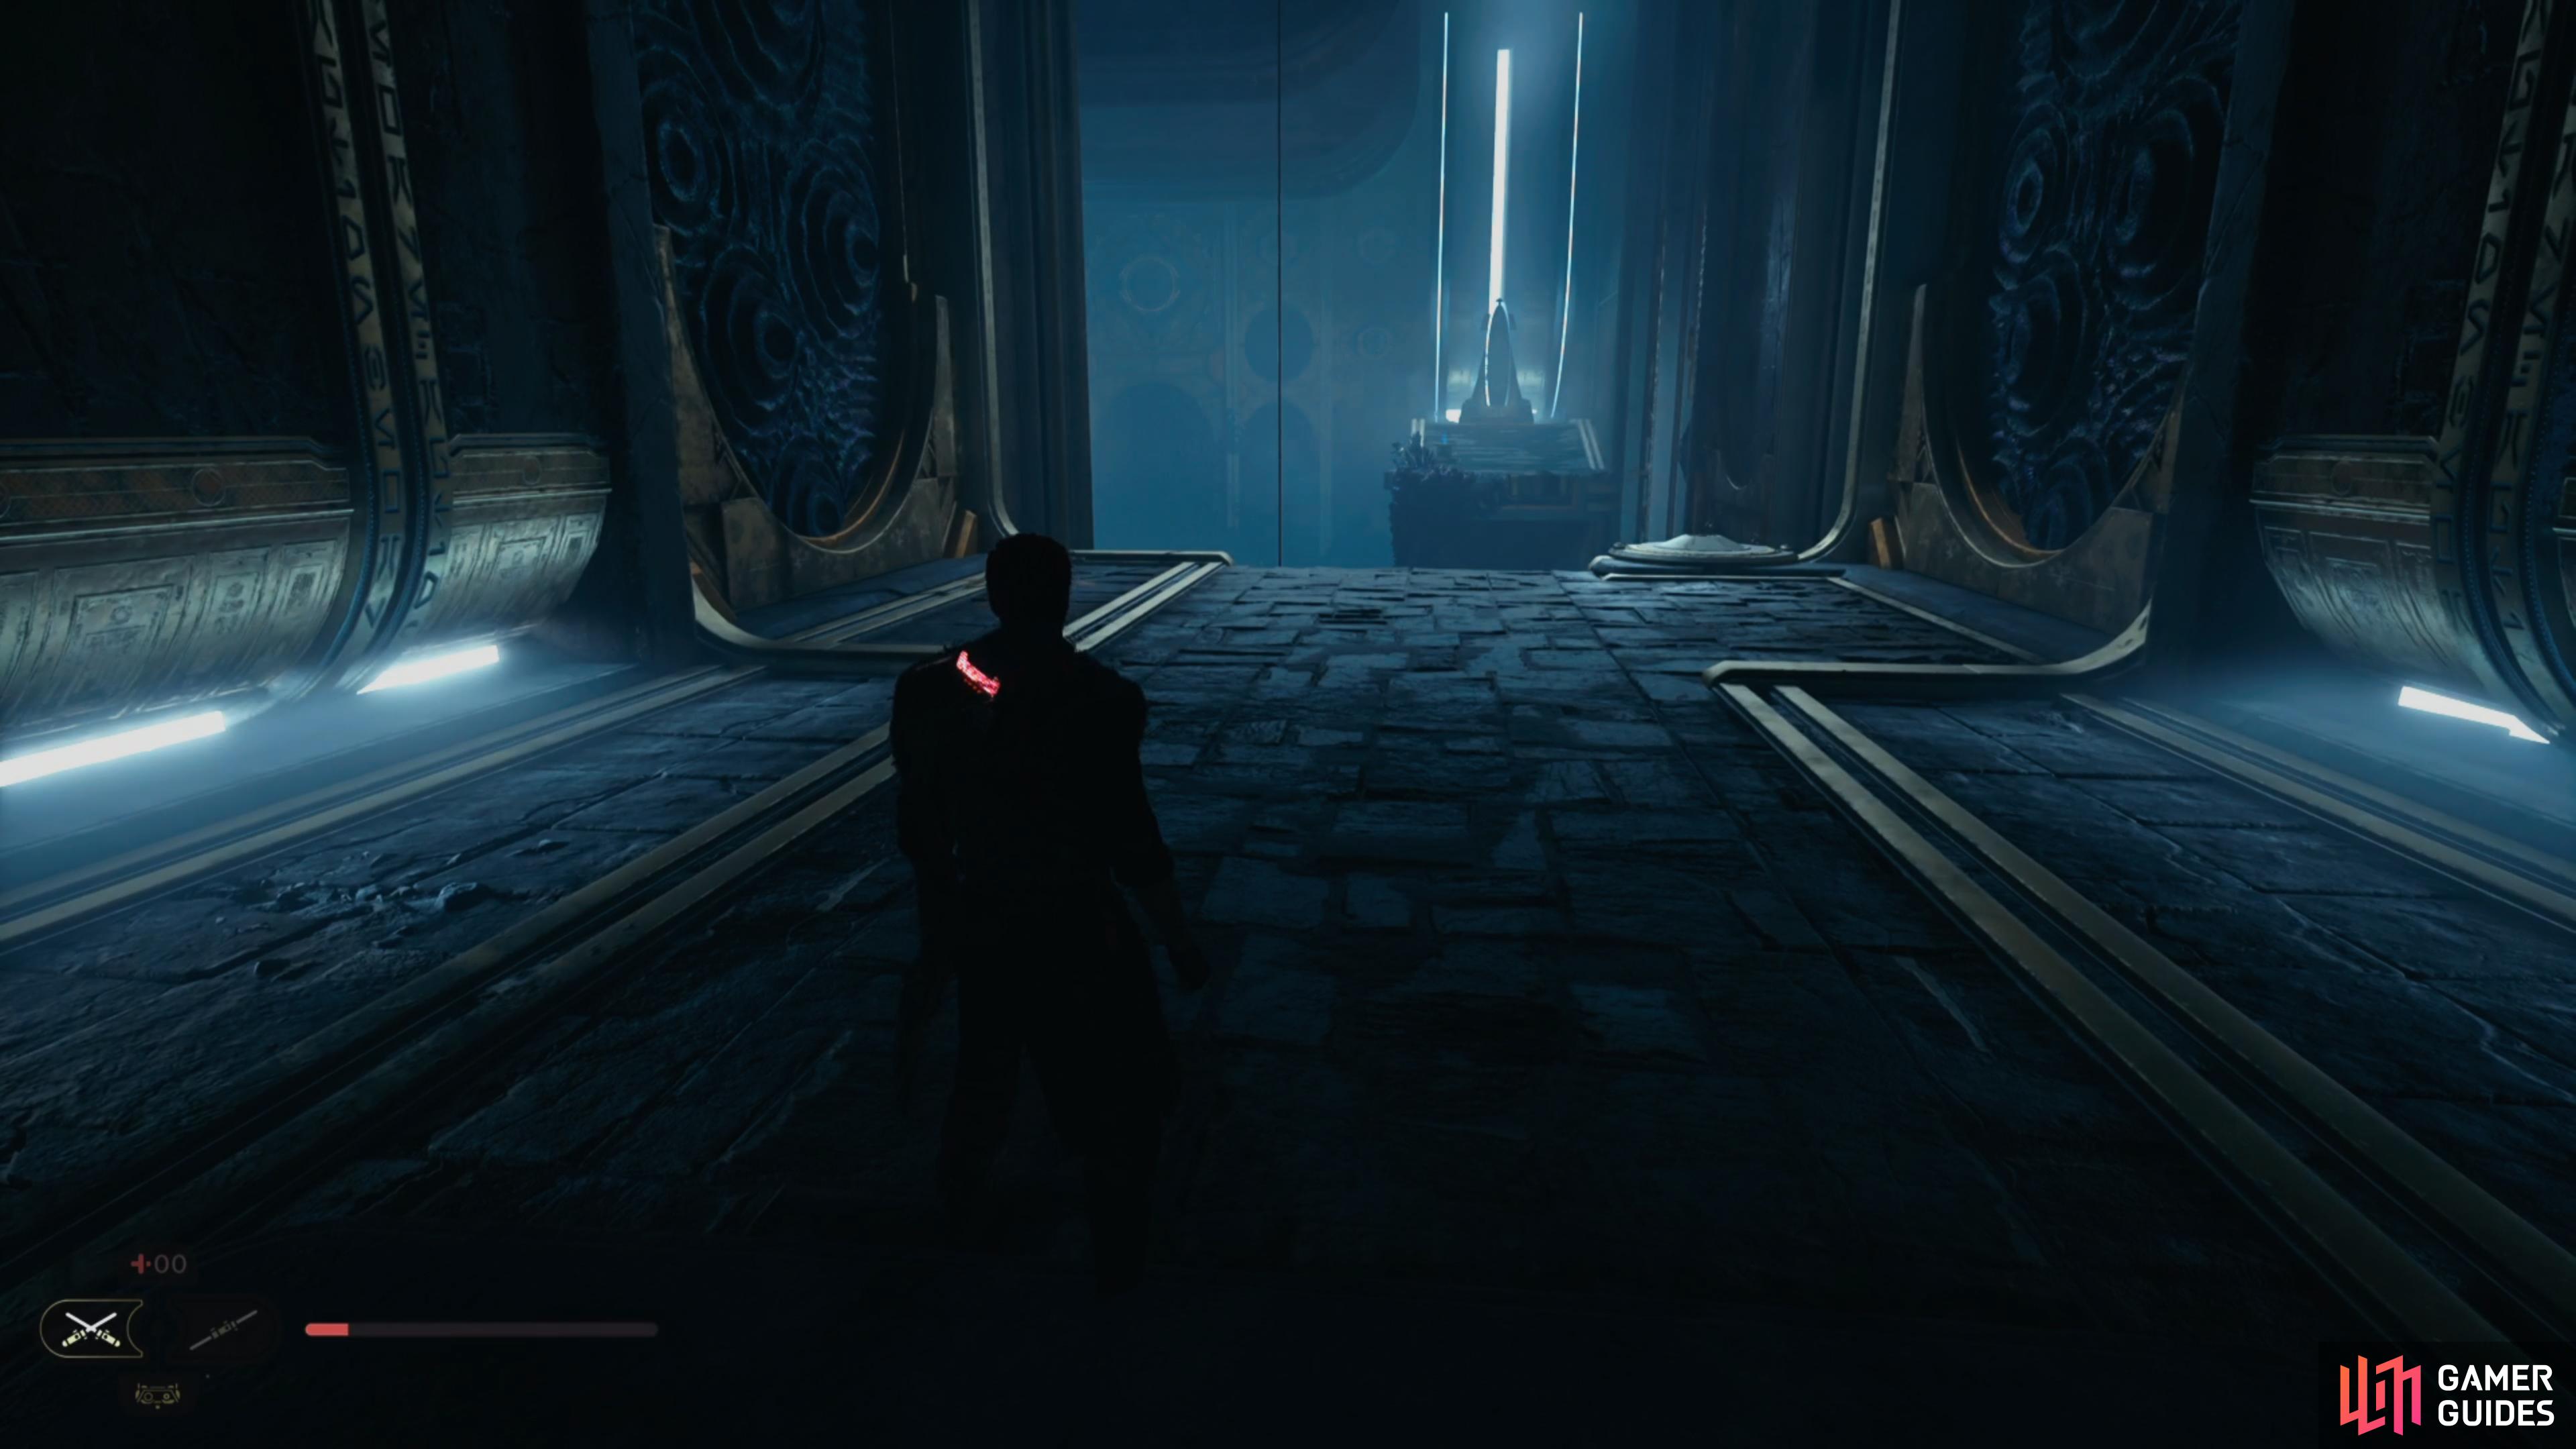
The objective of these Jedi Chambers is to reach the end and interact with the Essence to obtain the rewards they hold. This first one serves as a test of your puzzle solving skills as you work your way up the chamber.
Begin by dropping to the ground and grabbing the nearby Orb in the alcove and placing it in the Orb Coupler. Doing this will form a bridge you can walk across but ignore this for now and look at the nearby switch, using Force Push to change where the Orb Coupler sits. Go across this new bridge now and look to your right to find a wall you can knock down with Force Push, revealing the second orb for this Chamber.
(1 of 2) Grab the first orb and place it in the Orb Coupler then push the switch
Grab the first orb and place it in the Orb Coupler then push the switch (left), taking the bridge across and grab the next Orb from this wall. (right)
Grab it, drop it down on the other side and use the switch to change the position of the bridge, then carry this new orb across it. You’ll find a Databank in the corner here, then stand on the lift with the Orb and take it up a level where you’ll find a second Databank in the corner.
Now place the Orb in the Orb Coupler and have it so the bridge is on the right. Walk across it until you can see the first Orb and pull it up to you, then run across the bridge and drop it in the Orb Coupler, using the switch to raise it. Go back down to where the other Orb is and use switch to move the bridge to the left.
You’ll notice that this bridge won’t stick around for long, so you’ll need to run halfway across and then Wall Run on the left to reach the other side. From here, you can Wall Run along the next wall and then work your way up to the top floor where you’ll find two Databanks (a Force Echo and on the wall) along with a Datadisc by going through the gap.
(1 of 4) Stand on the bridge to pull the first Orb to you
Once you have these, stand where the Treasure was and pull the Orb up to you, then head to where the bridge you’ve formed up here. Stop halfway across and look to your left and look up, you’ll be able to throw this Orb over the gate and into the Orb Coupler, opening the way to the only Chest here.
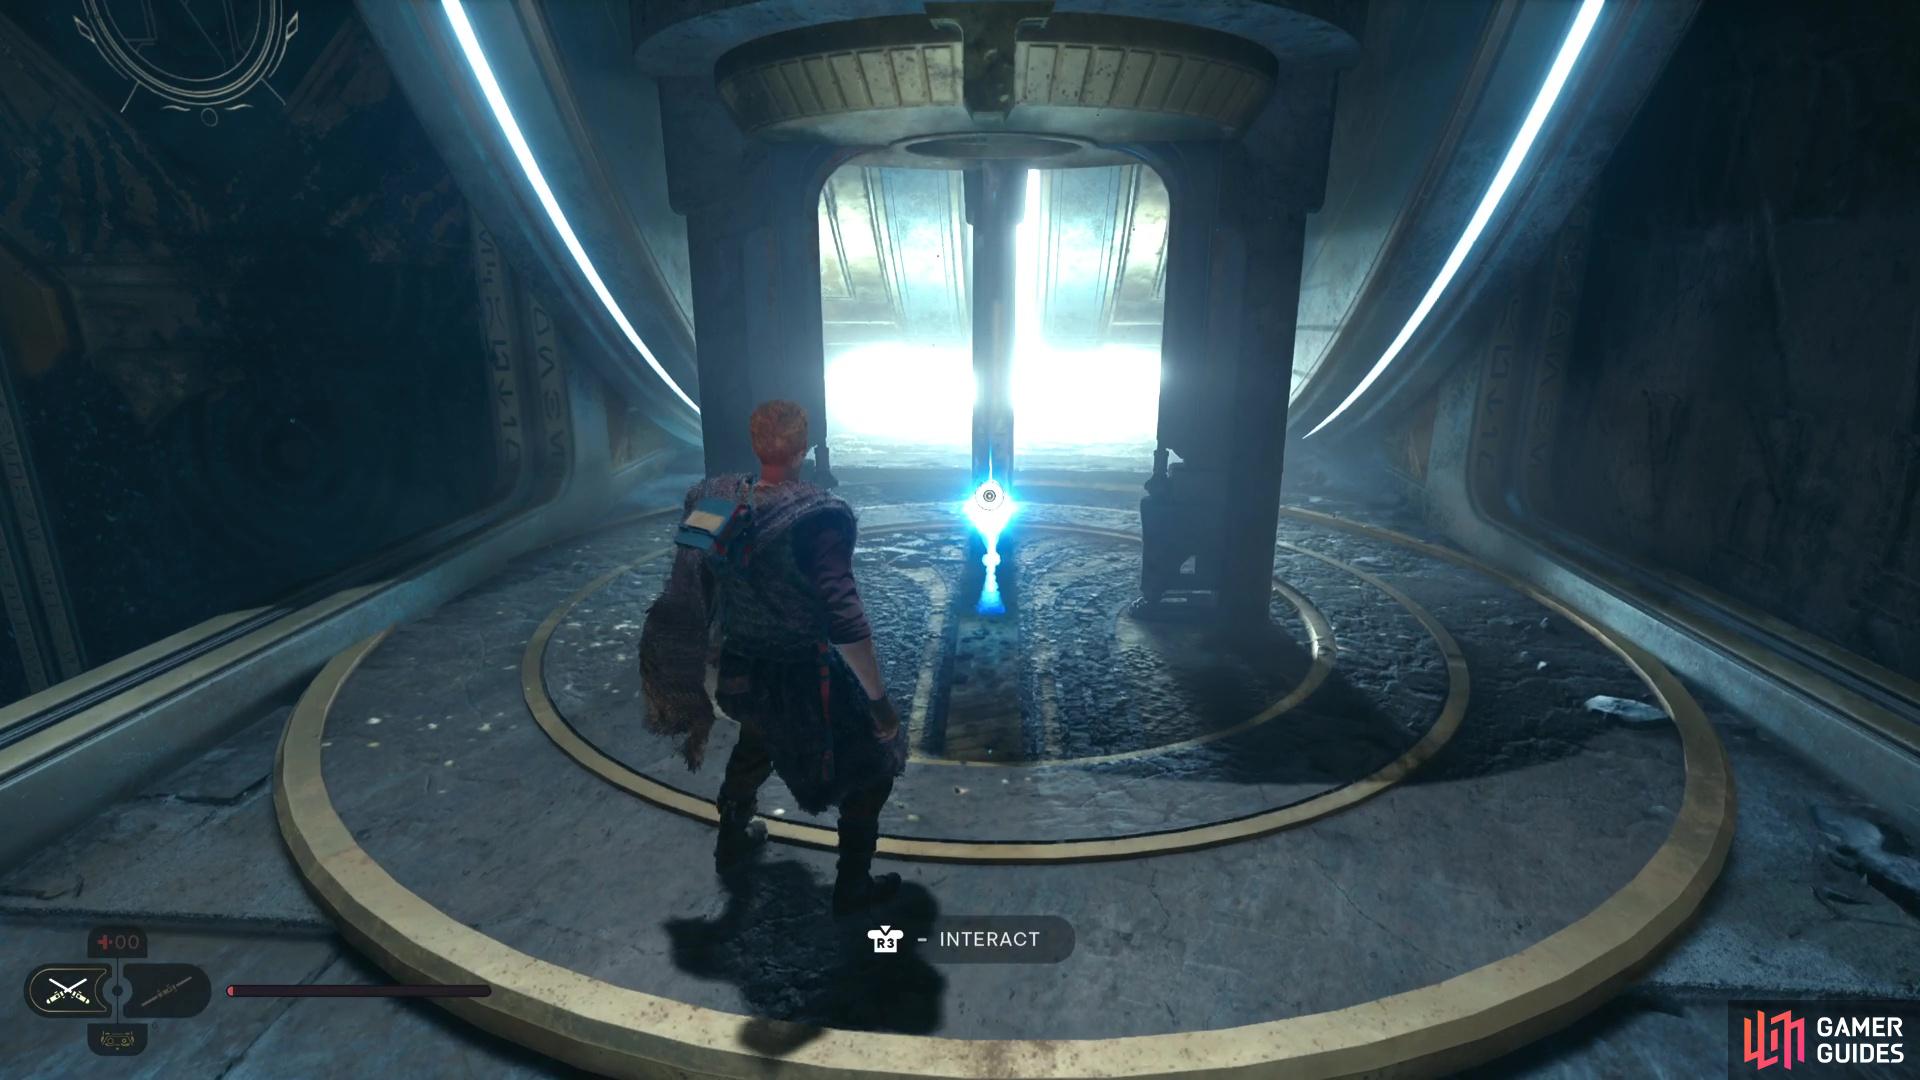
Return to where the other Orb is up here and grab it and toss it across the gap to the other Orb Coupler, this will allow you to walk across and when you turn left, you’ll find the Essence that completes this Chamber, rewarding you with the Dexterity Perk. Turn around and face the left wall now and push the Switch to change the direction of the bridge, this will lead you back to the entrance where you can leave this Chamber.
(1 of 2) Toss the first orb over the gap and into the coupler
Toss the first orb over the gap and into the coupler (left), which will allow you to access the Essence to complete the Chamber. (right)
Read More: All Jedi Survivor Perk Locations



 Sign up
No Comments