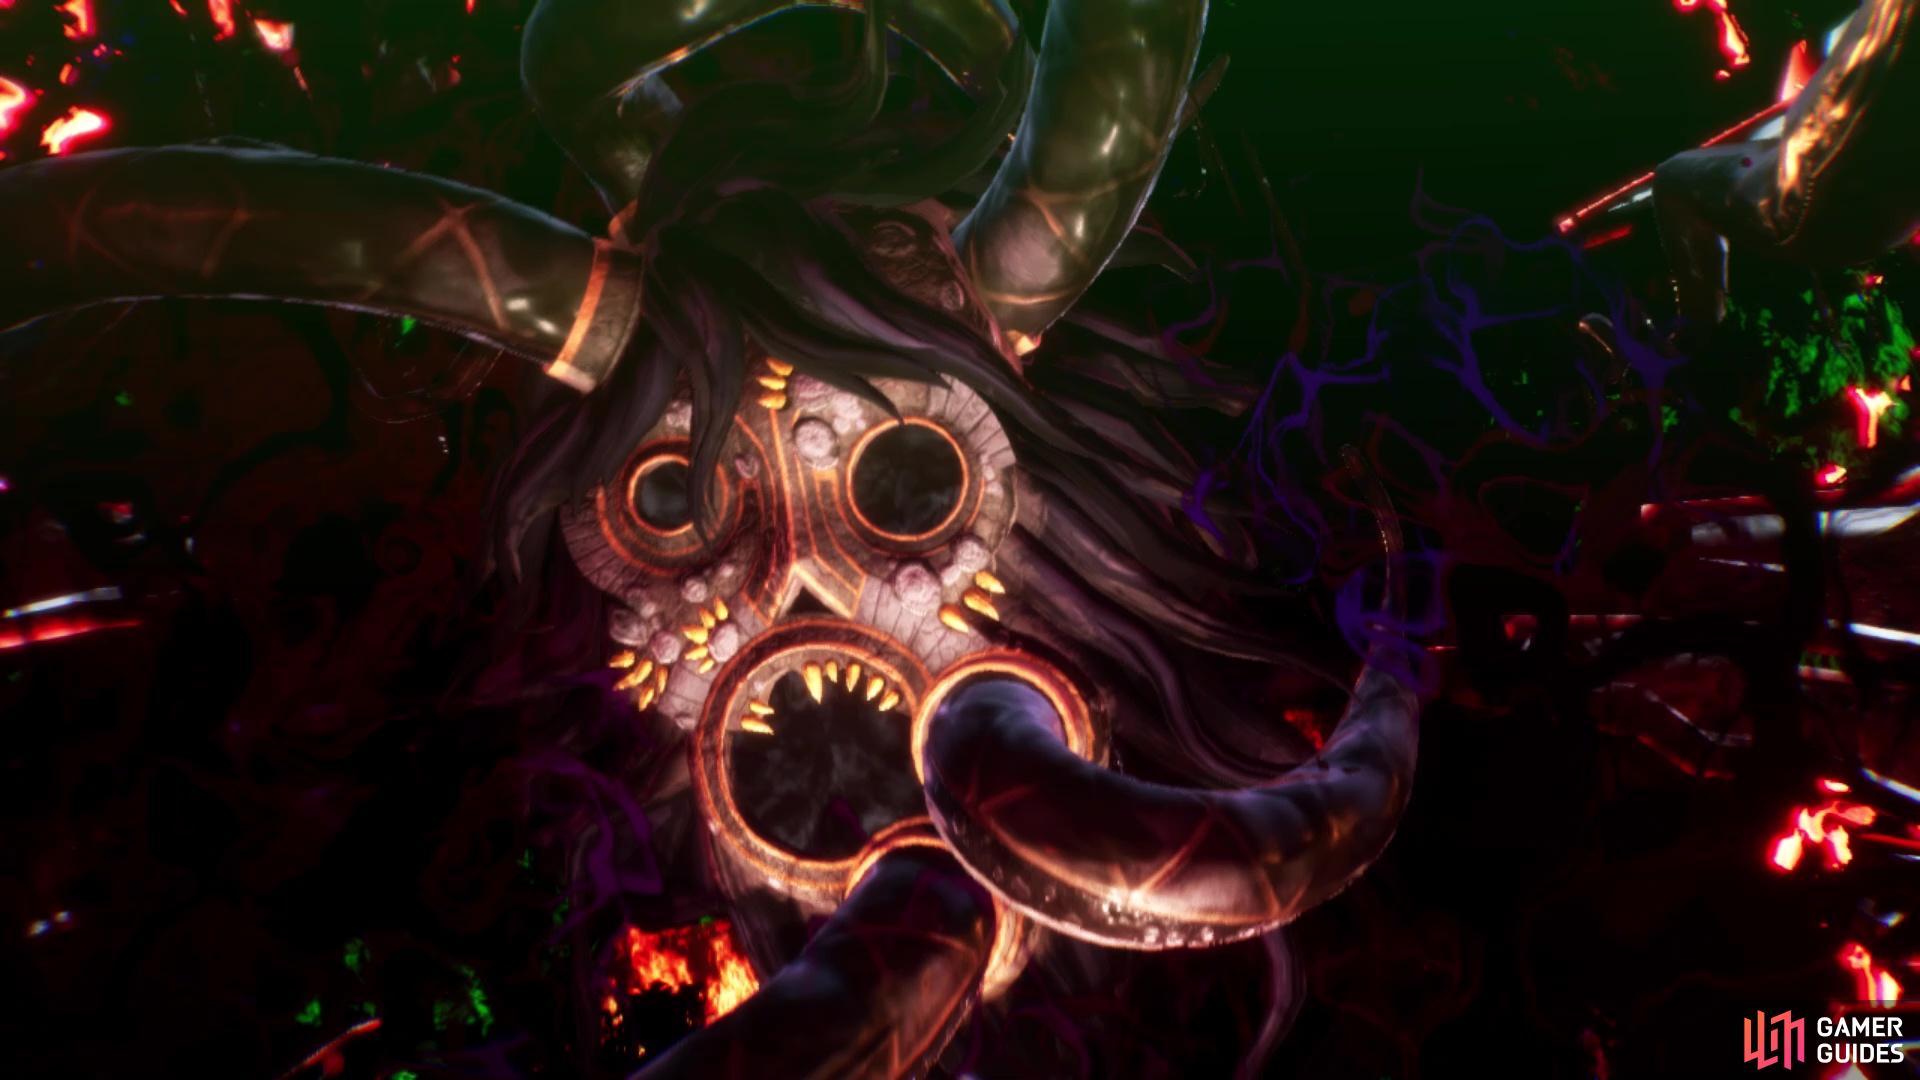
This is a walkthrough for Tokyo of Shin Megami Tensei V, the return here after completing the Minato region. How to complete every objective and learn about the state of things.
You will learn a few things when coming back to Tokyo
Upon returning to Tokyo after your visit to the Netherworld, you will meet up with Archangel Abdiel, the one in charge of the headquarters at Bethel. After the tense scene there, Tao asks you to meet with her in the meeting room. When you regain control, you will be told about the terminal in the middle of the room. It has the same functionality as the leyline founts you’ve encountered throughout your journey thus far, meaning you can fast travel to the Minato region, save your game and visit both Cadaver’s Hollow and the World of Shadows from it. If you have anything to do right now back in the Minato region, you can go ahead and do that now, but for now, let’s continue with the story.
You can’t explore the other paths here, so head straight to the meeting room for some scenes. Speak to everyone after the fact, then it will be back to your normal lives, as you will be back at school.
Jouin High School
Walk forward and speak with Tao in front of the school, choosing whatever you want for the question asked. Speak with the other students on the grounds, then enter the school building via the southern icon on your map. As you move forward in the lobby, you will trigger a short scene, where you witness someone seemingly being bullied, who will be introduced to you as Sahori Ituskishima. There will be plenty of other students you can talk to here, although no one really says anything important.
(1 of 2) The student underneath the stairs tells you where to find your classroom
The student underneath the stairs tells you where to find your classroom (left), although it’s not exactly hard to find (right)
Head down the western hallway, stopping with Miyazu, if you want, then continue until you see Ichiro, who will stop you. Your next stop is your classroom, although the game doesn’t tell you that’s where you need to go. However, the student behind Ichiro, underneath the stairs, will tell you where to go. Your classroom is on the second floor, right next to the stairs. You can find Sahori in the hallway nearby, although you get nothing from her. Enter the classroom (the only other icons besides the stairs) for some more scenes, then the school day will be over. Exit the classroom to find Tao waiting for you, who wants to talk to you about something, on the dorm roof later at night.
As you attempt to leave the school, there will be another scene with Sahori, as well as Miyazu. Answer however you want when prompted, then go to the lobby to find Yuzuru, who will stop you once again. You can finally leave the school now, so do that and head back to the world map, via the icon outside. You need to head back to the dorm, which is to the east of the school and while you may remember having to use the tunnel to get to the dorms before, you can simply go south and head straight there without needing a detour. You will automatically meet with Tao on the rooftop, who will talk about Sahori (the answers don’t matter here).
Jozoji Temple
After some scenes, you will be asked to go to Jozoji Temple. Before doing that, you want to make sure you have some demons in your party that aren’t weak to Dark, as there will be an upcoming mini-boss that uses Mudo. You can head back to the Medical Research Lab to the northwest of the school to access the terminal, where you can get some appropriate demons or go back to the Netherworld to do subquests or gain a few levels. Legion, Leanan Sidhe, and Rakshasa are good ones to bring along to the mini-boss, since they all either resist or block Dark.
(1 of 2) Your Omagatoki skill will help you make short work of the demons
Your Omagatoki skill will help you make short work of the demons (left), especially when coupled with spells that hit all of them (right)
Jozoji is located to the north, so head up there and Aogami will warn you about the presence of a powerful demon before entering the location. When you’re ready, enter the temple and you’ll see things are a mess. Goko, the monk from earlier, is here and reports the situation. You will then be forced into a battle, with 2 Lamias and 2 Anzus. Both of them are immune to Electric, so you shouldn’t be using Zio at all. The Lamia are weak to Ice, while the Anzus are weak to Force. The Anzu have a physical attack that hits a single ally (Bouncing Claw), while the Lamia have both Mazio (party-wide Electric) and Life Drain. Upon defeating them, you will meet your next opponent, Lahmu.
Boss: Lahmu
You’ll fight Lahmu at the Jozoji Temple
| Icon | Name | Lv | Weakness |
|---|---|---|---|
| Lahmu | 23 |
| Type | Skill | Effect |
|---|---|---|
| Mudo +3 | Weak Dark attack to 1 foe. Chance to instakill when striking weakness. |
Lahmu here is more of a mini-boss than a full blown one, but you still shouldn’t let your guard down. His only attack is Mudo, so not having anyone weak to Dark will be a huge blessing, as there is a chance for the instakill to trigger if they are weak to it. You don’t get healed from the previous battle, so hopefully that didn’t take too much out of you. If you prepared a little bit beforehand, though, then you might be able to finish this battle within a single turn, due to Lahmu’s low HP. He is weak to both Force and Light, meaning you can broaden your scope in abilities.
The only problem is that most demons that specialize in Light, will likely be weak to Dark, so it’s a good idea to only pass along Hama to someone else. Of course, you can use a Dark Dampener (buyable from Cadaver’s Hollow) to block the Mudo. If you don’t have access to Force/Light, then just toss your strongest attacks at Lahmu. Note that he will be resistance to Fire and blocks Dark. He also only gets a single turn per round, so you don’t need to worry about too much there.
(1 of 2) Use your Force and Light skills to make short work of the boss
Use your Force and Light skills to make short work of the boss (left), Lahmu can only use Mudo in this battle (right)
After the battle is over, Lahmu will fly off towards the school, which will be your next destination.


 Sign up
No Comments