This page explains what Individual Values (IV) are and how to manipulate them.
(1 of 2) This Ditto has slightly better HP.
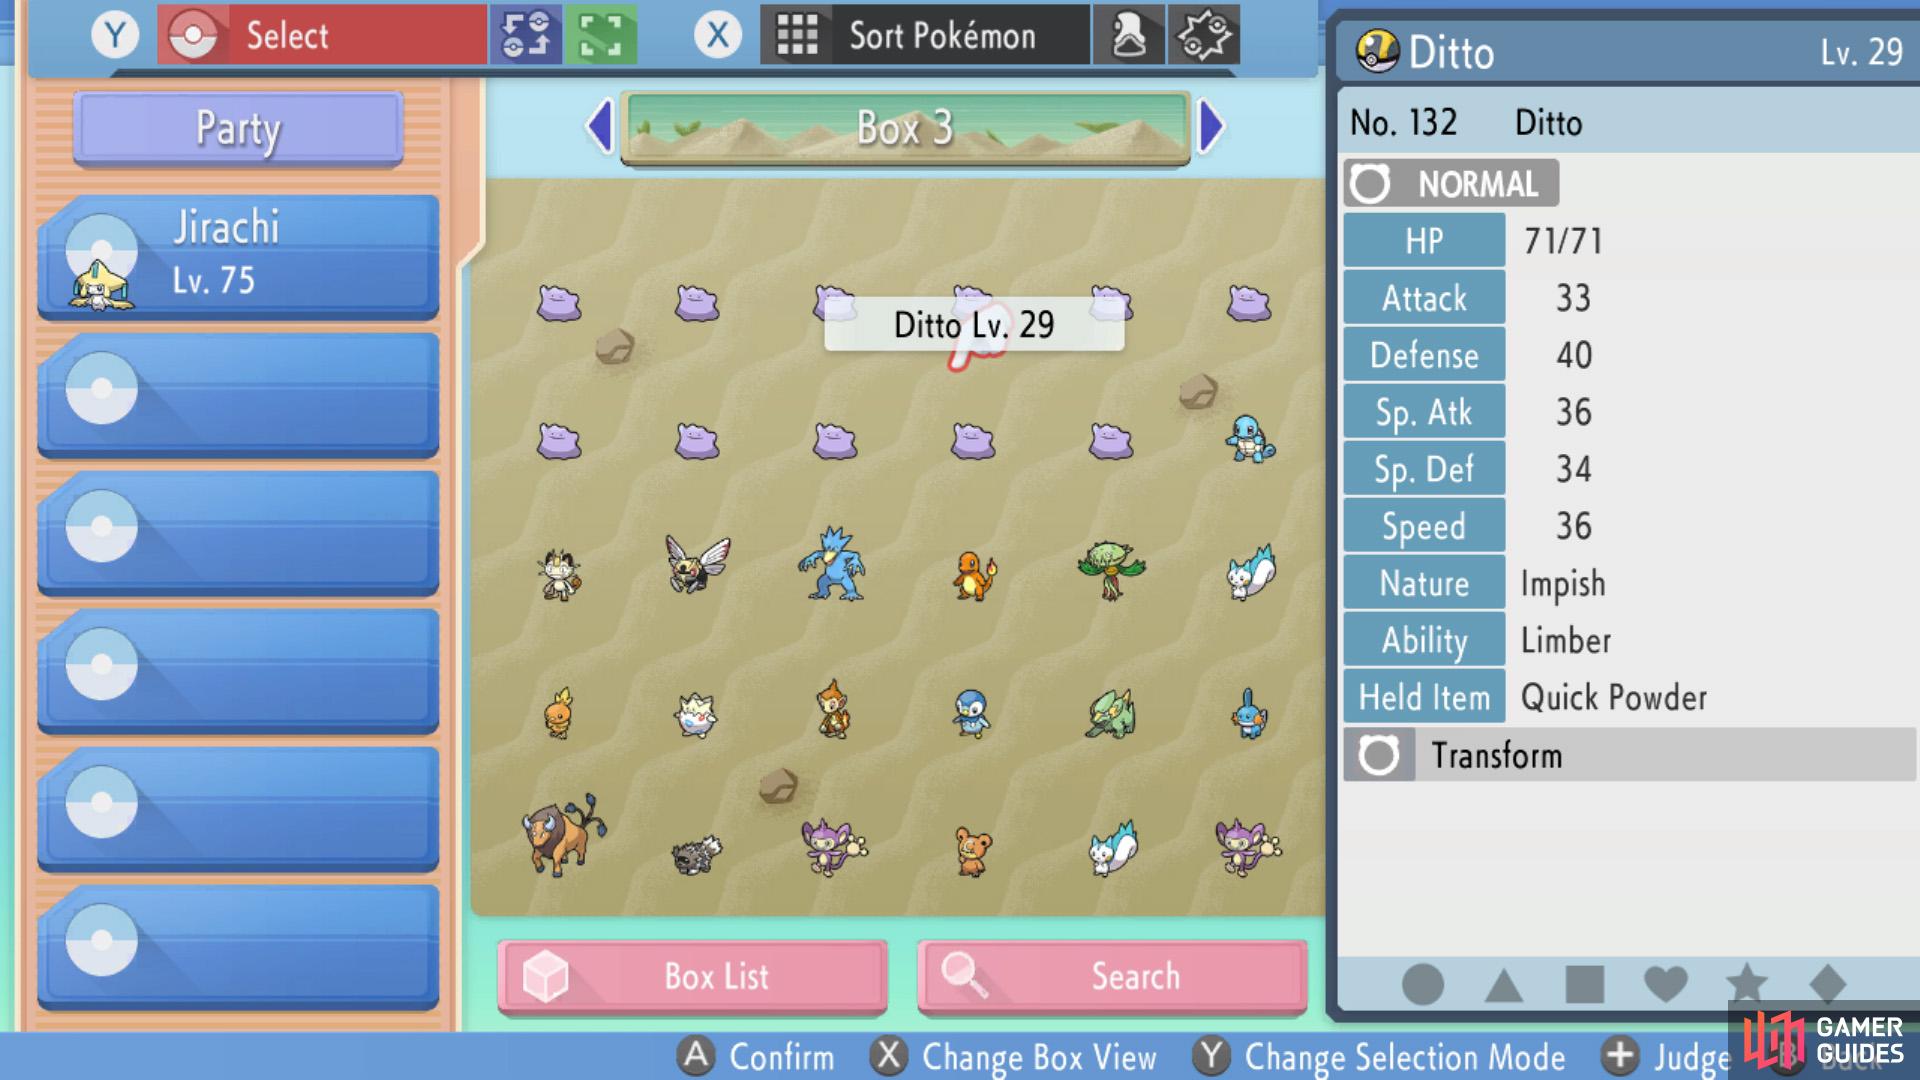
This Ditto has slightly better HP. (left), Meanwhile this Ditto has better… everything else. (right)
Individual Values (IVs for short) are hidden numbers that make each Pokémon unique, even if they’re the same species, caught at the same Level and have the same Nature. Essentially, you can consider IVs as a measure of a Pokémon’s natural talent. Like how in real life, some people are naturally smarter than others, while others may be more athletic.
Each Pokémon has a IV ranging from 0 to 31 for each of the six key stats (HP through Speed). The higher the IV, the better the stat. When encountering Pokémon in the wild or breeding Pokémon, IVs are randomly assigned for each of the Pokémon’s stat. This is what causes the individual difference in each Pokémon, hence the term.
What’s the Purpose of IVs?
Just like Natures, knowledge of IVs is largely unnecessary for the main story, so you needn’t worry straightaway. Eventually, you may wish to optimize your Pokémon’s IVs.
At Level 100, IVs contributes to an equivalent boost to the Pokémon’s stats. At the far extreme, the difference between a Pokémon with 0 IV in a stat versus 31 IV is 31 stat points, which is a big deal in high level play. Meanwhile, at lower Levels, the contribution from IVs is proportionally smaller.
Like Natures, IVs are fixed when you obtain the Pokémon. However, there are ways to influence the IVs.
-
When breeding Pokémon, the offspring will inherit 3 random IVs from their parents. Or 5 IVs if one of the parents is holding the Destiny Knot item. By carefully swapping out the parents, you can work your way up until you get offspring with 5 or 6 perfect (31) IVs.
-
Mythical Pokémon (such as
 Mew and
  Jirachi) generally have 3 random stats with perfect IVs. If you’re determined, you can save your game before receiving/catching a Mythical, then reload if the perfect IVs aren’t in the correct place (eg. a
  Shaymin with perfect IVs in Attack).
 -
Introduced in Pokémon Sun and Moon, when you reach the postgame, you can use Hyper Training to give Level 100 Pokémon any number of perfect IVs. This will require 1 Bottle Cap per stat or 1 Gold Bottle Cap to max the IVs for all six stats.
How to Check IVs
The only way to precisely evaluate IVs, down to the number, is by using an online IV calculator. Be sure to select one that’s compatible with Brilliant Diamond and Shining Pearl, as some Pokémon species may have different base stats in other games.
Because the effect of IVs is greater at higher Levels, you’ll get more accurate readings the higher Level your Pokémon are. Meanwhile Pokémon at low Levels can have a huge spread of possible IVs, making it a chore to narrow down the exact values. Don’t even bother using a calculator on a Lv. 1 Pokémon!
Stats Judge
(1 of 2) This bloke will unlock the Judge function for your PC boxes.
This bloke will unlock the Judge function for your PC boxes. (left), Don’t expect anything amazing from the Pokémon you caught along the way. (right)
Once you reach the Battle Tower during the postgame, you can obtain the Judge function for your boxes, which can reduce your reliance on IV calculators. Look for a scientist towards the east side of the interior.
After unlocking the Judge function, when you’re viewing your boxes, press the + or - Button until the window on the right changes to the correct display. Instead of seeing your Pokémon’s stats, you should see a statement like “Decent” or “Pretty Good”. The box below should also say something like “Good stats” or “Amazing stats!”
These statements are the game’s way of giving you the IV values, in a slightly obtuse way. Thankfully, you only really need to know if your IVs meet the following numbers: 0, 30, or 31. Obviously, 31 is the best, but 30 generally has the same effect (if you don’t invest EVs), while 0 Speed is useful for Trick Room and 0 Attack to reduce confusion damage.
The following table explains what the statement next to each stats means:
| Statement | IV Range |
|---|---|
| Best | 31 |
| Fantastic | 30 |
| Very Good | 26 - 29 |
| Pretty Good | 16 - 25 |
| Decent | 1 - 15 |
| No Good | 0 |
Meanwhile, the last statement is related to the total sum of a Pokémon’s six IVs. This information is far less useful, but still worth mentioning:
| Statement | IV Total Range |
|---|---|
| Amazing stats! | 151 - 186 |
| Great stats | 121 - 150 |
| Good stats | 91 - 120 |
| OK stats | 0 - 90 |


 Sign up
No Comments