First Level (World State 0)
Now that you’ve found your companions - for better or worse - it’s time to give this place a proper bit of exploring. Before you go off chasing down fey creatures, however, it’s worth recalling that this area is split into two different World States, which toggles every time you travel through the mist without the Magic Lantern equipped. Using the mist teleports you to a set location on the map, and in a few cases you’ll have to use it to get to new areas. The biggest complication is that this functionally means you’ll need to clear each level twice, as the encounters and loot vary depending on which World State you were in. For rescuing allies, you simply had to find the correct World State (they were all in the same World State) and travel about. That being the case, you’ve functionally cleared most of this area in that World State - World State 0 - so let’s start with that and go around and collect any loot and slay any foes we ignored on the first pass through the area.
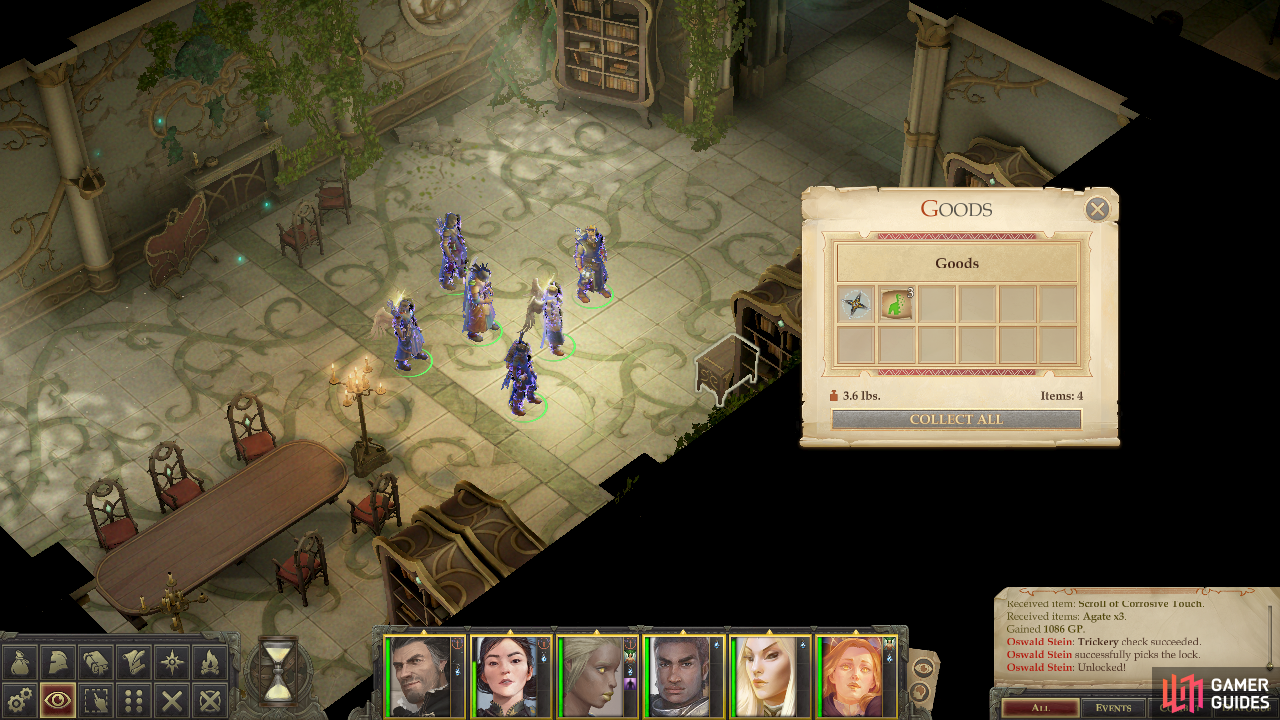
Starting from where you left off after finding the last of your companions - in this case Linzi - loot a chest northwest of Nyrissa’s neglected throne to find a variety of gems, scrolls, and gold. If you head down a hallway to the southeast (where the Wild Hunt Scouts came from) you’ll find a small chamber with a trap at the southeastern edge [Perception 36] [Trickery 36], beyond which lies the area transition to the second floor. This is where you’ll eventually want to end up after exploring this floor more thoroughly, so note its location, then return to the throne room.
From the first chest you found, follow the wall southwest to find a secret door [Perception 40] beyond which is a small chamber housing a chest, which in turn will yield a Headband of Inspired Wisdom +6. Grab it, then leave Nyrissa’s throne room by heading down a hallway to the southwest to return to the hub room just southeast of where you found Valerie. Loot a chest in the room’s northern corner to find a variety of loot and note an odd mirror you can interact with next to the opening of the hallway that leads to Nyrissa’s throne room. This mirror is part of the quest Mirror Memories, which you’ll start after having thoroughly explored the entirety of the House at the Edge of Time.
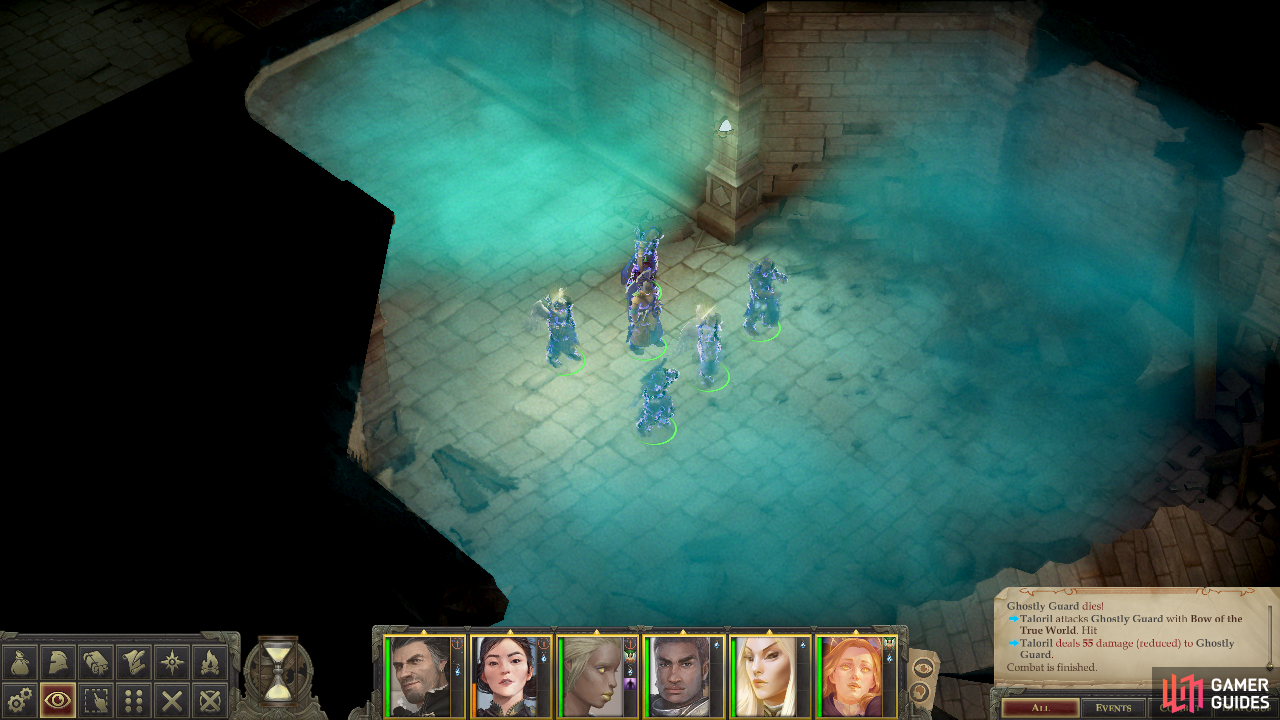
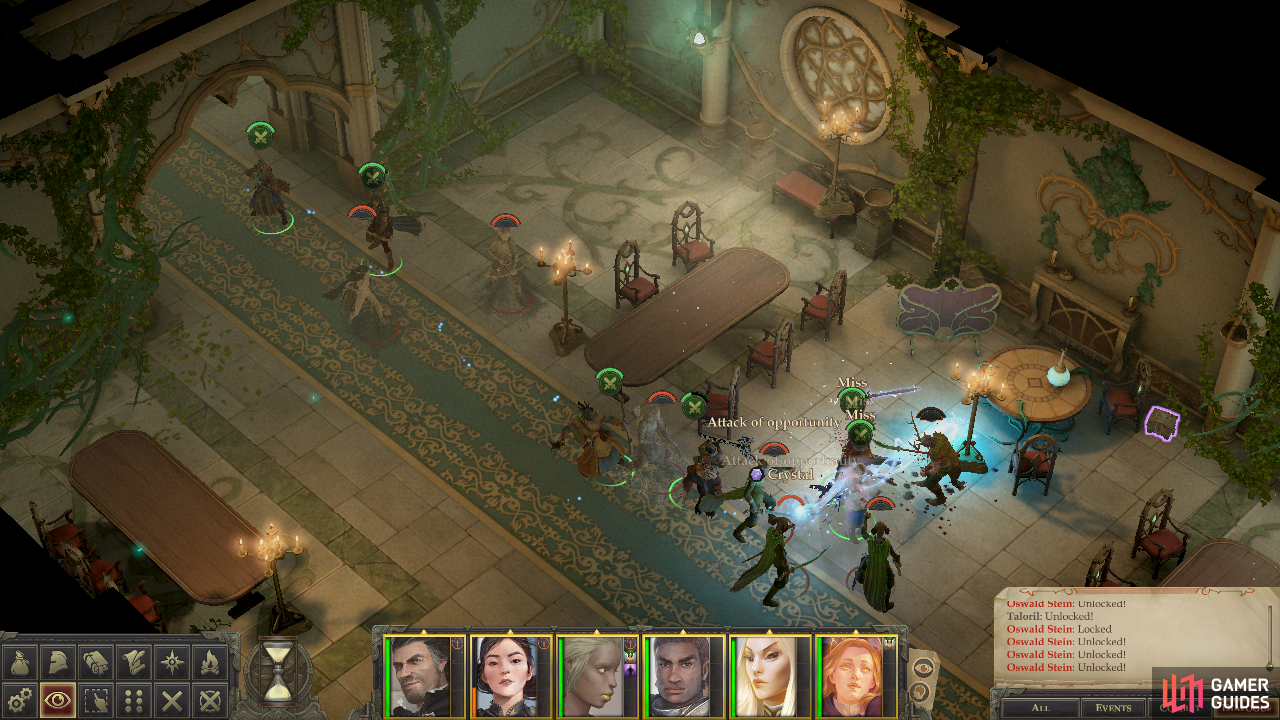
From here head back down the hallway to the southeast to find a room you neglected en route to saving (or rather, finding) your companions… and for good reason. In the room are several Ghostly Guards and a Ghostly Guard Mage, the latter of which is fond of standing back and casting debilitating area-of-effect spells like Cloudkill and Plague Storm: Blinding Sickness. You probably don’t need ability damage and/or blindness afflicting you, so try to take these mages out in preference to their allies. Otherwise, however, there’s nothing of interest in this room.
You can find a similar assortment of foes in the room with the well through which you arrived here, albeit in World State 1. Aside from these enemies you’ll also find a hidden [Perception 43] check in the well room’s northern corner. The larger room at the southwestern end of the hall is currently empty, but the room northeast of the well room holds a chest and another mirror. If you interact with this mirror you’ll start the quest Mirror Memories, which again, we’re saving for later.
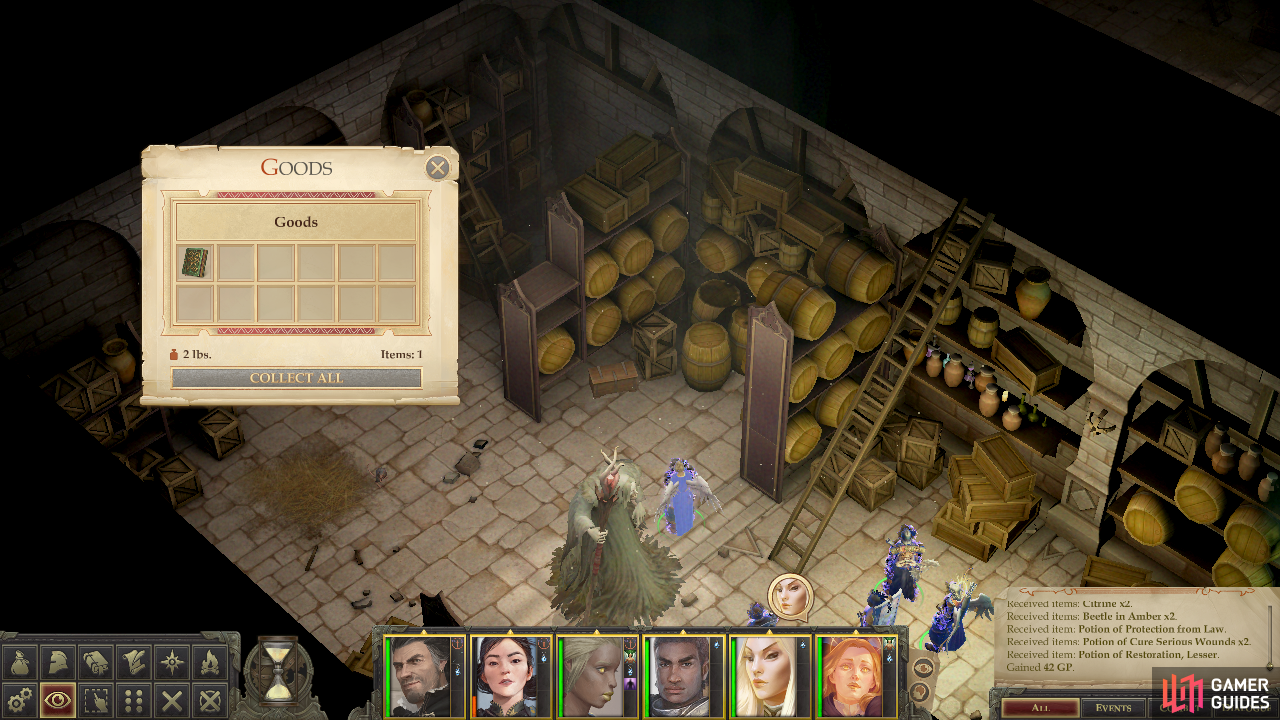
With that the southeastern end of the level is explored, so make your way back to the hub room with the mirror and head down the hallway to the southwest to return to the room where you found Jubilost. Along the northwestern corner of the room you’ll find a chest containing The Book of the Journey, which has a suspiciously high sell value of 500 gold. Keep ahold of it, as you’ll need it to access some treasure later on. Return to the room where you found Valerie to find a chest in the eastern corner of the room. To finish up this version of the first floor, return to the Frozen Boneyard and seek a chest along the northern edge of the map. Once you have these treasures return to the first level of the House at the Edge of Time, take off the Magic Lantern and enter the mist to teleport somewhere else within the level… and more importantly, to transition to World State 1.
First Level (World State 1)
Once you’re in World State 1 (make sure the mirror in the hub room is gone to ensure you’re in the right World State) start out by revisiting the side areas where you found Ekundayo and Amiri. In the Troll Lair you can find a container along the northeastern wall containing some scrolls. Plunder the container, then head to the Frozen Boneyard area, stopping in the room where Regongar and Octavia were confined to find a hidden chest [Perception 43] in the vacant third cell.
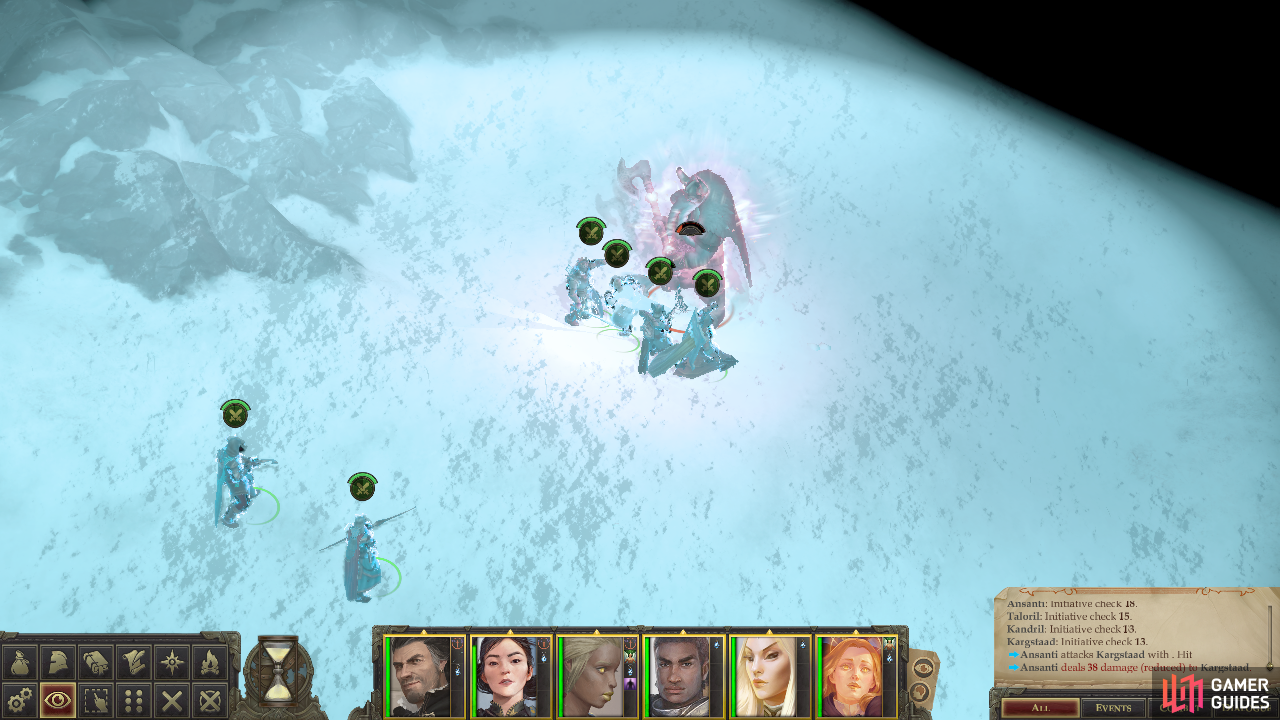
(1 of 2) In the alternate World State version of the Boneyard you’ll find Kargstaad
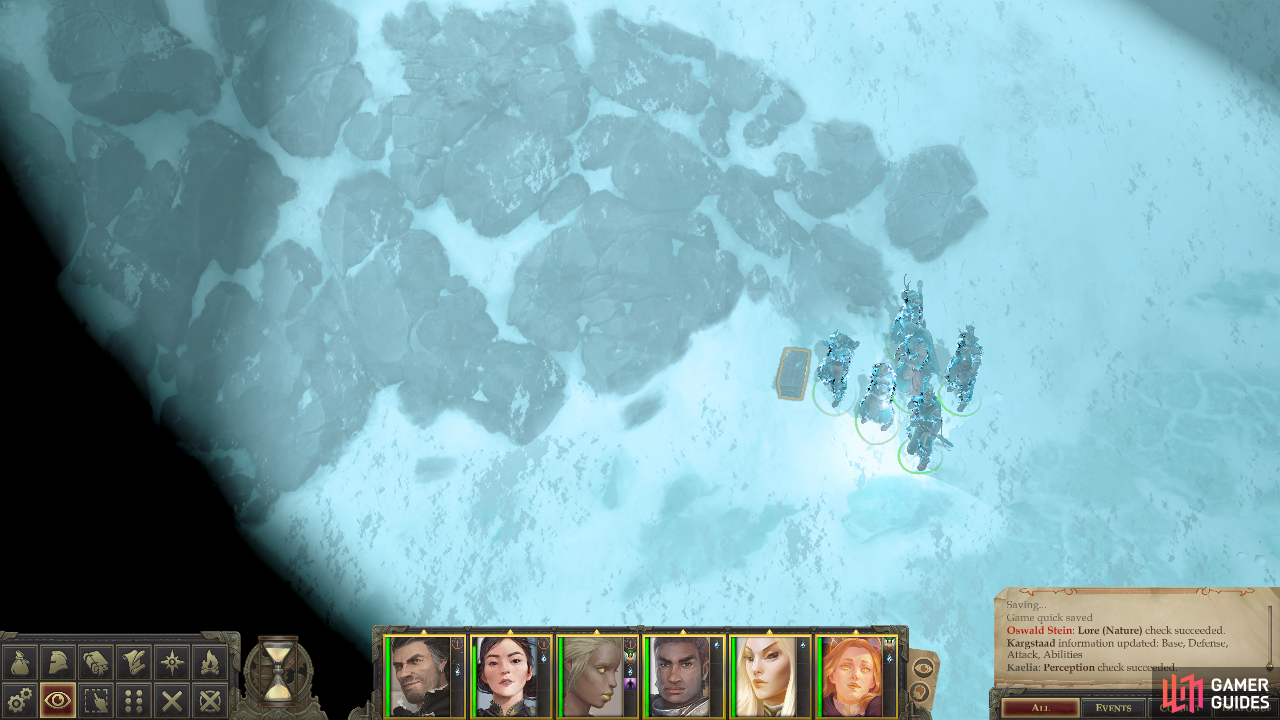
In the alternate World State version of the Boneyard you’ll find Kargstaad (left), Loot a chest to find the shield Forewarning (right)
Once you make it to the Frozen Boneyard, search for a hidden chest [Perception 43] along a cliff face near the southern corner of the level which contains the light shield Forewarning, a light shield +3 that protects the wielder from critical hits. Along the northern edge of the area you can also find Kargstaad, a Frost Giant who also happens to be an 8th-level Barbarian. While his Armor Class, Attack Bonus and Hit Points are all decent, he’s heavily out-classed by any one of your warriors. Worse yet for him is the fact that of his saving throws, only his Fortitude save is worth mentioning. Chains of Light will render him all but helpless. Kill him to nab a Frost Greataxe +2, a suit of Hide Armor +3 and Amulet of Natural Armor +3 and a Ring of Protect +2, not to mention over 10,000 experience.
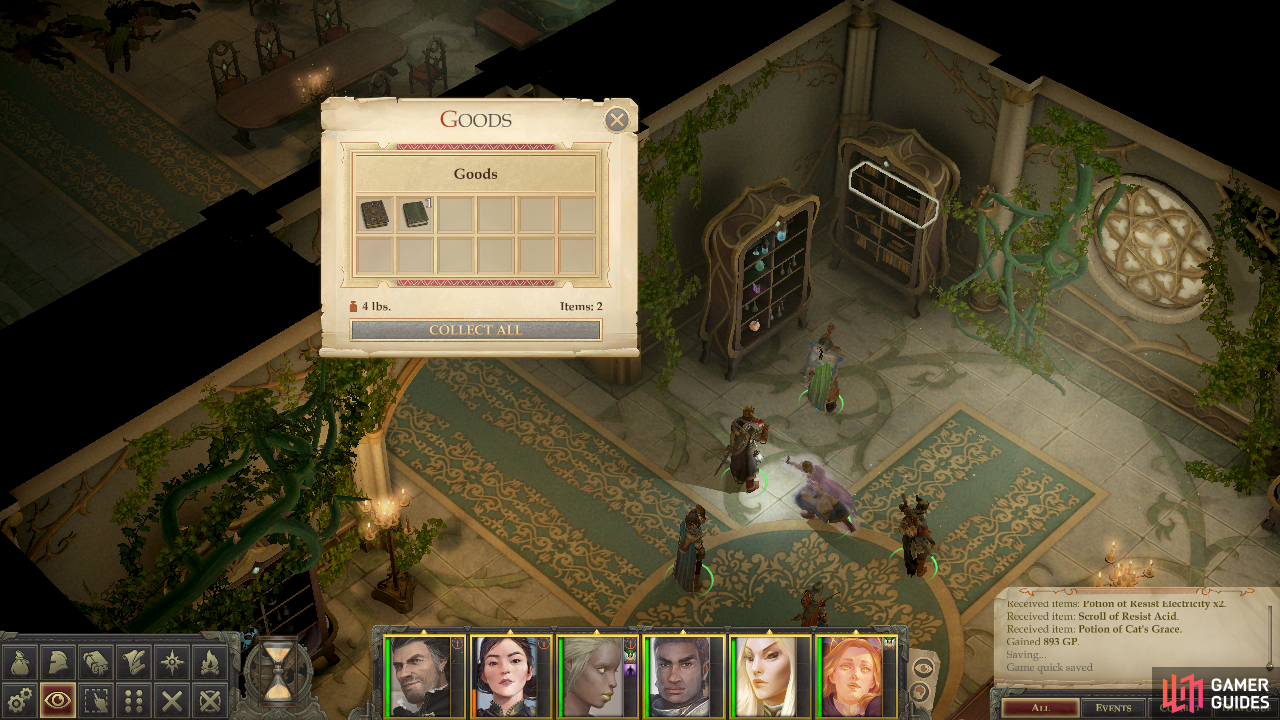
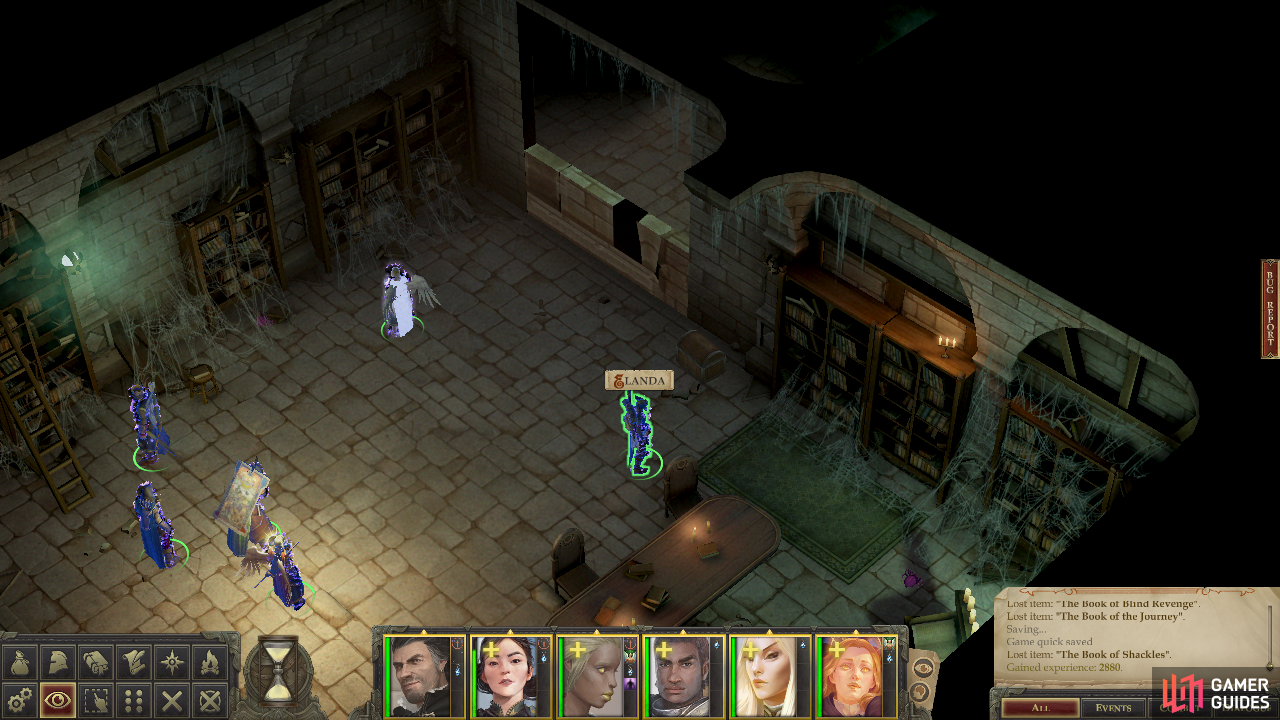
Make your way back to the room where you found Valerie and search along the northwestern wall to find a chest containing The Book of Blind Revenge, another of the 500 gold value books you’ll need to find to access a secret treasure later. Two down, four to go.
(1 of 2) Loot a chest to score the Book of Blind Revent
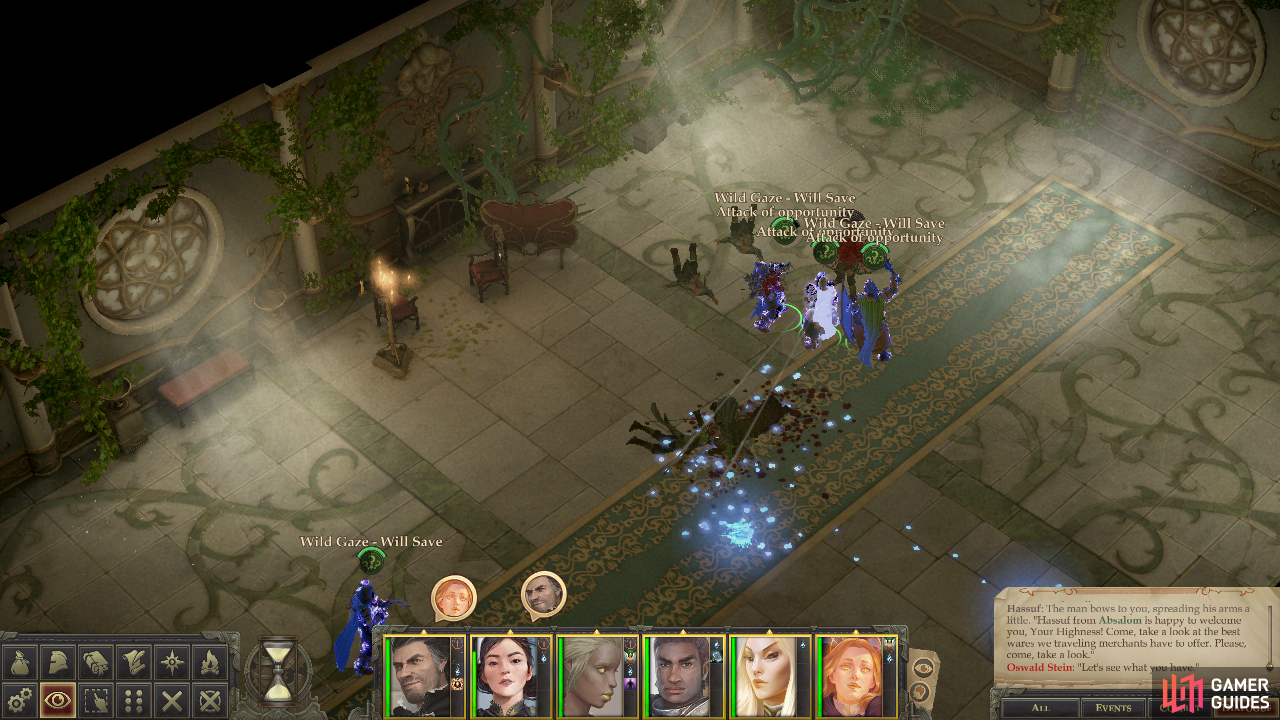
Loot a chest to score the Book of Blind Revent (left), Kill the Wild Hunt Monarch first so the rest of his minions can be put down (right)
Next stop is the room where you found Tristian and Jaethal, which is just northeast of the room where Valerie was tested. Prepare for a fight in here, as you’ll find several Wild Hunt Scouts and a Wild Hunt Monarch. The later is a real hassle, as he’ll attempt to summon more Wild Hunt Scouts at the earliest opportunity, then use Dispel Magic, Greater before wading into combat. He boasts an Armor Class of 45, nearly 400 Hit Points, DR 15/Cold Iron and can also cast Heal and Finger of Death. Of his saves, his Fortitude Save is his weakest, so targeting him with Baleful Polymorph has a fair chance of knocking him out of the fight, although Weird, if you have it, has a fair chance of outright killing the Wild Hunt Monarch. Either way, attempt to target the Monarch first, as none of his minions will die until he’s gone. Your reward for going through this trouble? You can loot a chest [Trickery 43] in the northern corner of the room.
Return to the hub room southeast of Valerie’s room - now bereft of its mirror - and claim a chest in the eastern corner of the room. Turn northeast to return to Nyrissa’s throne room and loot a chest to the east of her throne, then enter the secret room (which should still be open in this World State to find a hidden [Perception 42] chest containing Ravena’s Embrace, a suit of Adamantine Full Plate +4.
Make your way back to the hub room, then enter Harrim’s room to find a chest along the northeastern wall. Jubilost and Nok-Nok’s room both contain several Wild Hunt Scouts (and perhaps the odd Wild Hunt Archer), while in this World State (World State 1) Nok-Nok’s room also houses a chest and a mirror. The latter is, of course, part of the Mirror Memories quest, and a diagnostic feature of this World State on this level.
Finally head down to the southeastern hallway and explore the three southeastern rooms branching off it. The northeastern-most and central ones both contain a chest, the latter being locked [Trickery 43] while the southwestern-most room - the well room - is empty. To wrap up this World State and level, head into the larger room at the southwestern end of the hallway to find several Ghostly Guards. No mages this time, so just buff up and butcher them, then loot a chest in the western corner of the room.
With that done, return to Nyrissa’s throne room and head down the hallway to the southeast, at the end of which you’ll find the area transition to the second floor. Don’t transition world states and ascend the stairs and you should find yourself in World State 1’s version of the second floor.
Second Level (World State 1)
When you reach the new area, head down a hallway to the southwest, then enter the first room to the northwest you find. It’s protected by three Wild Hunt Scouts and a Wild Hunt Archer which are annoying, but by no means insurmountable. Loot a chest near the bed, then return to the hallway and continue southwest to find a second, unoccupied room to the northwest. Loot a chest near the bed in this room, too, then continue through a doorway to the southwest to find a banquet hall.
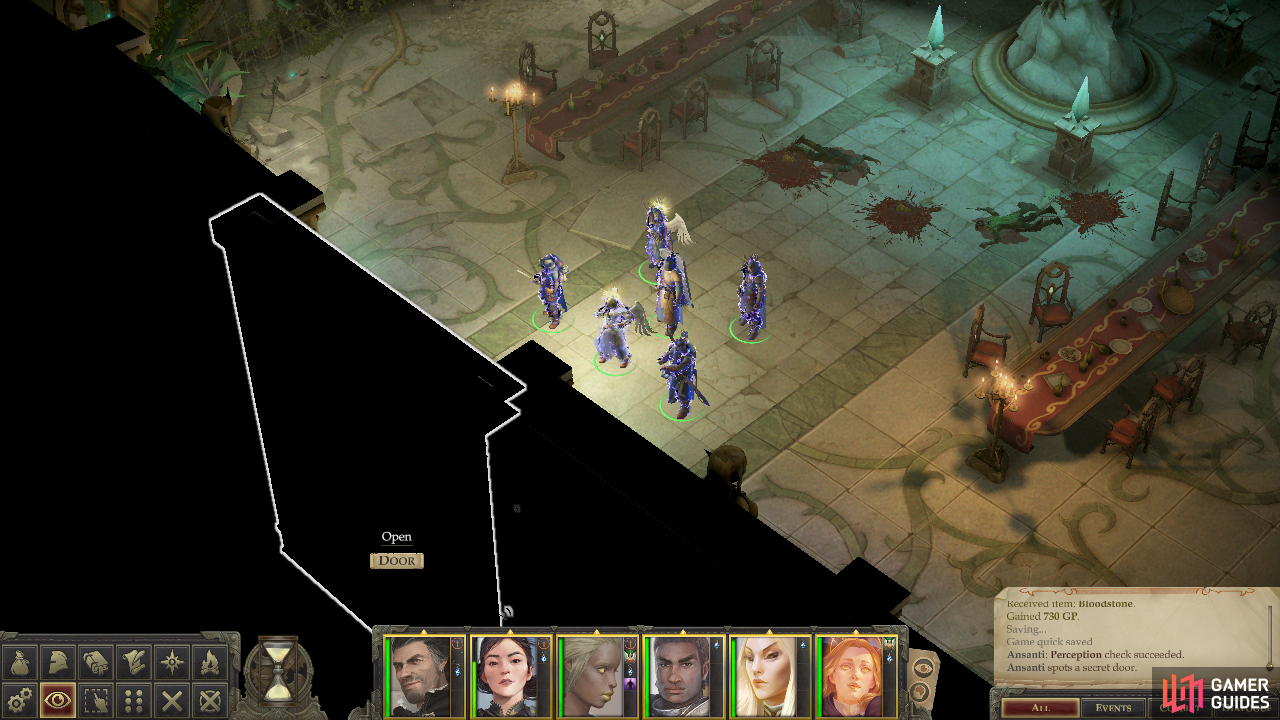
(1 of 2) Search the southwestern end of the banquet hall to find a secret door
Search the southwestern end of the banquet hall to find a secret door (left), beyond which you can find the Neverending Journey weapon. (right)
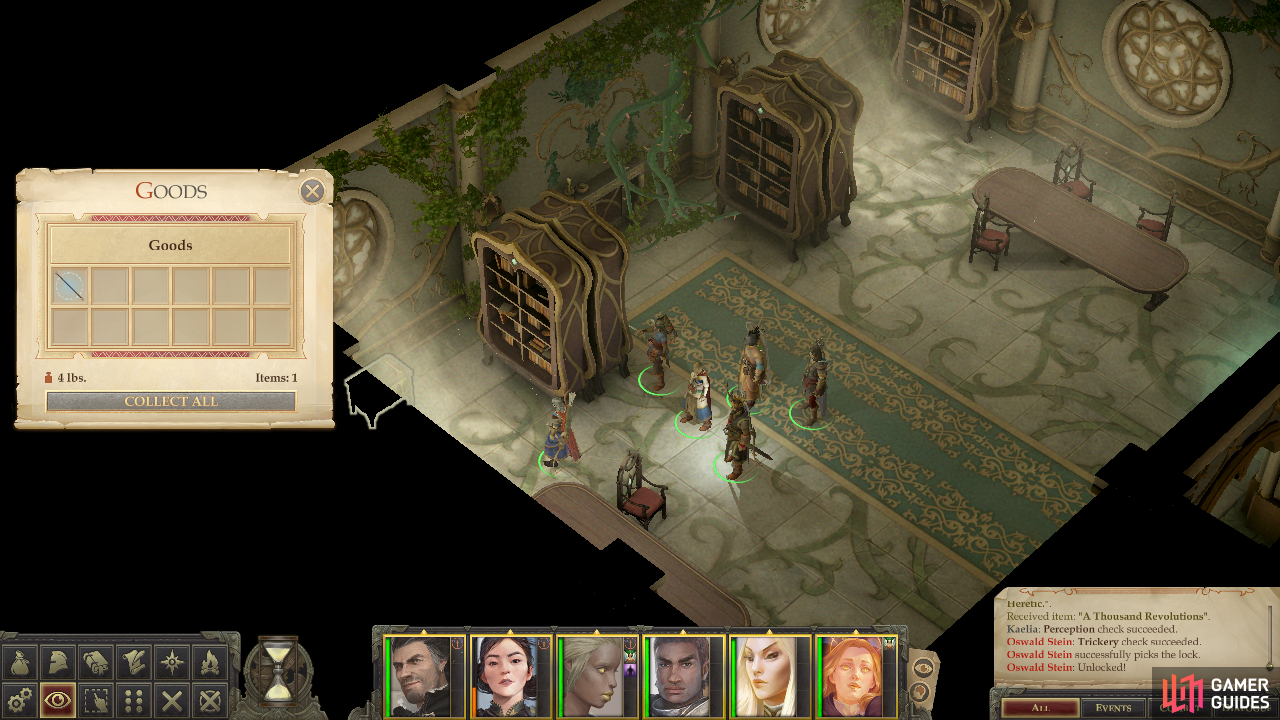
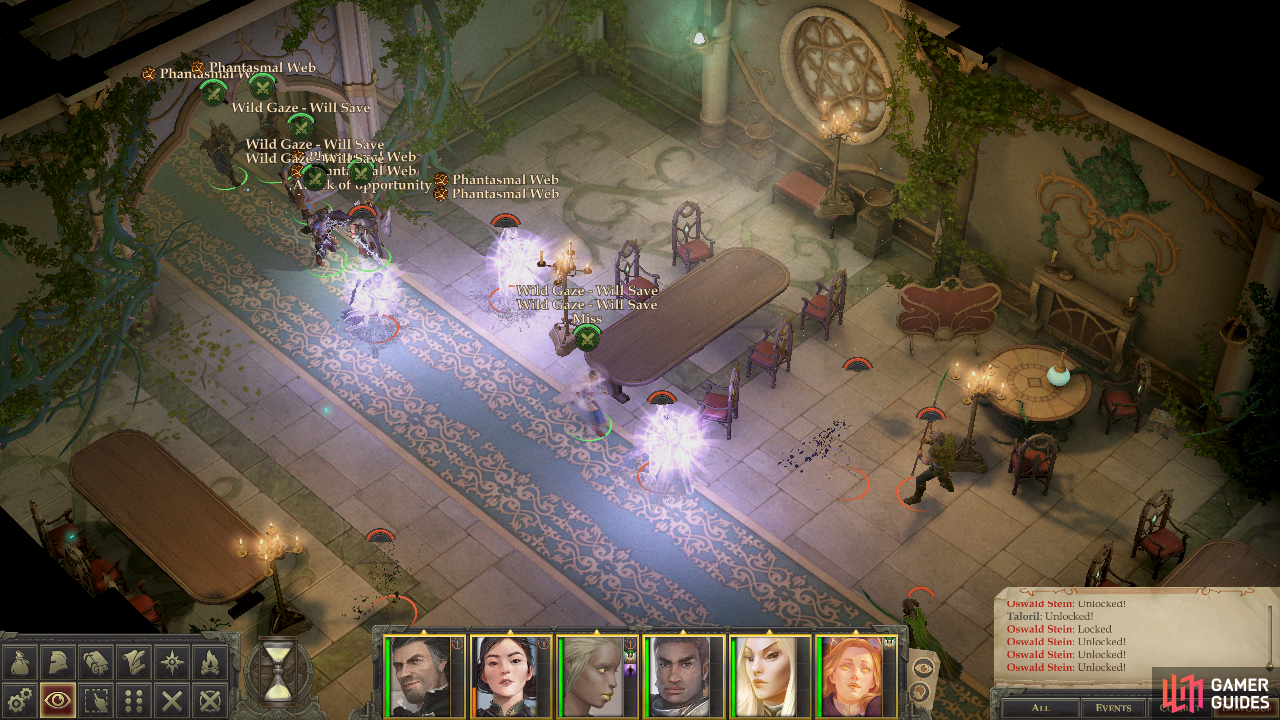
In this World State the banquet hall is occupied by several Wild Hunt Scouts, Wild Hunt Archers and a Wild Hunt Monarch. Take them down like you did the last group then loot a locked chest [Trickery 47] along the northwestern wall and another near the southwestern wall. Also note there’s another mirror in the eastern corner of the room, another diagnostic feature to indicate which World State you’re in. Finally, search along the southwestern wall to find a secret door [Perception 40] behind which you’ll find a chest containing Neverending Journey, a starknife +5 with the “Holy” and “Finesse Wielding” properties, which dazzles struck foes for 1d4 rounds and forces them to save (Fort 21) or be blinded.
Return to the banquet room and find some stairs leading down to the southeast, which ultimately lead to a room occupied by a Primal Treant and some Nymphs. The Primal Treants are melee brutes with a moderate Armor Class, nearly 300 Hit Points, and DR 10/Slashing and Cold Iron, being far weaker than Wild Hunt Monarchs, you should have no trouble cutting them down, just be sure to use fire or cold iron to ensure they stay down, as they regenerate much like a troll. The Nymphs are far squishier, and mostly just exist to try and debilitate you with their Stunning Glance and Blinding Beauty abilities. Since both challenge your Fortitude Save, send your warriors to deal with them, and if you want to debilitate them, their own Fortitude Saves are quite low. Cut down your foes, then loot a chest near a locked door to the northeast. The chest will yield some Bracers of the Ruby Phoenix Champion, which are great items for archers of the longbow persuasion. As for the locked door, there’s no key to find; the only way to open it is to get around it, and that must be done elsewhere.
Head down a hallway to the southwest find [Perception 36] and disarm [Trickery 36] a trap, note another mirror at the elbow of the hallway, then turn southeast to reach an empty room with another locked door to the northeast. Like the previous door, this one only opens from the other side. Continue southeast to find another, busier chamber and start out by disarming the trap [Perception 36] [Trickery 36], in the doorway. You might need to use invisibility to do this safely, or better yet, just lure your foes into the northwestern room and dispatch them so you can disarm the trap in peace. In the room they guarded you’ll find little of interest save some stairs leading down to the southwest, which will take you to the basement area.
No sense in changing World States just yet. Head down those stairs and don’t fret about the World State you skipped or the locked doors - you’ll get around to them shortly.
Basement (World State 1)
You’ll arrive on the southern edge of the level, so head northwest to find the tell-tale signs of First World influence creeping in and undermining the integrity of the basement. When the path ahead splits, continue on the central path to find some Ghostly Guards. There’s about a half-dozen of them here, some of which are in the room to the northeast, and they include two mages. When those enemies are smote, go back down to the fork in the pat and head down the southwestern route to find a dead end. Nab a chest stashed amidst some foliage, then return to the central path where you found the ghosts and continue northwest.
(1 of 2) Loot a chest hiding in some foliage for the Book of Never Saying Goodbye
Loot a chest hiding in some foliage for the Book of Never Saying Goodbye (left), If you’re not careful, the Ankou will merrily blast you with Prismatic Spray spells (right)
Shortly you should find yourself in a larger chamber. Loot a chest in some foliage along the eastern end of the room to find The Book of Never Saying Goodbye, one of the six books you need to access a treasure later on. Continue northwest to find another chamber crawling with Ghostly Guards (fortunately no mages this time) then go through a mist-choked gate to the northwest to enter a very large chamber heaped with junk. Advance until you find [Perception 36] a trap [Trickery 36], beyond which lie a great number of Ankou.
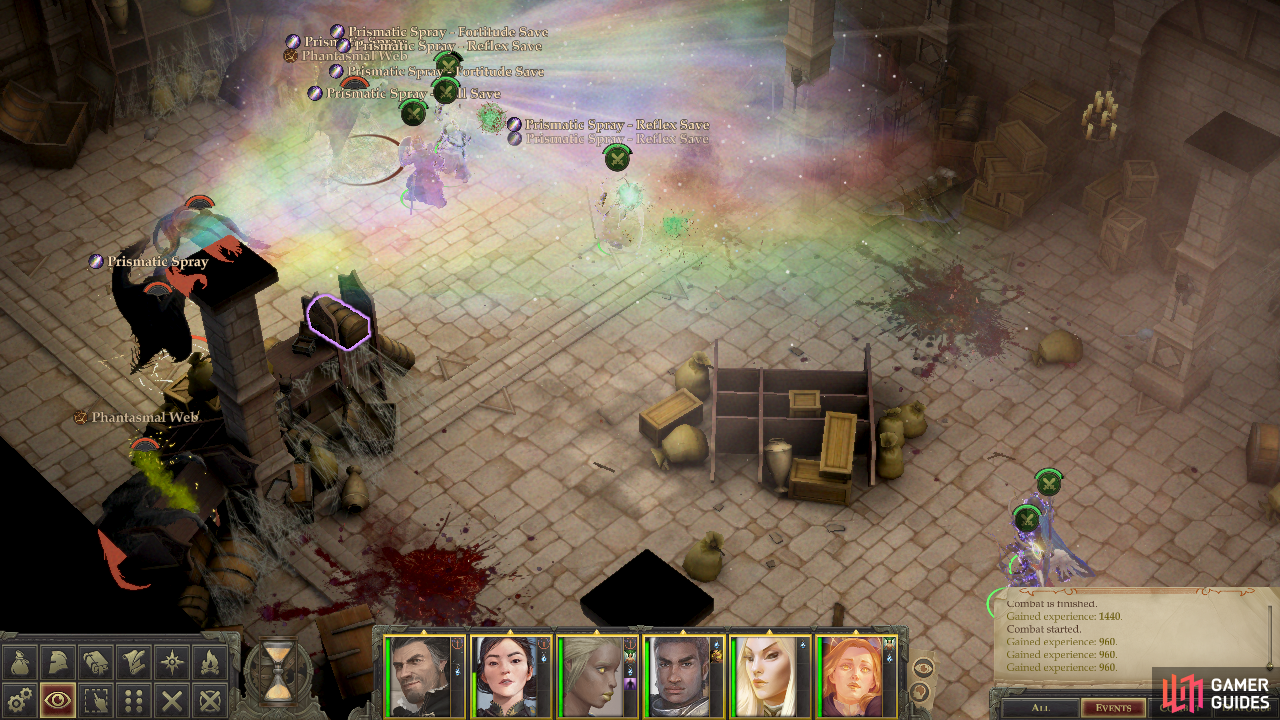
These beasts aren’t protected by ghosts, so there’s little need to subject yourself to their Prismatic Spray if you can avoid it. Their Fortitude and Will saves are both pretty terrible, so if you can overcome their Spell Resistance, Weird is a good way to knock several of them out of the fight. Failing that, Phantasmal Web can possibly debilitate some of them, but even cast well it won’t hit them all. Fortunately, if most are effect a Hasted character can bait one or two Ankou into casting the spell before running out of range. Dispatch these nuisances and loot a chest near the western-most pillar to find a suit of Leather Armor +5.
That loot obtained, leave the large celled room and return to the room to the southeast. Instead of going back the way you came, go through an arch to the northeast to reach another chamber, this one occupied by a Medusa. These beings are notorious for their ability to petrify (Fort 21), but so long as you lead with your warriors and aren’t terribly unlucky, you should be safe. Aside from their gaze they’ve got little to recommend them, being very squishy and not well protected by Armor Class or Saving Throws. Cut her down and note that you’re probably afflicted by the “Wild Energies” debuff, which will give your spells a 50% fail rate. This debilitation is location-based, and there’s not much you can do aside from avoiding fights in the areas where you’ll be afflicted by it.
Speaking of which, head down a hallway to the northeast to escape the Medusa’s chamber with its nasty debuff and follow along until you find a trap [Perception 36] [Trickery 36]. Disarm it, occupy the hallway beyond, then turn northwest and head down this new hallway until you find a locked door… locked from the other side, that is. Open it up to reach the part of the basement level you would have been taken to if you went into the well while wearing the Magic Lantern earlier. More specifically, go past the locked door and head down a hallway to the southwest until you find a large, empty chamber that contains the aforementioned well. Loot a chest [Trickery 45] in the western corner of the room, then return northeast to the hallway you came down.
Now to deal with the rooms northwest of this hallway. The first (southwestern-most) one houses a hidden [Perception 44] locked [Trickery 45] chest containing Linnorm Hide armor, a suit of hide armor +5 that gives its wearer a +4 bonus to saves against Transmutation spells. The middle room is empty in this World State, so just skip it and enter the third, northeastern-most room to find a crate [Perception 45] you can loot. To finish up the northern part of the level, head down the hallway to the northeast to find an area transition leading to the first level. You obviously have no need to go there just yet, so ignore it and instead return to the hallway beyond the locked door you opened earlier and continue southeast until you reach the fork in the path where you disarmed a trap.
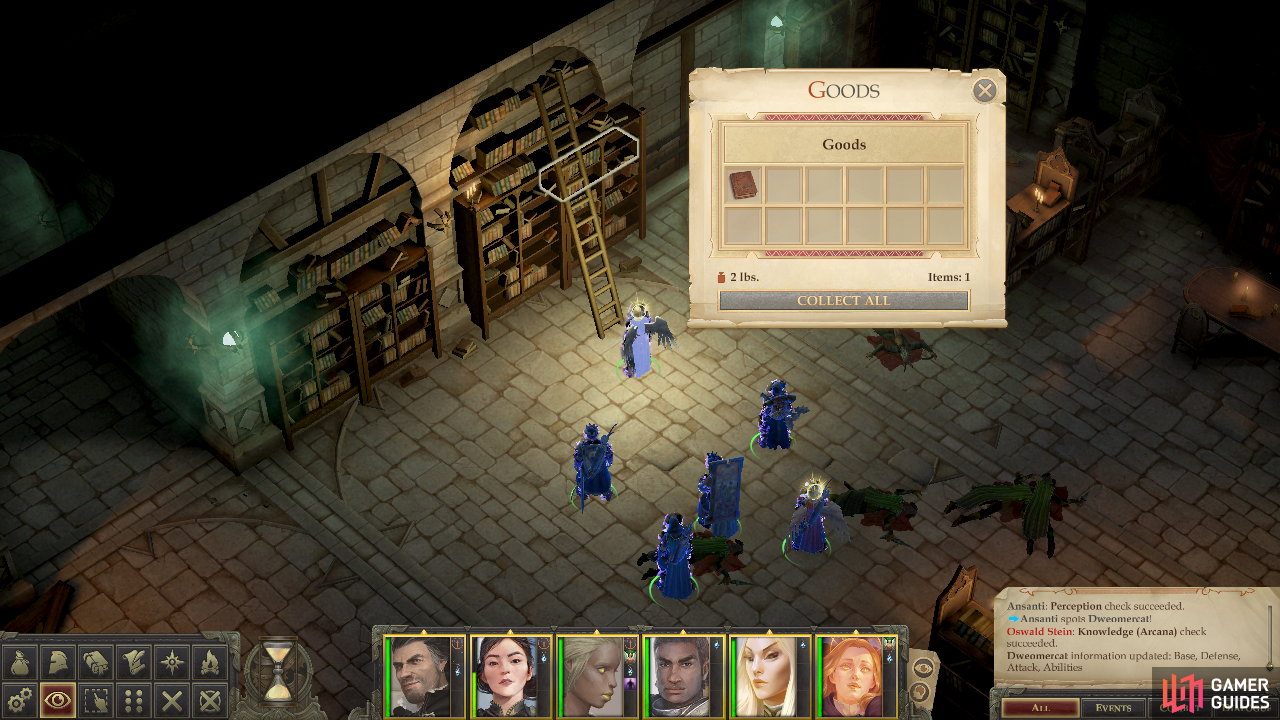
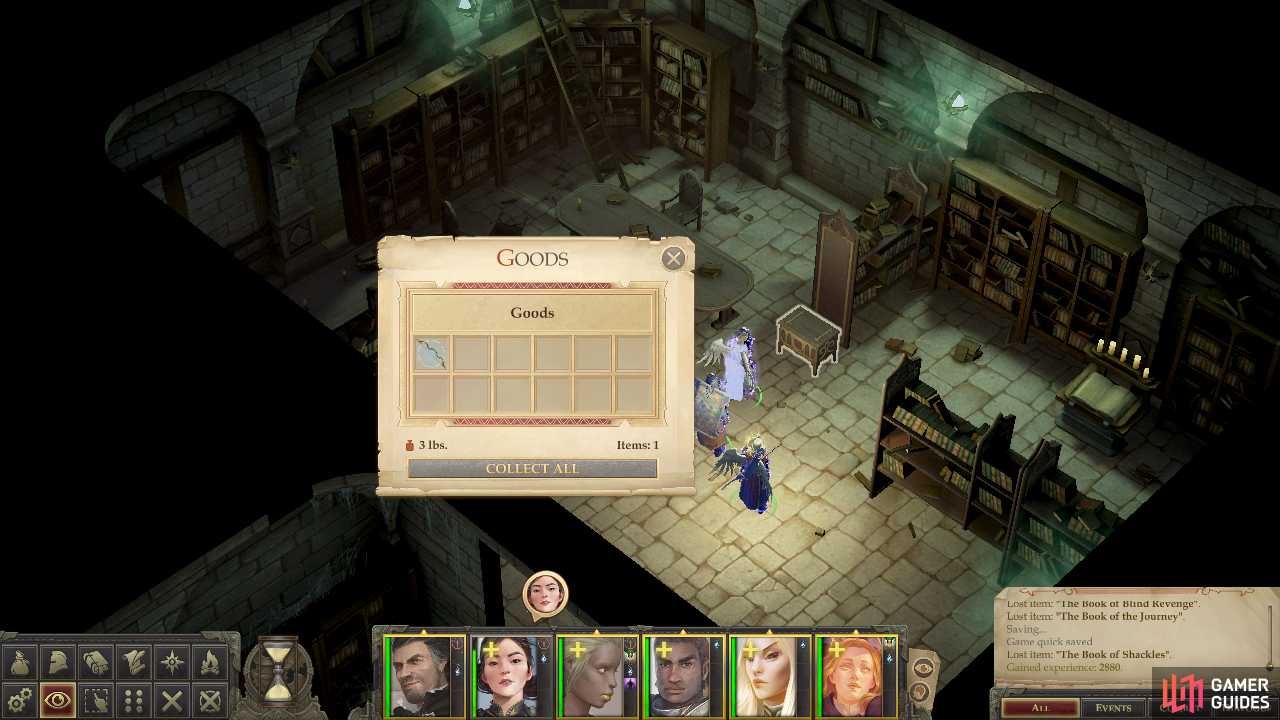
Of the two new options available to you, start out by heading northeast into a room crawling with Ghostly Guards and Wild Hunt foes. This includes one mage who lurks in the back of the room, so you might want to ensure you’re heavily spell-buffed before starting this fight. Emerge victorious and loot a bookshelf on the northern wall to find The Book of Shackles, another 500 gold value book that’s part of a puzzle later on. Four out of six - almost there! More foes can be found in a room to the northwest, including more Wild Hunt Scouts and two high-level Dweomercats. There’s little incentive to kill them, however, as the bookshelf in here you can loot contains a low-value book that isn’t part of the aforementioned puzzle.
Return to the more lucrative library chamber and head southeast into yet another library room, where more Wild Hunt Scouts and two Ancient Water Elementals await. These elementals, once a dire threat, are now pathetically weak. Dispatch them, then note the bookshelf to the northeast, titled marked as “love” is fallen into disrepair. There’s some symbology there, surely. Another bookshelf in the eastern corner of the room can be looted for another low-value book of no consequence.
(1 of 2) Grab the Book of Shackles from a library
Grab the Book of Shackles from a library (left), The Mephit in the waterclock will tell you about how the bookshelf puzzle works (right)
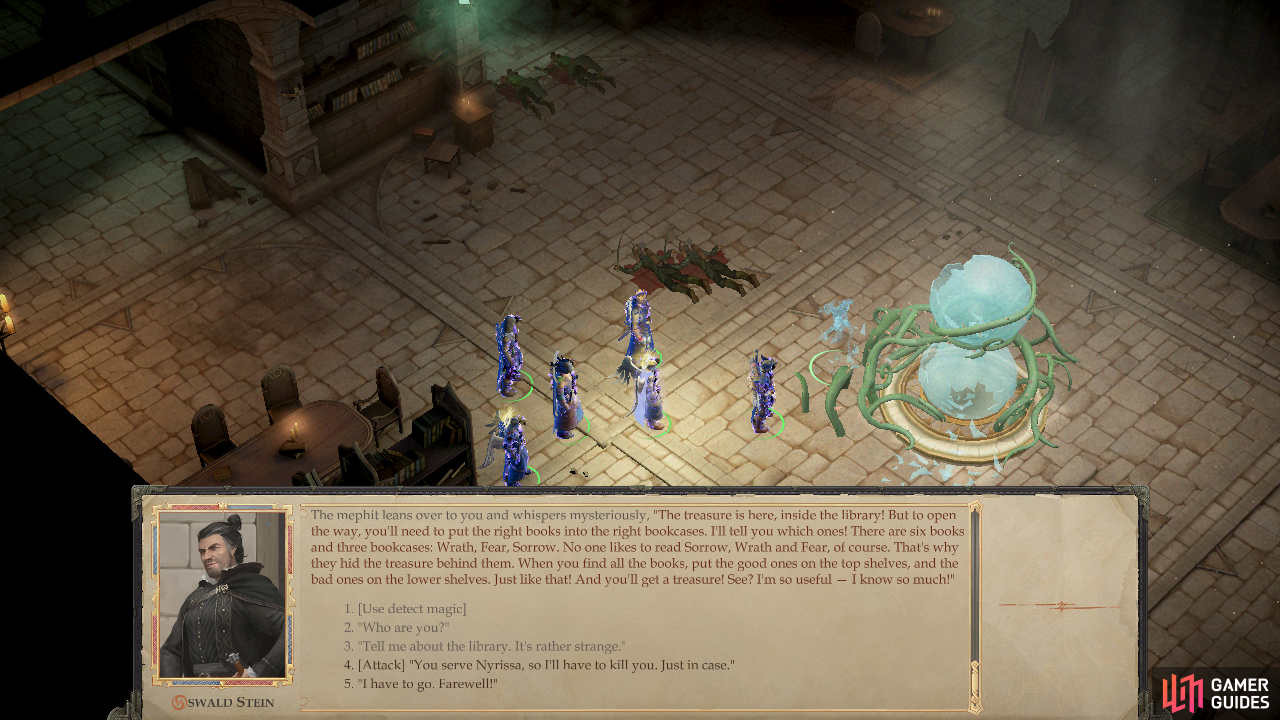
More interesting, however, is the waterclock in the center of the room. Give it a good smashing [Strength 17] and a mephit named Pludok will be freed and start a conversation with you. Ask it “Do you know where Nyrissa is hiding?” after which you can say “Yes, that’s right. Tell me about the treasure” to learn about the oft-mentioned book treasure puzzle you’ve been collecting the components of. If you instead pick the [Diplomacy 40] option you can get him to tell you some dirt on Nyrissa… or at least, begin to. Seems Nyrissa - or some force - doesn’t approve of his babbling, and effects a nasty end for him. Be that as it may, it’s worth over 20,000 experience, and you don’t need to learn about the book puzzle to claim the treasure.
Poor Pludok, sacrificed for crude experience. Shame, that. Venture southeast into a fourth and final library chamber. Search to the southwest to find a locked [Trickery 42] chest, then head to the northwestern end of the room to find [Perception 45] a secret door. This secret door is locked, and the only way to open it is by putting six books in their proper places. It just so happens there are three bookshelves, each with two compartments, a higher and a lower compartment. The western-most bookshelf is labeled “Sorrow”, the middle is labeled “Wrath” and the eastern is labeled “Fear”. On the top compartment of the “Wrath” bookshelf you’ll find The Book of Joyless Triumph, which is, in fact, a bit of a deception, as it’s not one of the books you need for this puzzle despite its price. Ah well.
Return to the Medusa room back to the southwest and from there head southeast into an unexplored room (near where you fought the first group of Ghostly Guards) and continue southeast into a second chamber. Here you can find a chest near some foliage to the west. After you claim it, head into yet another unexplored room to the southeast to find another chest near some plants [Trickery 45]. Finally turn northeast to enter a room crawling with, of course, more Ghostly Guards. This batch includes two mages who will be lurking in the background, so be ready for them.
Continue northwest, then northeast into another chamber, loot a chest along the northeastern wall, then head into yet another room to the west. Here you’ll find another group of Ghostly Guards, including a mage who stands amidst them. Wipe them out, then return to the room to the east and head southeast to find a mist-choked chamber.
While appearing like a dead-end, this room is actually the way you’ll reach the areas behind the locked doors on the second floor… and Nyrissa’s sanctum. Keep your Magic Lantern equipped and head into the mist and note there are two distinct patches of mist, including a smaller cloud at the entrance and a larger cloud that fills up the majority of the room. Move your party past the first cloud of mist, take of the Magic Lantern, then head southeast to a spot just north of some rubble to teleport to a new area…
(1 of 2) Bypass the first cloud of mist to reach the second, which will take you to more interesting place
Bypass the first cloud of mist to reach the second, which will take you to more interesting place (left), In the First World area covered by mist, the mist will teleport you to different areas depending on which direction you go. (right)
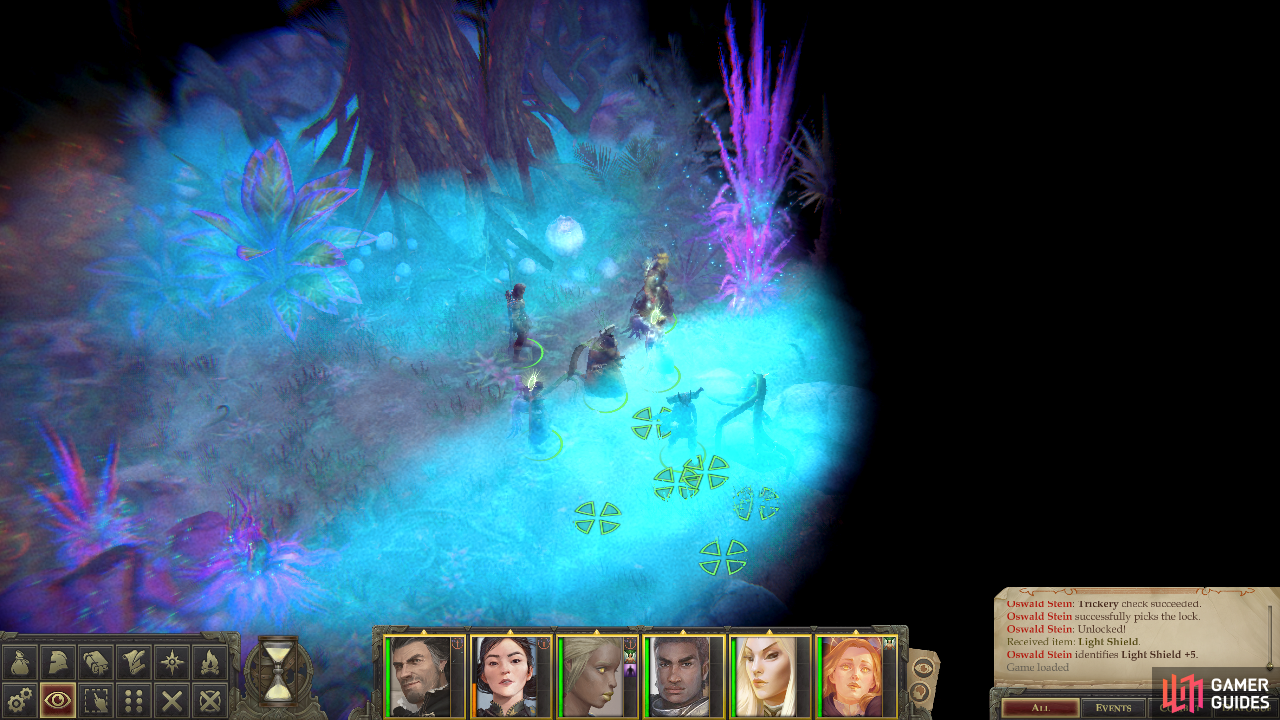
Mist traveling through this area is a bit tricky, but suffice to say that you’ll go to a small hub, First World forest area surround by mist. While technically World State 0, it’s only a transition area, so the place it’ll take you to next is a World State 1 area. Anywho, there are effectively three exits hidden in this mist. If you go northwest you’ll be teleported back to the hub room on the first floor. Not ideal. If you go northeast you’ll find yourself in another, larger, transitional First World forest area. If you go south, on the other hand, you’ll be teleported to a small isolated chamber with a tree. This area’s much more important in the other World State, but even here you can loot a locked check [Trickery 45] to score a Light Shield +5.
Once done head through the mist again to return to the misty hub room you were in, and this time go into the mist to the northeast to reach another small, First World hub room where you’re surrounded by even more mist! Again, traveling into the mist will take you to different areas; if you go southwest you’ll appear in Nyrissa’s throne room, going southeast will take you to an unexplored hallway on the second floor, the mist to the northwest will take you back to the mist-filled chamber in the basement, and venturing northeast will take you to an unexplored room on the second floor. Wherever you go, you’ll be in the (most likely unexplored) World State 0 variant of that area. For the sake of keeping everybody on the same page, go northeast to travel to the World State 0 version of the second floor. You’re going to have to make a trip through the mist in the basement in each World State anyways.
Second Level (World State 0)
You’ll appear in an unexplored room at the southern end of the second level. To the north should lurk some Wild Hunt Scouts, a Wild Hunt Archer and a Dweomercat. Kill them, then loot a chest near some bookshelves to score a Cloak of Resistance +6 while another chest can be found near some barrels along the western end of the room. Once that’s looted, head down a short hallway to the southwest and unlock the door to reach the chamber that houses the area transition connecting the basement to the second floor. Don’t bother heading back downstairs just yet, however - might as well explore the rest of this level while you’re here.
Head into the room to the northwest and some Ghostly Guards (including a mage) will teleport in. Dispatch them and succeed at a [Perception 47] check to find a chest hiding on some shelves in the northern corner of the room. Ensure your Magic Lantern is still unequipped, then head through the mist blocking the entrance to the northwestern hallway to be teleported to the eastern end of the level… and back to World State 1. Don’t worry, you’ll get back to the proper World State soon enough, but you might as well knock this out while you can.
(1 of 3) Loot a hidden chest to score a Ghost Touch Quarterstaff +4
When you arrive, loot a bookshelf to the northwest to find two useless books… but at least it gets the marker off your map. More interestingly, loot a hidden chest [Perception 47] [Trickery 49] to find a Speed Ghost Touch Quarterstaff +4. A little late, but it’s a fine weapon to use against those damn ghosts that permeate this place.
Before you head into the room to the southeast, spellbuff thoroughly, as a rather large fight awaits you, including some Nymphs and a host of Wild Hunt Scouts and Archers led by a Wild Hunt Monarch. Again, none of them will die until the Monarch is slain, so he should be your first target… and that means debilitating the rest of them. Their Fortitude Save is largely suspect so Weird might have an effect if they fail their somewhat better Will Saves. Failing that, Phantasmal Web may also suffice if deployed by two characters and/or in repeated volleys. You’ll want to rush past the northern-most Nymph and target your spells more towards the center of the room, however, as that’s where most of the enemies lurk.
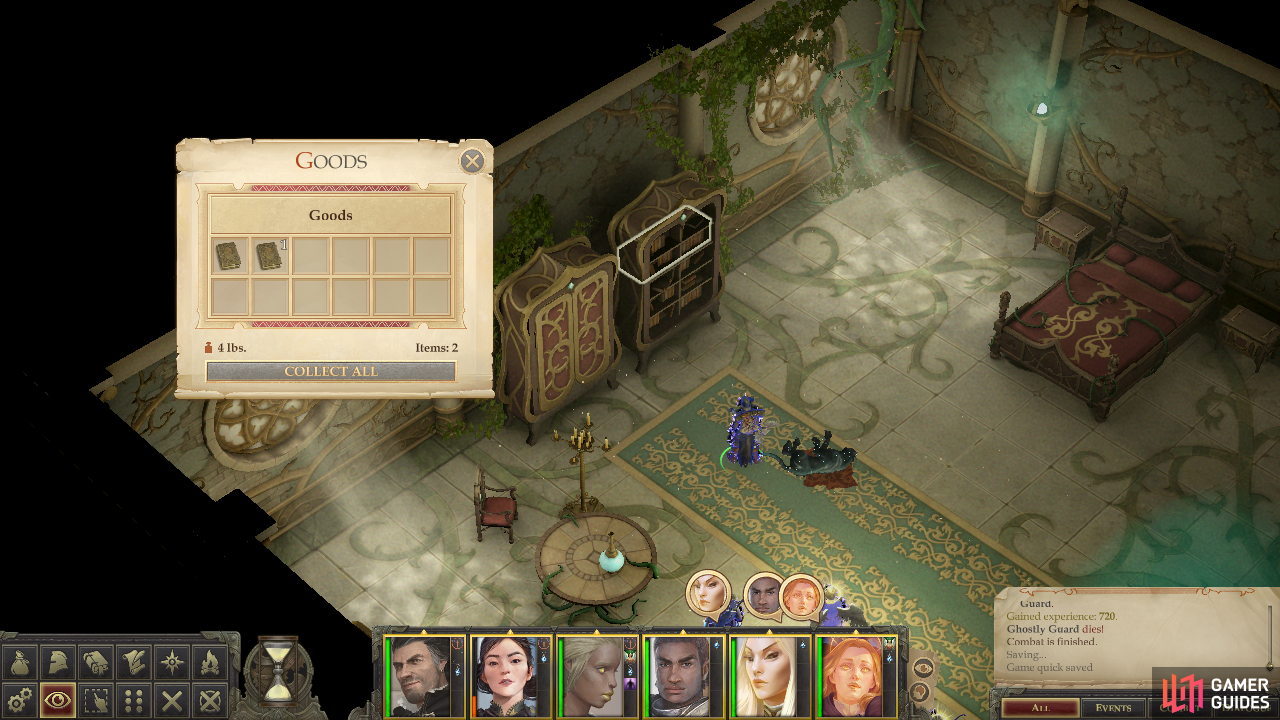
Vanquish your foes and spot a trap to the southwest, opposite a hallway [Perception 36] [Trickery 36], then loot a chest [Perception 47] along the northeastern wall. Once done, enter a room to the southeast and loot a bookshelf in the northern corner of the room to find The Book of Nourishing Rage, which is one of the last two books you need for the bookshelf puzzle in the basement.
Head into a room to the southwest and loot a chest to the northwest [Trickery 45] which is next to a doorway leading to a hallway that ultimate runs northeast/southwest, connecting the room where you fought the most recent Wild Hunt Monarch to one of the locked doors leading to the rest of the level. Ignore this hallway for now and instead head into another chamber to the southwest occupied by a Nymph, some Wild Hunt Scouts and a Wild Hunt Archer. Kill them, find [Perception 36] and disarm [Trickery 36] a trap in the middle of the room before heading into a larger room to the southwest. Here you’ll find a single Medusa, who can easily be smote. Once done search the northwestern end of the room to find a hidden chest [Perception 46] [Trickery 46].
Whew. Time to get back to World State 0, and there’s a great opportunity to do so nearby. Return to the room to the northeast, then exit out into the hallway to the northwest and turn down said hallway, venturing southwest. Shortly you’ll find yourself at a door to the northwest, beyond which Nyrissa waits… a door you need three keys to open.
Soon.
For now, continue southwest into some mist to be teleported back to the library at the eastern end of the level… and more importantly, to World State 0. Loot a new chest to the northwest, then head through the doorway to the southeast to find another batch of Nymphs and Wild Hunt Scouts, this time mercifully sans a Monarch. Cut them down and enter another room to the southeast for more of the same, then venture into the room to the southwest to find a Medusa guarding a hidden [Perception 46] chest near a bed. Wait a few moment and keep an eye to the hallway to the north to find another Medusa patrolling, who can easily be rushed and killed being on her own and all.
Return to the room where you killed the first Medusa and head southwest into another small room, this time empty save for a chest. Continue southwest into the next, larger room, which is far busier in this World State than the last, as it’s occupied by some Wild Hunt Scouts and a Nymph. Kill them all, then head back into the hallway to the northwest that leads past Nyrissa’s room, equip your Magic Lantern and continue down the hallway southwest until you reach the locked door that you’re now on the right side of. Open it to find yourself off where you left off - in the room where some Ghostly Guards appeared, just southeast of the L-Shaped tunnel whose mist you teleported through.
If this seems all clean and planned out, wonderful! Sadly, there is a messy bit of cleanup that ruins this illusion - the World State 1 version of the southern room previously behind locked doors that you teleported into earlier. To do this, make sure your Magic Lantern is unequipped, look at the elbow in the L-Shaped hallway to the northwest, and if the mirror is there, you’re go to head south to the aforementioned room. If not, head into the mist to change World States, re-equip your Magic Lantern, then head over to said room. This really isn’t necessary as all you’ll find within is a single chest with loot that’s not terribly note-worthy.
(1 of 2) Claim the Book of Nourshing Rage from a bookshelf
Claim the Book of Nourshing Rage from a bookshelf (left), Start out the fight with the Mandragora Swarms by blasting them with fiery spells like Firestorm. (right)
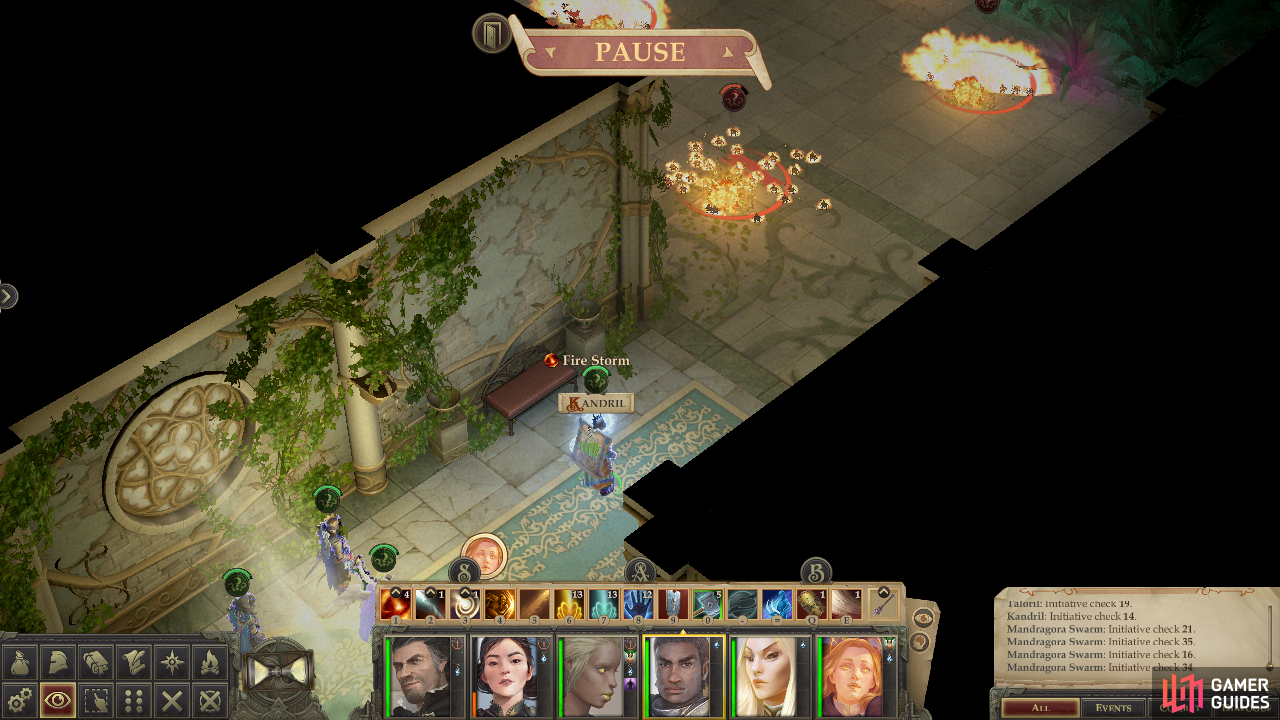
When you’re ready to move on, return to the room southeast of the L-Shaped hallway and check to see if the mirror is there. If it is, teleport through the mist again to change World States, then return to the L-Shaped hallway again. When the mirror isn’t present, put on the Magic Lantern and head northwest, then northeast through the hallway to reach a large, tree-filled chamber. Before you enter make sure you’re prepared, as several Mandragora Swarms lurk therein. Nuke them with Firestorm, Tar Pool and Obsidian Flow, then hold them off with your warriors as your casters prepare another round of fire magic. Once they’re dead, loot a chest hiding in some foliage in the eastern corner of the room, then proceed northwest.
In the banquet room upstairs you’ll find The Wriggling Man. Never fear, however, as he’s got little interest in bothering with you unless you talk to him. Save that encounter for another day and loot a chest [Trickery 48] in the western corner of the chamber to score an Amulet of Mighty Fists +5. Enter the secret room to the southwest (which isn’t so secret anymore) and loot a chest in the western corner to find an Amulet of Natural Armor +5.
(1 of 2) In one of the northern rooms in the second floor you’ll find The Book of Bitterness.
In one of the northern rooms in the second floor you’ll find The Book of Bitterness. (left), Ignore the Knurly Witch for the moment and pick up the book in the room she occupies. (right)
Leave the banquet room and head into a hallway to the northeast, turning northwest into the first room you find. While it appears empty, several Ghostly Guards will appear (including a mage) as well as a Dweomercat. Dispatch them, then loot a bookshelf to find The Book of Bitterness, which should be the last book you need to complete the bookshelf puzzle in the basement.
In the next room to the northeast you’ll find a chest with some nondescript loot inside, while if you continue northeast you’ll reach the stairs leading down to the first floor. No need to go there, yet, so return to the room where you fought the Mandragora Swarms and make sure your Magic Lantern is equipped. Once done, enter the well to return to basement, albeit in a more northerly room that’s opposite the hallway that leads to the area transition to the first floor.
Basement (World State 0)
Whew. Final level of exploration. Loot a chest to the north then head out into the hallway and turn your attention to the three rooms to the northwest. In the southwestern-most one you’ll find the Knurly Witch, who, like The Wriggling Man, shouldn’t be bothered yet. Loot two chests in the room to find The Book of the New Beginning and complete your collection, then head on into the center room and loot an unguarded chest. In the final, northeastern-most room you’ll find some Ghostly Guards and a Ghostly Guard Mage, but since there’s no loot worth grabbing in here, there’s little incentive to bother them.
Head down a hallway to the southeast until you find a library room to the northeast. Inside you’ll find a bookshelf you can loot for some junk as well as your old pal Shyka the Many. He’s got little of interest to say, so head into the library room to the northwest, where you’ll find some Wild Hunt Scouts and Wild Hunt Archers. Kill them, then loot a shelf in the northern corner of the chamber [Perception 44] to find a Ring of Protection +5.
Return to the library room with Shyka, then continue southeast into the room with the waterclock, which is now occupied by a Wild Hunt Monarch and his goons. Fortunately you have a clear shot on the Monarch, so use whatever spells you find necessary to debilitate his minions, dispatch the Monarch, then mop up. Loot a chest northeast of the waterclock to find another copy of the bogus book The Book of the Joyless Triumph, then press on to the southeast to enter the room with the bookshelf puzzle.
(1 of 2) Place the books in their proper places to open a secret door
Place the books in their proper places to open a secret door (left), beyond which you’ll find the Gamekeeper of the First World. (right)
Head to the northeastern end of this room to find a chest near the secret door you’ve yet to unlock. Once that’s pillaged, it’s time to get the treasure that lurks behind the secret door. Go to the “Sorrow” shelf and put The Book of Never Saying Goodbye on top and The Book of Bitterness on the bottom. Next up is the “Wrath” bookshelf, which requires The Book of Nourishing Rage to be on top and The Book of Blind Revenge to be placed on the bottom. Finally, head over to the “Fear” bookshelf and place The Book of the Journey on the top shelf and The Book of Shackles on the bottom shelf. Once those are in place, the secret door should lower and a room revealed. Head inside and loot a chest to score Gamekeeper of the First World, a composite longbow +5 with an expanded critical threat range (19-20) that illuminates struck targets for three rounds, preventing them from using invisibility and burdening them with a -50 penalty to Stealth checks and a -4 penalty to Armor Class. If you come back to this chest after changing the World State, you can claim another load of treasure - in this case, a whopping 28,173 gold.
Travel northwest back to the library room where Shyka waits, then head down a hallway to the southwest. Ignore the room to the southeast for now and instead continue into a chamber to the southwest, where you can find a hidden chest [Perception 45]. Next turn northwest and enter another room, then head through the mist-choked cage to the northwest to reach the large chamber where you encounter Ankou in the other World State. In this World State you won’t find any beasties or traps, just another mirror and a chest that contains a variety of treasure, including The End, a heavy flail +5 with the “Anarchic”, “Vicious” and “Unstoppable” properties. Dealing divine damage, this weapon bypasses Damage Reduction, making it a pretty damn potent weapon on its own. In addition, it deals 2d6 extra damage against Lawful creation, but it’ll also deal 1d6 damage to the wielder every hit. Against some foes with particularly troublesome Damage Reduction, it’s a worthy trade-off.
Leave the caged room and head southwest down the southeastern passage where you’ll encounter three Medusae. No trick to this encounter, just lead with your best Fortitude Save and hope for the best, as they’re no trouble at all if their gaze attack doesn’t land. Once they’re dead, continue southeast until you find a passage to the southwest leading to a dead-end where you can find a hidden [Perception 44] chest. Continuing southeast just leads to the stairs that’ll take you back up to the second level, so ignore them and continue northeast into a chamber, then head southeast into another room. Here you’ll find Phomandala, a Medusa with twelve Wizard levels. All alone she’s hardly more danger than any other Medusa, so cut her down before she can cast any spells and loot her for a Flaming Composite Longbow +1, an Amulet of Natural Armor +3 and a Ring of Protection +3.
Venture southeast and loot a chest along the southwestern wall, then turn northeast and pass through some mist to reach a furnished chamber that appears empty. When you enter, however, some Wild Hunt Scouts and Wild Hunt Archers will teleport in and attack, so lead with your warriors and keep your casters back so they don’t end up being targeted. Continue around a corner to the northeast where you’ll find some Ghostly Guards including a Ghostly Guard Mage. The mage hangs out in the back, so it might be somewhat tricky to reach him. After you defeat them, head northwest then turn southwest into another room to find a pair of Medusae.
Once those last two foes are slain return to the room to the northeast, then turn southeast to return to the mist-covered chamber which you used to teleport to the sealed areas on the second floor. You’ve explored the entire area now, so there’s little else to do besides finish up the final side quest, Mirror Memories and go after the three keys you’ll need to reach Nyrissa. The two are, in fact related, so the following section, Sound of a Thousand Screams - Mirror Memories and Three Keys to the Apology will cover both.



 Sign up
No Comments