After sounding the Horn of the Vastiri, you’ll finally be able to continue pursuing Jamanra through Deshar before boarding his own massive war machine, The Dreadnought. Fight through The Dreadnought and confront Jamanra, the Countess’s latest rube and the Act 2 boss! This page will provide strategies for defeating Jamanra, the Abomination in Path of Exile 2!
Page Breakdown
| Quick Search |
|---|
| Jamanra, the Abomination Location |
| Jamanra, the Abomination Boss Strategy - Phase 1 |
| Jamanra, the Abomination Boss Strategy - Phase 2 |
Jamanra, the Abomination Location
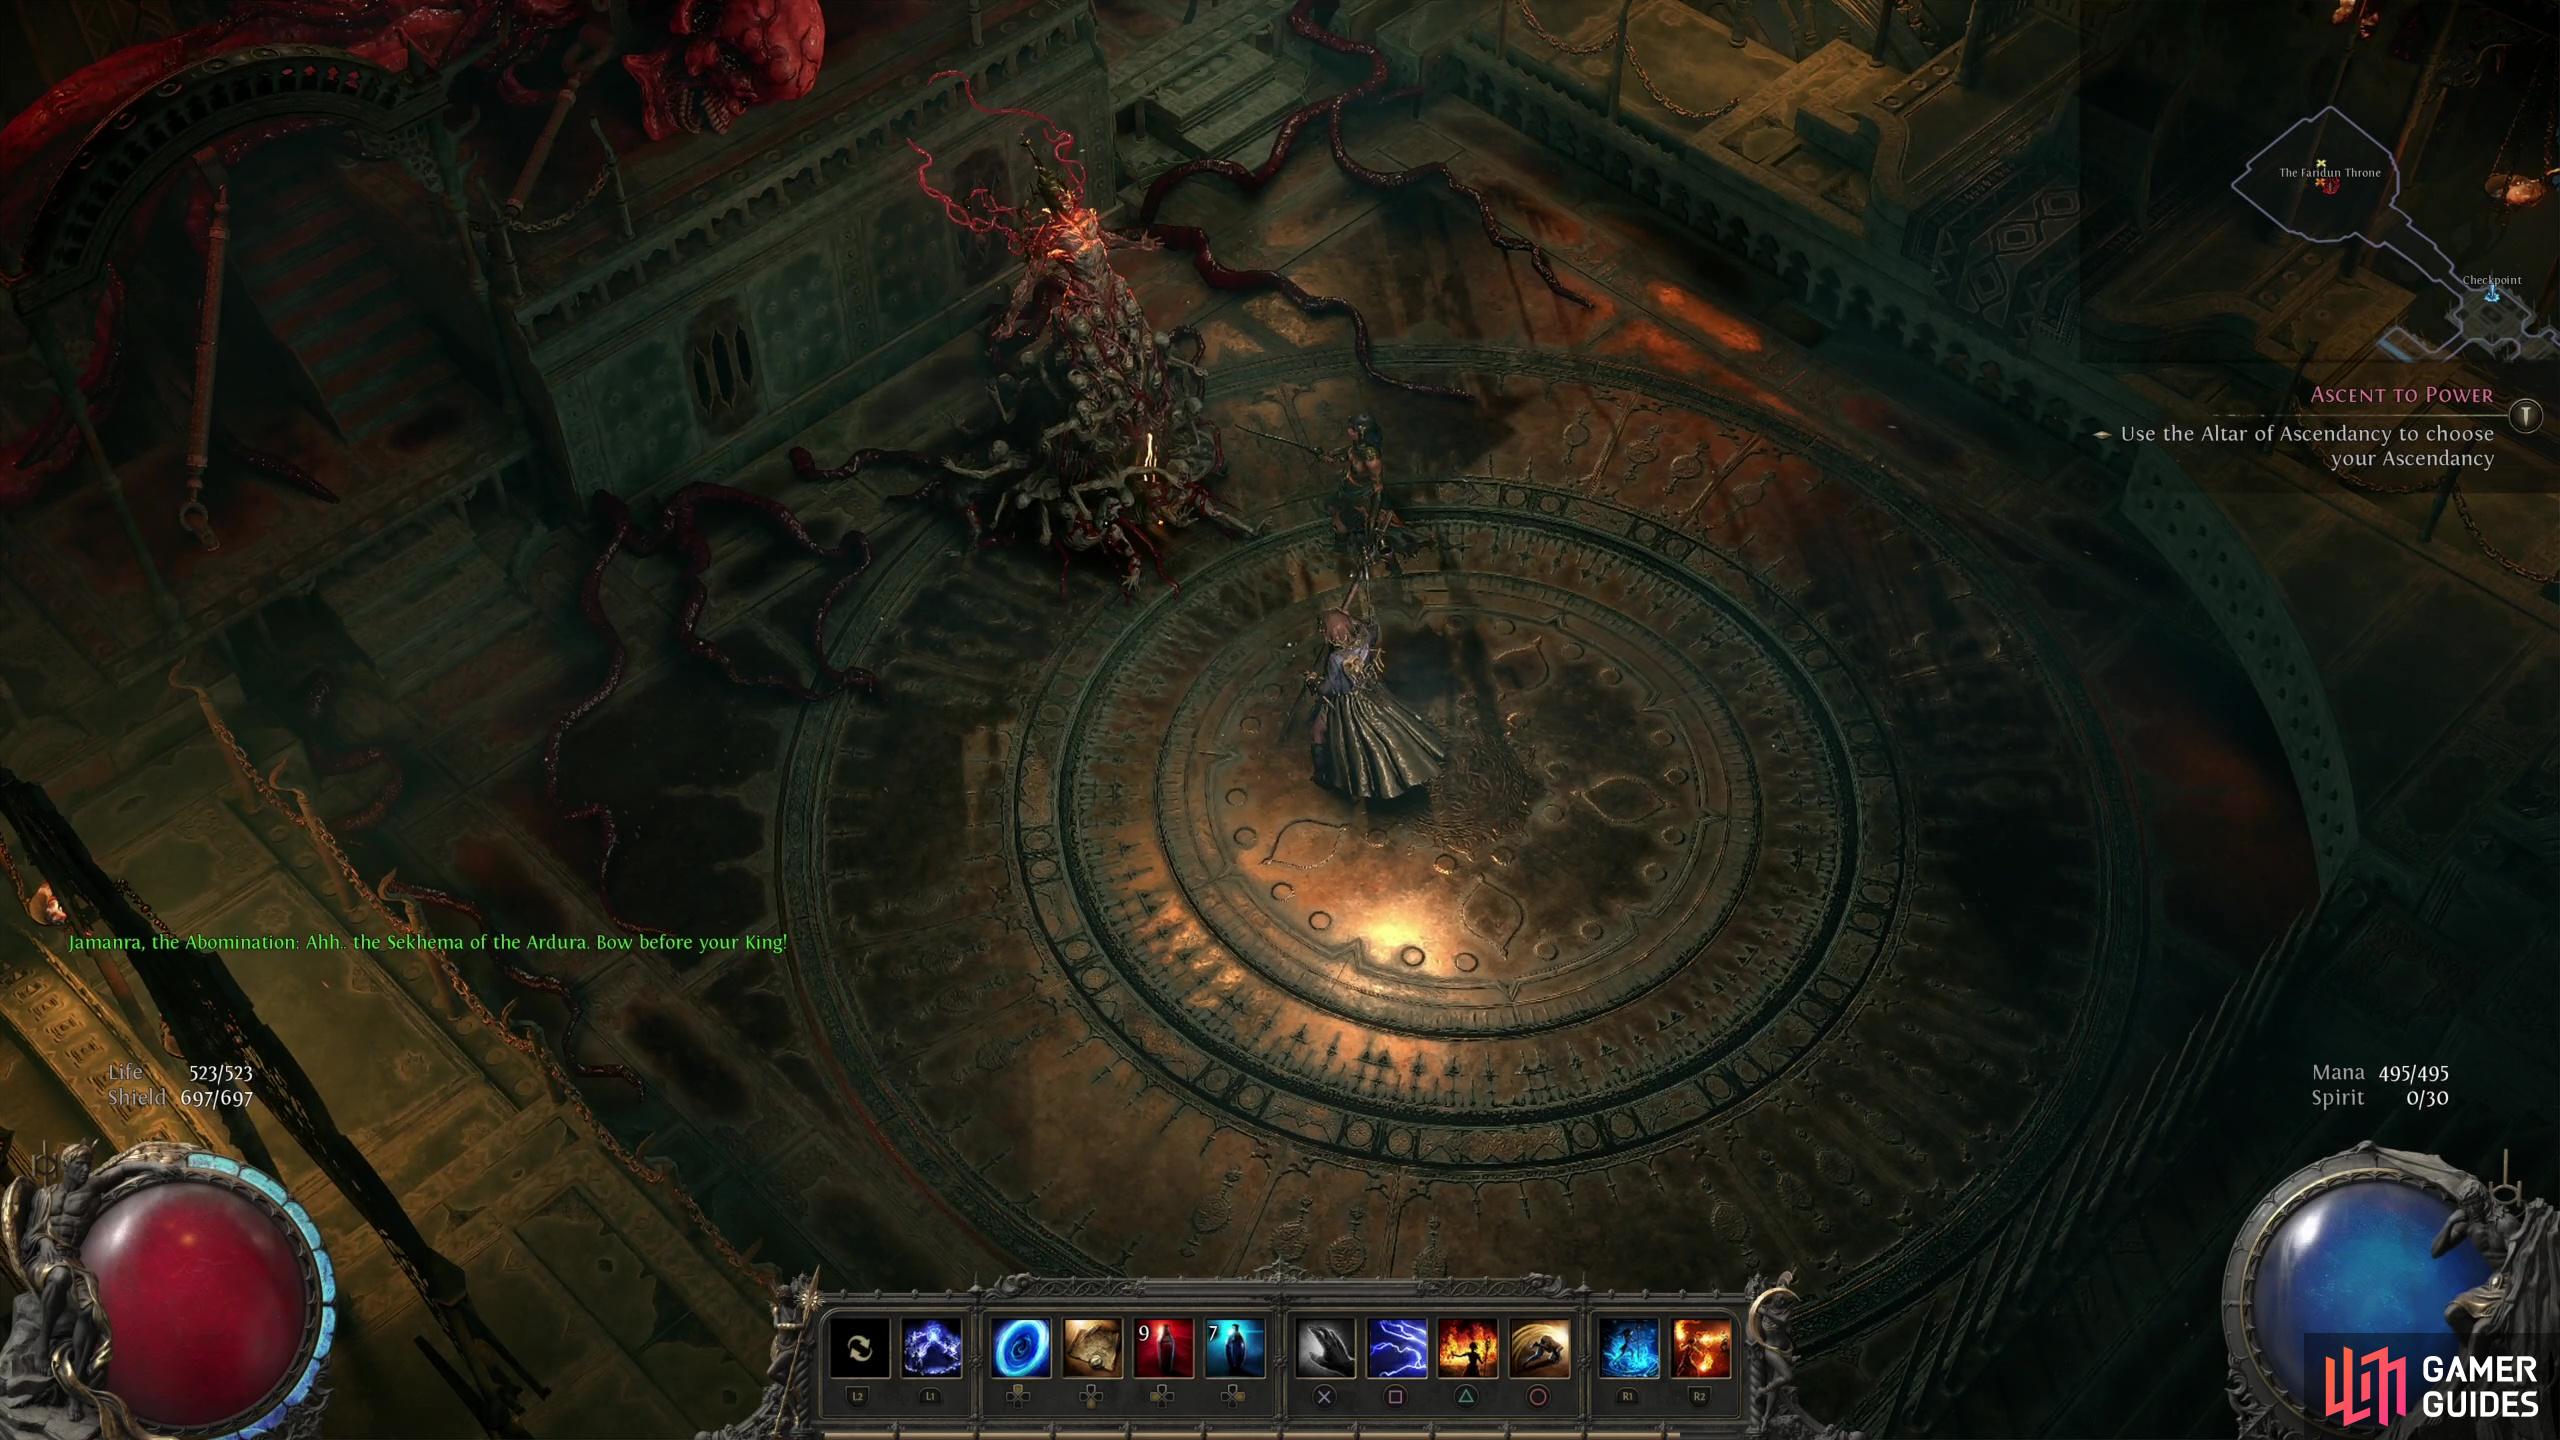
Use the Horn of Vastiri to dispel the sandstorm and chase Jamanra through Deshar, the Path of Mourning and The Spires of Deshar to reach The Dreadnought, which itself consists of two areas - The Dreadnought, and Dreadnought Vanguard. Jamanra, the Abomination can be found at the end of the Dreadnought Vanguard.
You’ll encounter Jamanra, the Abomination at the end of the Dreadnought Vanguard area.
Jamanra, the Abomination Boss Strategy - Phase 1
As you may expect for an end-of-act boss, Jamanra has a lot of life. This is very much an endurance trial, and while Jamanra doesn’t have any attacks that are likely to one-shot you, he will create multiple hazards that you need to be wary of, escalating over the course of the fight. You also shouldn’t be surprised that the fight with Jamanra has two distinct phases, but unlike the fight with Geonor these aren’t distinct enough to count as two different bosses… at least not enough to spit them onto another page. The two major gameplay elements you’ll have to deal with in this fight are direct attacks that need to be dodged and area denial attacks that restrict your movement and make dodging harder. It’s a fight that requires you to position yourself well so you don’t get caught by multiple attacks. Otherwise the only thing you need to be terribly wary of in this fight is the potential for some of Jamanra’s attacks to inflict the Shocked debuff, but even this shouldn’t be terribly common or powerful.
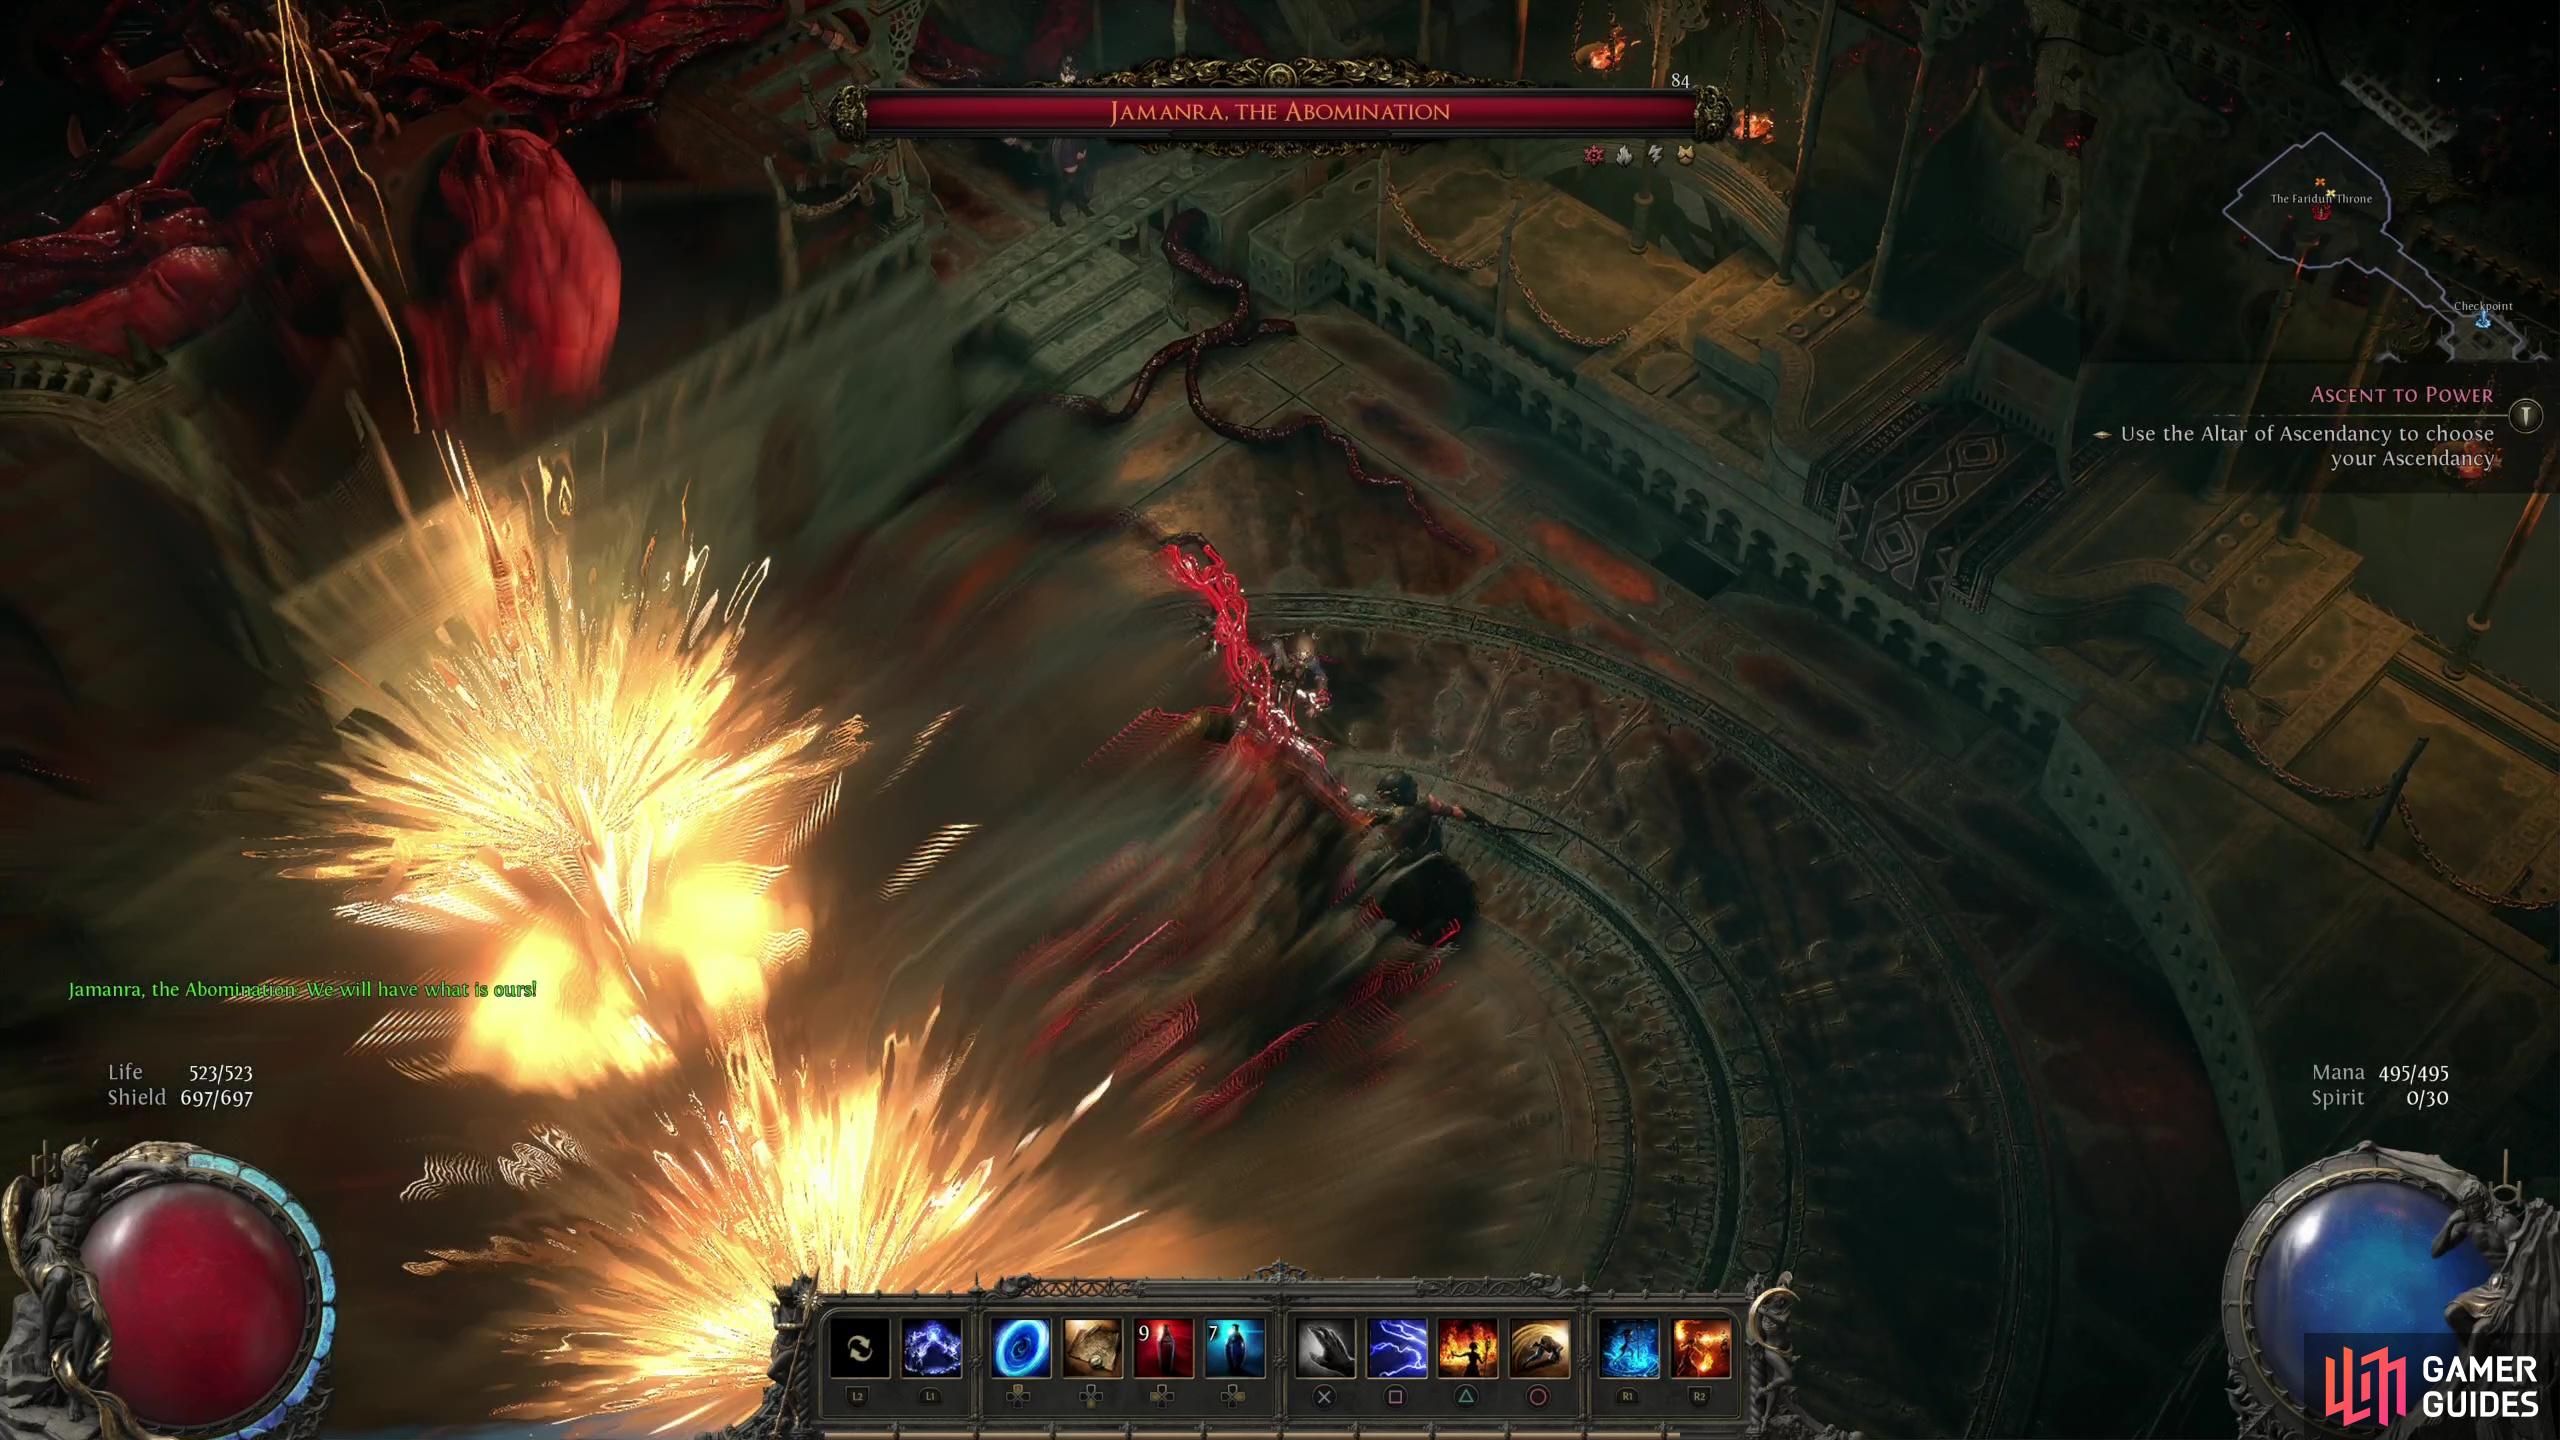
Lightning Spear
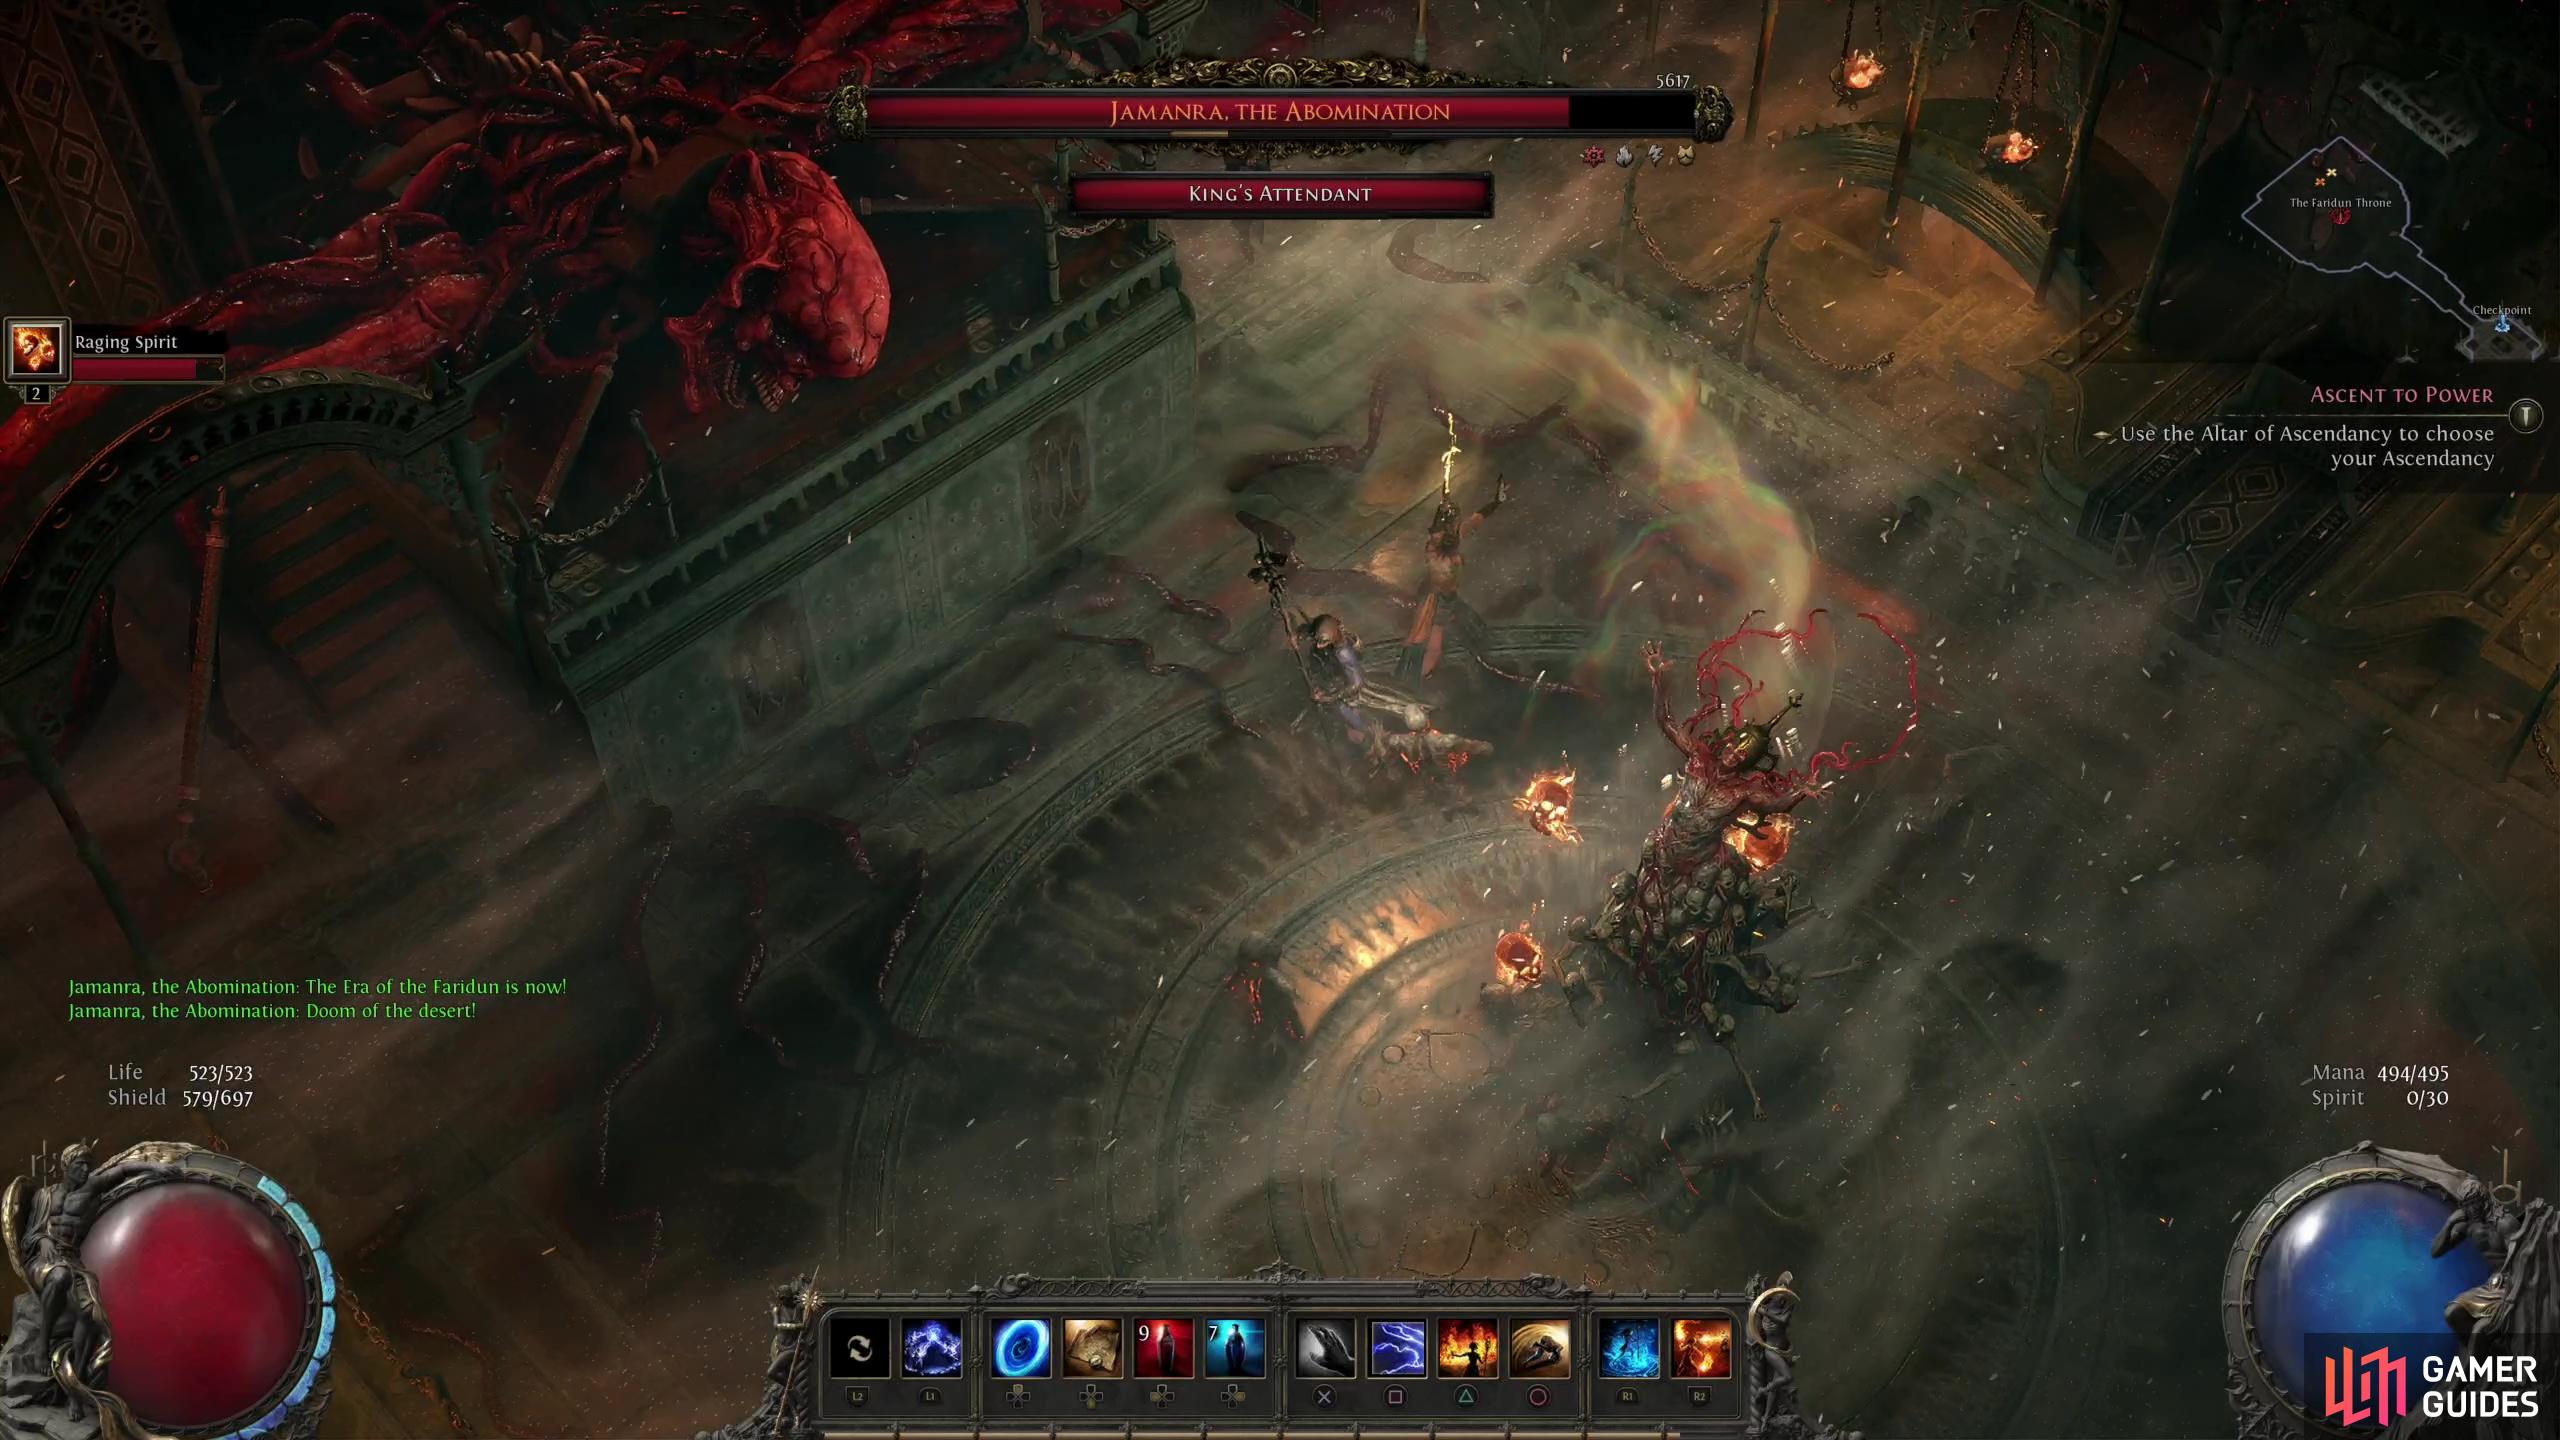
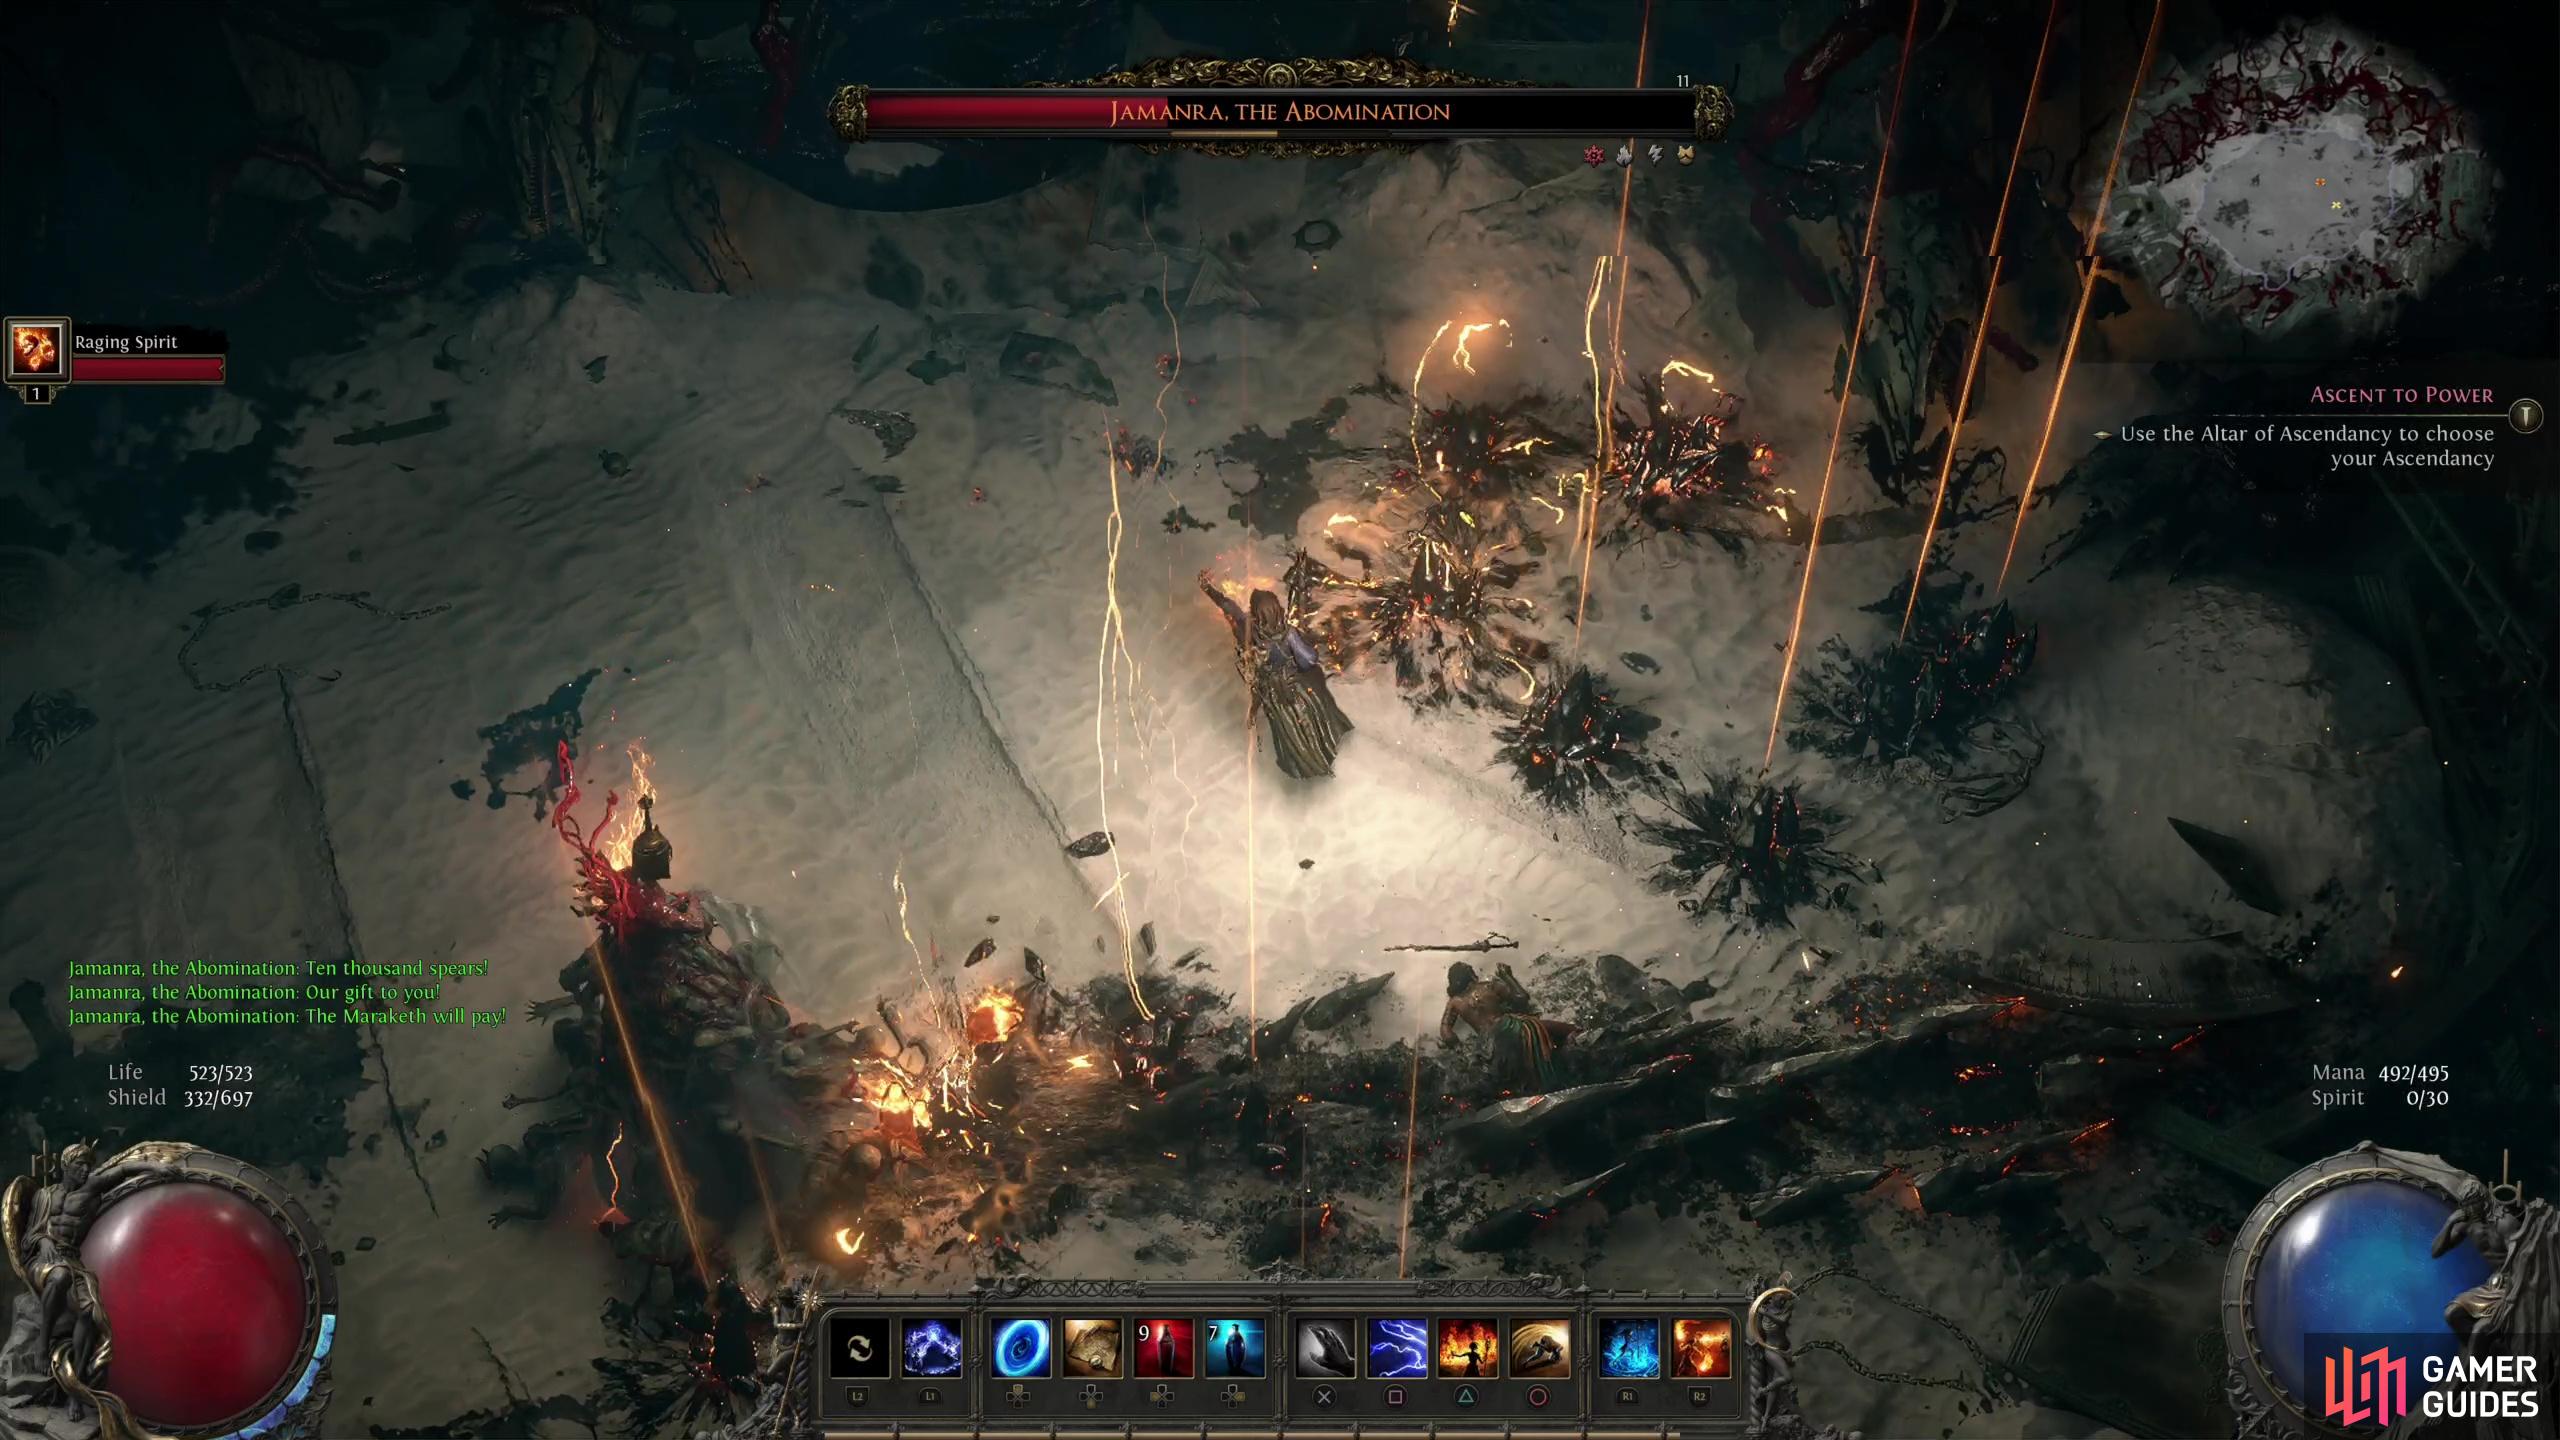
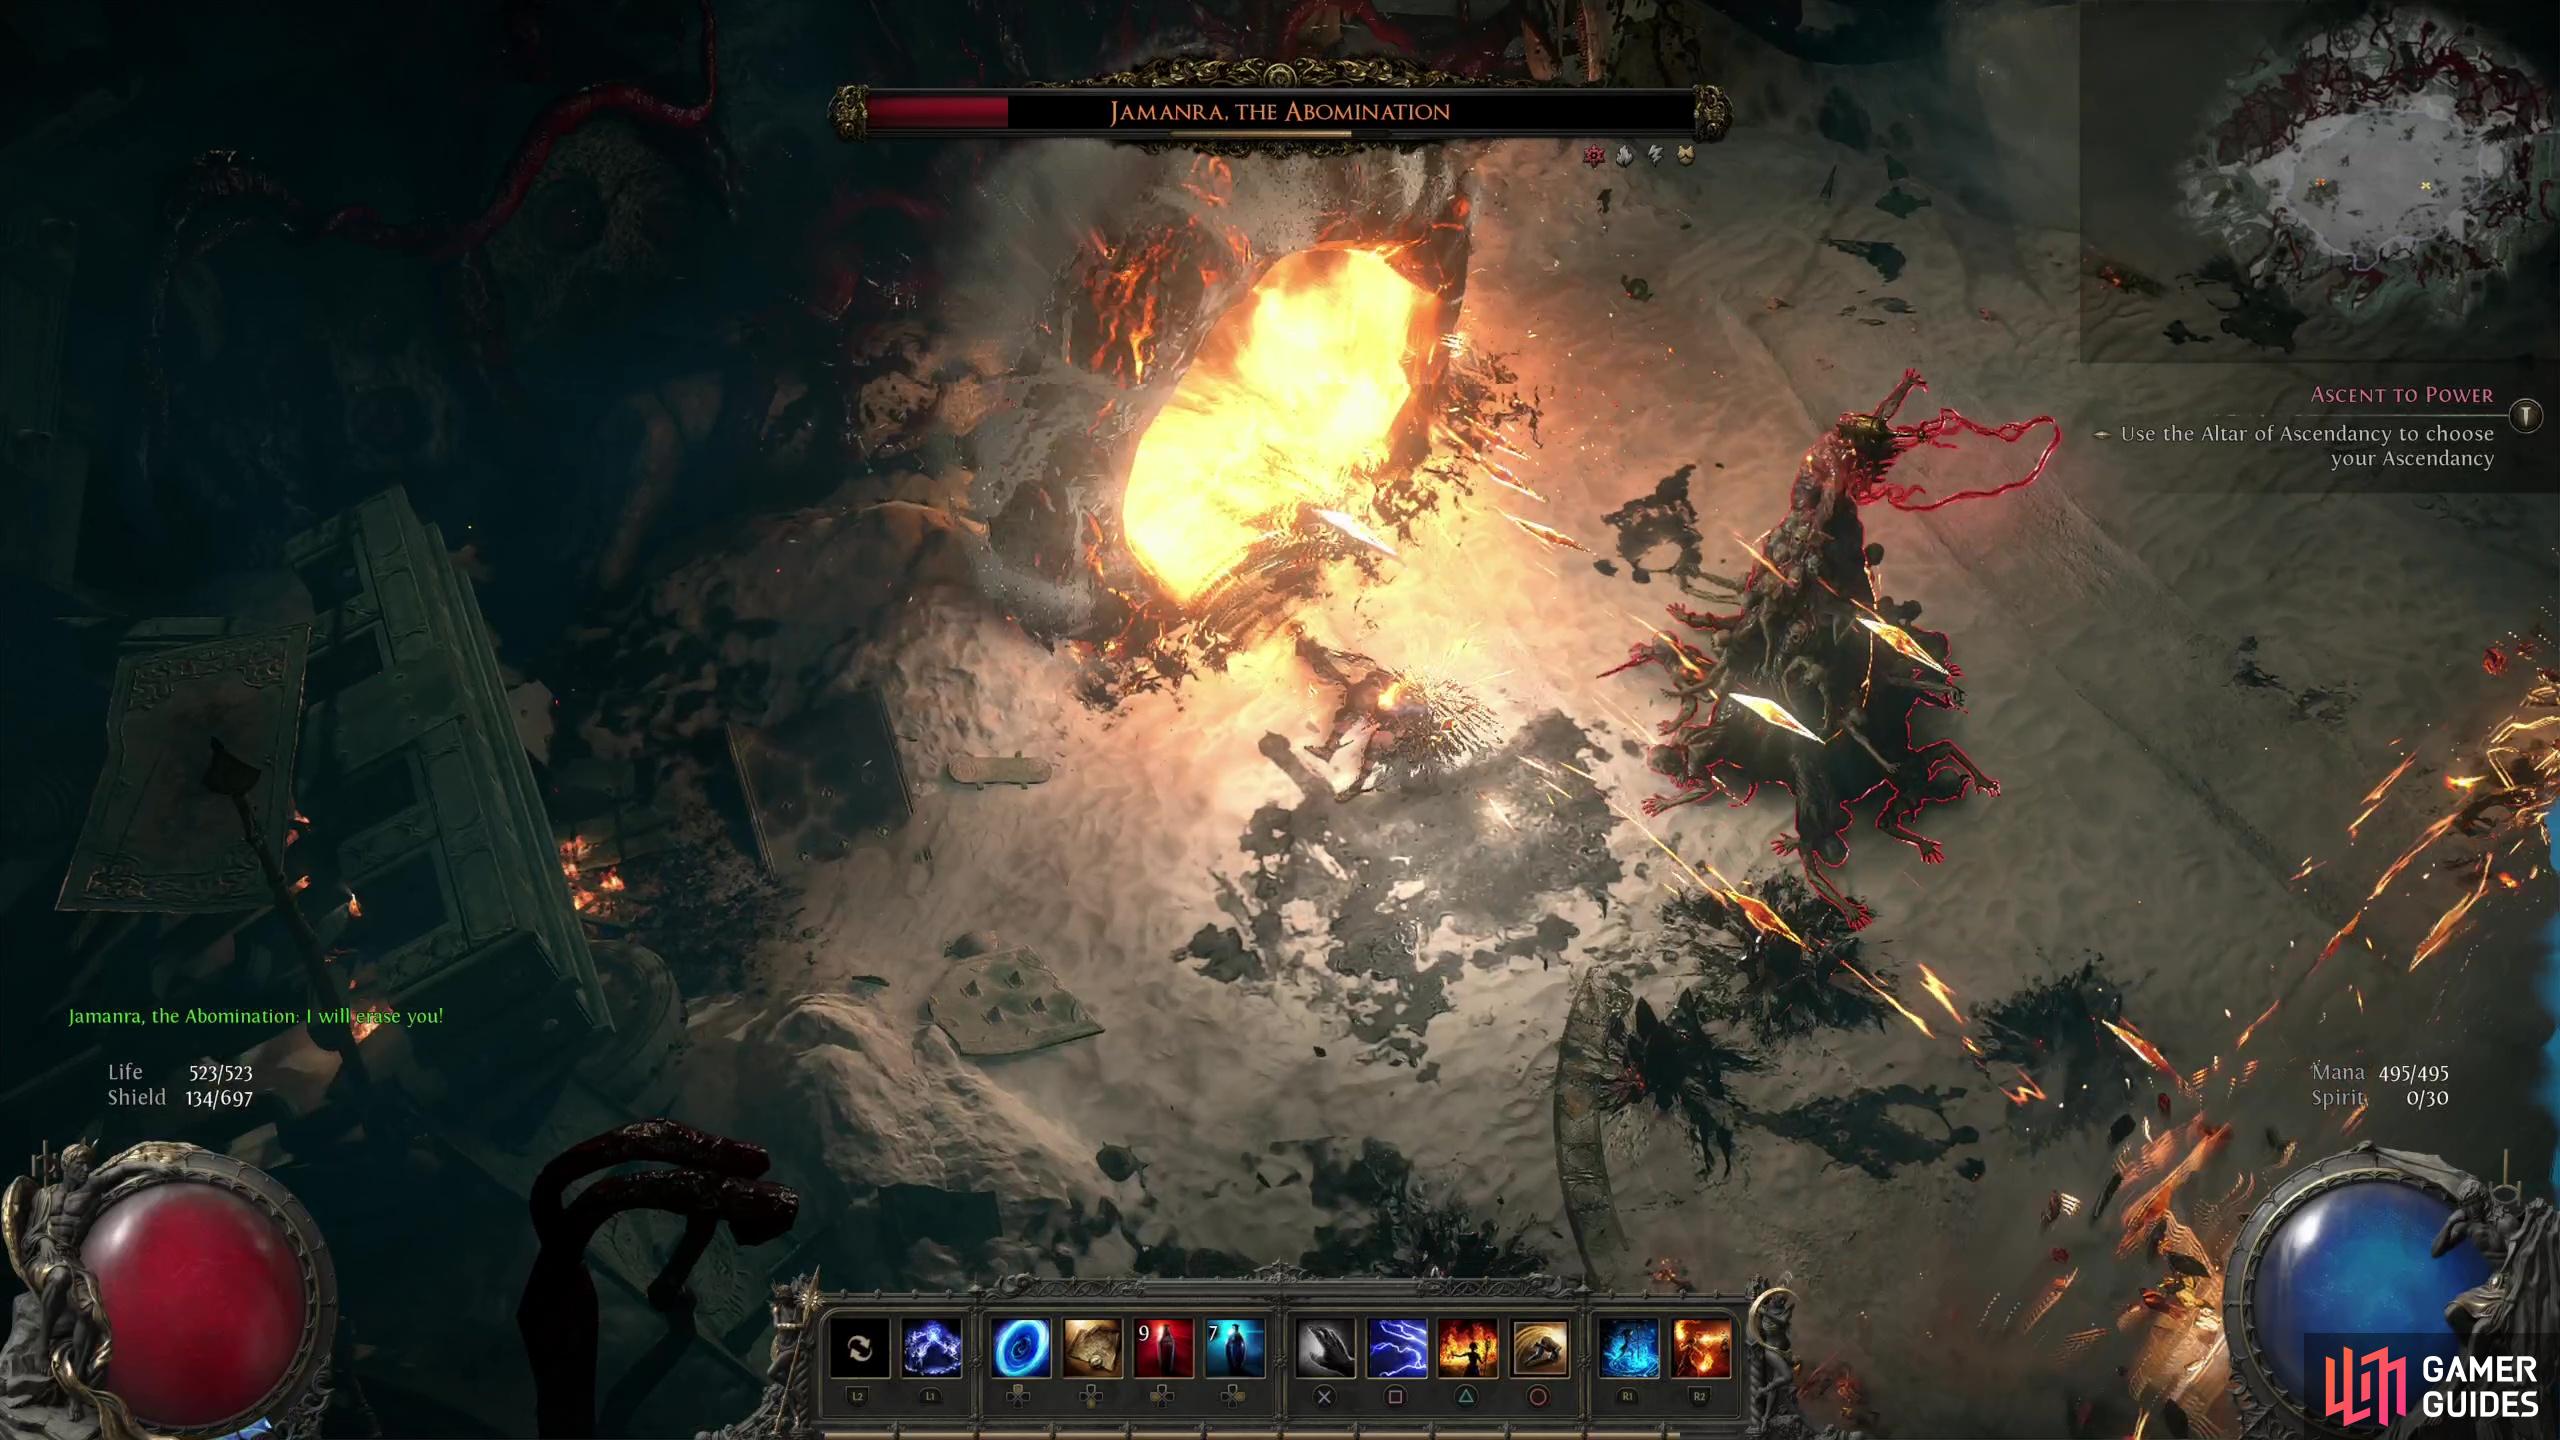
Pretty standard attack, Jamanra will throw some spears at you, which detonate on impact for moderate AoE and can inflict Shocked. Otherwise this attack doesn’t deal much damage.
Lightning Strike Pylons
Jamanra will toss out two pylons, and after a moment they’ll be struck by lightning, dealing heavy AoE damage in a wide area. Just keep your eye out for Jamanra’s pylons and steer clear of them and this shouldn’t cause you much trouble - advice that will only get more true as the fight goes on.
(1 of 2) At the start of the fight, Jamanra will spam a lightning spear attack,
At the start of the fight, Jamanra will spam a lightning spear attack, (left), and will toss out some pylons, which then erupt with electrical energy. (right)
The first two attacks will be all Jamanra uses at the start of the fight, but once you’ve reduced his health around by around 10% he’ll start adding new attacks to his rotation:
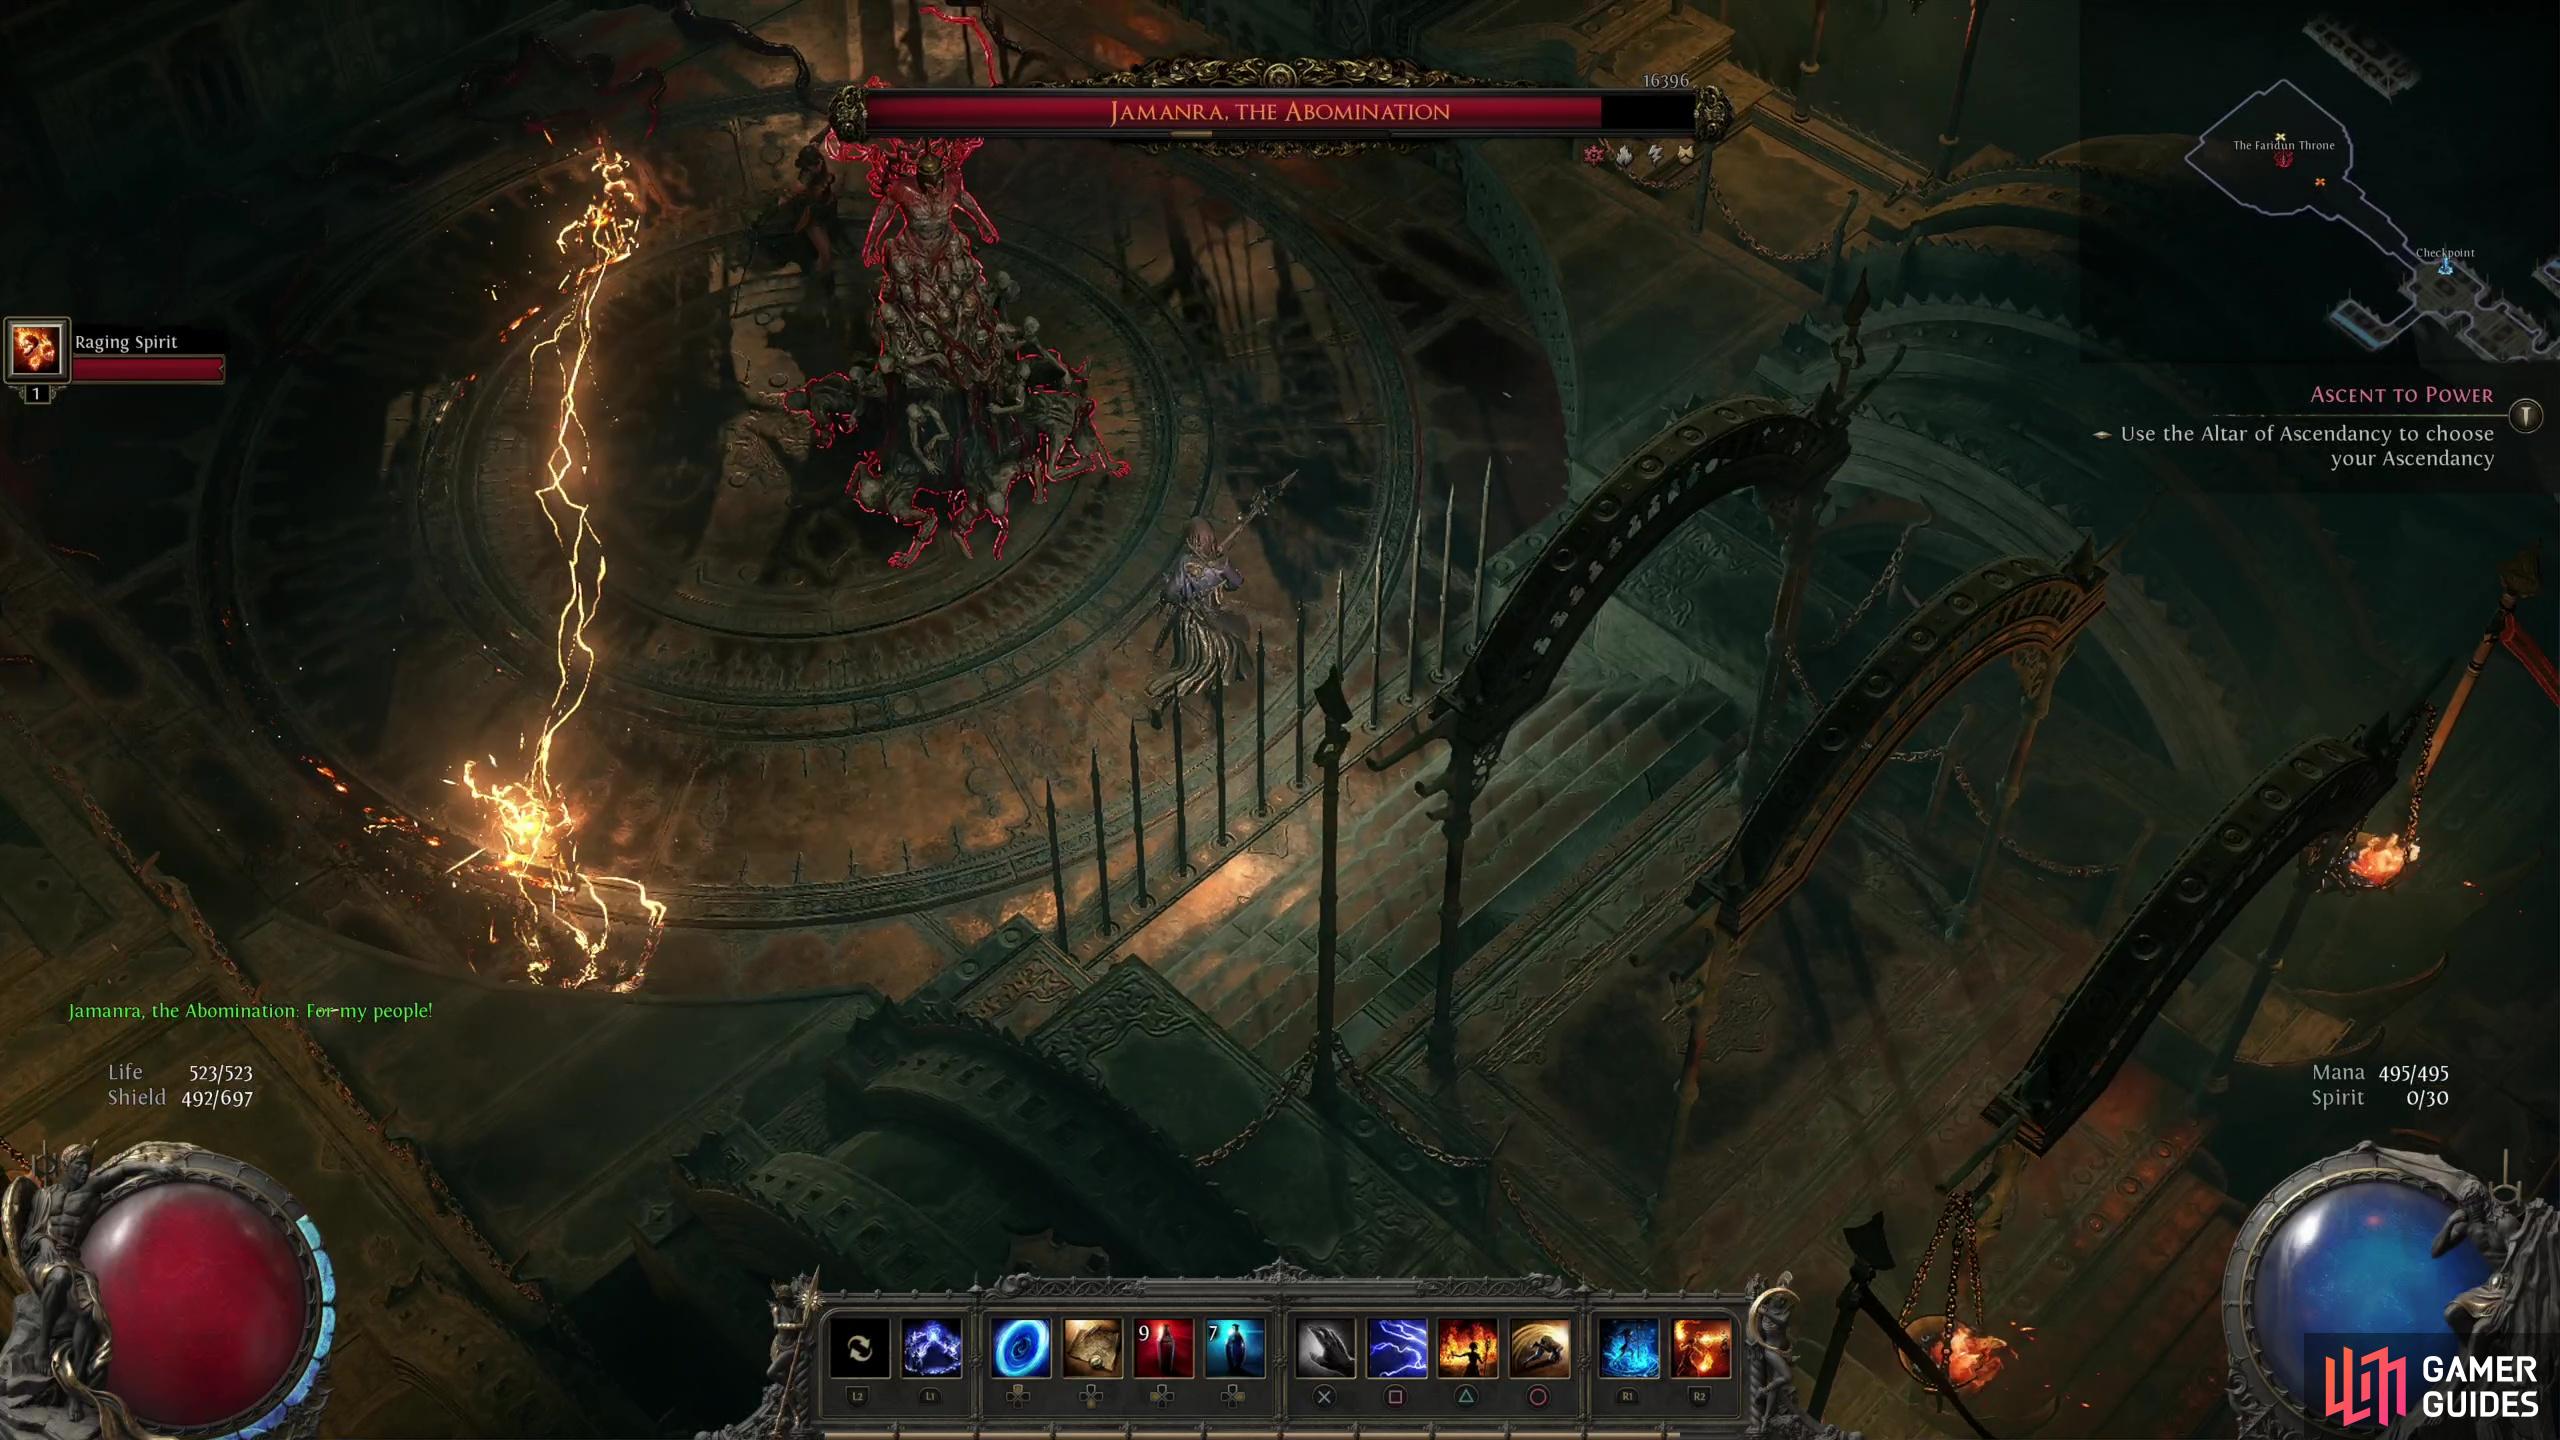
Lightning Wall Pylons
Similar to the “Lightning Strike Pylons”, except this time lightning will arc between two summoned pylons, which move across the battlefield. The area they cover is pretty wide, but they don’t deal a tremendous amount of damage, so if you have to roll through them at some point, so be it. Just don’t stand between these pylons for any length of time.
Dancing Lightning Pylons
Another pylon attack, this time the two pylons will arc lightning between each other while each pylon moves in turn across the battlefield. It can be hard to avoid damage here entirely, as the pylons move about quite a bit, and fairly erratically… although they do seem to chase the player around well enough.
Lightning Bolt Pylons and Lightning Sweep
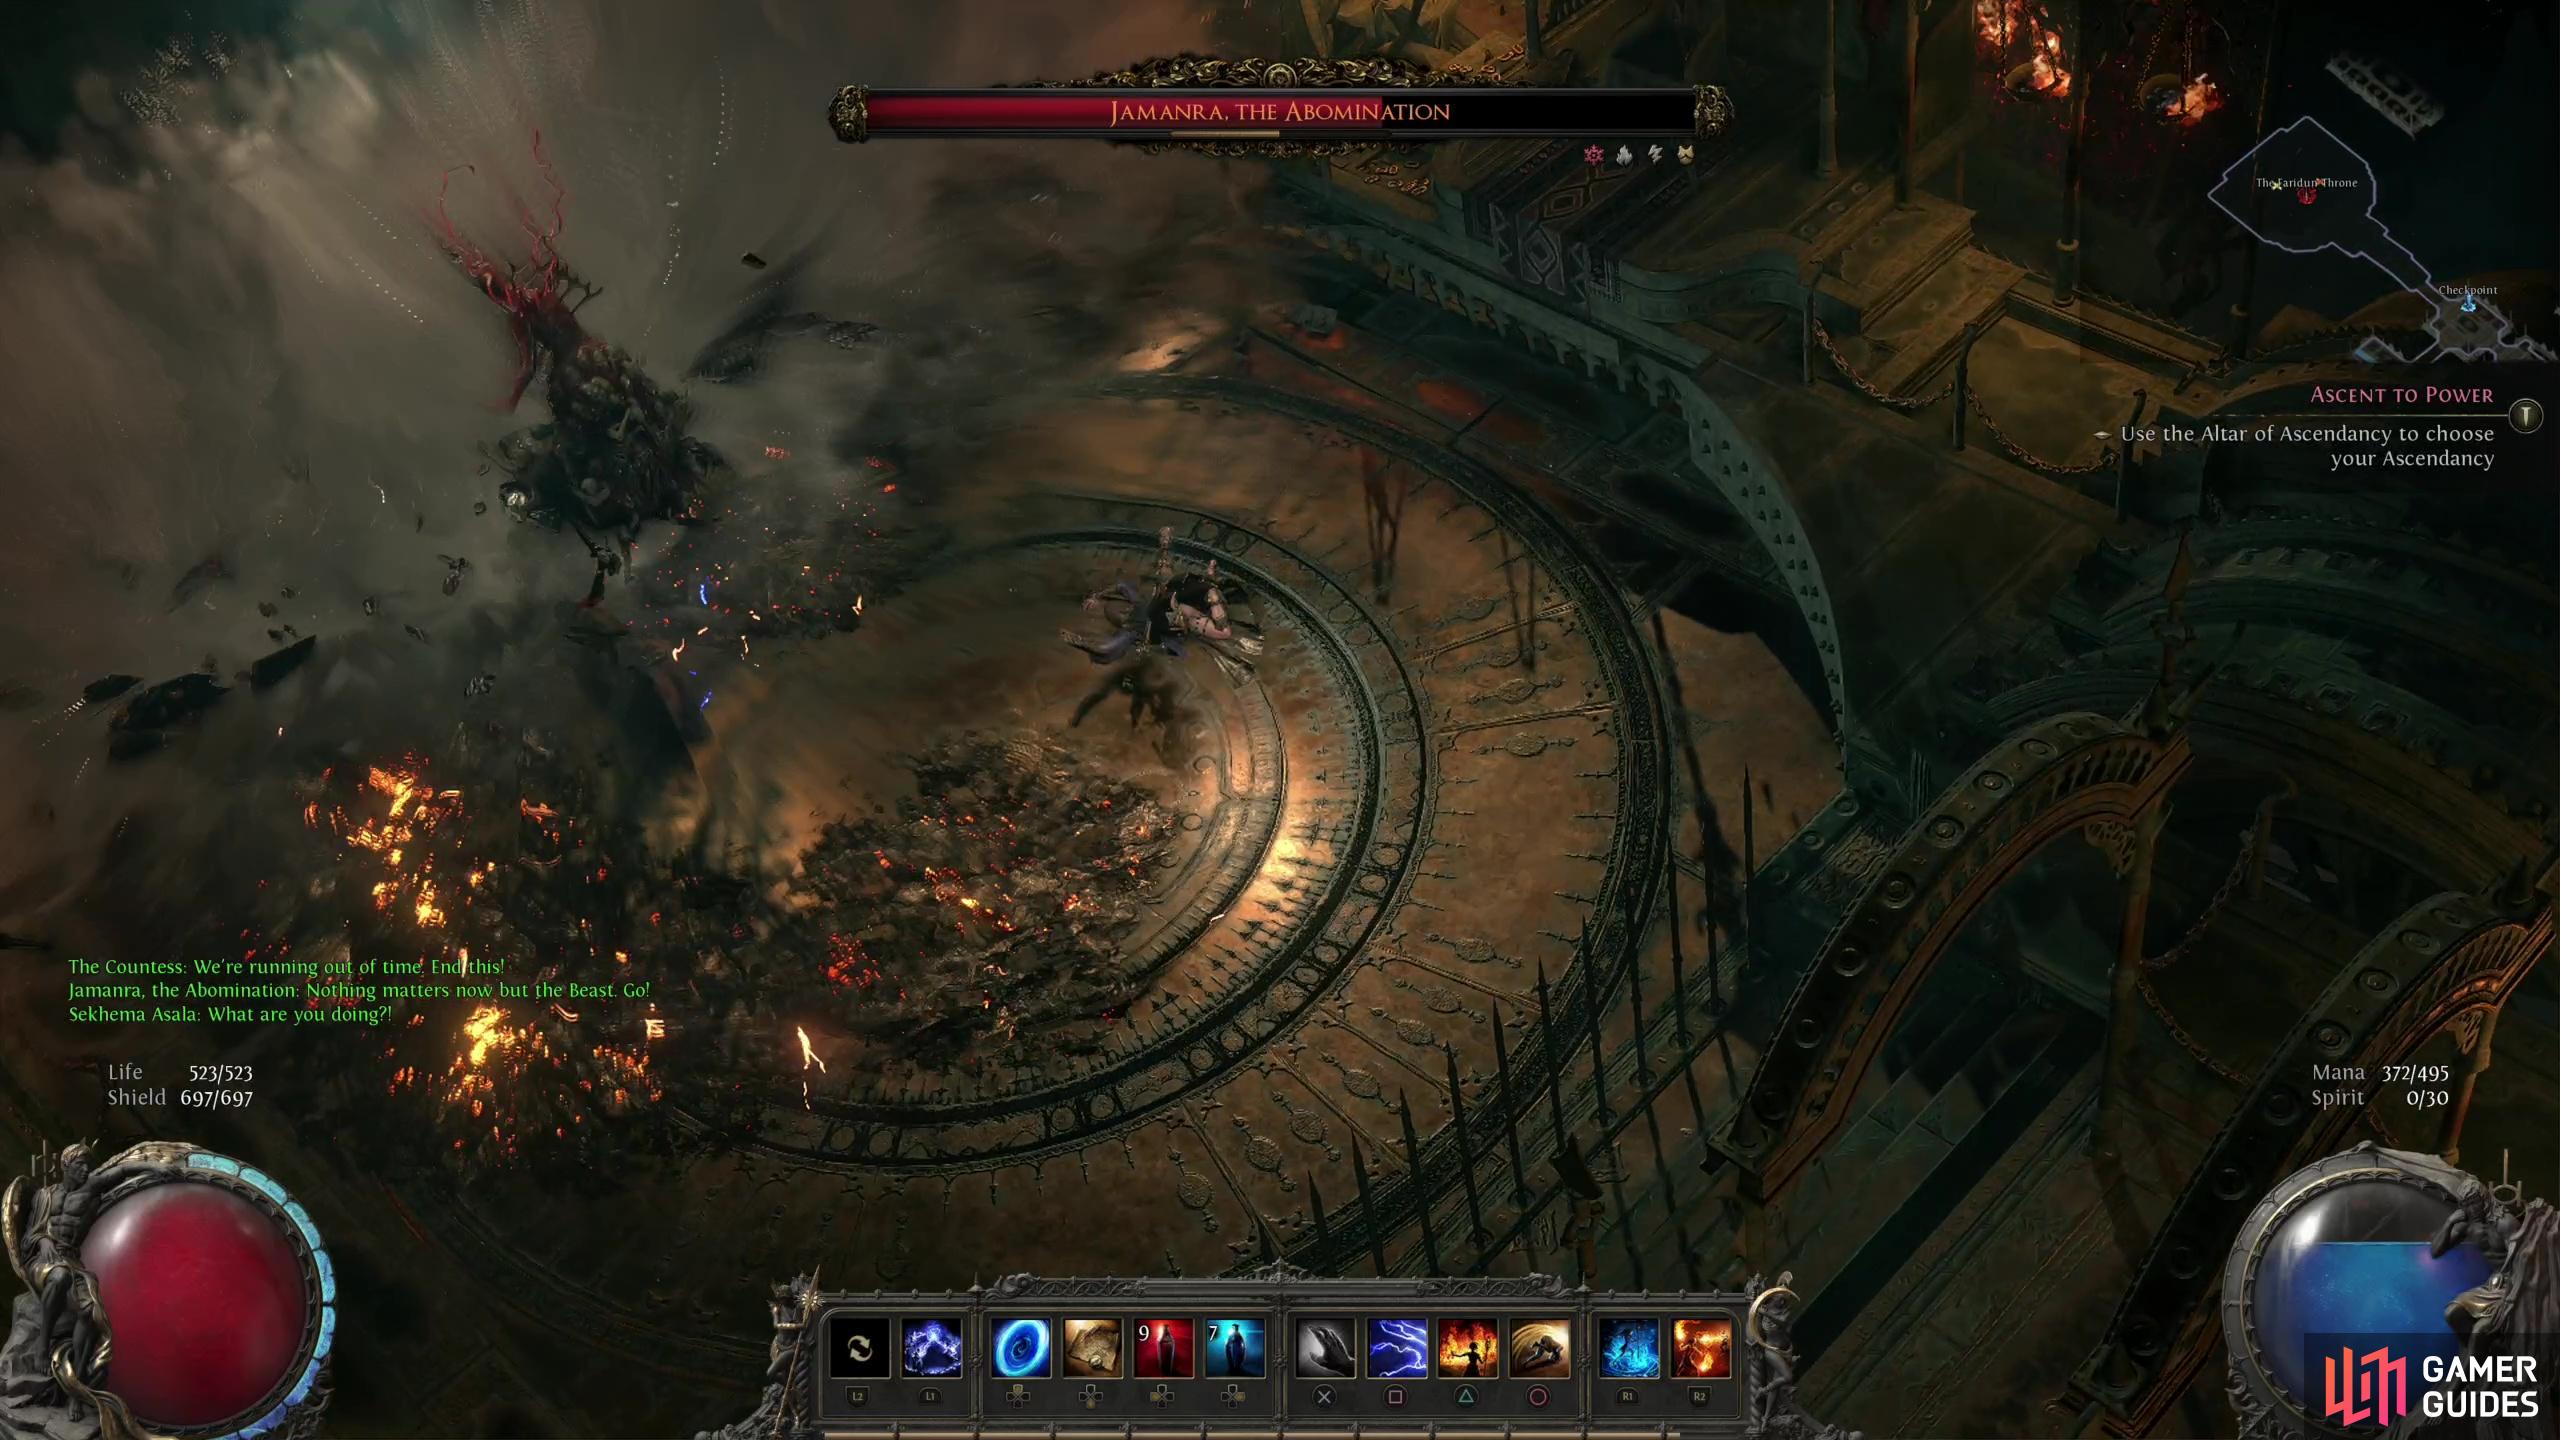
Yet another variant of the pylon attack, Jamanra will cast out two pylons which emit electricity around them, then shoots a beam of lightning from each hand and sweeps across the battlefield. Jamanra’s pylons are stationary and his hands will only shoot lightning in front of him before moving to his sides - get behind Jamanra and this attack shouldn’t hit you.
(1 of 2) Injure Jamanra more and he’ll diversify his attacks, using his pylons to create moving electrical walls,
Injure Jamanra more and he’ll diversify his attacks, using his pylons to create moving electrical walls, (left), and as area denial while he sweeps the battlefield with lightning. (right)
Summon the Sandstorm
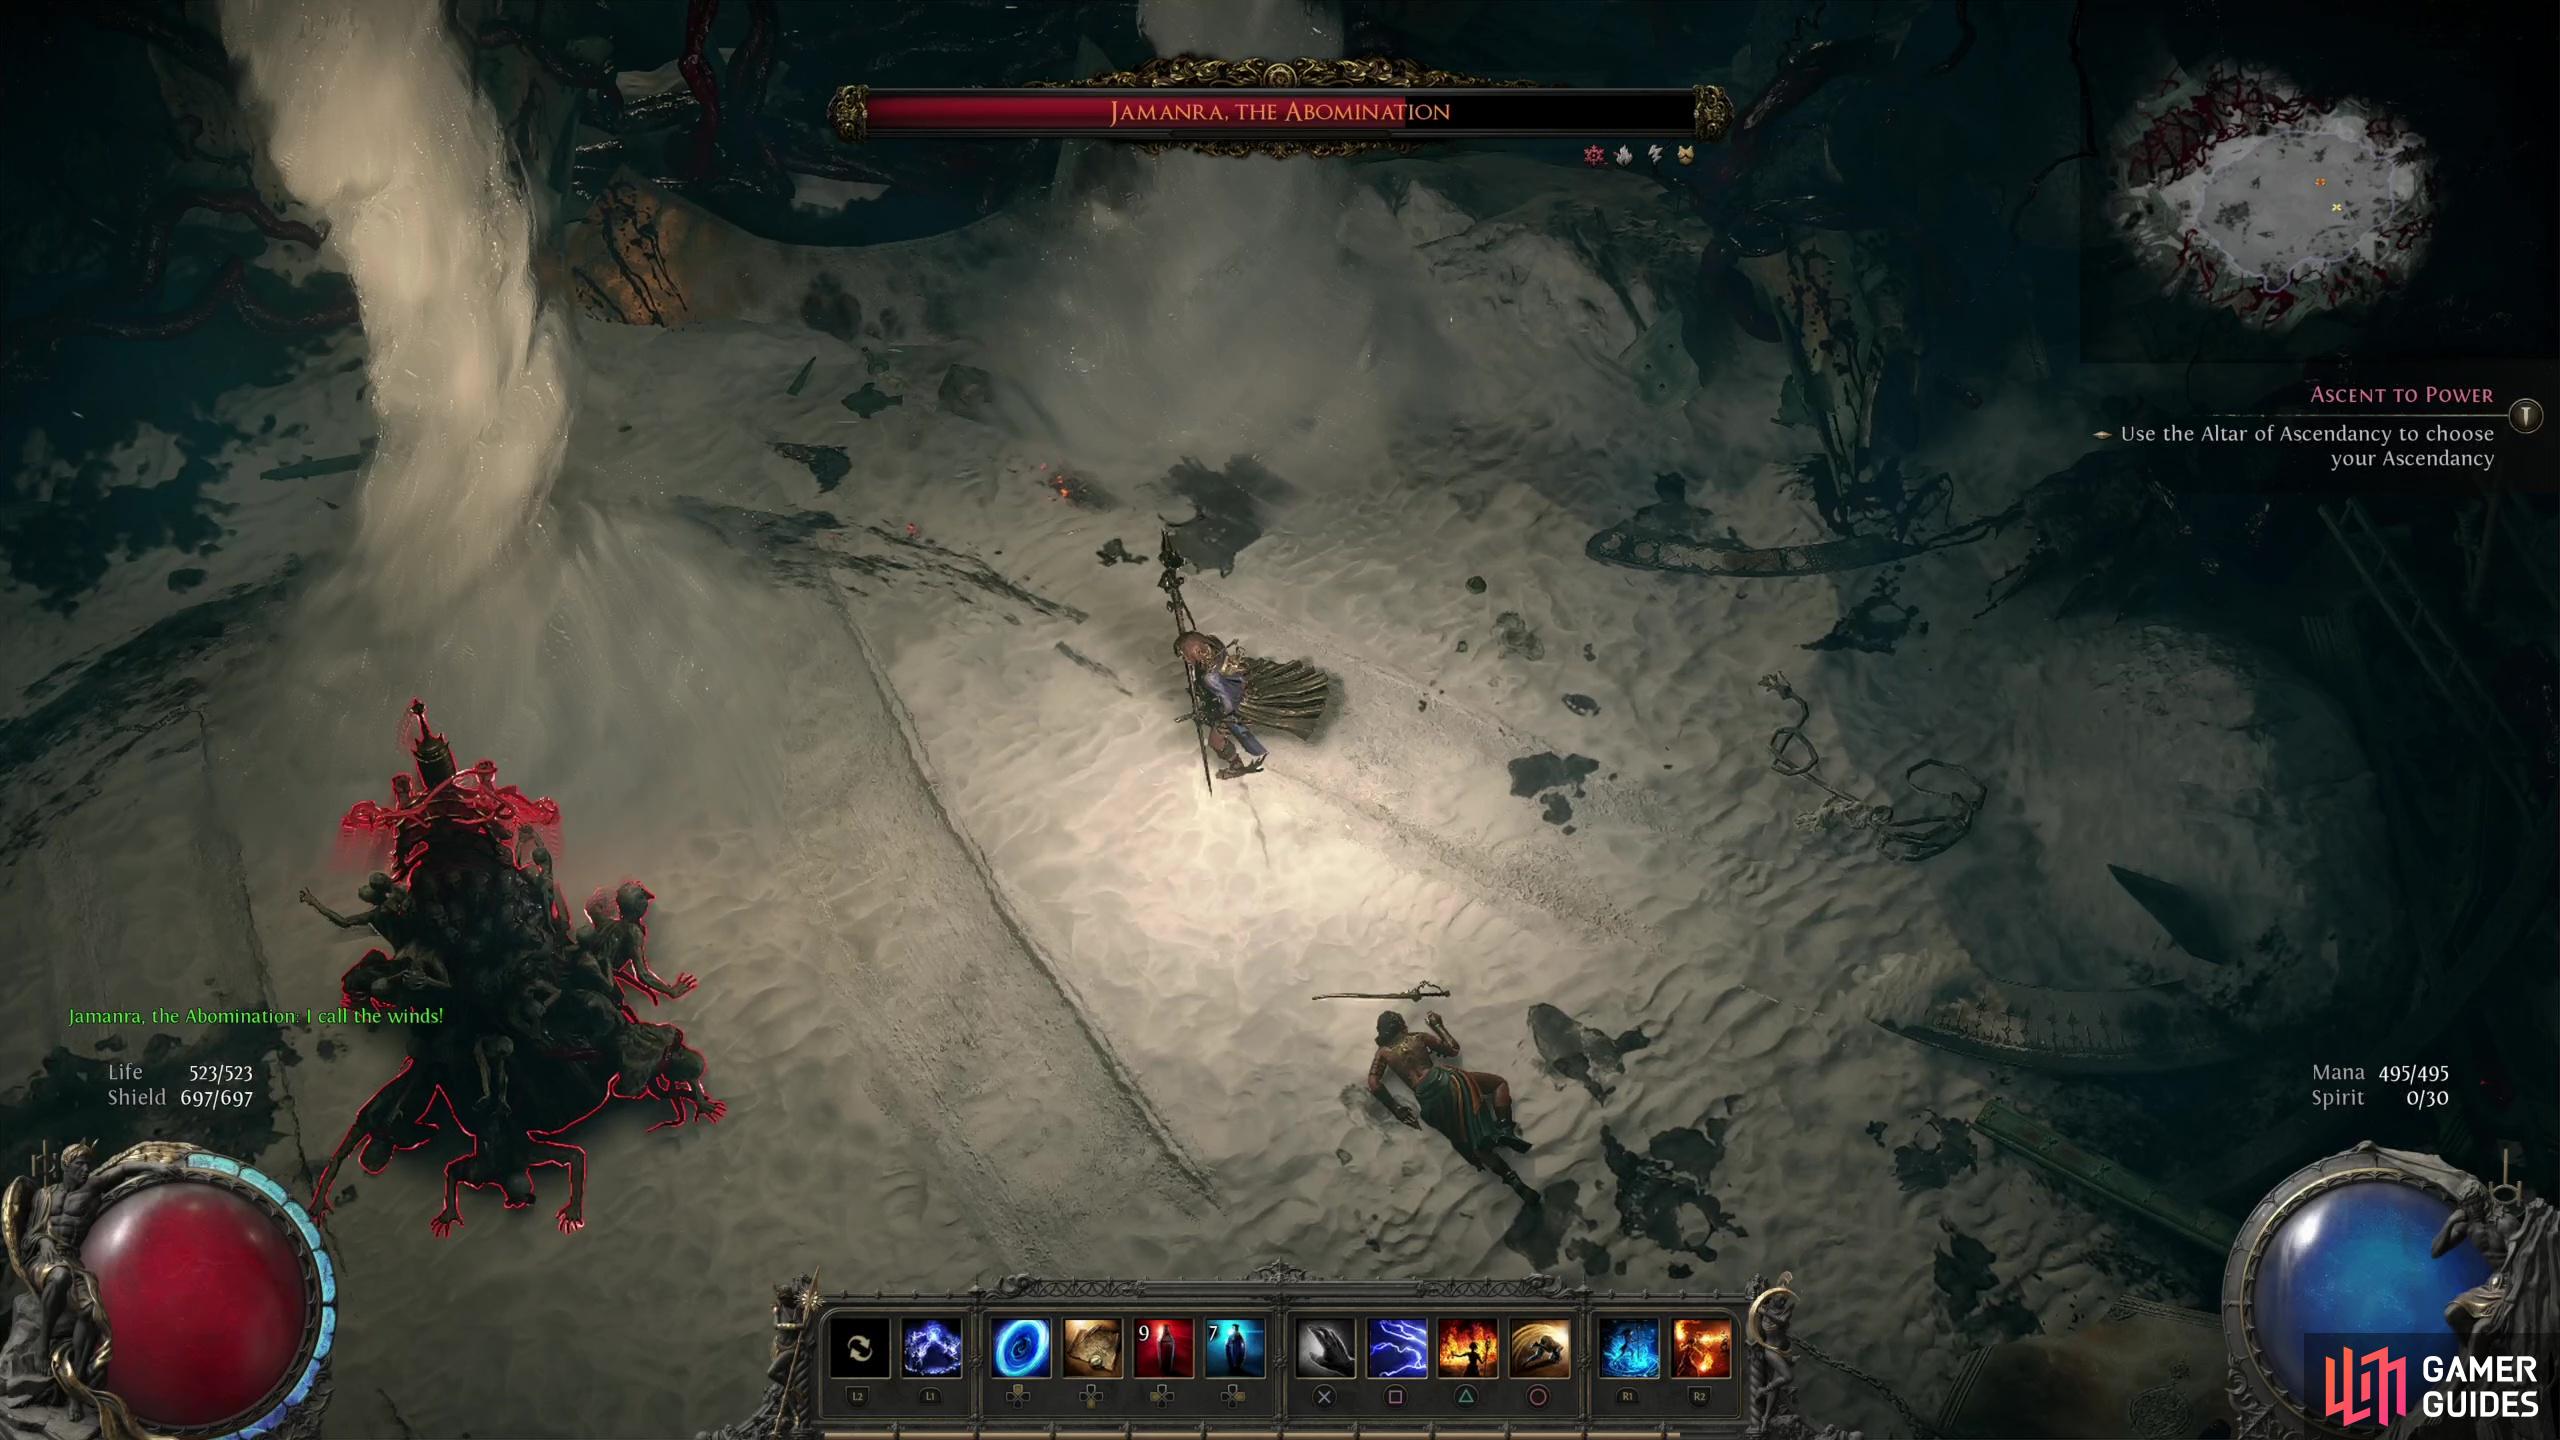
Jamanra’s most dangerous attack during the first phase, he’ll summon his accursed sandstorm, which deals damage-over-time if you’re caught in it. This is, frankly, not survivable, but Sekhema Asala - who is accompanying you for this fight - will decide to momentarily stop being useless long enough to erect a barrier, protecting you from the storm as long as you stand behind her. Sadly, things aren’t that simple, as Jamanra will shed corpses from his abominable form, and these King’s Attendants will crawl at you and attempt to attack you melee while you’re sheltering from the sandstorm. Worse still, they’ll leave electrified waste behind when they die, creating damage-over-time effects that you may not have an easy time avoiding, given you also have to remain behind Sekhema Asala’s barrier - the closer this barrier is to Jamanra, the harder it’ll be to avoid damage during this attack.
(1 of 2) When Jamanra summons a sandstorm, take cover behind the barrier erected by Sekhema Asala.
When Jamanra summons a sandstorm, take cover behind the barrier erected by Sekhema Asala. (left), Once reduced to 60% of his health, Jamanra will destroy the platform you’re on, starting the second phase of the fight. (right)
Jamanra, the Abomination Boss Strategy - Phase 2
Jamanra’s repertoire won’t change beyond the aforementioned attacks during this phase. It’ll likely take you two sandstorms to end this phase, and when Jamanra is down to 60% of his life he’ll draw a greatsword and destroy his own Dreadnought, spilling you all into the desert sands where the second phase of the fight will begin. A new phase means new attacks, as follows:
Dust Devil
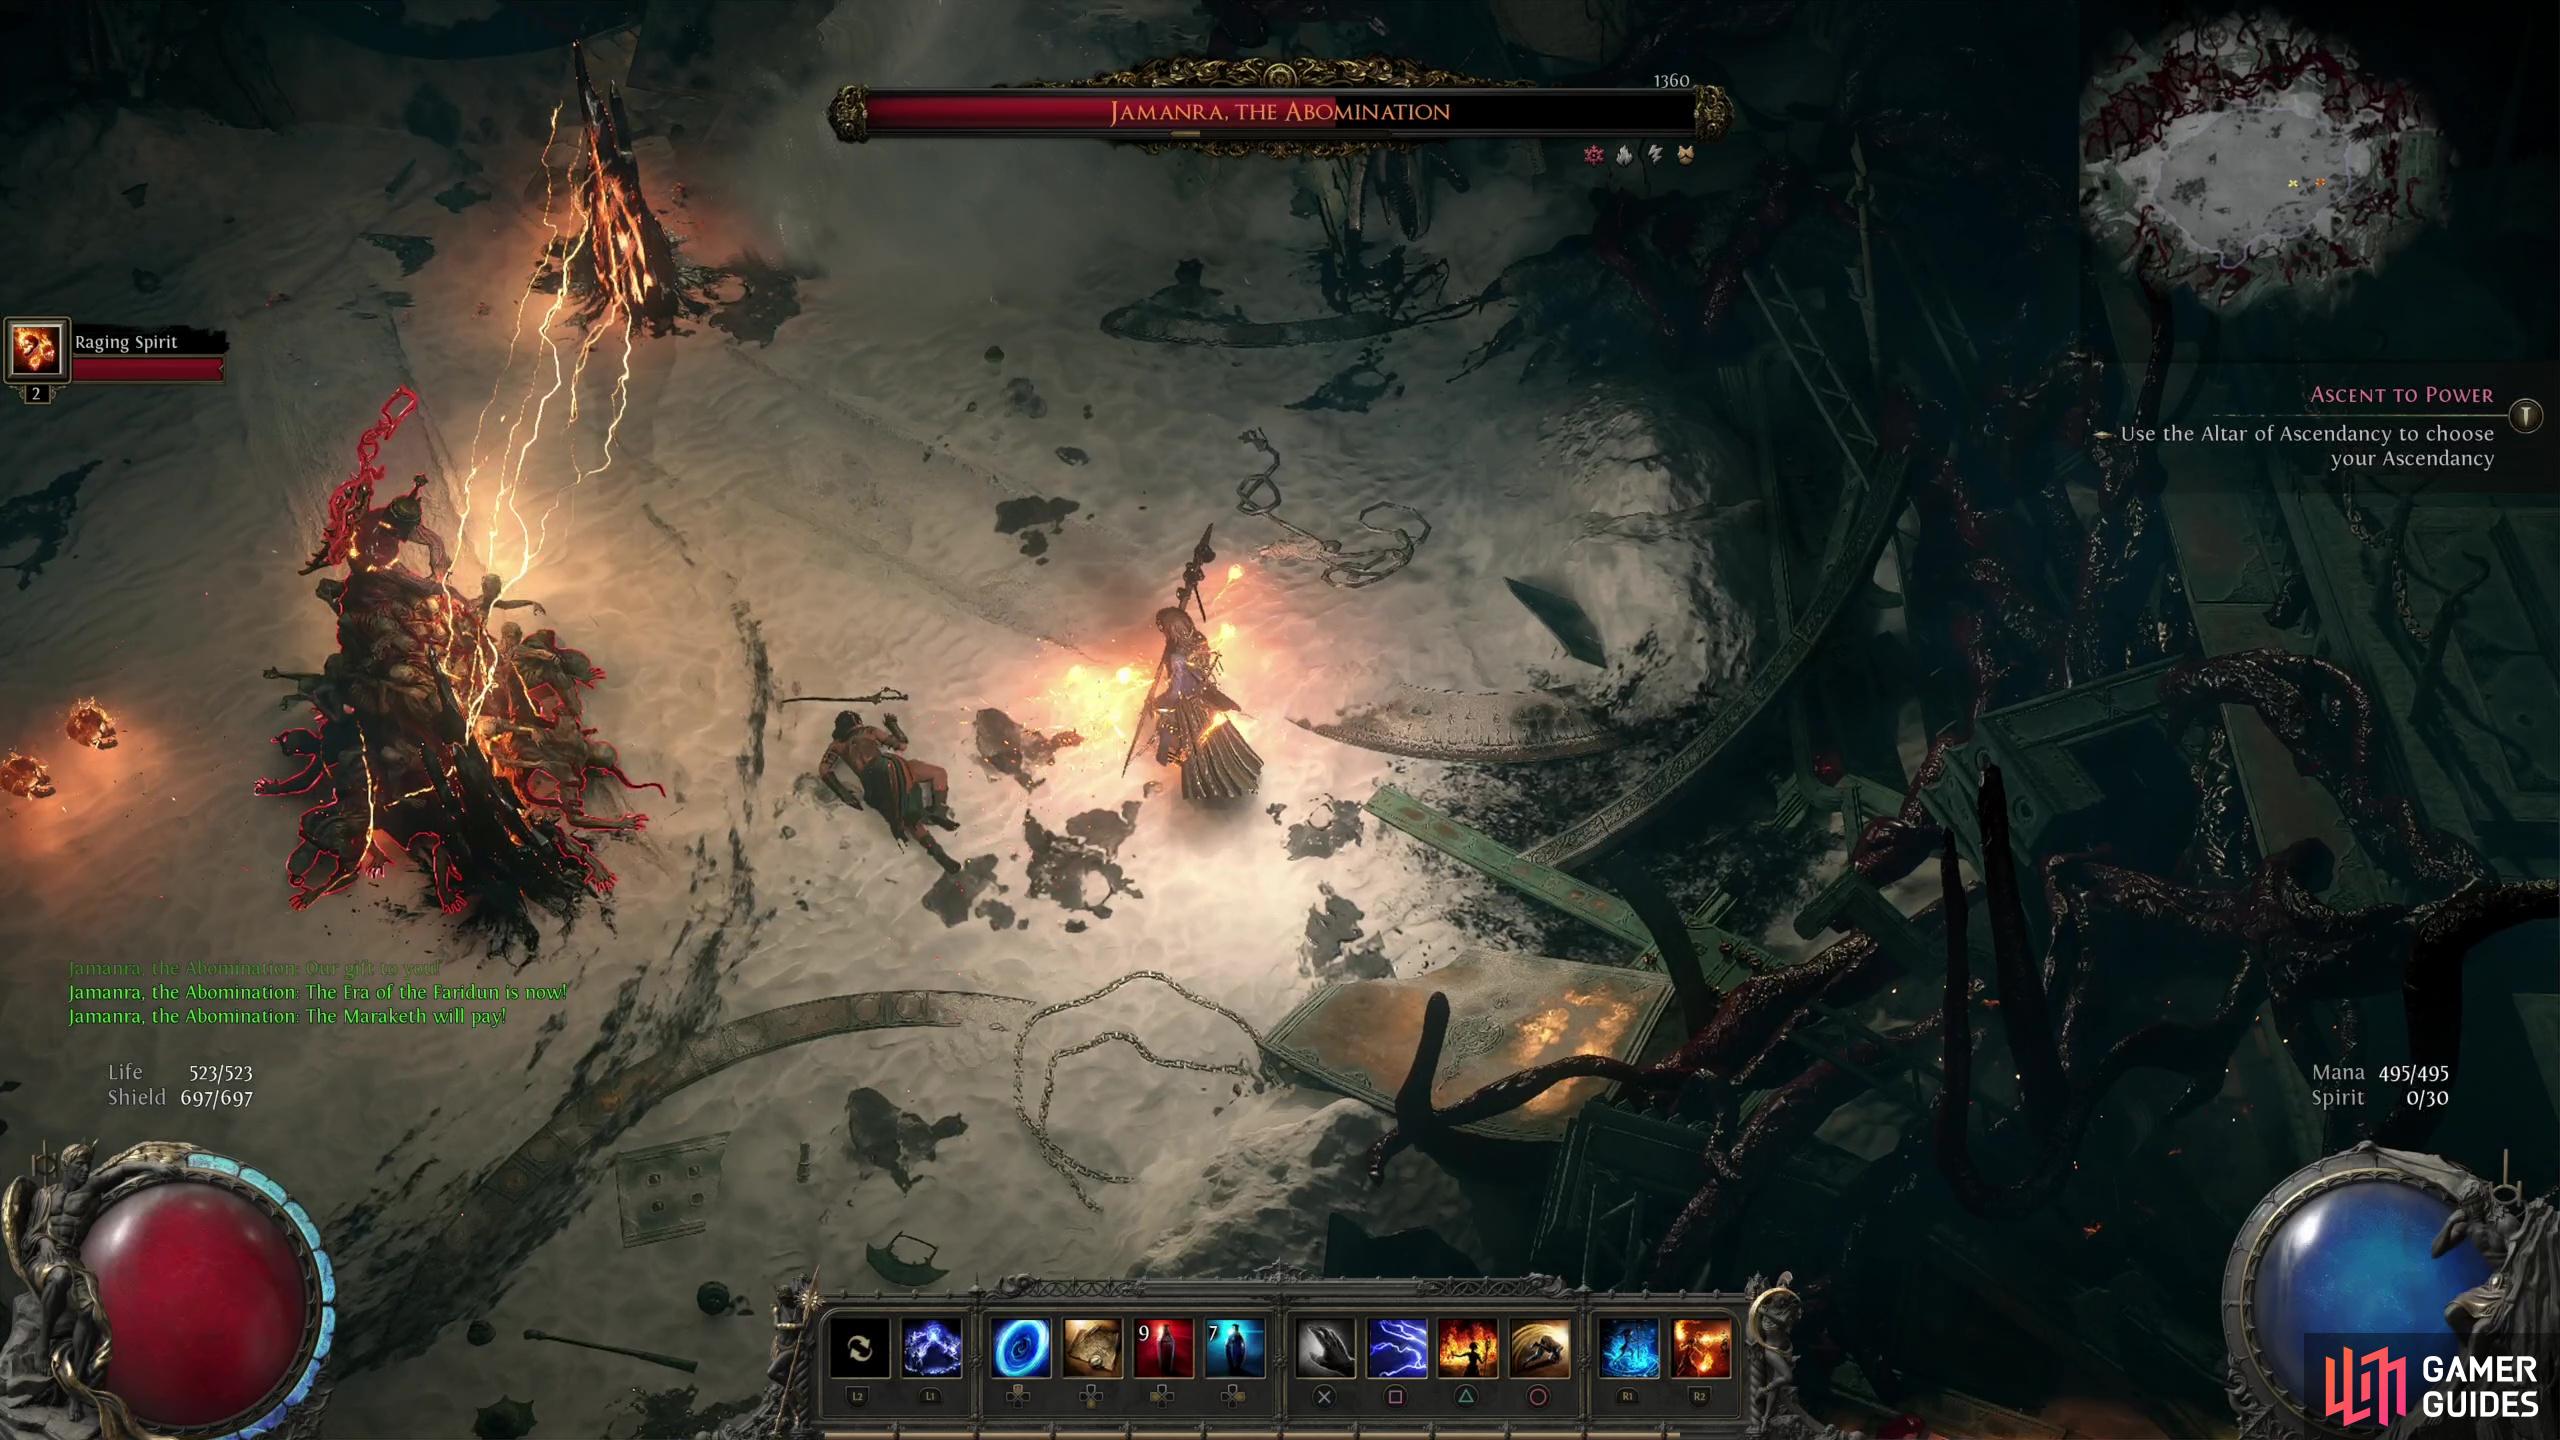
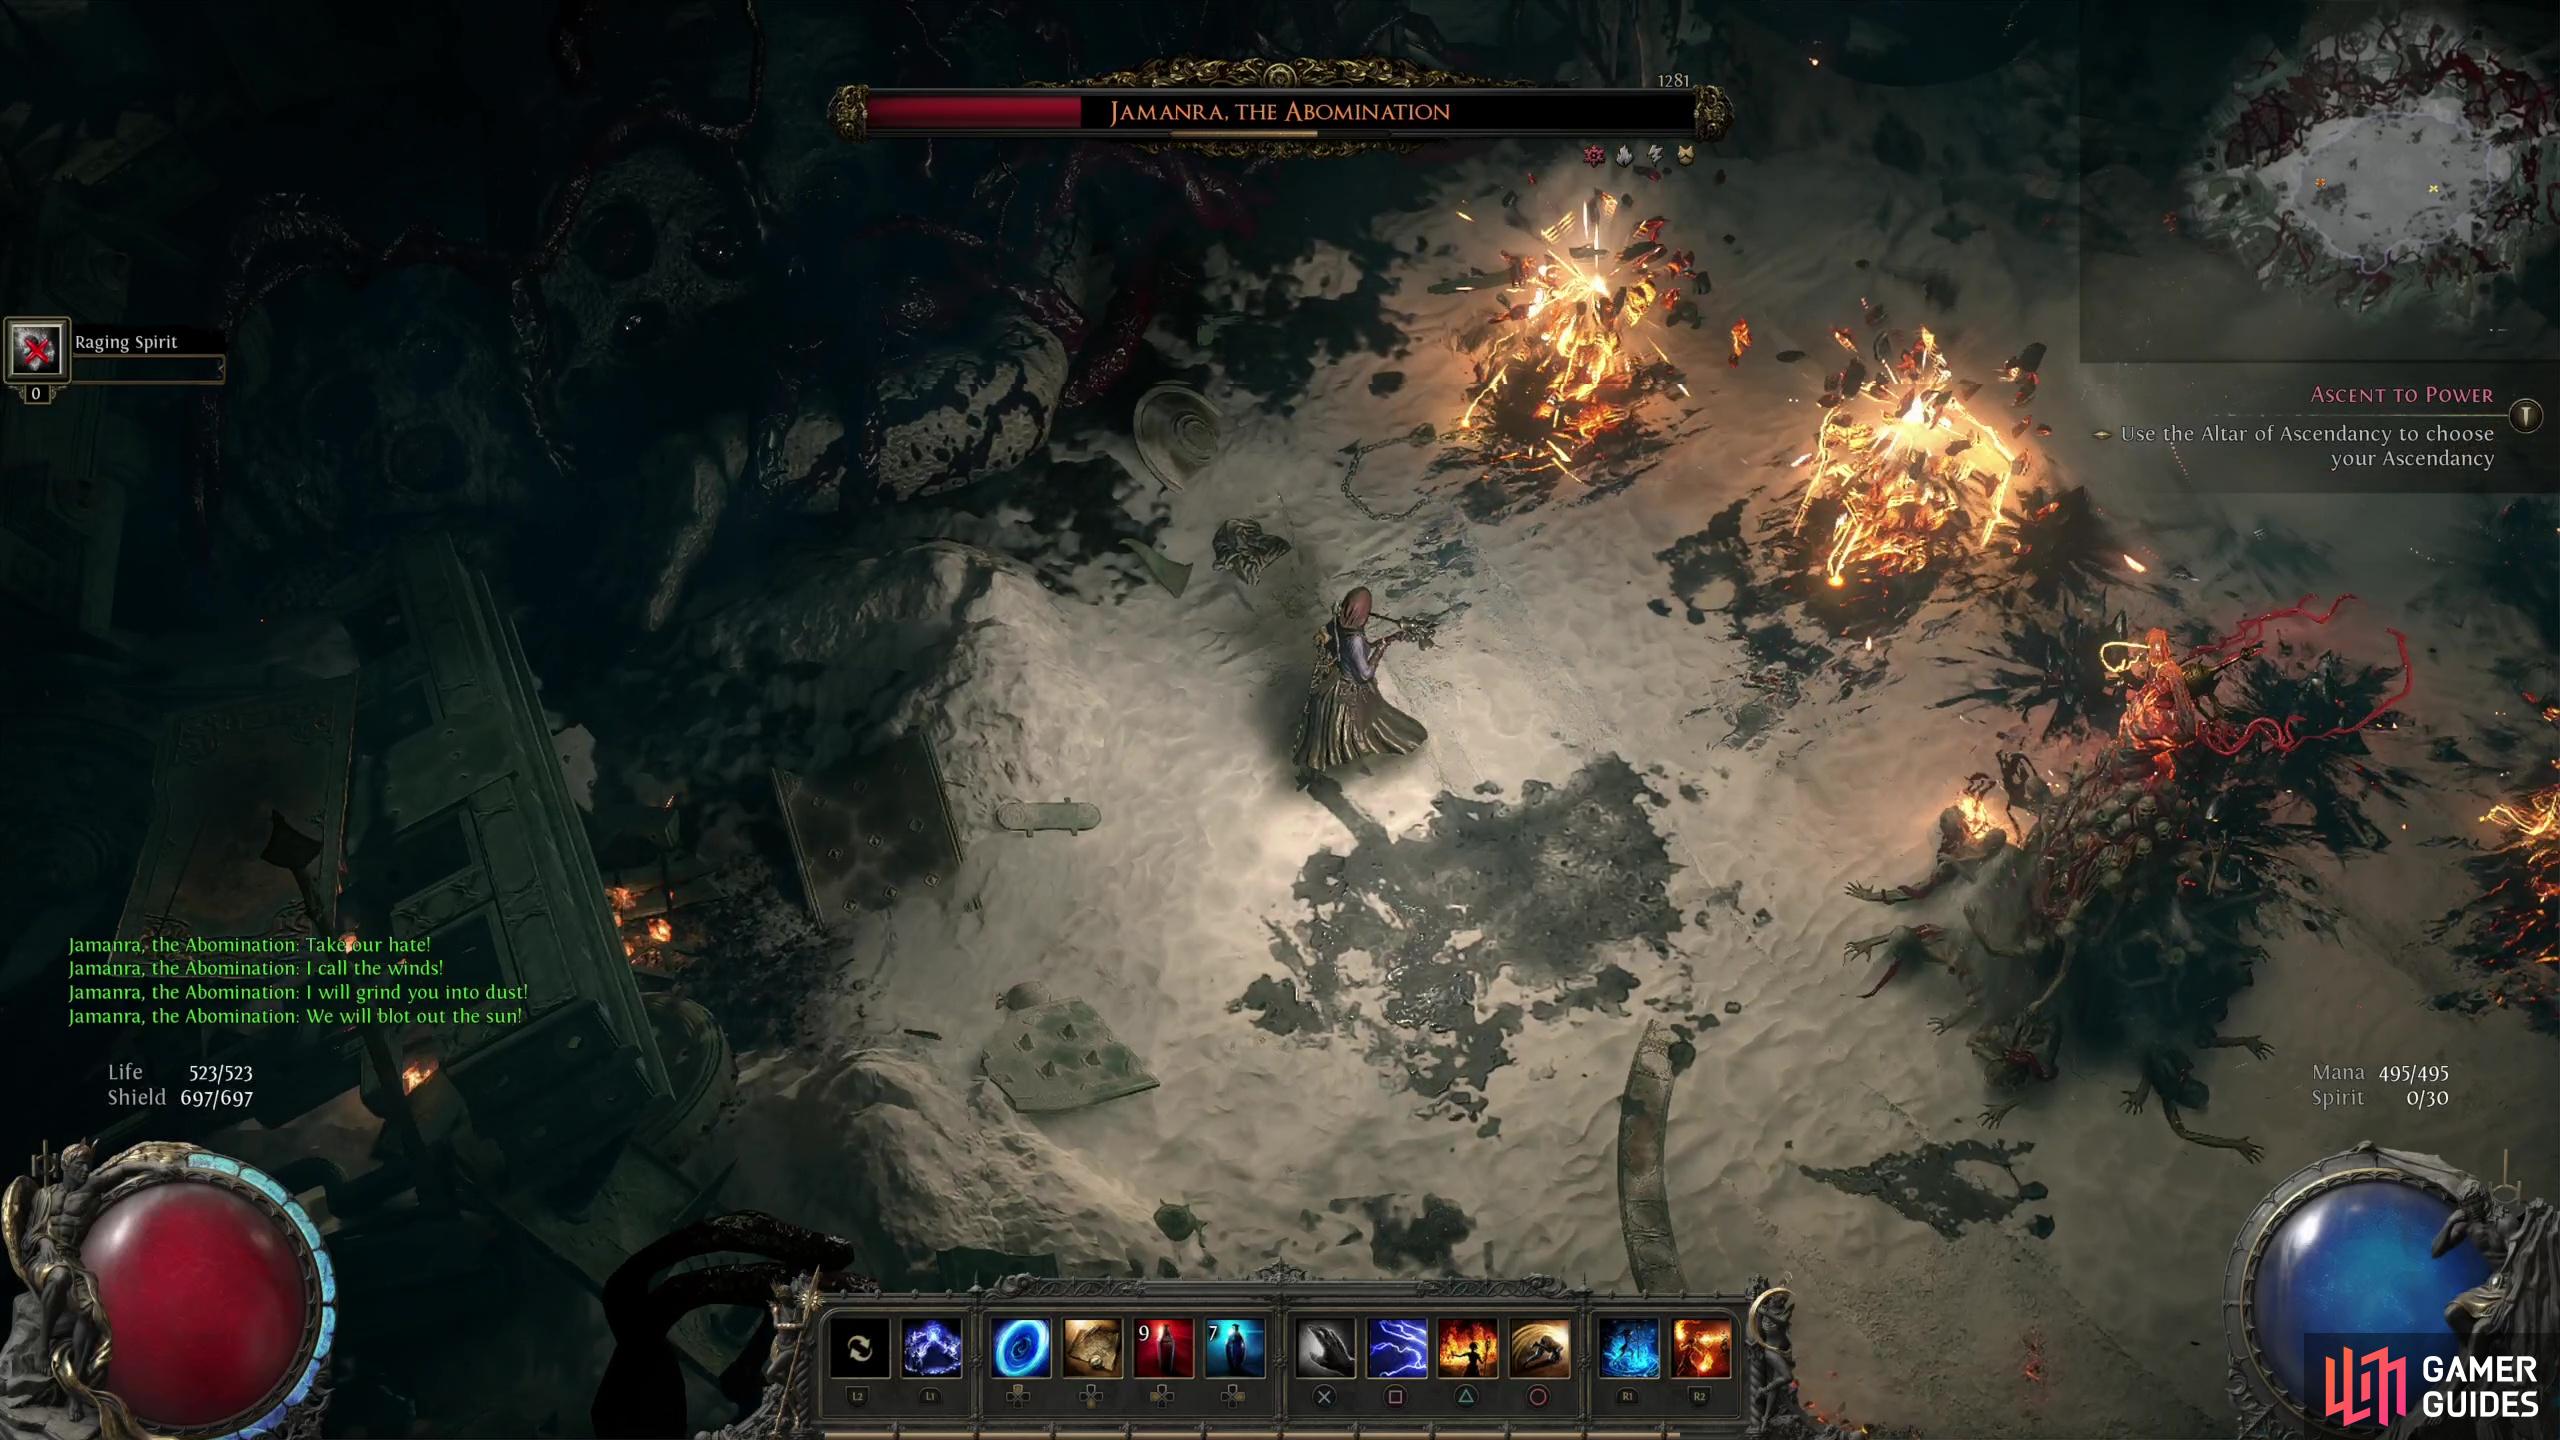
The first attack you’re likely to see during this page - probably as soon as you zone in - will be this. Jamanra will conjure a tornado that slowly meanders across the battlefield, dealing light damage as long as you’re in contact. At its absolute worst, this is a mild annoyance, but it’ll most likely be off doing its own thing, safely away from the conflict. Jamanra can have two of these active at once, for all the good that does.
Storm Wall
Speaking of Jamanra’s numerous area denial attacks that aren’t terribly worrisome, Storm Wall is a case in point. Jamanra will summon two structures - not pylons! - to frame a wall of lightning that’ll deal damage to you if you cross through it. These walls are of moderate length and aren’t too hard to avoid on their own, but they present a hazard you probably want to avoid. Jamanra can have two of these Storm Walls active at once.
(1 of 2) In phase two Jimanra will dispense with his pylons and use other area denial attacks, like dust devils,
In phase two Jimanra will dispense with his pylons and use other area denial attacks, like dust devils, (left), and immobile storm walls. (right)
Halberd Swing
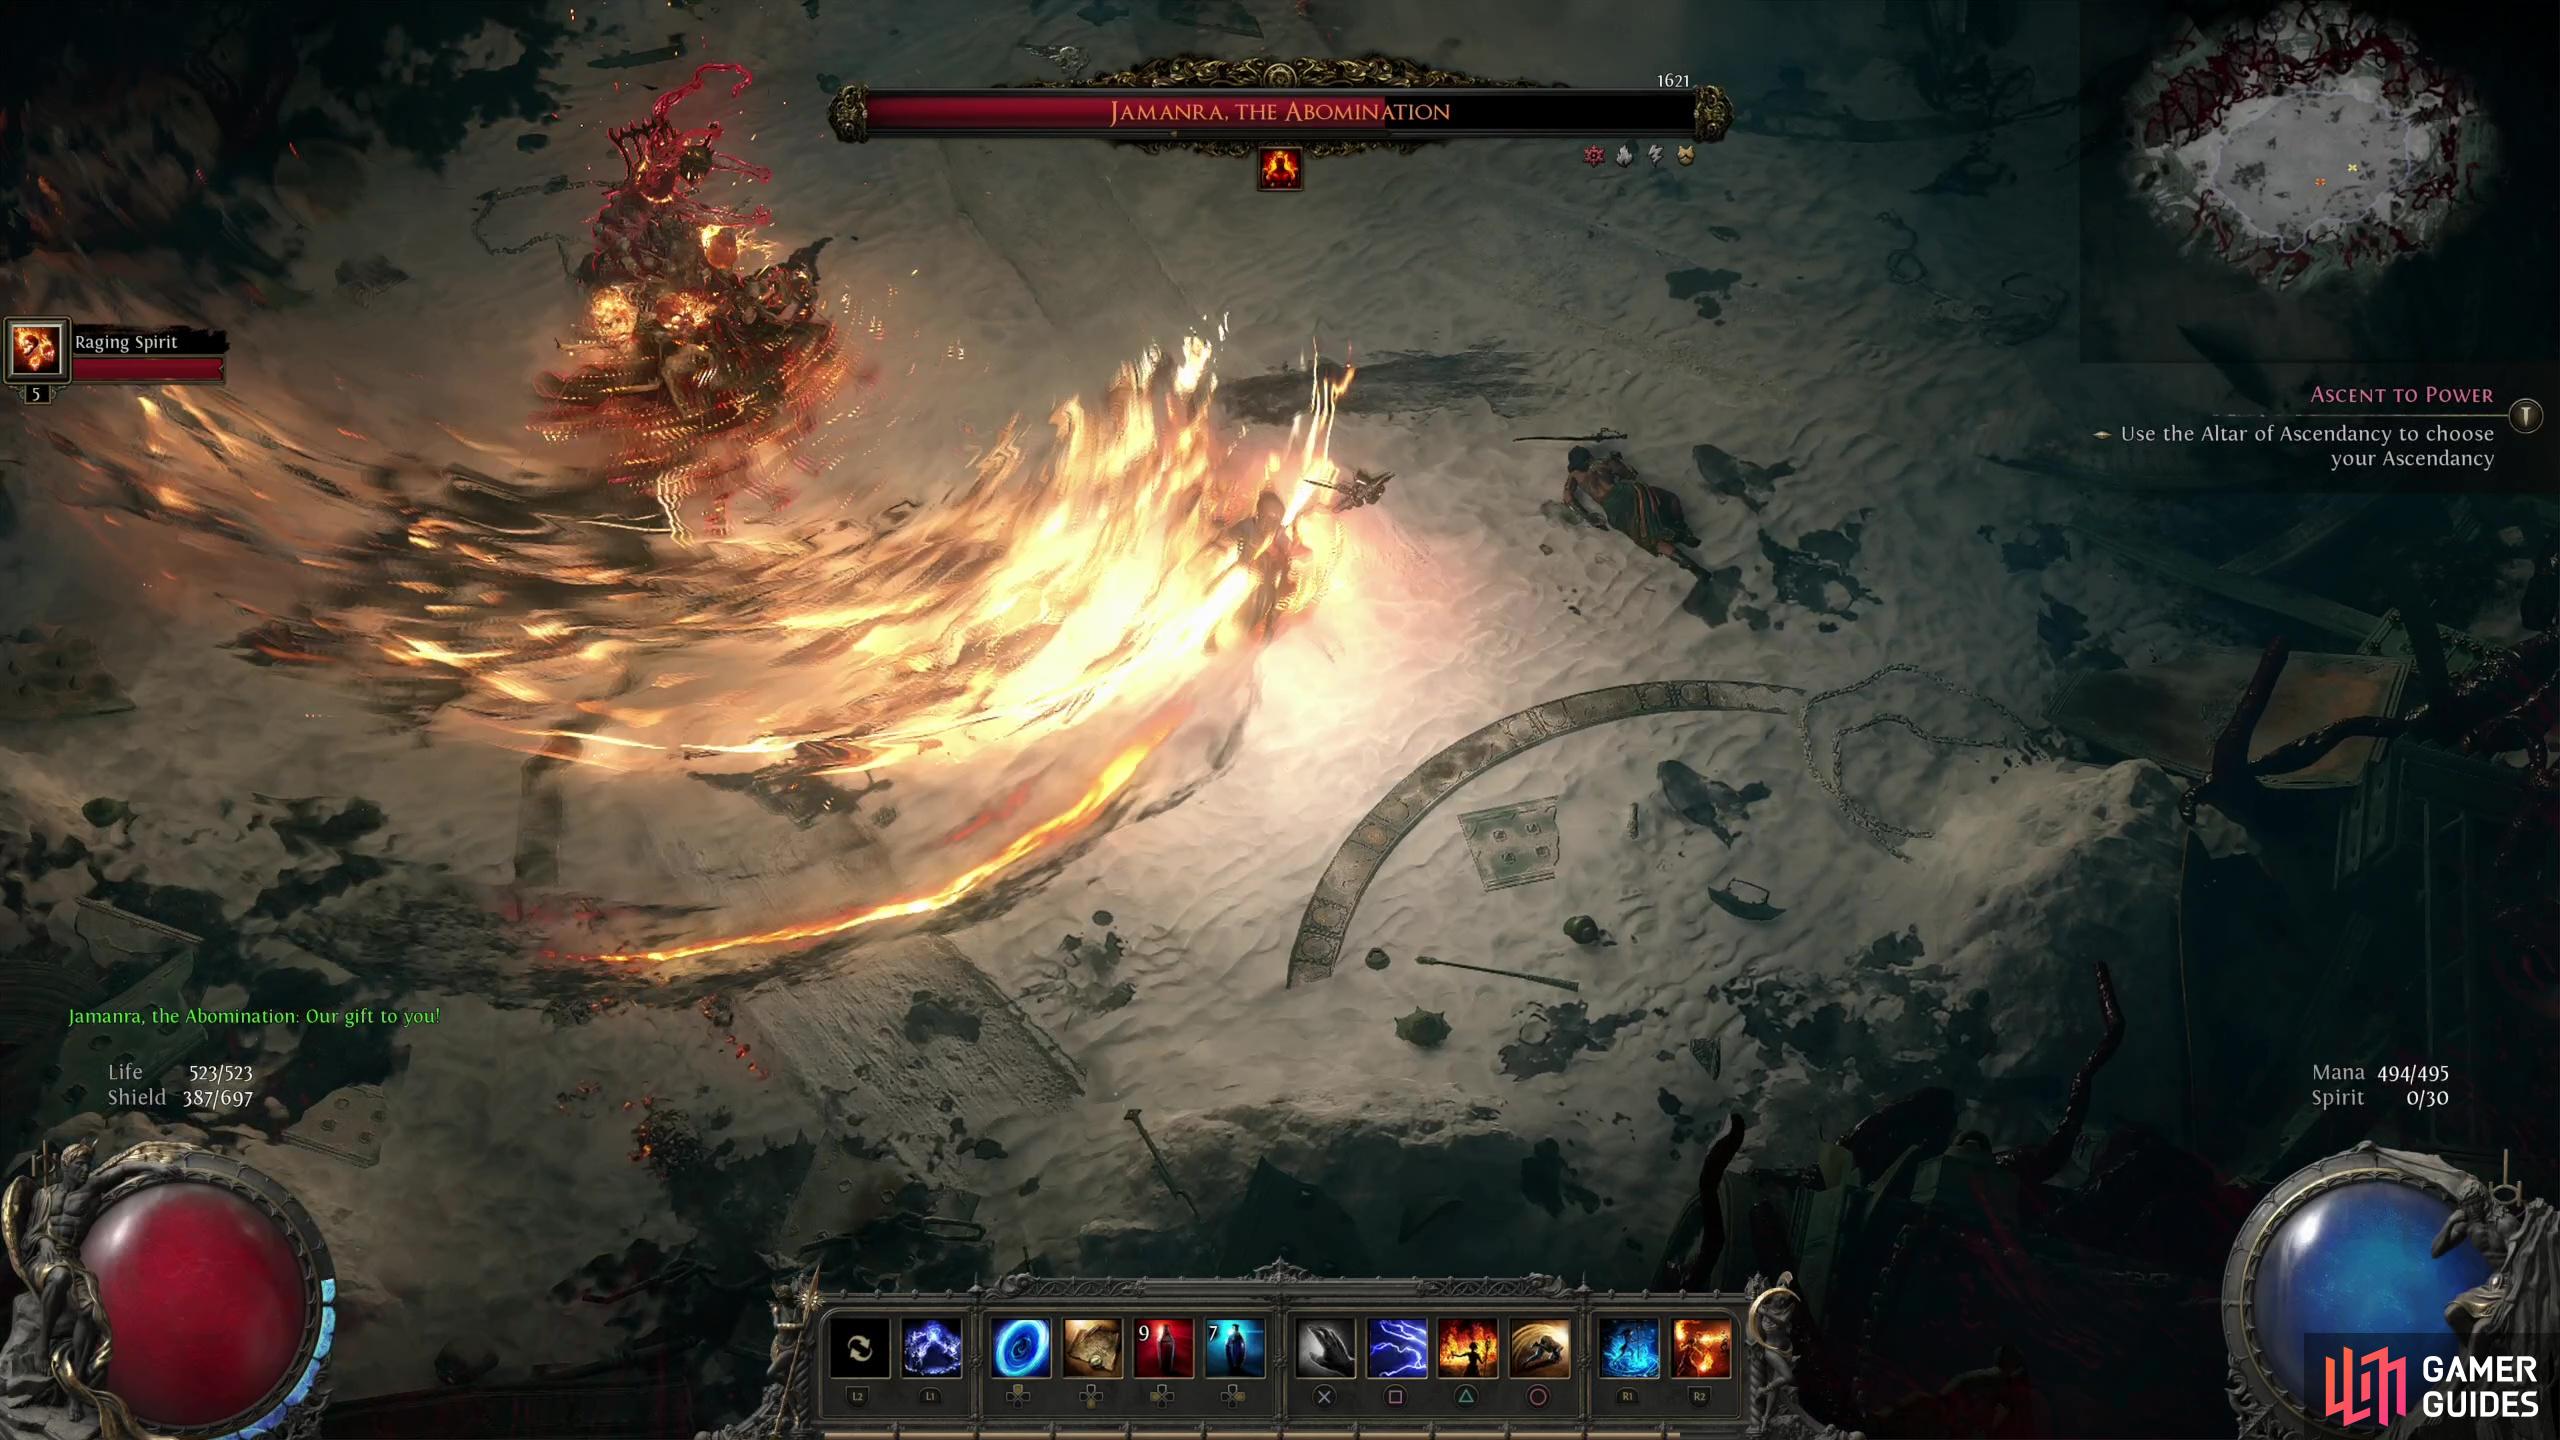
Dispensing with most of his standard attacks (including those that involved the pylons) in phase one, Jamanra instead opts to dish out damage directly via the contrivance of various weapons, which he can manifest at will… or at least long enough to attack with. One of these weapons is a halberd, which your foe will use to sweep the battlefield in an arc. You either need to be behind Jamanra, rather far away, or time your dodge roll very well so the iframes absorb the hit. This attack deals heavy damage.
Greatsword Slice
Another weapon attack, and perhaps the single most dangerous attack Jamanra has during phase two. He’ll manifest a greatsword and slice forward with it, striking a long area in a line in front of him. The tracking on this is pretty good, so you’ll need to dodge as Jamanra swings or he’ll adjust and hit you anyways. This attack can likely chop off half of your Life, at least, and it’s fortunate that Jamanra can’t use it in quick succession, but it’s a big enough damage spike that it can leave you imperiled by Jamanra’s numerous area denial attacks that would otherwise not be terribly worrisome.
(1 of 3) In addition to trivial melee attacks that are hardly worth mentioning, Jamanra can conjure various weapons that deal heavy damage, like an arching halberd,
Javelin Throw
Once reduced to under 50% of his health, Jamanra will add even more attacks to his second phase, one of which is a third weapon attack. Jamanra will toss a javelin at the ground in front of him in your general direction. When the javelin makes contact it’ll explode into a cone-shaped AoE. Dodge to the side when you see this attack, as the area it impacts only gets wider the further away you are, but unlike the other weapon attacks, this only deals moderate damage.
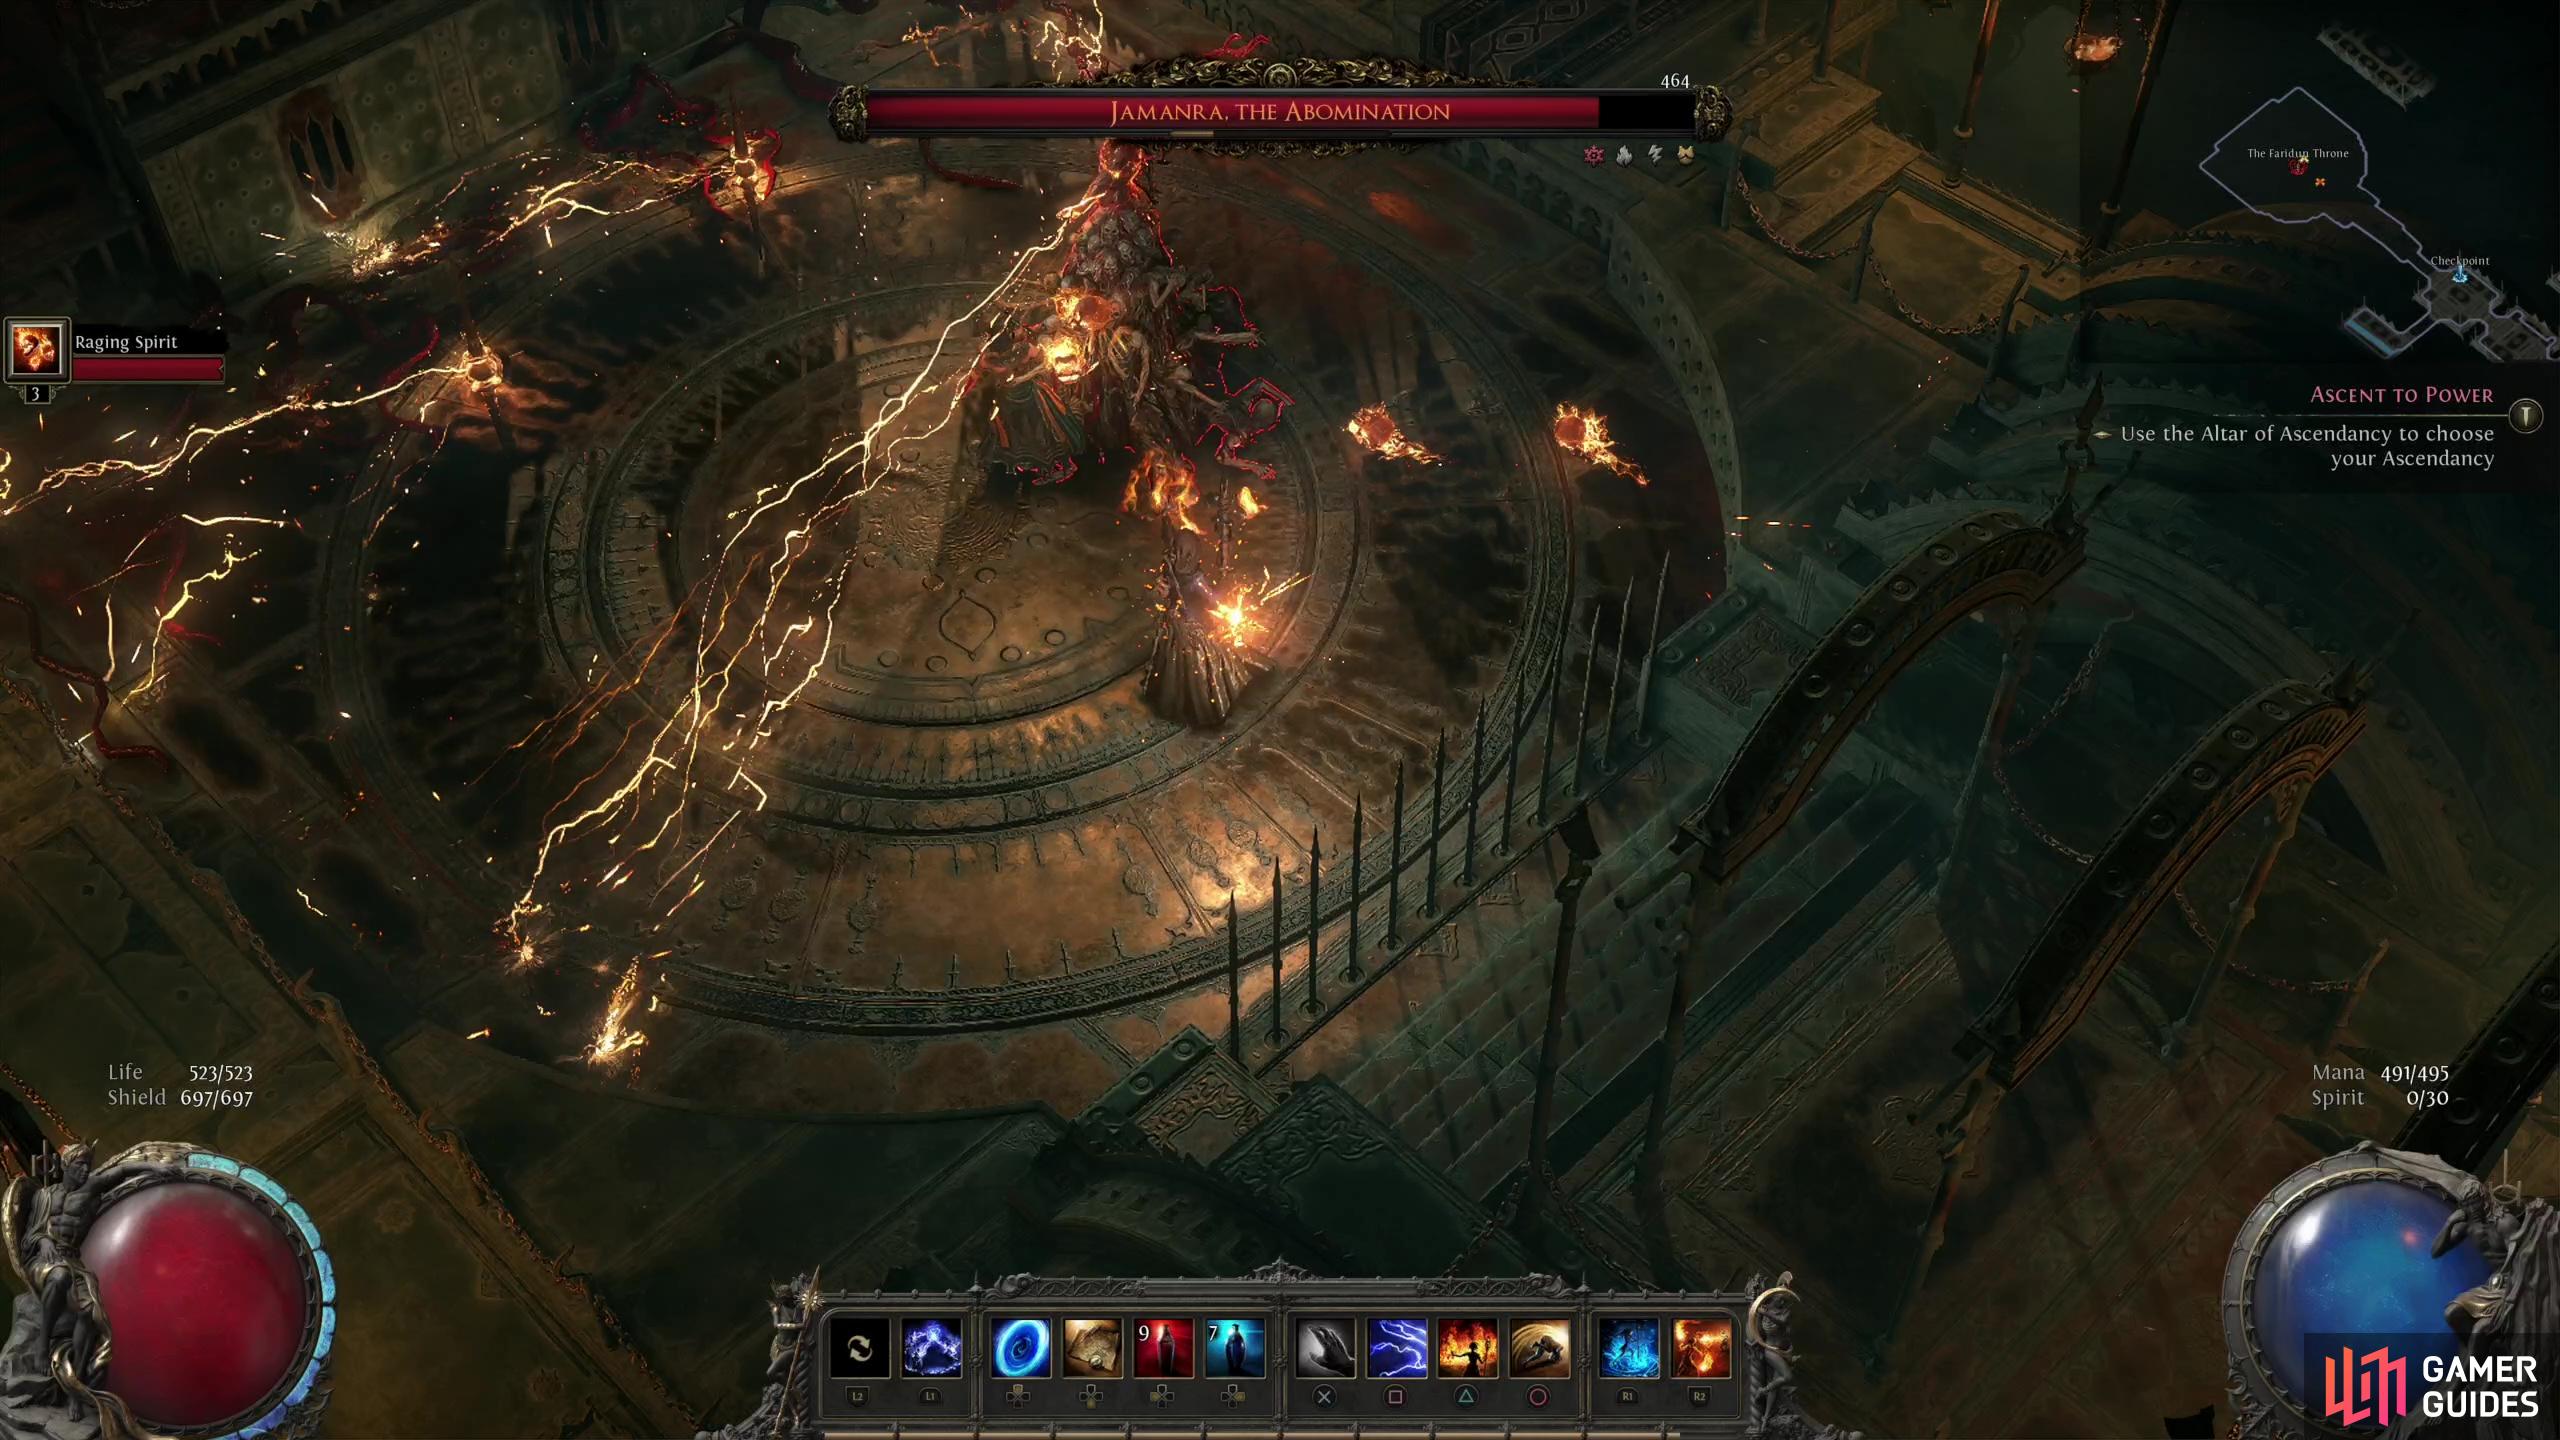
Lightning Orbs
Similar to the “Lightning Wall Pylons” attack, sans the pylons… and the wall. This attack sends several orbs of electricity moving from one end of the battlefield to the other. Move out of their path and you’ll be fine. Jamanra will use this attack less frequently when his health is below 25%.
Lightning Strikes
Once reduced to below 50% of his health, Jamanra will start forming rings out of spears of light, which mark the spot where lightning will strike after a delay. These tend to form around you and Jamanra will use them constantly - as long as you keep moving you shouldn’t get hit. Jamanra will use this attack less frequently when his health is below 25%.
Shard Barrage
Jamanra will conjure two clusters of shards above him, and then shoot them at you. To avoid them, you’ll need to dodge as they shoot, which can be tricky, especially if you’re recovering from dodging one of his many other attacks. Fortunately these don’t deal much damage, and largely serve to compel you to dodge when you’d otherwise rather be attacking.
Rift Shards
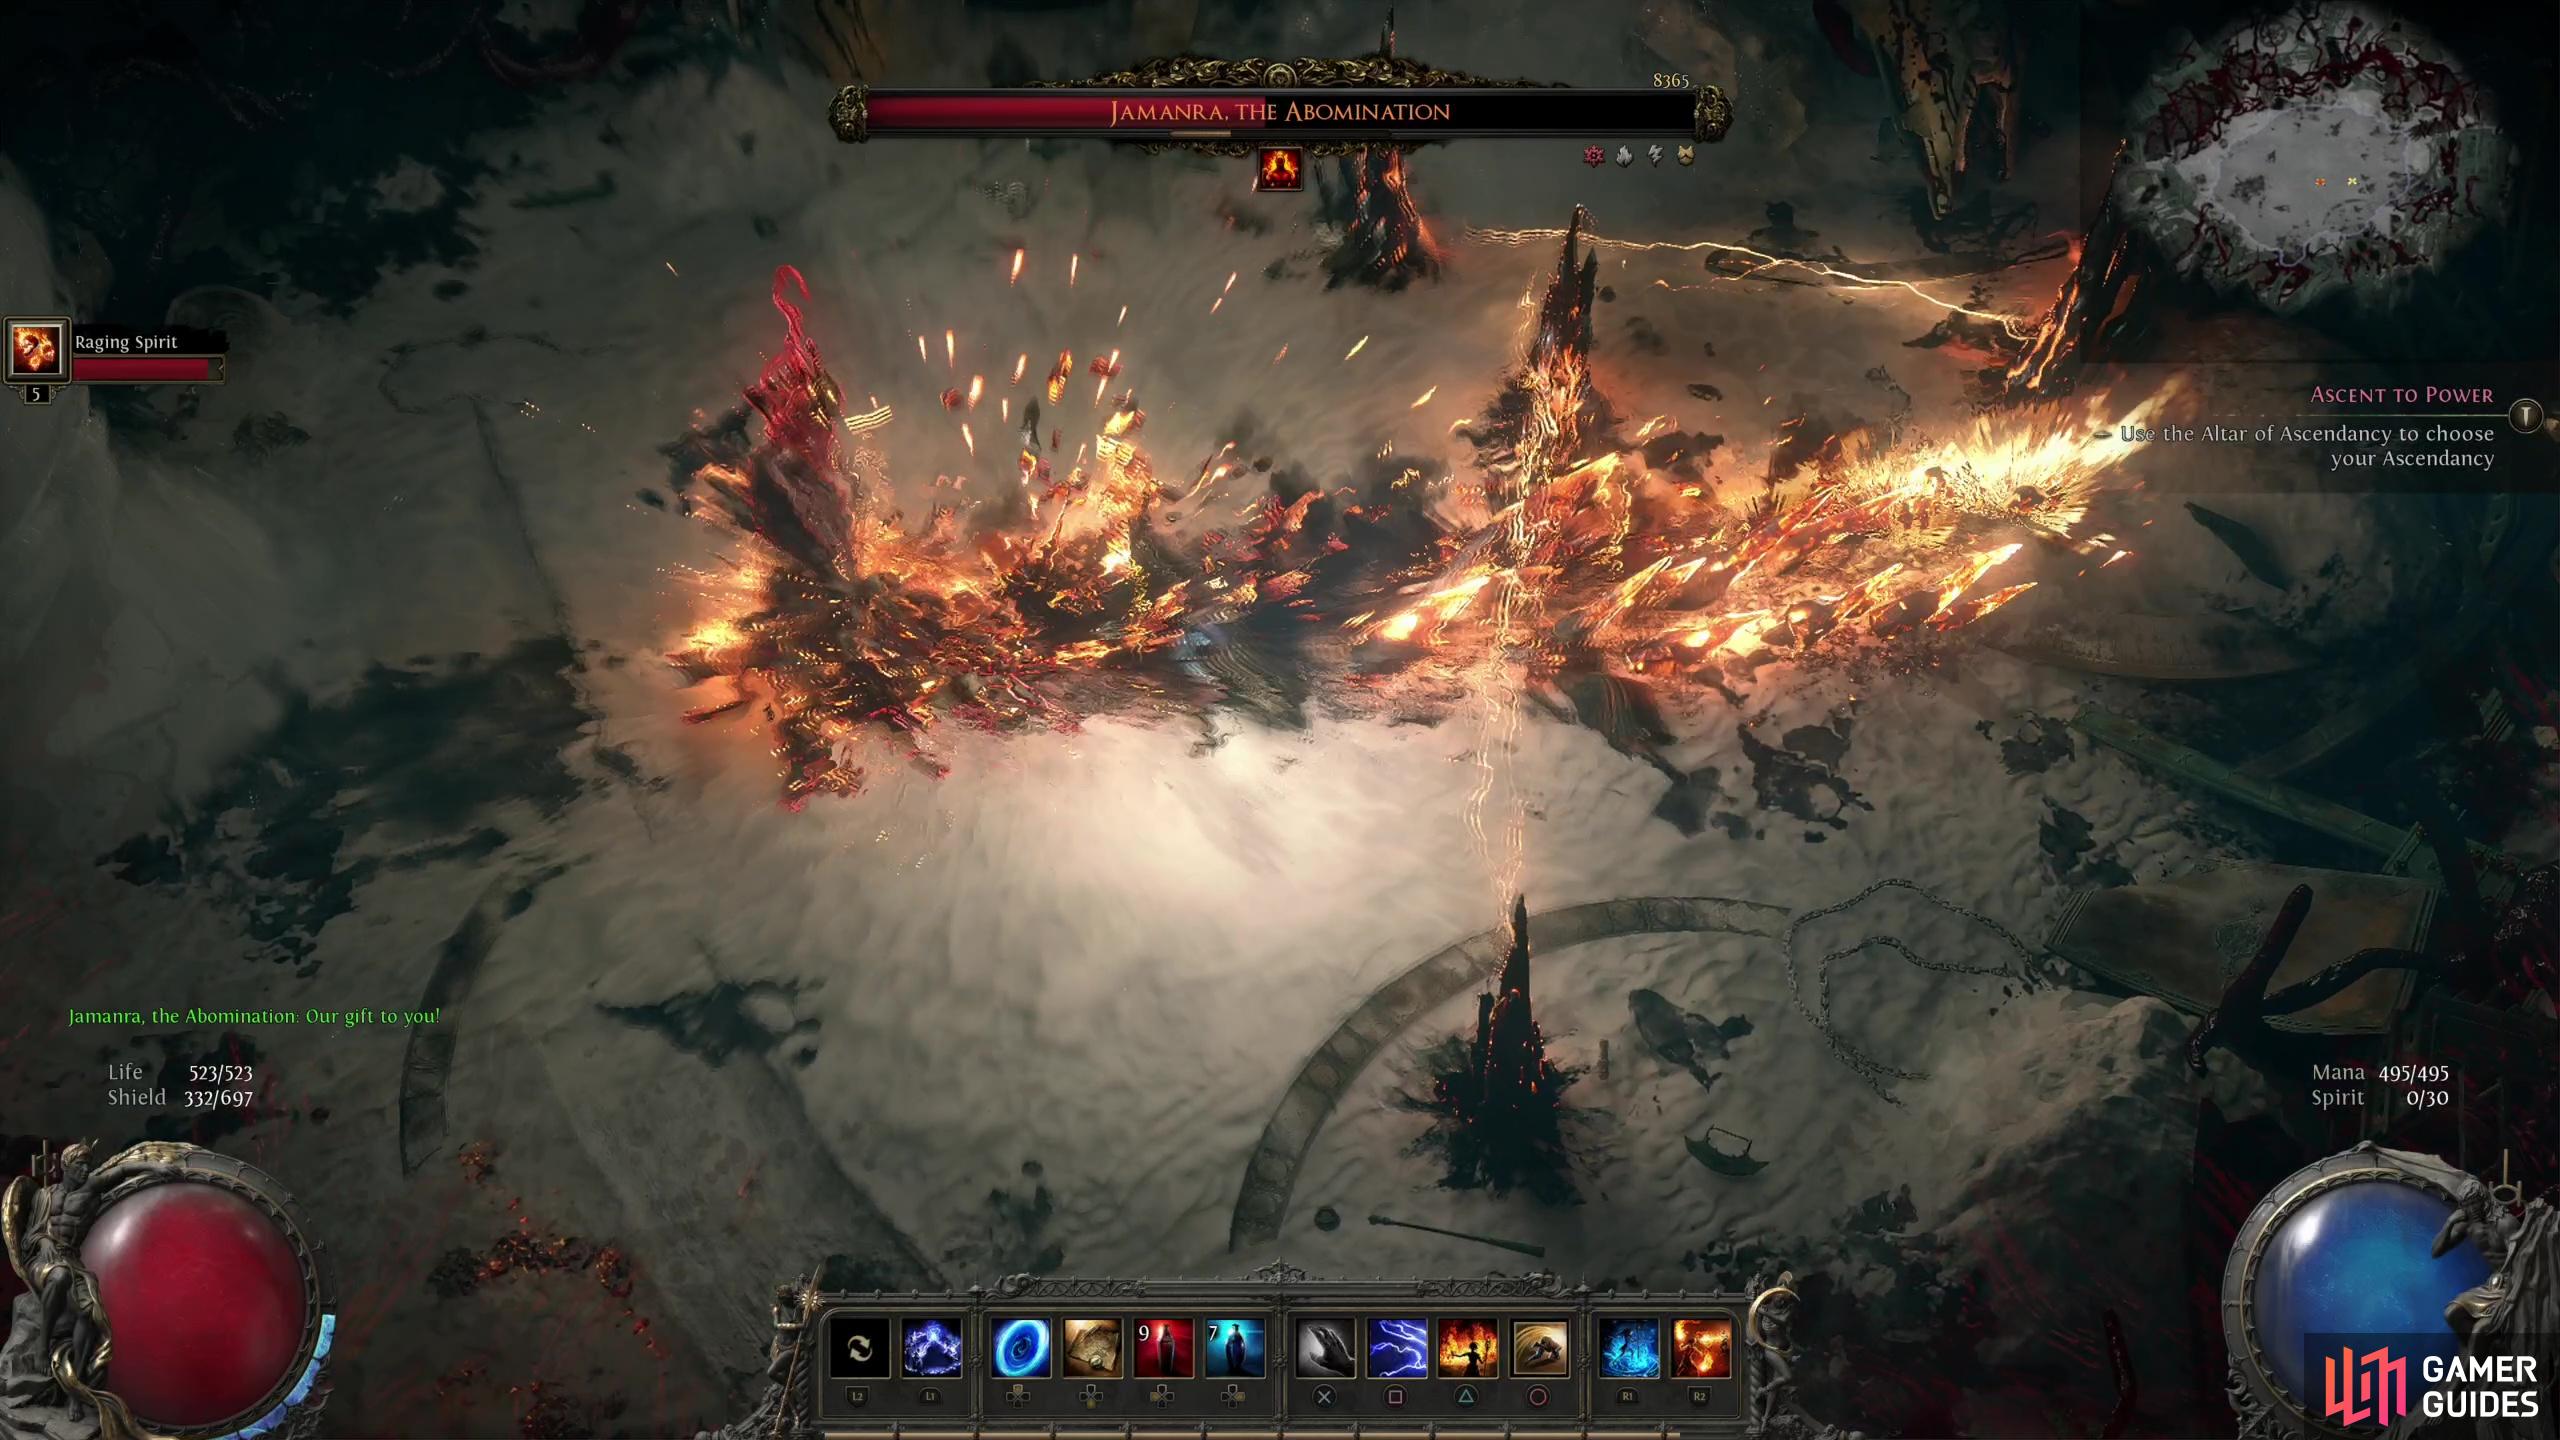
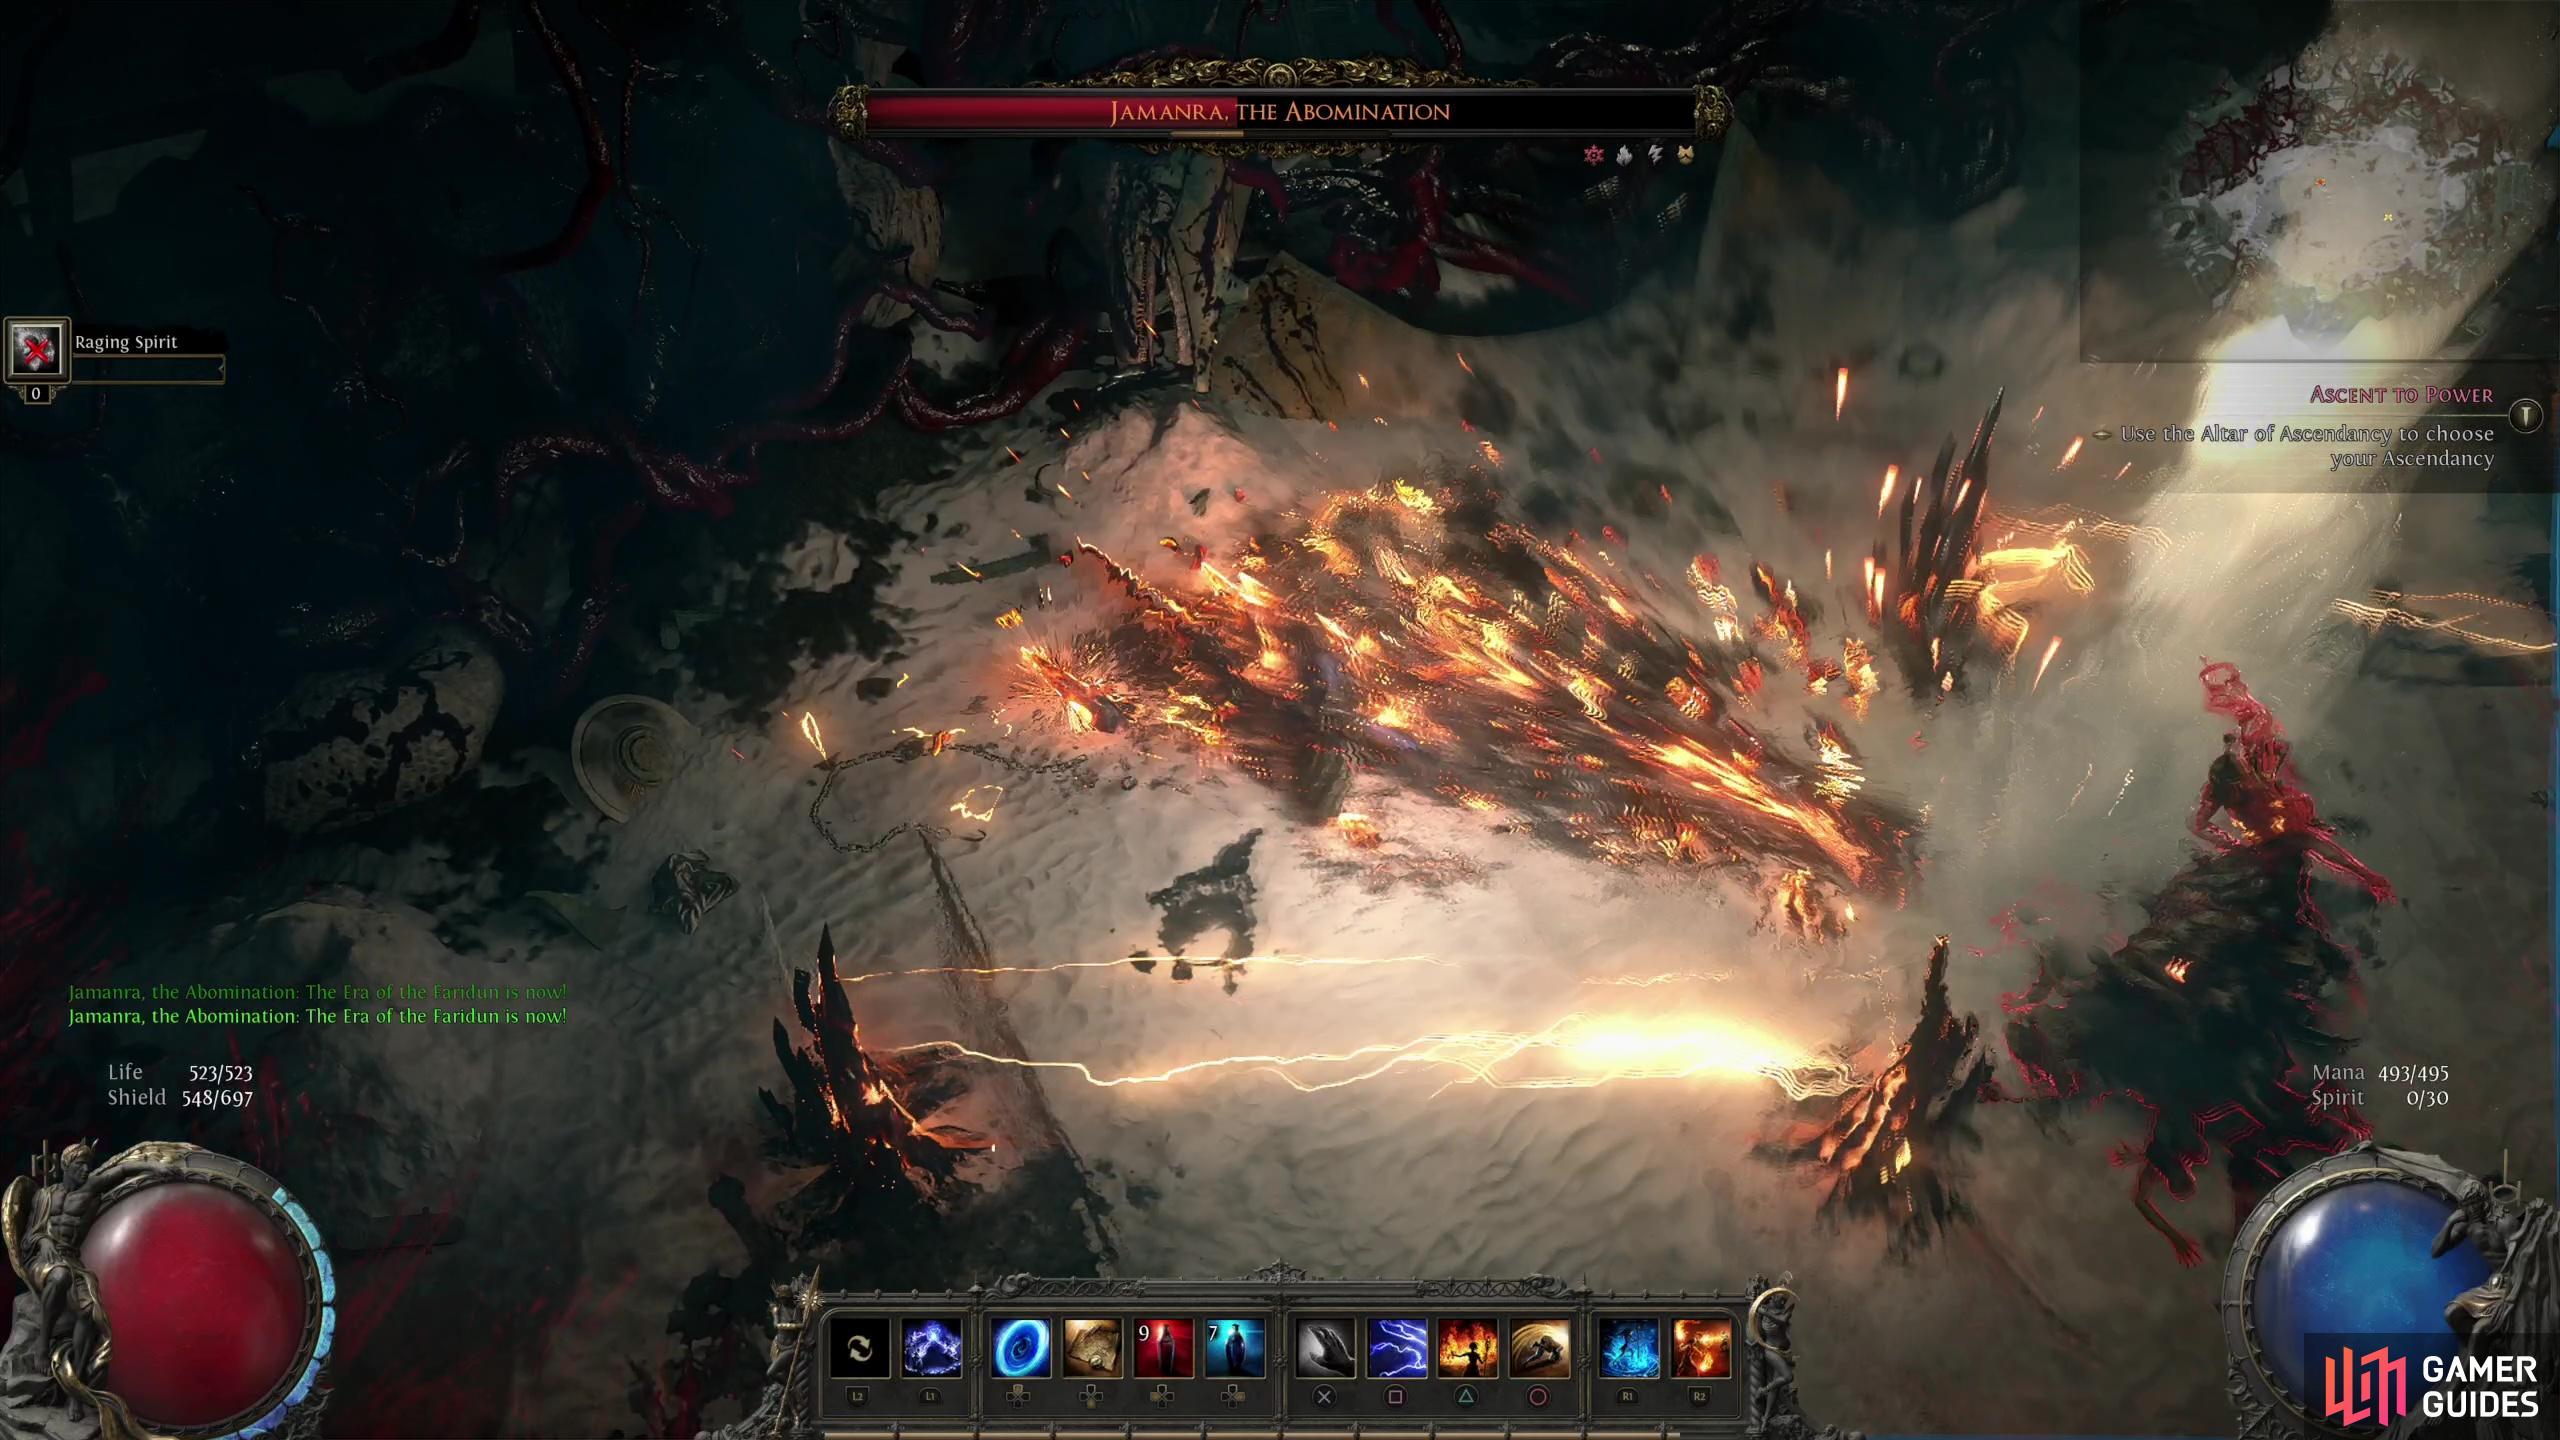
You’ll start seeing this attack regularly when Jamanra’s health falls below 25%, at which point this will become his favored area-denial attack, with most other such attacks falling off, generally leaving Jamanra’s “Dust Devils” and his weapon attacks, along with anything that simply happens to linger into lengthy durations of these Rift Shards. Jamanra will open up a circular rift and damaging shards will cascade through the rift in a torrent that crosses the entire battlefield, dealing damage if you cross through them. Jamanra can summon two of these, often perpendicular to each other, cordoning off vast swaths of the battlefield.
(1 of 3) When reduced to below 50% of his life, Jamanra will start rolling lightning orbs down the battlefield,
The second phase of the battle is all about area denial on the part of Jamanra, and for your part you’ll need to keep moving to avoid various hazards while still finding time to deal damage to your foe. Jamanra dispenses with many of his attacks in the first phase, thankfully including his sandstorm attack, and while Jamanra doesn’t have any single attack as dangerous as the sandstorm from the first phase, he makes up for in volume what he may now lack in damage. Be especially careful of Jamanra’s weapon attacks, as they deal quite a lot of damage at a single stroke and in conjunction with Jamanra’s other attacks they could still prove to be dangerous. As Jamanra’s life empties, his attacks will intensify to the point where you’ll need to wary of two or three attacks at a time, usually a mix of persistent, area denial attacks, AoEs and weapon attacks.
Whittle down Jamanra’s life and when he’s nearly defeated he’ll become staggered but invulnerable. This is your cue to find Sekhema Asala and rouse her, who will finish off Jamanra for you. You do all the work, she gets the kill. Robbery. On the plus side, you’ll be able to talk your way into Act 3 after defeating Jamanra, the Abomination!


 Sign up
No Comments