To complete this quest, you must first solve the lever puzzle inside the Electric Lab, as detailed below.
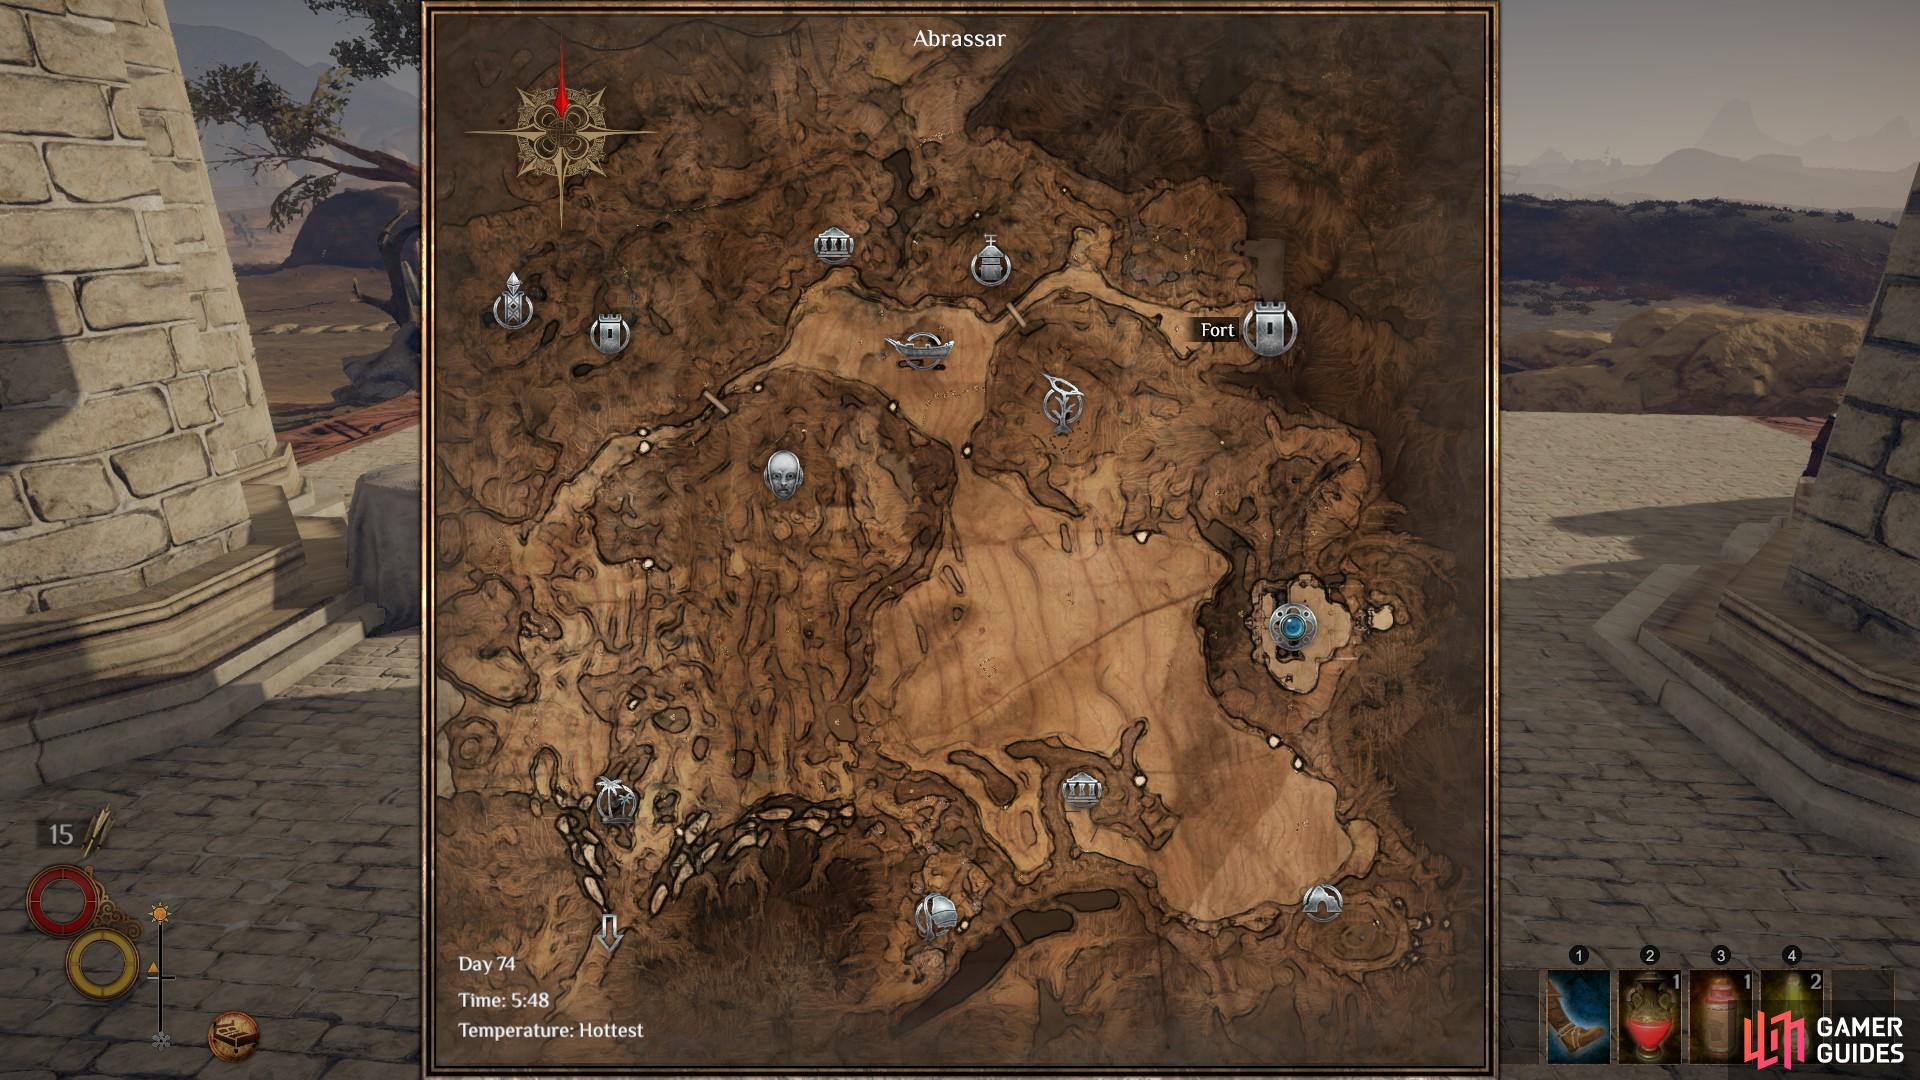
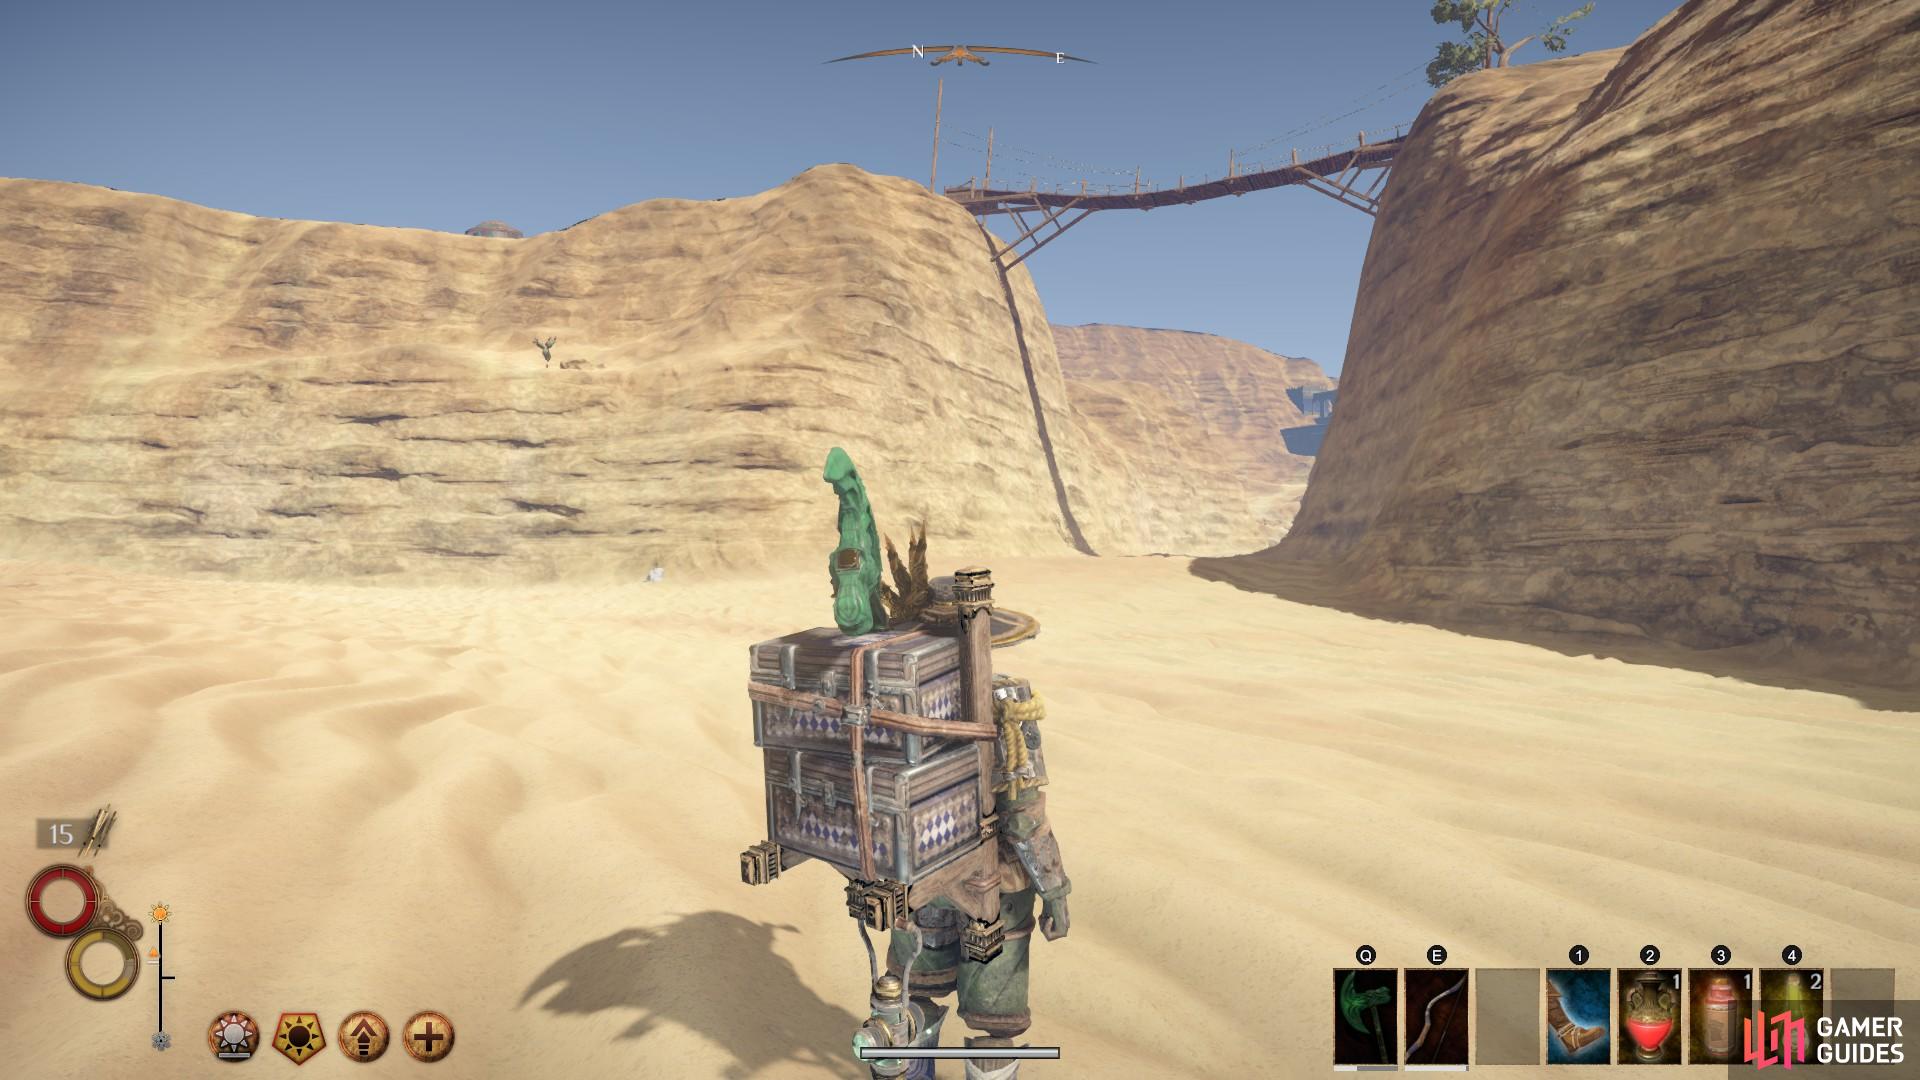
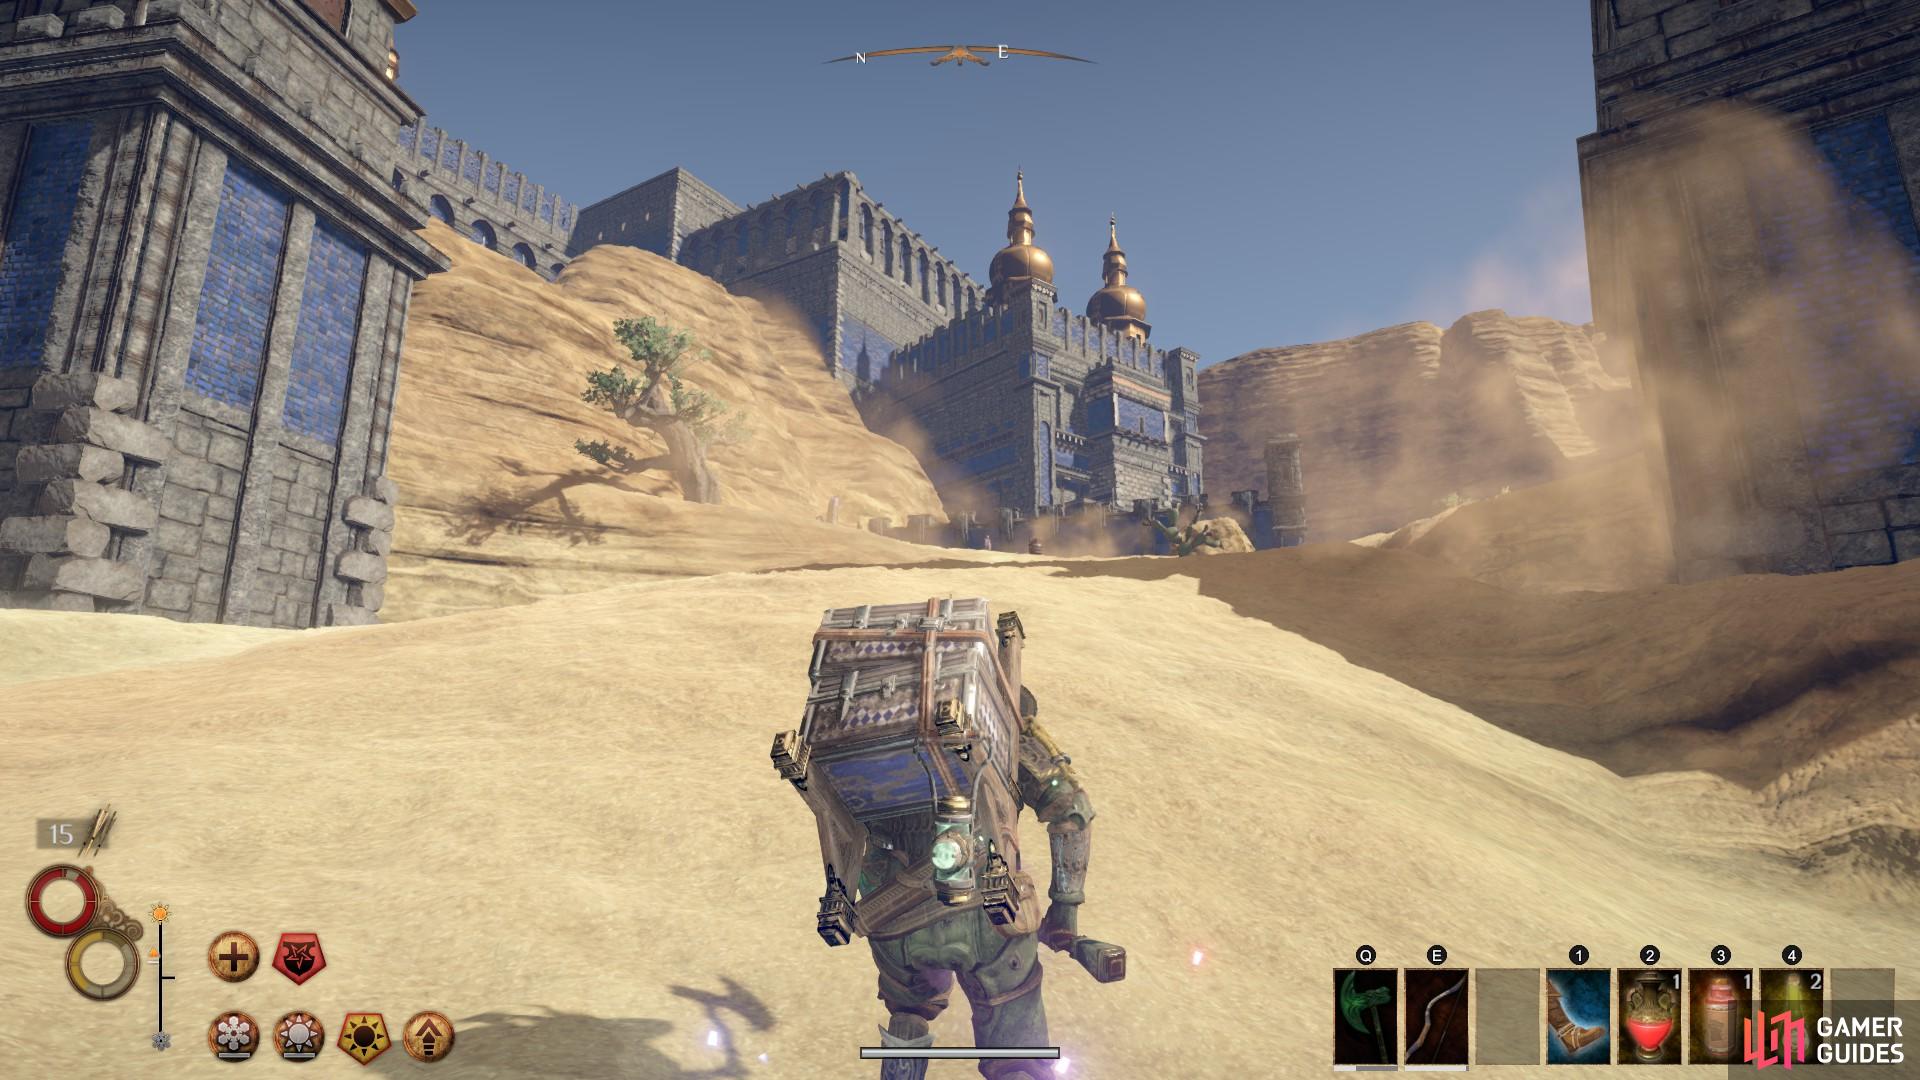
The Electric Lab is located directly north of Levant. To find it, head north west from Levant until you reach the canyon containing the Parched Shipwrecks. From here, head north east and continue through the ravine eastward. The Electric Lab is marked by blue brickwork, making it difficult to miss.
(1 of 3) The location of Electric Lab on the Abrassar map, marked here as ‘Fort’ in the north east of the map.
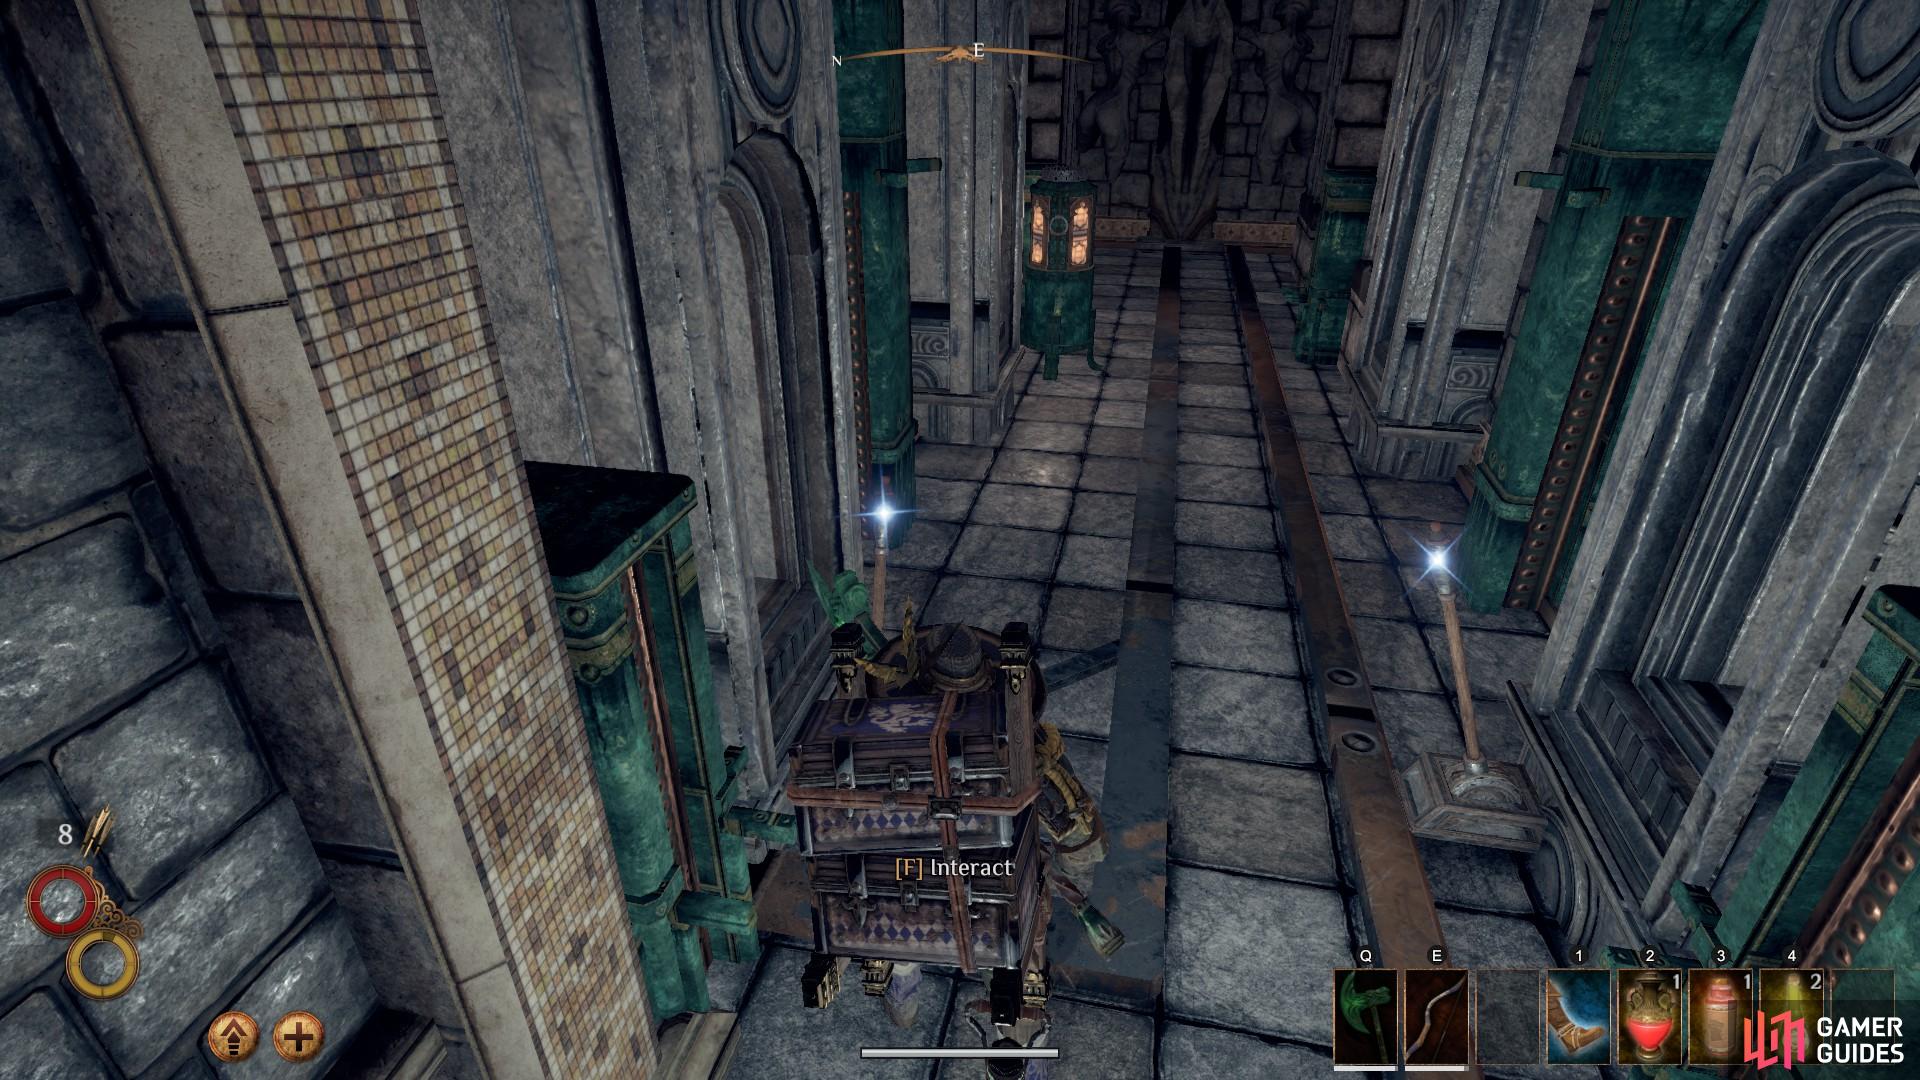
Once inside, head down the slope directly in front of you to the west. At the bottom, turn right and use the lift mechanism to lower yourself. In this room you will find three Forge Golems. They are quite slow and don’t hit too hard, but they do shoot fire balls which can hone in on your location and inflict significant damage. You should therefore create barriers between yourself and the golems by using the pillars throughout the room. Once you have killed all three, turn left from the lift mechanism and then left again. Pull the lever at the end of the hallway to reconfigure the lift mechanism, and then return to the lift by going back the way you came.
When you’re back at the lift, face north and pull the lever. Facing north is important as you will need to run off the lift halfway down as it descends, entering a secret area. An easy way to do this quickly is by rolling onto the secret level from the lift. You will find yourself in a dark hallway with electrical pipes. Go down the stairs and turn right, avoiding the golem to the north. Turn right again into the library room, where you will find another lever in its south west corner. Pull the lever to reveal a secret passage behind one of the bookshelves. The final lever can be found to your right immediately upon entering the secret passage.
From the library, go back the way you came down the hallway to the west. This time, instead of turning south up the stairs, go down the broken stairs to the north. Here you will encounter a Beast Golem which are extremely fast, but relatively weak. Use heavy hits to impact them enough to cause immobility, and chain these attacks to bring it down swiftly. Once the golem is dead follow the hallway east and take the first left turn to the north. You can now follow this linear path back to the room where you encountered the Forge Golems. Take the short path in its south west corner by turning right from the slope you ascended into the room. You can now use the lift mechanism here that was previously blocked.
(1 of 4) Be sure to use the lever on the left before you get back on the platform after the library.
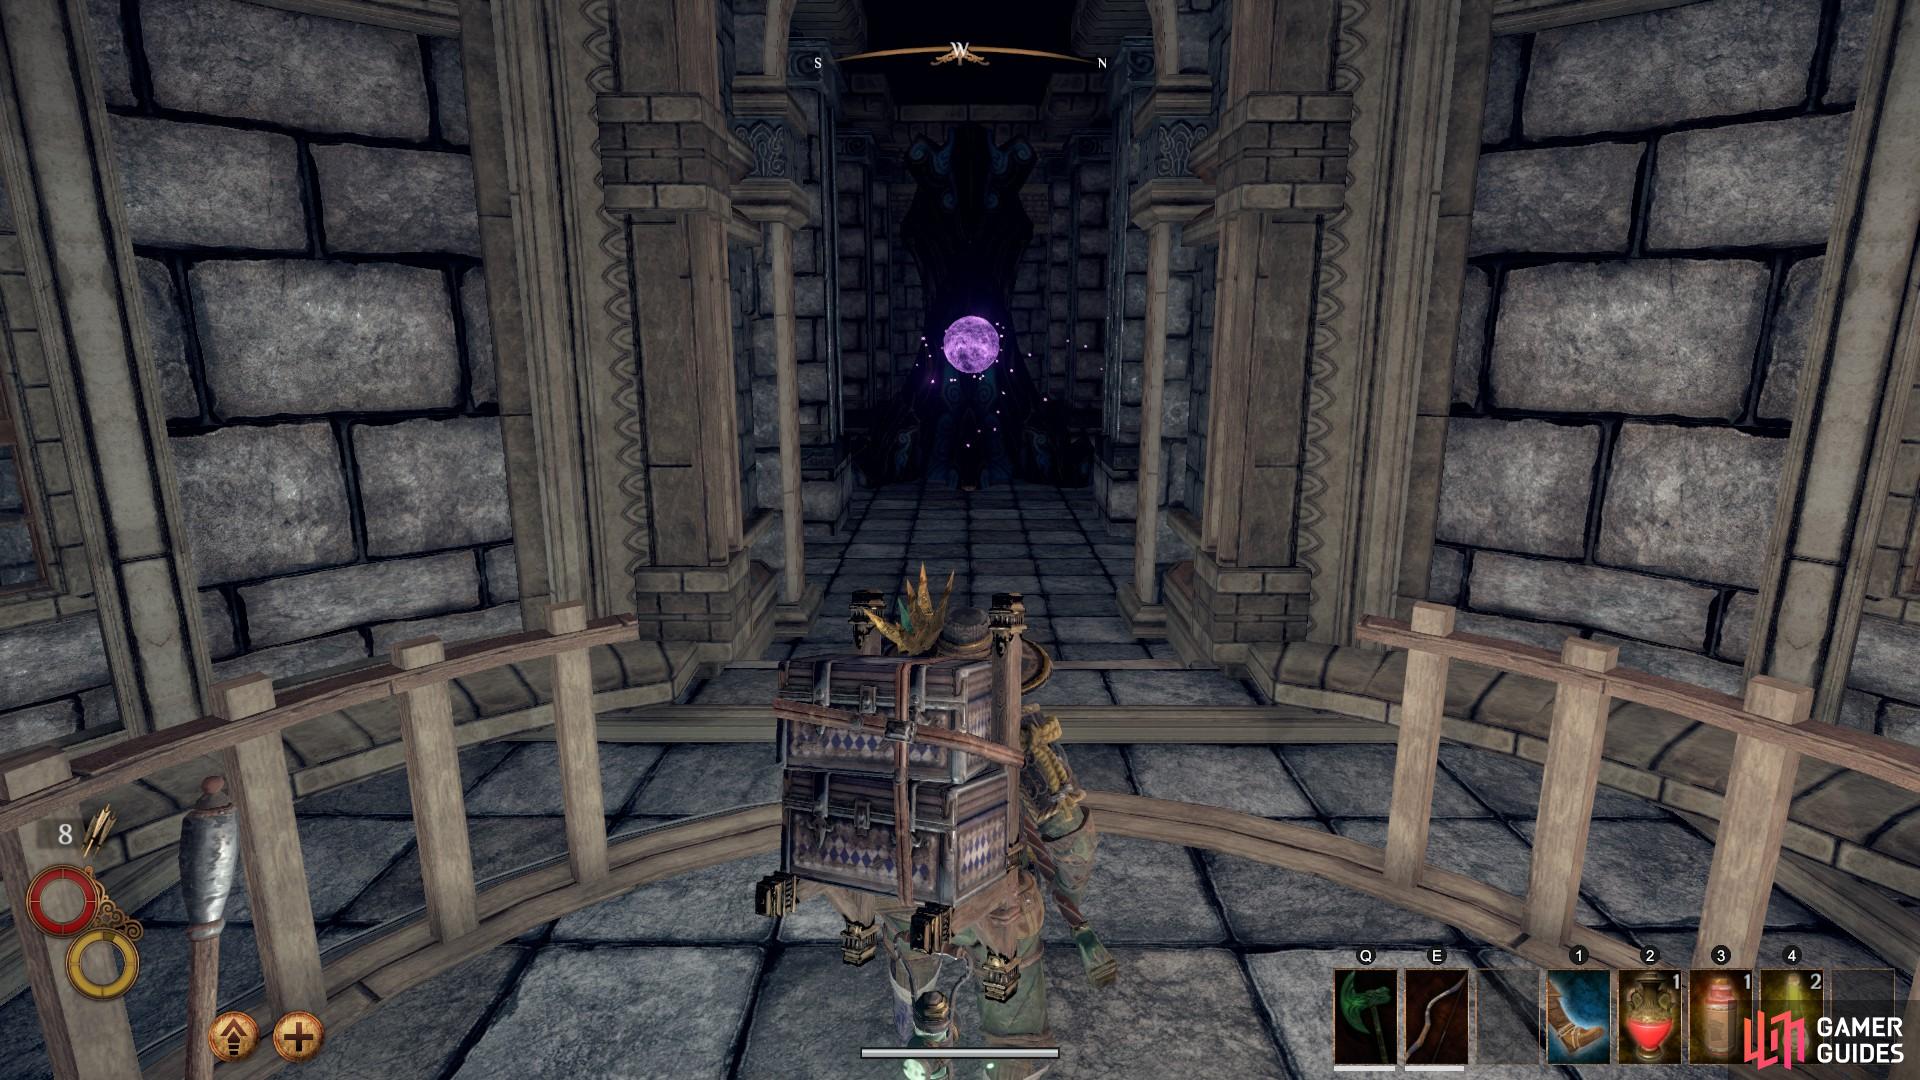
After using the lift to take you upwards, step off the platform and use the lever to your left, causing the top part of the lift mechanism to descend to your level. Now get back on the platform and pull the lever to take you up again. At the top you will see a purple orb to the west. Interact with it to begin the Arcane Machine quest. Now turn eastward and use the exit to Abrassar. Here you will find yourself in a courtyard containing multiple Sword Golems. After defeating the first golem the quest log will update, prompting you to defeat all of them within the courtyard.
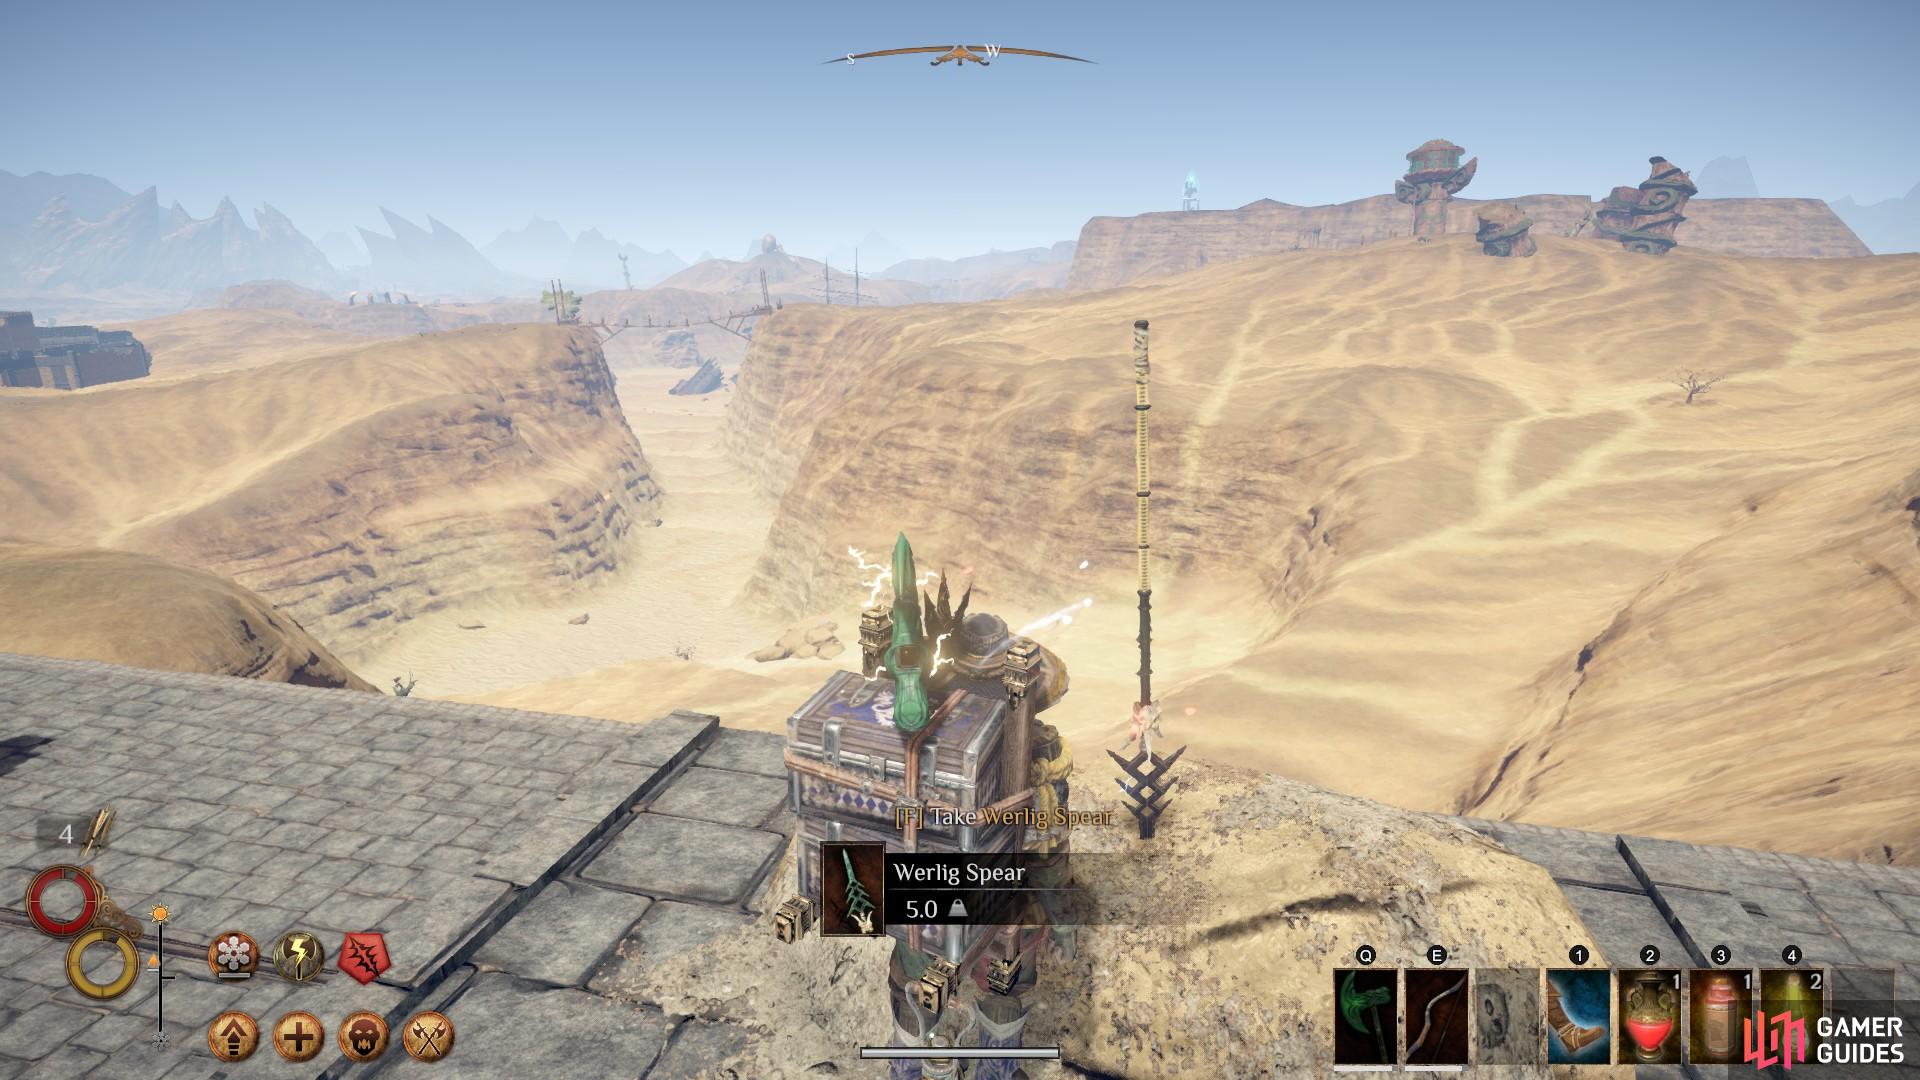
After defeating the Sword Golem in the north west of the courtyard, take the Werlig Spear from the sand pile to the west, on the edge of the platform. There should be three Sword Golems in total; one to the south west, one to the north west and one immediately as you enter the courtyard. When all three are dead, return to the purple orb and interact with it to complete the quest.
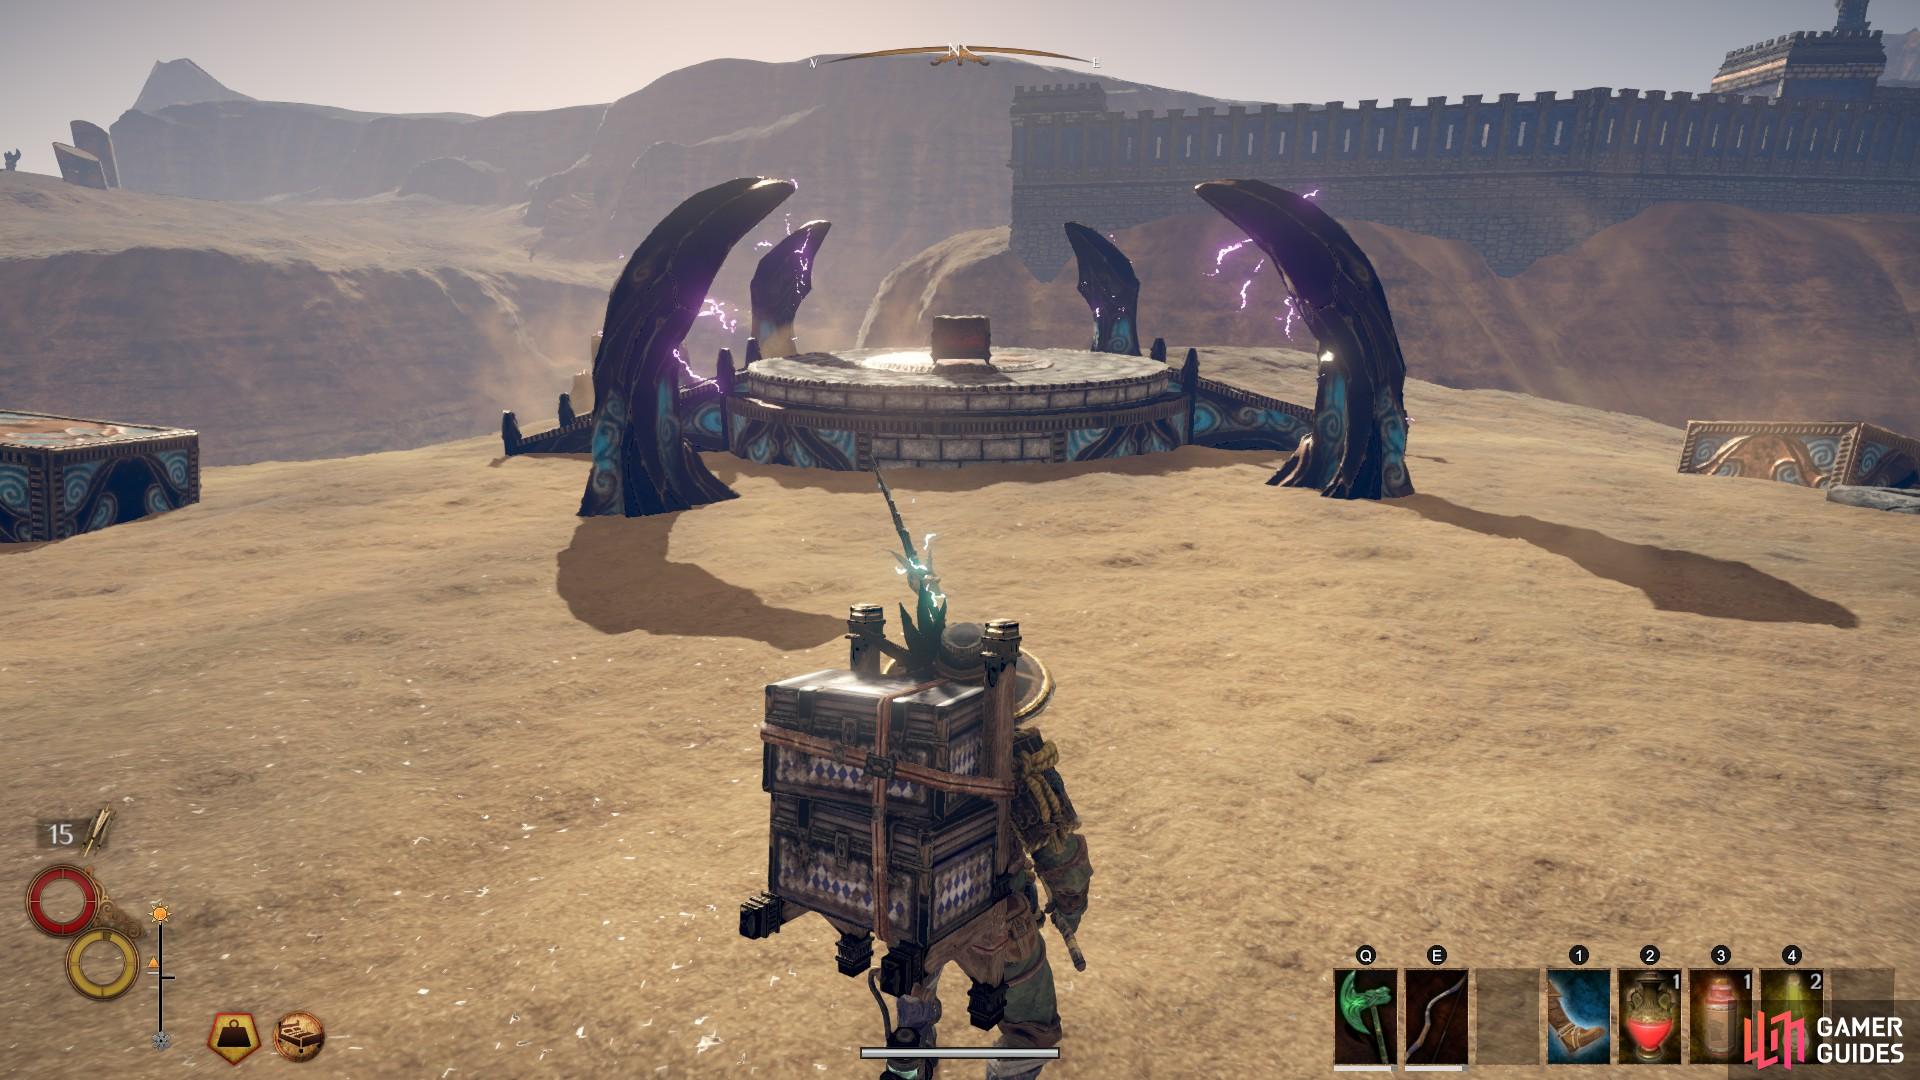
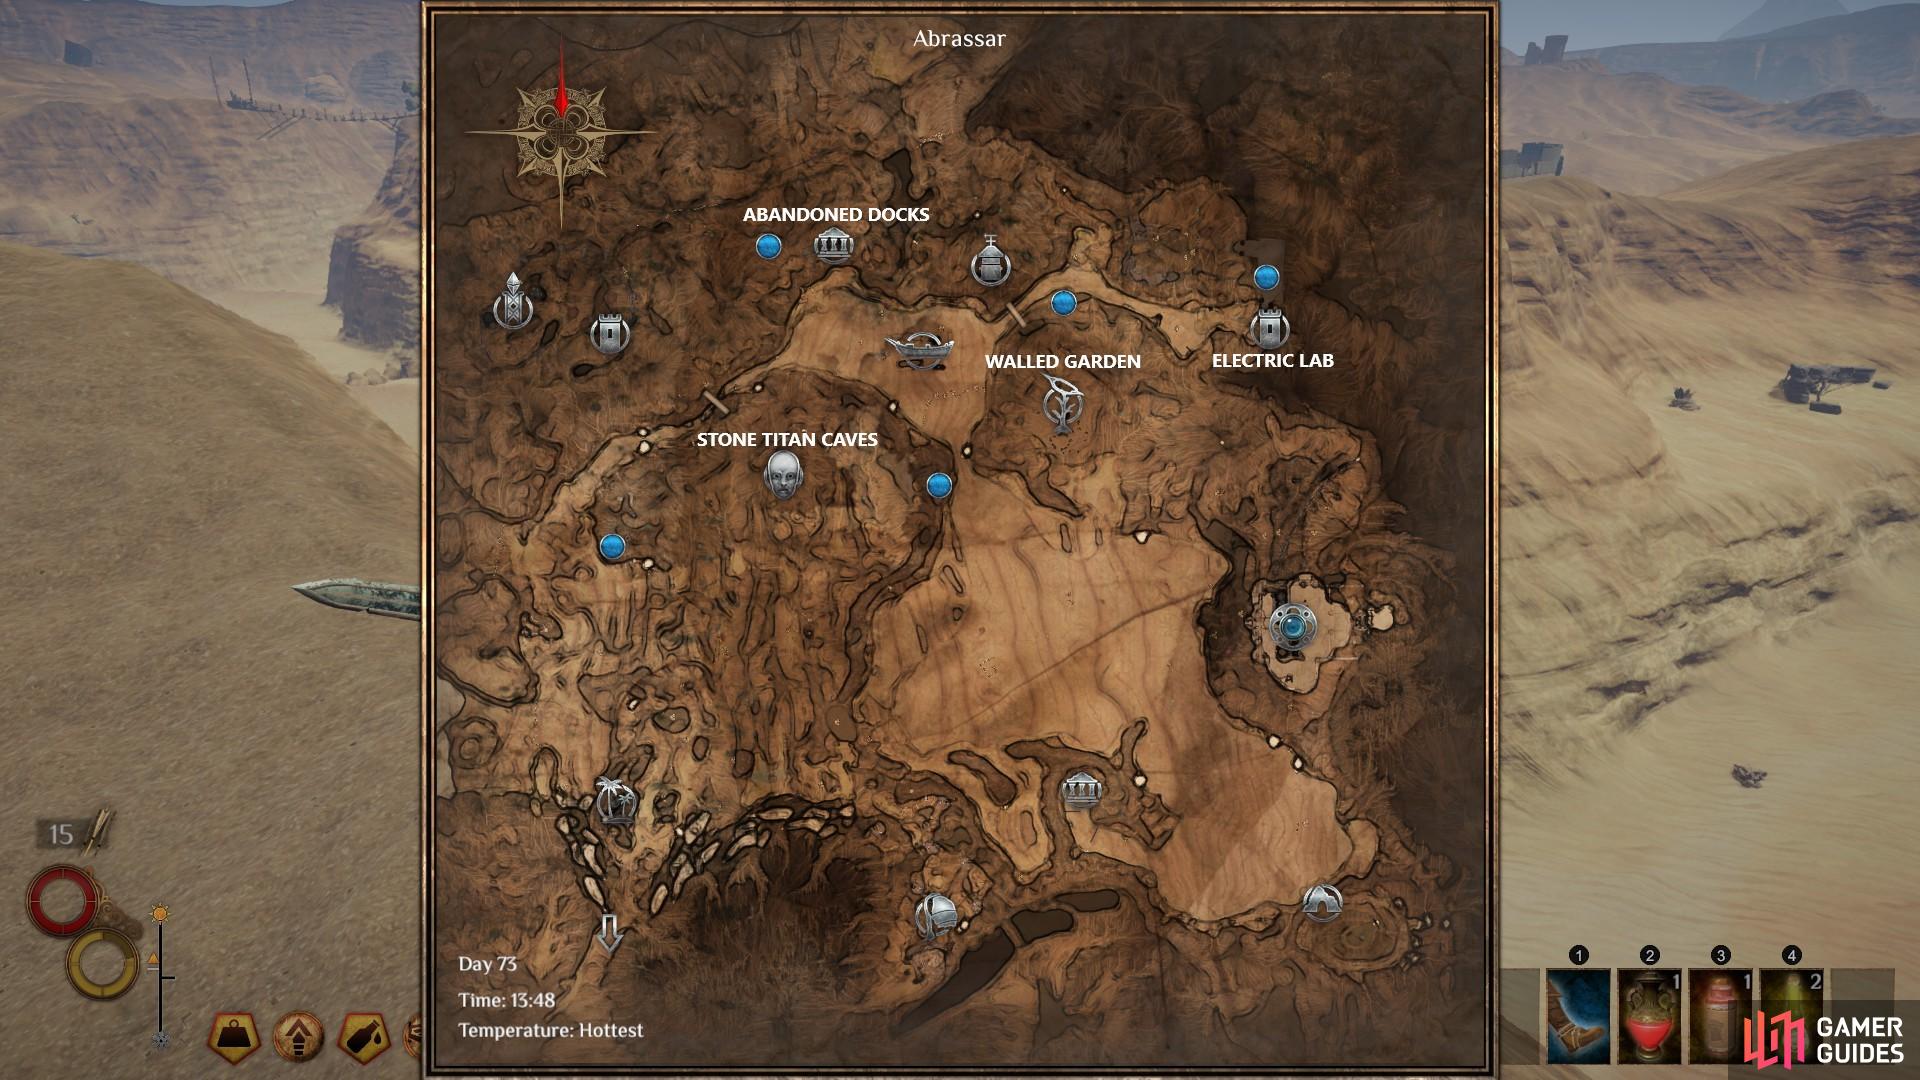
Once the orb is reactivated after completing the quest, five Ornate Chests will become available on altars throughout Abrassar. They can be found in the following locations:
-
In the centre of the courtyard where you fought the Sword Golems.
-
North of the Walled Garden
-
West of the Abandoned Docks
-
East of the Stone Titan Caves
-
South west of the Stone Titan Caves
Map of Abrassar showing all five locations of altars with Ornate Chests, marked here by blue circles.

 Sign up
No Comments