This section will take care of any leftover Side Stories from earlier (at least, the majority of them), as well as the remaining Side Stories in the four Chapter 4 towns you didn’t finish from earlier. Let’s start with a few of the sidequests that weren’t quite finished earlier in the game. Note that any Side Story unlocked via completing a character’s Chapter 4 will not be present here, but rather on the Post-Game Sidequesting page.
City of Gold
You’ve probably had this quest in your log since Chapter 1, but it was a difficult one to do at the time, since it required you to visit Chapter 4 towns/areas. If you didn’t pick it up, you can get it from the Passionate Reader inside of the library in Atlasdam. There are two different solutions for this, with the first requiring either Cyrus or Alfyn. Head to Marsalim and look for the Scholarly Youth, who will be at the top of the right side of town, near some stairs. Inquire/Scrutinize this fellow to get the City of Gold information, then bring that back to the Reader in Atlasdam to finish.
For the other solution, you will have need of either Ophilia or Primrose. Teleport to Grandport and exit the town, as you’ll have to head to West Grandport Coast. Towards the western side of the area, there is a NPC standing there named Best-Selling Author. Using either of the two characters above, Guide/Allure the Author into following you. Speak with the Passionate Reader in the library with the Author in tow to finish the quest.
(1 of 2) You can Inquire/Scrutinize the info from this NPC in Marsalim
You can Inquire/Scrutinize the info from this NPC in Marsalim (left), or Guide/Allure this NPC back to the questgiver (right)
| Objective | Reward |
|---|---|
| Shared knowledge about the city of gold | 9,000 Leaves, Alluring Ribbon |
Shadow over the Sands
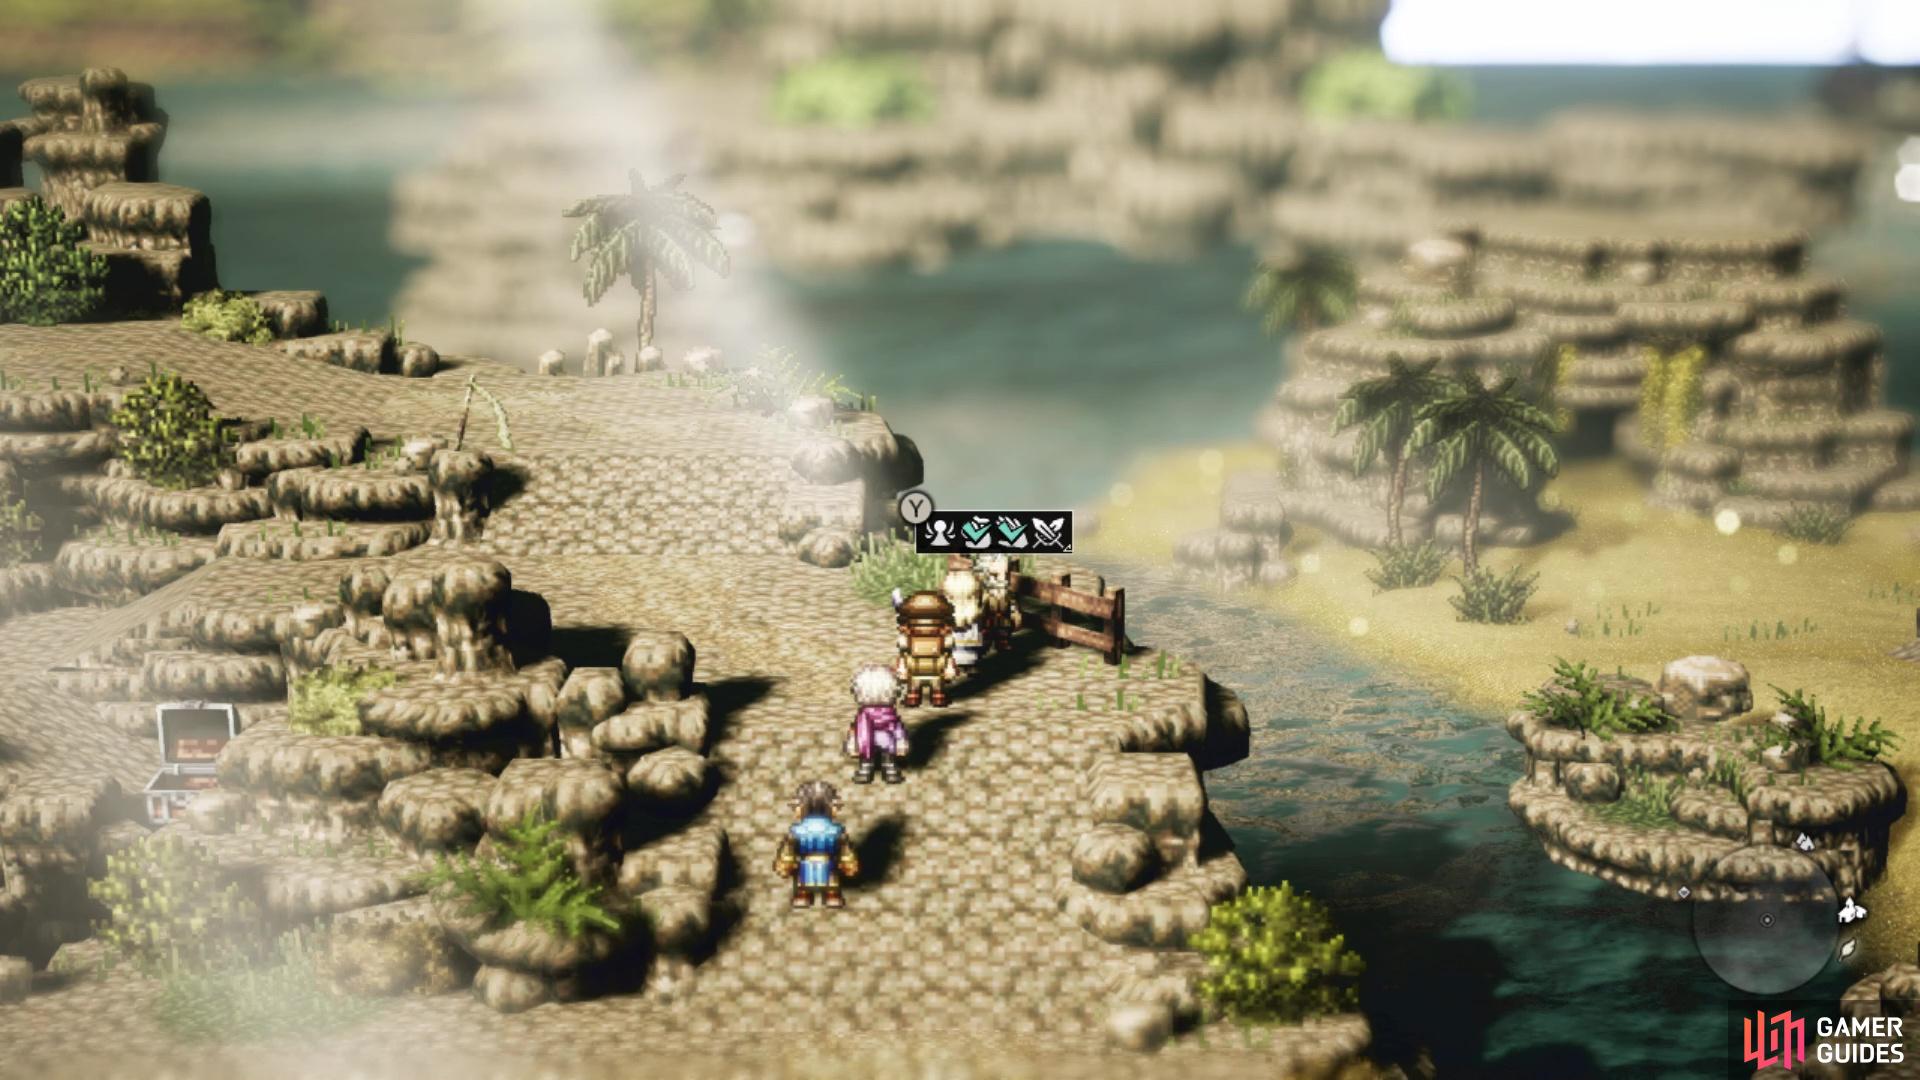
This Side Story begins in Wellspring, from a soldier along the southern end of town. One of the scouts reported seeing a huge serpent out in the Quicksand Caves, but no one knows if it’s really real. Exit the town to Northern Wellspring Sands and you should see a soldier just north of the save point. Use Inquire/Scrutinize on him to get the The Giant Serpent’s Master information, then start making your way to the Quicksand Caves. It is located to the northeast, but you’ll have to head around to the north and make a U-turn back to the south to find the entrance.
Once inside, journey to the east until you spy a second chest on a ledge above you. The path heading north just next to it will lead you to this chest, which contains a Refreshing Jam. As you run east, hug the southern edge of the map and you should discover a secret path that leads to a purple chest (Inferno Axe). Continue east and there will be a brown chest to your right (Fire Soulstone L). Start heading north now, but not too far up will be a hidden path to your right that lets you loot the chest above the previous one (Calming Stone). Venture west and all the way at the end will be another chest, holding an Inspiriting Plum Basket. North and west of the previous chest is another that contains a Protective Bracelet.
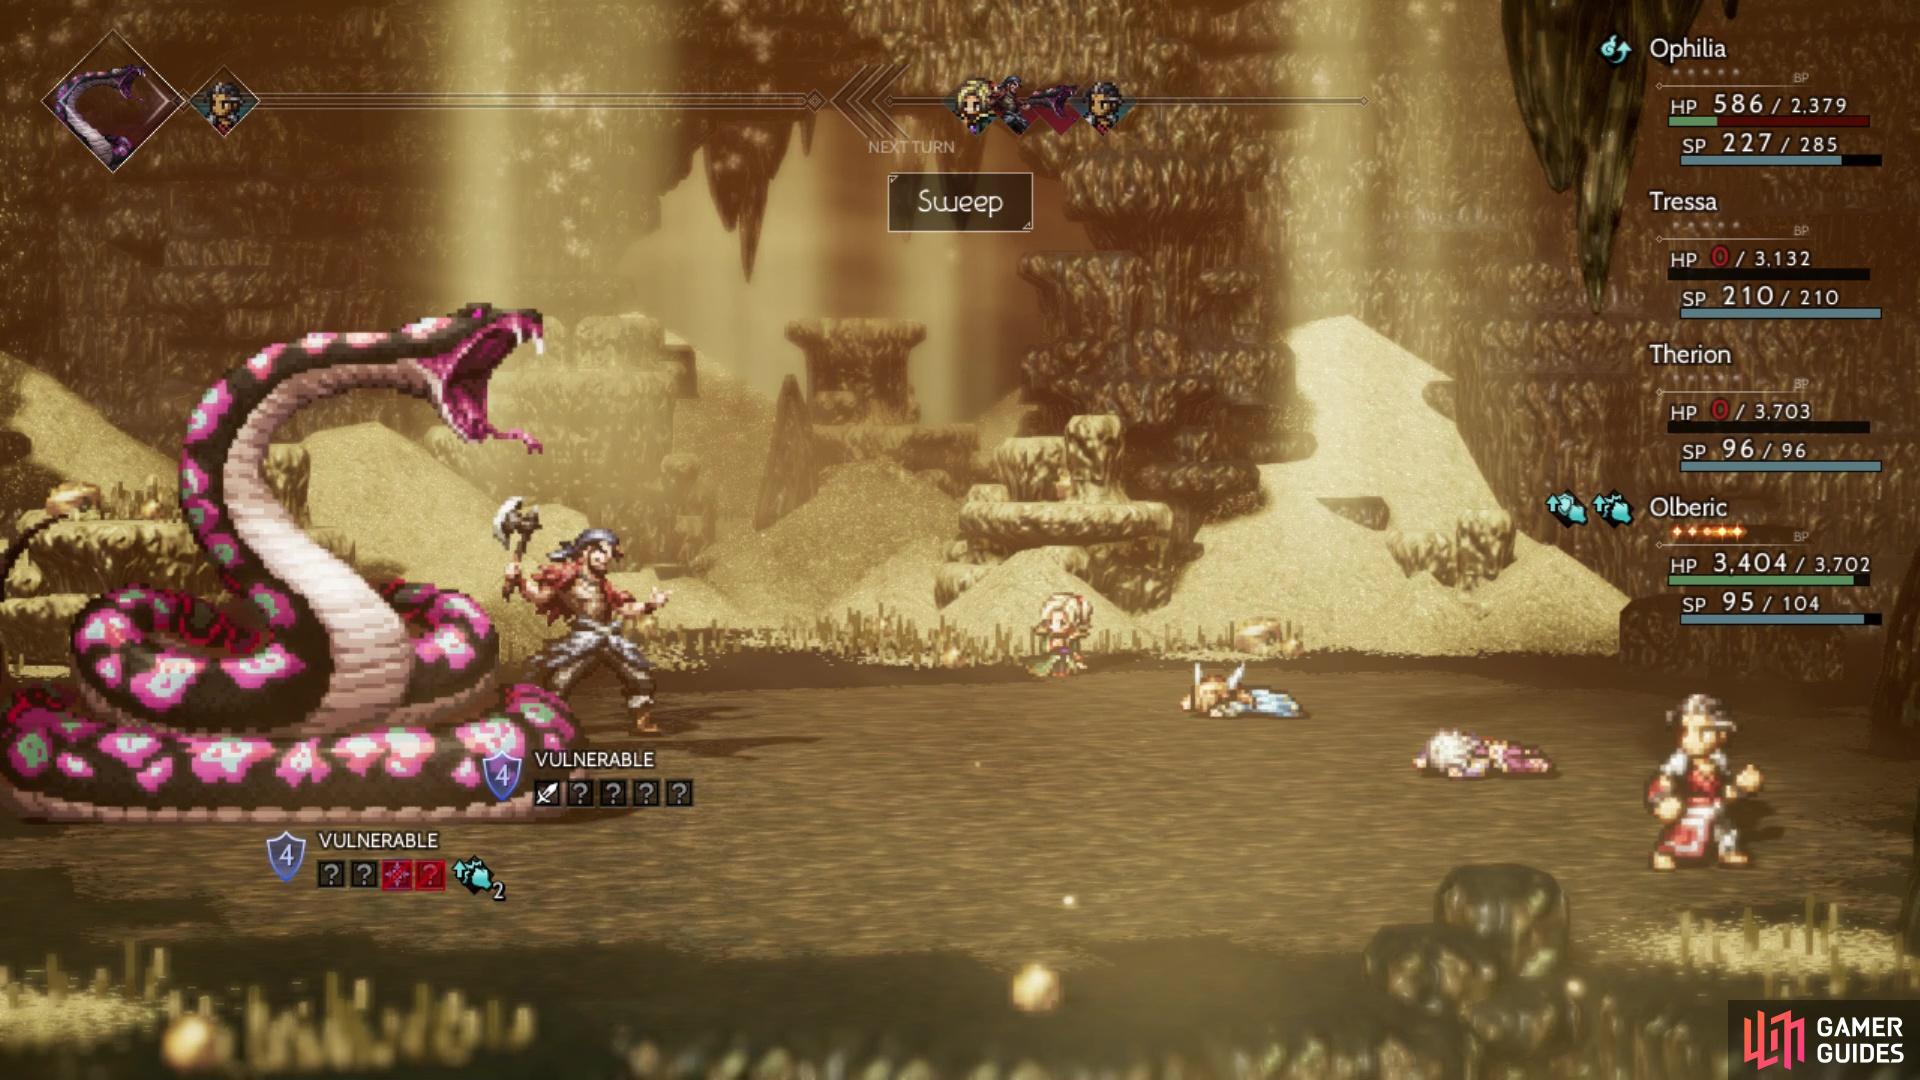
Make your way to the end and you will see a man standing there. Make sure you are prepared, as talking with him will begin a challenging boss fight. It might be best to wait until completing Chapter 3, as this boss fight is extremely tough, plus you will have most of your equipment sorted out. If you have any accessories that prevent Sleep, then equip them, as you will need them. When the battle begins, you see that you are up against two foes. The more dangerous of the two is the Giant Python, as its damage is high and its first move will be Soporific Breath, an attack that has a chance to inflict Sleep on your entire party.
It also almost has twice the HP as the Snake Charmer and should you defeat the Snake Charmer first, then the Python will grow stronger, which you don’t want. Aside from Soporific Breath, the Python can also do Sweep, causing big damage to the entire party. Its normal attack is nothing to scoff at and Soporific Fang only hits a single character. The Snake Charmer’s fairly strong, as evidenced by his normal attack dealing fairly high damage, but he spends a lot of turns buffing the Python. “Now is your time to shine” will grant the Python two actions on the next turn, “Go get them” will buff its physical attack, and “Keep me safe” will increase its shields and protect two of its weaknesses.
(1 of 2) Soporific Breath is the opening attack for the snake and a huge problem
Soporific Breath is the opening attack for the snake and a huge problem (left), Things get can pretty hairy in this battle if the snake gets its way (right)
From the above, you might think getting rid of the Charmer is the ideal strategy, but as previously said, it gets stronger by gaining three actions per turn, which is something you don’t want. The attack that the Charmer gains from the Python being defeated first is much more manageable. Thus, the key to winning this battle lies in getting rid of the Python as quickly as possible. On your first turn, you want to whittle its shields down as close to the Break point, or even Breaking it. Once you do that, it’s time to put the following plan in motion.
The Giant Python is weak to spears, axes, ice and light, while the Snake Charmer is weak to swords, bows, staves, lightning and wind. After breaking the Python, you want to start working on the Break for the Charmer. The key strategy here is to alternate it so that while the Charmer is active, the Python is broken, and vice versa. This plan makes things a lot more manageable, especially since you should hopefully not have to deal with too many attacks from either. However, don’t neglect the damage on the Python, as it has about twice as much as the Charmer and you don’t want to defeat the Charmer first.
Note that the Charmer will begin using Rampage when left alone, but he only gets a single action per turn and while the damage can be high from Rampage, it’s a lot easier to heal it. You can alleviate the damage done to you by buffing your physical defense with the Merchant’s Hired Help skill (the Mercenaries option) and using the Thief’s Shackle Foe. Upon defeating both foes, there will be some more dialog after the battle, then it will finish inside of the cave.
| Objective | Reward |
|---|---|
| Defeated the giant serpent | 8,000 Leaves, Transcendent Bow of Shadows |
In Search of Father (II)
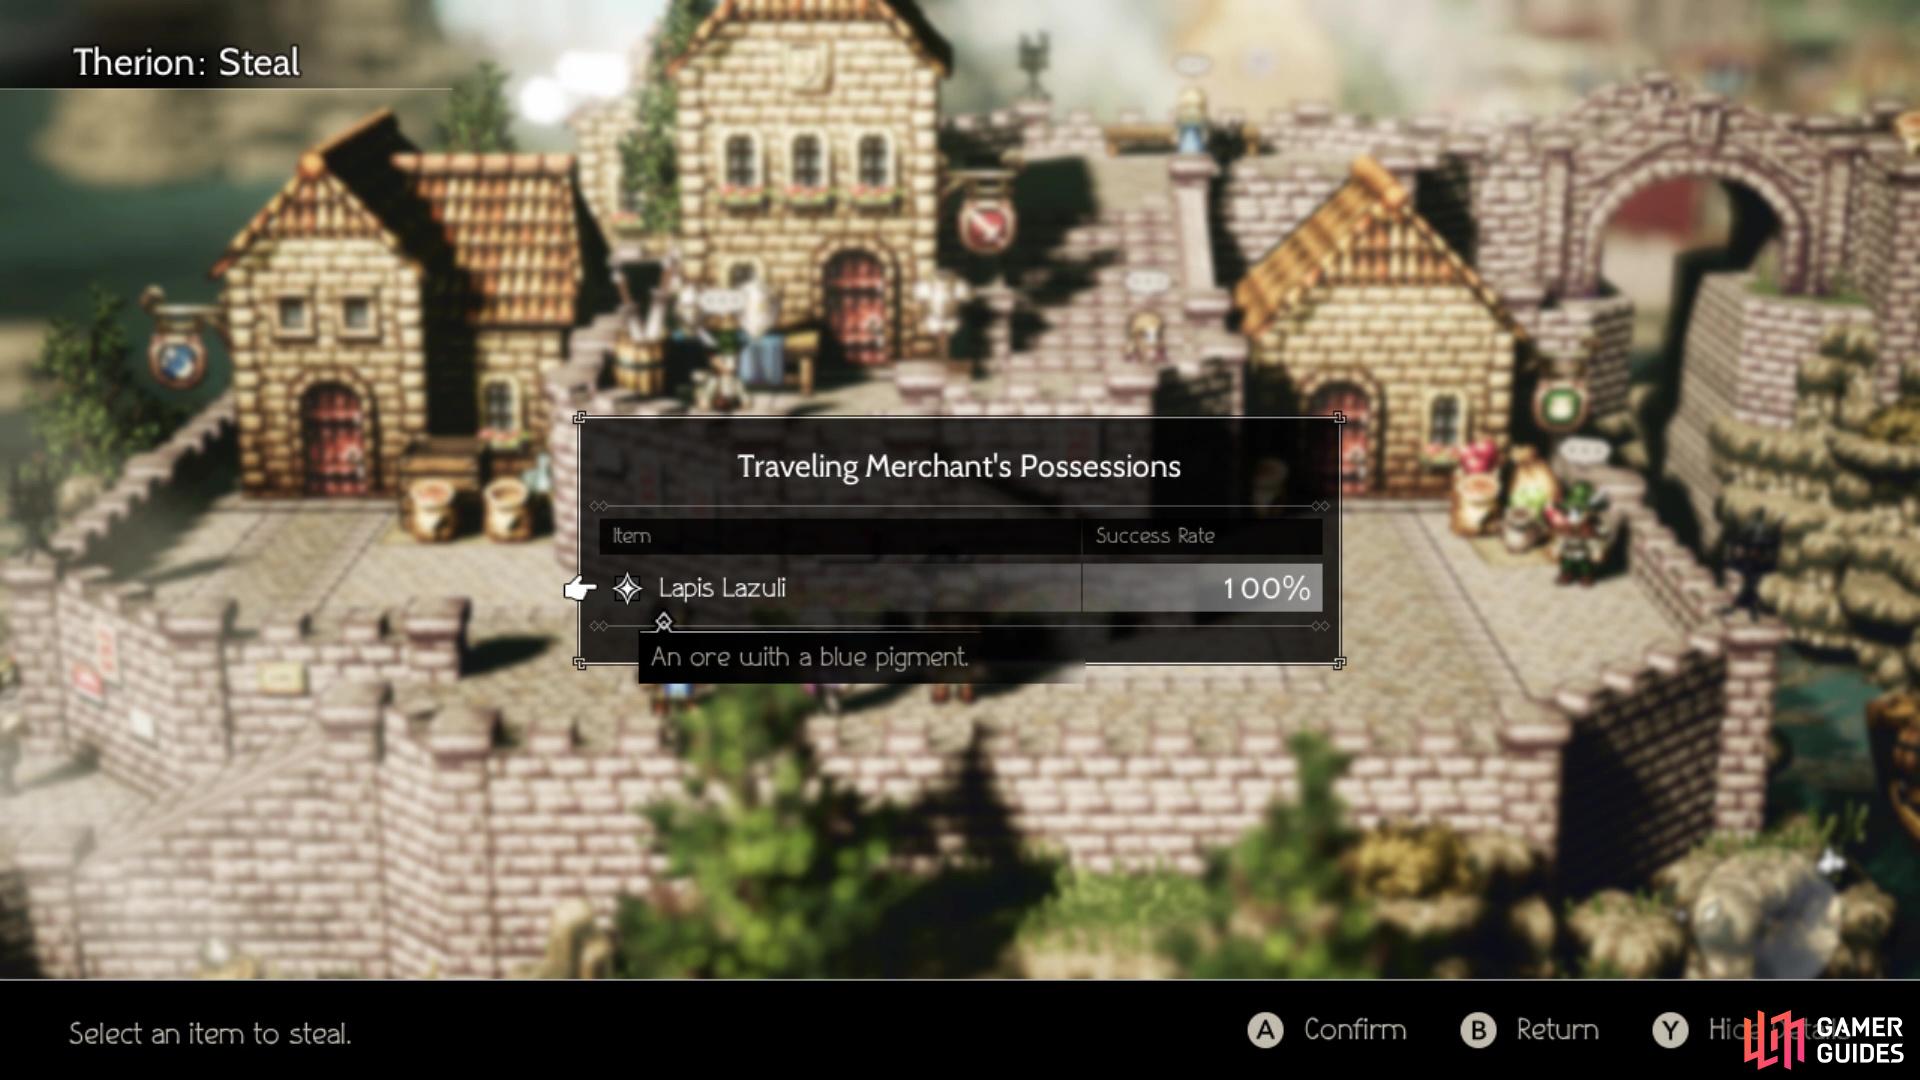
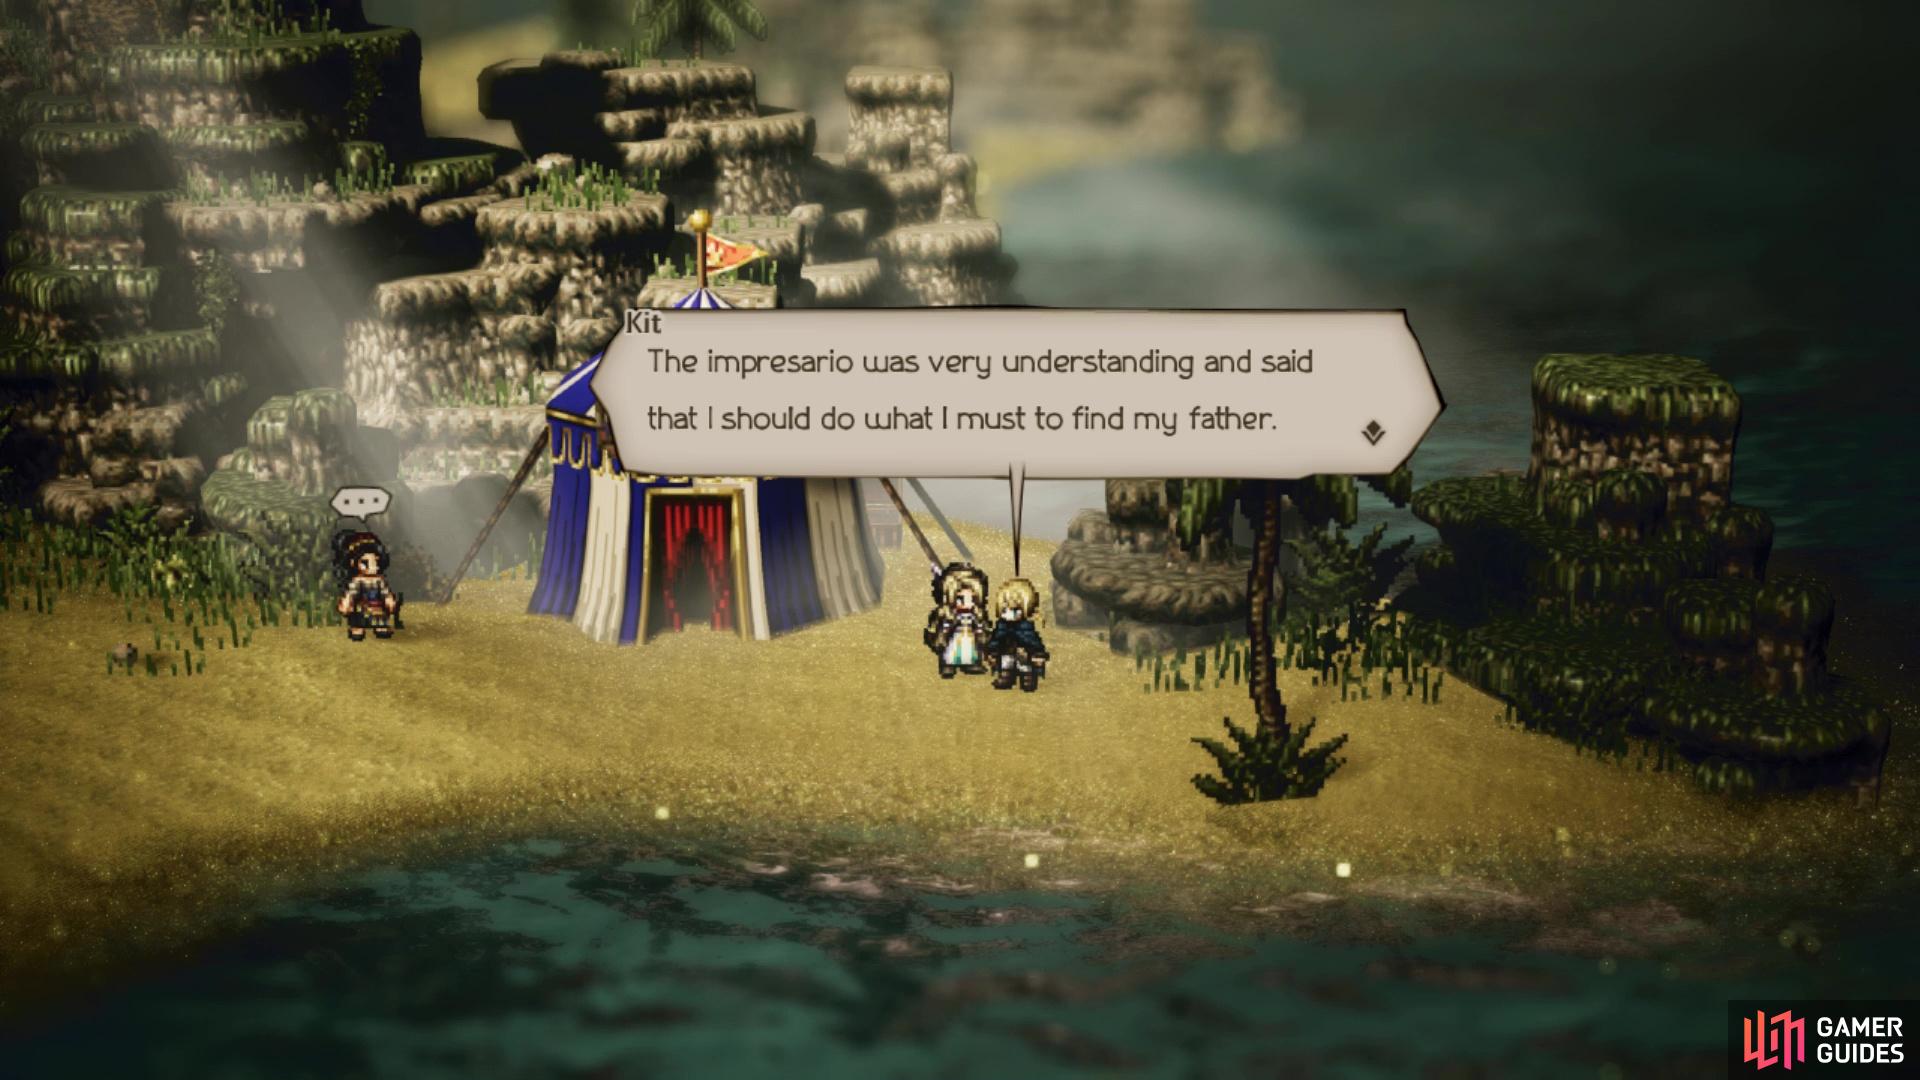
This Side Story went relatively unnoticed, since it’s in an area not frequently visited. You’re heading for Moonstruck Coast, with probably the closest town being Goldshore. Exit the town and start moving south, following the trail until you finally get to the Moonstruck Coast. Find the save point in the area and not far to the east will be Kit. He managed to find a lead on his father’s whereabouts, but he will need to leave the troupe in order to do so. Before leaving, though, he wants to help the troupe one last time, with absolutely no hint on what to do. However, if you speak with the woman directly to the west of him, she will mention about needing some lapis lazuli for some paint. In order to get this, travel to Grandport and look for the Traveling Merchant in between the shops. Steal/Purchase the Lapis Lazuli, then bring it back to Kit to finish the quest.
(1 of 2) You can grab the Lapis Lazuli in Grandport before heading to Kit
You can grab the Lapis Lazuli in Grandport before heading to Kit (left), which saves a lot of trouble in walking back and forth (right)
| Objective | Reward |
|---|---|
| Helped Kit do one last favor for the troupe | 9,000 Leaves |
The Price of Vengeance
For this Side Story, which you could have started earlier but couldn’t likely finish since it involved a Chapter 4 town, begins in Noblecourt. The questgiver is in Eastern Noblecourt, in front of the tavern, and was once the head of a group of mercenaries, but was betrayed by three of his own men. He wants revenge, so you will need to hunt down these three men and Challenge/Provoke them. The first one is in Atlasdam, to the right of the tavern (Crest-bearing Drunk; strength of six); you’ll receive a Mercenary Crest as a spoil.
The second person is in Goldshore, on the beach in the southern area of town (Crest-bearing Ruffian; strength of six); as before, you’ll get a second Mercenary Crest. The third, and final, man is in Duskbarrow, just left of the inn (Crest-bearing Swindler; strength of six). Once you have acquired all three crests, return them to the questgiver to finish.
| Objective | Reward |
|---|---|
| Exacted revenge on the traitors | 6,500 Leaves, Veteran’s Helm |
Theracio’s Tutelage (III)
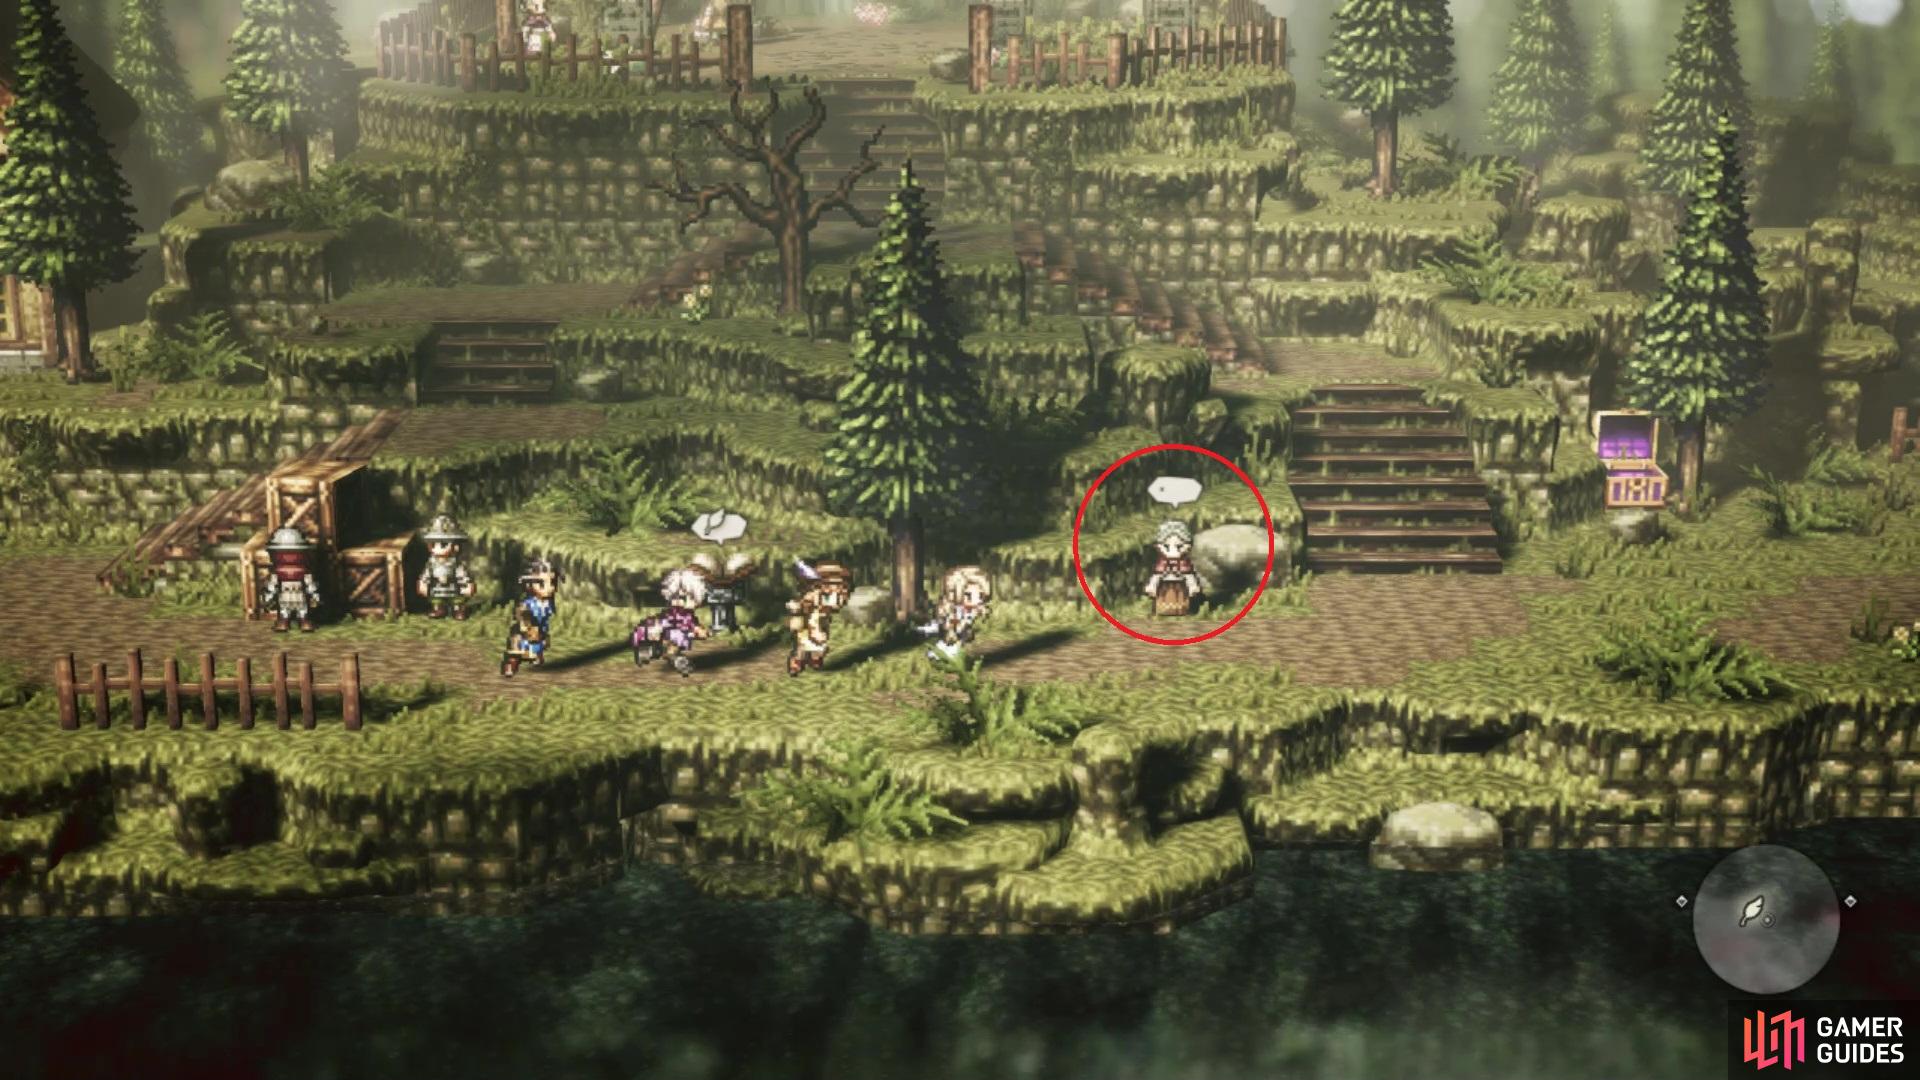
The first town you will be visiting in this second round of Side Stories is Wispermill. Earlier in the game, you couldn’t really do anything with any of the residents there, but they are all open to your Path Actions now. Although you won’t really find much in Wispermill, the Troubled Villager just to the right of the inn has a Death Cleaver, which is a nice axe. The only Side Story you will be doing right now is from Theracio, who is standing near the shop. He is having trouble connecting to the kids in the town (likely because of the cult thing from Ophilia’s story, no doubt) and needs some help. This sidequest is pretty simple, so fast travel to Clearbrook and look for Professor Bastete, who will be to the right of the save point. Guide/Allure her into following, then return to Theracio in Wispermill to finish.
Professor Bastete is found by the save point in Clearbrook
| Objective | Reward |
|---|---|
| Helped Theracio learn something new | 11,000 Leaves, Teacher’s Hat, Invigorating Nut (L) |
Kaia, Mother of Dragons (III)
The next stop on the tour will be Orewell, where you’ll find three Side Stories waiting for you. The first one is not far from the entrance and is a familiar face. Kaia was looking for the blazestone in town, when someone went and stole her dragon egg. The culprit said to meet them in Dragonsong Fane, so that’s where you’ll be heading. This is a Danger Level 50 dungeon, but you’ll be fine at this point in the game. Note that you will need either H’aanit or Olberic, so bring one of them along for the ride. Exit the town and follow the path, crossing the bridge to your north by the save point. Keep heading north/east and you should spot a NPC above you. Head in that direction and you will come to the entrance for Dragonsong Fane.
Inside, there are some stairs leading down to the east of the save point at the beginning of the dungeon. Take them and open the chest down here for an Energizing Pomegranate (L). Return to the beginning and climb the stairs on the western side of the save point, all the way up until you spot a purple chest nestled in the one corner (Holy Longbow). Double back and use the stairs on the eastern side of the save point, going north, looting the chest behind the arches (Healing Grape Bunch). South of that will be another chest, along the ledge (Olive of Life L). To the east will be the NPC you need, but don’t forget to grab the chest in the corner first (Conscious Stone). Challenge/Provoke the NPC, who has a strength of eight, and defeat him to obtain the Dragon Egg. Return the egg to Kaia in Orewell to finish.
| Objective | Reward |
|---|---|
| Returned the stolen egg to Kaia | 11,000 Leaves, Robe of the Dragon Princess, Light Nut (L) |
The Wayward Son
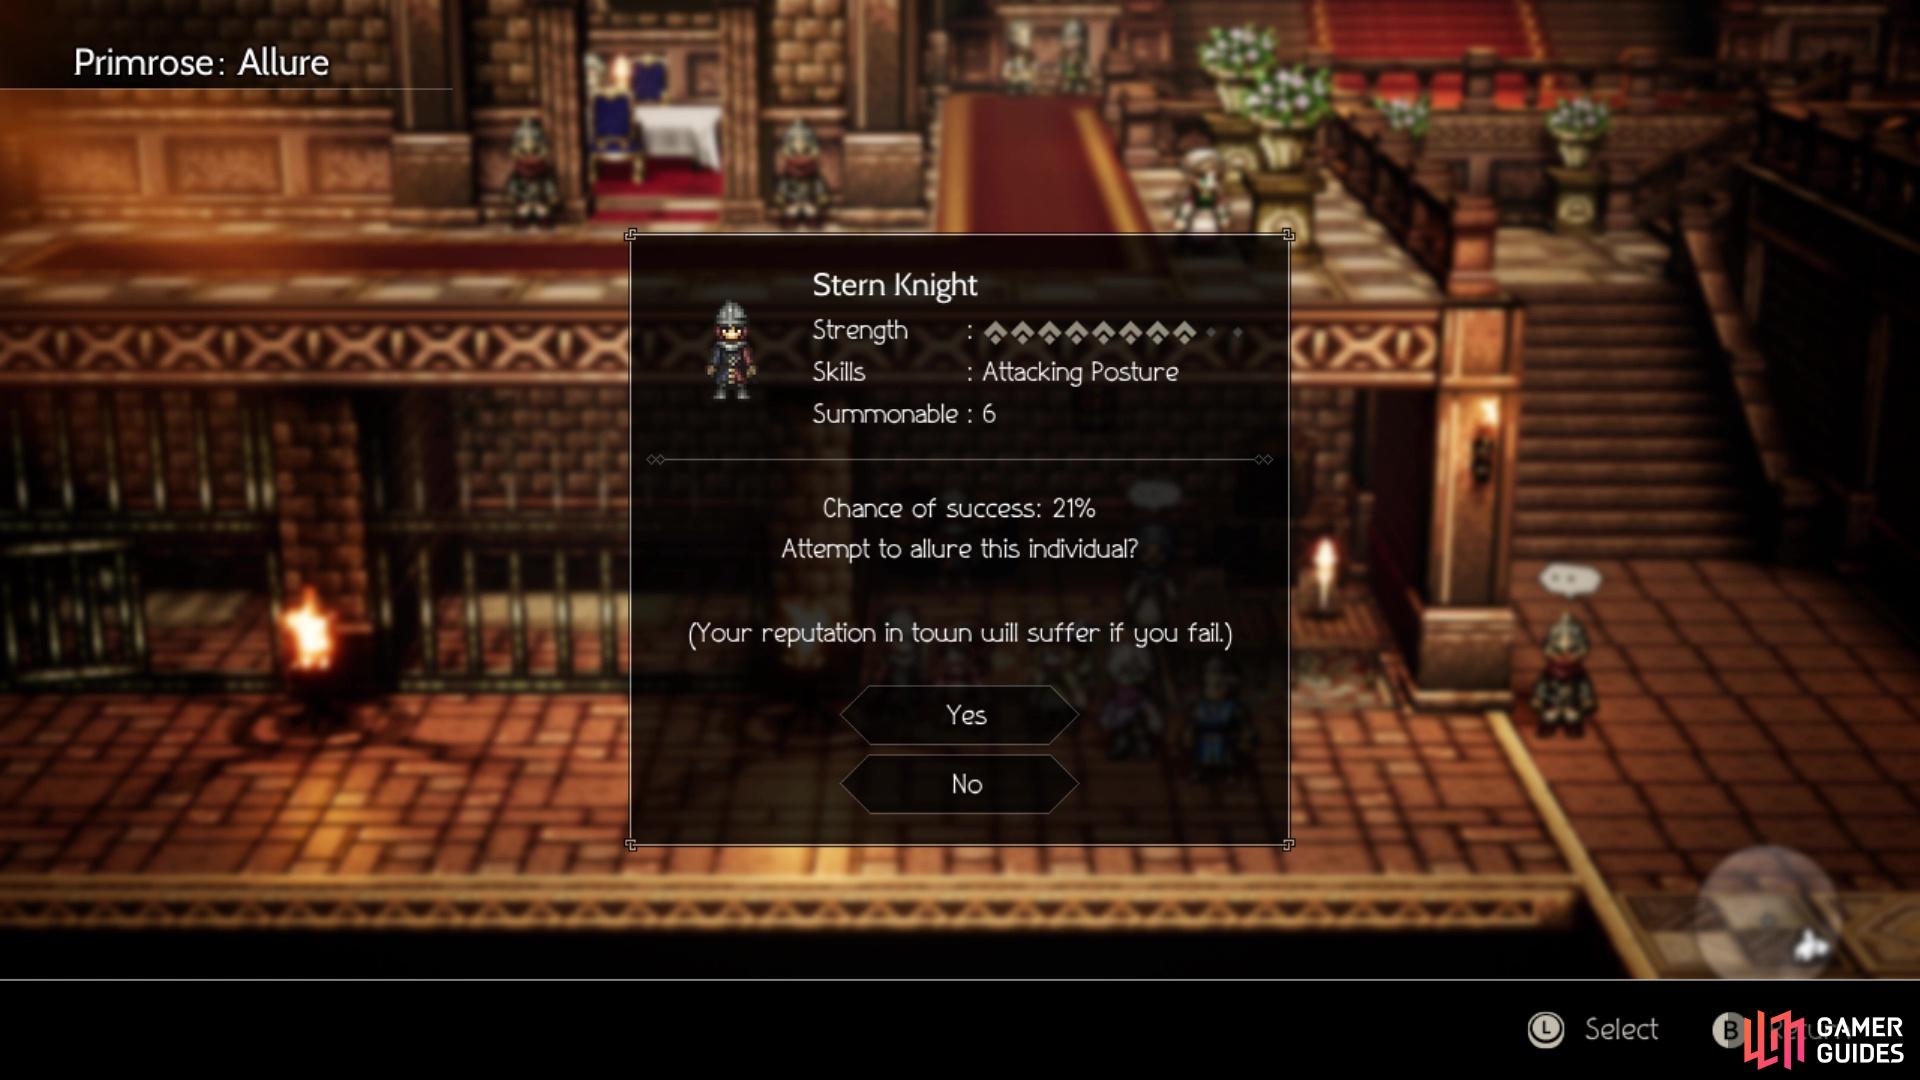
In the southwest corner of the town is a woman who said some rude things to her son some ten years ago, who left to become a knight. She regrets saying those things and wishes for him to come home again. Fast travel to Marsalim and enter the palace to the north. The Stern Knight is who you’re looking for and he’s standing to the left, on the ground floor, near the cells. You will need to use Guide or Allure on him, but Ophilia needs to be level 45 for this and you probably have a low chance to Allure him with Primrose. Once you’ve managed to get him, return to Orewell and speak to the mother with him in tow to finish the quest.
It may take a few tries to get the Stern Knight with Primrose
| Objective | Reward |
|---|---|
| Helped mother reconcile with her son | 9,000 Leaves, Olive of Life (L) |
On the Precipice
A merchant in the northwest corner of the map was cheated in a trade and left without a copper to his name. Because of this, he is ready to throw himself off of the cliff, unless some golden opportunity happens to fall into his lap. There are two different solutions for this quest, with the first one being to simply Challenge/Provoke the merchant. With only a strength of three, he will be extremely easy to defeat. Doing that would snap him to his senses, finishing the quest.
The second solution involves heading to the town of Atlasdam. You’re looking for Know-it-all Milo, who can be found in the Palace Gate area, specifically outside of the Royal Academy, to the right. Inquire/Scrutinize Milo to learn The Jellypeno information, then present it to the merchant in Orewell to finish the quest.
| Objective | Reward |
|---|---|
| Helped the Merchant come to his senses | 11,000 Leaves, Refreshing Jam |
Star of the Stage
Everhold will be your next destination, where there will be another three Side Stories for you to do. The easiest one is from the Impresario, who’s on the bridge leading to the theatre. His star fencer has run off, which puts a damper on his show, as it’s a grand fighting spectacle. To complete this quest, you simply need to Challenge/Provoke the Impresario and defeat him. With a strength of seven, the Impresario is mainly physical and will eventually perform his strongest attack, Peerless Strike, after four to five turns. He is weak to swords, so he’s easy to break. Finish him off and you will complete the quest.
| Objective | Reward |
|---|---|
| Found a new fighter for the Impresario | 15,000 Leaves, Revitalizing Jam |
Noelle, Seeker of Knowledge (III)
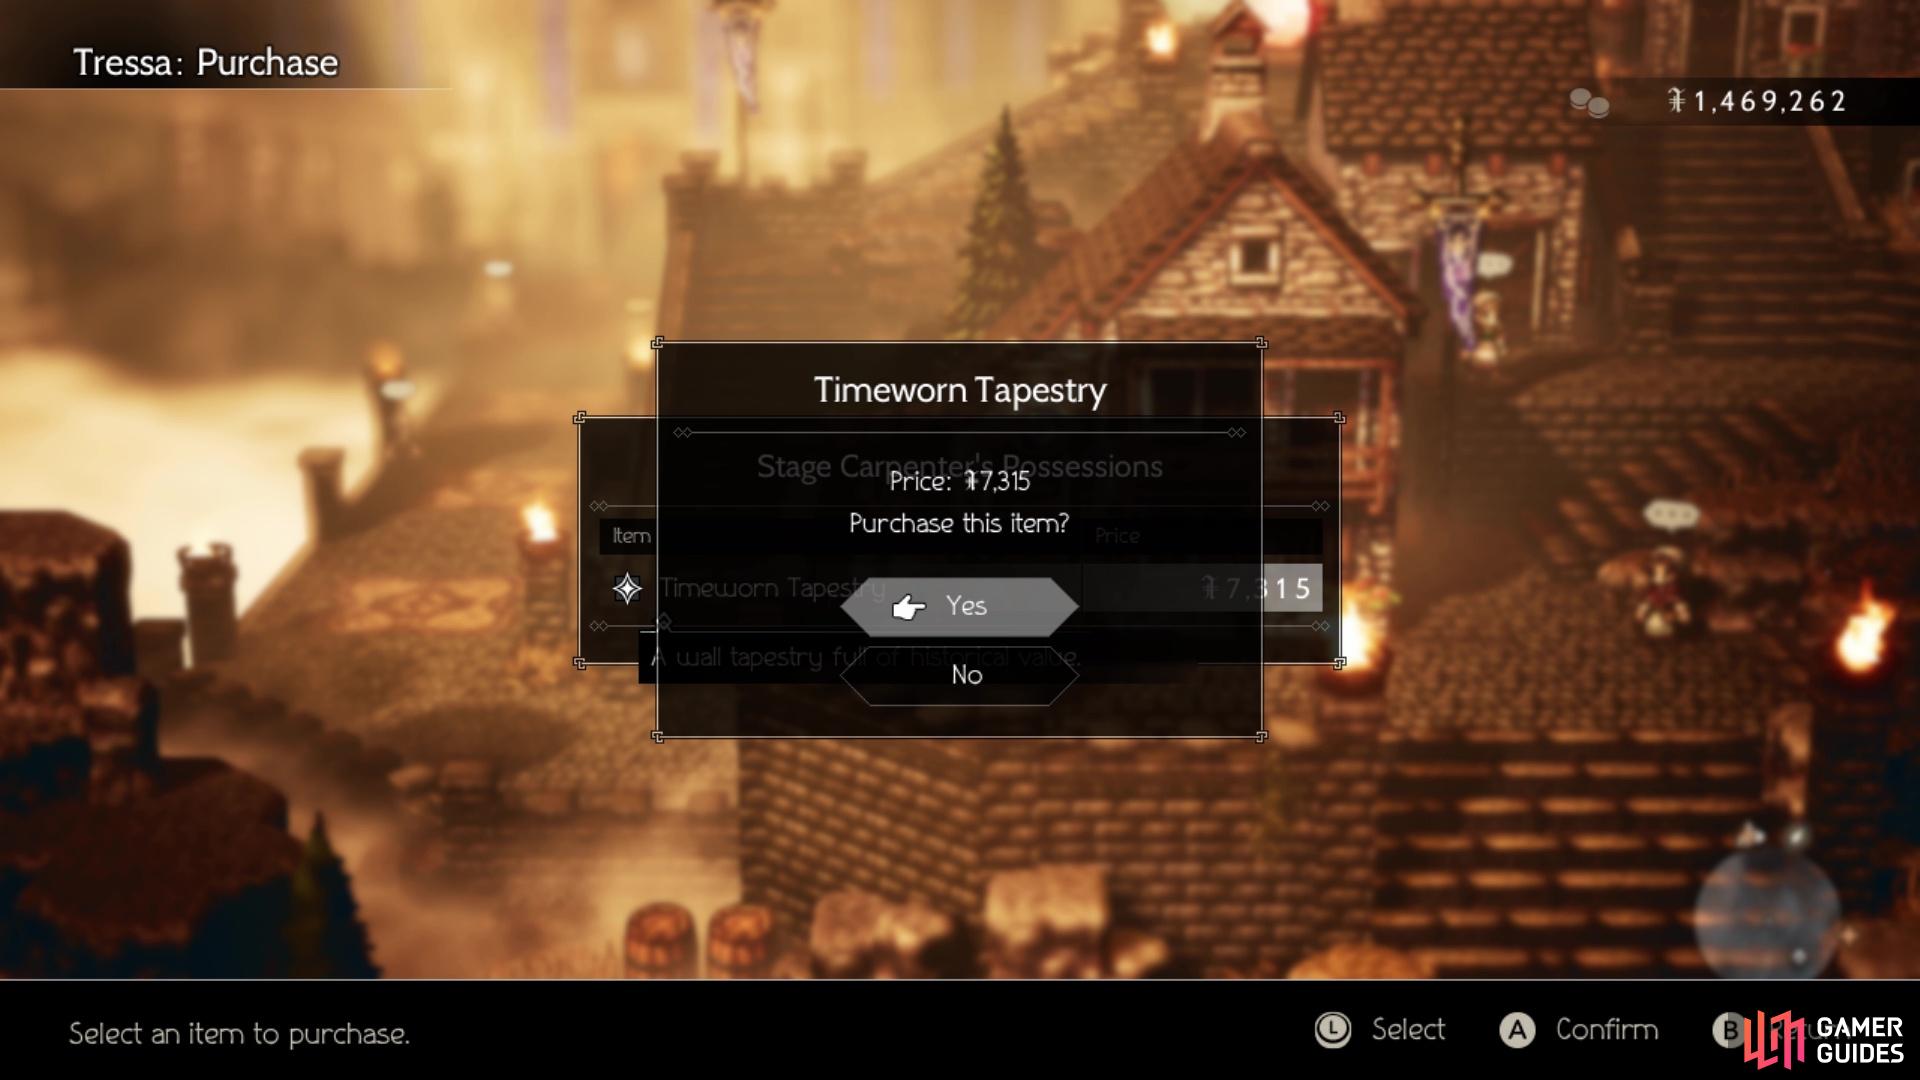
Noelle can be found on the bridge leading to the theatre and is still looking for knowledge about Beowulf. She’s come to see the ruins of the castle, but there is now a theatre in its place. You will need either Tressa or Therion to complete this quest, and you won’t need to go too far to get the required item. In front of the inn is a NPC that has an item called Timeworn Tapestry. Since the chance to Steal it is relatively low, it’s probably just easier to Purchase it with Tressa. Once you have the item, bring it back to Noelle to finish the quest.
It’s much easier to just Purchase the Timeworn Tapestry with Tressa
| Objective | Reward |
|---|---|
| Found a relic from Beowulf’s former stronghold | 11,000 Leaves, Historian’s Hat, Tough Nut (L) |
Performance Art
The final Side Story in Everhold can be gotten from the Ardent Actor in front of the Provisioner. The actor’s next role is that of Sokrath, a legendary knight, but they are having trouble getting into character. There are two different solutions for this quest, with the first one requiring you to visit Grandport. Head to the Markets area and look for the Creepy Antiquarian in the northwest corner of the main bazaar section. Steal/Purchase the Sword of Sokrath, then bring it back to the actor to finish.
For the other solution, fast travel to Atlasdam and go to the Palace Gate area. Outside of the Royal Academy, there is a NPC on the left side, kind of overlooking the main section. This is the Handsome Minstrel and you will need to Inquire/Scrutinize The Song of Sokrath information from him. Once you have this info, bring it back to the actor in Everhold to finish.
| Objective | Reward |
|---|---|
| Helped the actor get into his role | 22,000 Leaves |
Meryl, Lost then Found (III)
Whew, you’re almost done with this set of Side Stories, so fast travel to Riverford to find three more there. First up is Meryl in Lower Riverford, who can be found by the river’s edge. She came to Riverford because of the letter coming down the river. To do this quest, you will need either Primrose or Ophilia, so get one of them in your active party. Once you do, Guide/Allure Meryl into following you, then enter the house directly north of her to find a woman in bed. This turns out to be her real mother, so speak with her with Meryl behind you to finish the quest.
| Objective | Reward |
|---|---|
| Reunited Meryl with her mother | 11,000 Leaves, High House’s Armor, Resistant Nut (L) |
The Hidden Hoard
On the right side of the square, you will find a man with a passion for treasure hunting, who is looking for the lost loot of House Landar. There are two options that you can do to complete this quest, with the first solution being in Atlasdam. As soon as you enter the town, go south, down the stairs and find the Erstwhile Retainer. Steal/Purchase the House Landar Records from the gentleman, then return them to the questgiver to finish.
For the other solution, you require the Path Action of either Alfyn or Cyrus. Travel to Stonegard and look for the Erstwhile Bodyguard, who is on the right side of the fountain in the Heights section of town. Inquire/Scrutinize The Fall of House Landar from him, then return to the questgiver to finish.
| Objective | Reward |
|---|---|
| Shared info on any hidden hoards | 15,000 Leaves, Revitalizing Jam |
The Adventuring Life
There is a Servant in front of the tavern in Riverford, who talks about her lord, Sir Cervantes, going out on an adventure. She is worried about her master and wishes for someone to accompany him. There are two solutions to this Side Story, with both of them involving Cervantes, who happens to be in South Orewell Pass. Before heading there, the first solution requires you to use Guide/Allure on someone in Atlasdam. The Enthusiastic Youth is located in the Palace Gate area, in front of the library.
(1 of 2) The location of the Enthusiastic Youth in Atlasdam
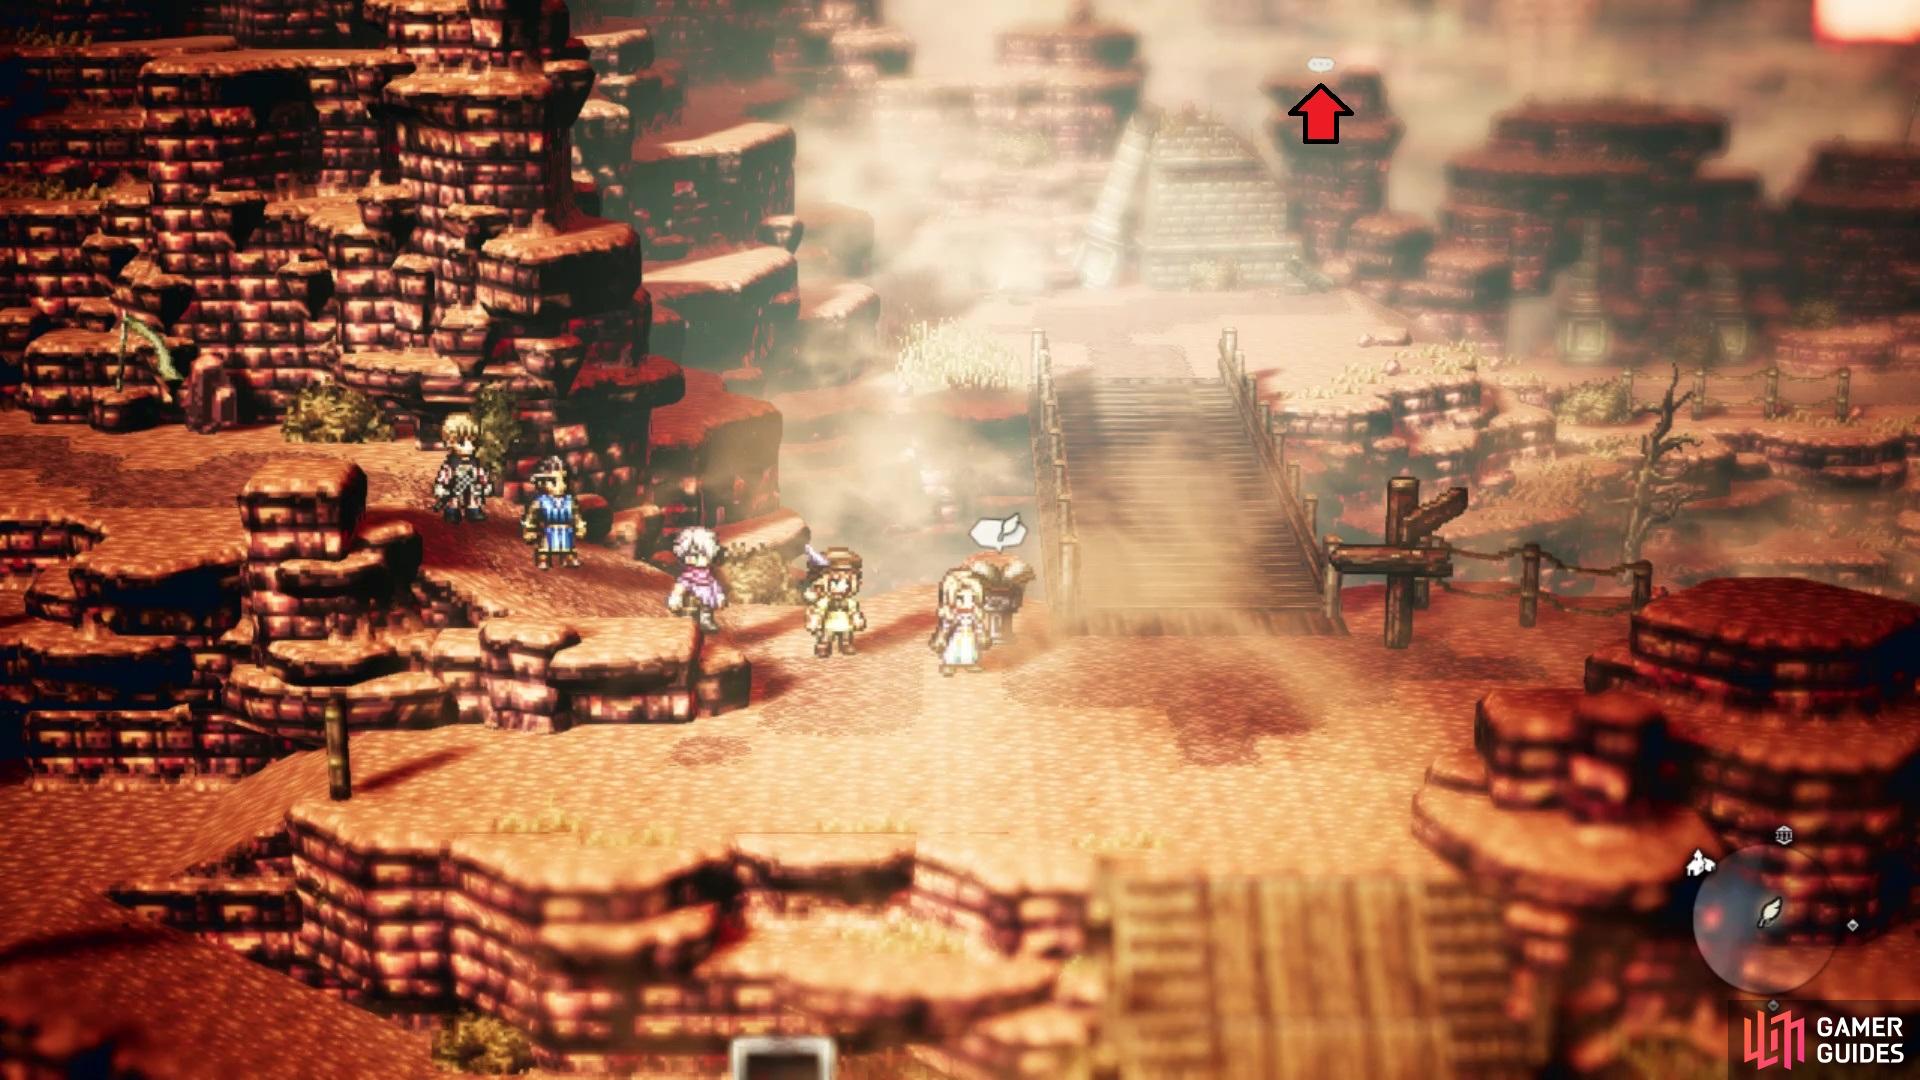
The location of the Enthusiastic Youth in Atlasdam (left), The location of Cervantes in South Orewell Pass (right)
Once you have him, it’s time to hunt down this mysterious knight in South Orewell Pass, so teleport to Orewell and exit the town. Luckily, the NPC located near the entrance to Dragonsong Fane is Cervantes, so speak with him with the youth in tow to finish. Now that you know where Cervantes is located, the other solution involves using Challenge/Provoke on him. Luckily, for being a chosen one, the Mysterious Knight is a real pushover, with only a strength of three. Finish him off to finish the quest.
| Objective | Reward |
|---|---|
| Helped Cervantes on his grand quest | 11,000 Leaves, Critical Nut (L) |
That about sums up the first round of sidequesting, but before diving deep into the post-game ones, there will be a short break in procuring some powerful weapons.



 Sign up
No Comments