Awakenings is the first mission that you’re likely to encounter in No Man’s Sky. It essentially serves as an extended tutorial, introducing you to some of the main mechanics of the game. You’ll learn how to use your Multi-Tool in different ways, make use of the Analysis Visor, repair and fuel your Starship, build the beginnings of a base and unlock blueprints for construction, and much more. The mission objectives are fairly simple for the most part, but we’ll go through all the basics for any new players to ensure that you don’t feel lost as you get to grips with the game.
Recharge the Hazard Protection Unit
The first thing you’ll need to do once you start a new game in No Man’s Sky is recharge the Exosuit Hazard Protection systems. The exact type of protection you need will depend on the type of environment that you find yourself in. Some planets have radioactive environments, others will be toxic, scorched, of frozen. This means that you’ll need Radiation Resistance, Toxic resistance, Heat Resistance, or Cold Resistance. Thankfully, the Hazard Protection Unit provides all four, but in its default state the protection won’t last very long. In all cases, regardless of the type of environment, the quickest and easiest way to recharge the Hazard Protection Unit at this stage is to find Sodium and Sodium Nitrate on the planet, which you can then use from your Exosuit inventory or from the Quick Access menu. For a detailed guide on how to find Sodium and Sodium Nitrate, see our page on Where to Find Sodium & Sodium Nitrate.
Repair the Multi-Tool Scanner
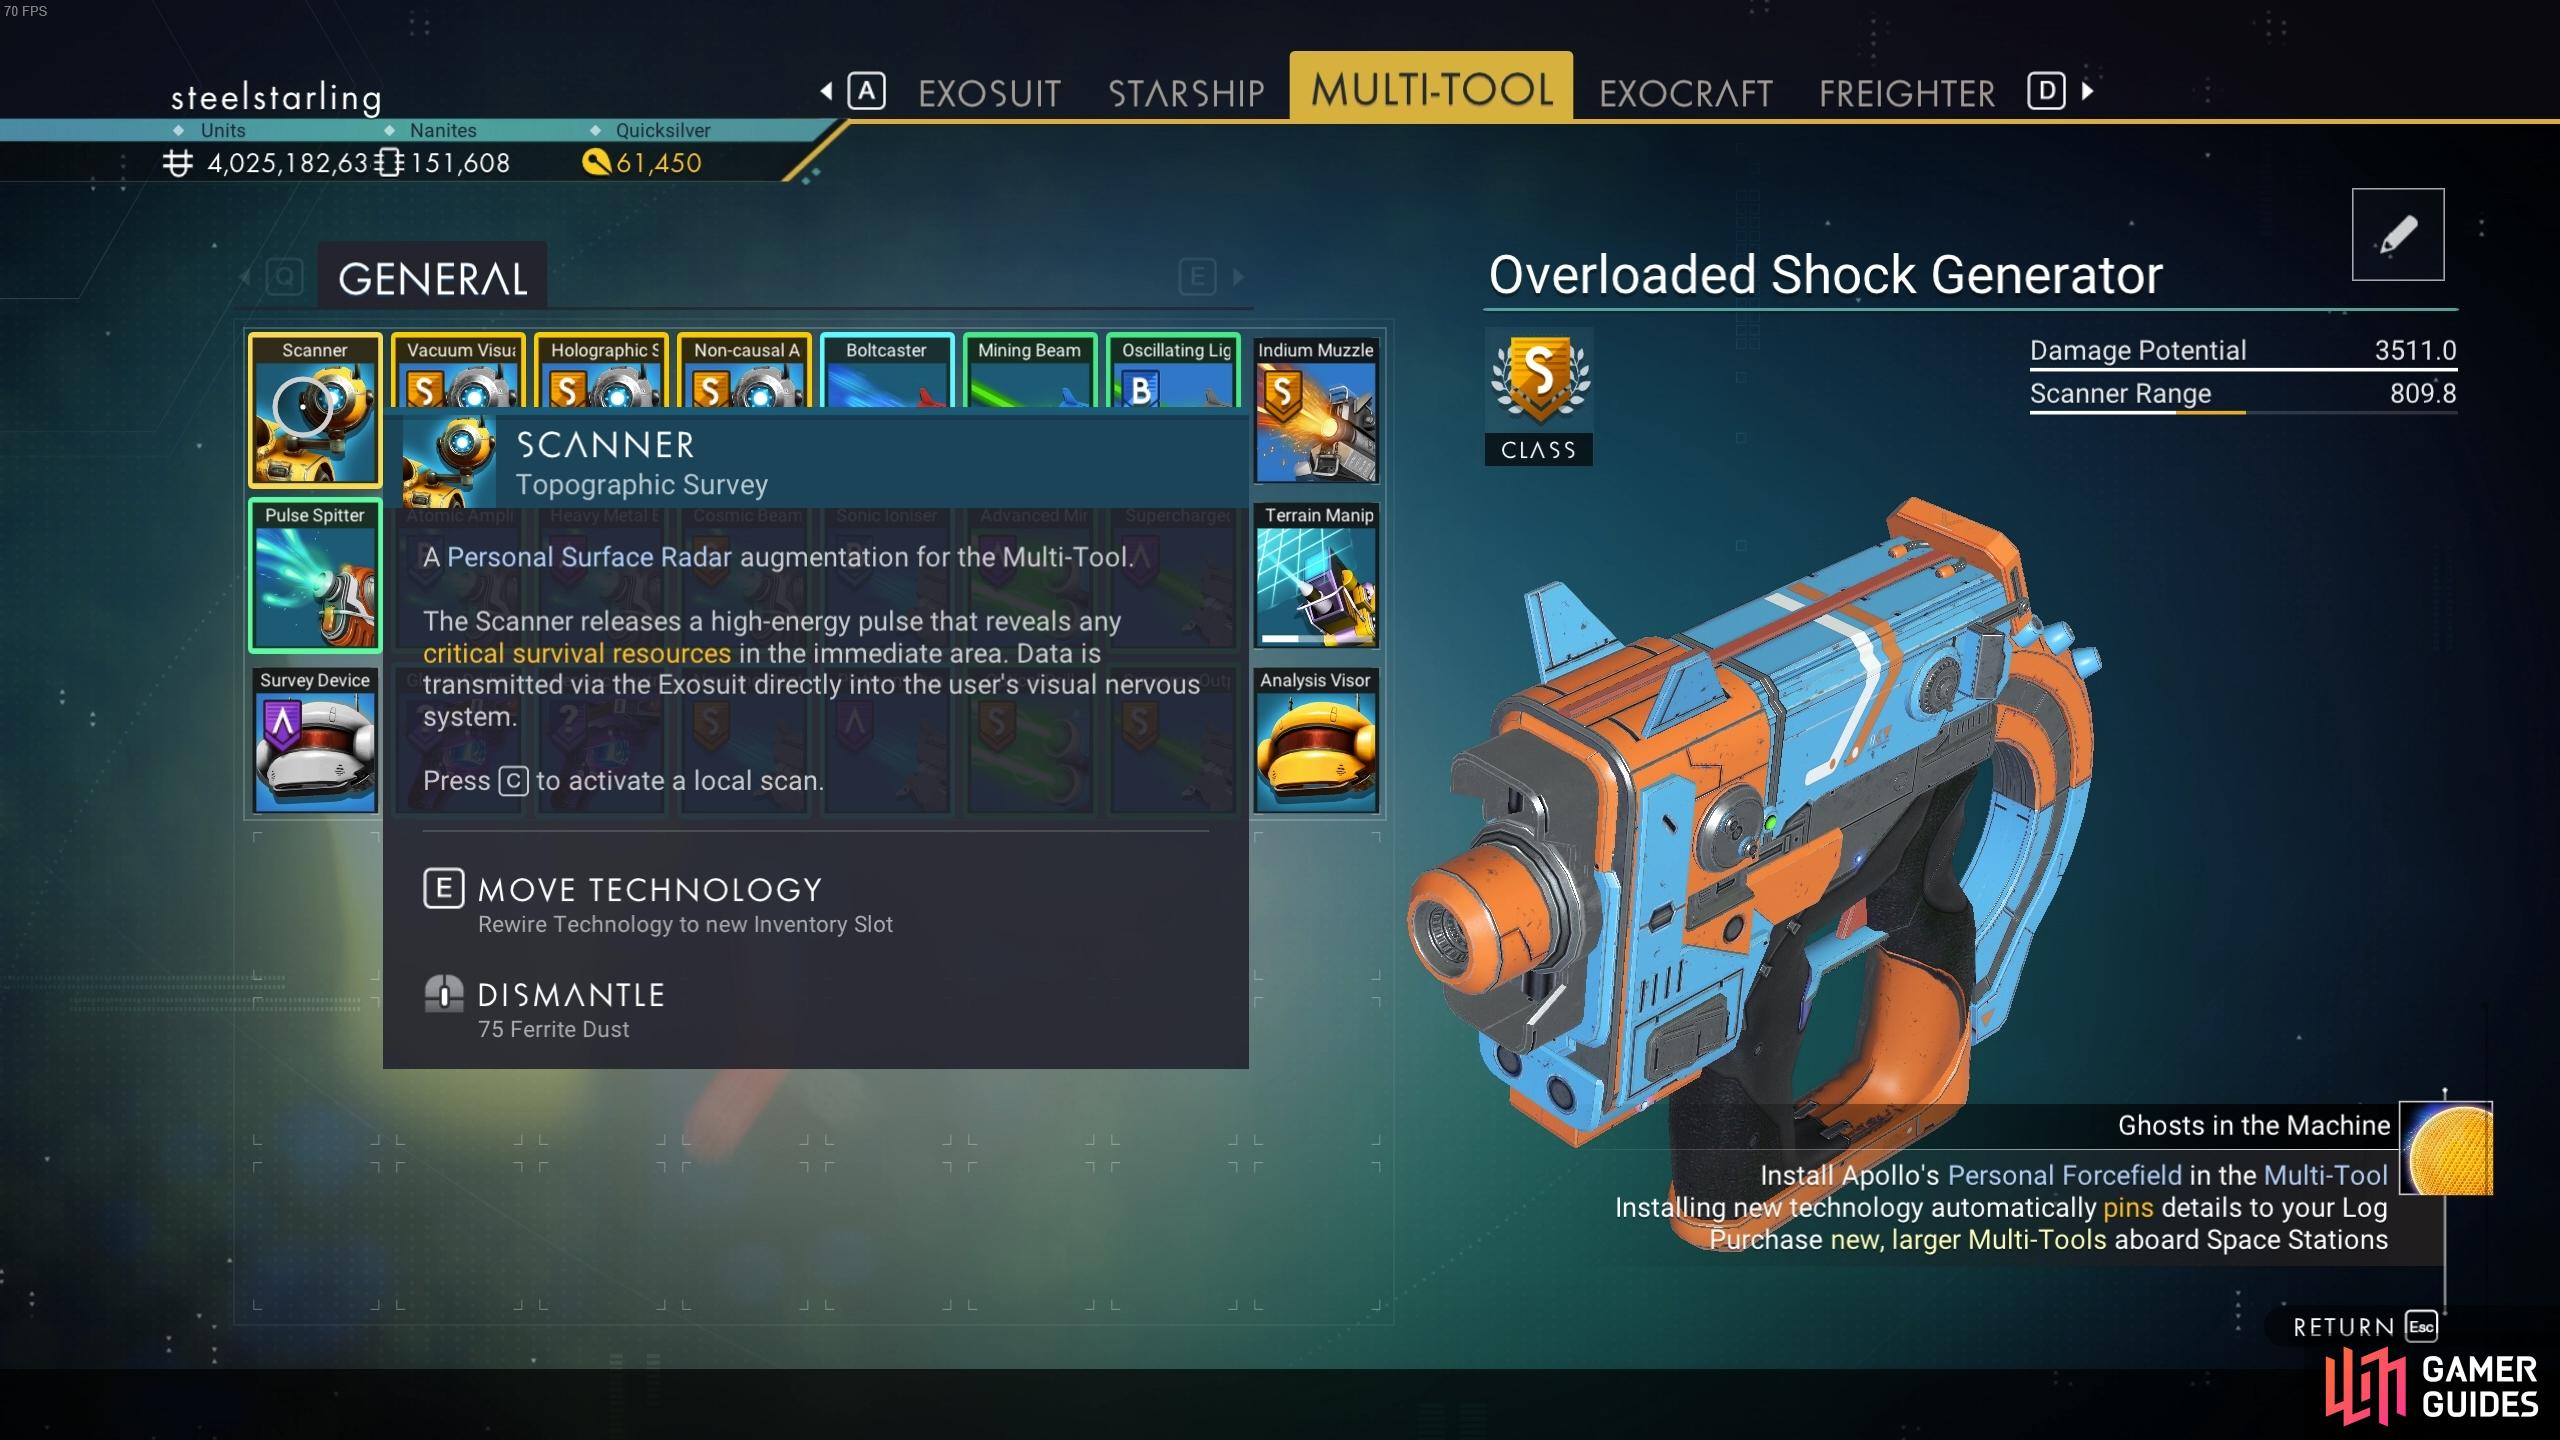
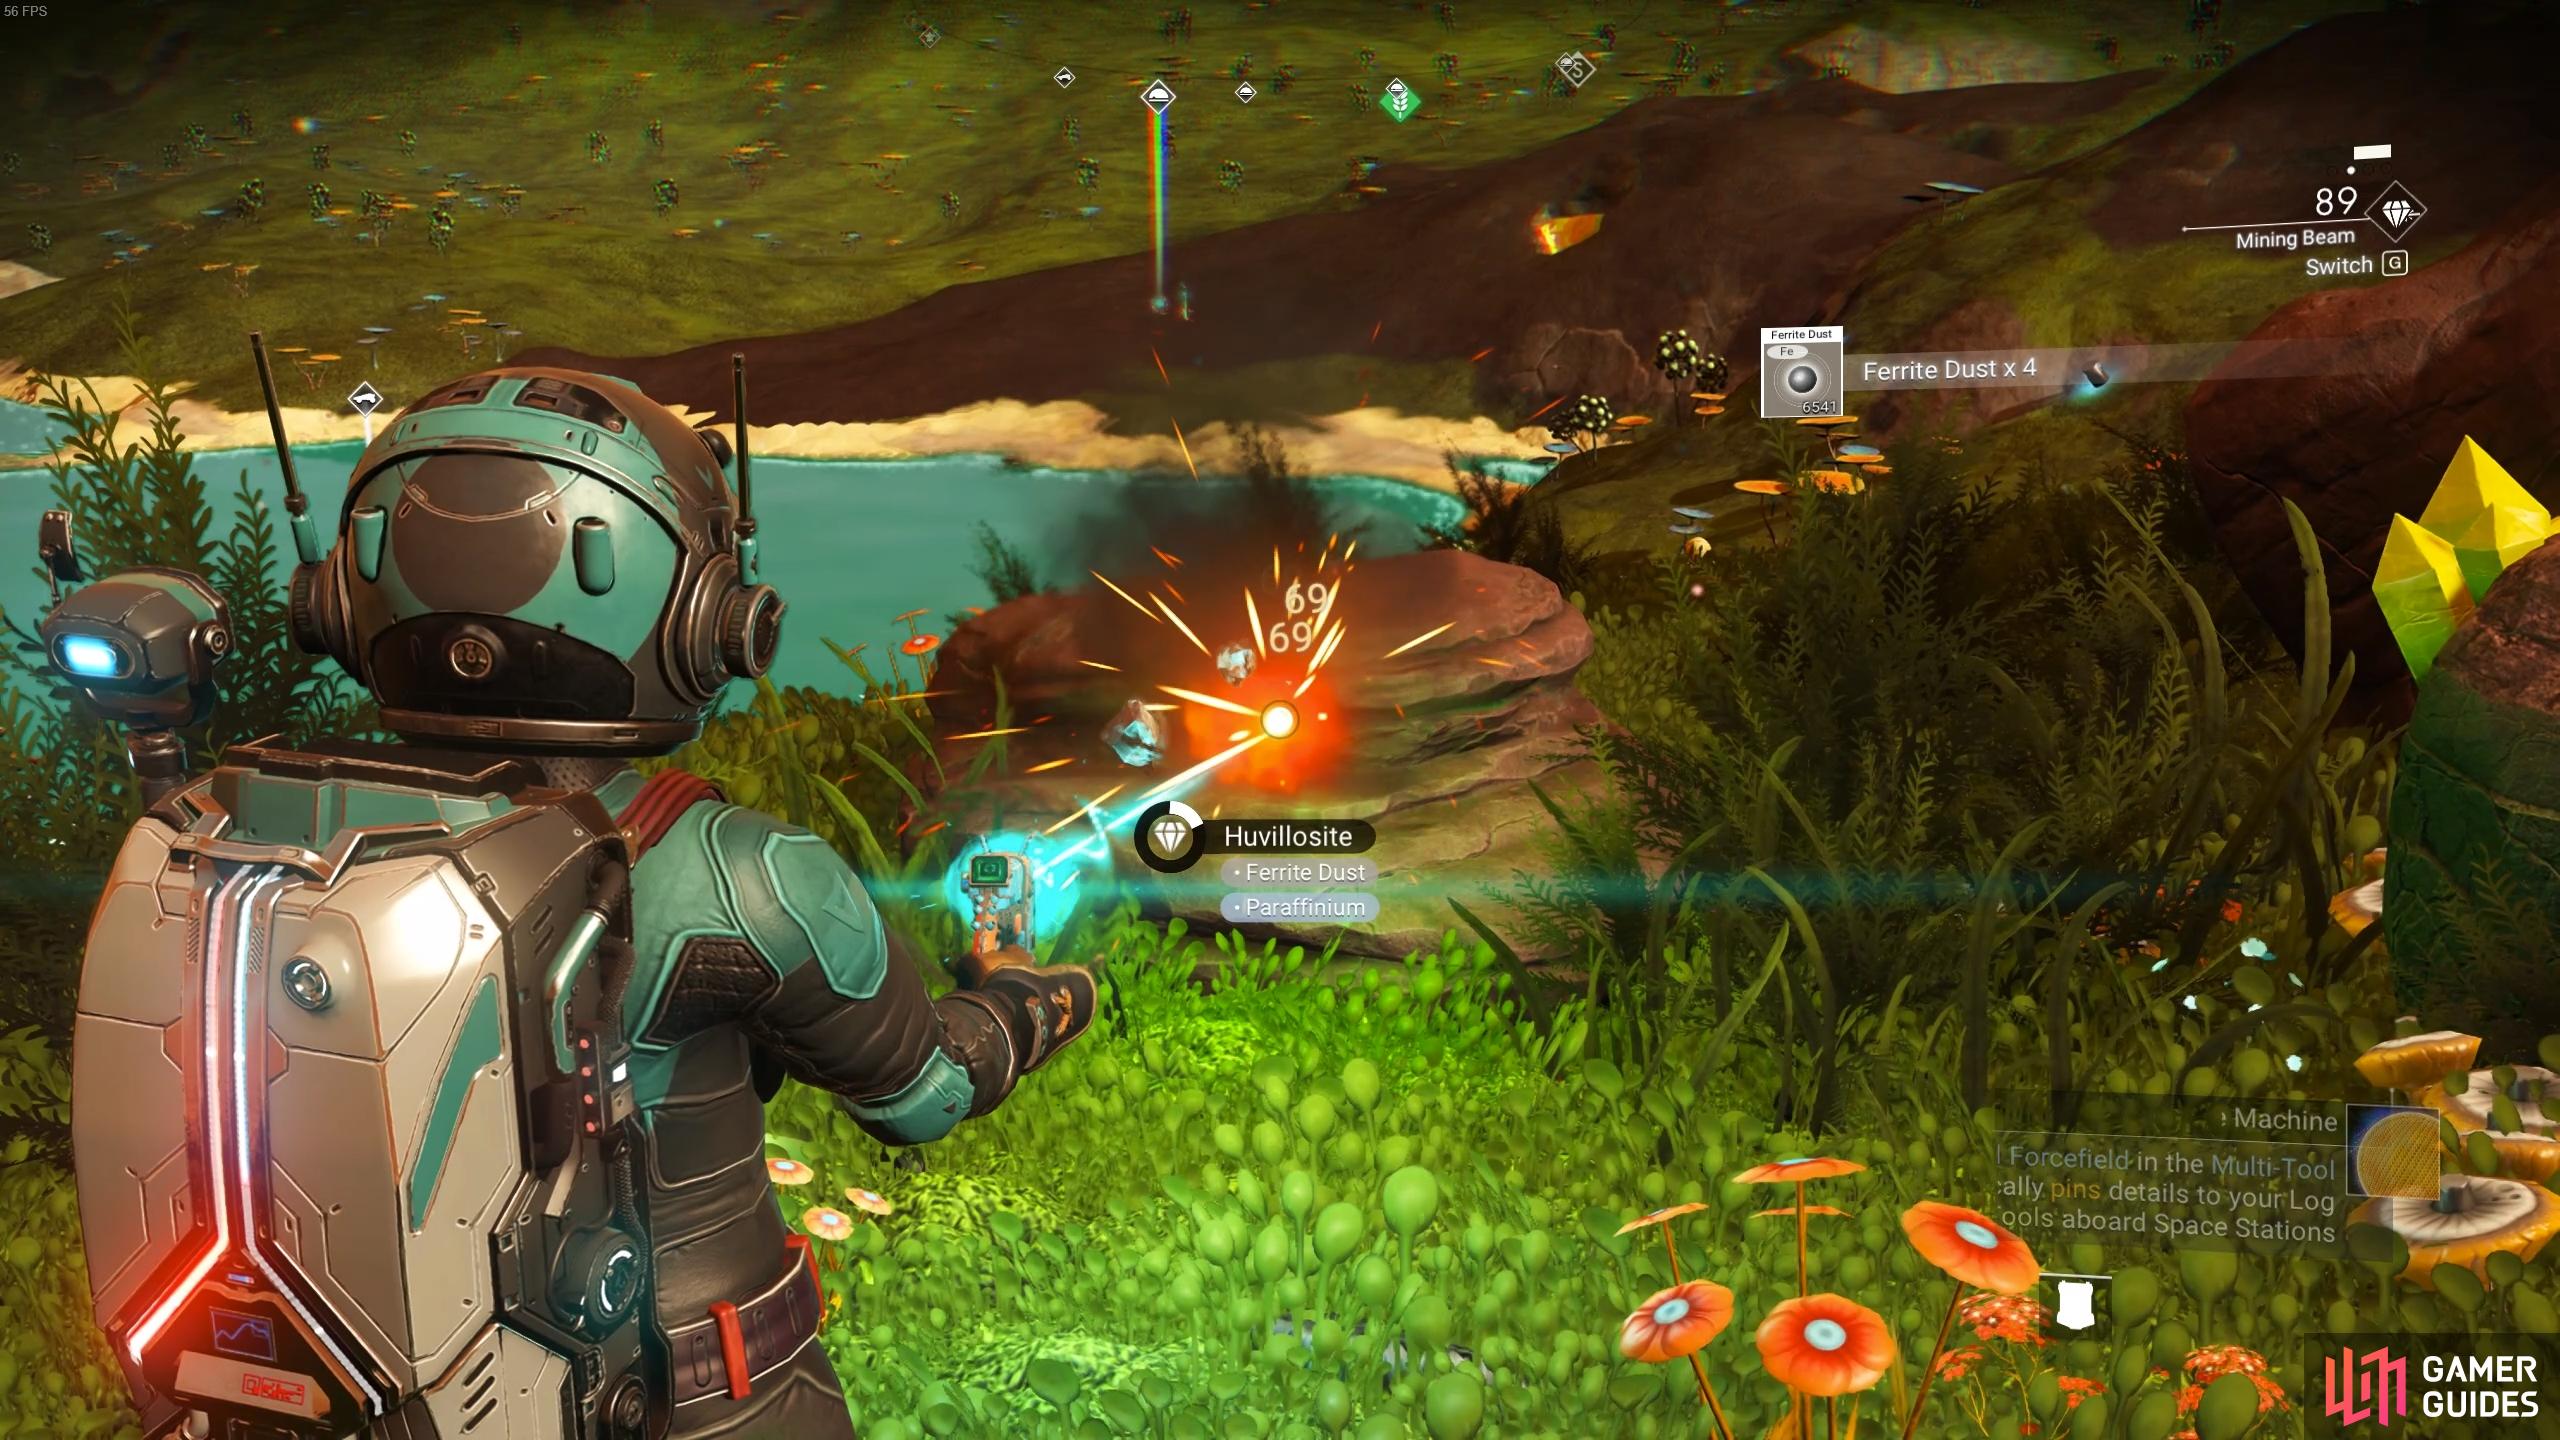
You’ll notice that the method for finding Sodium and Sodium Nitrate requires you to use the Multi-Tool Scanner, allowing you to scan the local environment for essential elements which help to keep your equipment functioning properly. However, at this stage the scanner is damaged, so you’ll need to repair it by finding some Ferrite Dust. The only way you can extract Ferrite Dust at this stage is to shoot at small rocks with your Multi-Tool. This will extract the material from the rock and it will be stored in your inventory. You may not find many small rocks in the immediate vicinity, so don’t be afraid to explore a bit if necessary. You’ll see that the Hazard Protection Unit status bar is depleting slowly, but you have more time here than you might think. Once you have enough Ferrite Dust, all you need to do is open your Multi-Tool inventory and select the Scanner to repair its damaged part.
(1 of 2) Use the Quick Access menu to recharge your Hazard Protection Unit.
Use the Quick Access menu to recharge your Hazard Protection Unit. (left), You’ll find the Scanner module in your Multi-Tool inventory. (right)
Locate and Repair the Starship
Once you’ve repaired the Multi-Tool Scanner and replenished your Hazard Protection Unit with Sodium or Sodium Nitrate, you’ll get a new objective which involves locating your Starship. An icon will appear which marks the location of your Starship, so all you need to do is run towards it at this point. It’s a good idea to fully recharge your Hazard Protection Unit along the way if you encounter more Sodium. As you approach the Starship you’ll notice that it’s damaged, so you need to repair this too. Start by entering the Starship to diagnose the problem. You’ll discover that both the Launch Thruster and the Pulse Engine are offline. As you go through the motions of dialogue, you’ll eventually reach a point where the materials required to repair each of these systems are stated: 1 Hermetic Seal and 1 Metal Plating for the Pulse Engine, and 50 Pure Ferrite and 1 Di-hydrogen Jelly for the Launch Thruster. You don’t need to repair either of these in a particular order, but we’ll start with the Pulse Engine.
Repair the Pulse Engine and Launch Thruster
The first part of repairing the Pulse Engine requires you to collect 50 Ferrite Dust. You’ve already done this to repair the Multi-Tool Scanner, so it’s just more of the same: blast rocks with the Multi-Tool to extract the material. Once you have 50 Ferrite Dust you can open your inventory and craft 1 Metal Plating with it. You will eventually be able to craft the Hermetic Seal, but since you don’t have the blueprint at this stage, you’ll need to find one at a Shelter site nearby.
At this stage the mission will update, asking you to build a Signal Booster from the build menu, which can be accessed by pressing 
Use the Analysis Visor to Locate the Starship
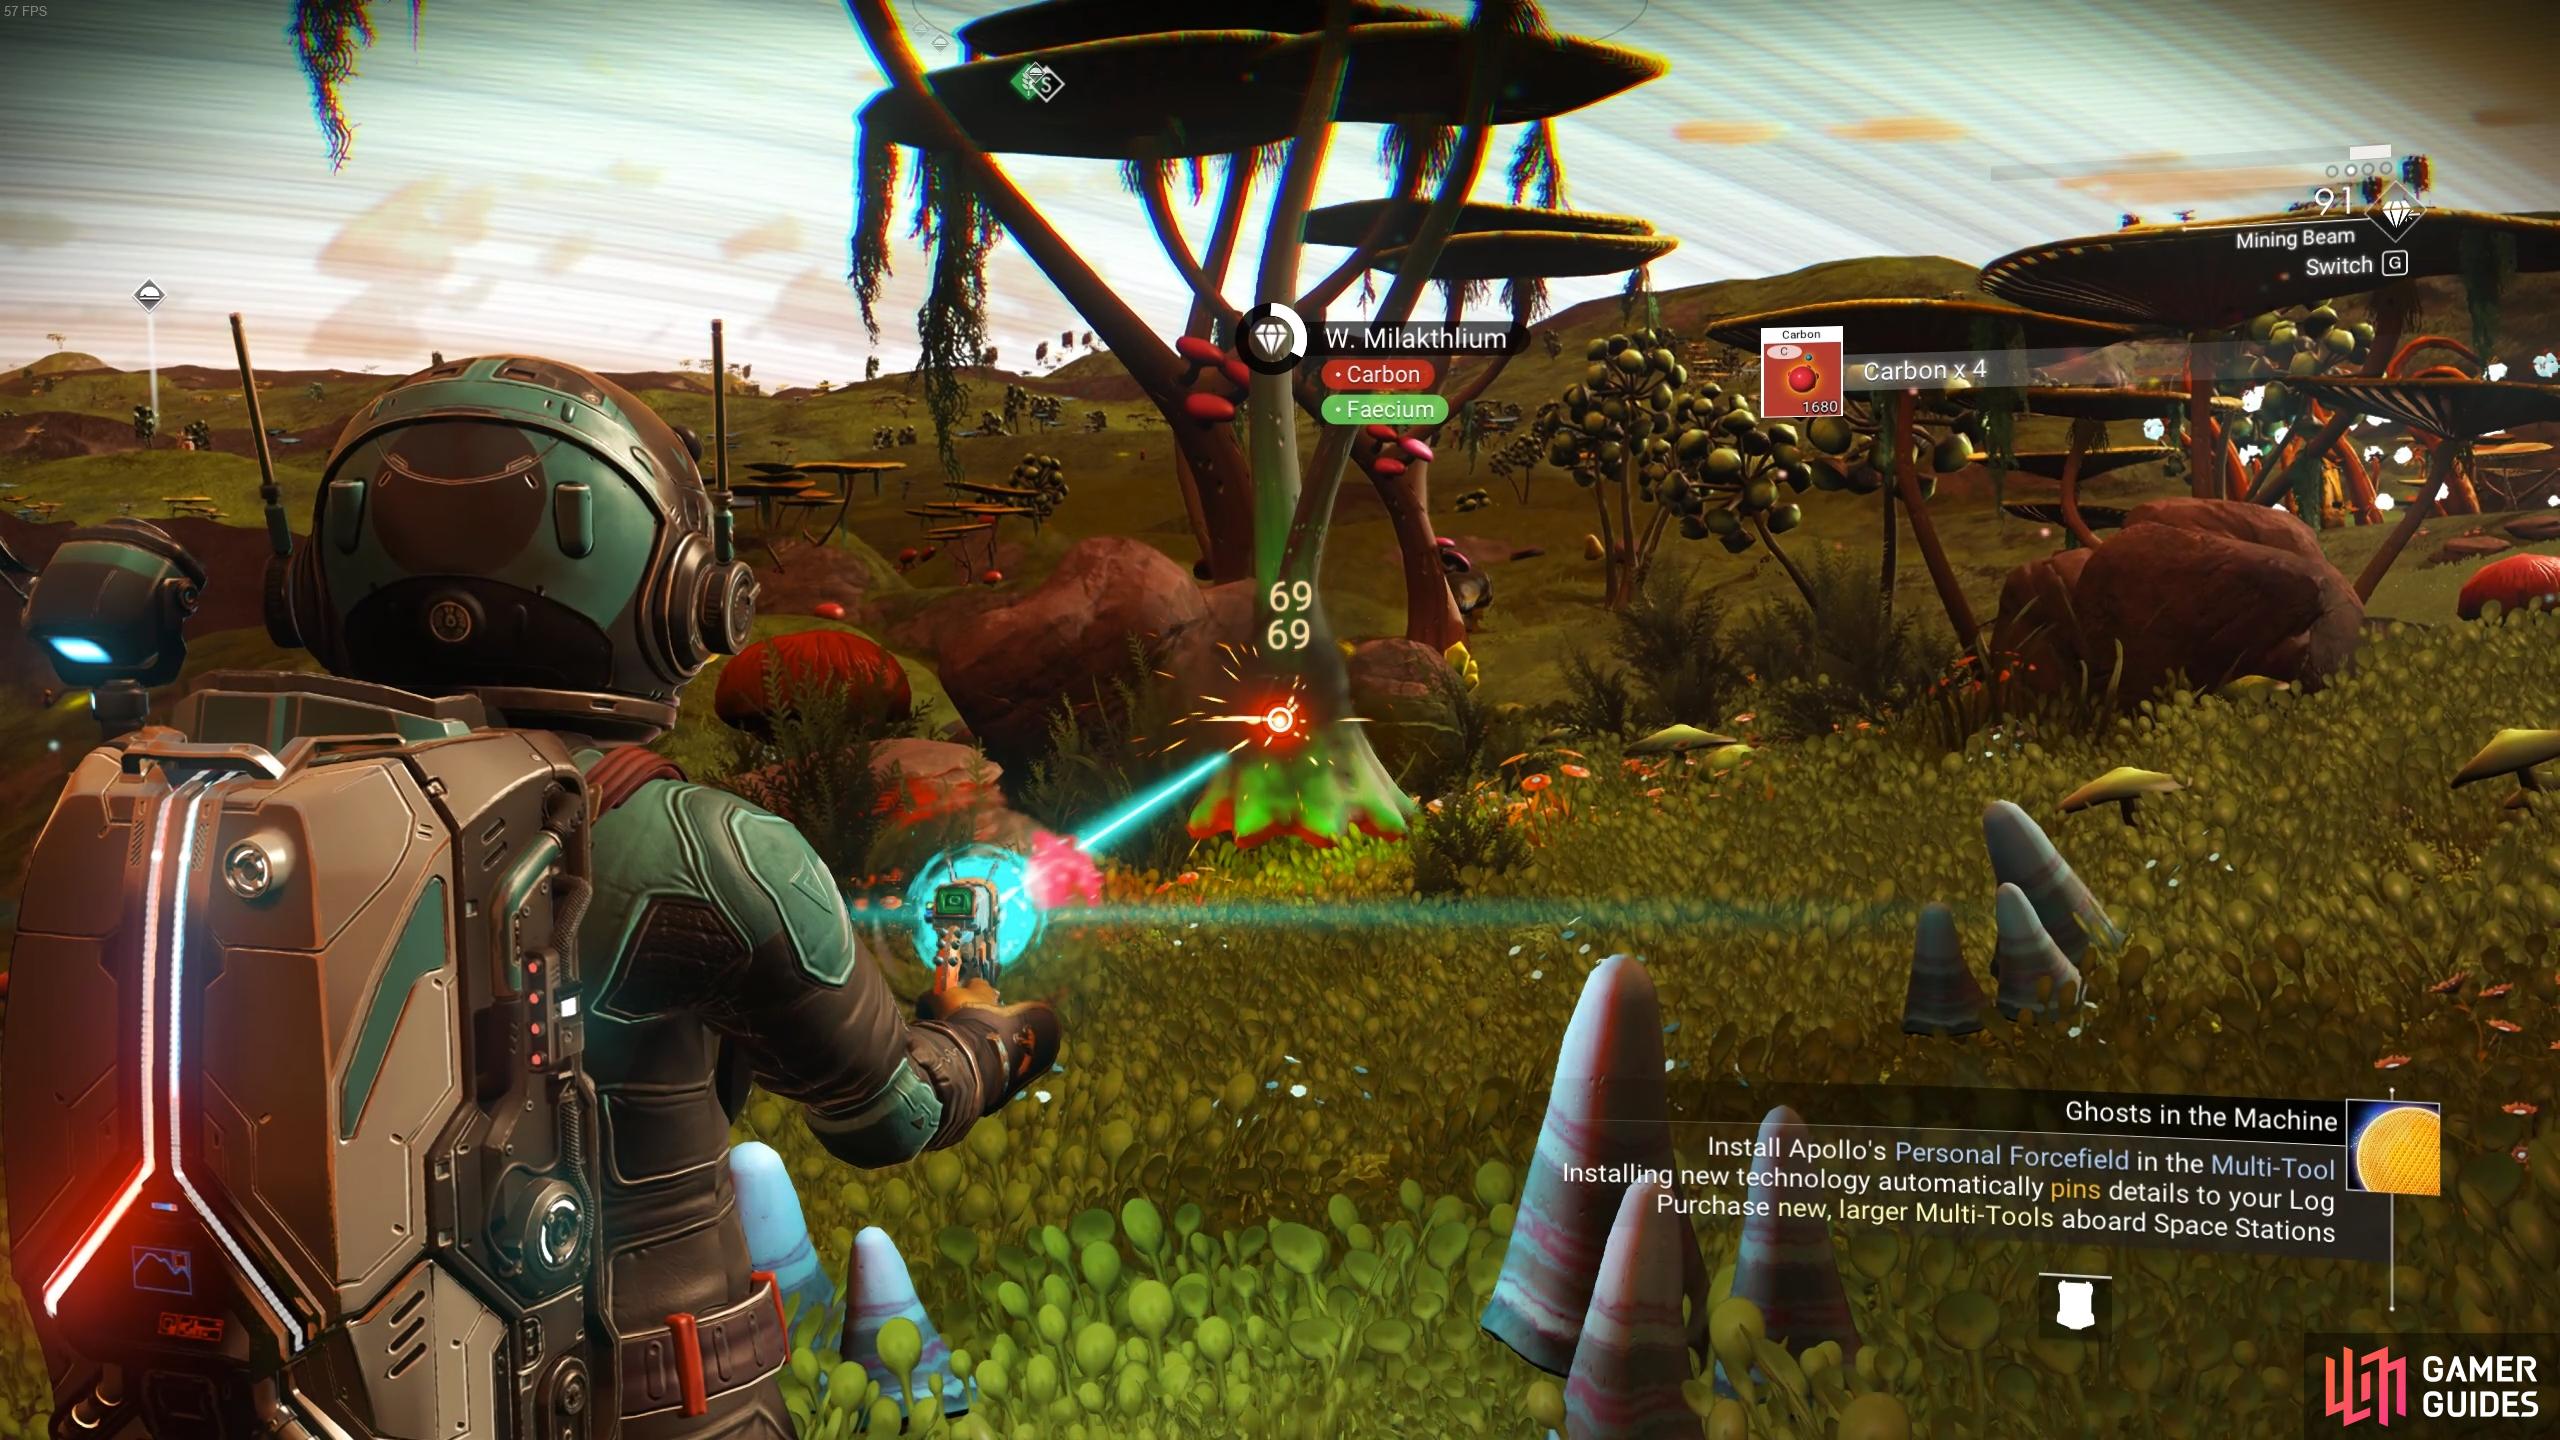
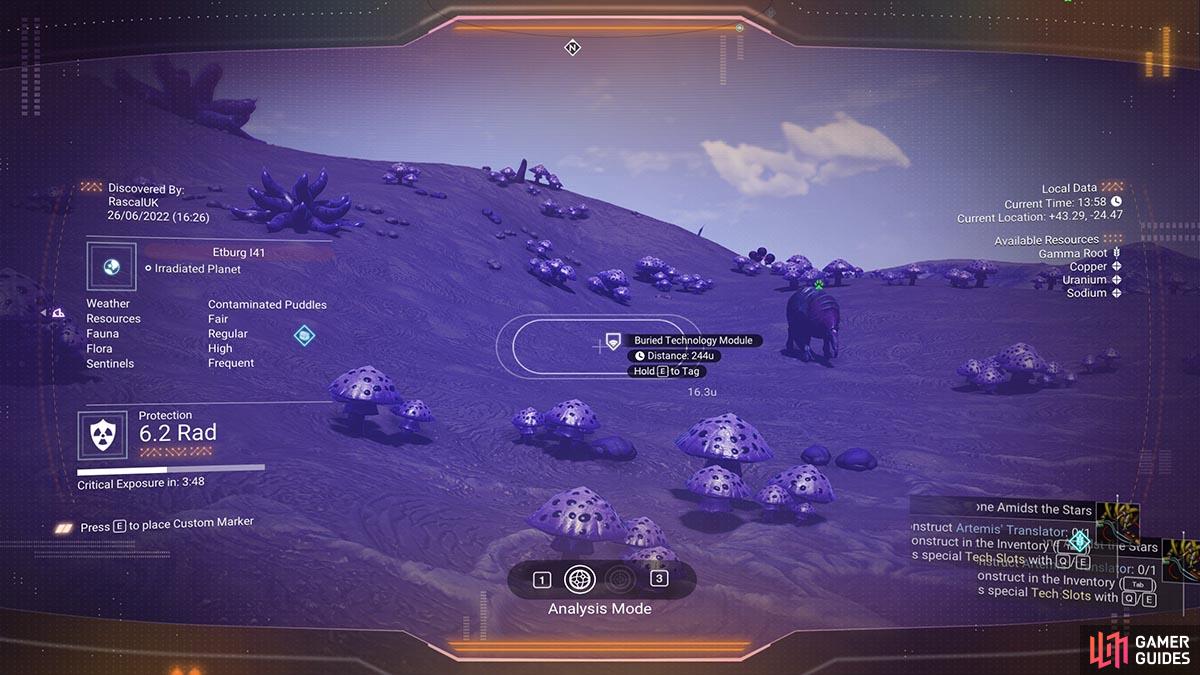
Once you’ve got the materials required to repair the Pulse Engine, you’ll need to locate the Starship with your Analysis Visor. This isn’t currently installed from your Multi-Tool, so you’ll need to gather more Carbon to craft 1 Carbon Nanotube, which can be used to craft the Analysis Visor in the Multi-Tool inventory. You can use the Analysis Visor to examine almost anything that you encounter, which will provide you with a brief overview of its main stats or properties. You can also earn a small amount of Units for every flora or fauna species that you scan for the first time.
When you’re back at the Starship, use the Metal Plating and Hermetic Seal to repair the Pulse Engine. The repair of the Launch Thruster requires less rare materials: 50 Pure Ferrite and 1 Di-hydrogen Jelly. You’ll find plenty of Di-hydrogen scattered around the landscape, and you can locate it by scanning the environment using 
After repairing the Launch Thruster, the Starship is ready to fly again. It’s time to take to the stars! However, before you go, be sure to deconstruct the Portable Refiner so that it’s placed in your inventory, ready to be used again when you need it.
(1 of 2) You can extract Carbon from almost any type of flora with the Mining Laser on the Multi-Tool.
You can extract Carbon from almost any type of flora with the Mining Laser on the Multi-Tool. (left), Most small rocks will provide Ferrite Dust. (right)
Reach the Signal Source and Construct the Base Computer
Travel with the Pulse Engine
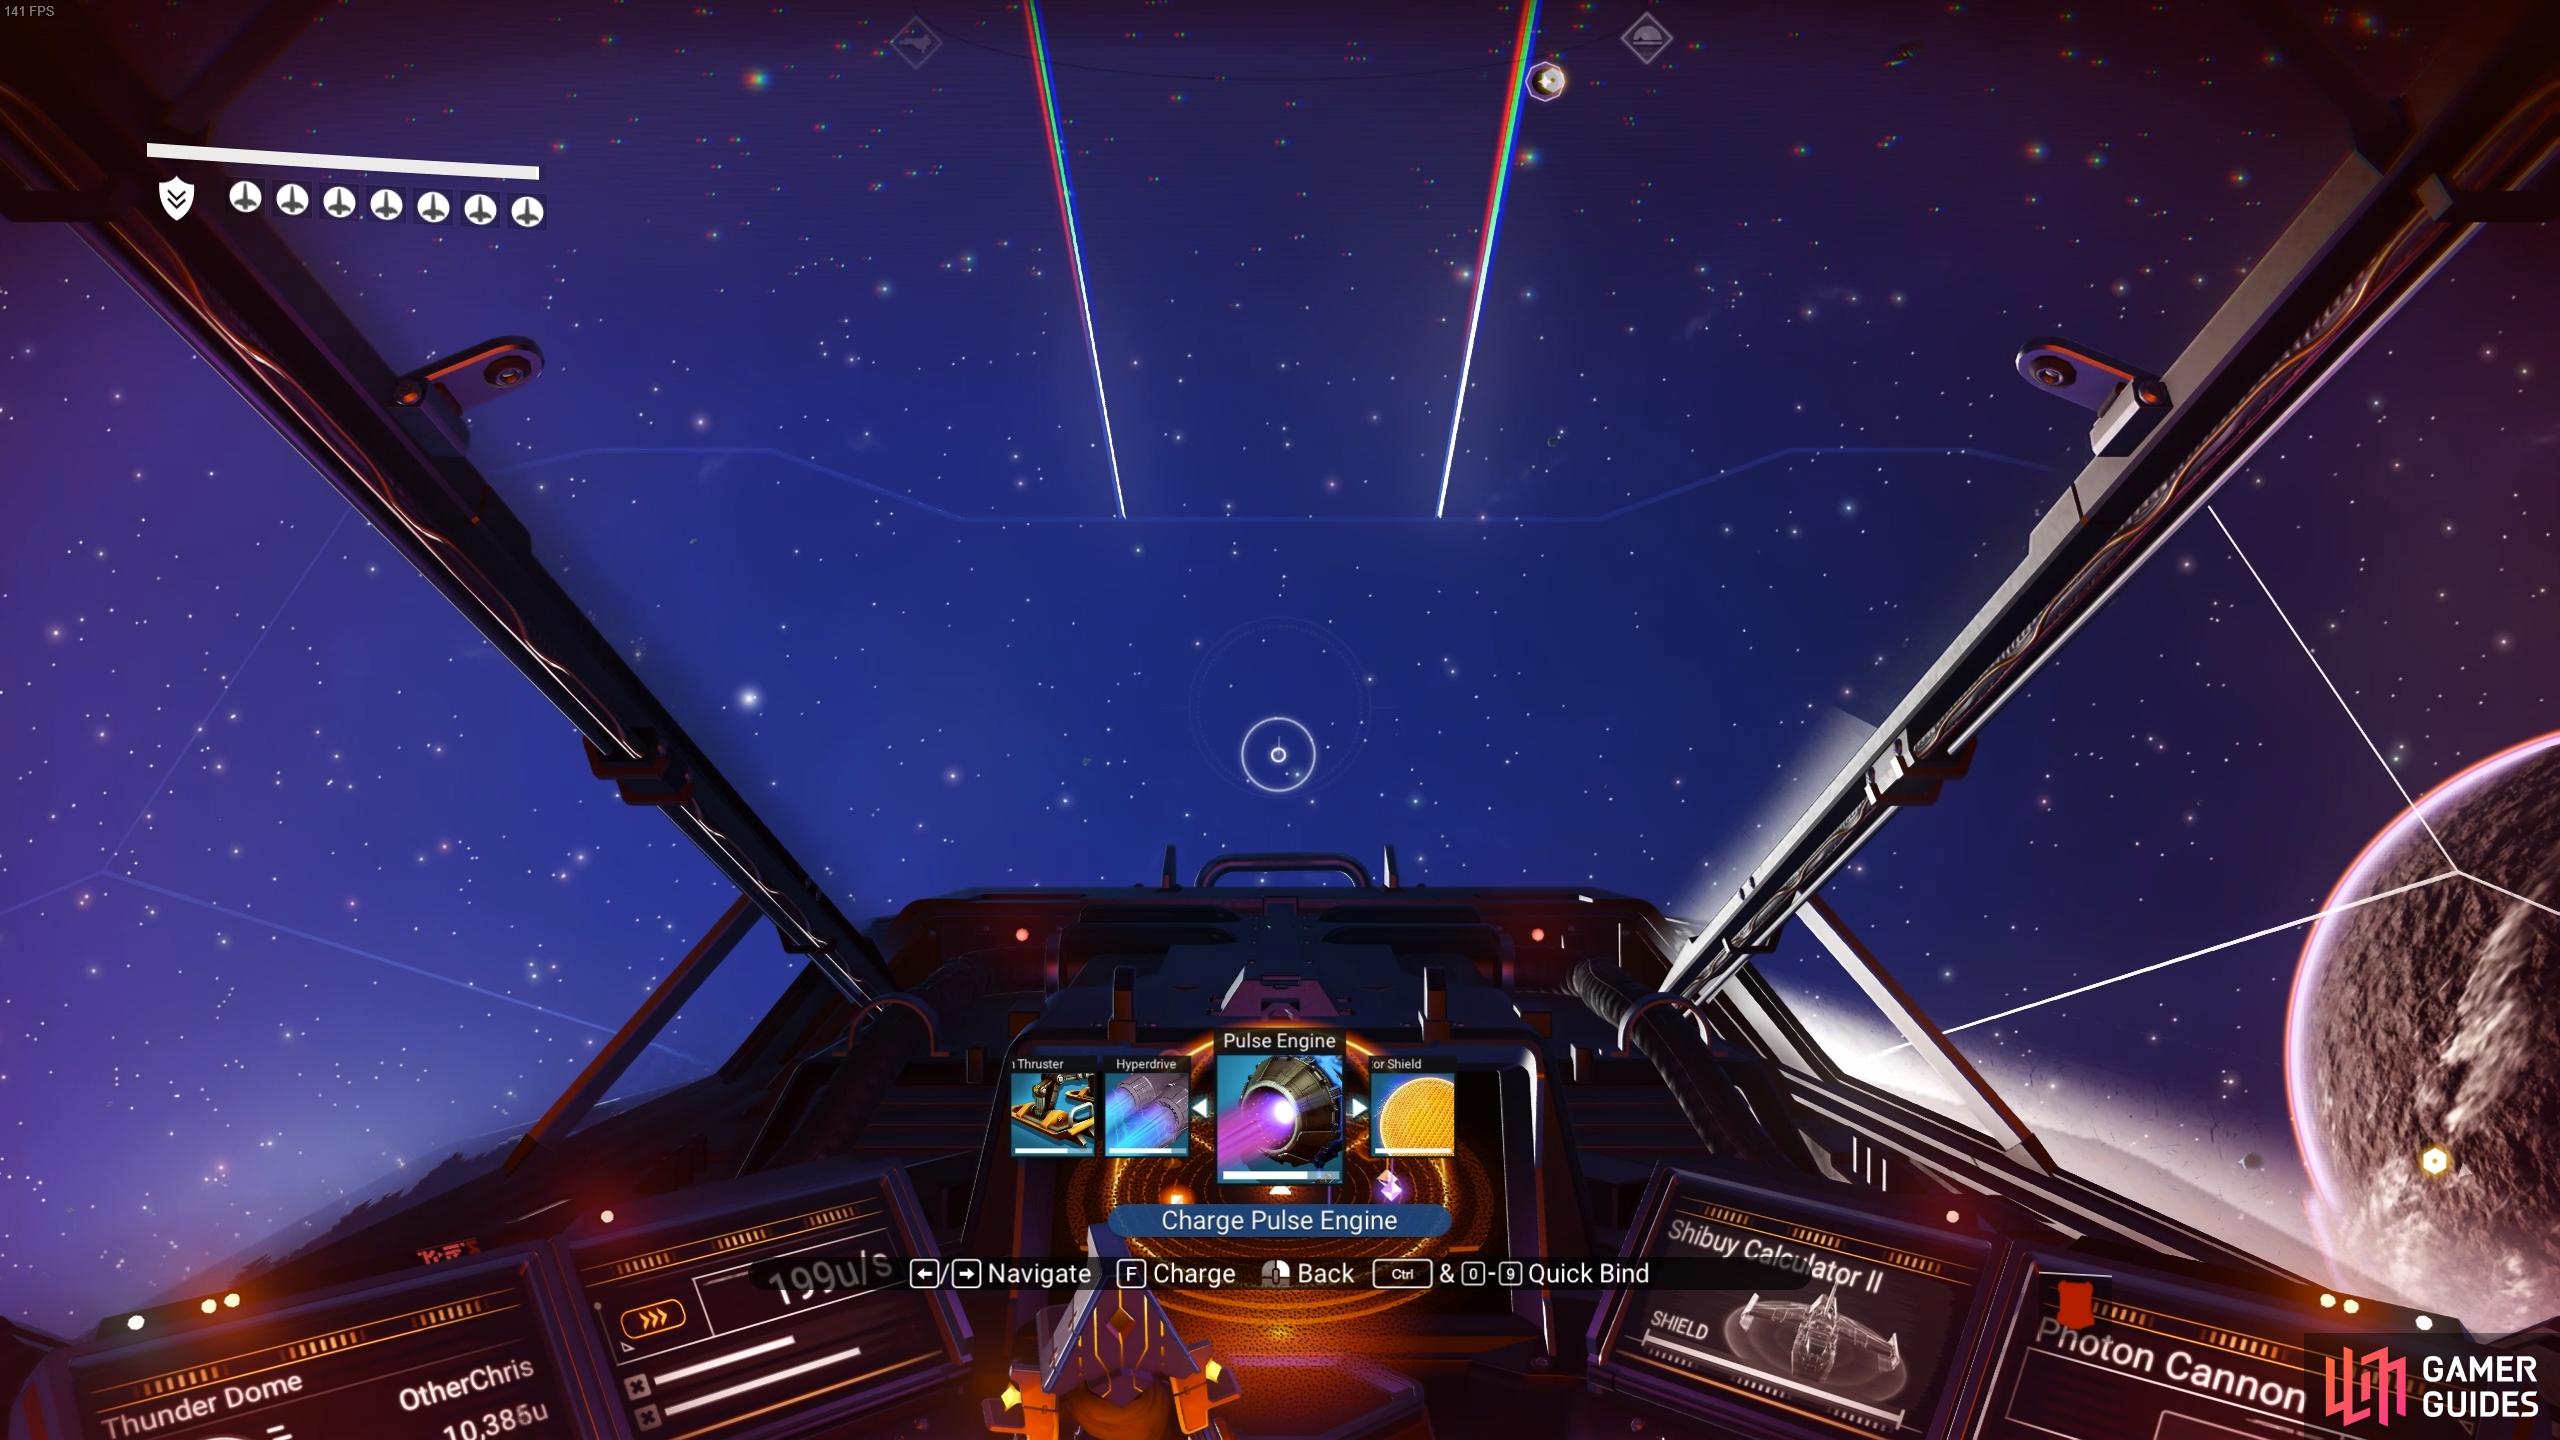
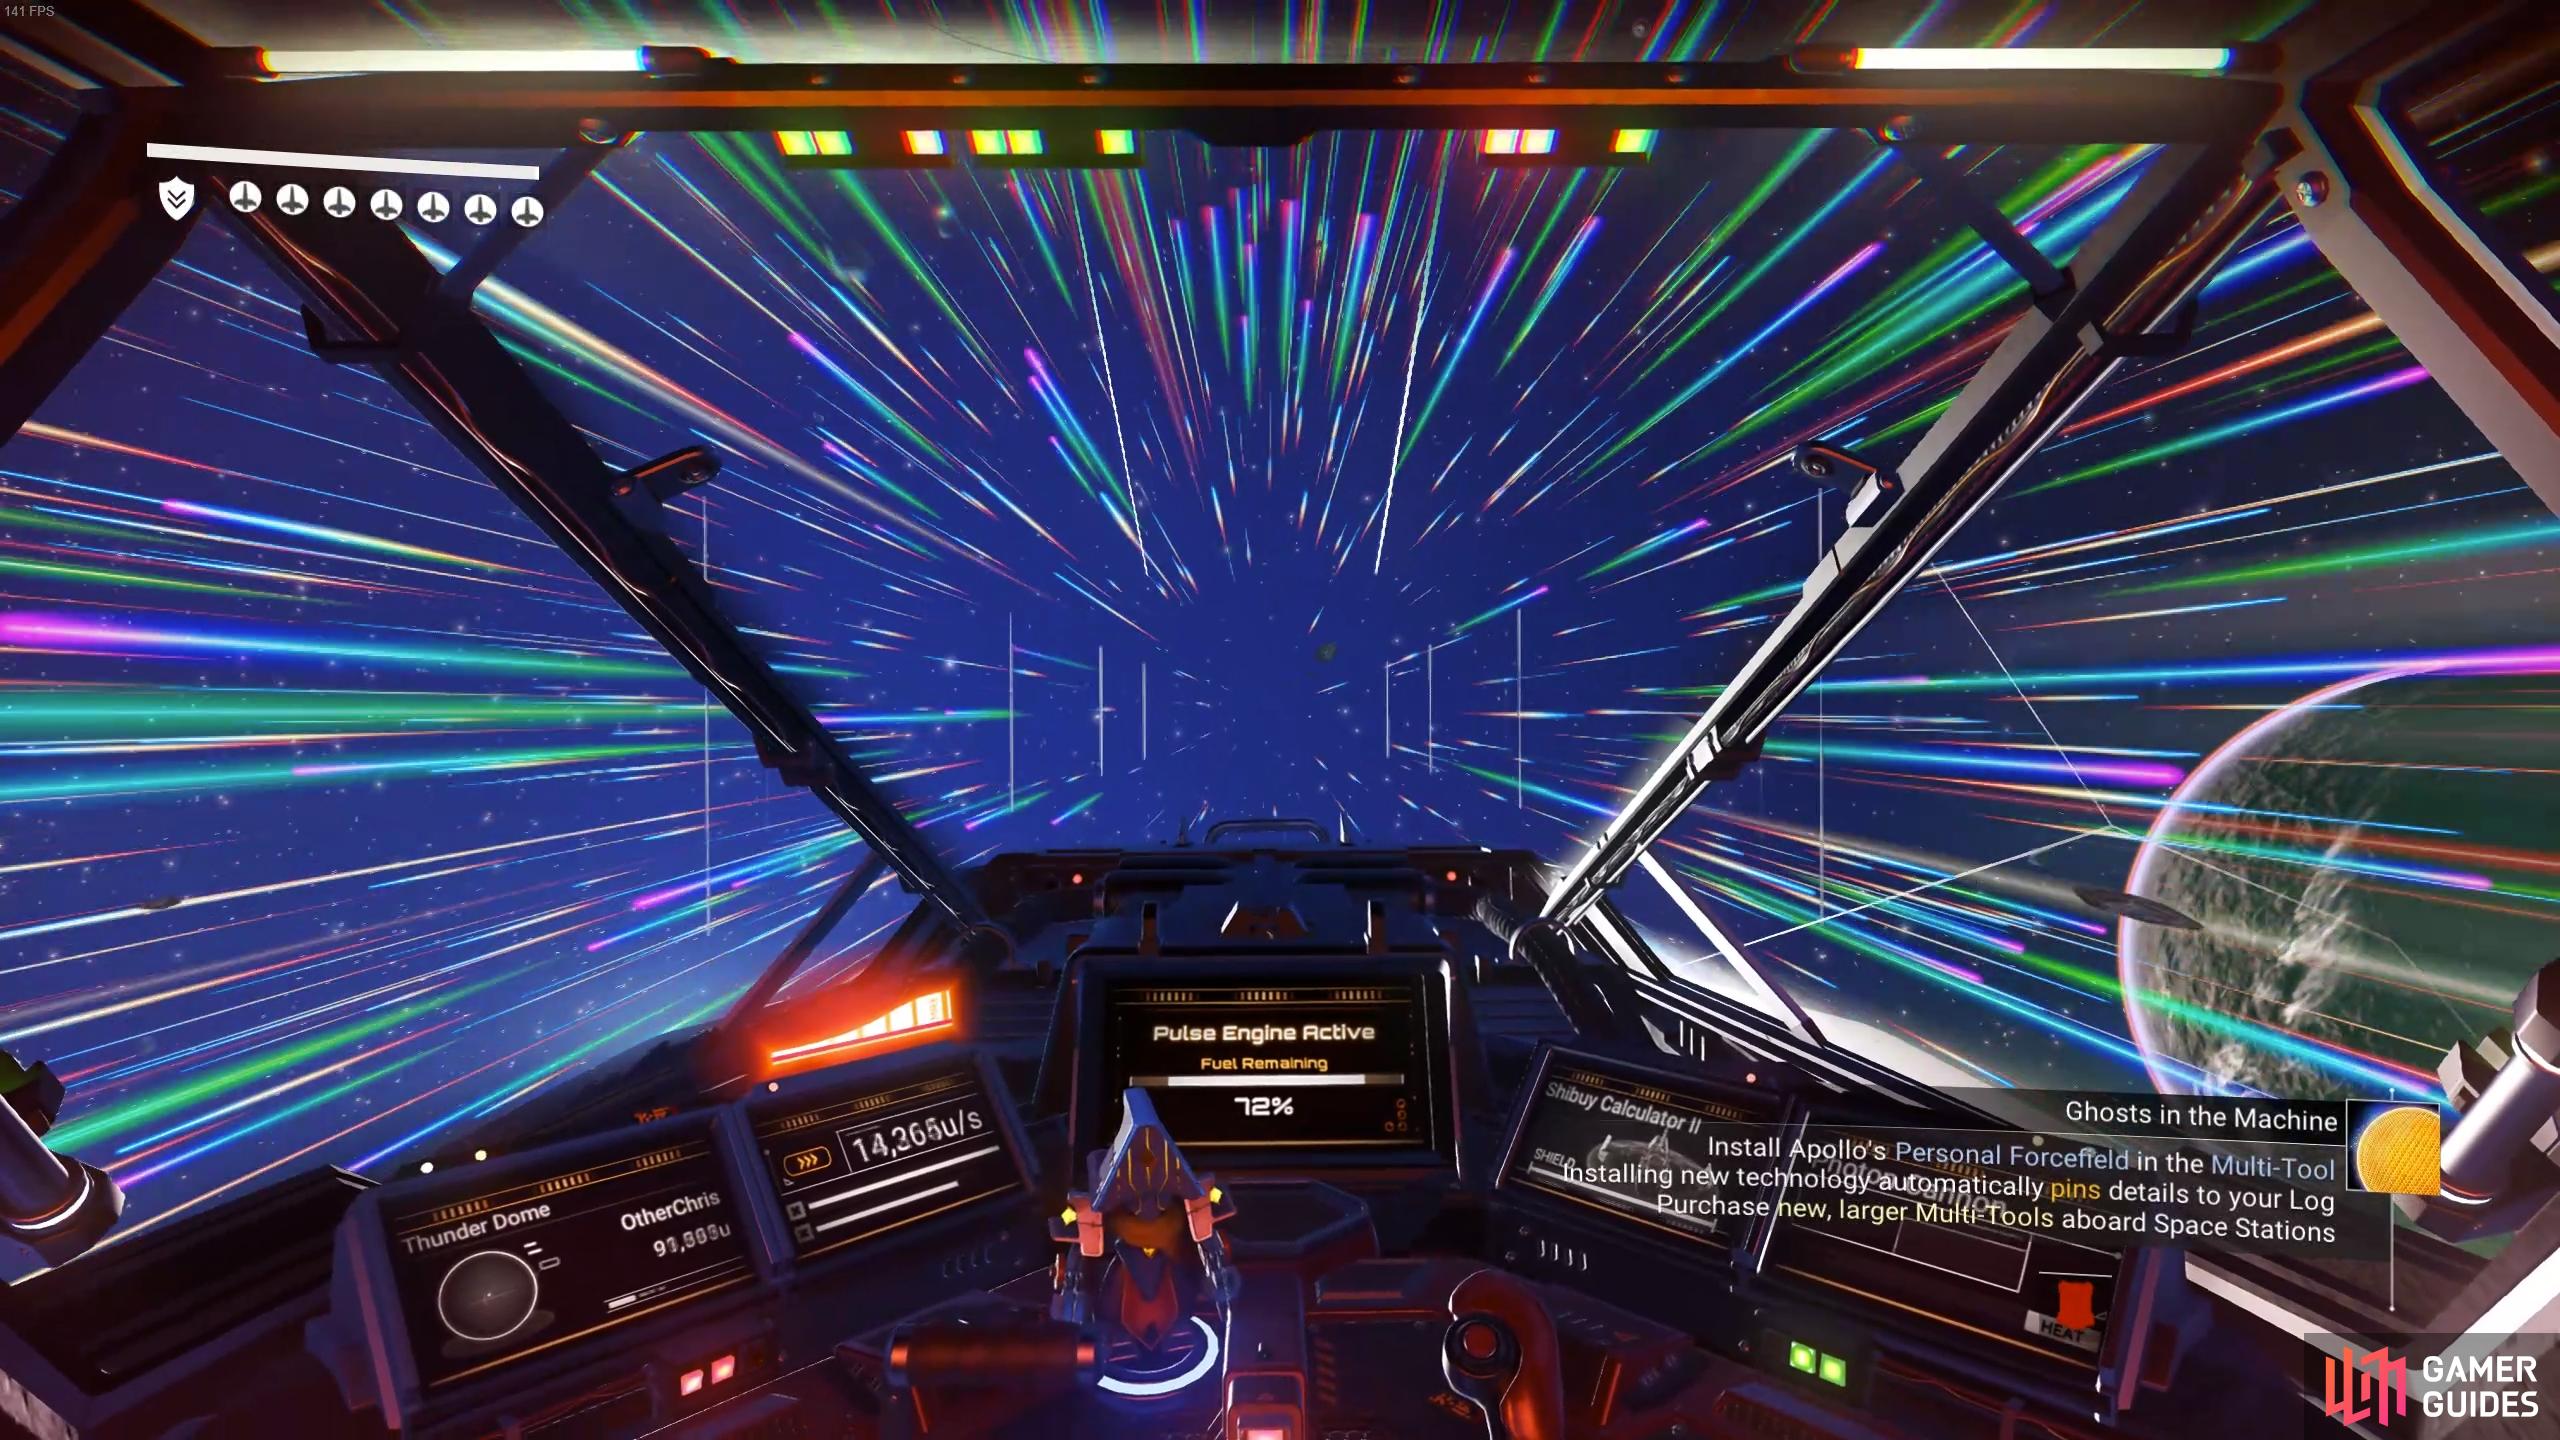
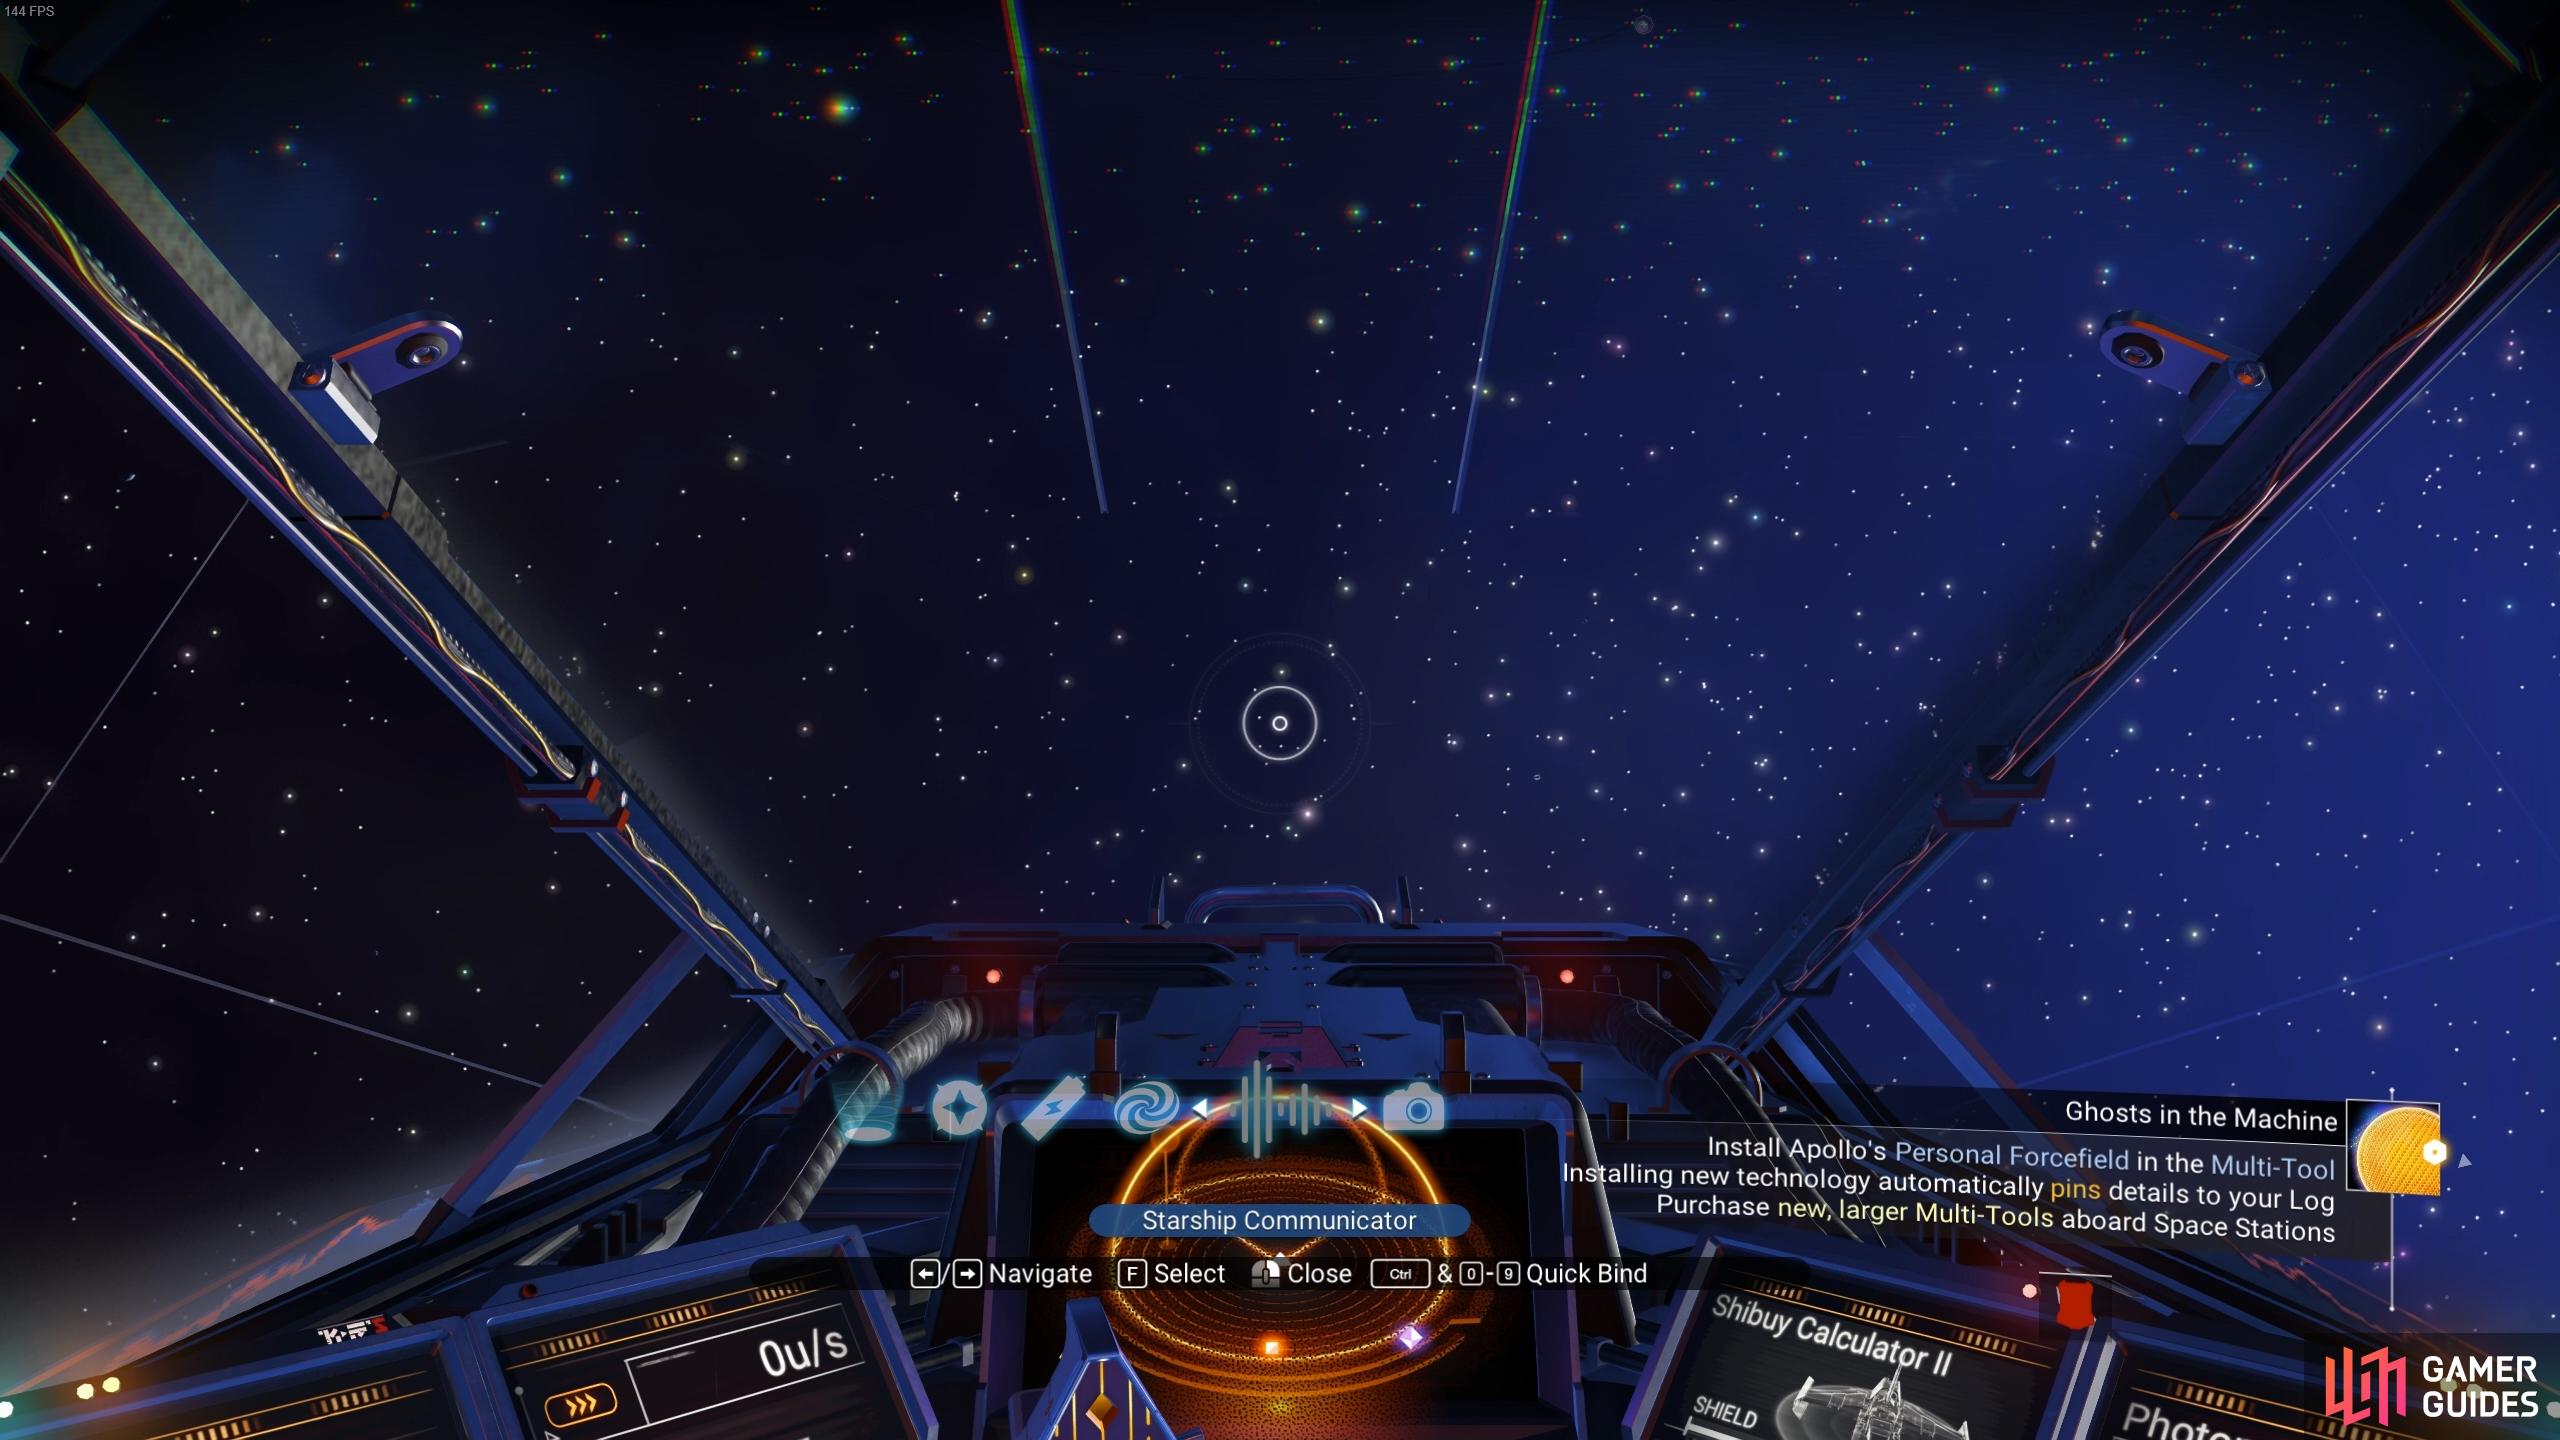
As you make your way into space, this is an excellent time to get to grips with the basic flying mechanics of Starships in No Man’s Sky. It’s fairly simple stuff, but the main thing you’ll need to become familiar with is the responsiveness of each ship. The starting ship is quite sluggish, but you can eventually find or purchase new ships which have much greater maneuverability. Once you’ve explored the basic mechanics of flying, you can reach the signal source via the coordinates provided to you from the mysterious communication. The quickest way to do this is by using the Pulse Engine, which is essentially a form of fast travel through space. It will turn a journey of minutes into seconds. Once you’re in space, press 
Craft the Terrain Manipulator
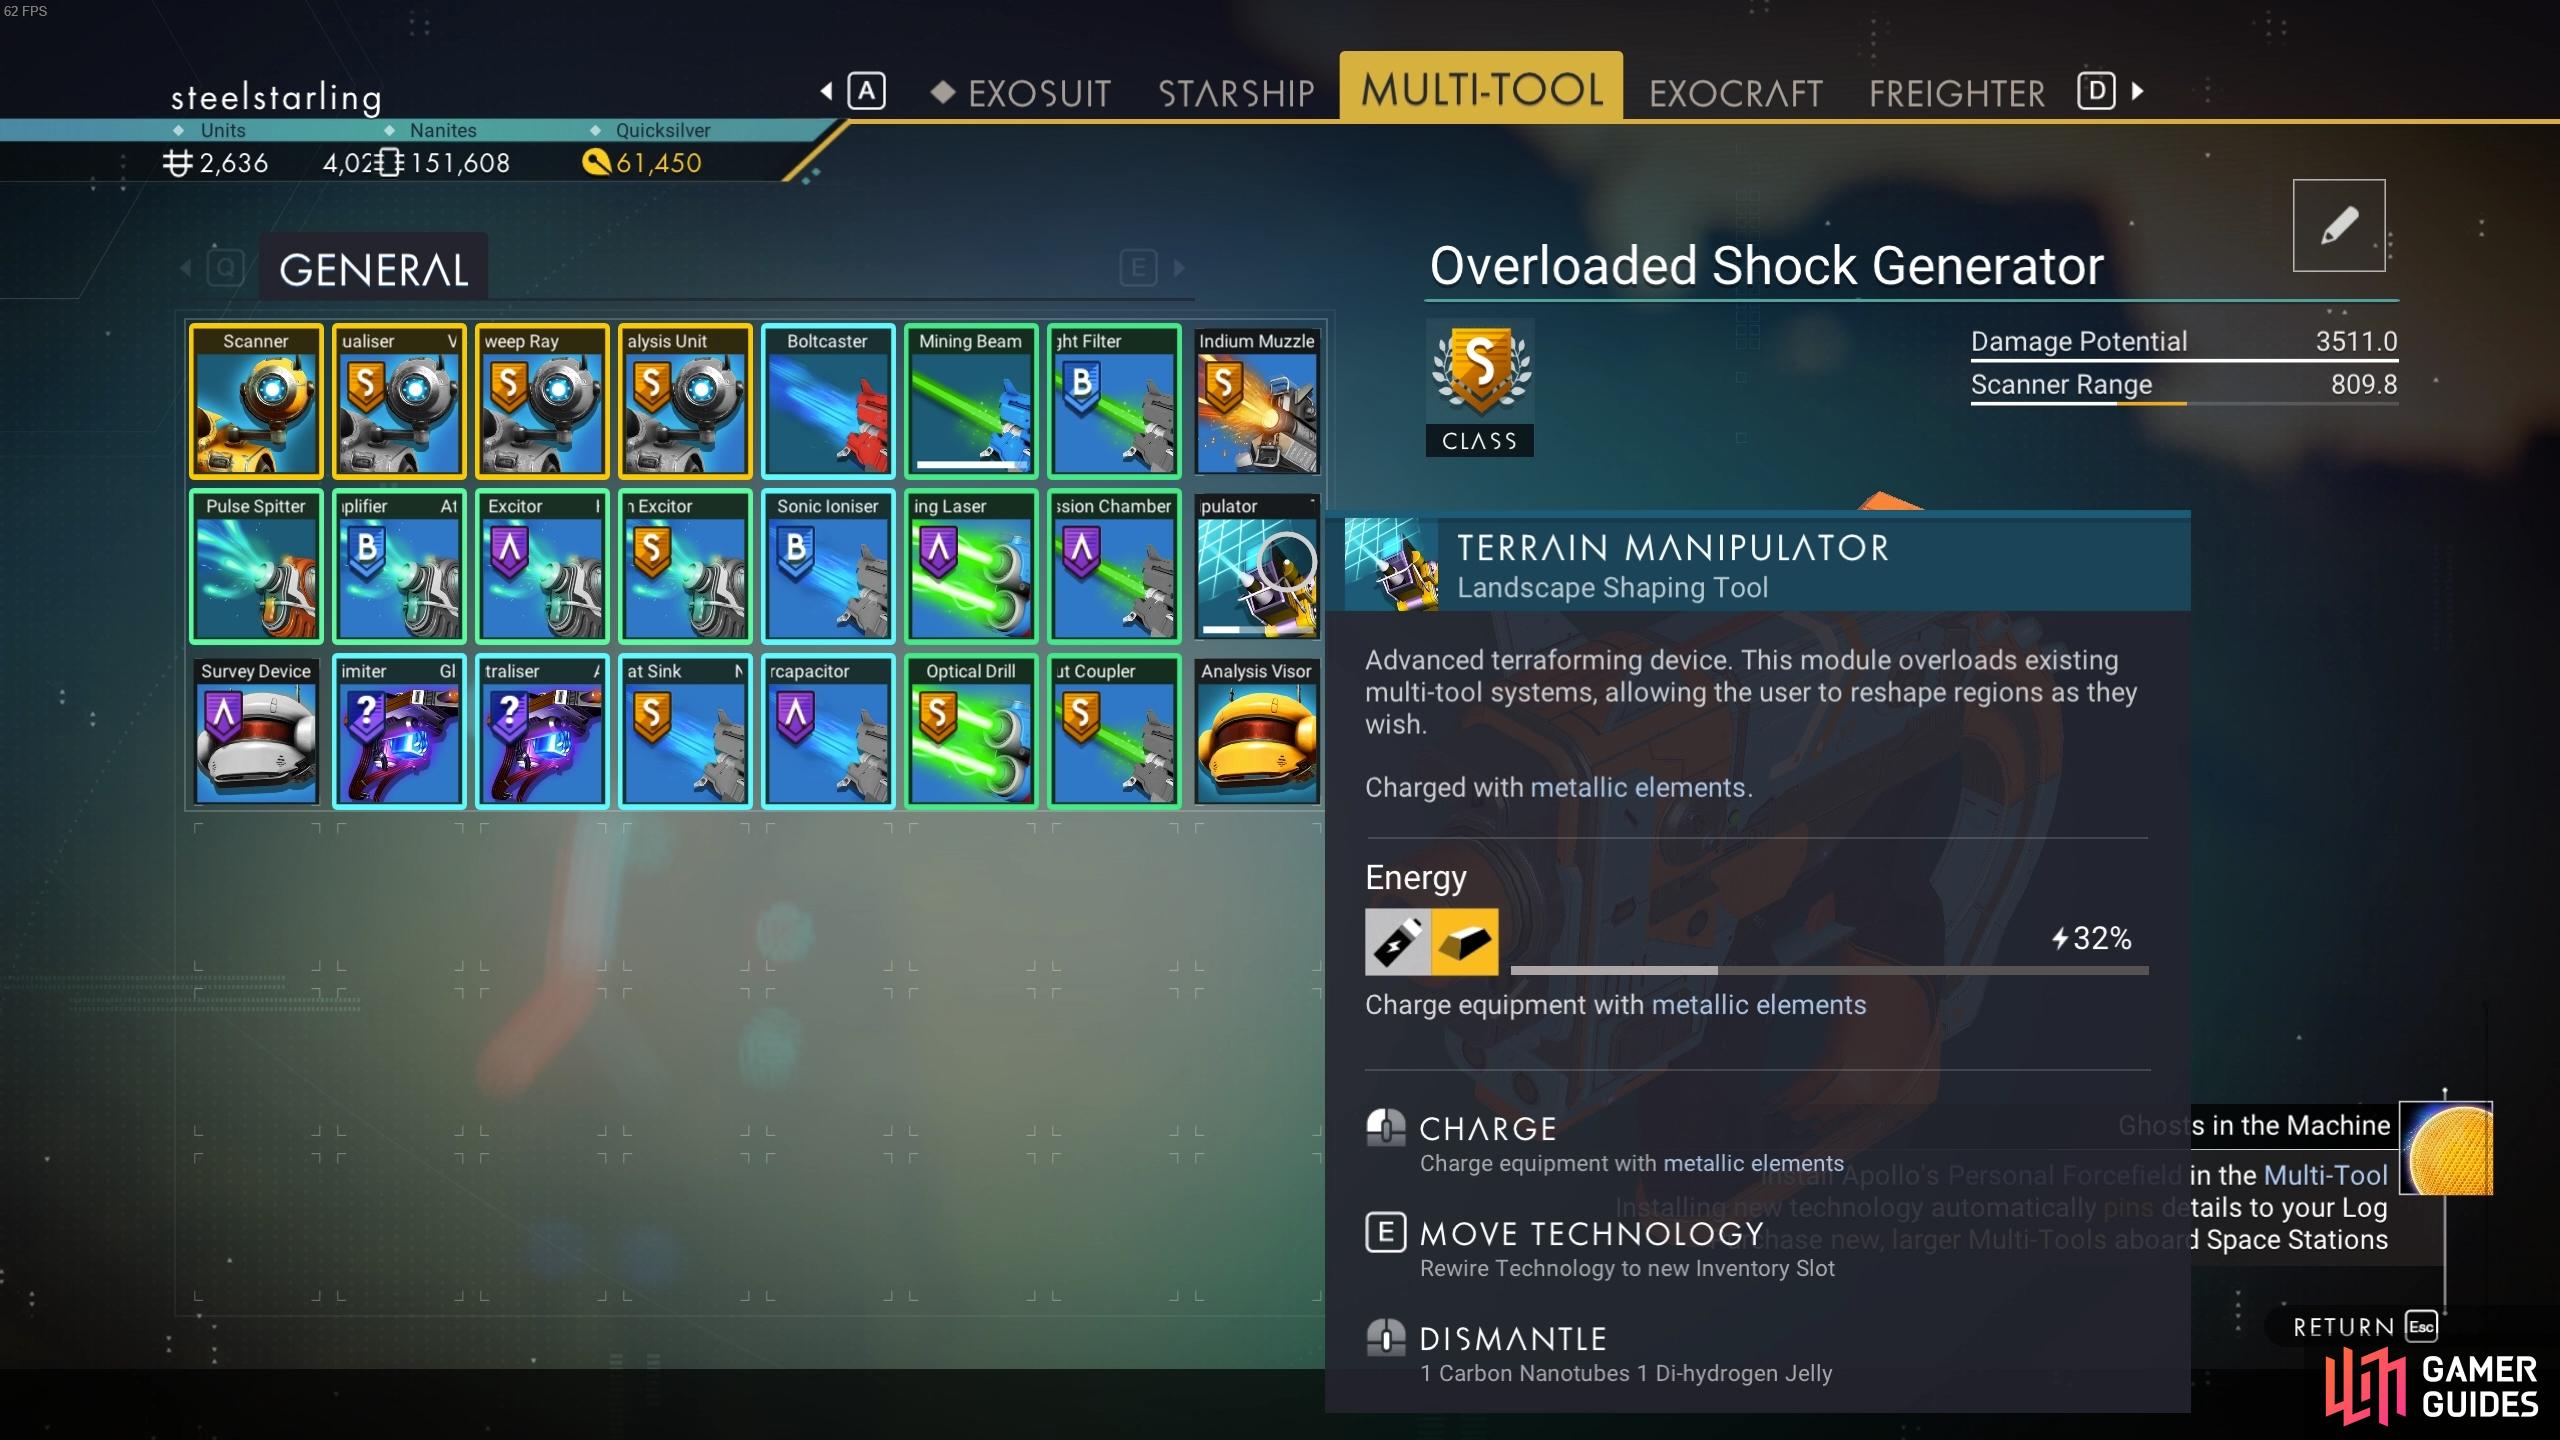
When you reach the source of the signal, you’ll need to interact with the mechanical device to decipher it. At this point you’ll learn the blueprint for the Terrain Manipulator, which is a module for the Multi-Tool that will enable you to cut through the earth to reach resource deposits and underground features. You’ll need 2 Carbon Nanotubes and 1 Di-hydrogen Jelly to craft it. Once you’ve crafted the module, you’ll be asked to use it by gathering resources from a deposit. The exact type of resource will depend on the planet that you’re on, but it will generally be a form of metal which you can later refine into Chromatic Metal. You can identify resource deposits using the Analysis Visor.
Build a Base Computer
Once you have enough metal from a deposit, use the Portable Refiner to refine it into Chromatic Metal. You’ll need a total of 40 Chromatic Metal to craft the Base Computer, which you can then place anywhere you want on the planet to claim your first base area.
As soon as you’ve built your Base Computer, it will only be a matter of time before another storm arrives. This will happen even if the planet type you’re on doesn’t usually have storms, since it serves a function in the quest: to encourage you to build at least a basic shelter quickly. You’ll be given some basic blueprints to construct a shelter at this point, including floor, wall, roof, and door pieces. You don’t need to make it fancy yet, so you can just build a basic square in which you can weather the storm when it arrives. After the storm passes, you shouldn’t see another one occur if you’re on a hospitable planet.
Build a Construction Research Unit
After the storm has passed, you can interact with the Base Computer to obtain some Salvaged Data and unlock the blueprint for the Construction Research Unit. You’ll need to build this using 20 Magnetised Ferrite and 1 Carbon Nanotube. We’ve already covered how the latter is crafted, btu the former will require you to refine some Pure Ferrite in the Portable Refiner, which will transform it into Magnetised Ferrite. Once the Construction Research Unit is built, interact with it for the next steps.
Uncover Buried Technology Modules for Salvaged Data
The next task will be to find and loot some Buried Technology Modules. These can be identified in the landscape using the Analysis Visor, and they’ll be labelled as such when you hover over the appropriate icon. There will usually be plenty of these modules in any given area of a planet, but if you’re not seeing any after scanning all the land around you, try getting in your ship to search another area. You won’t need to travel too far, and the Base Computer will now be marked with an icon that is visible from any distance in the star system, so you can easily find your base again if you do wander too far.
Once you reach the Buried Technology Module, you’ll most likely need to use the Terrain Manipulator to gain access to it, since it’ll be buried underground. Just blast through the surface of the planet until you find the item, then loot it for the Salvaged Data. You can now use this at the Construction Research Station to learn a new construction blueprint. At this stage you’ll be prompted to rename your base via the Base Computer to anything you want. You can go back out to obtain more Salvaged Data at this point if you want to, since you’ll need plenty of it to learn the hundreds of blueprints available at different stages of the game.
Build the Base Teleport Module
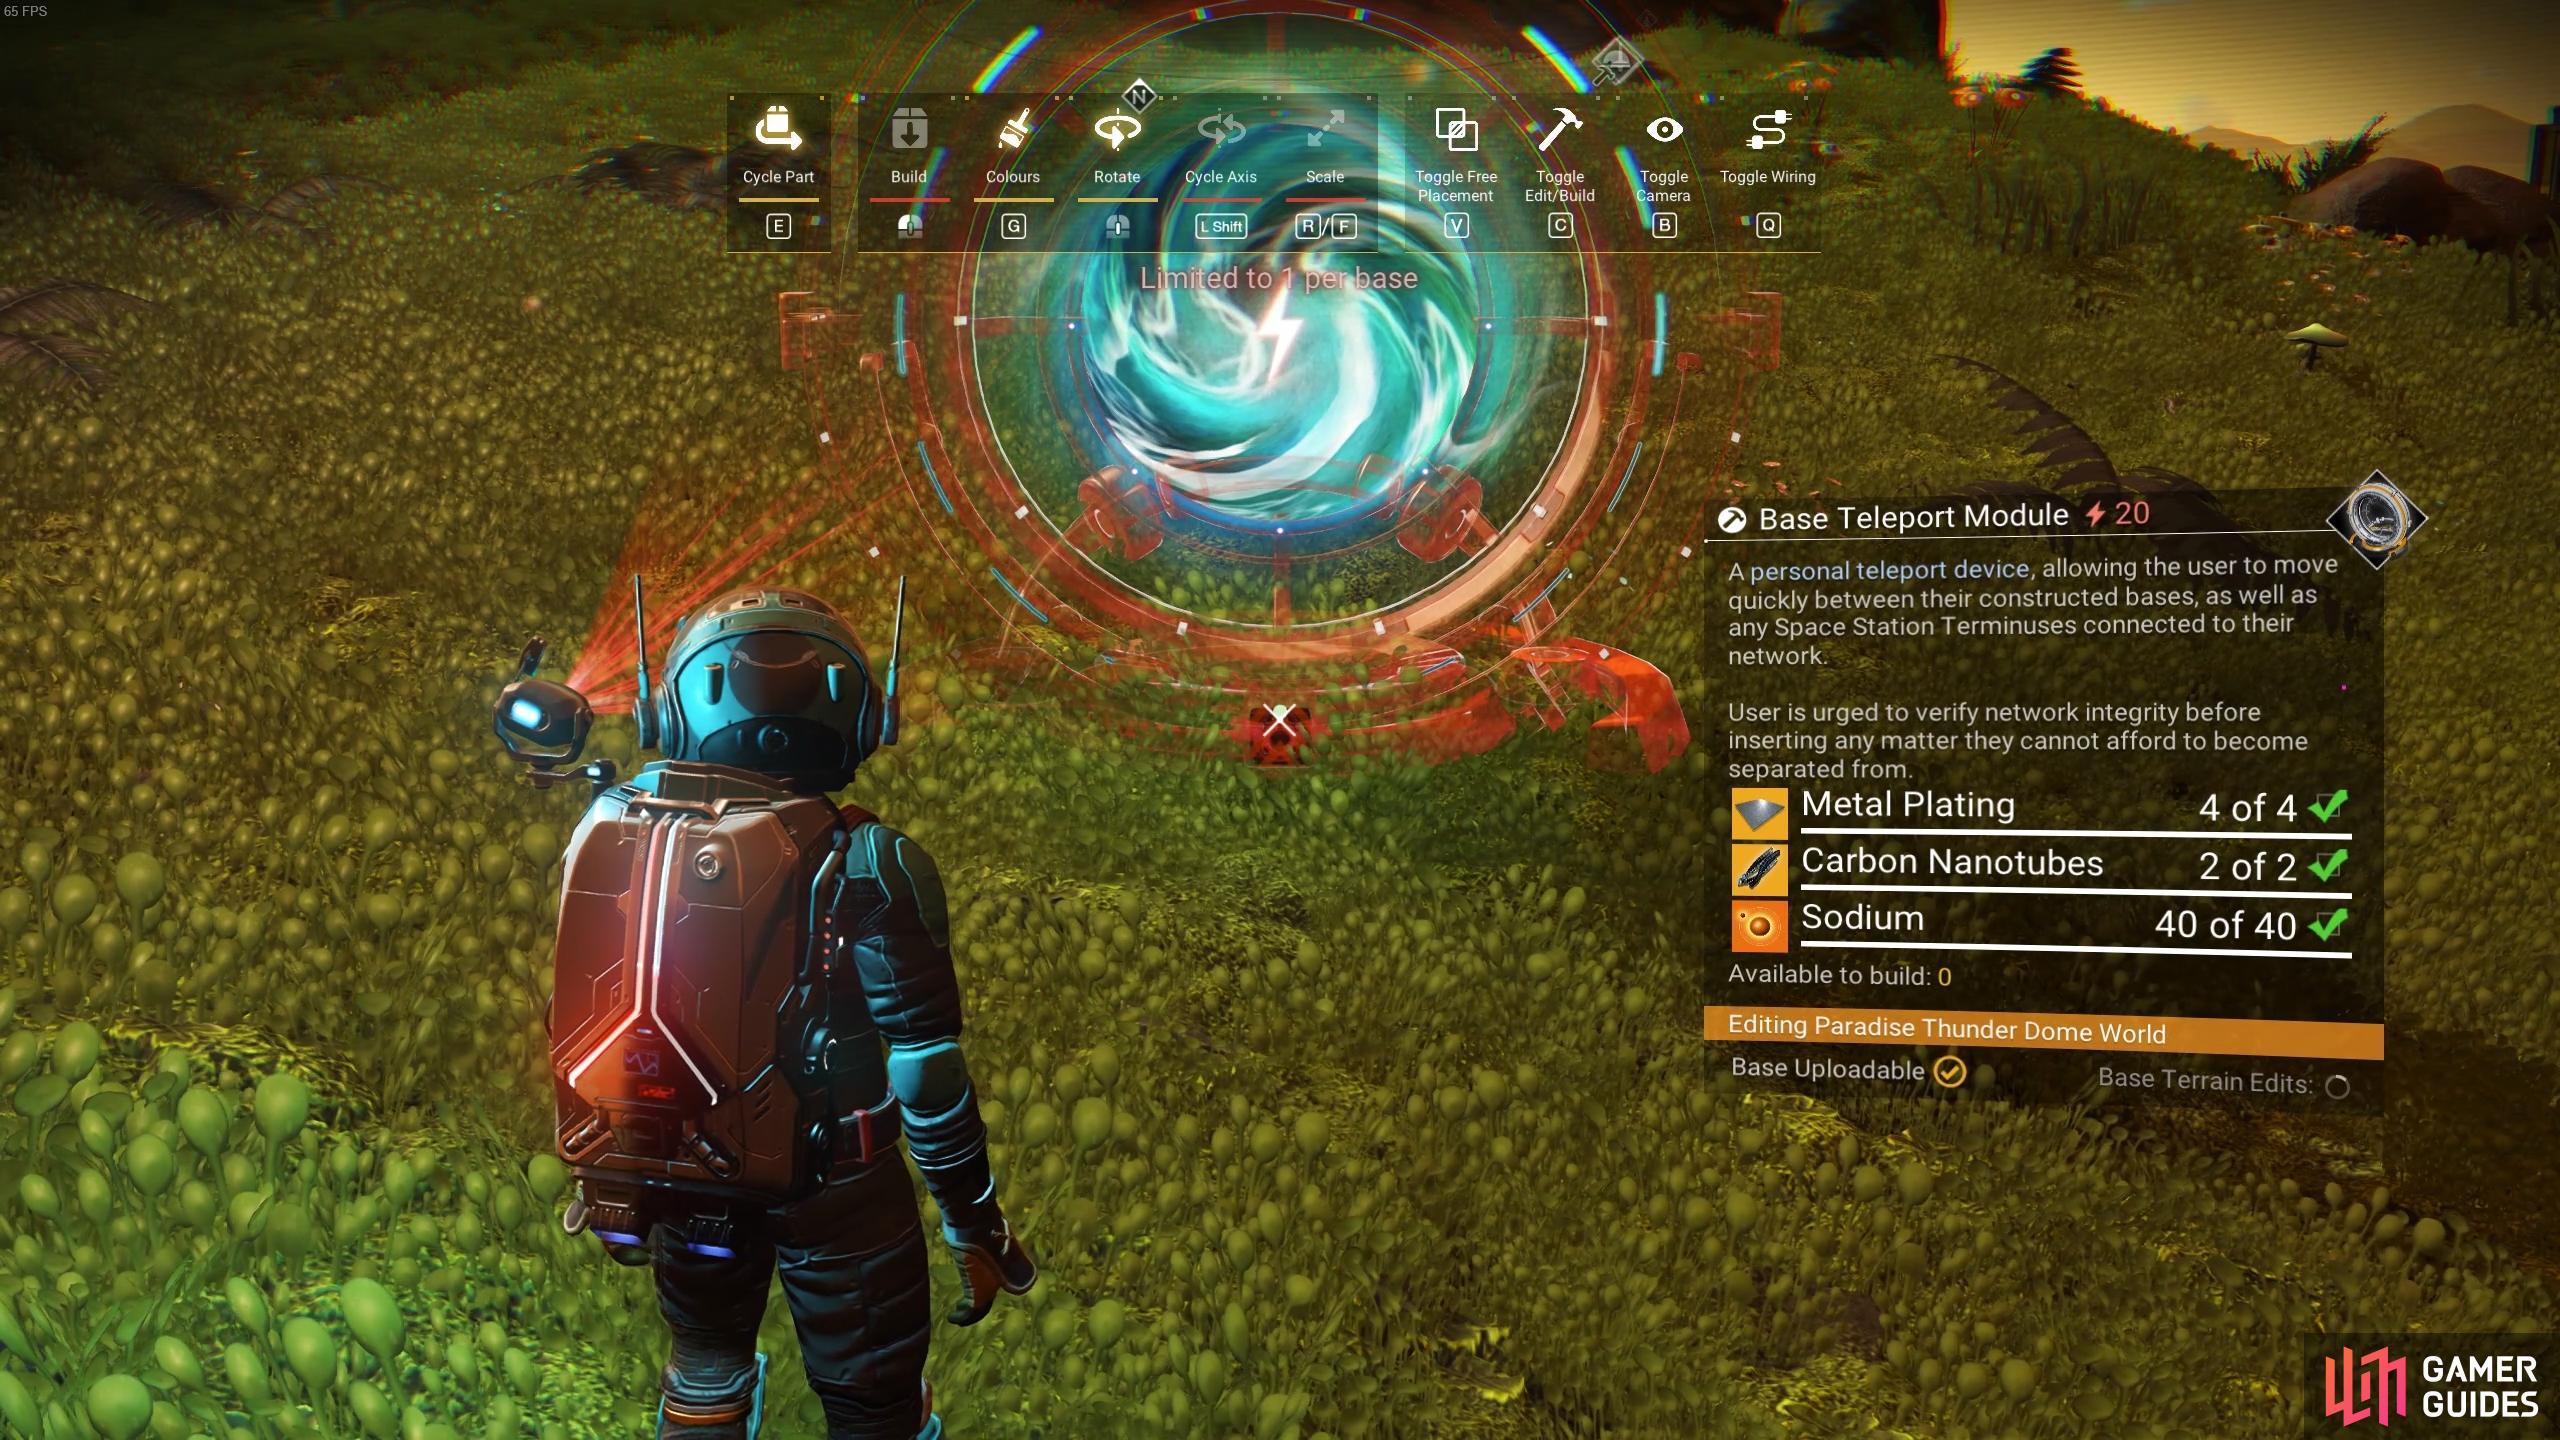
After you’ve renamed your base via the Base Computer, you’ll learn the blueprint for the Base Teleport Module. This is an incredibly important item which will be required for you to gain quick and easy access back to your base, allowing you to teleport to and from any other teleport module in the universe. You’ll always find one of these on space stations, but they can also be found at random trade outposts, or at the base of other online players. Once you’ve built the Base Teleport Module, the secondary mission Powering the Base will begin, during which you’ll need to build a Biofuel Reactor and connect it to the Base Teleport Module via Electrical Wiring. This serves as a basic introduction to power generation for your base, and you can learn more about this on our How to Create a Power Grid page.
Travel to the Nearby Space Station
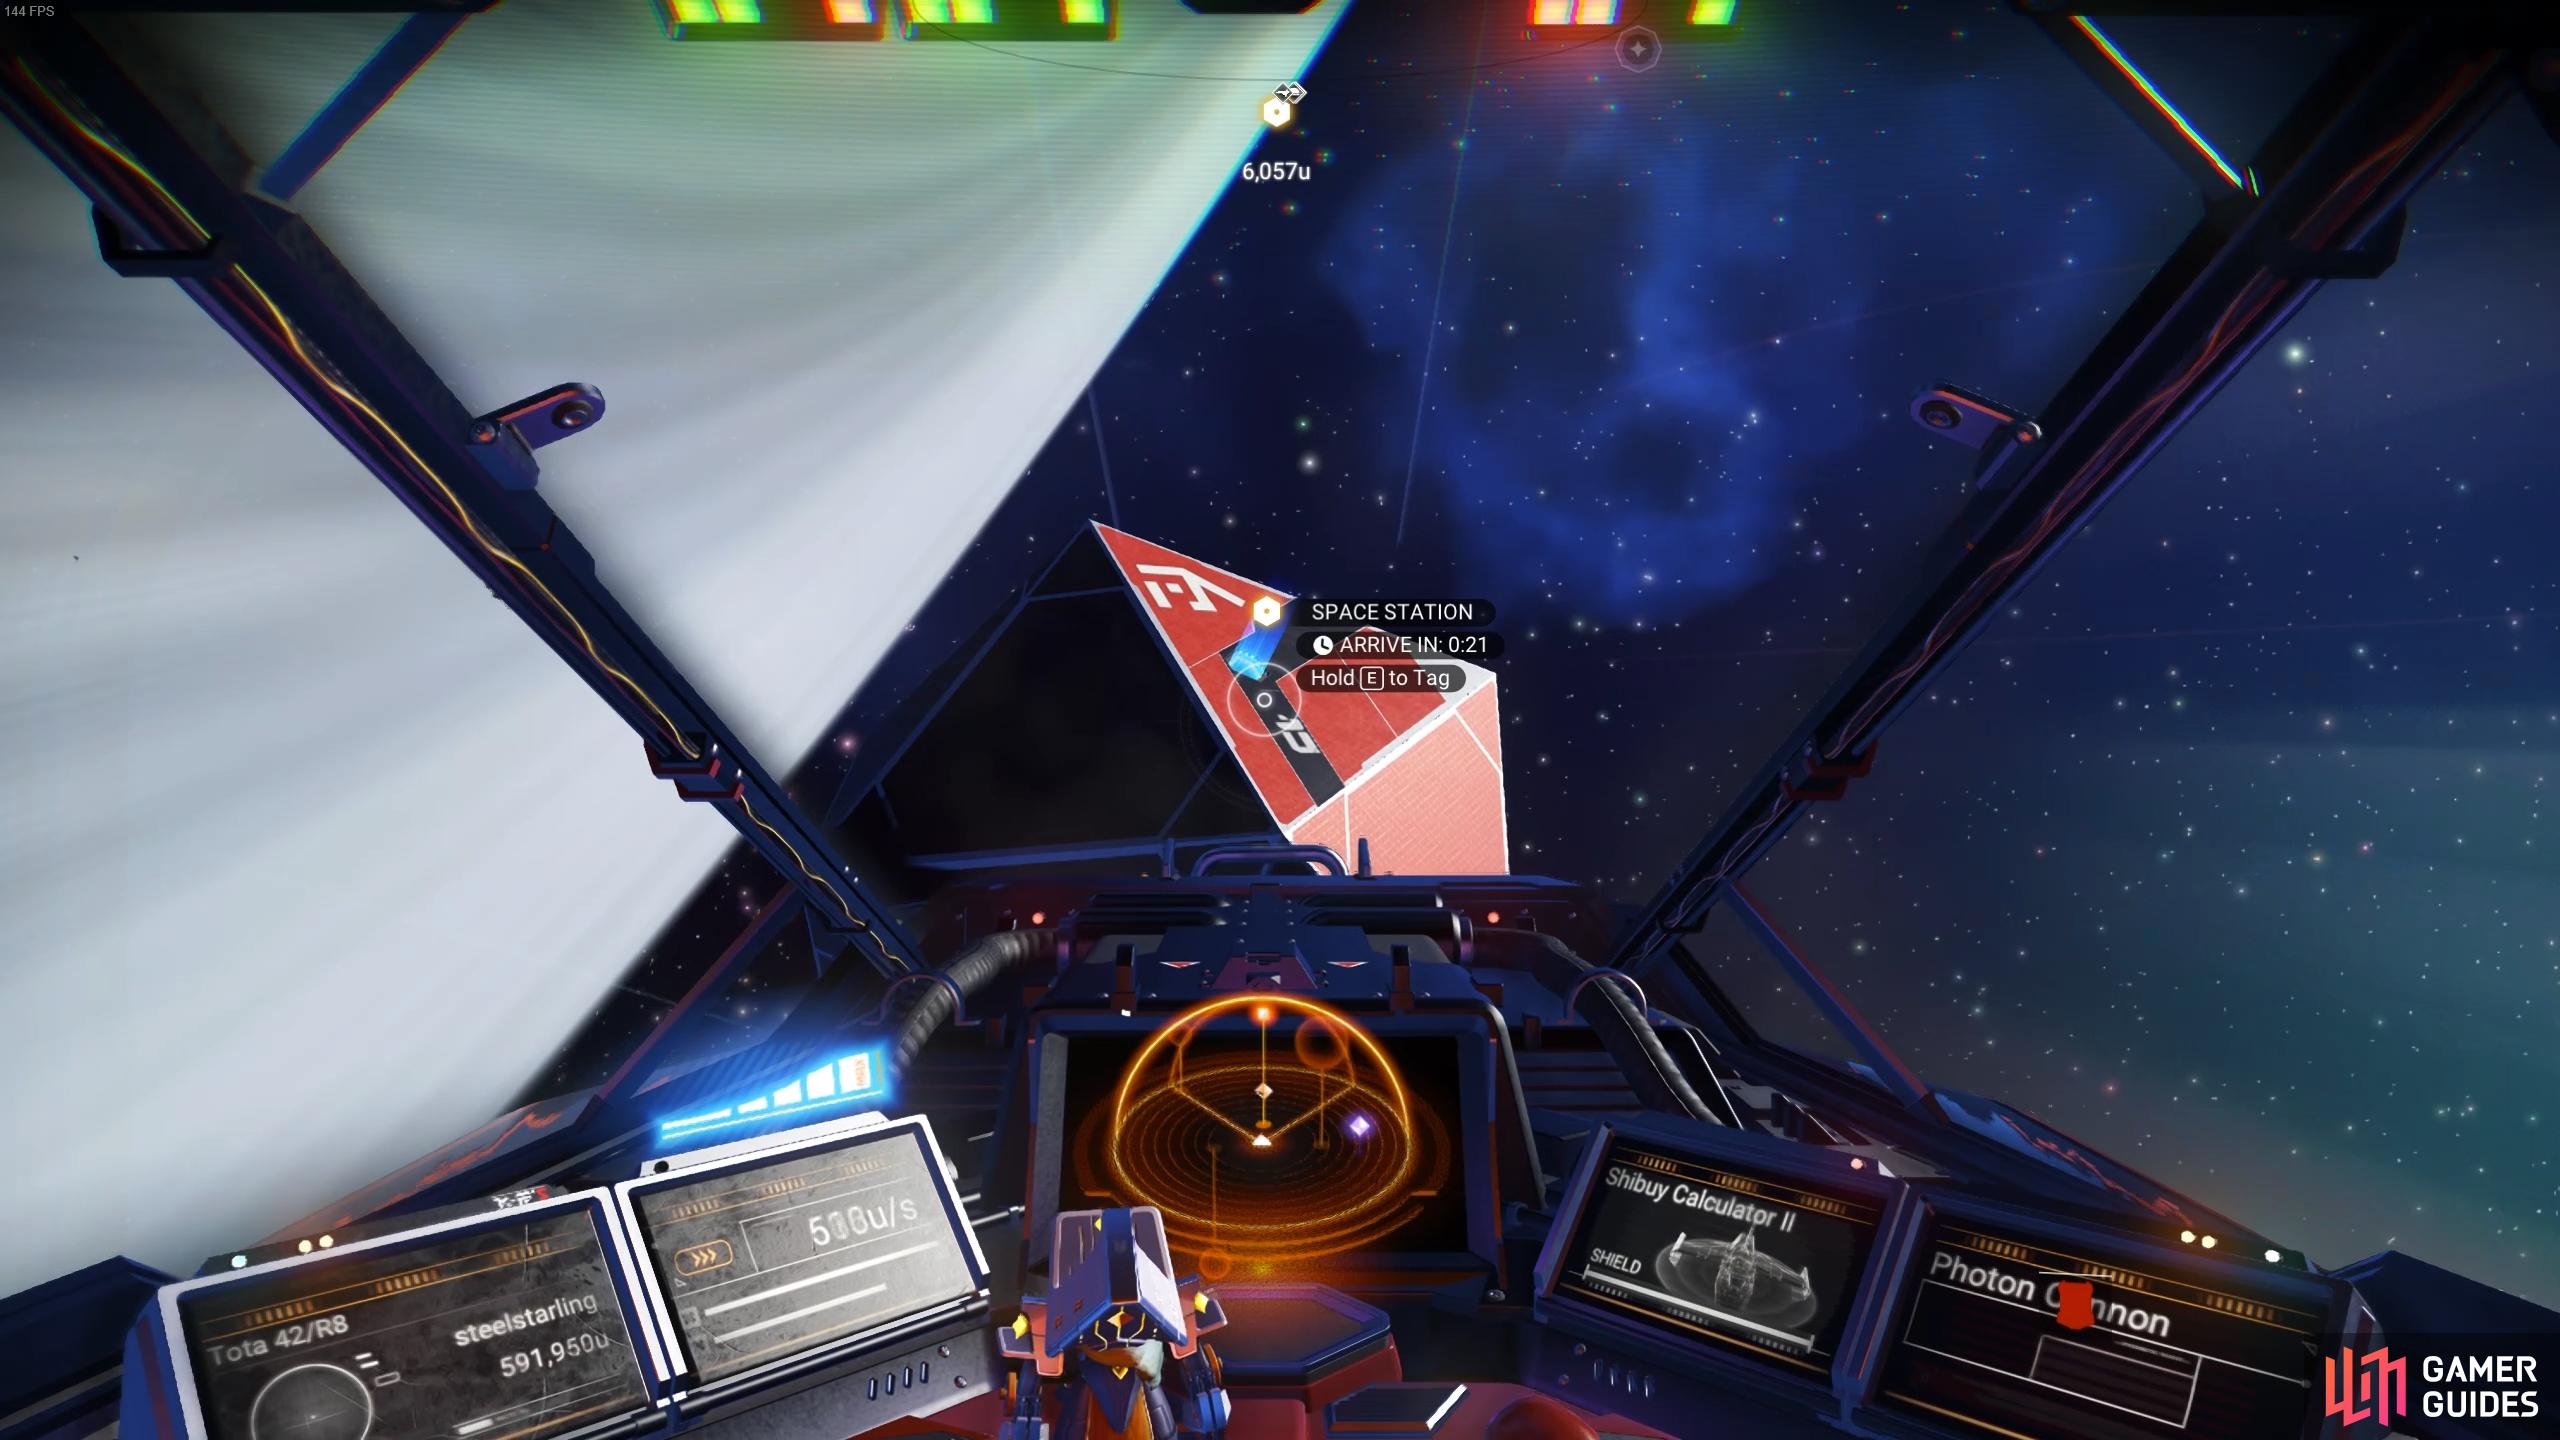
Once you’ve successfully powered up the Base Teleport Module, you’ll be prompted to return to the Base Computer, where you’ll receive another mysterious communication from an unknown source. At this point you’ll need to travel to the nearby space station, which you can find by flying off the planet into space, then looking for the appropriate icon which marks the location of the space station.
Return to the Base Computer and Decode the Coordinates
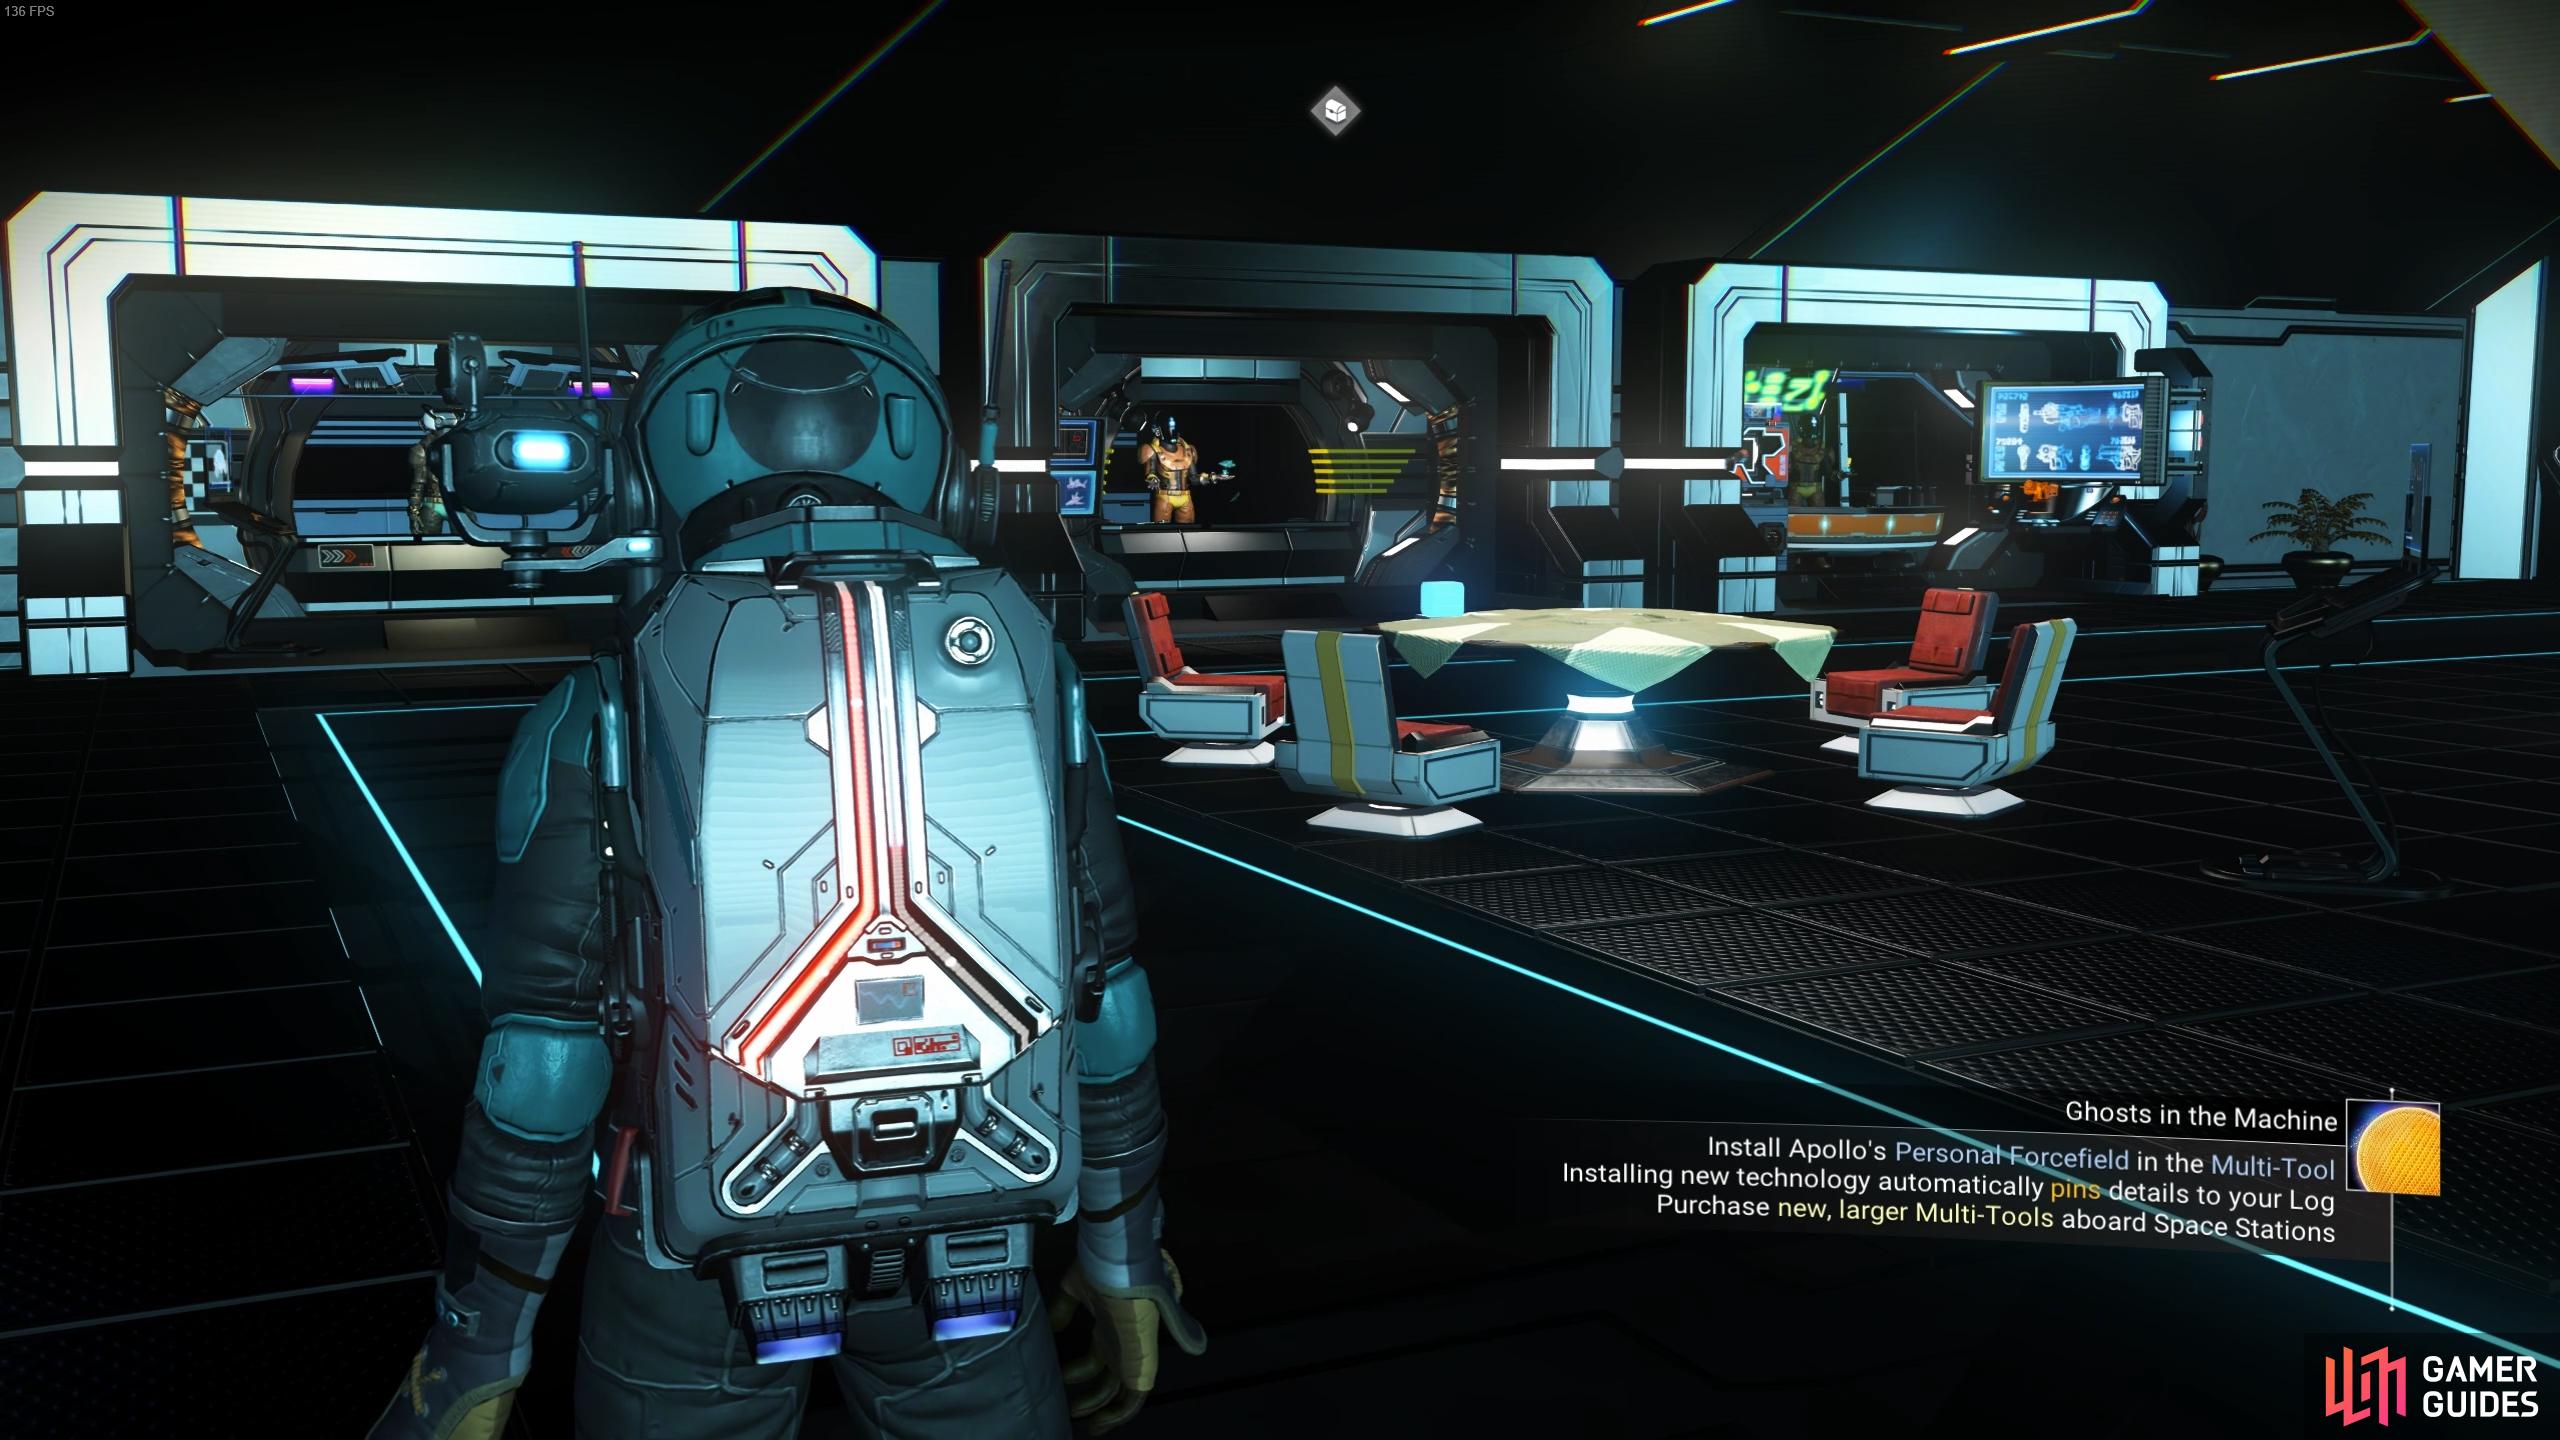
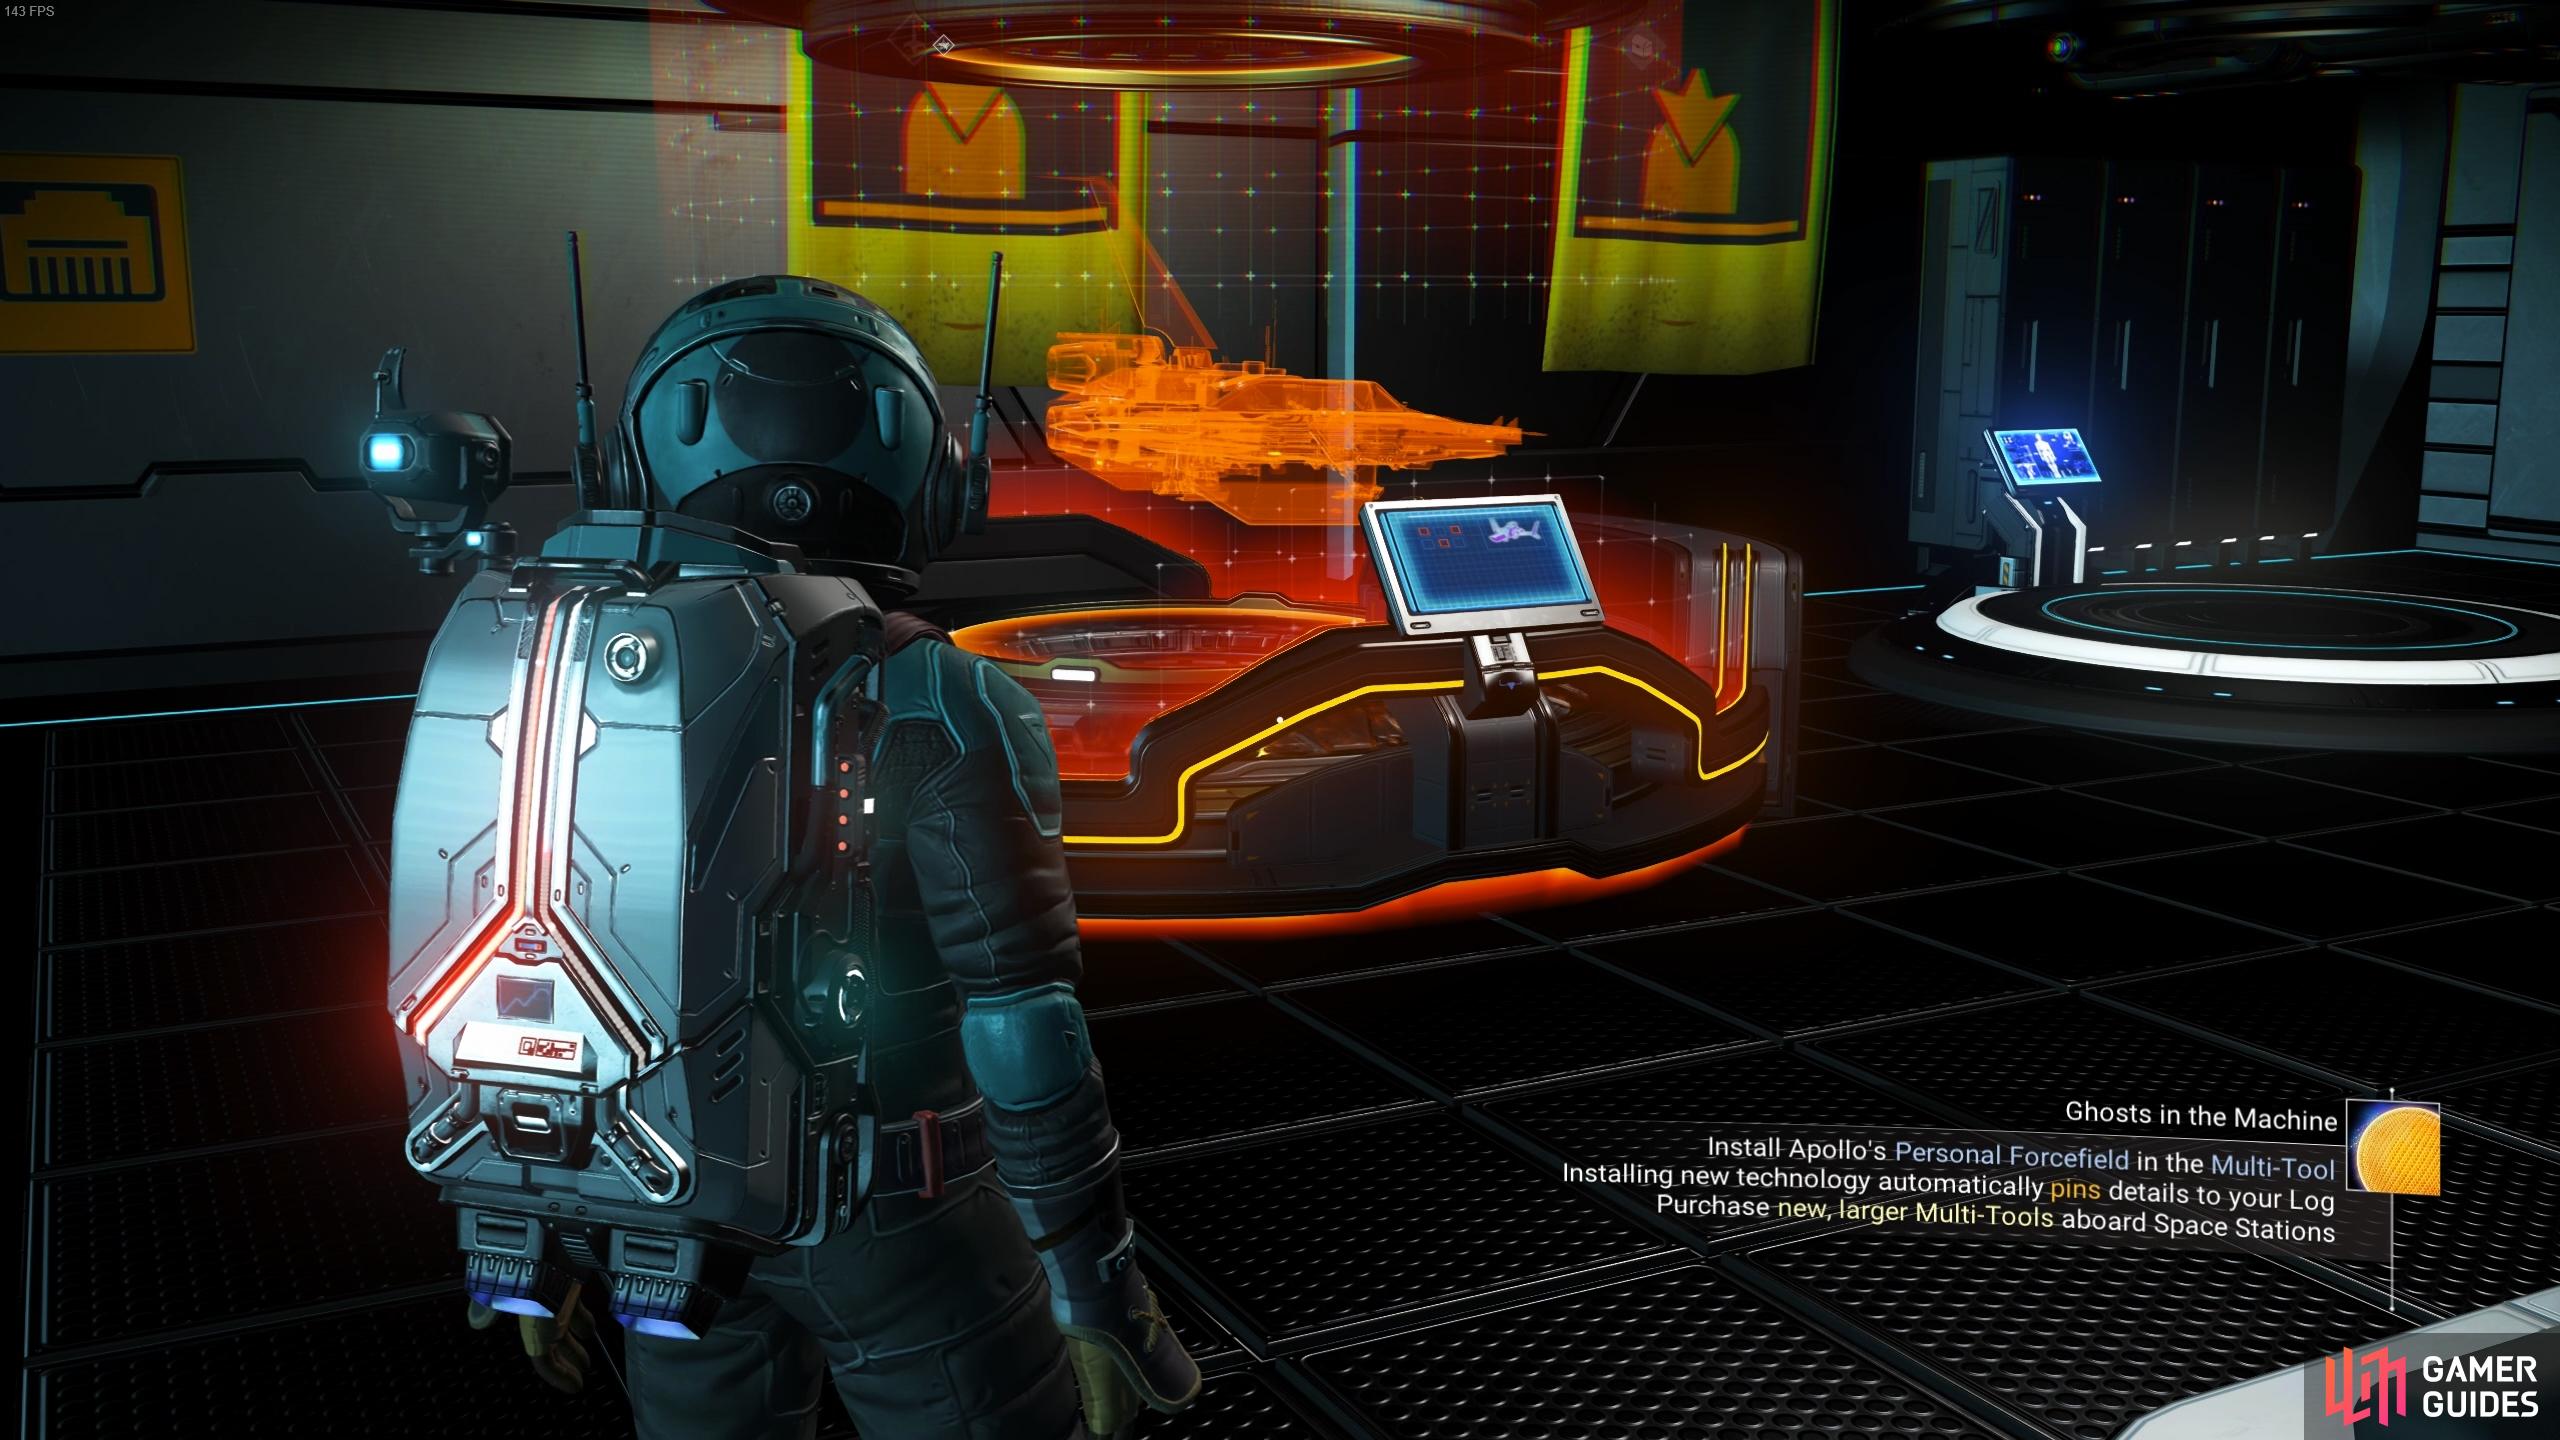
As you explore the space station for the first time, your task for this mission will involve speaking to different individuals on the space station about the message. Almost all of them won’t know what you’re talking about, but when you interact with the correct NPC, the dialogue will be interrupted by another mysterious communication. You’ll receive some new coordinates after this, and you’ll be prompted to return to your Base Computer to decode them. This is an excellent opportunity to use the Base Teleport Module at the space station, bringing you back to your base instantly. Don’t worry if you didn’t manage to power the Base Teleport Module at your base yet; it will still allow you to return to the teleporter, but you won’t be able to travel from it until it has power.
Explore the Crashed Freighter and Craft the Hyperdrive
Now that you’ve decoded the coordinates at the Base Computer, you’ll see a new icon to follow on the compass at the top of your screen. You can also see this in more precise detail by using the Analysis Visor, but either way, you should head towards the Crashed Freighter as soon as possible to complete the final stages of this mission.
Craft the Hyperdrive on Your Starship
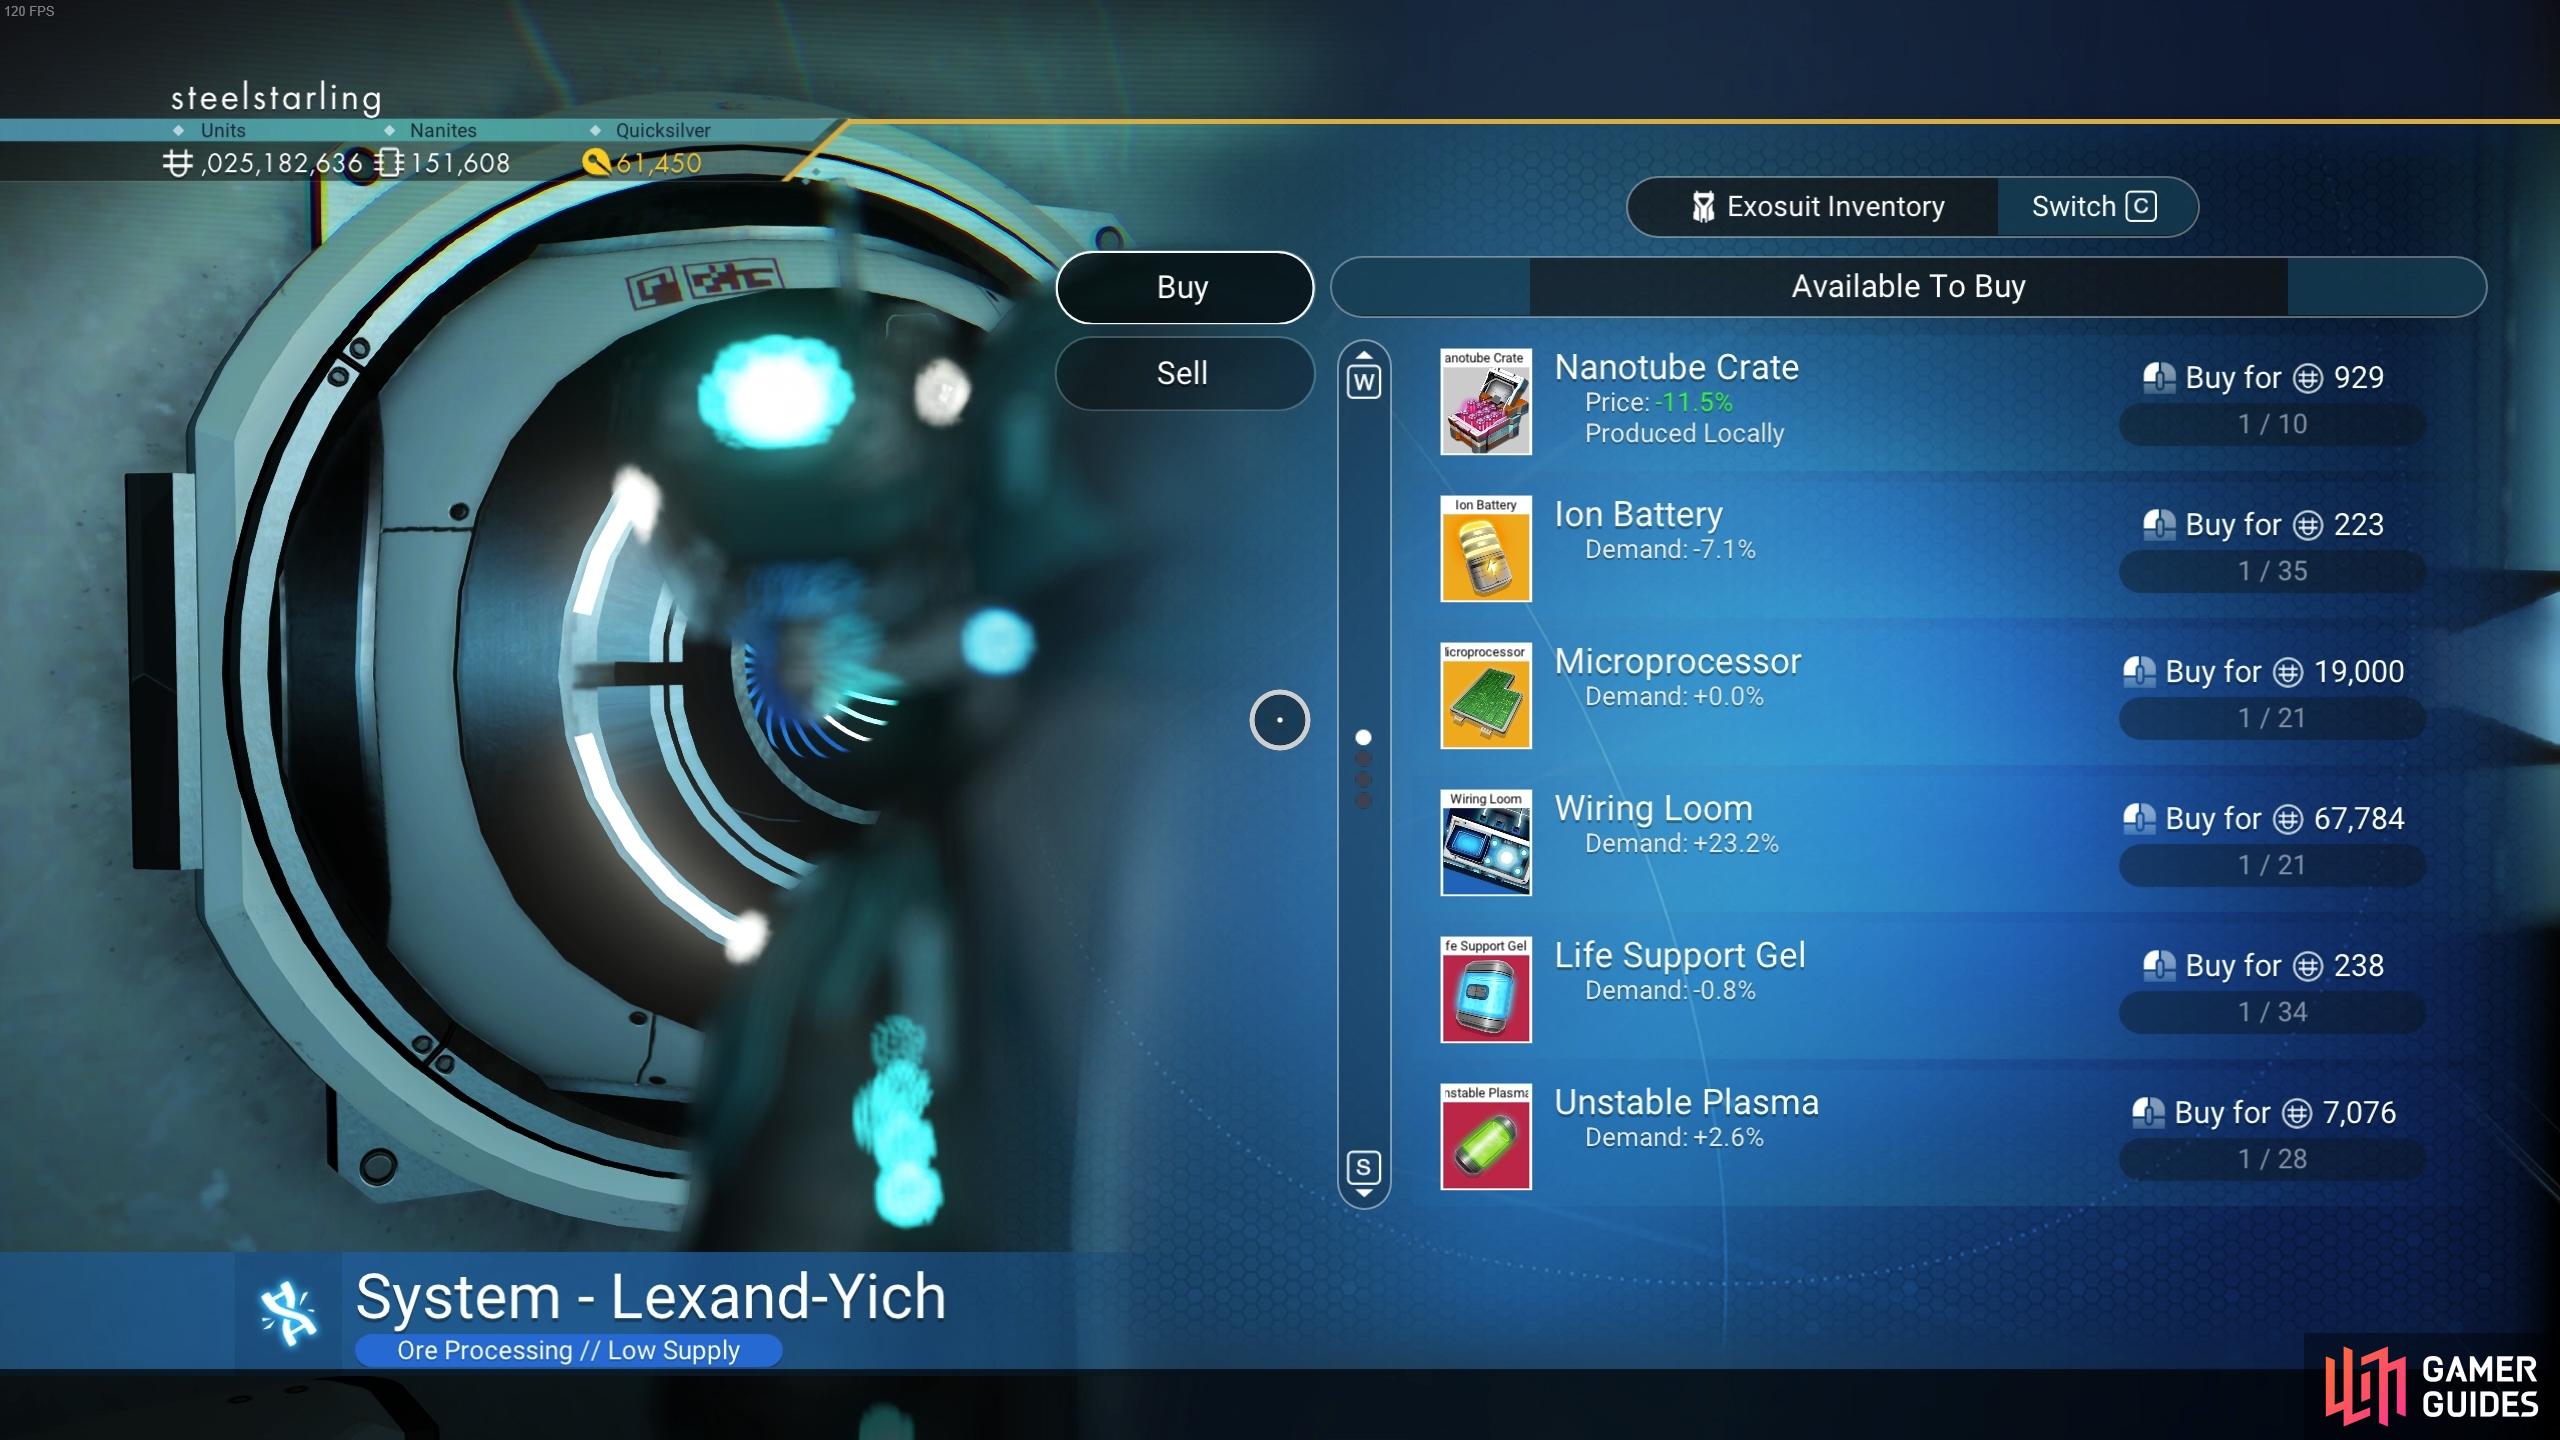
Once you reach the site of the Crashed Freighter, you can take your time to explore it thoroughly. The mission objective will prompt you to access the distress beacon logs, which will provide you with the blueprint for the Hyperdrive module. You’ll need 125 Chromatic Metal and 5 Microprocessors to craft this. We’ve already covered how to obtain Chromatic Metal by refining metal from a resource deposit in a Portable Refiner, but the Microprocessors will need to be purchased from a Galactic Trade Terminal, a Trade Outpost on a planet, or from a visiting pilot at a space station. Not all visiting pilots will have these, so it’s worth speaking with a few of them before you exhaust this method. However, before you leave the Crashed Freighter, be sure to blast open some of the doors in the wreckage using your Multi-Tool, as some of the containers here will offer materials. You may begin to lose health due to radiation poisoning after entering the Freighter rooms, but you should have enough time to loot everything before it gets dangerous.
Locate an Abandoned Building and Craft a Warp Cell
With the Hyperdrive installed on your Starship, you’ll now need to fuel it using Warp Cells. The materials required to craft one of these can be acquired from an Abandoned Building, but you’ll need to fly back into space before you can find one relevant to the mission. Once you’re in orbit above the planet, use the Starship scanner by pressing 
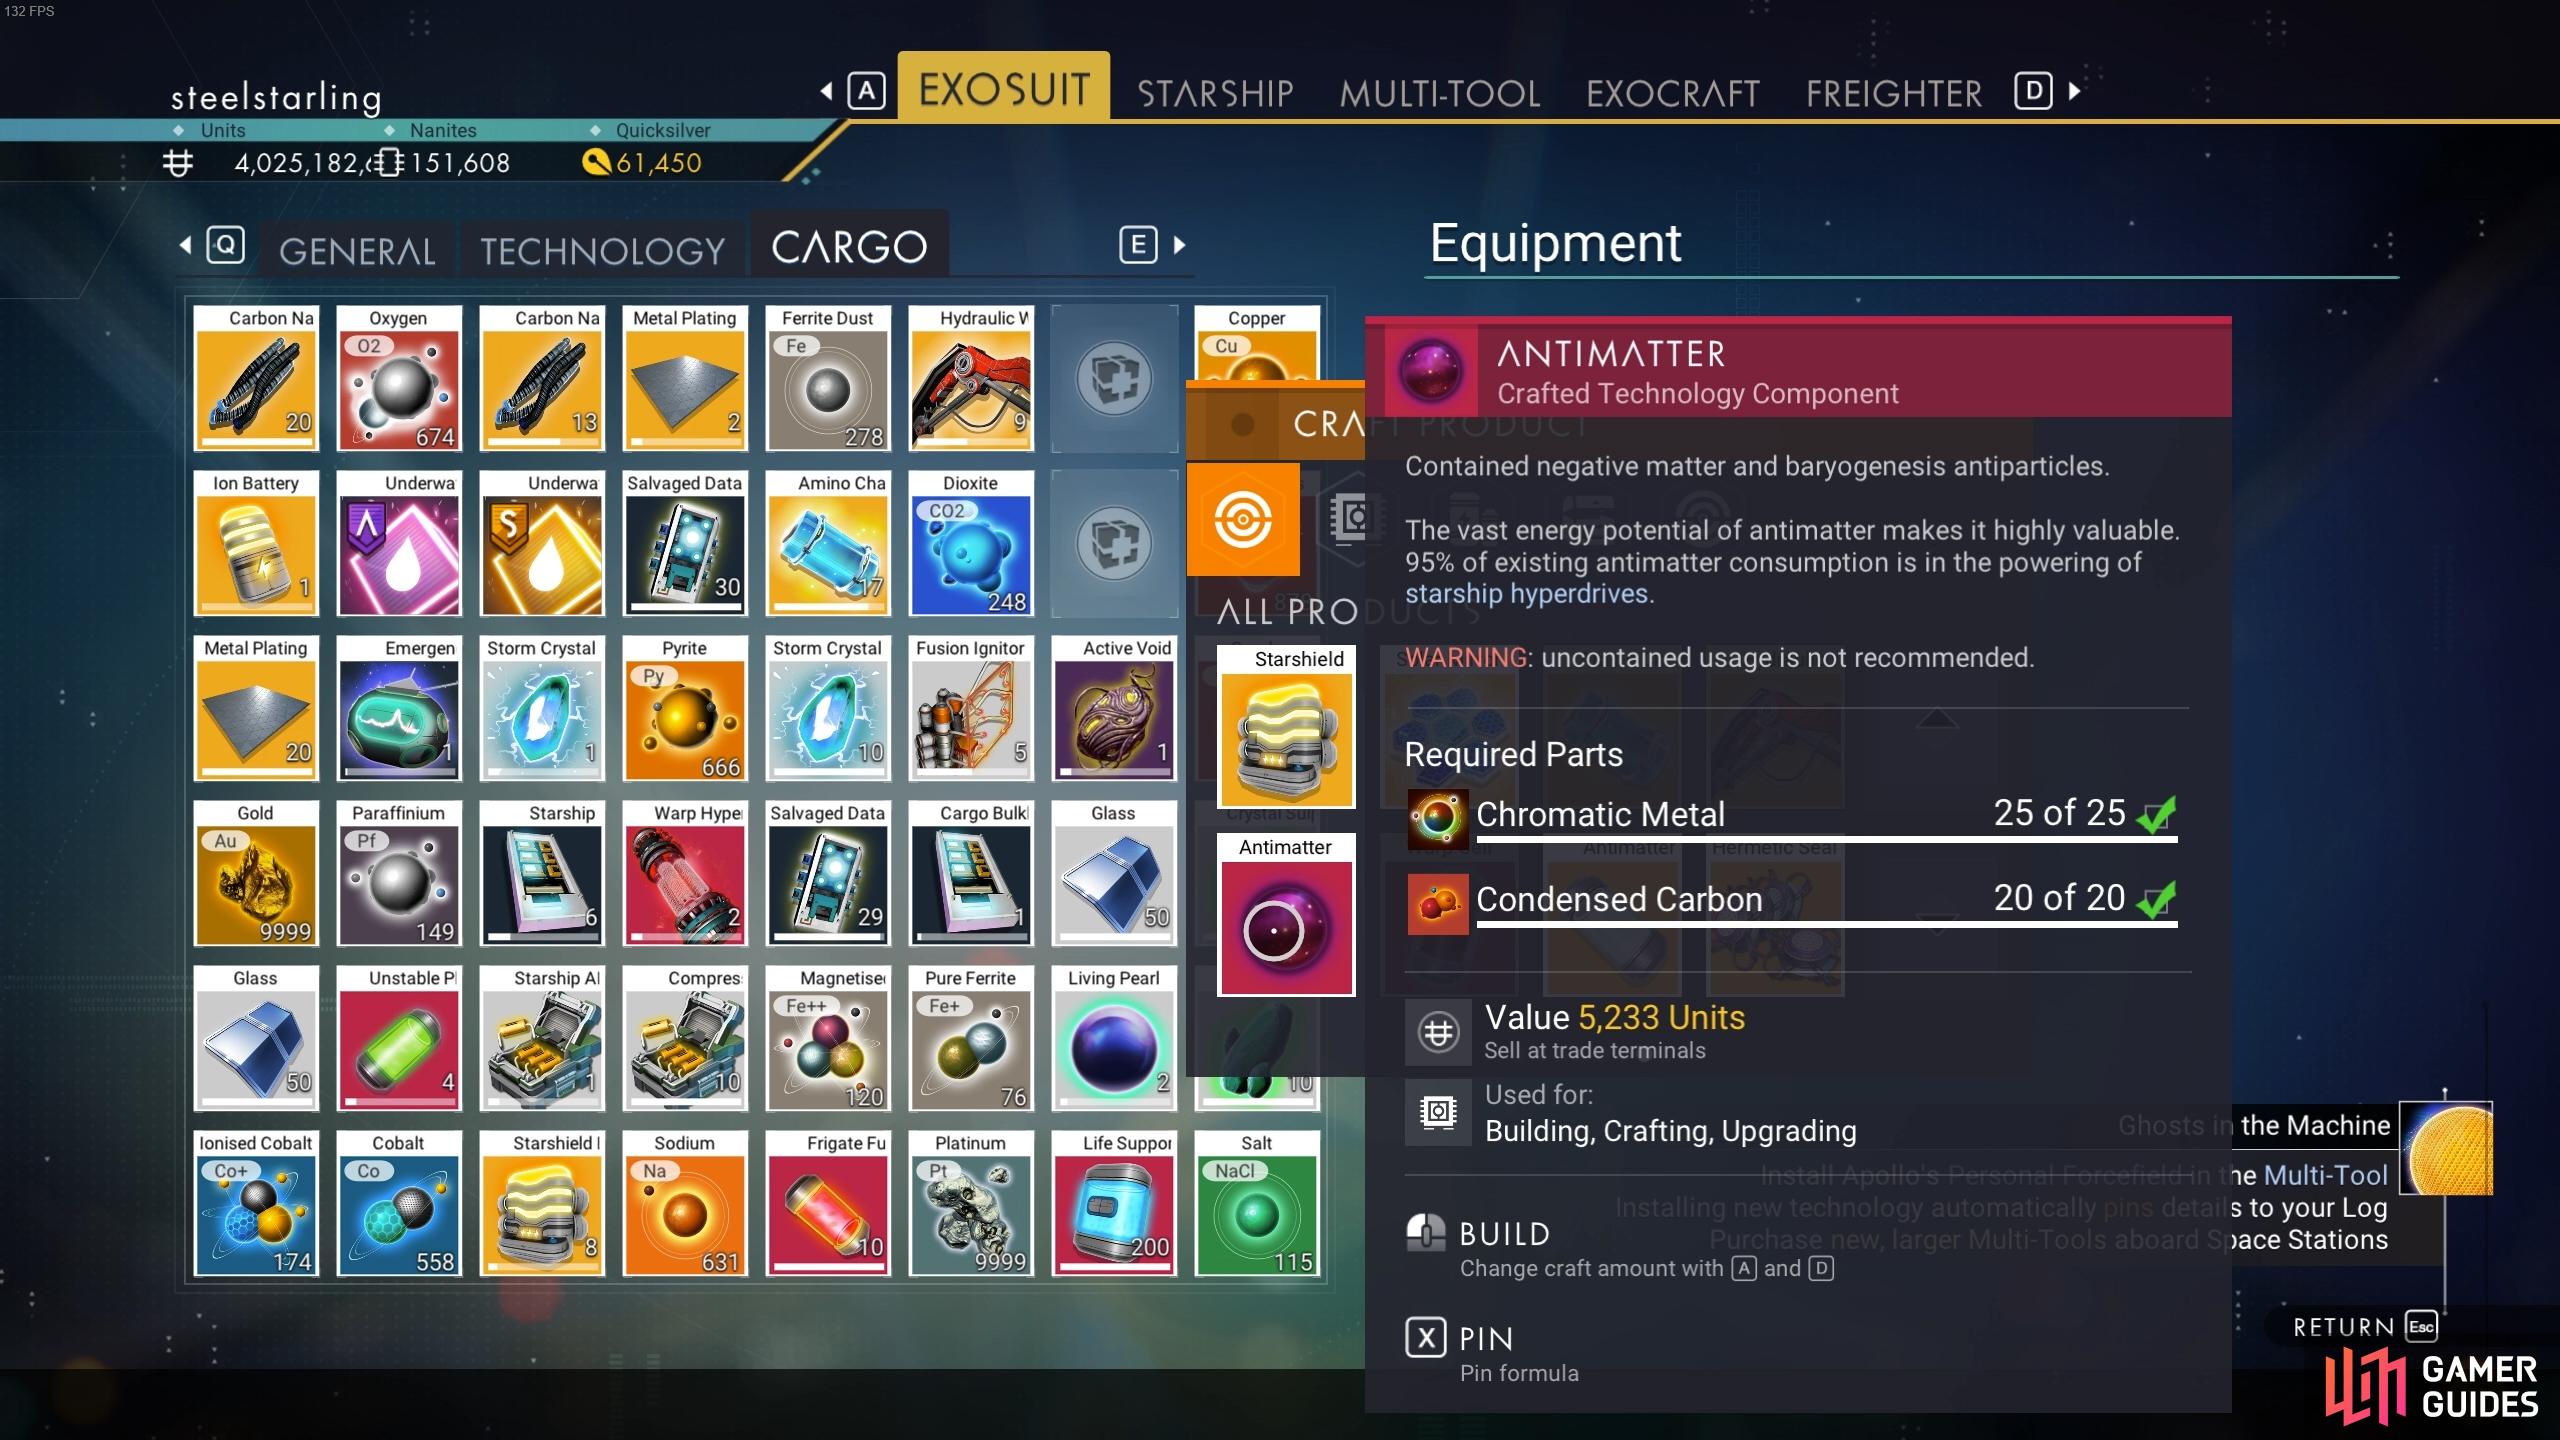
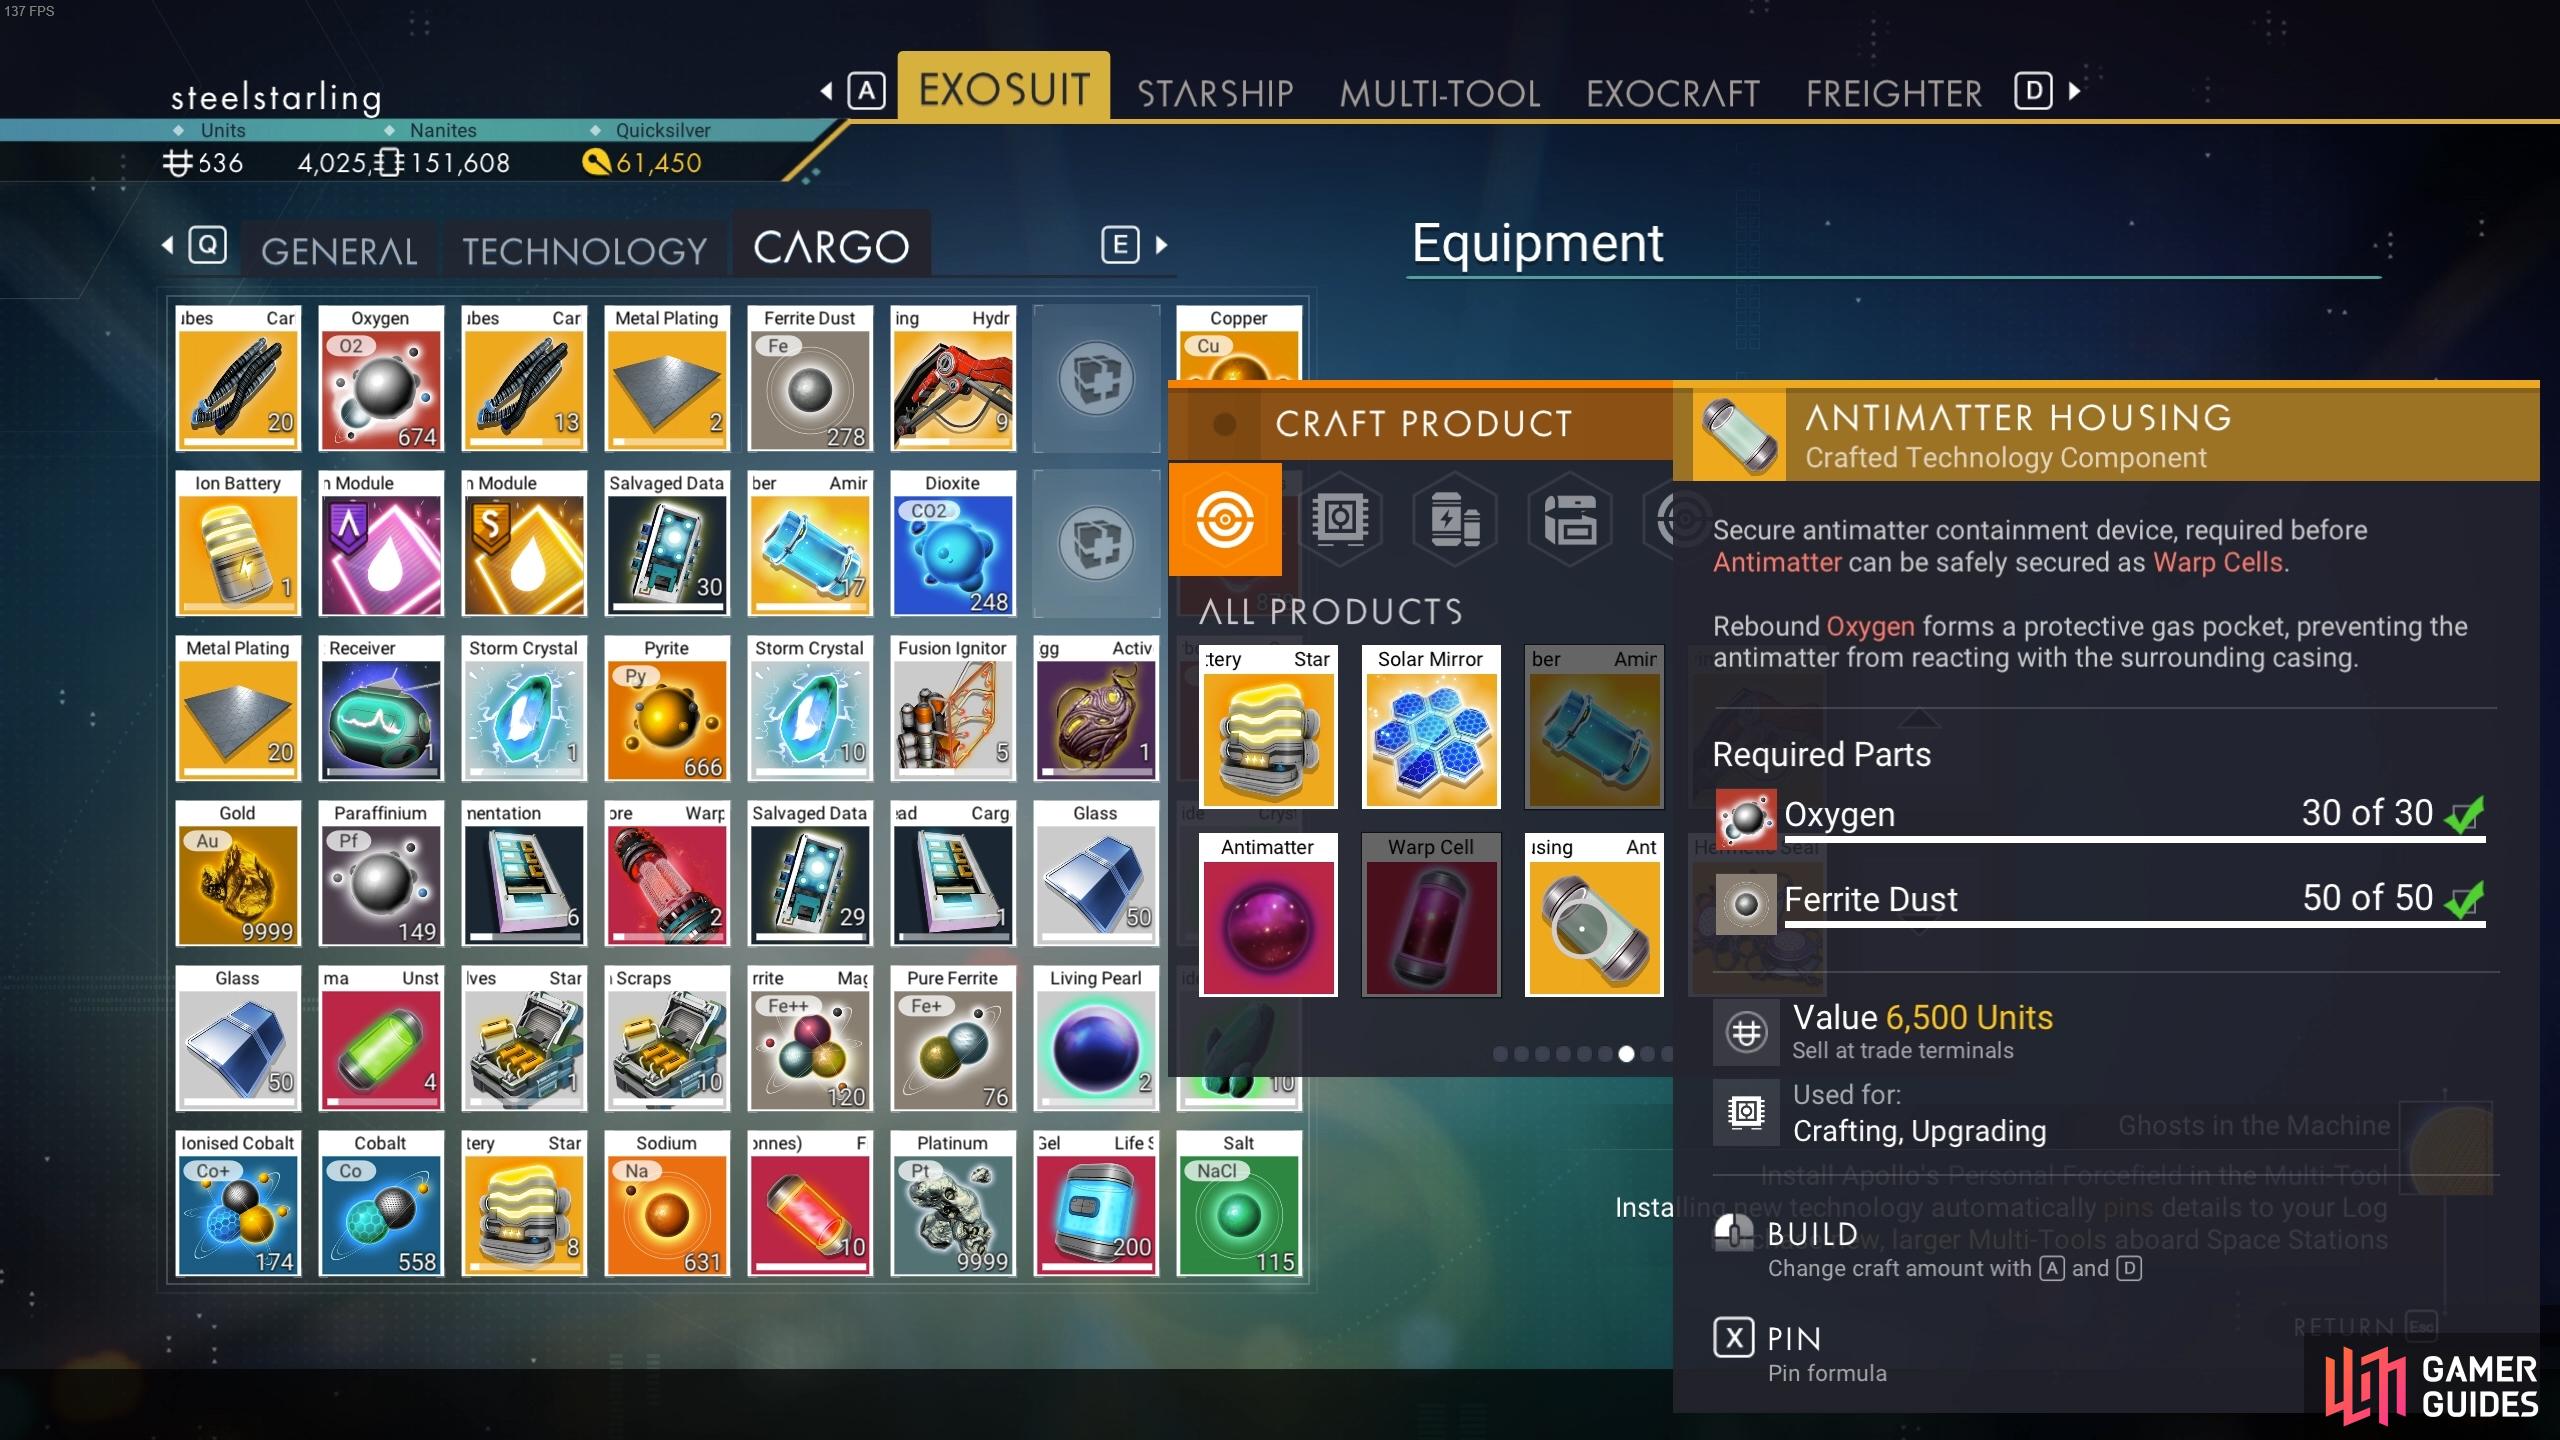
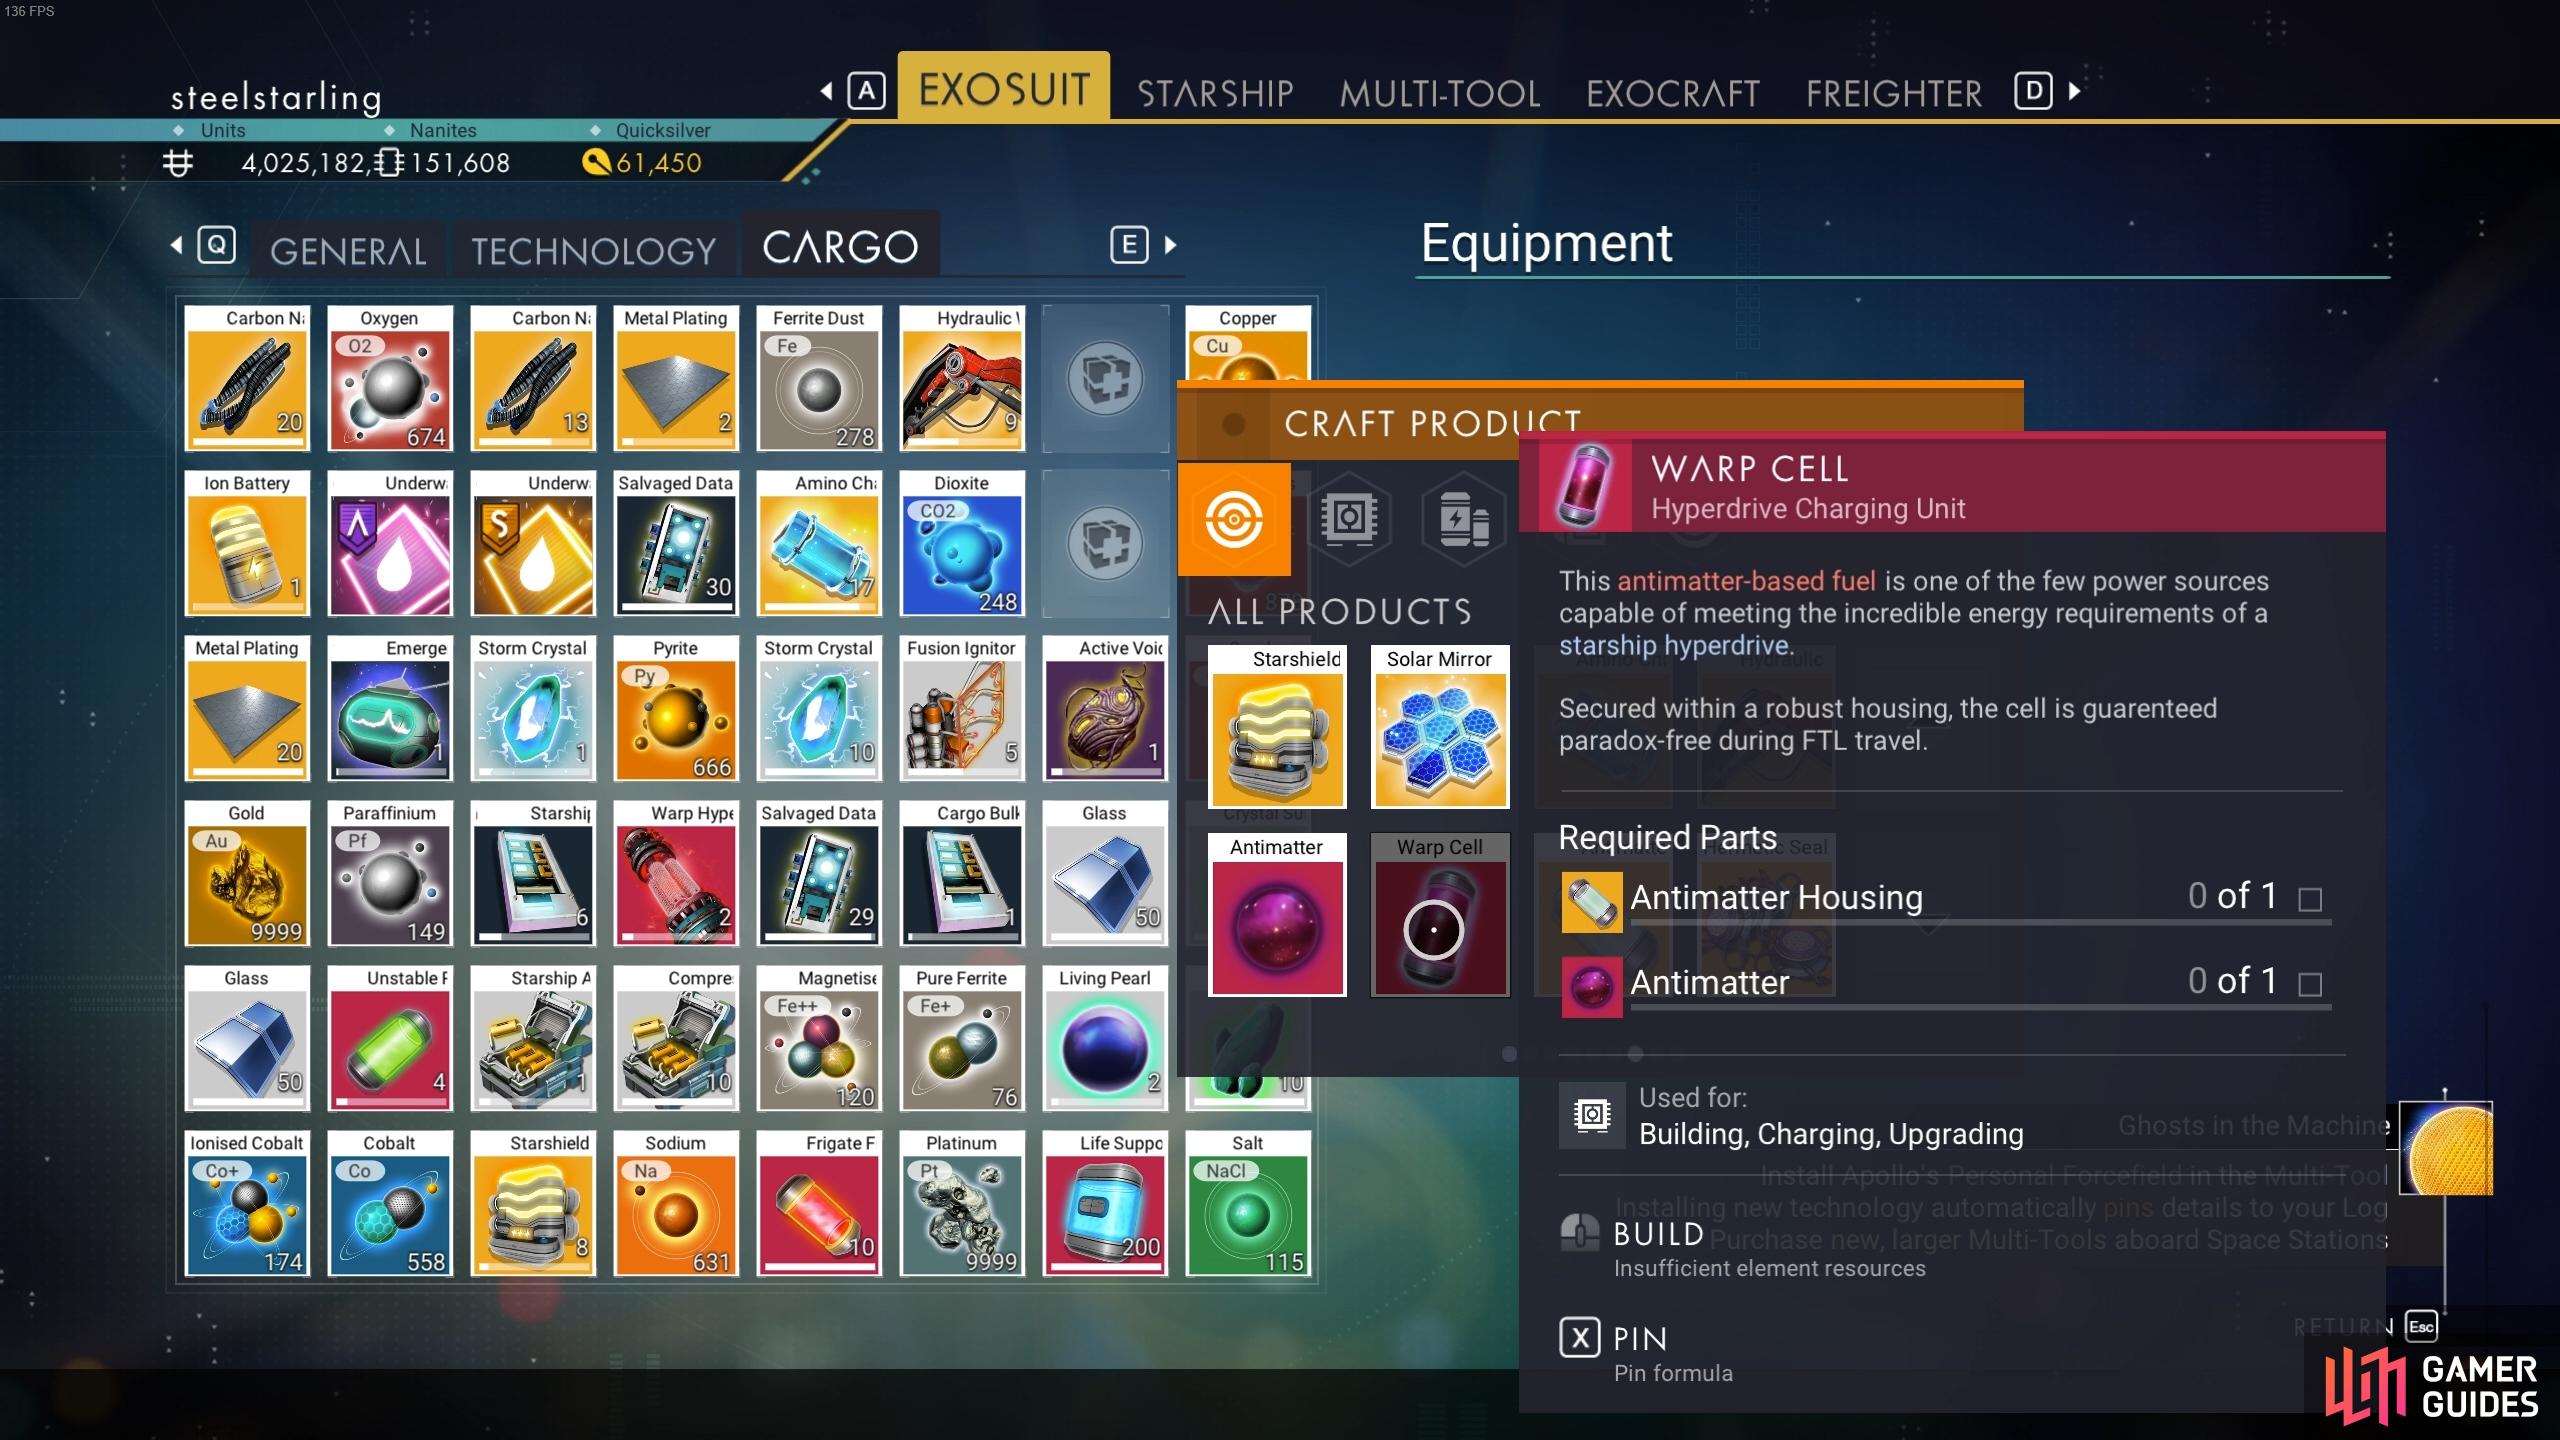
As you ignore the eggs, enter the Abandoned Building and interact with the terminal. You’ll need to remove some Residual Goop and place it in your inventory. This will restore some functionality to the terminal and provide you with the blueprint for Antimatter Housing. You’ll also receive some Antimatter, which is the second component needed to craft a Warp Cell. To craft Antimatter Housing, you’ll need 30 Oxygen and 50 Ferrite Dust. Once you’ve crafted the Antimatter Housing, you can open your Exosuit inventory to craft the Warp Cell, which requires 1 Antimatter and 1 Antimatter Housing. Next, you’ll need to select the Warp Cell and use it to fuel the Hyperdrive. Alternatively, you can select the Hyperdrive from the Starship inventory and then select the Warp Cell from this menu to fuel it.
Warp to a New Star System Using the Hyperdrive
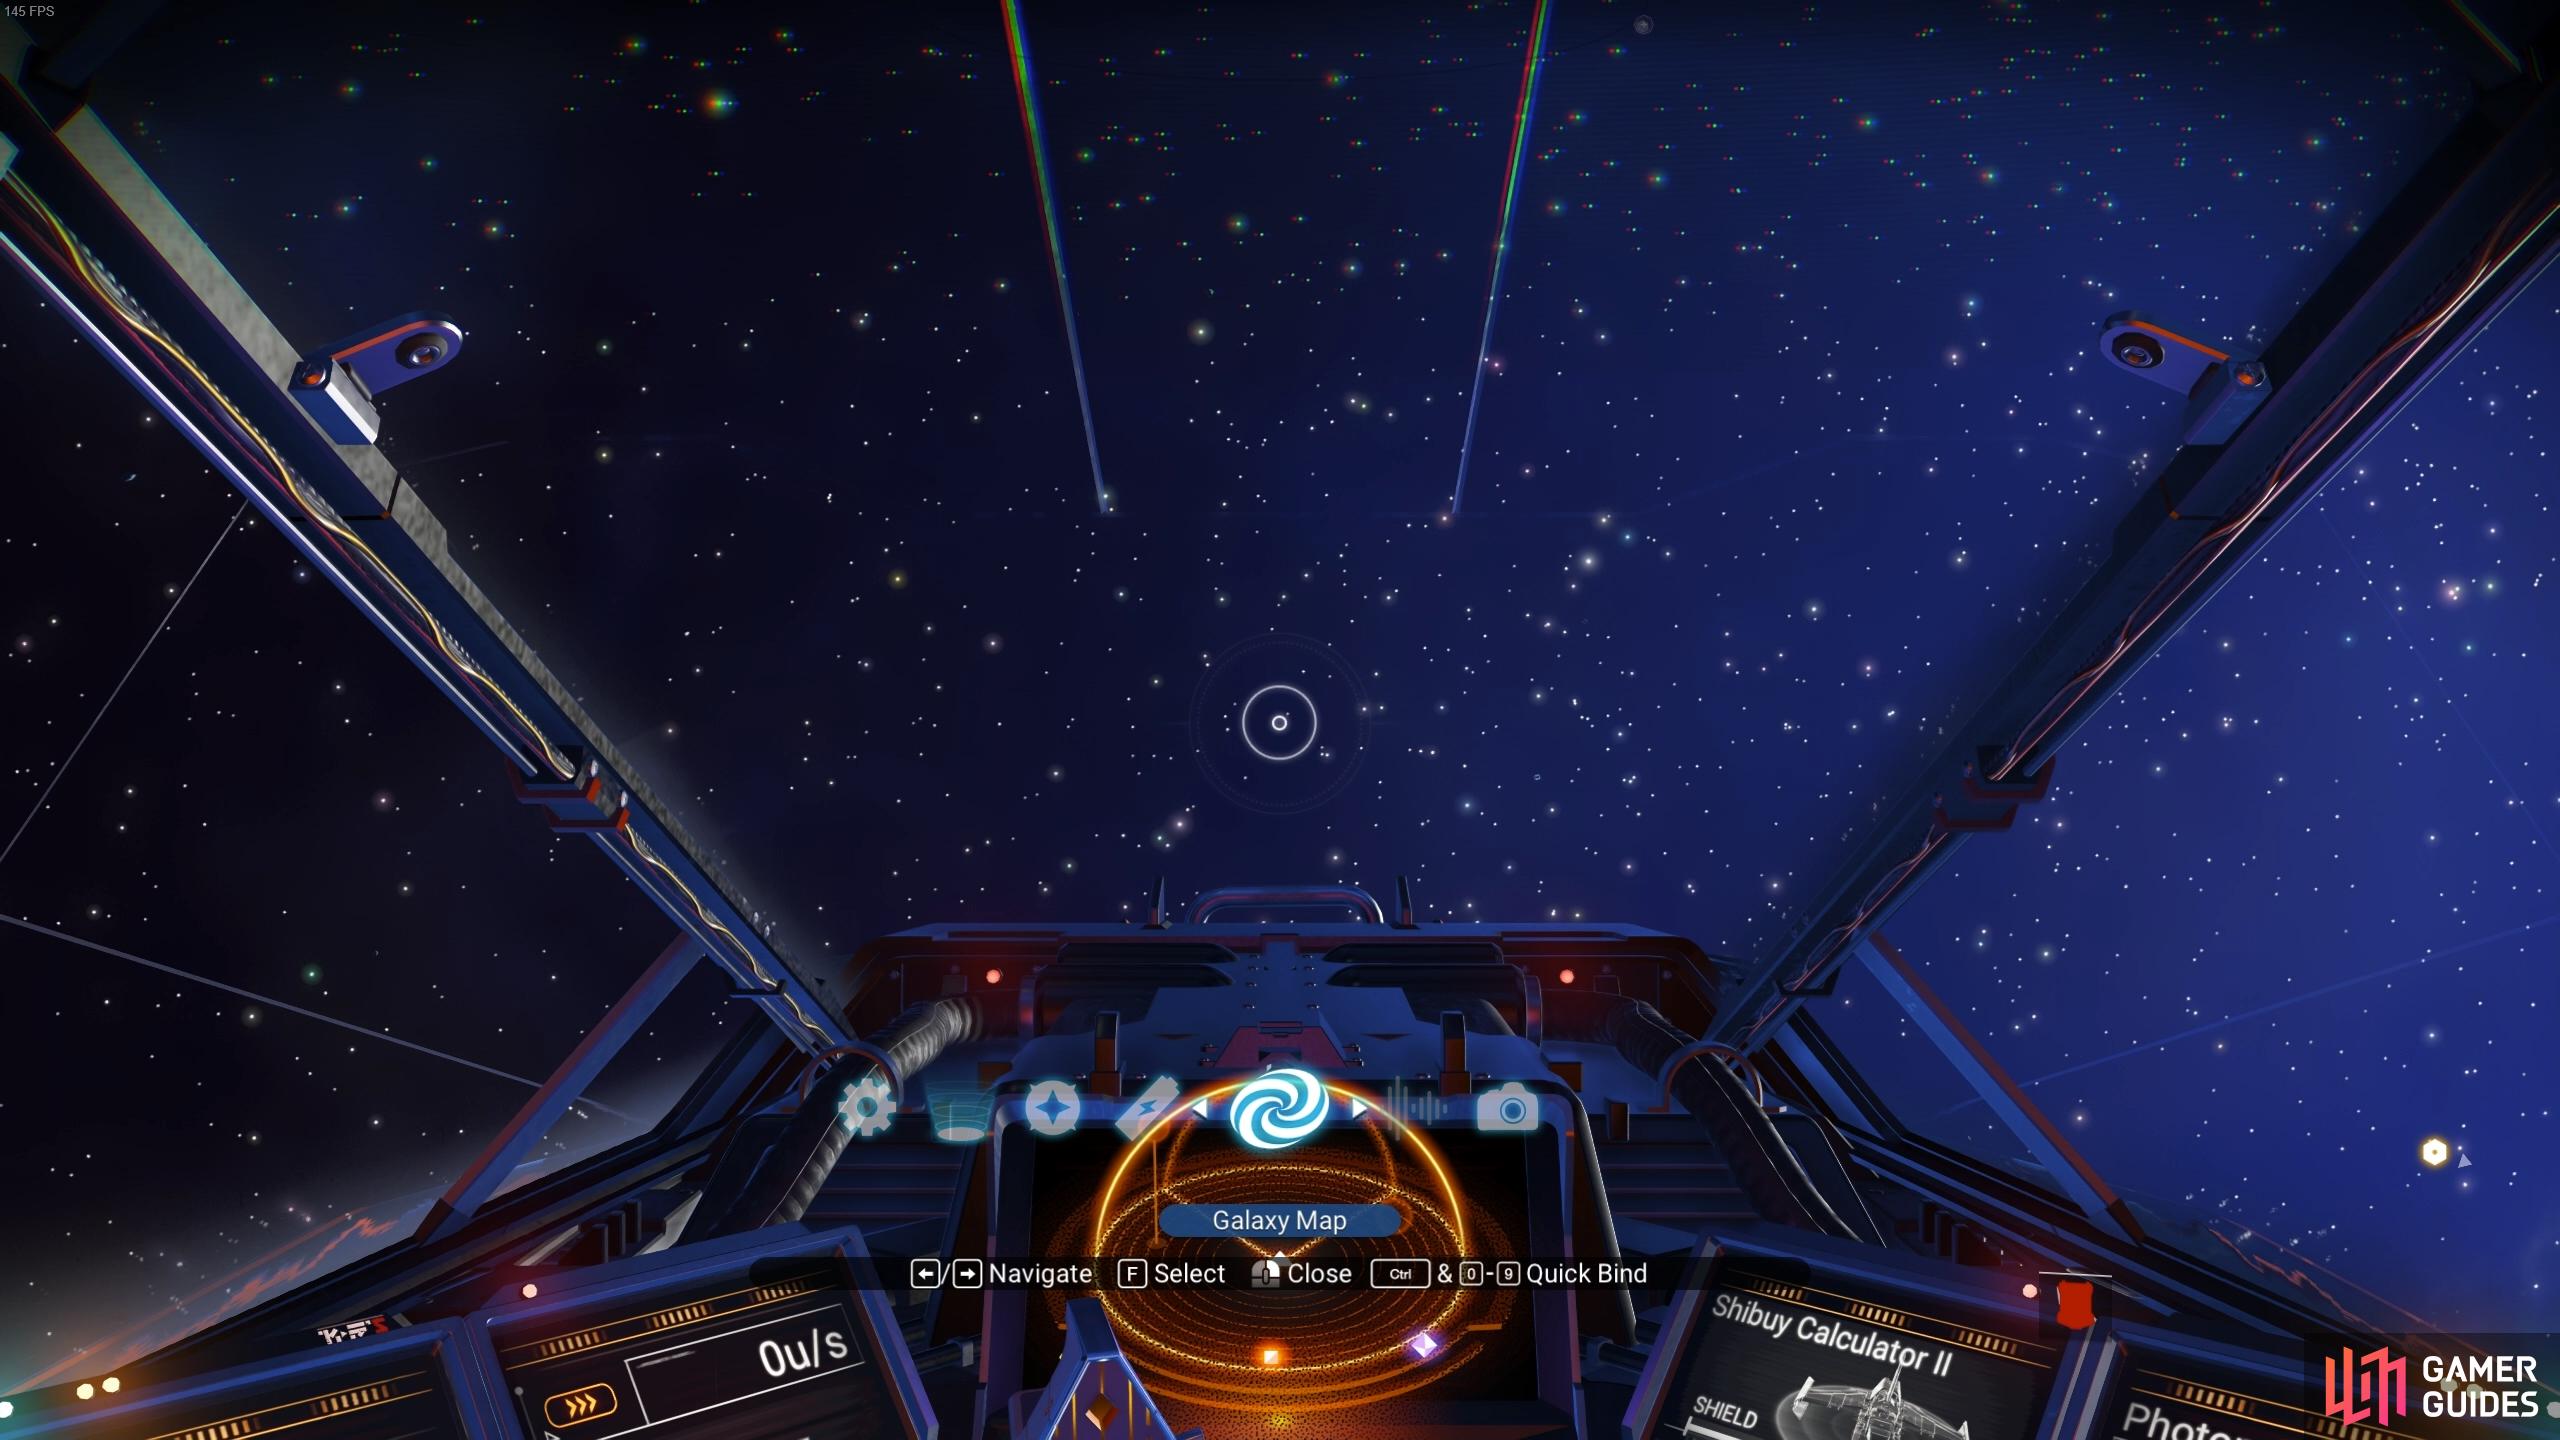
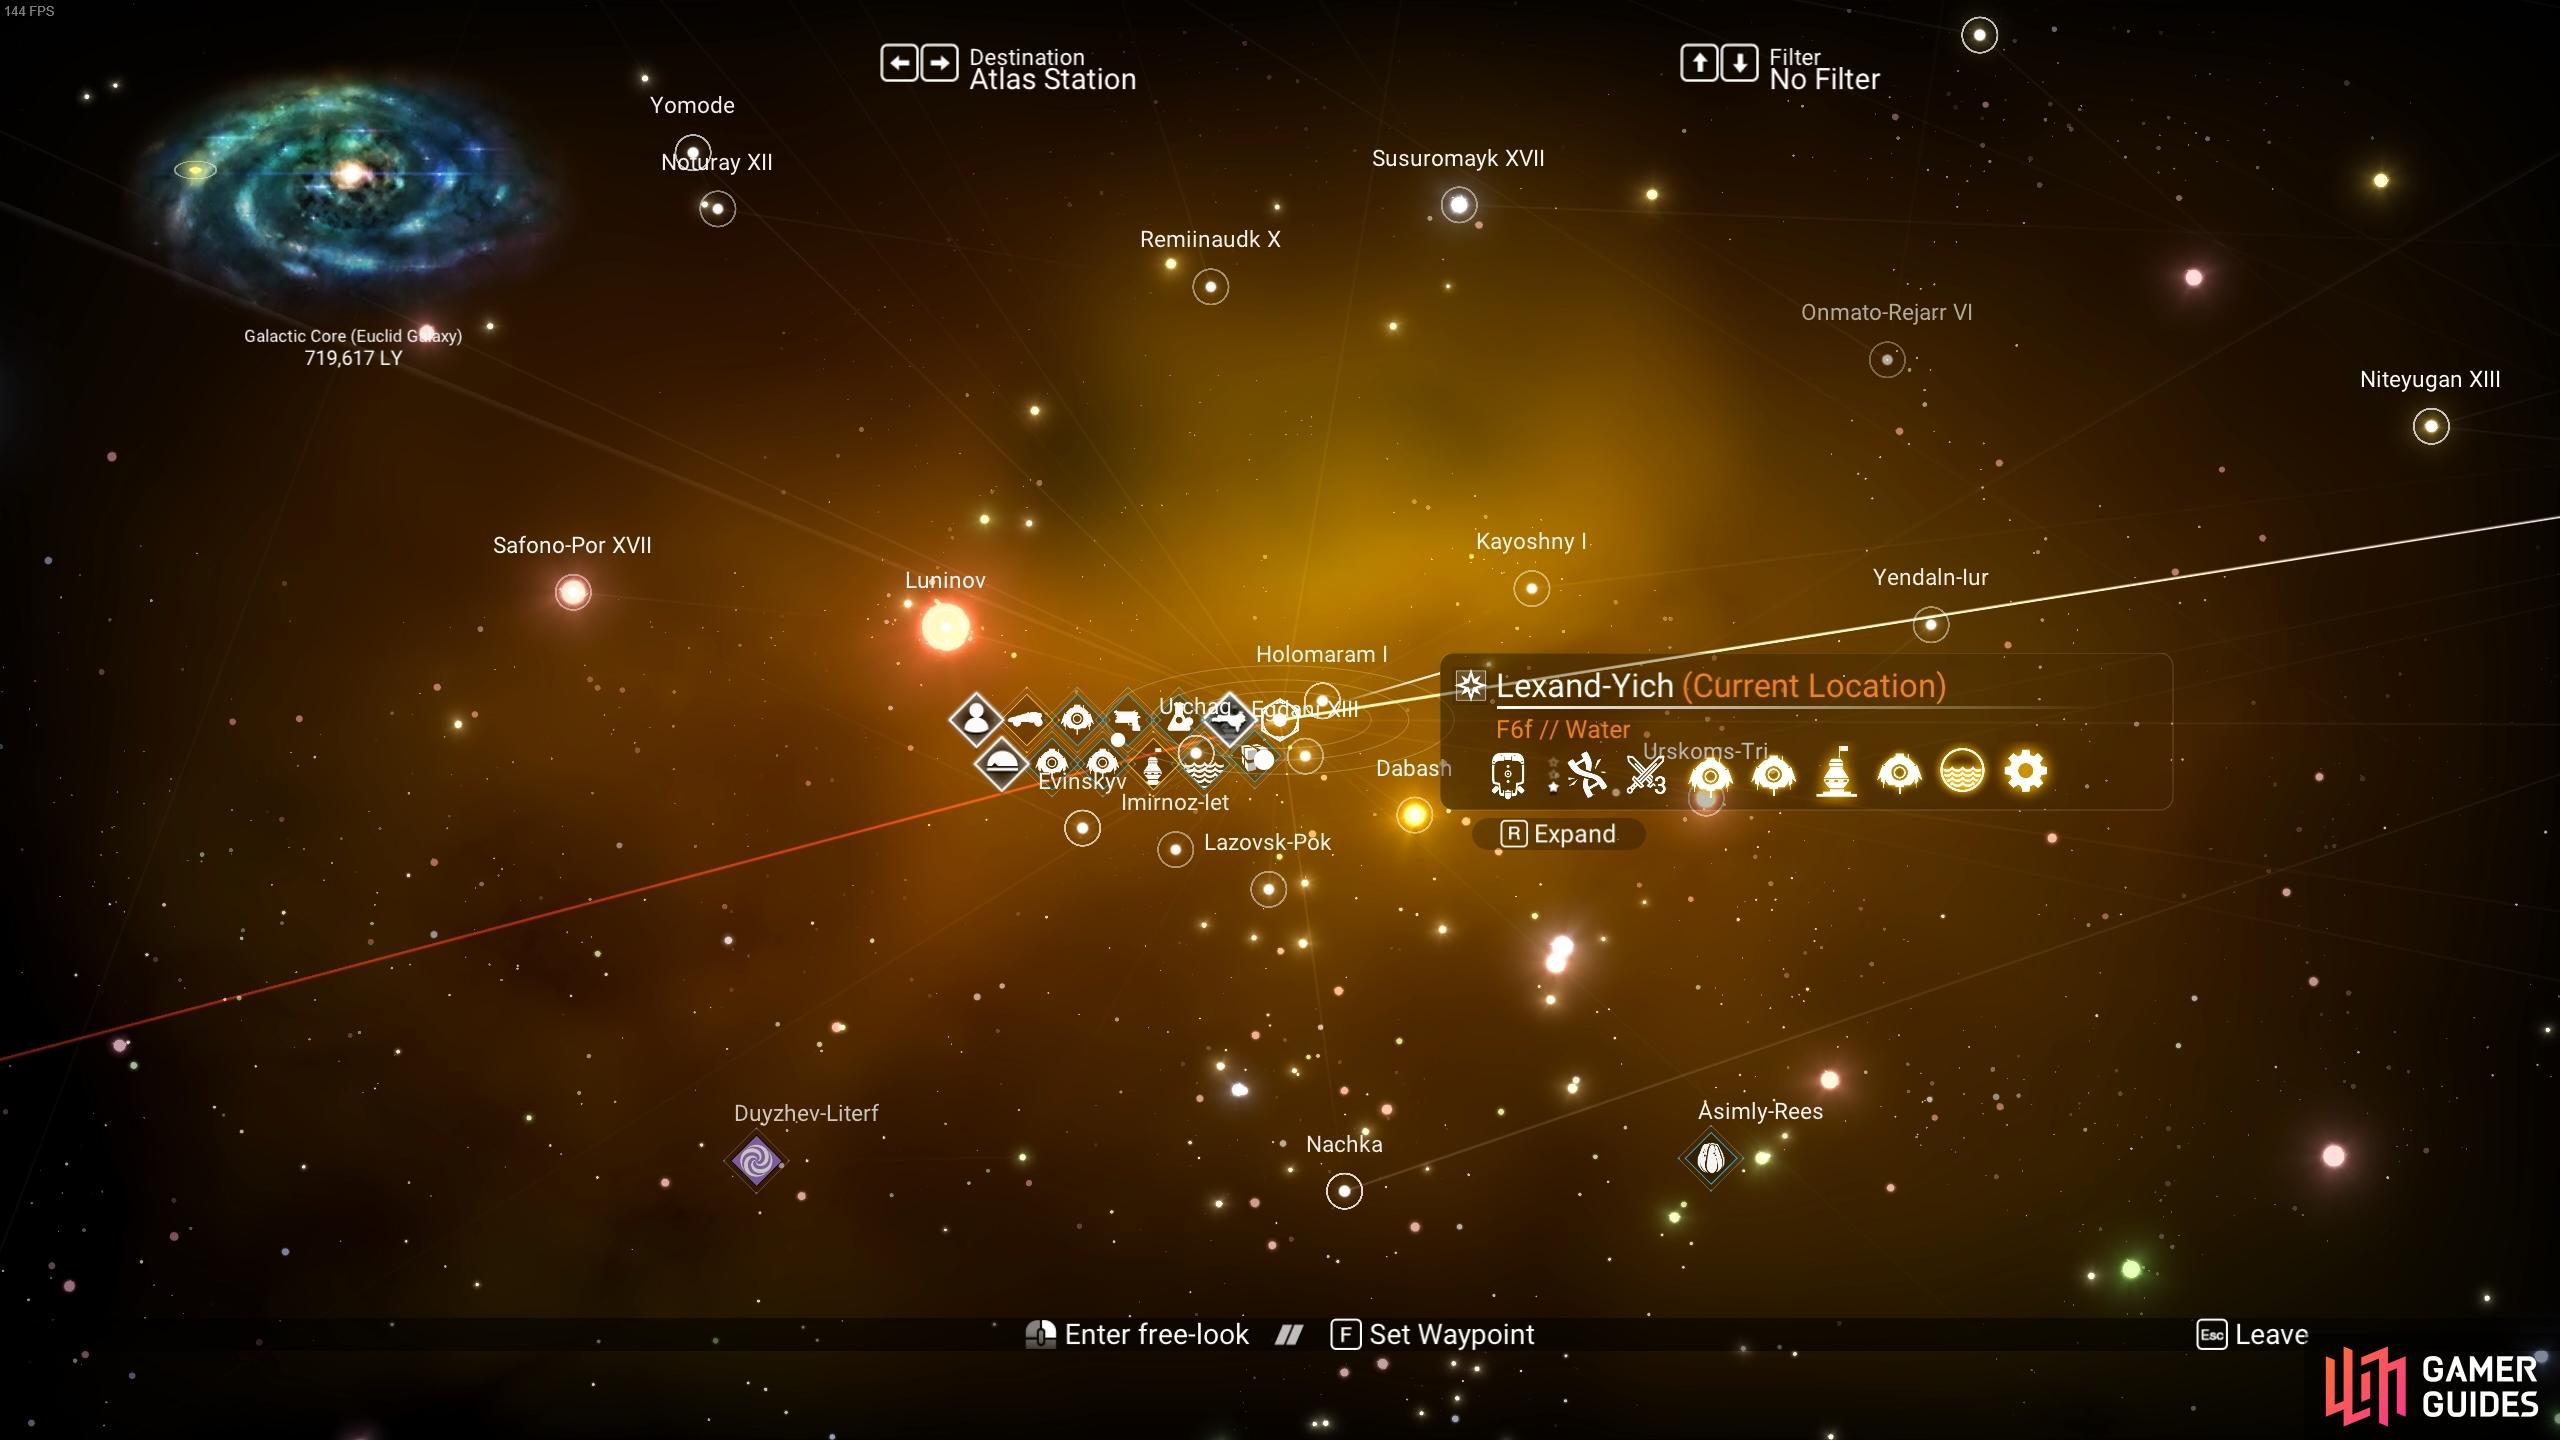
With the Hyperdrive now fuelled at 20%, you can enter space and begin the process of warping to a new star system. To do this, you’ll need to open the Galaxy Map from the Quick Access menu by pressing 
Obtain a Warp Cell from a Monolith
The marked waypoint will lead you to a Monolith structure, which will provide you with another Warp Cell when you interact with it, ready to fuel the Hyperdrive again. You can spend as much time as you want to on this planet, and even craft another Base Computer with a Base Teleport Module if you want to establish an outpost here that you can quickly return to. However, when you’re ready to leave you should head back into space and warp to another system using the Hyperdrive. All of this serves to familiarize you with the process of travelling between systems and discovering new planets.
Find the Crashed Starship
After you’ve warped for a second time, you’ll receive another mysterious communication from your Starship. You should answer this to trigger the location of a distress beacon, which will lead you to a crash site on a nearby planet. Here you’ll find a crashed Starship.
You will need to interact with the ship and repair its distress beacon to access a series of messages. You’ll learn the blueprint of a new Multi-Tool technology at this stage, usually the Advanced Mining Laser, and the mission will complete soon after, leading into Alone Amidst the Stars.



 Sign up
No Comments