In almost all Soulslike games, you will get rewarded by a boss that can be exchanged for unique weapons, spells, and armor. In Lords of the Fallen, this is the same, but you won’t have it from the start, and you may be wondering if it’s in this game. Well, it is, but you’ll need to do some things first including finding a hidden item that is easy to miss that allows you to do it. Read below to find out what you need to unlock the opportunity to purchase Boss equipment, where you can find it, and how much it costs.
Unlocking Boss Weapons
Before you can unlock boss weapons, you’ll need to reach Pilgrim’s Perch which can be accessed from the main hub, Skyrest, which is available after defeating the first boss. The item you are looking for is the Bowl of Revelations, but you’ll need to traverse three-quarters of Pilgrim’s Perch to get to it, including defeating a boss or two.
Bowl of Revelations Location
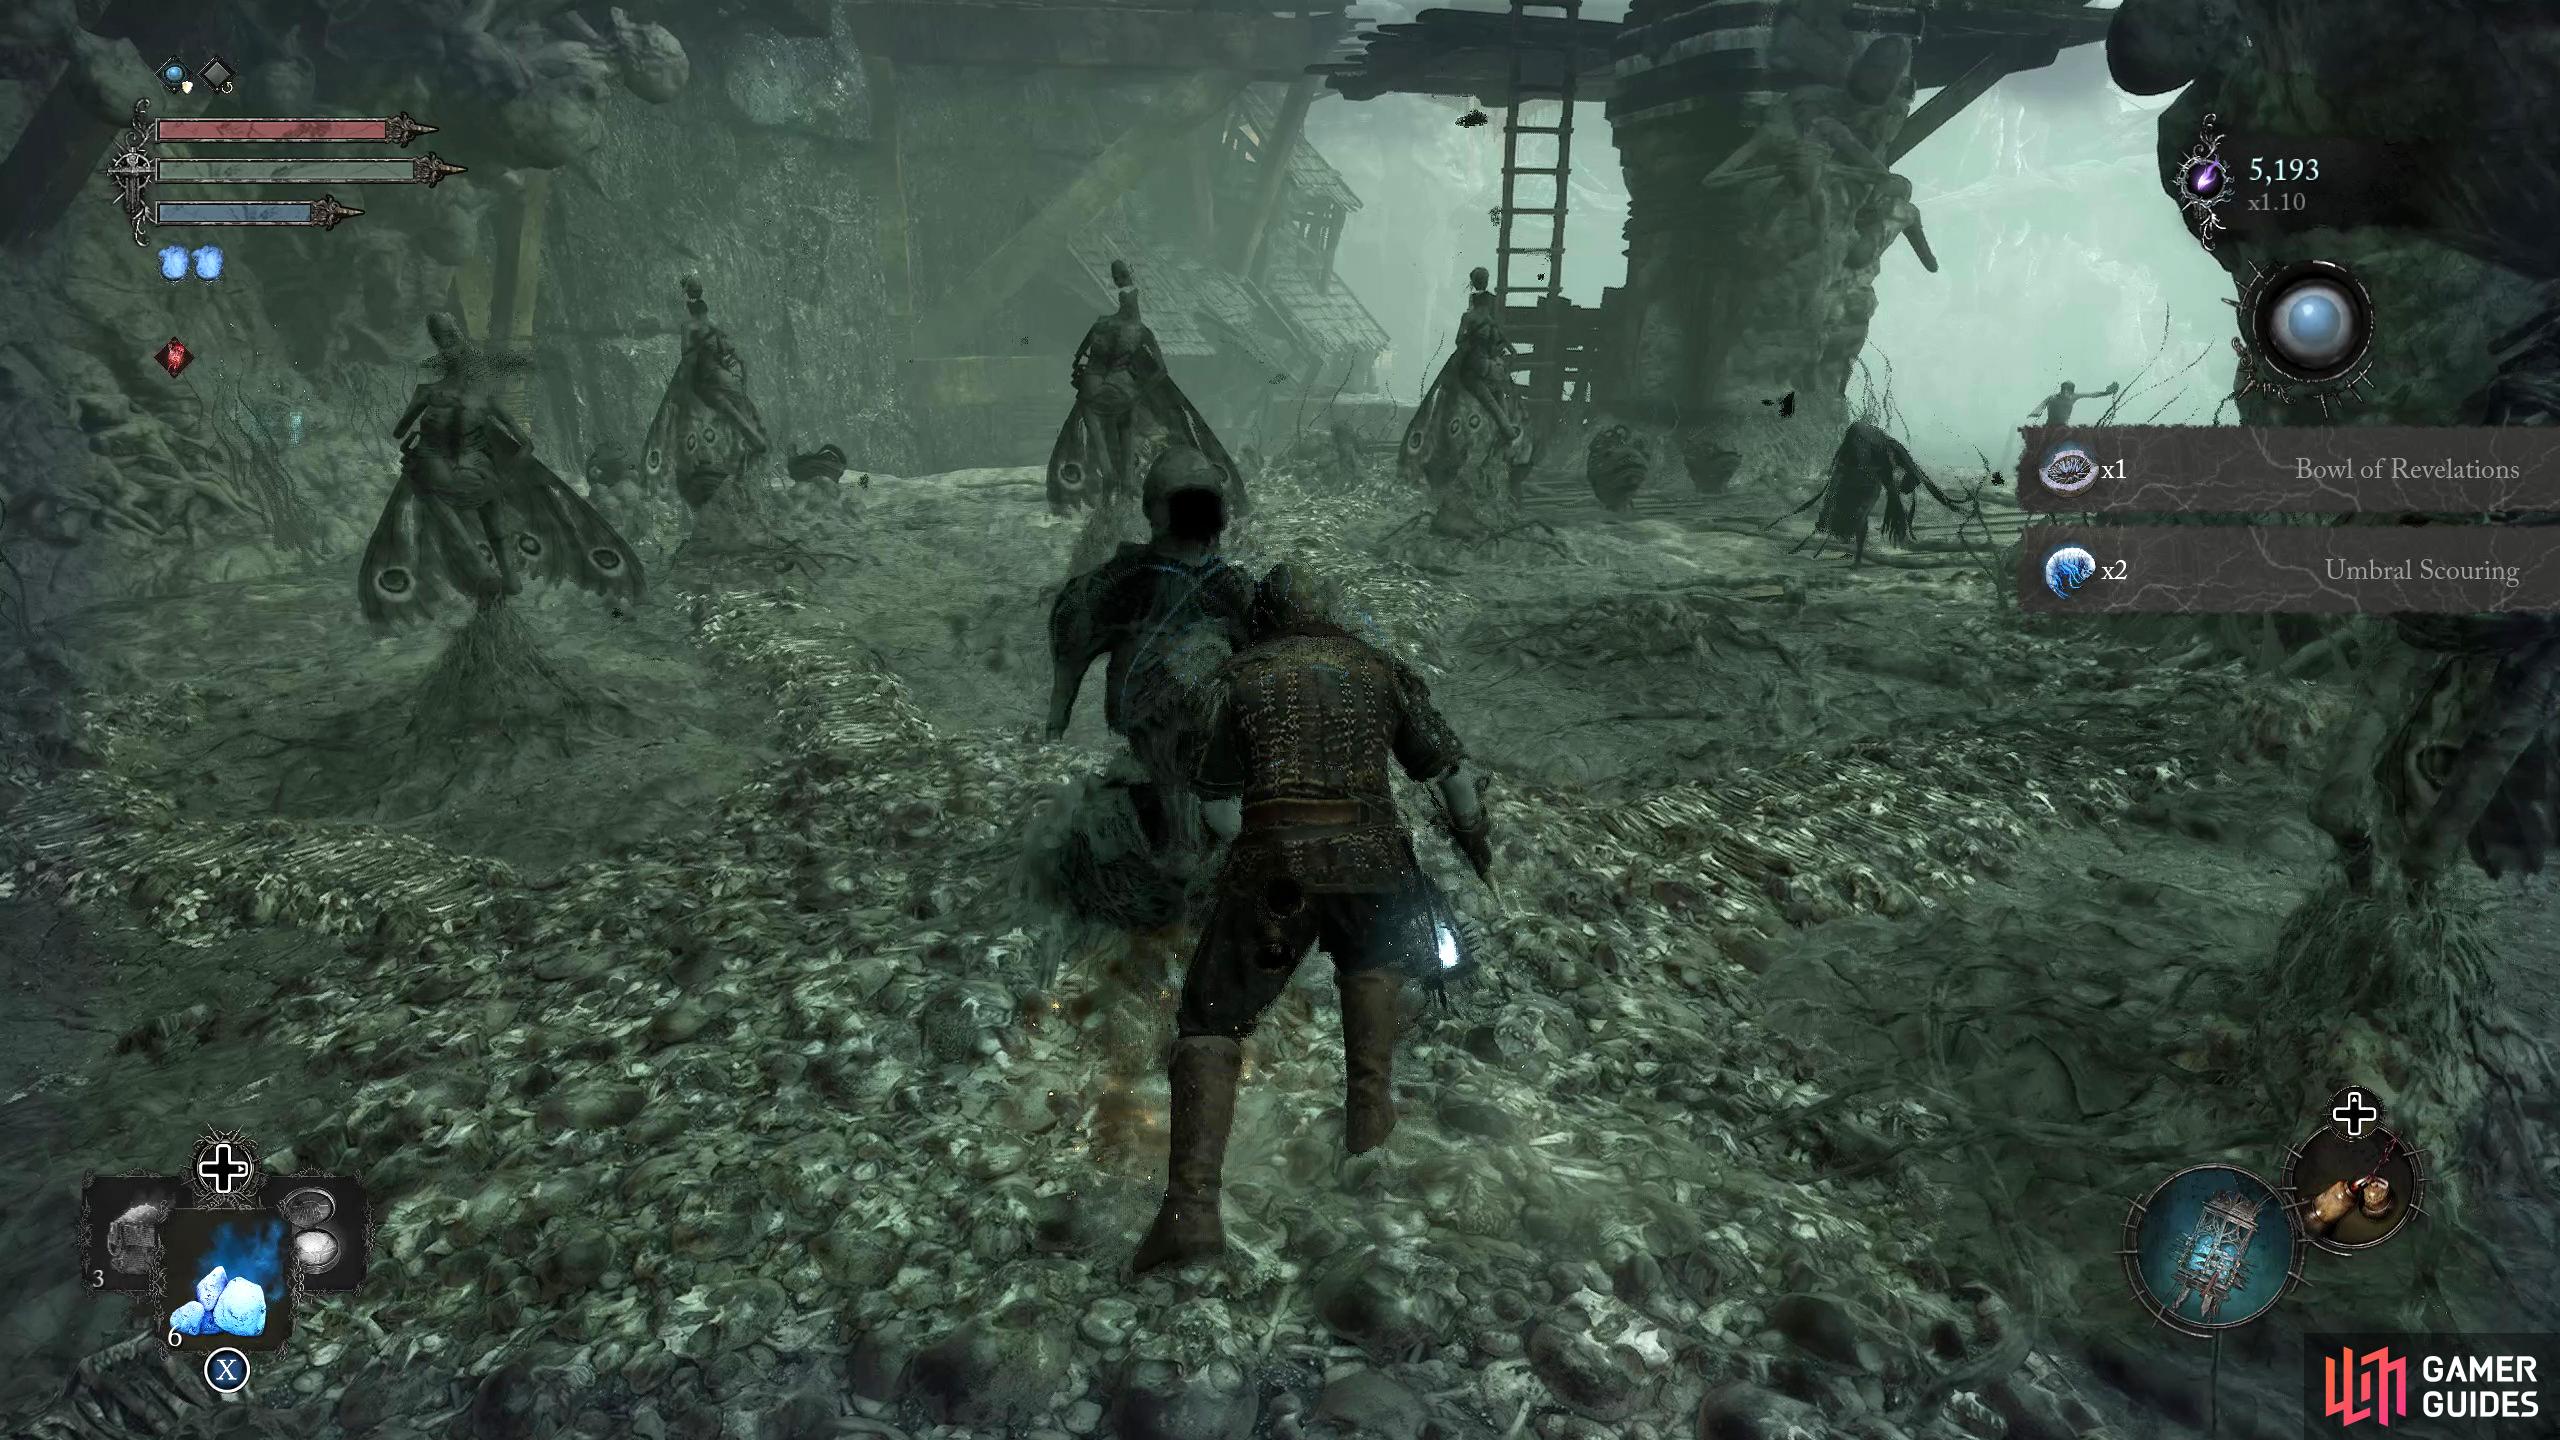
Progress the story until you have access to Skyrest. From the Vestige, head outside via the door to the right of it, and follow the path until you reach a new area. This is Pilgrim’s Perch. At the entrance, climb up the nearby ladder and follow the path until you can drop. At the end of the path, drop, but be careful of the numerous enemies hiding among the crates. Keep heading down, defeating enemies along the way until you reach the large open area at the bottom. This area has a lot of enemies from mages to infantrymen.
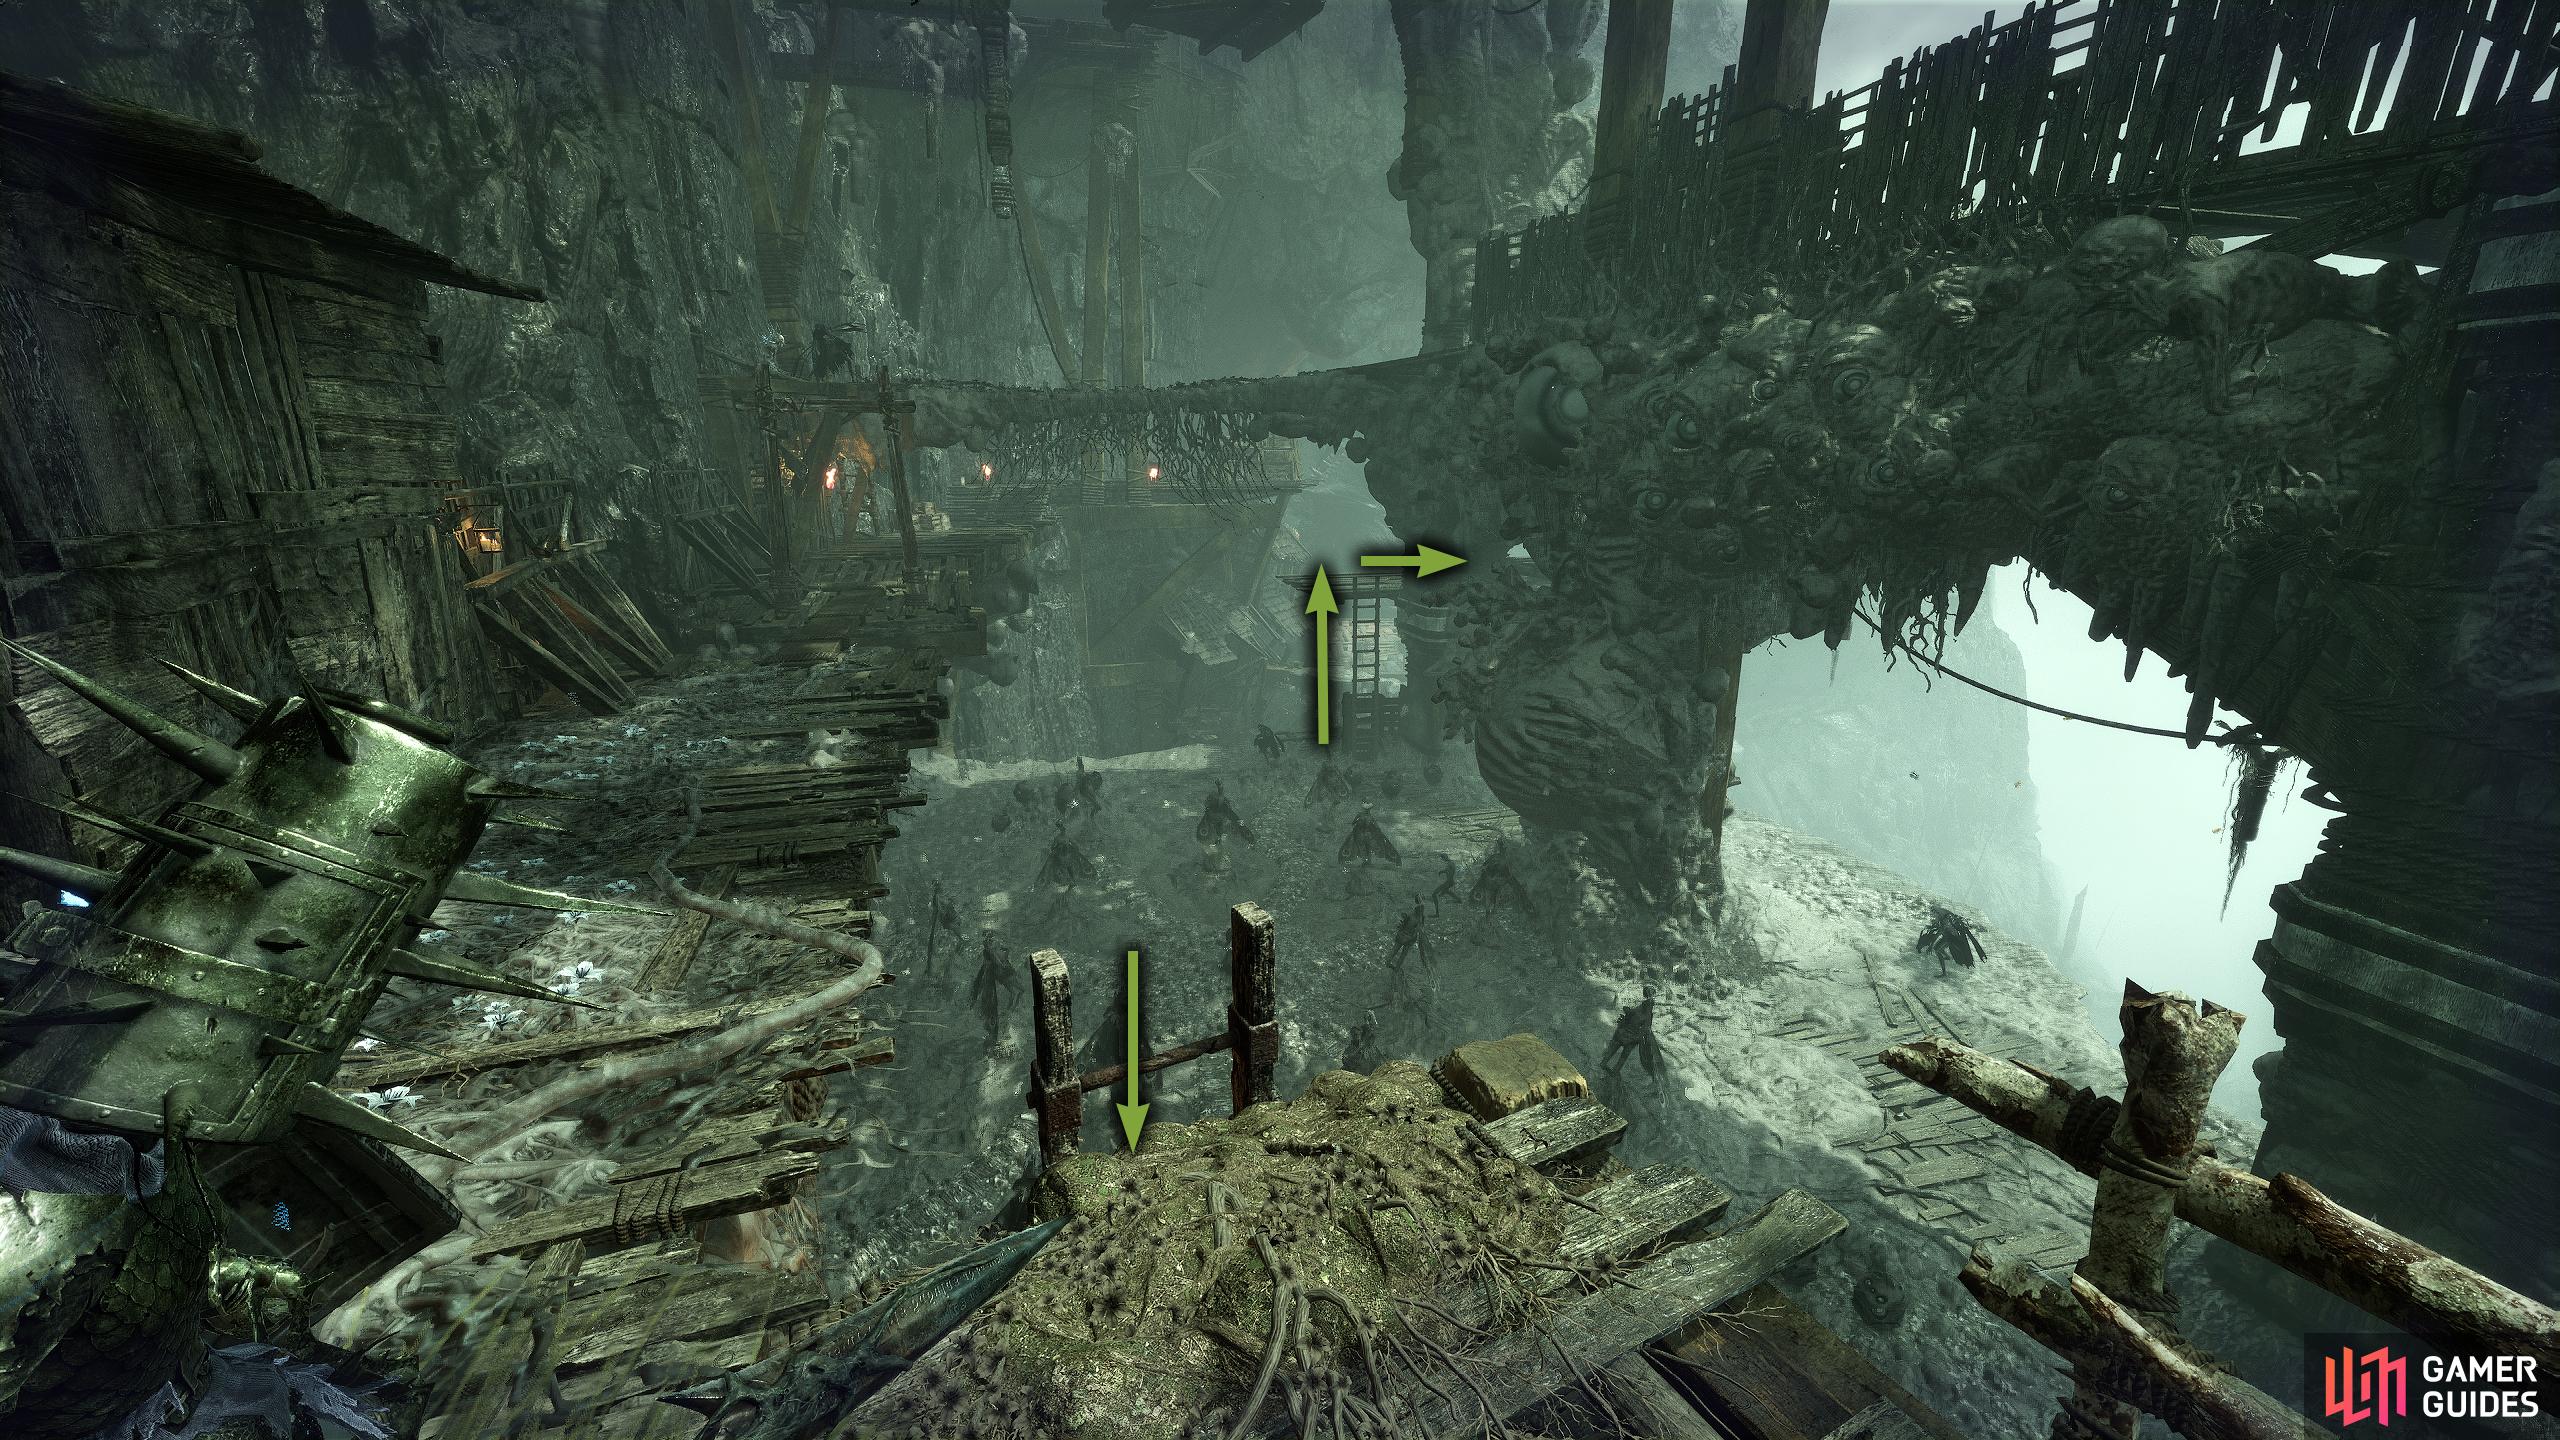
Take them out, then head through the large archway in the center by going up the stairs. Here, you’ll find a Vestige to your right, and some ladders to your left. Activate the Vestige, climb both ladders then follow the hallway to the end. Here, you’ll see a beam reaching across to the opposite side. Head over to the other side, go left, and take the ladder down. Now, go right (an NPC is here in the Umbral Realm), and head down the next ladder.
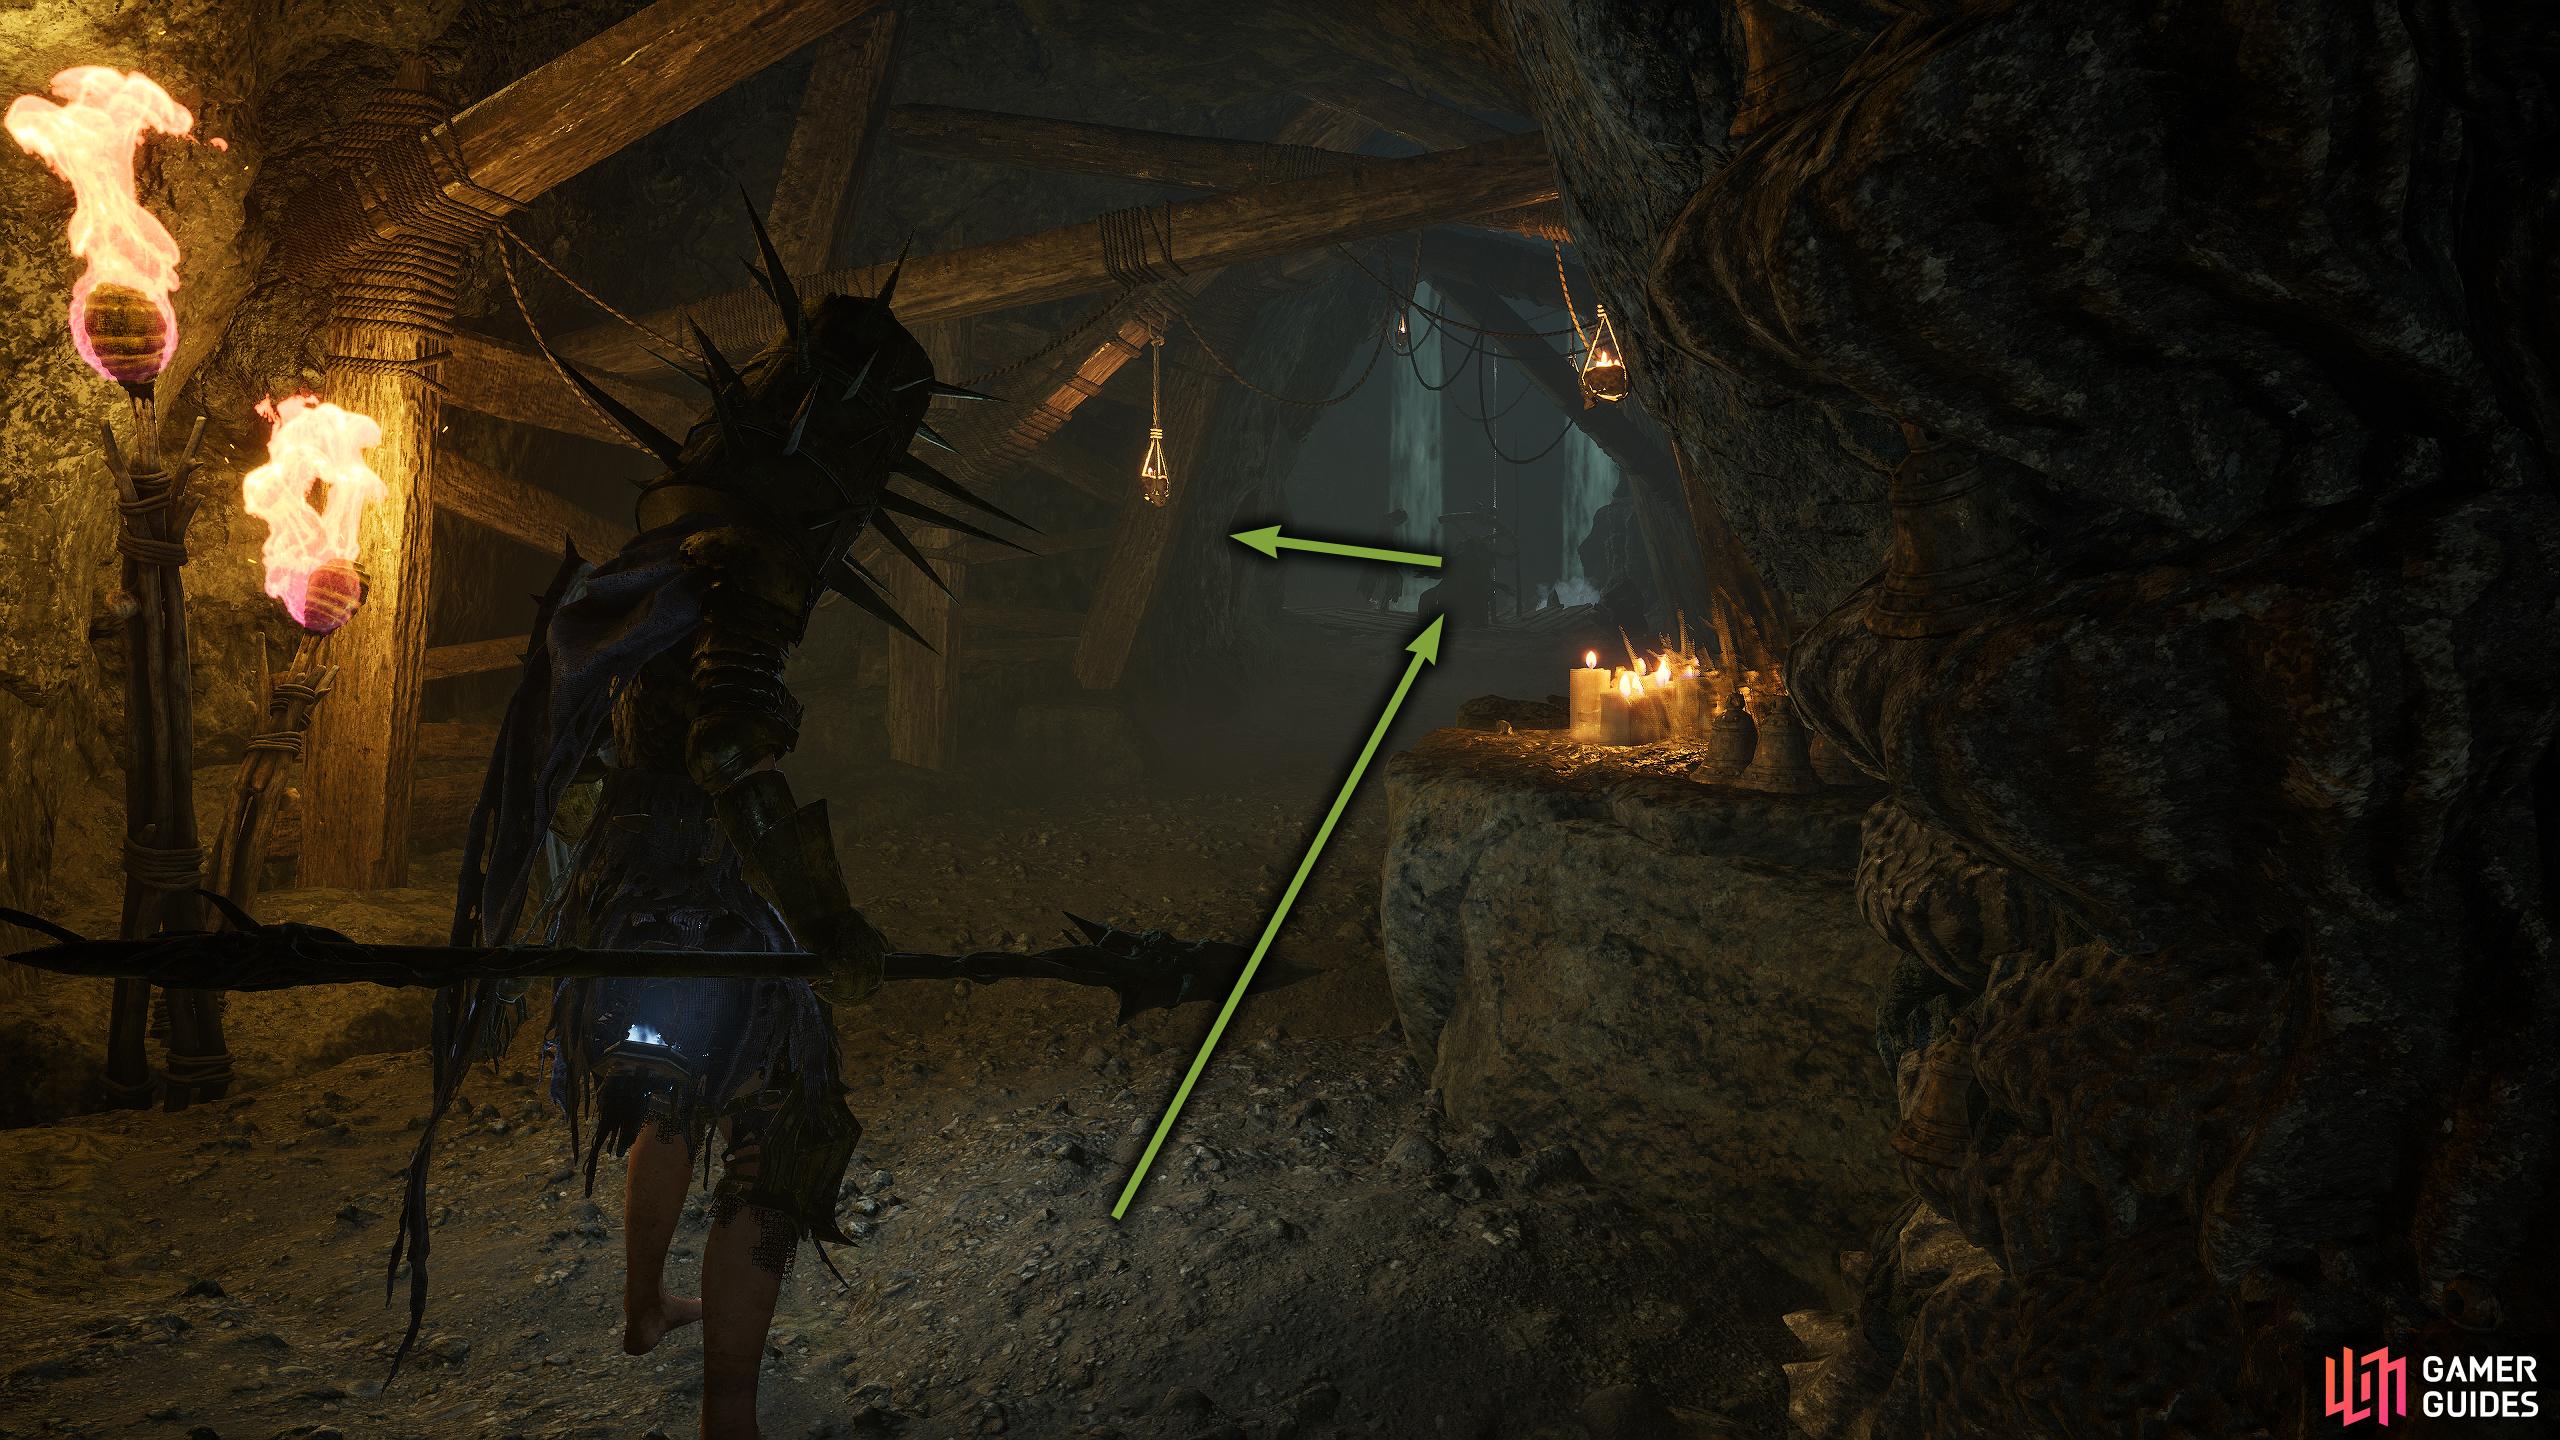
(1 of 2) Head through the tunnel opposite the Vestige while taking out the enemies along the way.
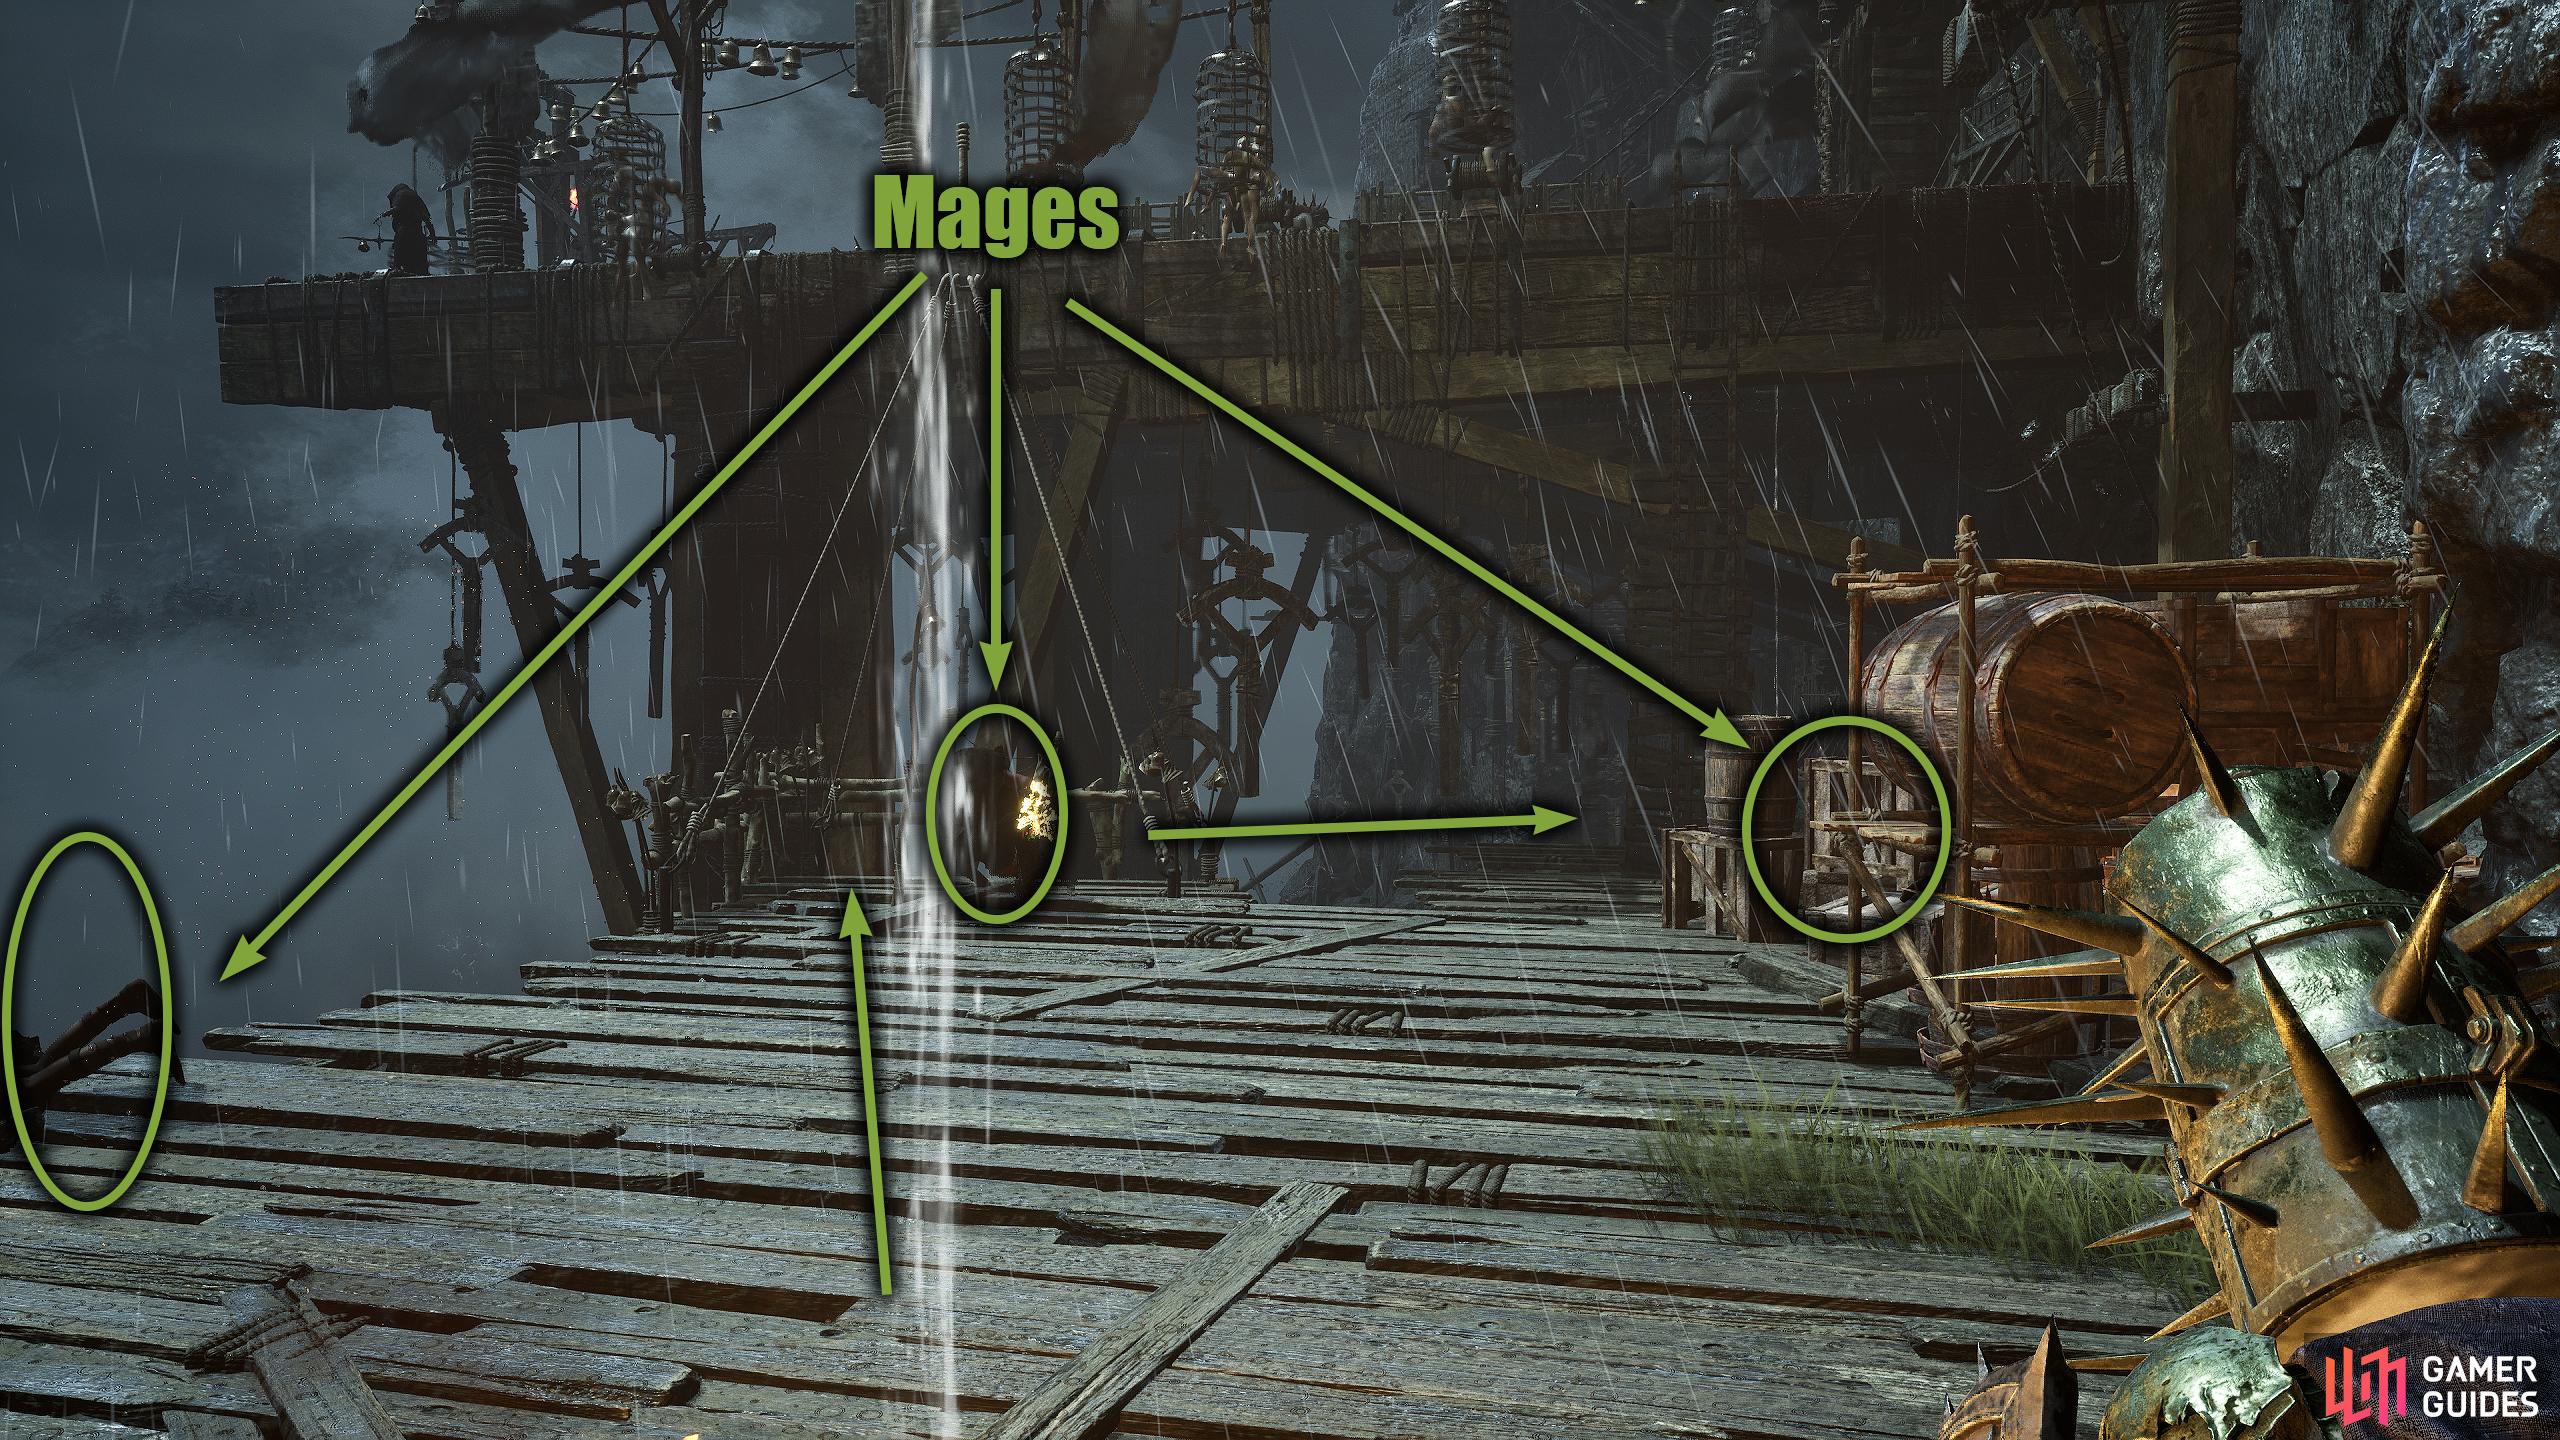
Head through the tunnel opposite the Vestige while taking out the enemies along the way. (left), Outside, there will be three mages, one in front of you and two of them hidden on either side. Defeat them and jump across the hanging platform. (right)
At the bottom, you’ll fight a boss who uses a flail that goes by the name “Scourged Sister Selyth”. When you first get in, take out the parasite (Soul Siphon) which is hidden in the small alcove where she stands. The best way to deal damage to her is to keep your distance until she does a lunging leap attack, then punish her for a few hits. If you try to go toe-to-toe, you’ll get caught in her combos. Keep this up until she adds Radiance to her attacks, and she’ll get a couple more attacks.
One of these is Flesh Rend which will unleash a tornado of body parts in your direction. Exploit the stairs in the arena to avoid this and wait for her lunge attacks to deal damage to her which are more dangerous now. This is pretty much how the fight will be until one of you dies. Make sure you use Soul Flay on her whenever you can, and charge it up by siphoning the worshipers near the entrance (you killed them didn’t you). Another tip is to get some distance and use your ranged attacks/spells on her, then when she gets close, roll through her and head to the other end of the arena.
(1 of 2) Follow the path, take out the spike helmet enemy then go down the ladder.
Follow the path, take out the spike helmet enemy then go down the ladder. (left), Enter the Umbral Realm and take the ladder down. Then, when you’ve got the bowl, climb the ladder on the other side. (right)
Once she’s defeated, head through the doorway, and go up the stairs that lead outside. Defeat the nearby mage before going up the ladder to your right which takes you into a cave. You can use a Vestige Seed here if you have one, and a Pilgrim Door to your right that has an armor set, but you’ll need the Pilgrim’s Perch Key to open it. When you’re ready, exit the other side of the cave, and follow the wooden path while avoiding the incoming mage spells, and the enemy who has a spiked helmet and climb up the ladder at the end.
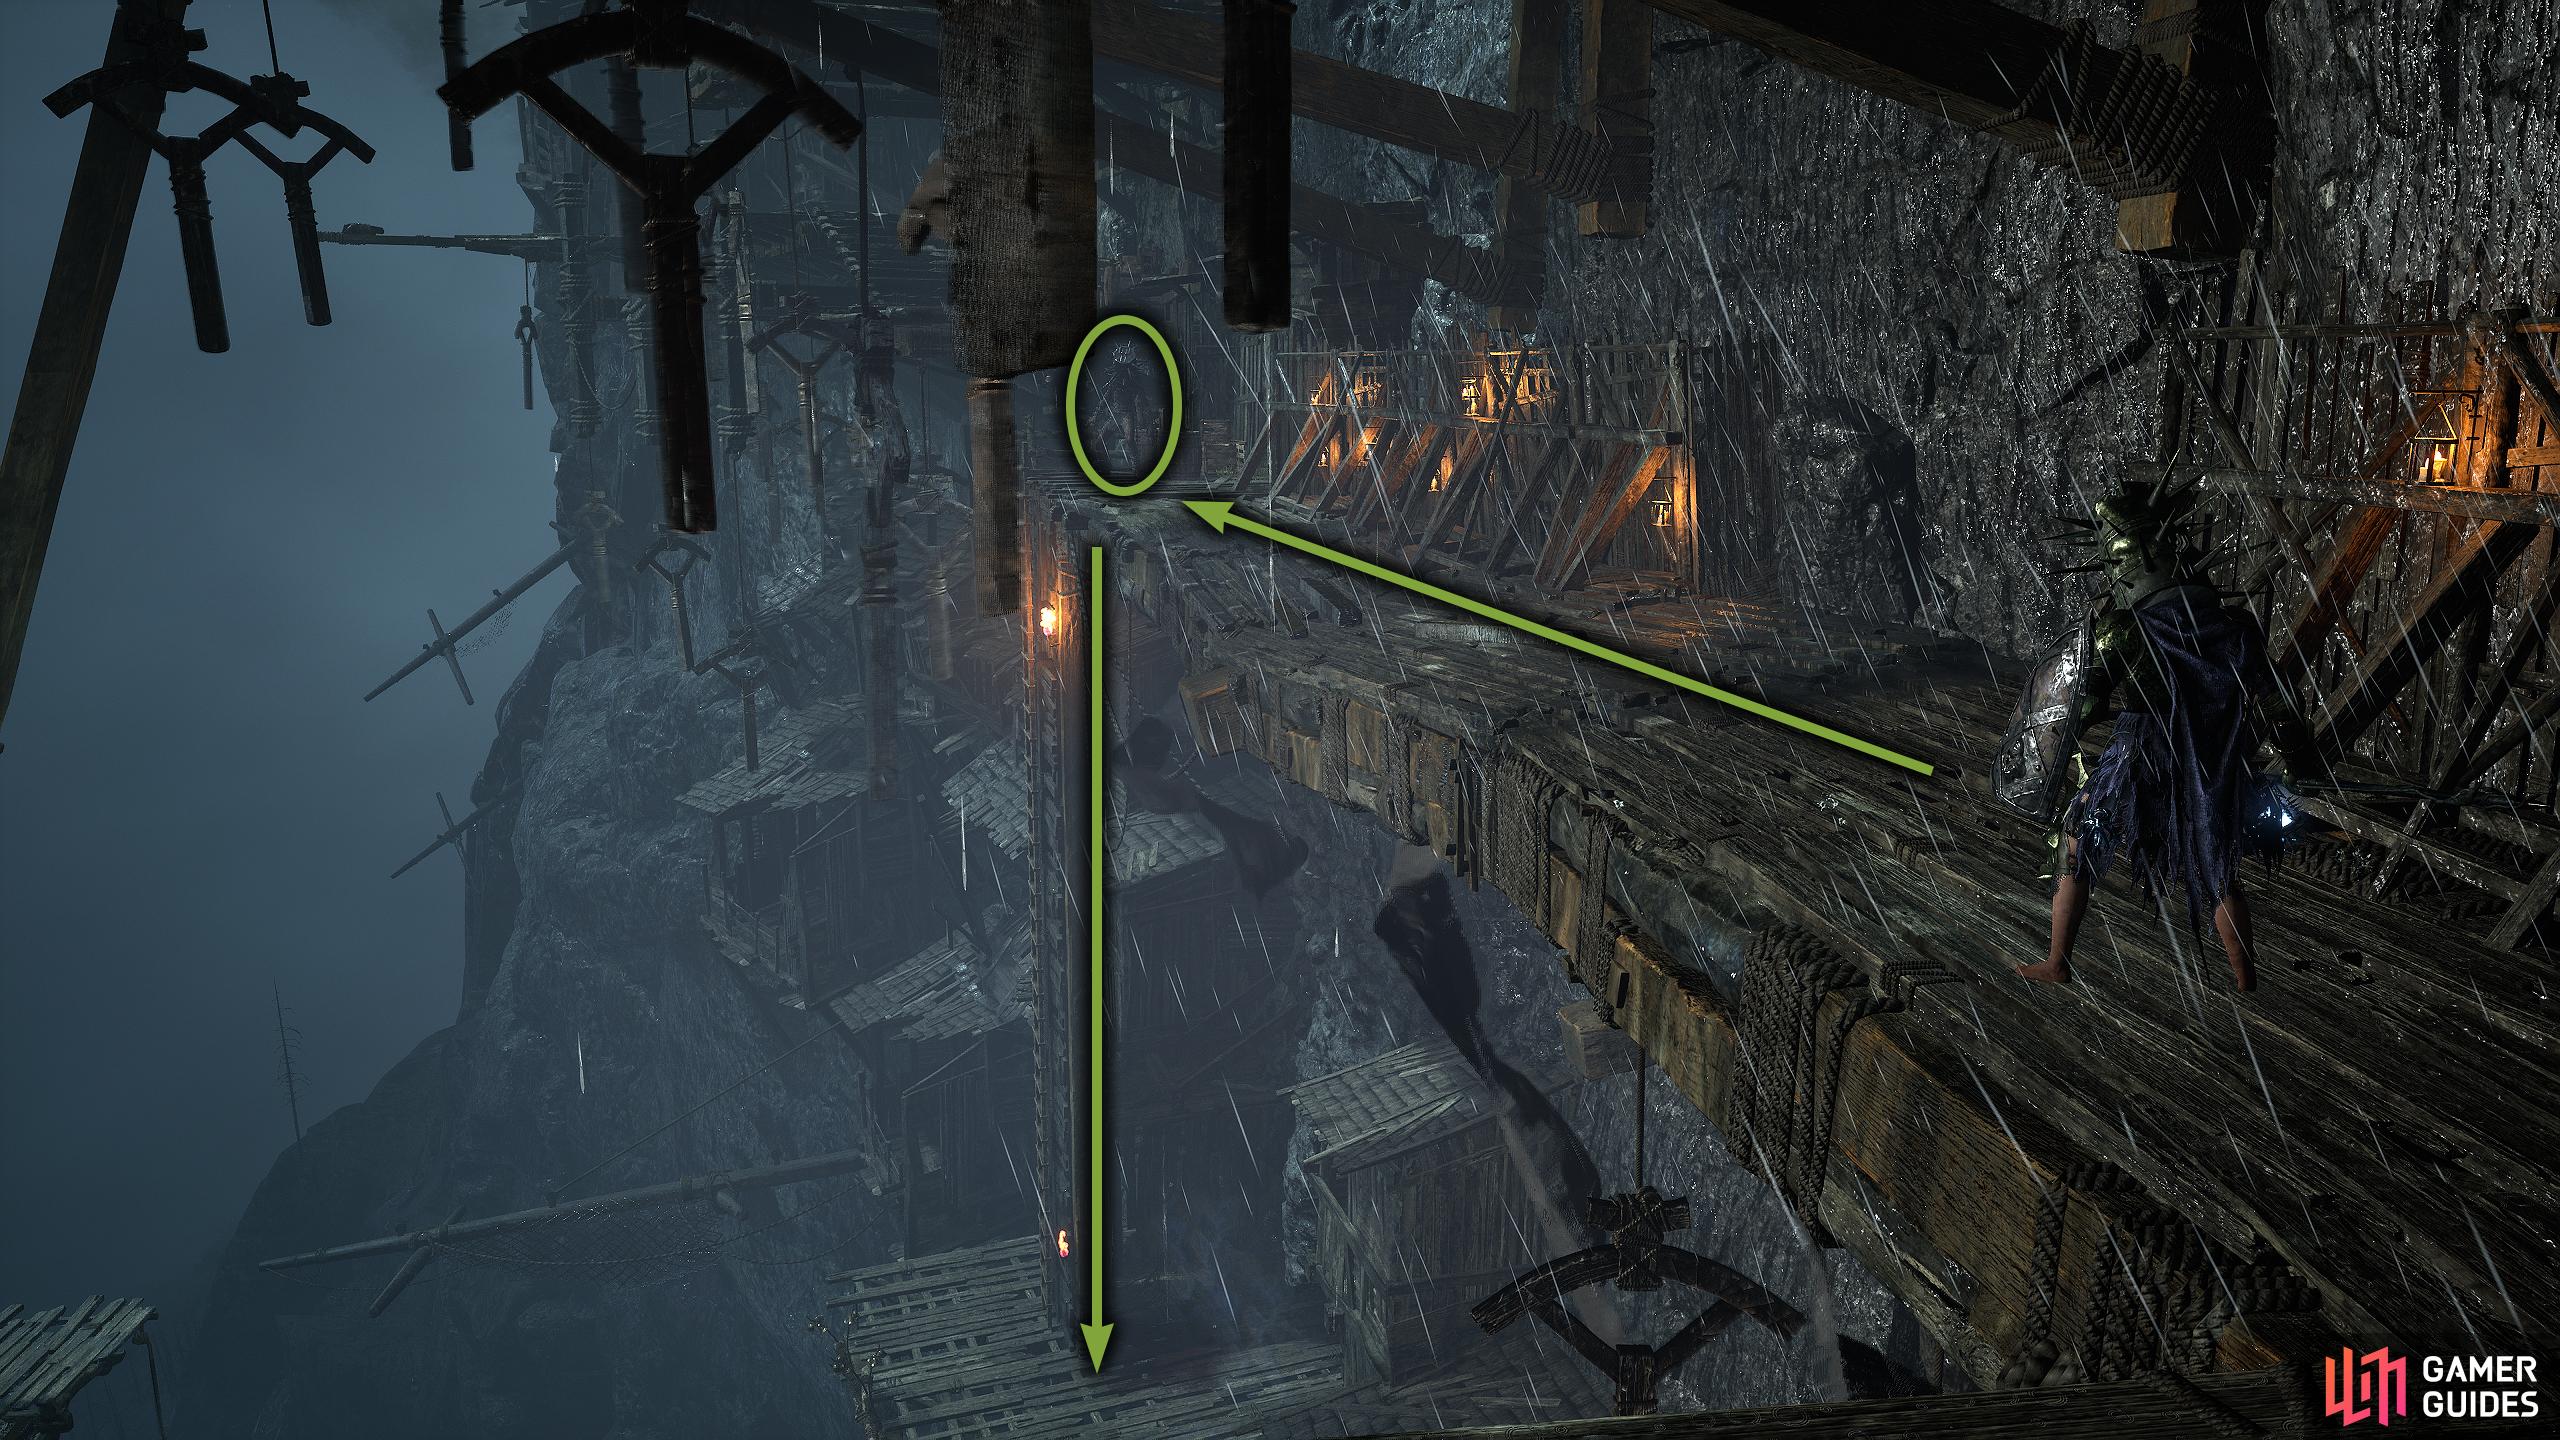
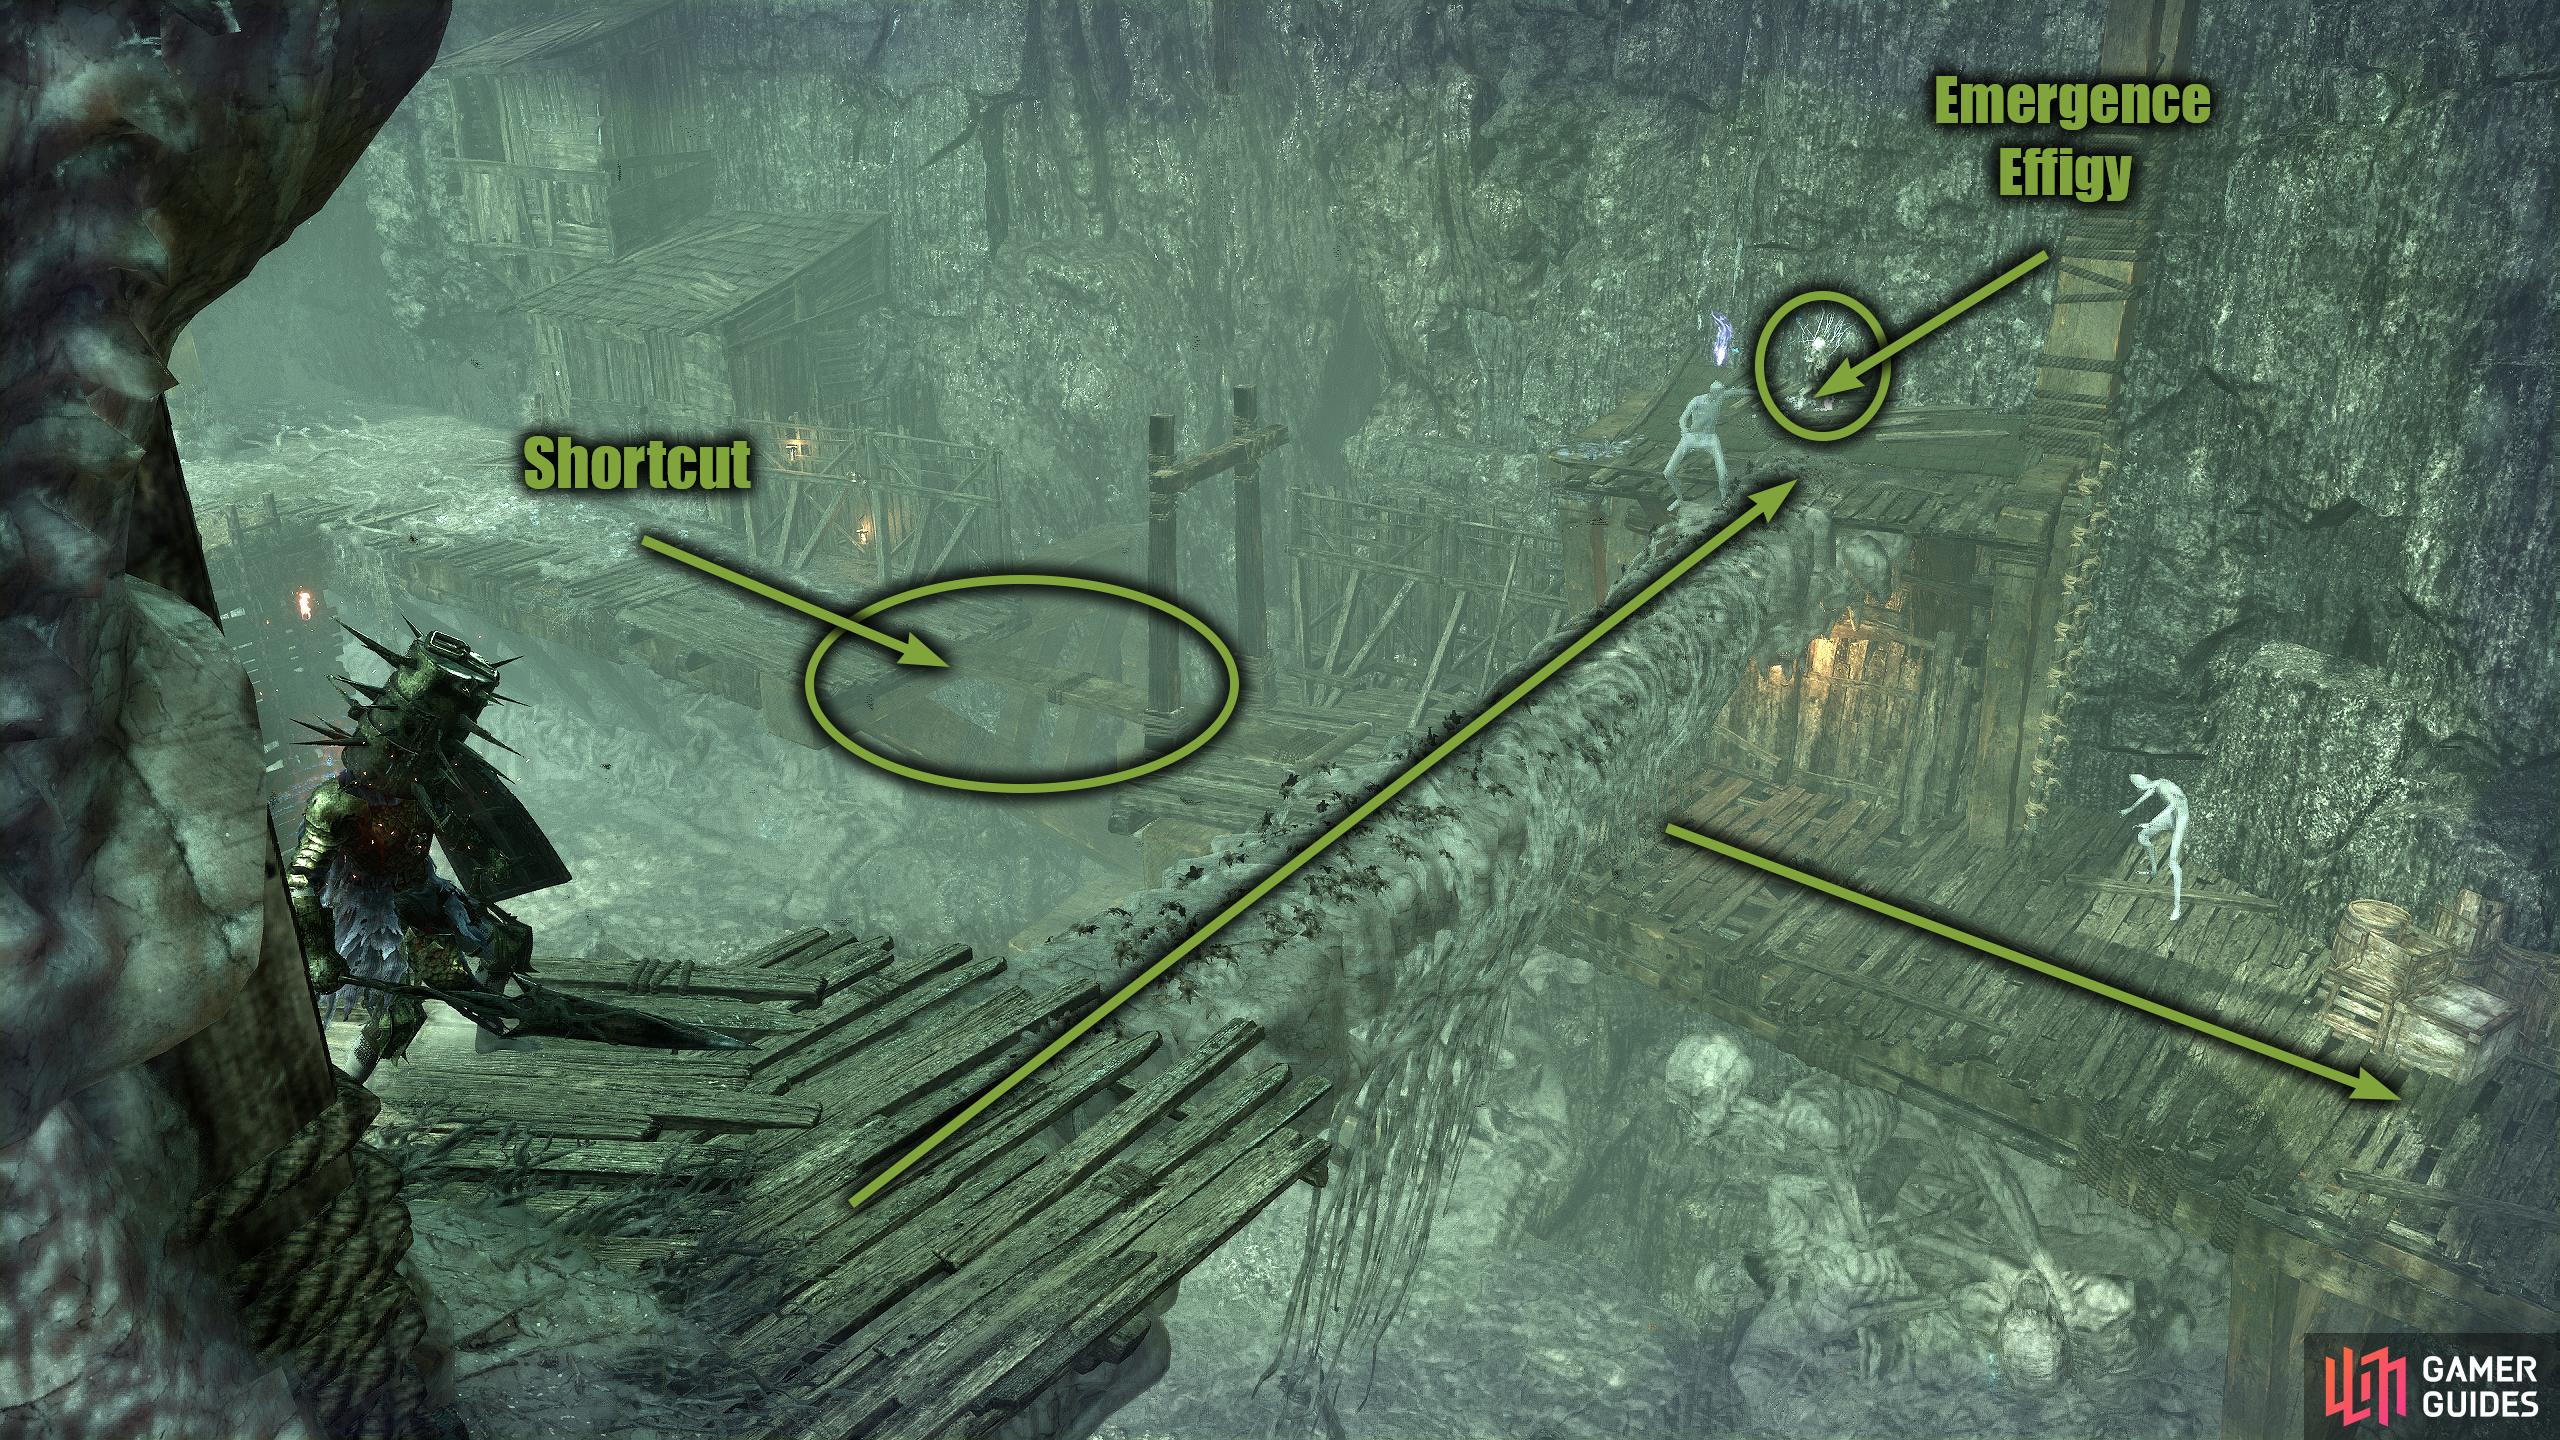
Switch to the Umbral Realm, stand on the nearby platform, and pull yourself across by using Soul Flay on the body hanging out of the adjacent platform. When you reach the other side, head down the ladder to find a plank you can kick down for a shortcut. Now, head back up, and proceed further in until you reach another ladder where a spiked helmet enemy is. Defeat or ignore him, and climb the ladder which will lead to an area with a hanging platform.
Run and jump from platform to platform then climb the ladder up which leads to another ladder. Climb that also, kill the mage to your right then enter the Umbral Realm. Drop to the platform below, and defeat the enemies before going across the bone bridge. Make your way across the platforms by Soul Flaying them, then follow the path up where you’ll need to do it again. Eventually, you’ll go up a ramp which leads to some beams. Walk across the beams, and drop on the platform at the end where you’ll face a mage and a spiked helmet enemy who has a parasite in the doorway to your left.
(1 of 2) The Bowl of Revelations will be in between the two ladders.
The Bowl of Revelations will be in between the two ladders. (left), Follow it around and go across the bone beam. Here, you’ll find an effigy to exit the Umbral Realm. Now, drop and kick the plank to open a shortcut. (right)
Bait him out, and run into the doorway, and rest at the nearby Vestige. When you’re ready, head down the hall to your right (if you’re facing the Vestige), and defeat the mages at the end. Follow the path outside where another three mages will be waiting for you. One is visible in front of you and two are on either side obscure by the crates and barrels. Defeat them, and use the hanging platform to get across to the path on the other side. Head to the end of the path while avoiding the spiked helmet enemy, and go down the ladder.
Now, switch into the Umbral Realm, go down the nearby ladder, and head into the center of the room where you can Soul Flay a kneeling body. This will give you the Bowl of Revelations which is what you need to unlock boss weapons and equipment. All you need to do now is head back to Skyrest and speak to Molhu.
How to use the Bowl of Revelations
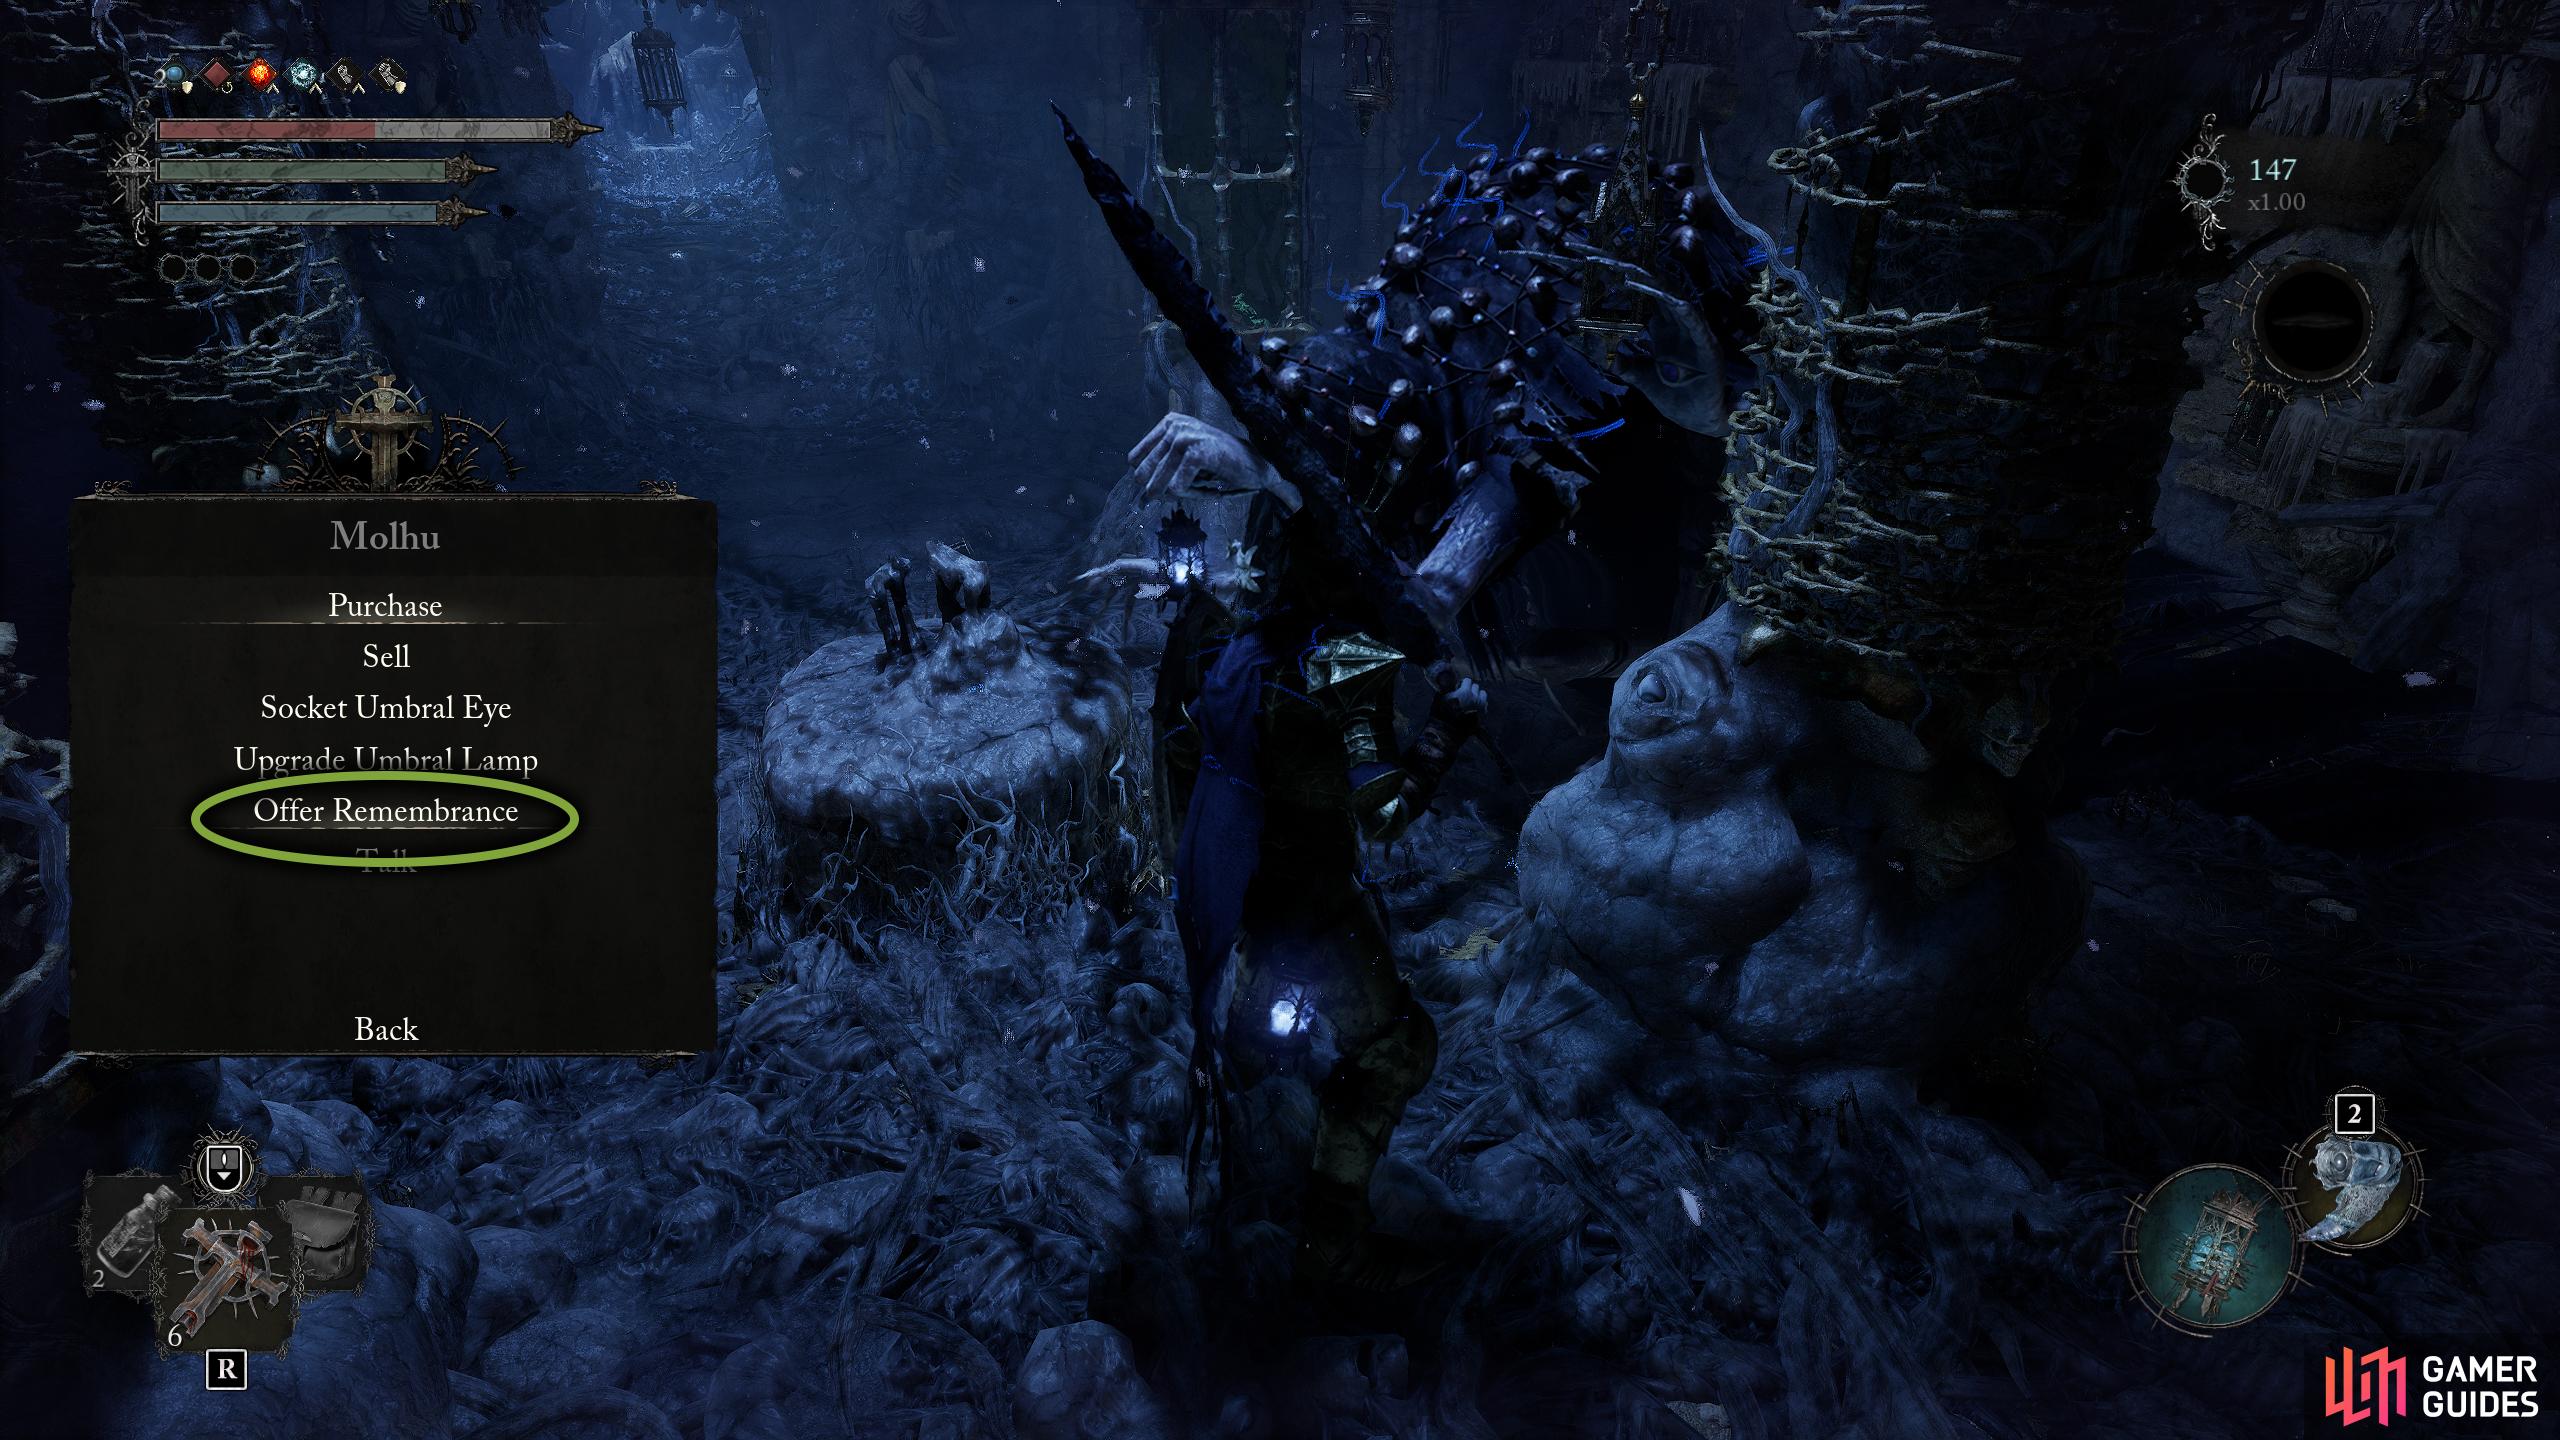
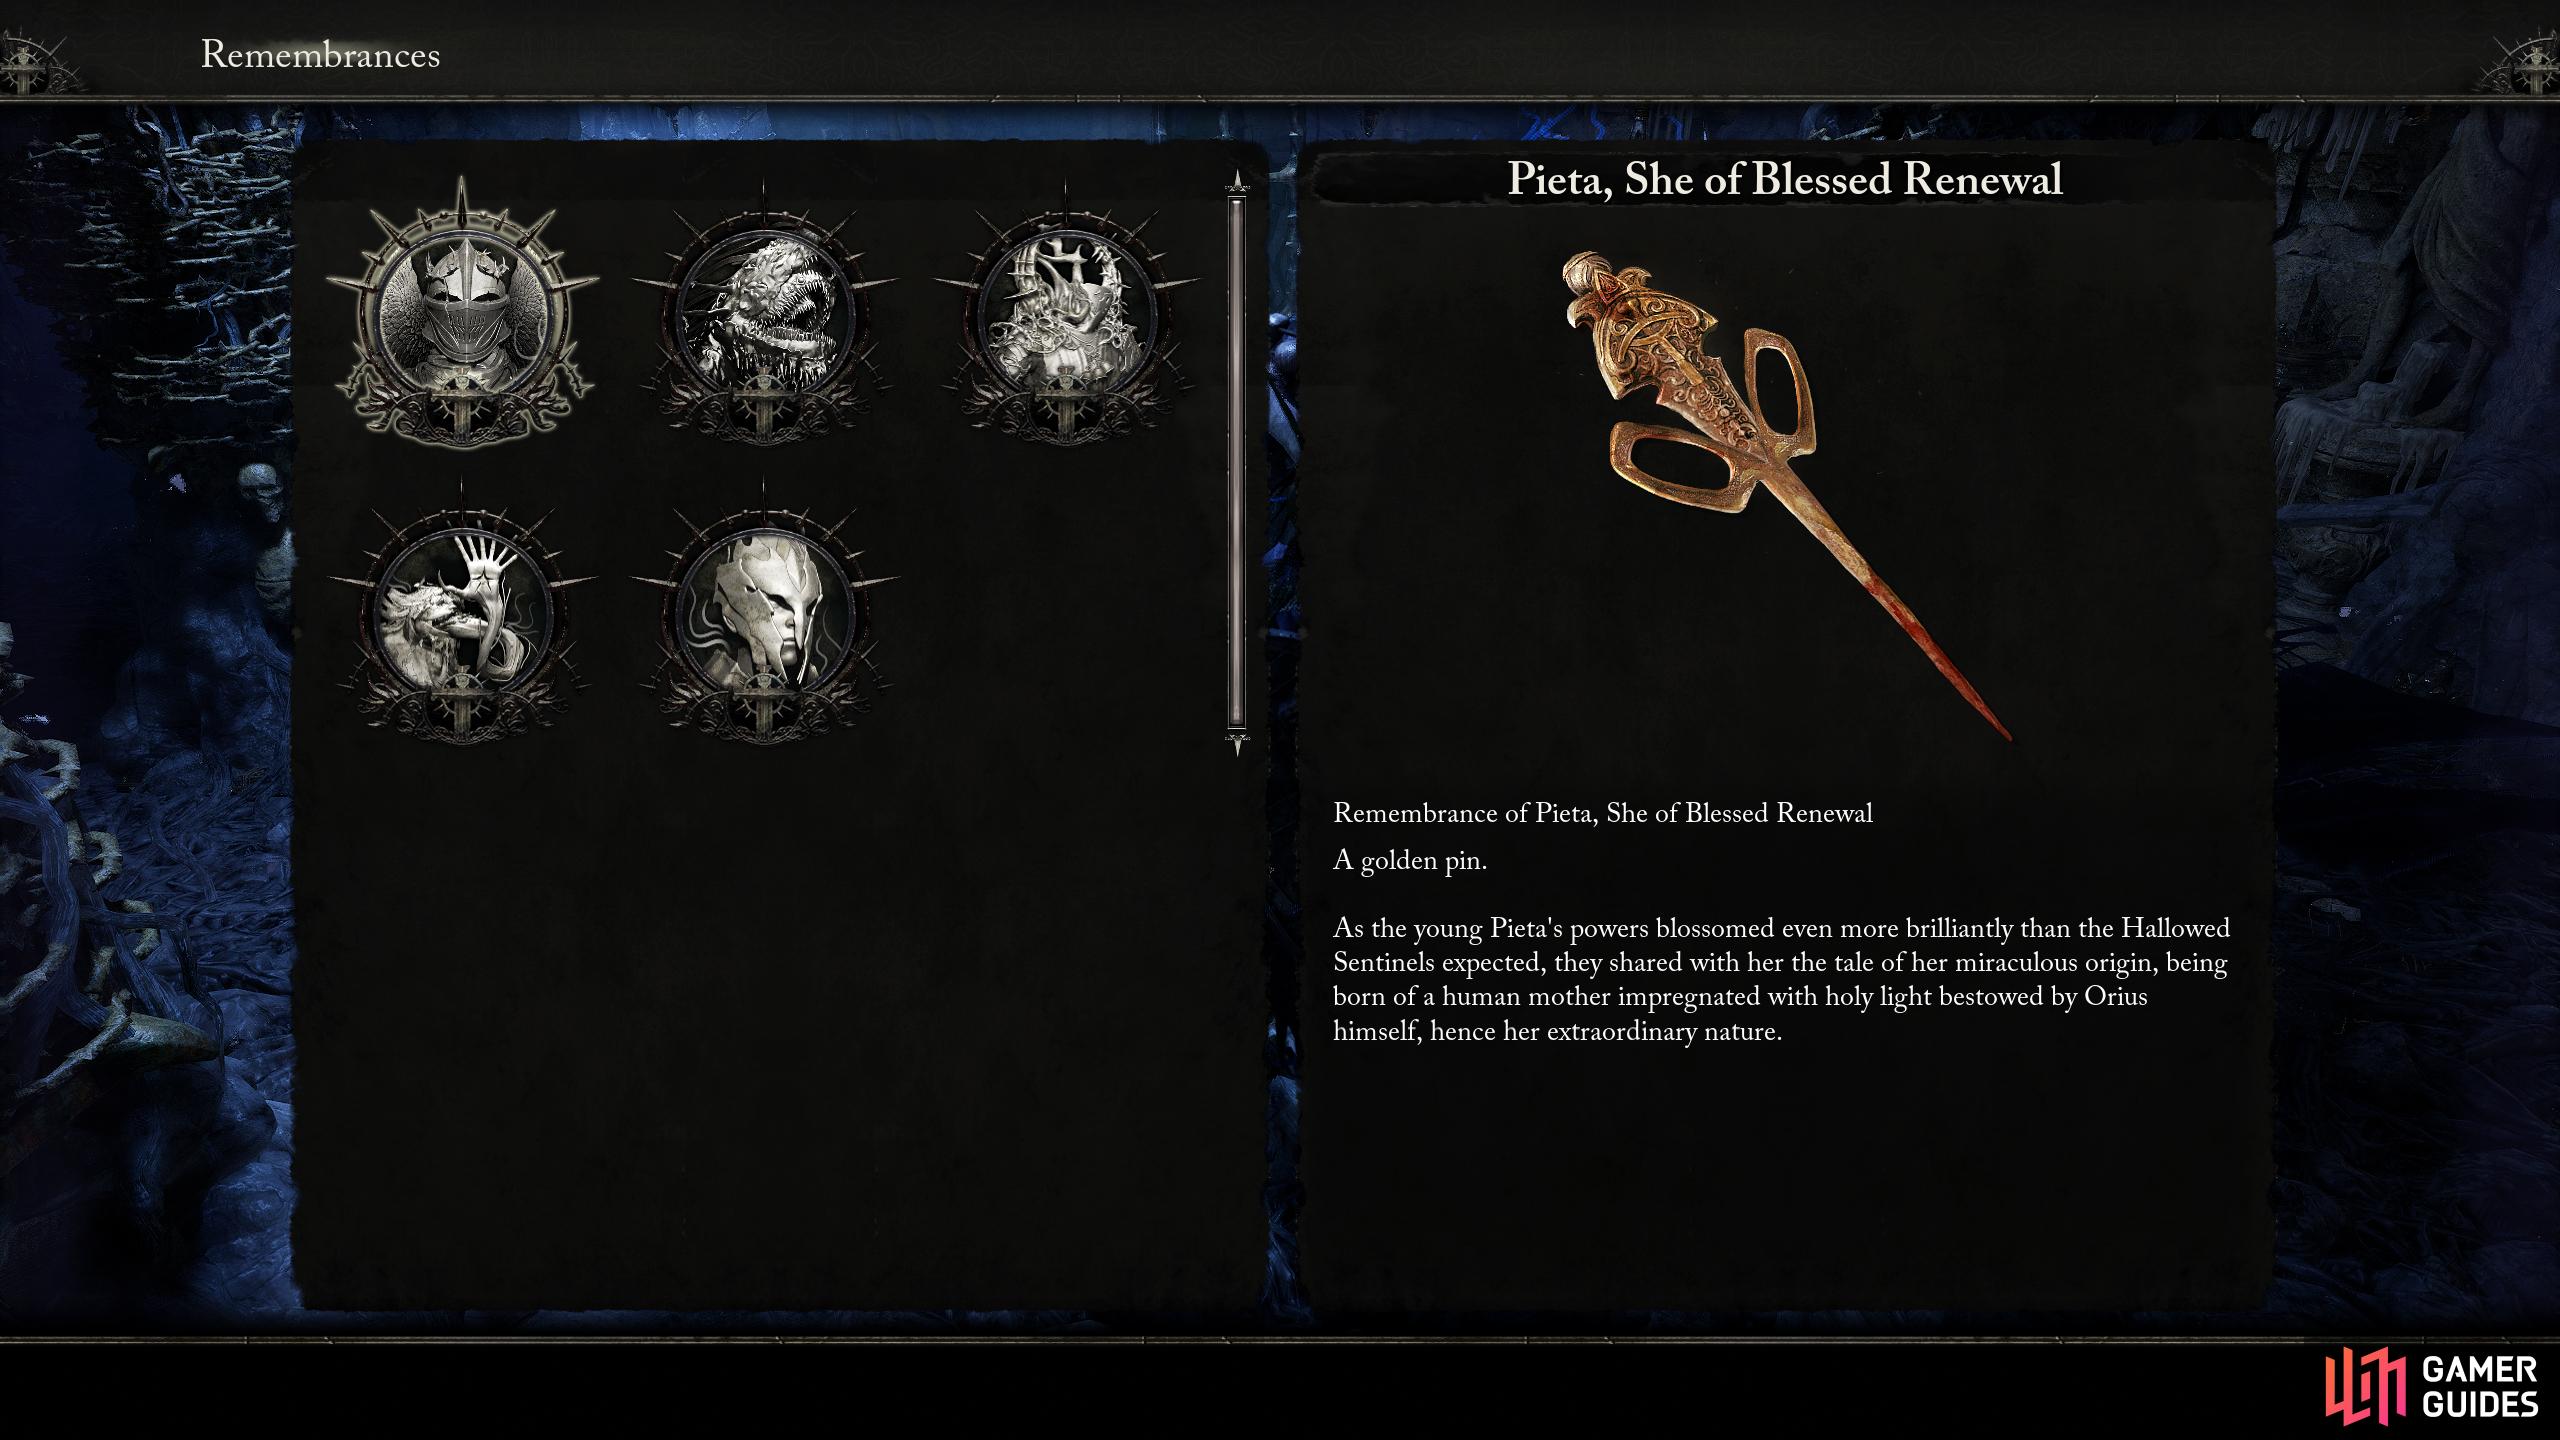
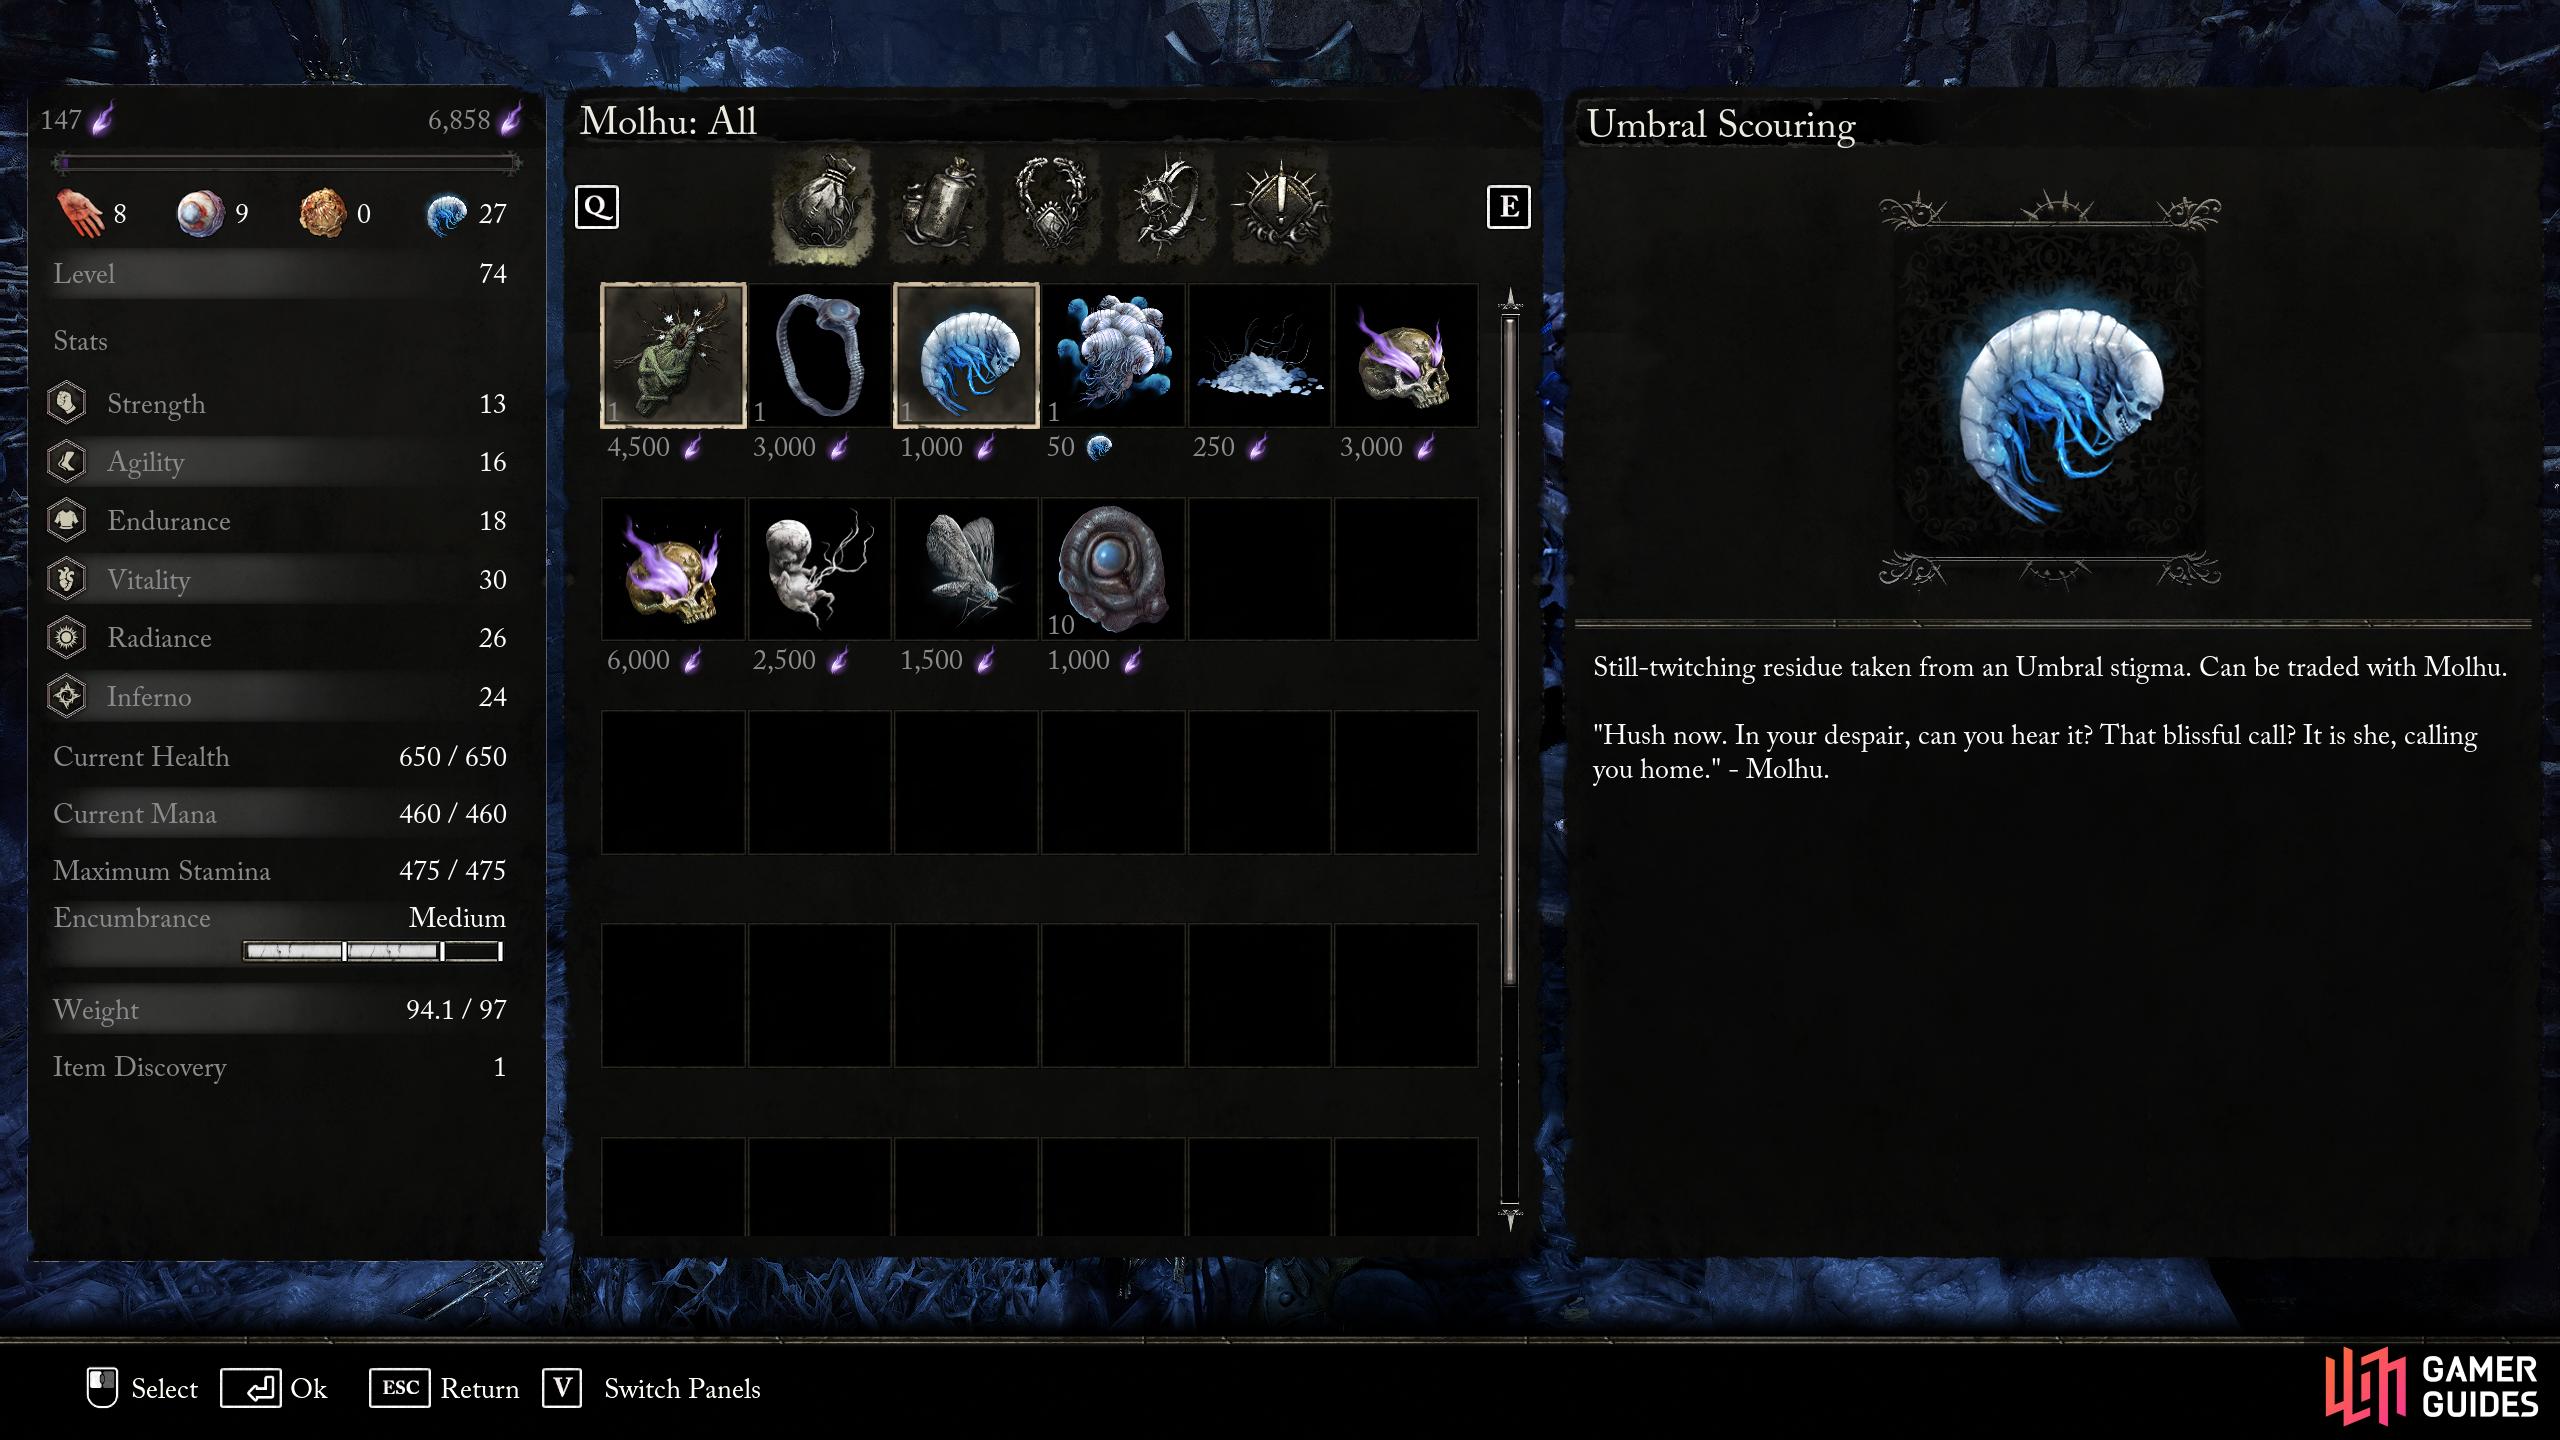
In Skyrest, switch over to the Umbral Realm, and go up the stairs opposite Pieta. Here, you’ll find a weird-looking creature called Molhu. If you haven’t spoken to it before, it will sell you various useful items such as Vestige Seeds, various Umbral spells, and even a Rebirth Chrysalis later which allows you to respec. For now, hand over the Bowl of Revelations, and it’ll unlock “Offer Remembrance”. If you’re doing this near the beginning of the game, you’ll only have access to one boss at the moment. Click on their name, and it’ll bring up a whole host of goodies you can purchase with one catch, you’ll need Umbral Scouring to purchase them.
How to Get Umbral Scouring
Umbral Scouring is a currency unique to Molhu and is relatively scarce. You can acquire them through a few interactions such as Soul Flaying a body in specific locations that give you some lore, defeating bosses, and finally, defeating higher tier enemies in the Umbral Realm that appear at higher dread levels which is shown on your multiplier in the top right of your screen. This resource is infinite, but with the only real method of farming it being the high-tier Umbral enemies, it can be risky.
(1 of 3) Enter the Umbral Realm in Skyrest and speak to Molhu. Here, you’ll be able to offer Remembrances aka Boss Souls.
Where to Get More Remembrances
The term Remembrance is another way to call them Boss Souls, so as you’d expect, you’d get them by defeating bosses, but there is a caveat, only specific bosses will drop them. These are the main story bosses of the game who come with a cutscene, and you’ll be able to obtain 12 of them in total. We won’t tell you who, as we don’t want to spoil the game for you.

 Sign up
No Comments