The chapter begins in a small room in Pirkstein. It has been given to you by Sir Hanush as a reward for your loyal service. Given that you have just engaged in your first major battle, you should take some time to repair your equipment, have a proper bath and launder your clothes. When ready, go to the hall in the Upper Castle of Rattay.
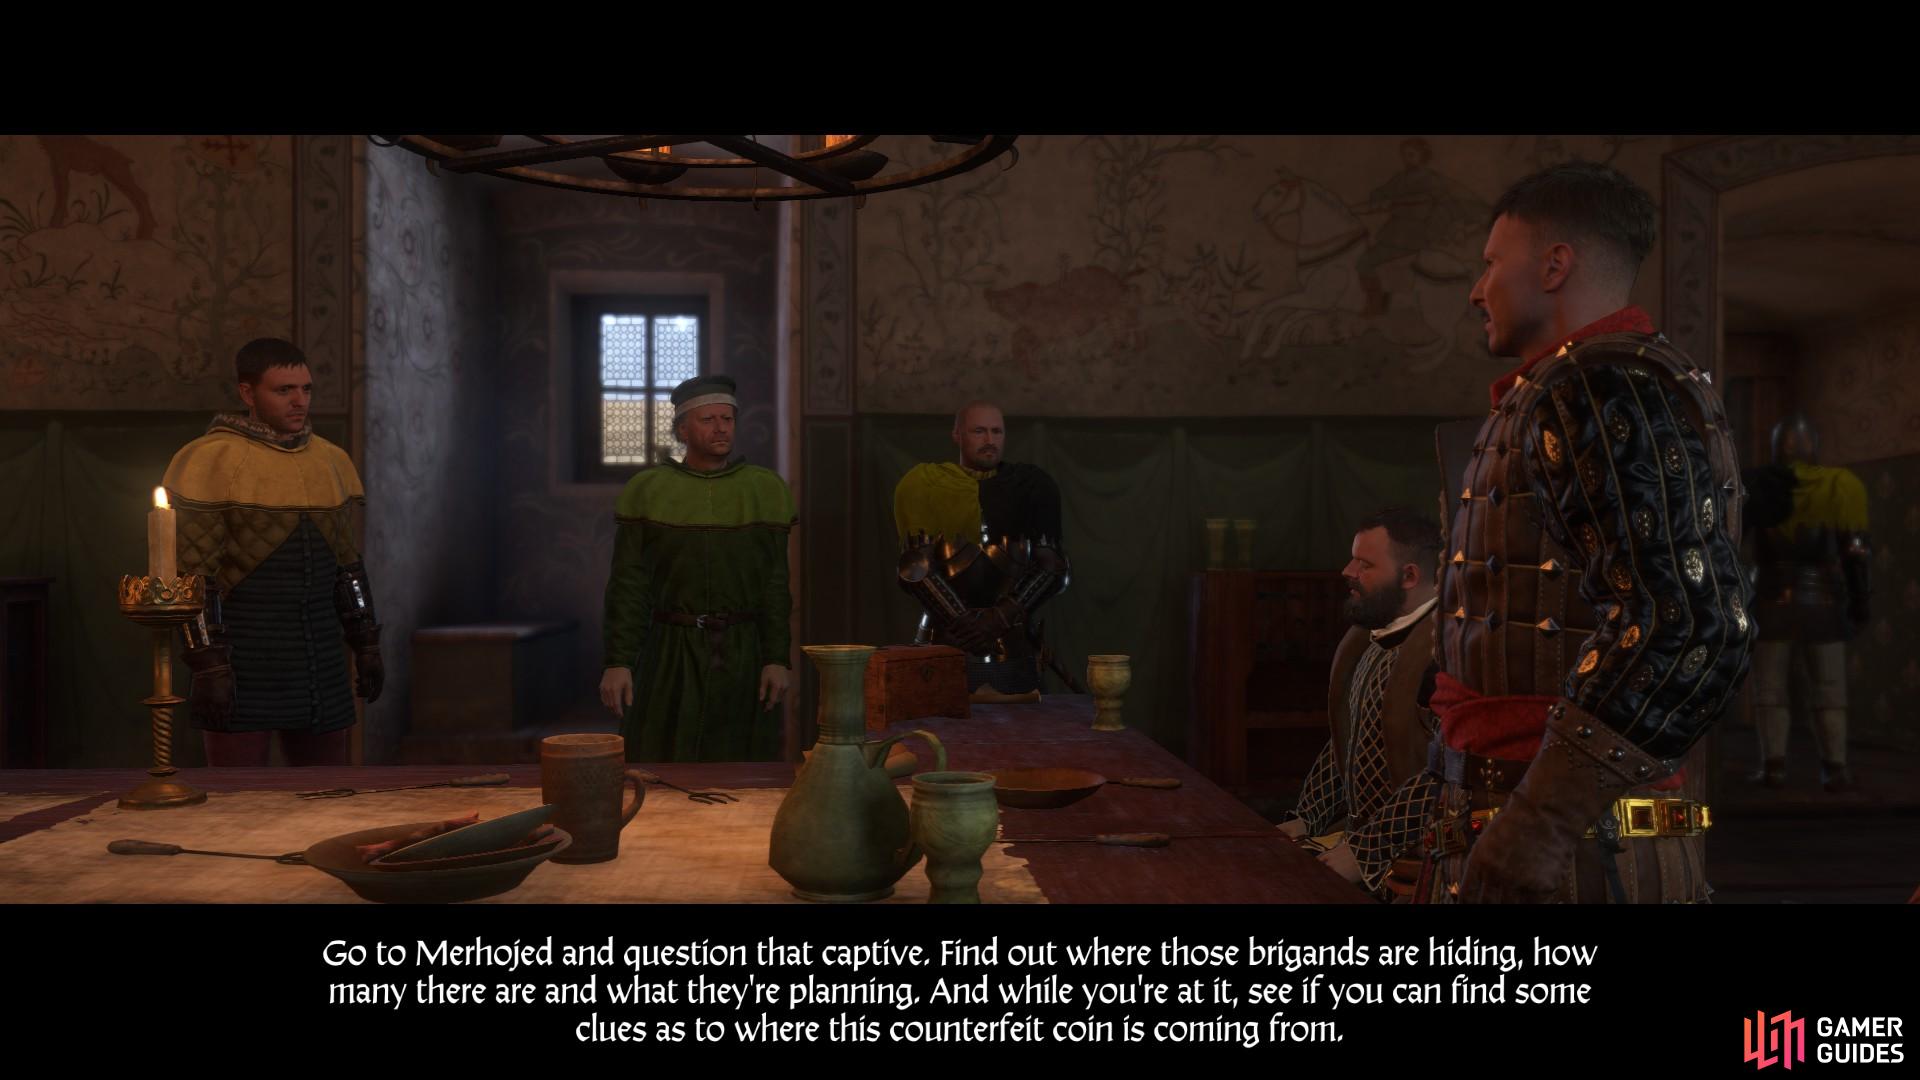
When you enter the hall a cut scene follows in which Captain Bernard reports that Merhojed has recently been attacked. Thankfully one of the attackers was captured.
Your task now is to go to Merhojed and question the captive, with the optional objective of discovering what has become of Matthias, Henry’s friend from Skalitz who has been working in the stables at Merhojed.
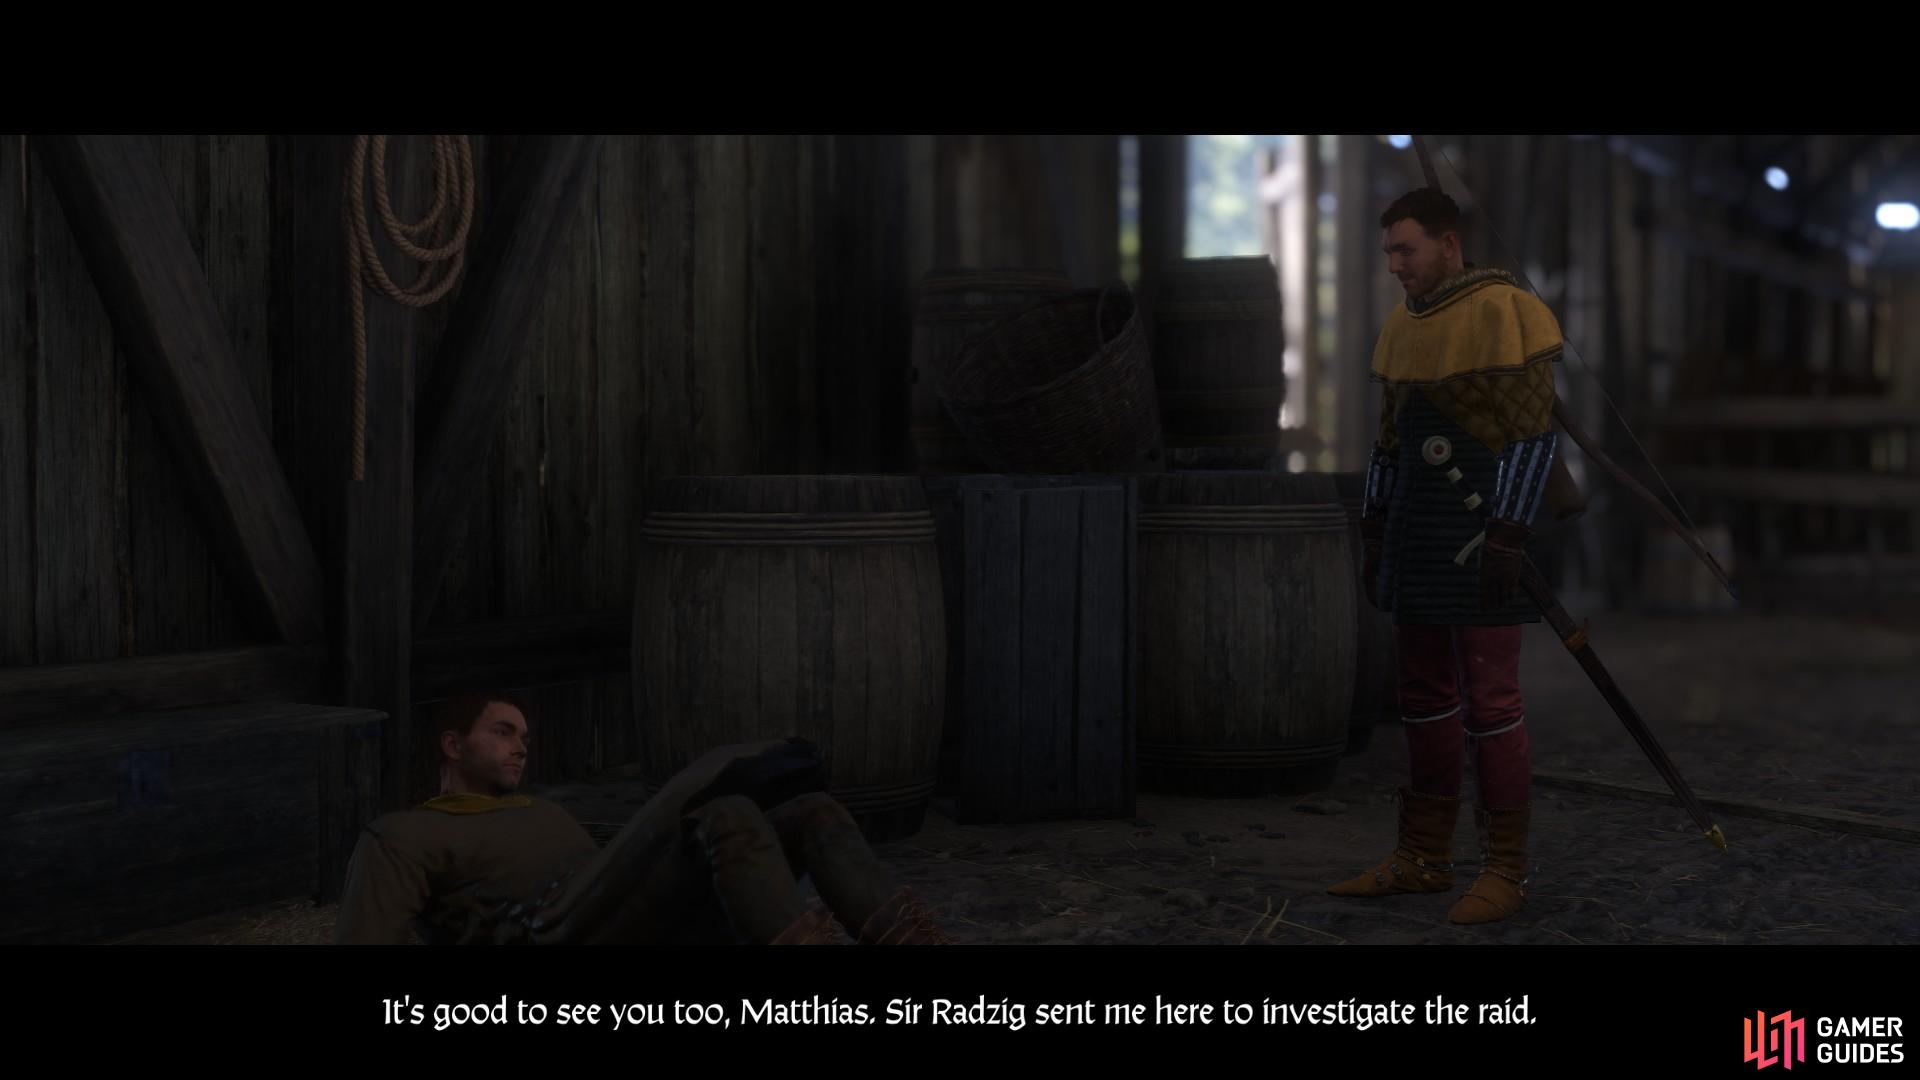
When you arrive in Merhojed go to the stables. You will find Matthias lying wounded on the floor.
In questioning Matthias you learn that not only has Merhojed been attacked by bandits, but it is also afflicted by a plague. You must speak to Melichar, the local Bailiff, to ask about seeing the captive bandit. Melichar can be found wandering the streets of the village at any given time.
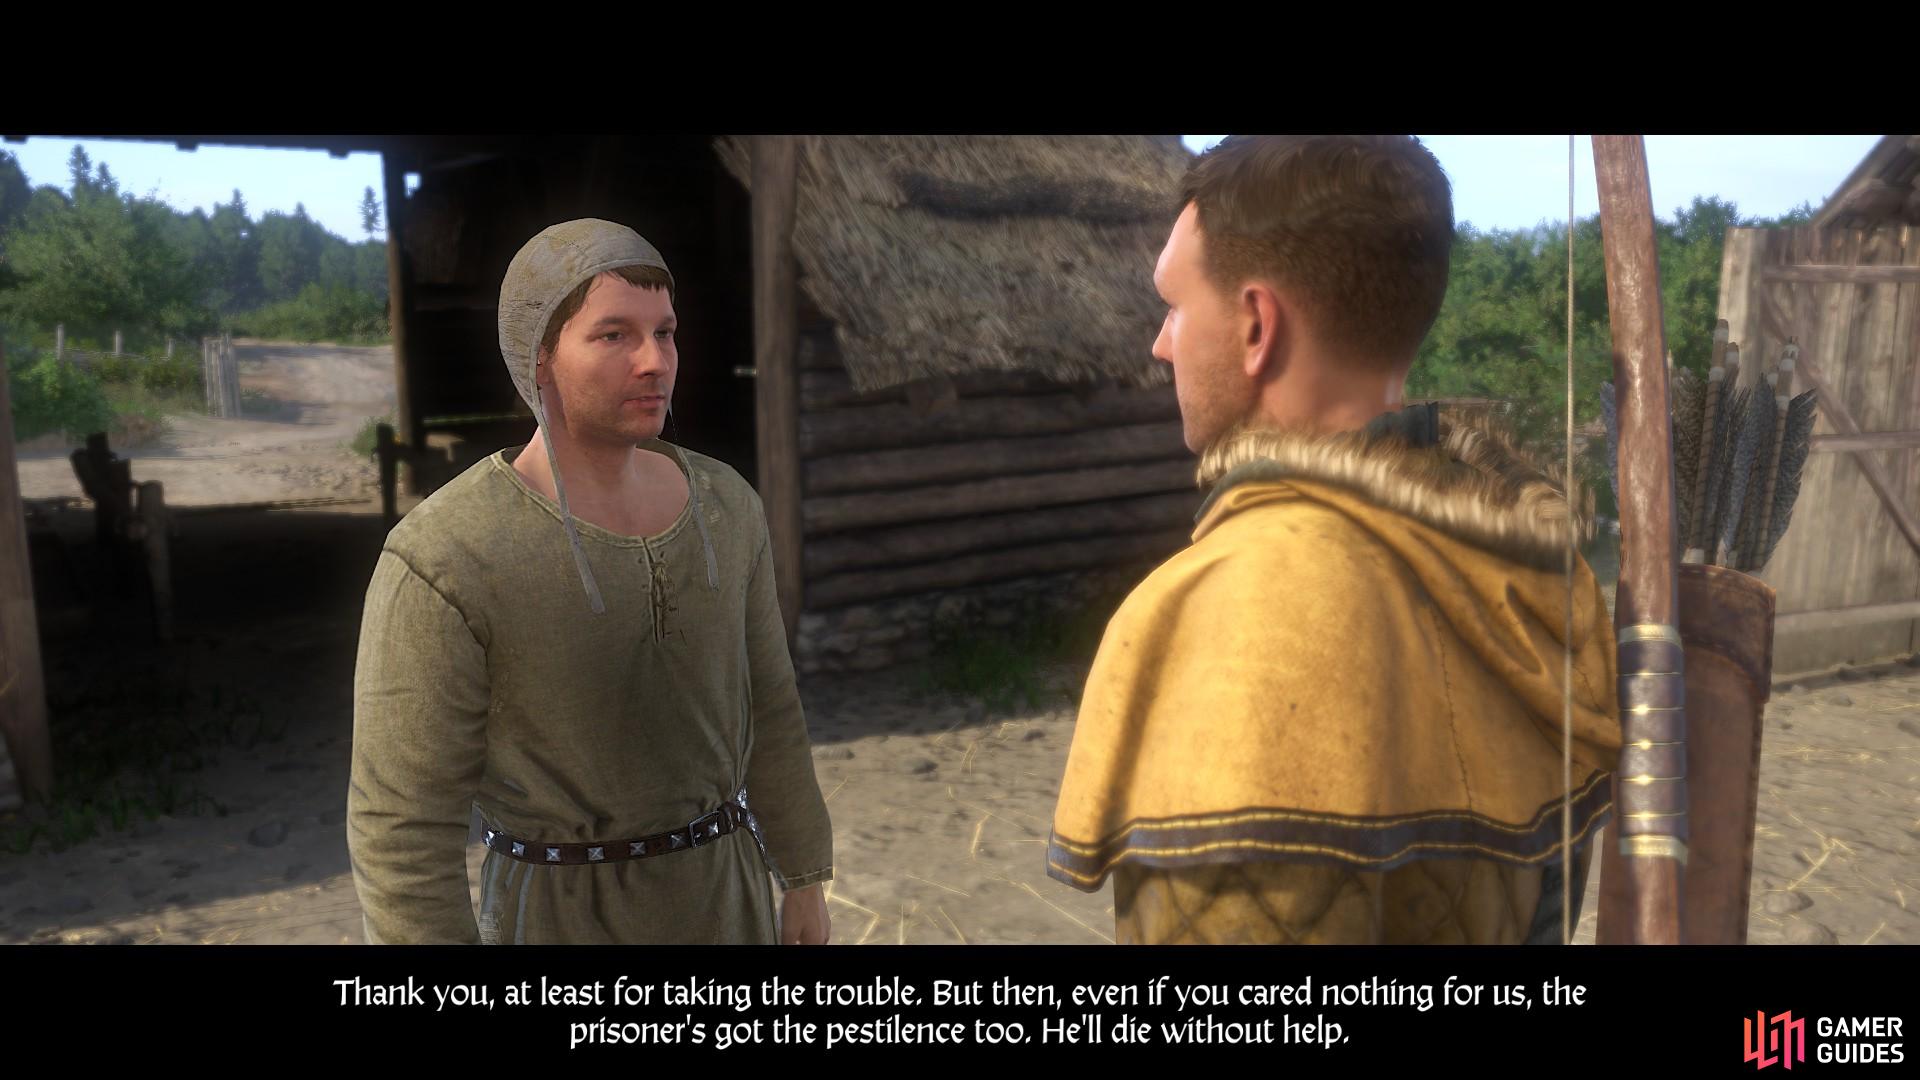
In speaking with Melichar you discover that the captive bandit now also has the plague. Your only option is to ask for help at the monastery.
Before going to the monastery be sure to investigate the extent to which the plague has spread in Merhojed.
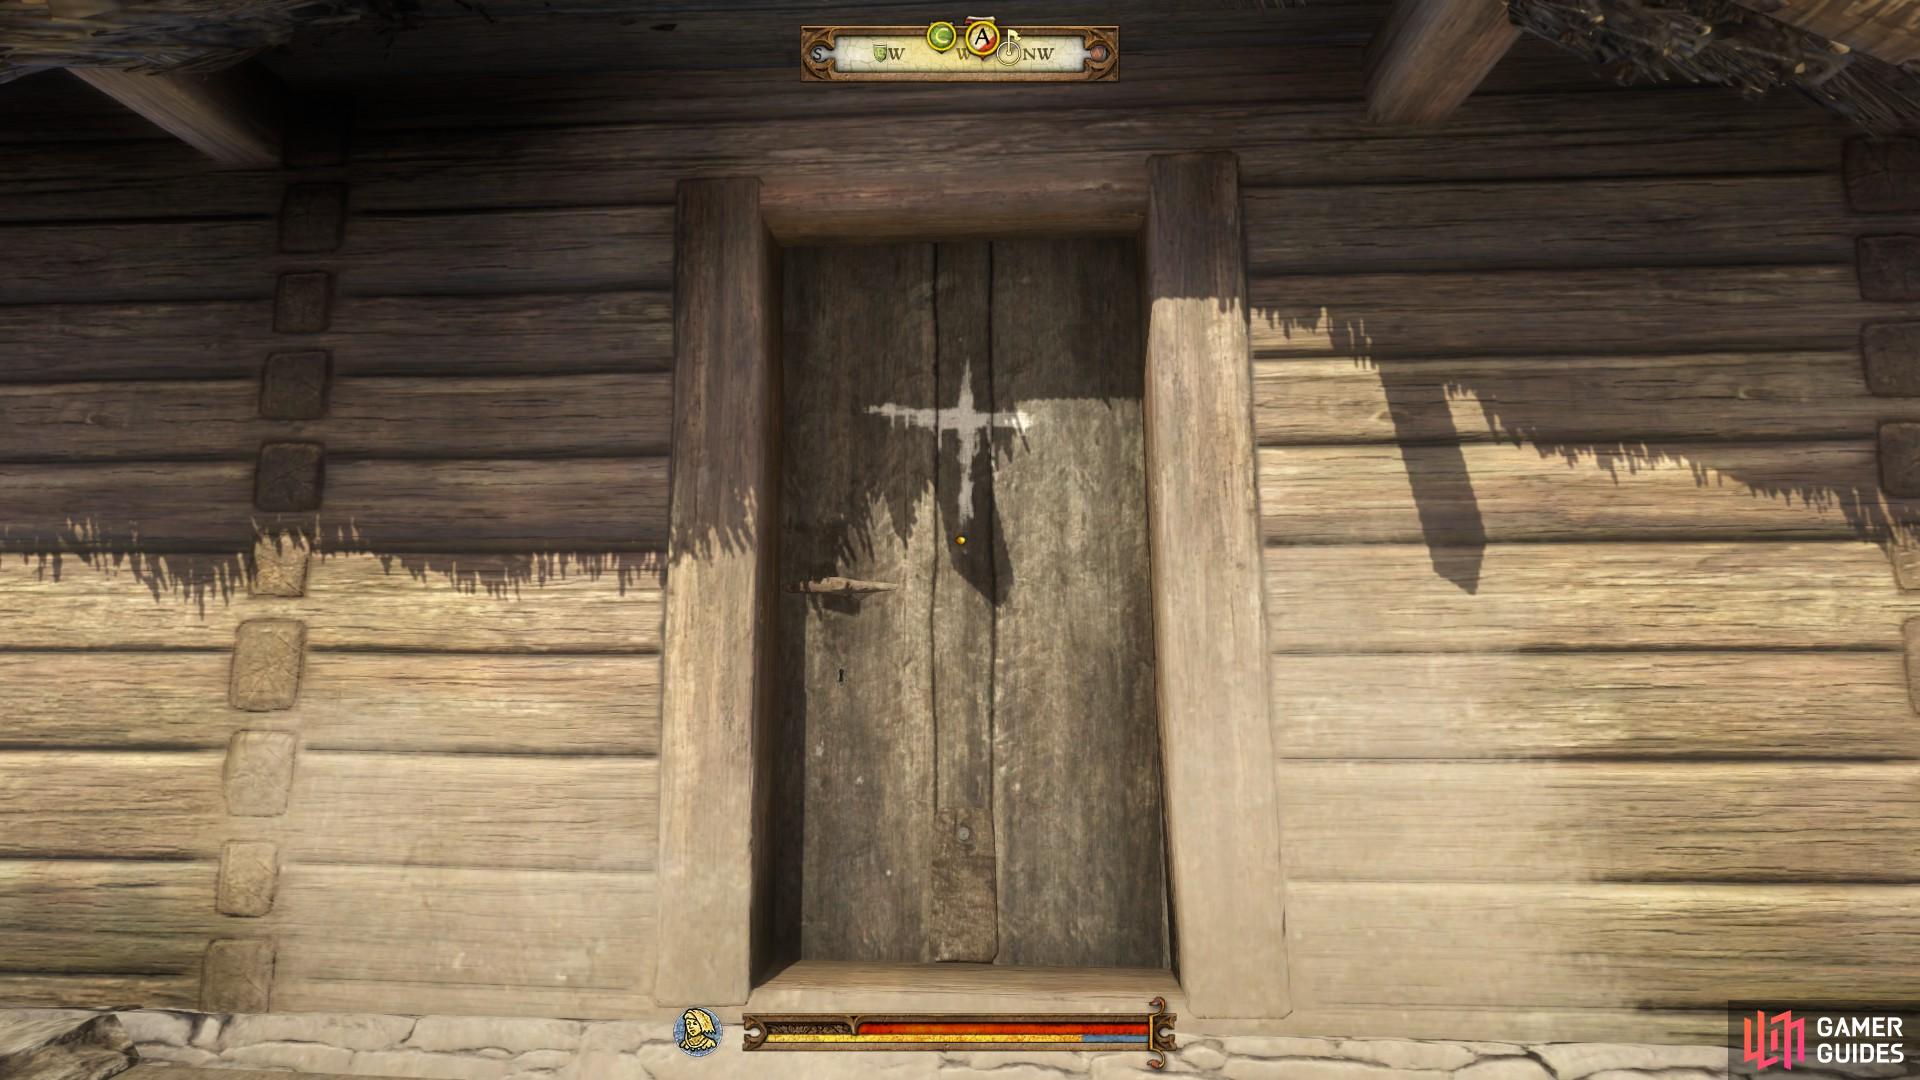
Visit houses with white crosses marked on the doors to learn how many people have been affected by the plague.
You can begin your investigation by visiting the house immediately to the west of the stables.
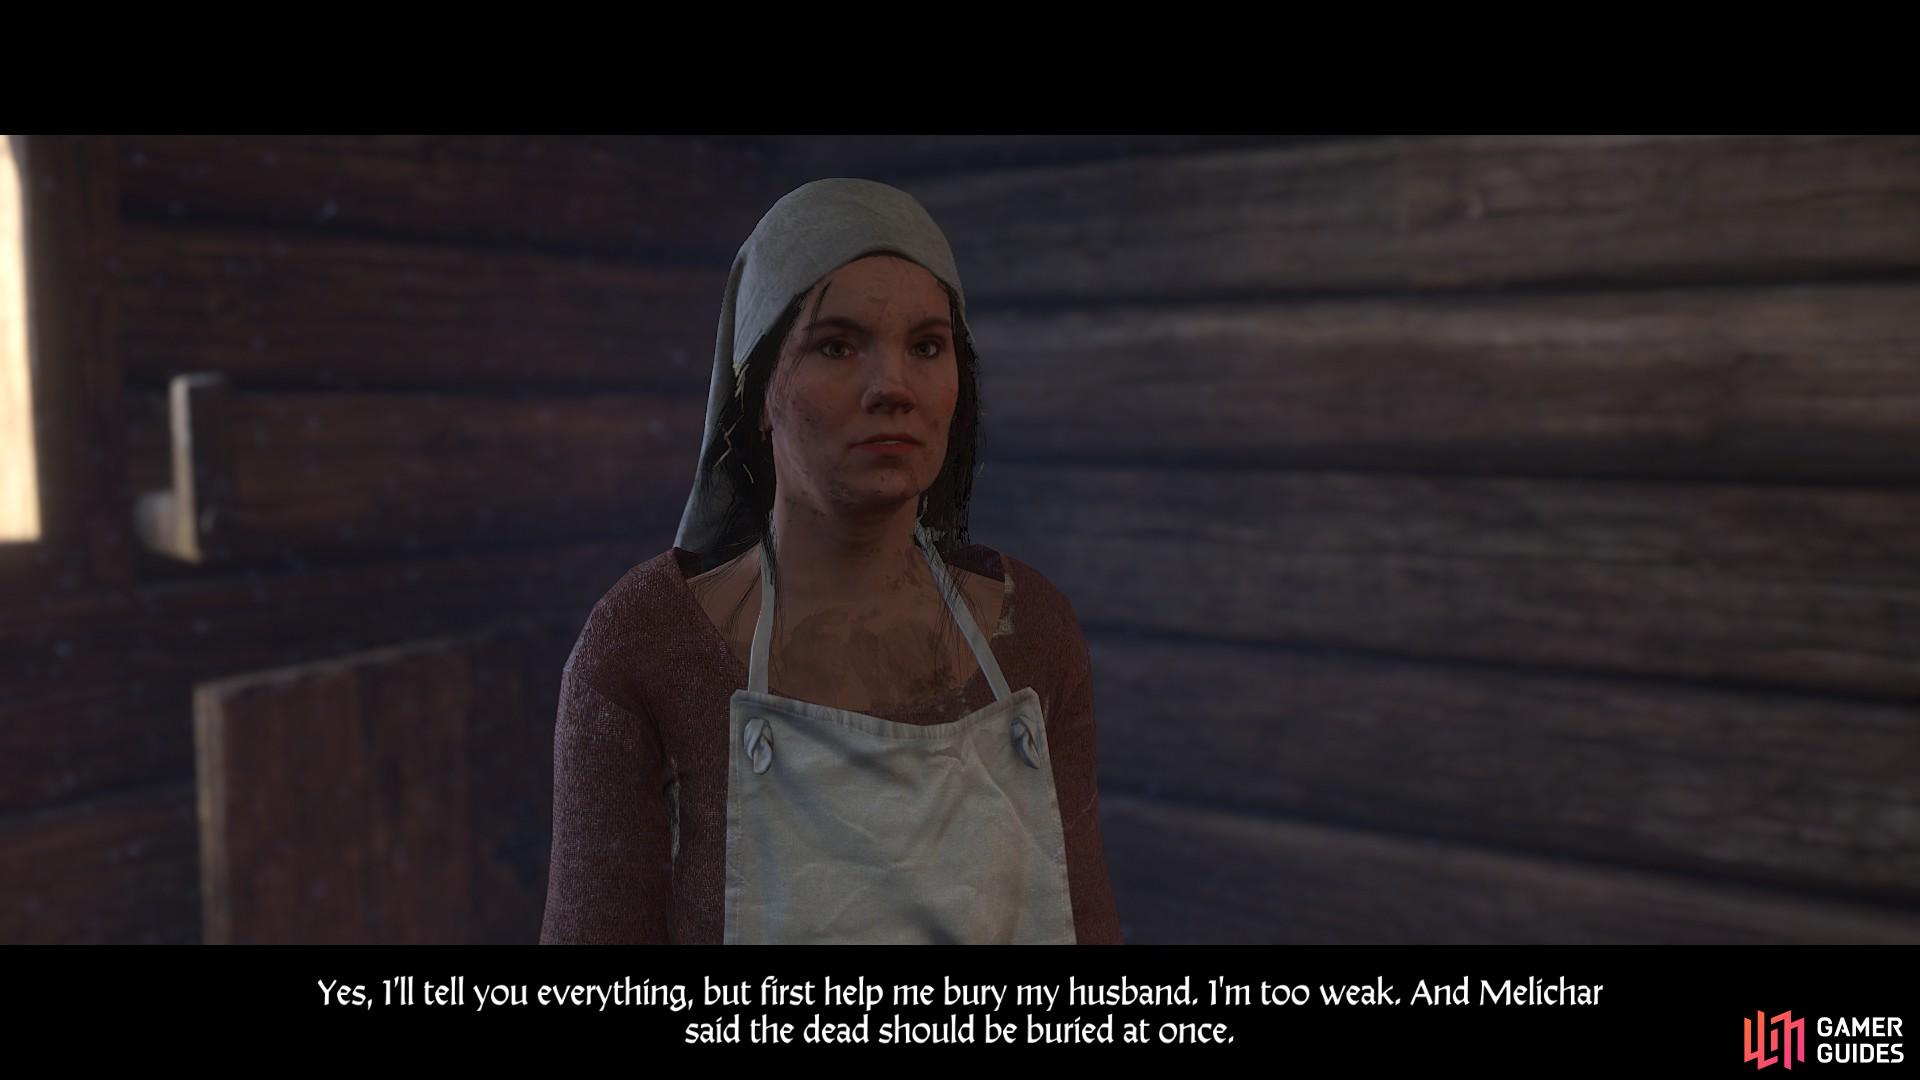
A woman named Bedrishka lives in the house next to the stables and is distraught by the death of her husband Anthony.
Help Bedrishka to bury her husband so that she will tell you everything about his symptoms.
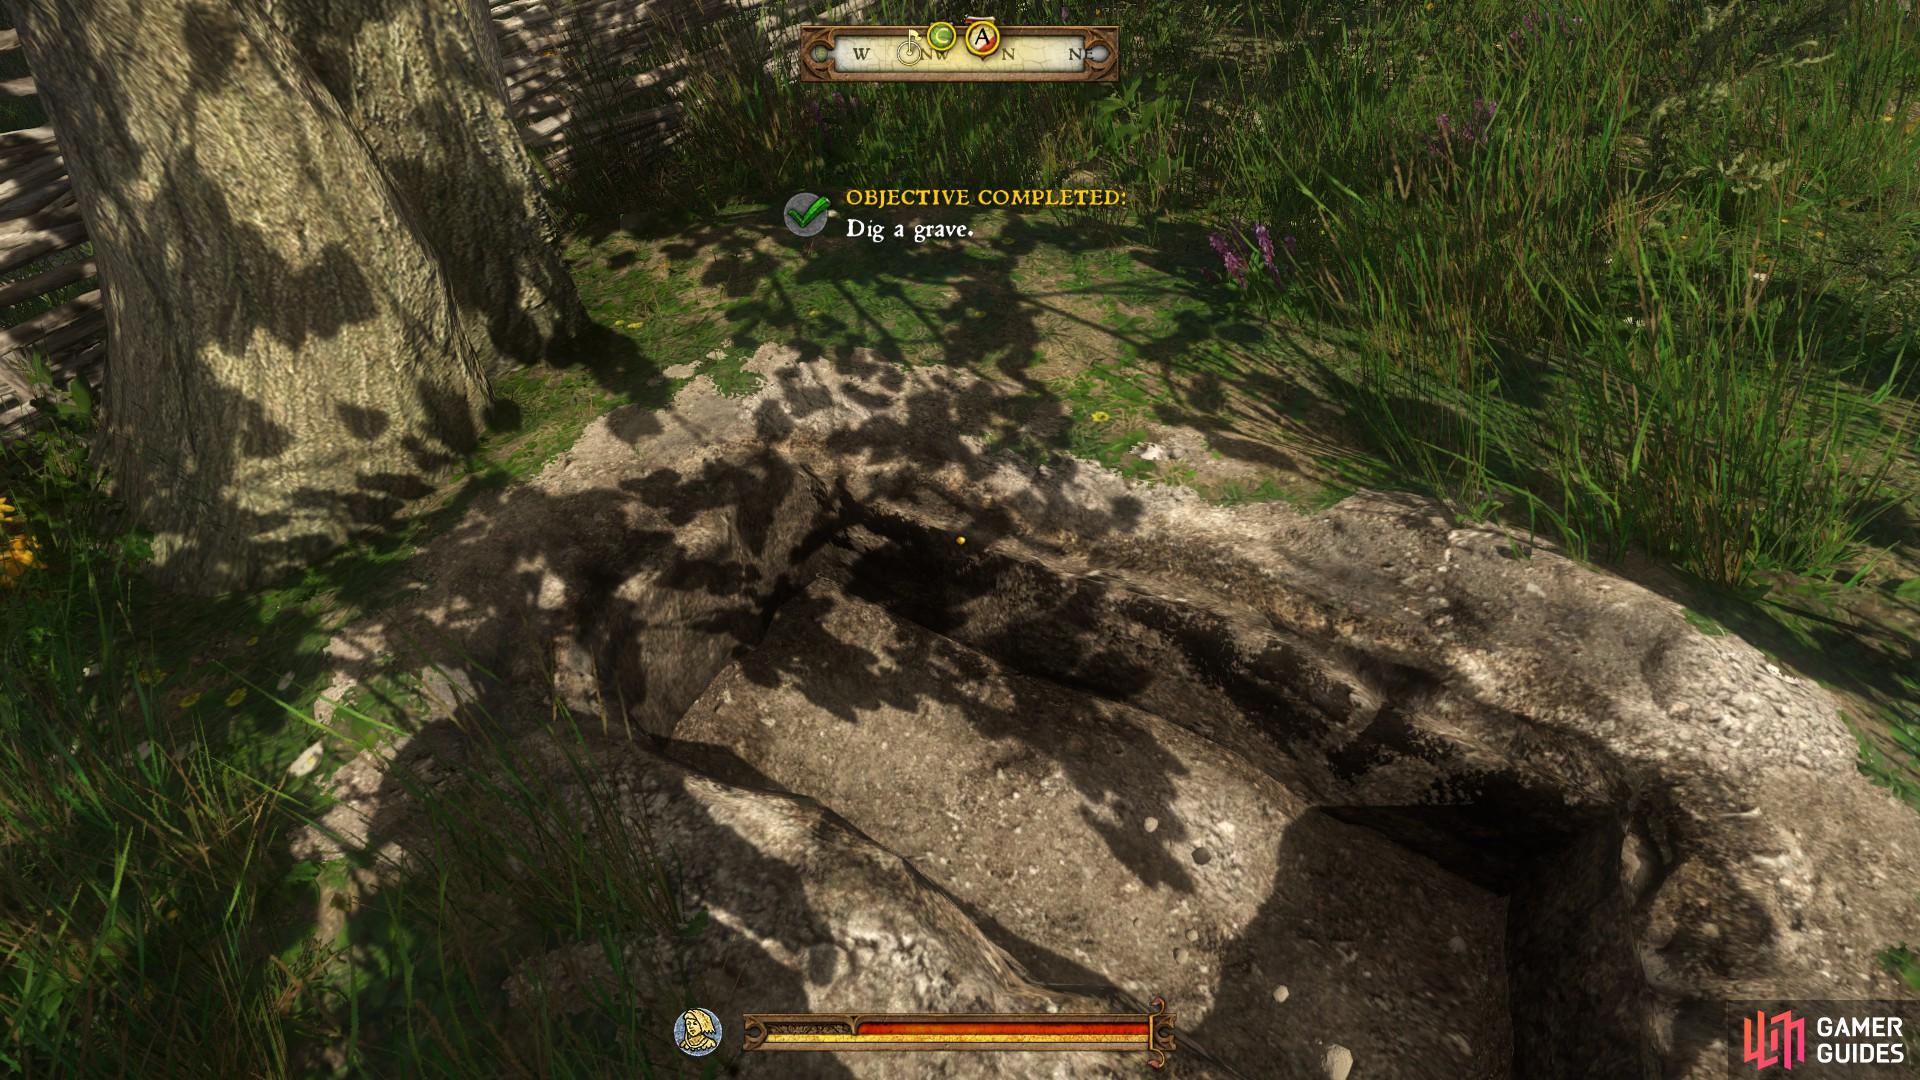
You should begin by digging a grave for Anthony in Bedrishka’s back garden.
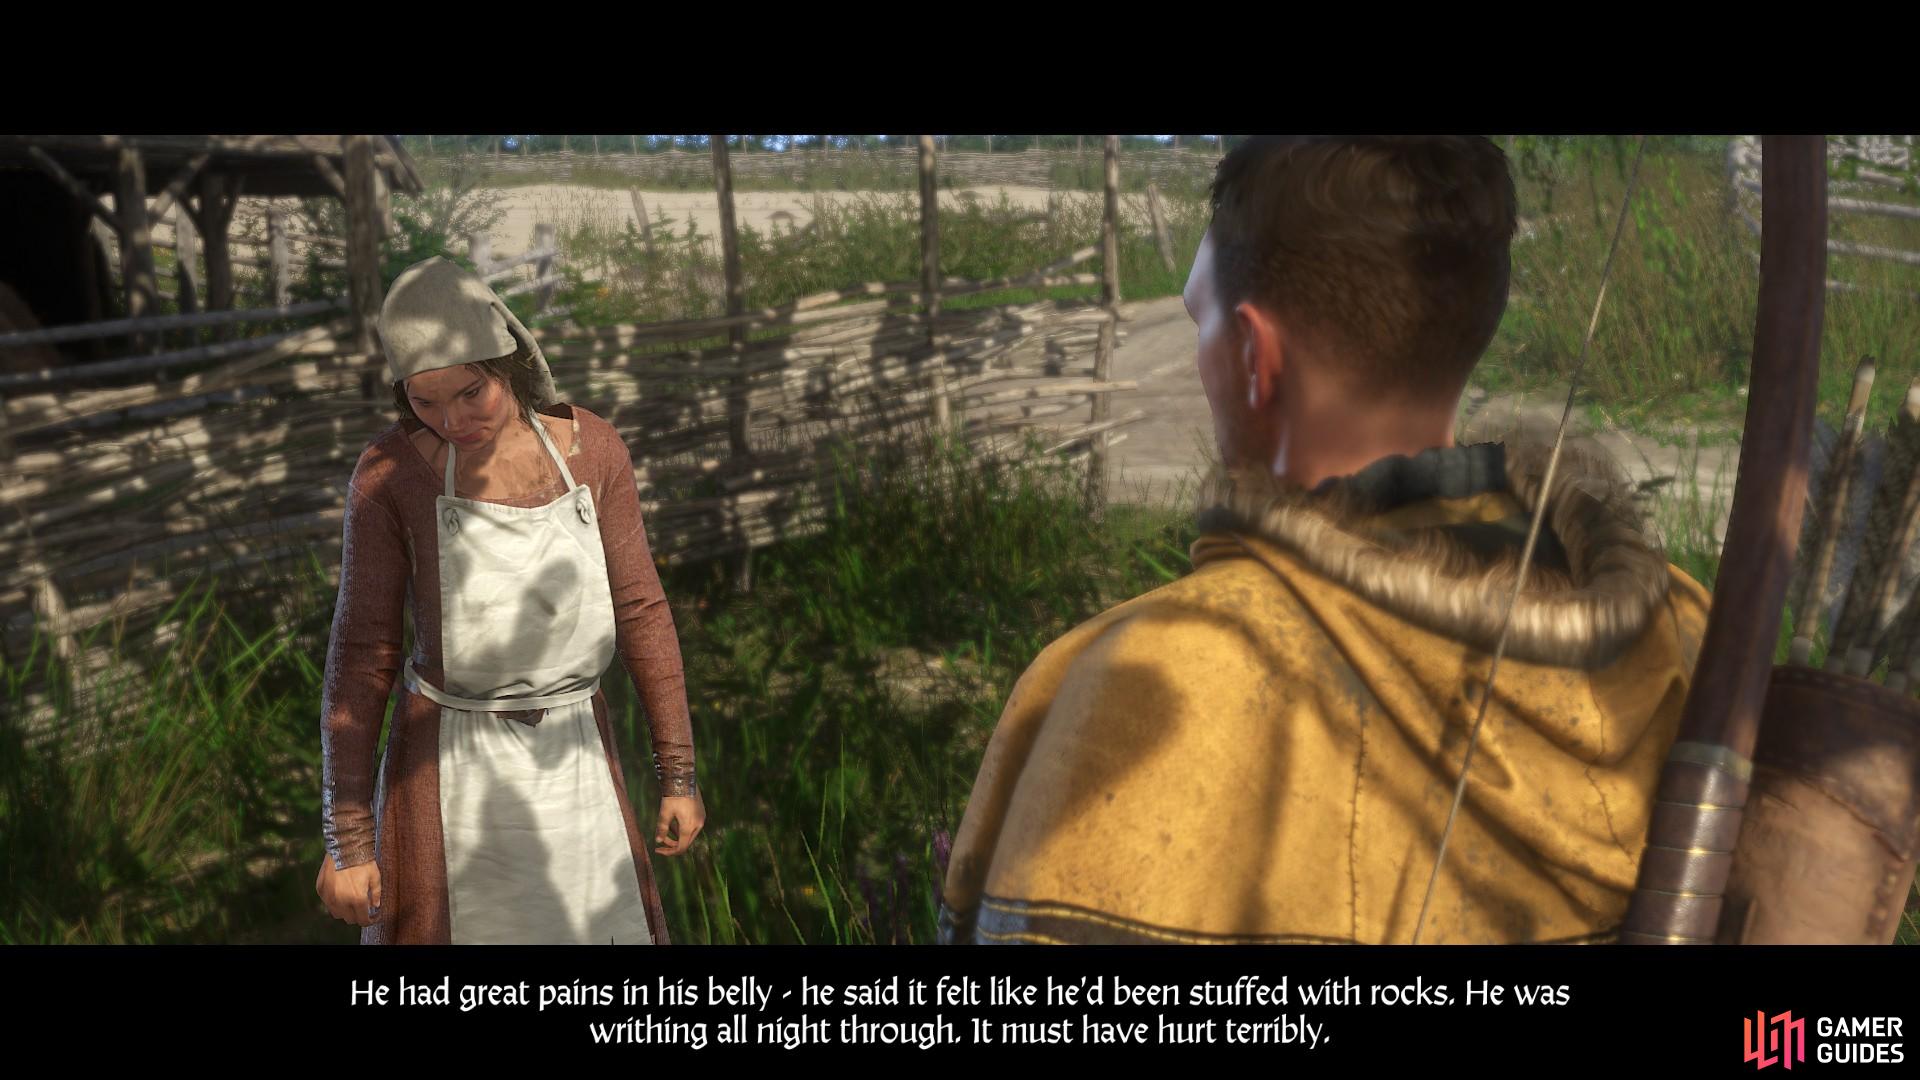
Go back to Bedrishka and tell her that you have dug the grave for Anthony. Pick up Anthony and carry him to the grave. You can now speak with Bedrishka about his symptoms.
Speak to Bedrishka to learn about the symptoms of the plague as they affected her husband Anthony.
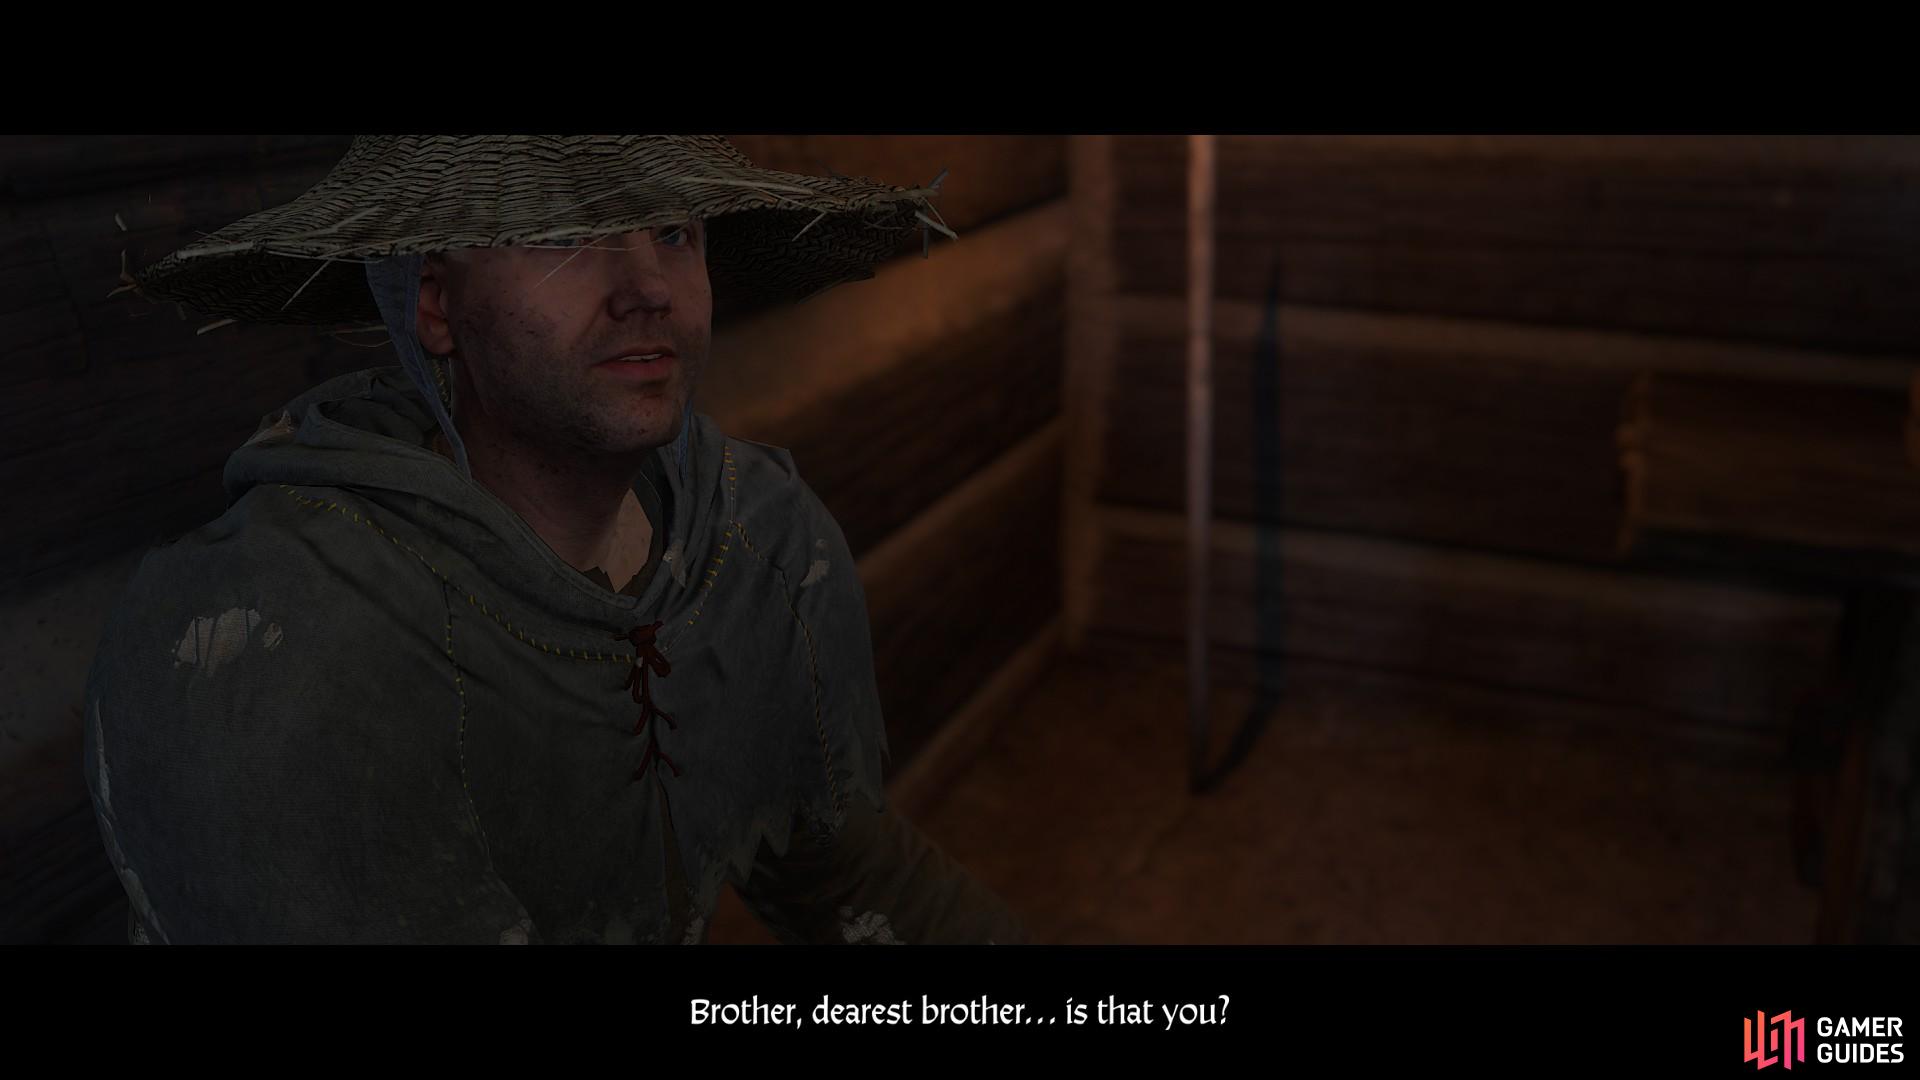
The next house that you can visit is south east from Bedrishka’s, by the Grocer. Here you will find Daniel, a villager whose symptoms are most strongly expressed in the form of an intense delirium.
Convince Daniel that you are his brother to confirm his delirious state and register it as part of the investigation.
The nearest house affected by the plague from Daniel is directly south from the stables. Here lives Old Straw, a man whose son was killed during the bandit raid and whose wife is suffering from the same fever that is affecting Melichar’s wife.
Convince Old Straw that you want to help his wife, not harm her. You can then inspect her in the small room opposite.
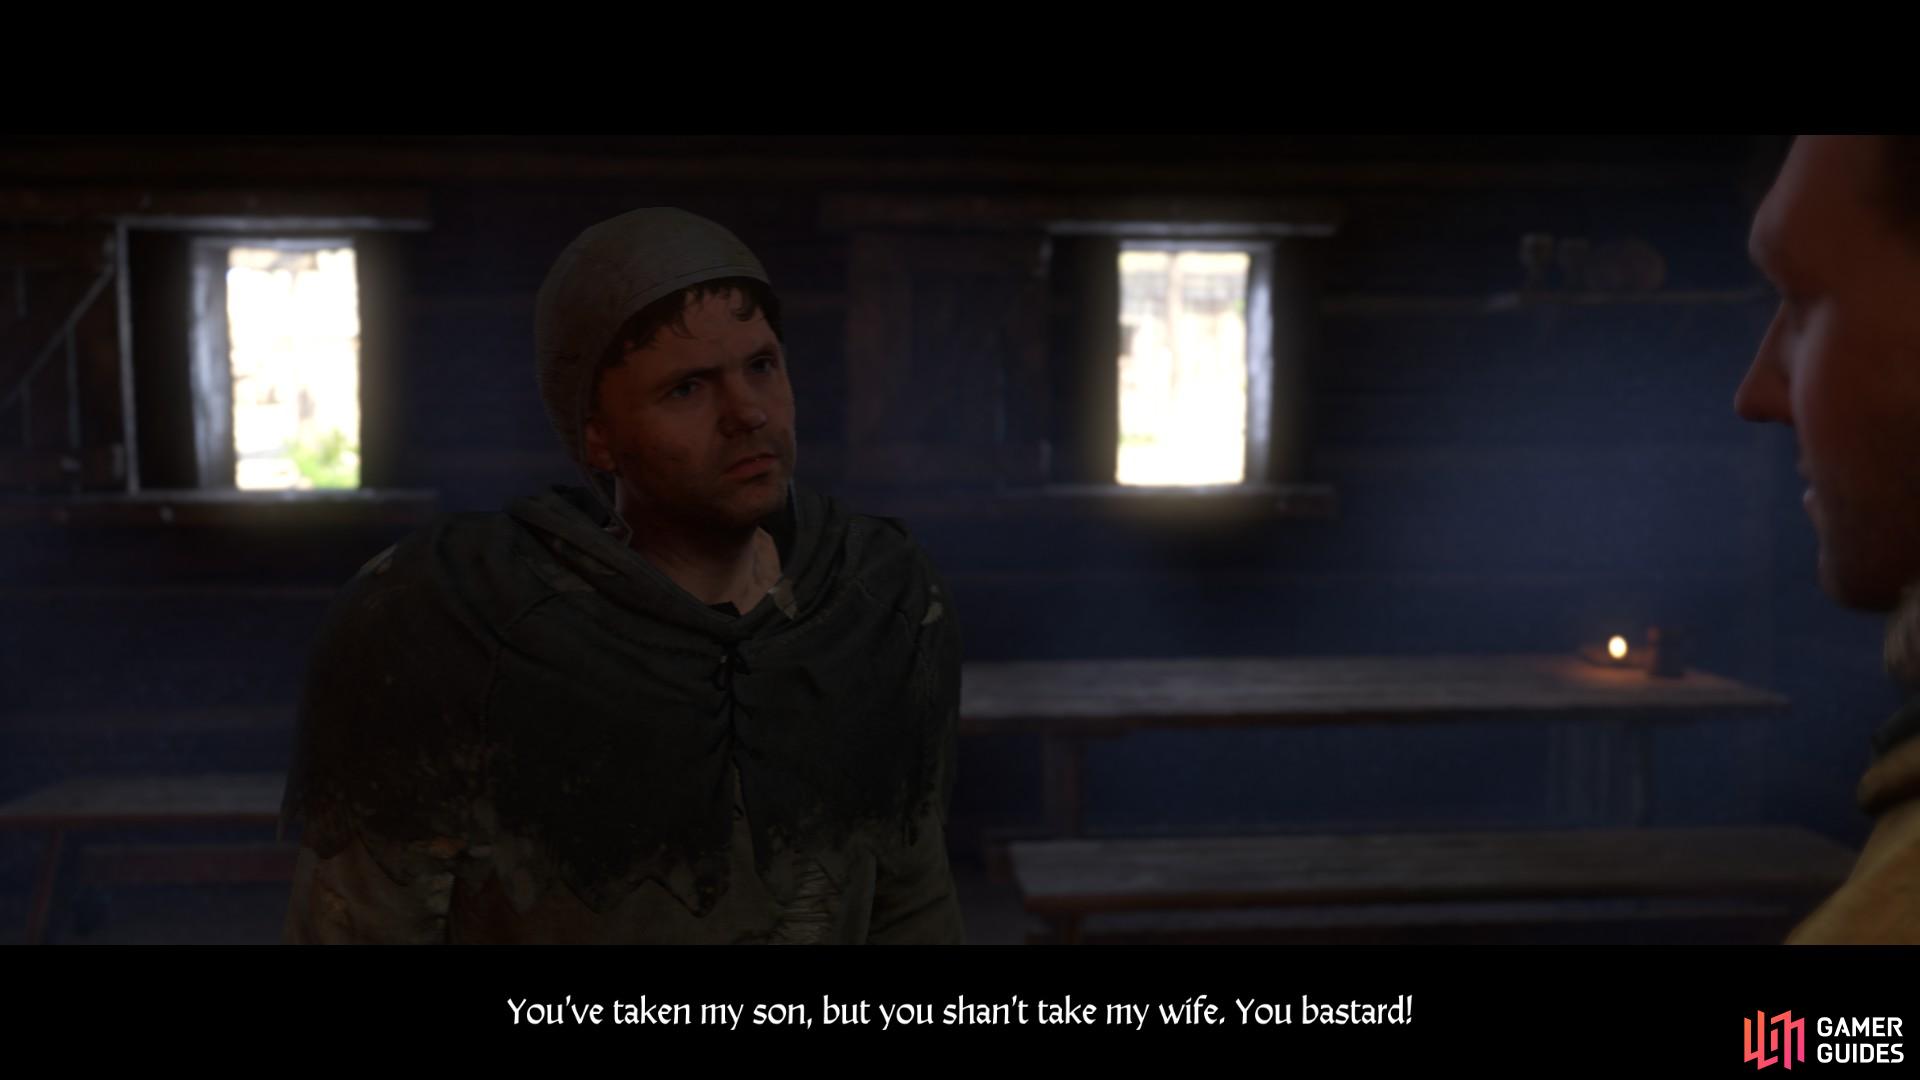
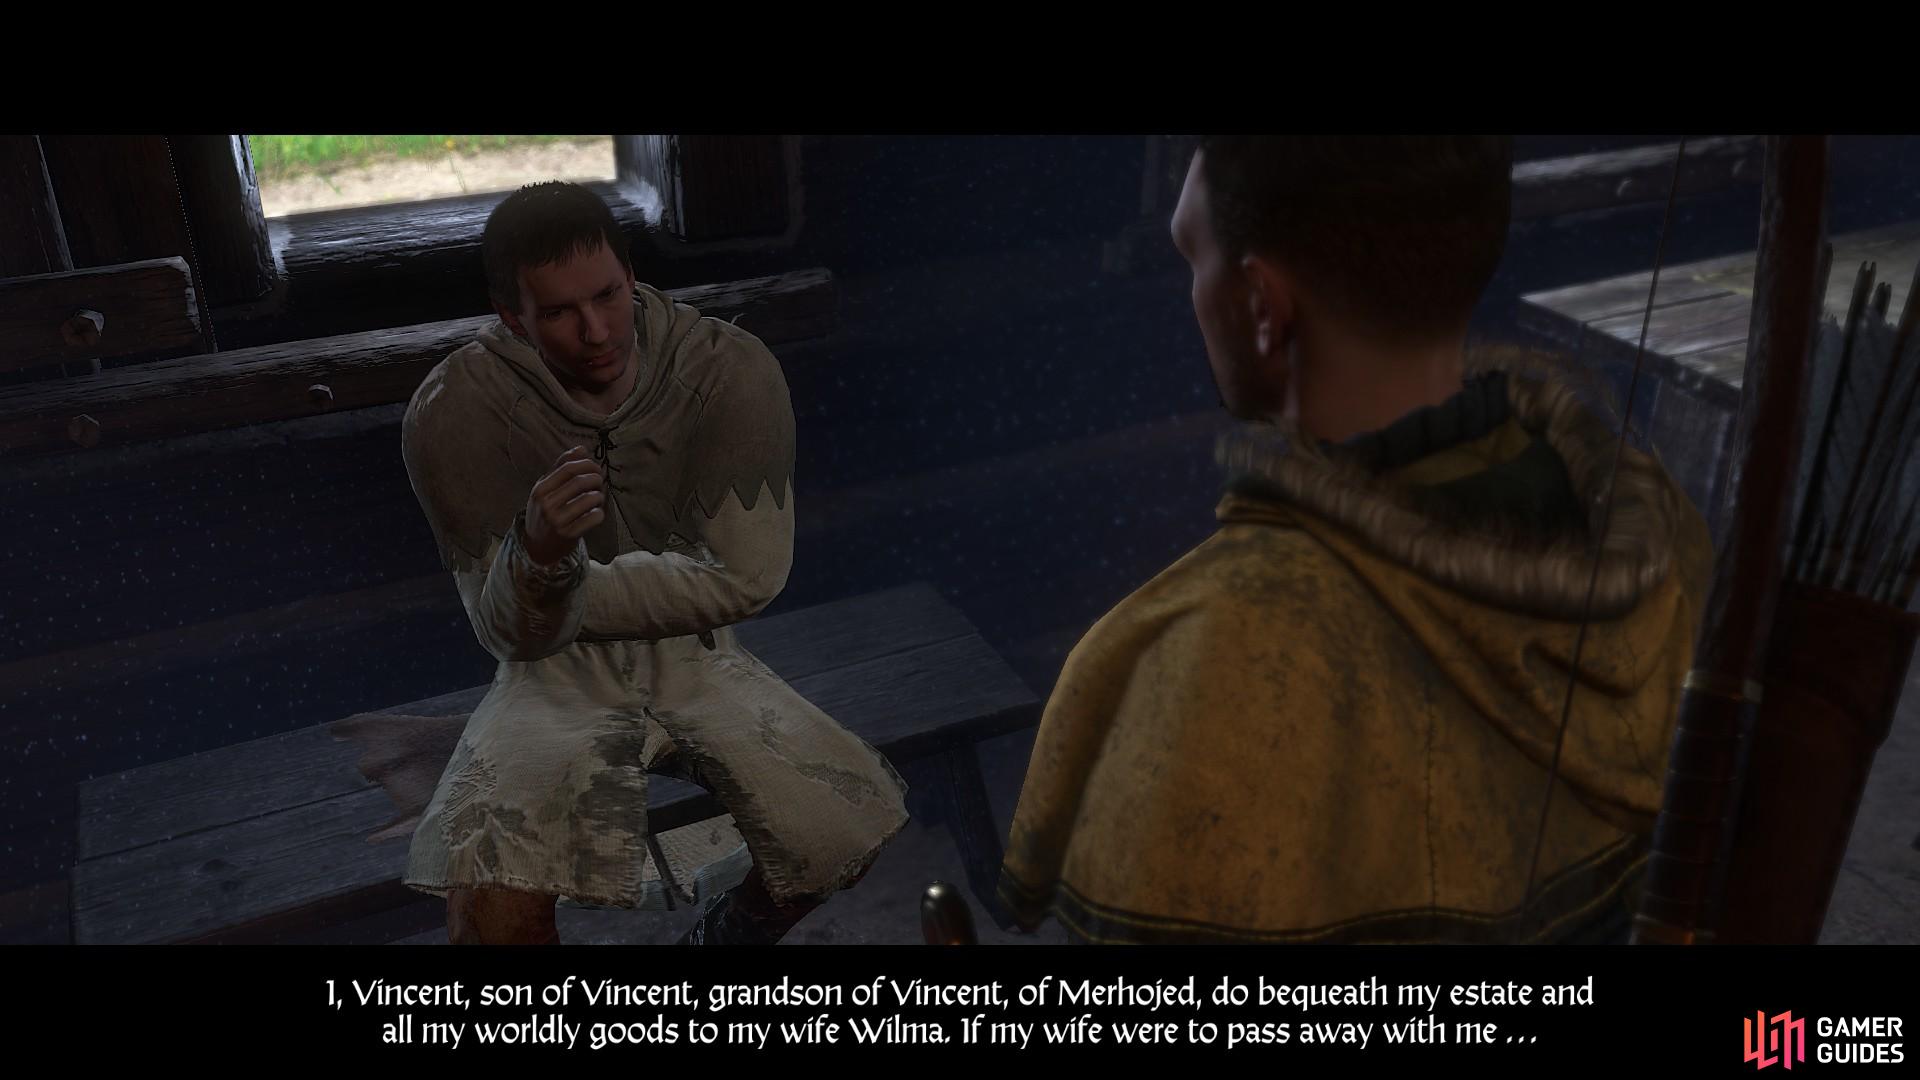
The last house affected can be found at the edge of the village on the eastern side. Here you will find Vincent. He and his wife express the same symptoms of fever as Melichar’s wife and Old Straw’s wife.
If you can read and write, you can also pick up the side quest ‘Last Will and Testament’ from Vincent, the objective of which will take you to Sasau along with the request for help from the monastery.
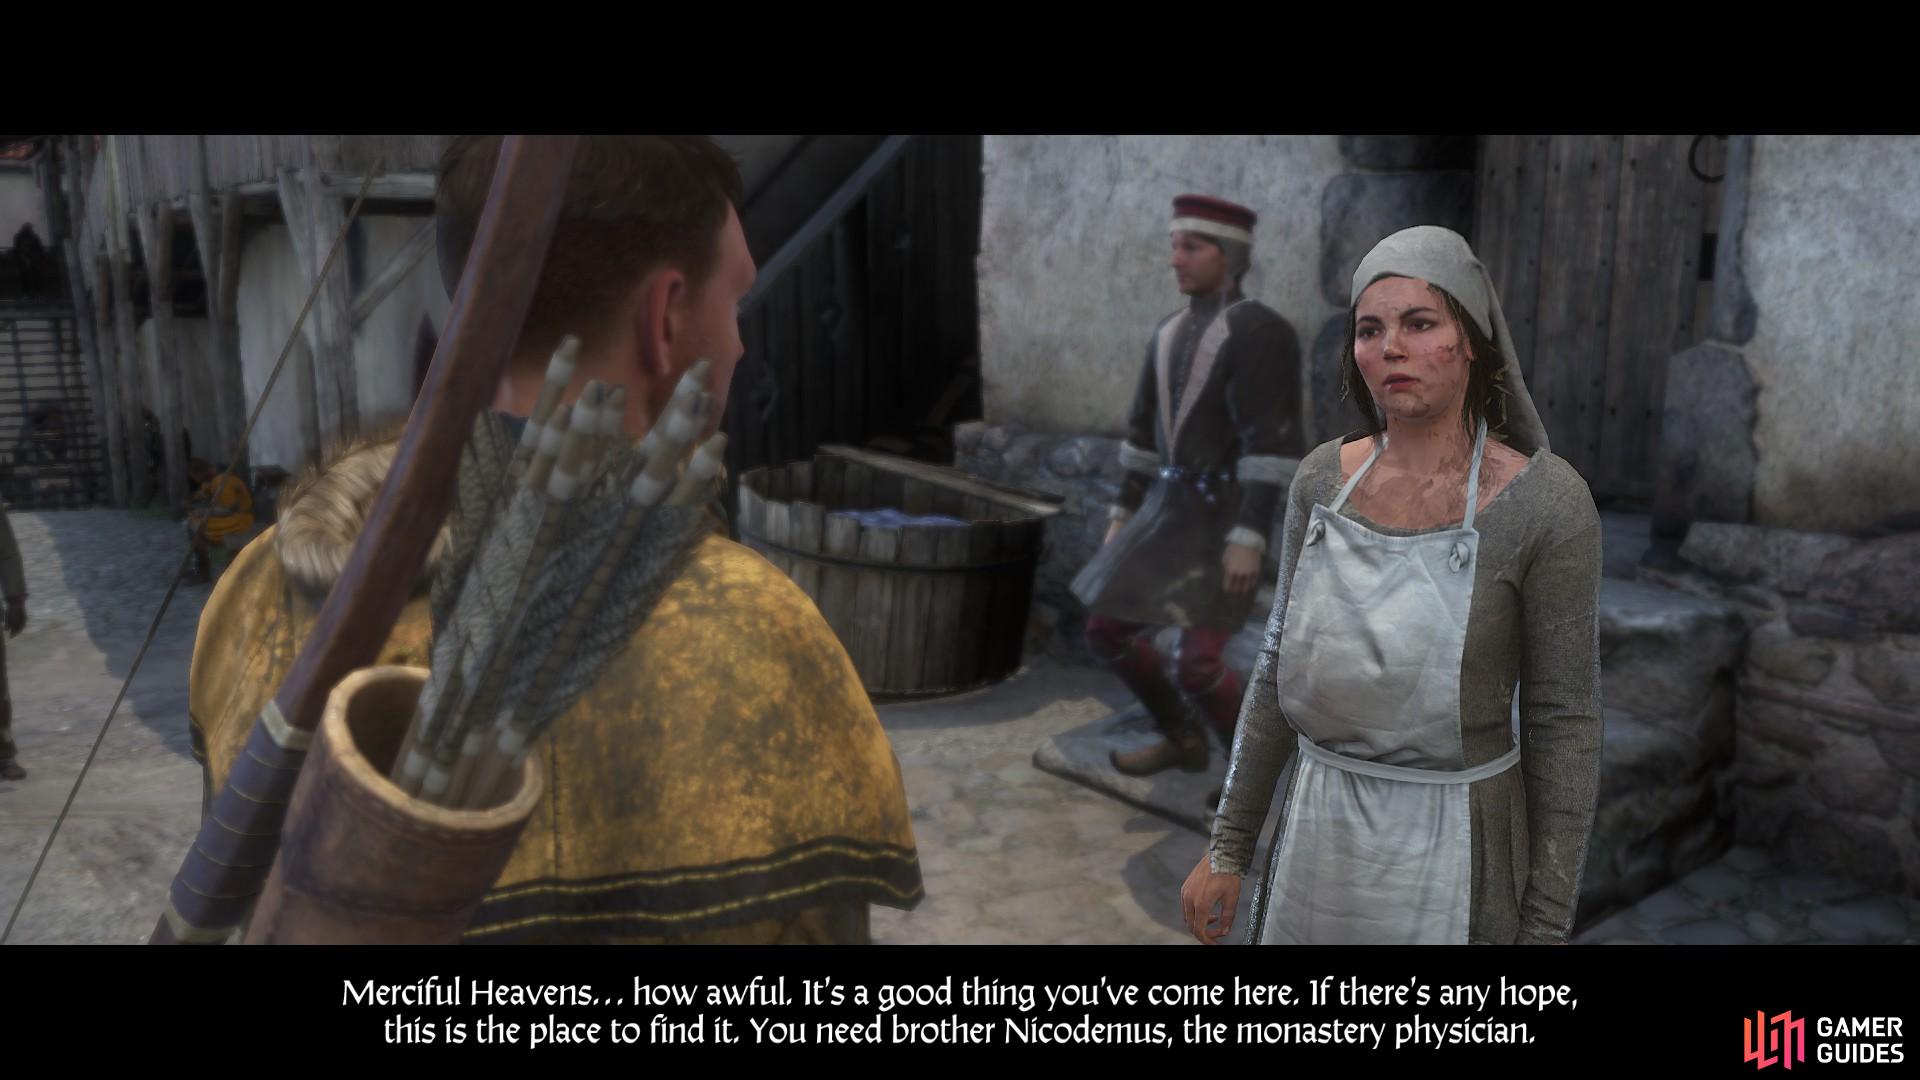
When you have investigated every house in Merhojed you can make your way to Sasau Monastery to enlist help. This requires the completion of the side quest ‘Pestilence’, the guide for which will be detailed here now. The first objective is to find and speak with Johanka at the monastery.
After speaking with Johanka, she will refer you to Brother Nicodemus for advice in treating the plague.
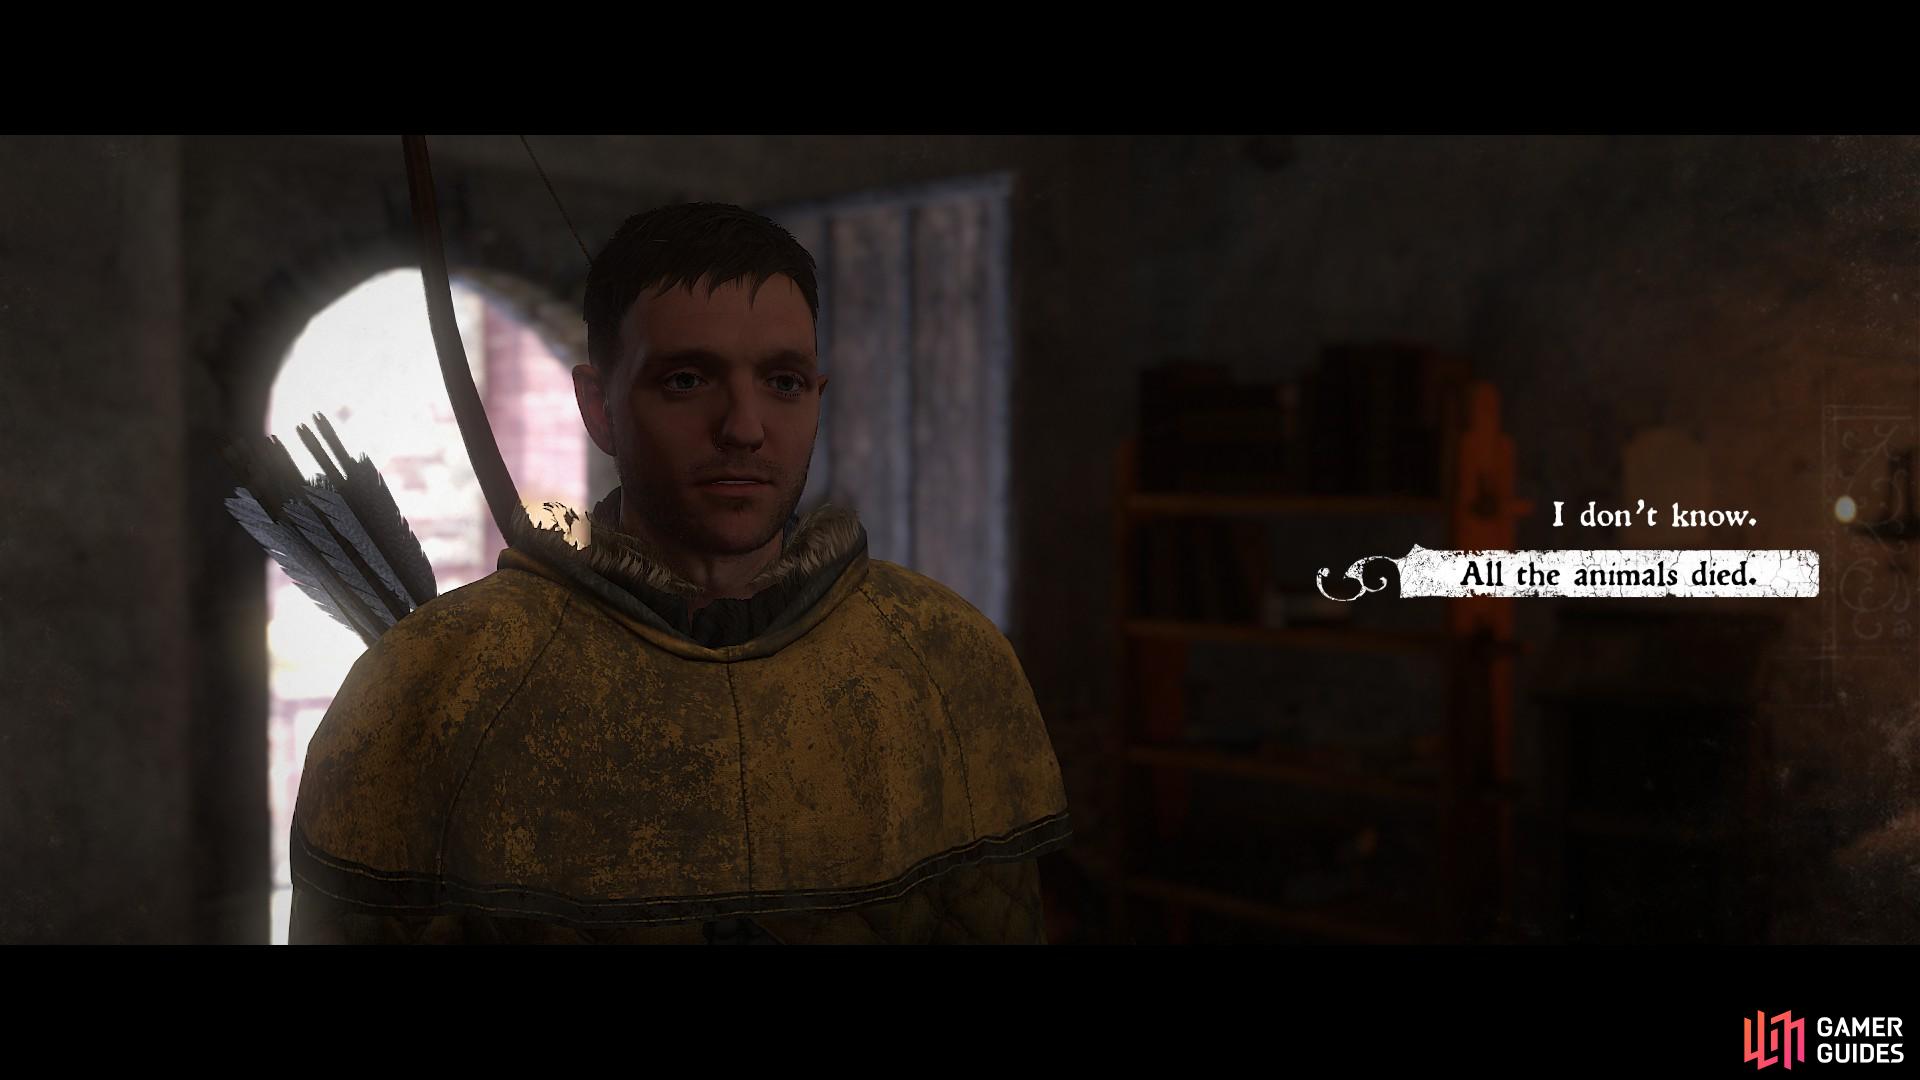
In speaking with Brother Nicodemus, choose the following options when asked about the situation in Merhojed:
(1 of 2) Answer ‘About half the houses’ when asked if the whole village has come down with the plague.
Answer ‘About half the houses’ when asked if the whole village has come down with the plague. (left), Answer ‘All the animals died’ when asked about how it has affected them. (right)
After informing Brother Nicodemus of the situation and letting him know that you are aware of the symptoms, join him in searching the books for the correct diagnosis and cure.
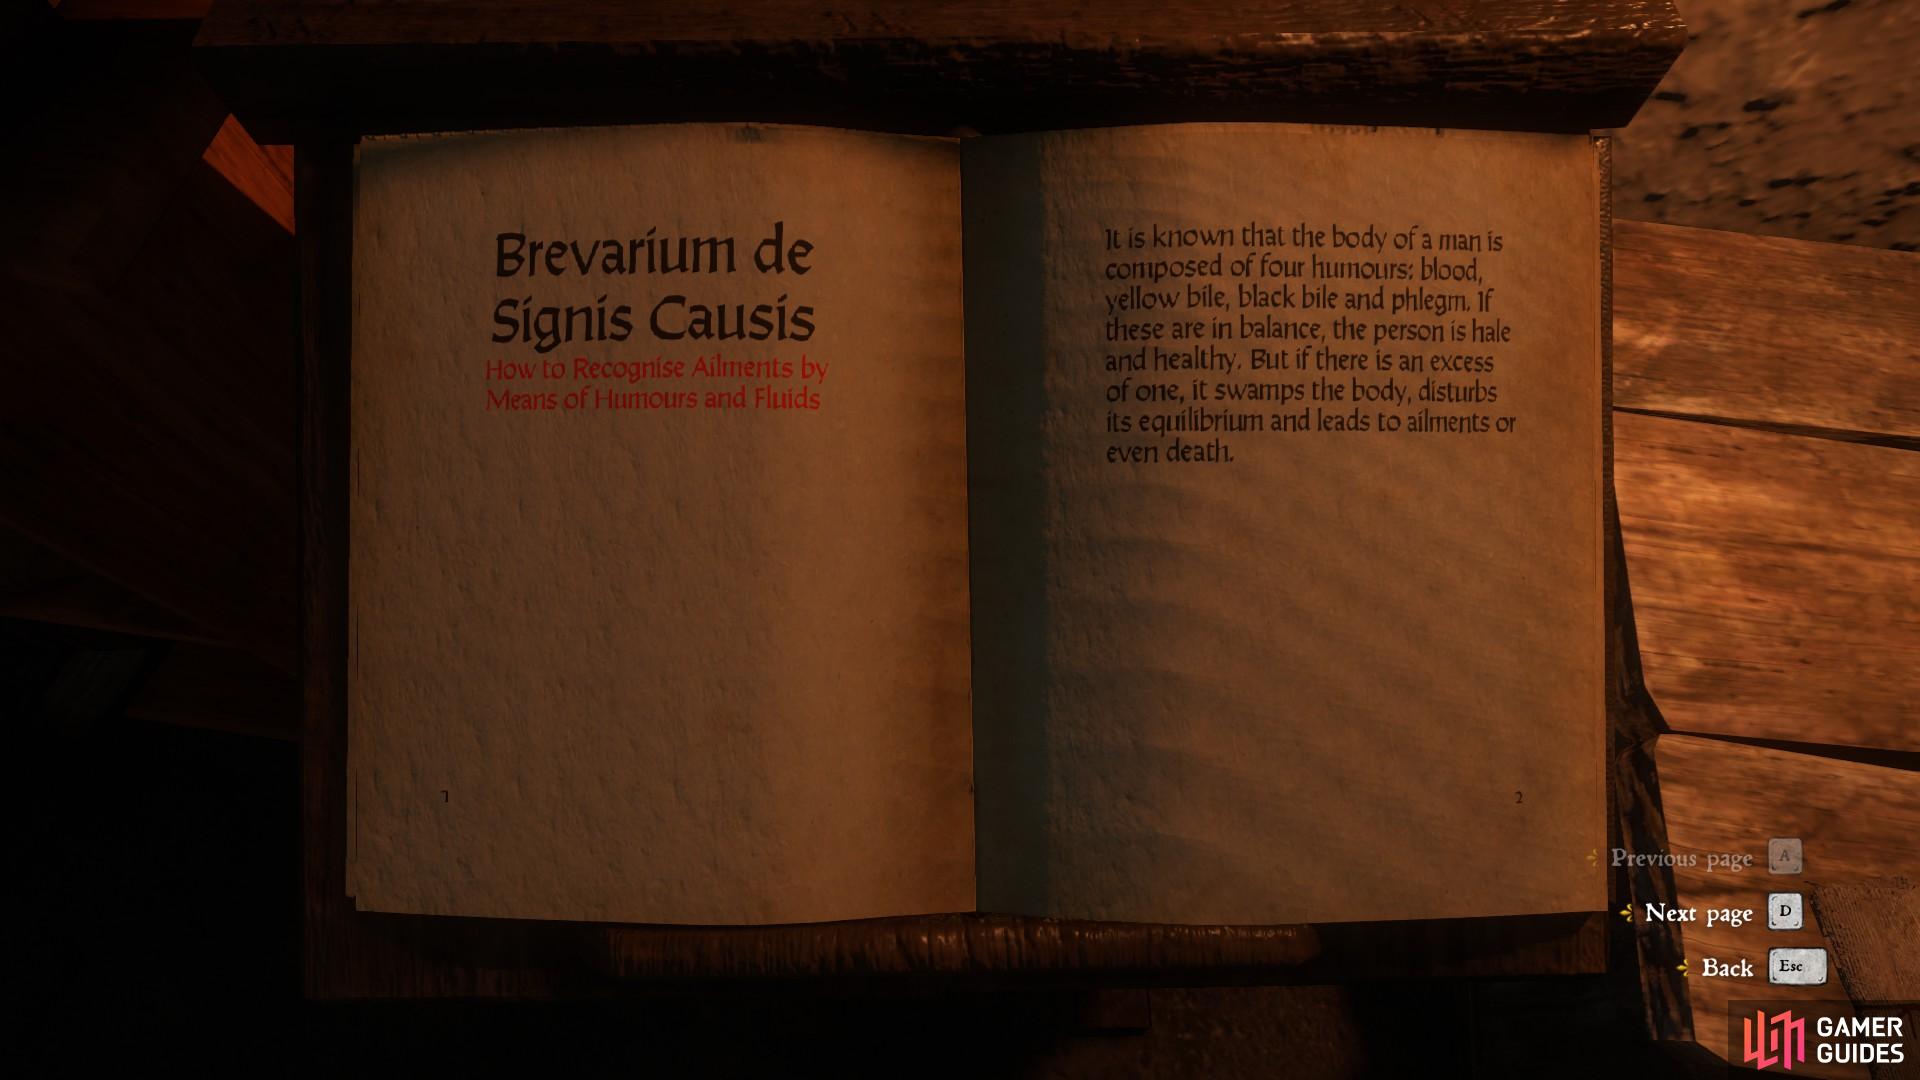
Read the book on the pedestal by the entrance and pay close attention to its content.
Once you have read the book thoroughly, speak with Brother Nicodemus again.
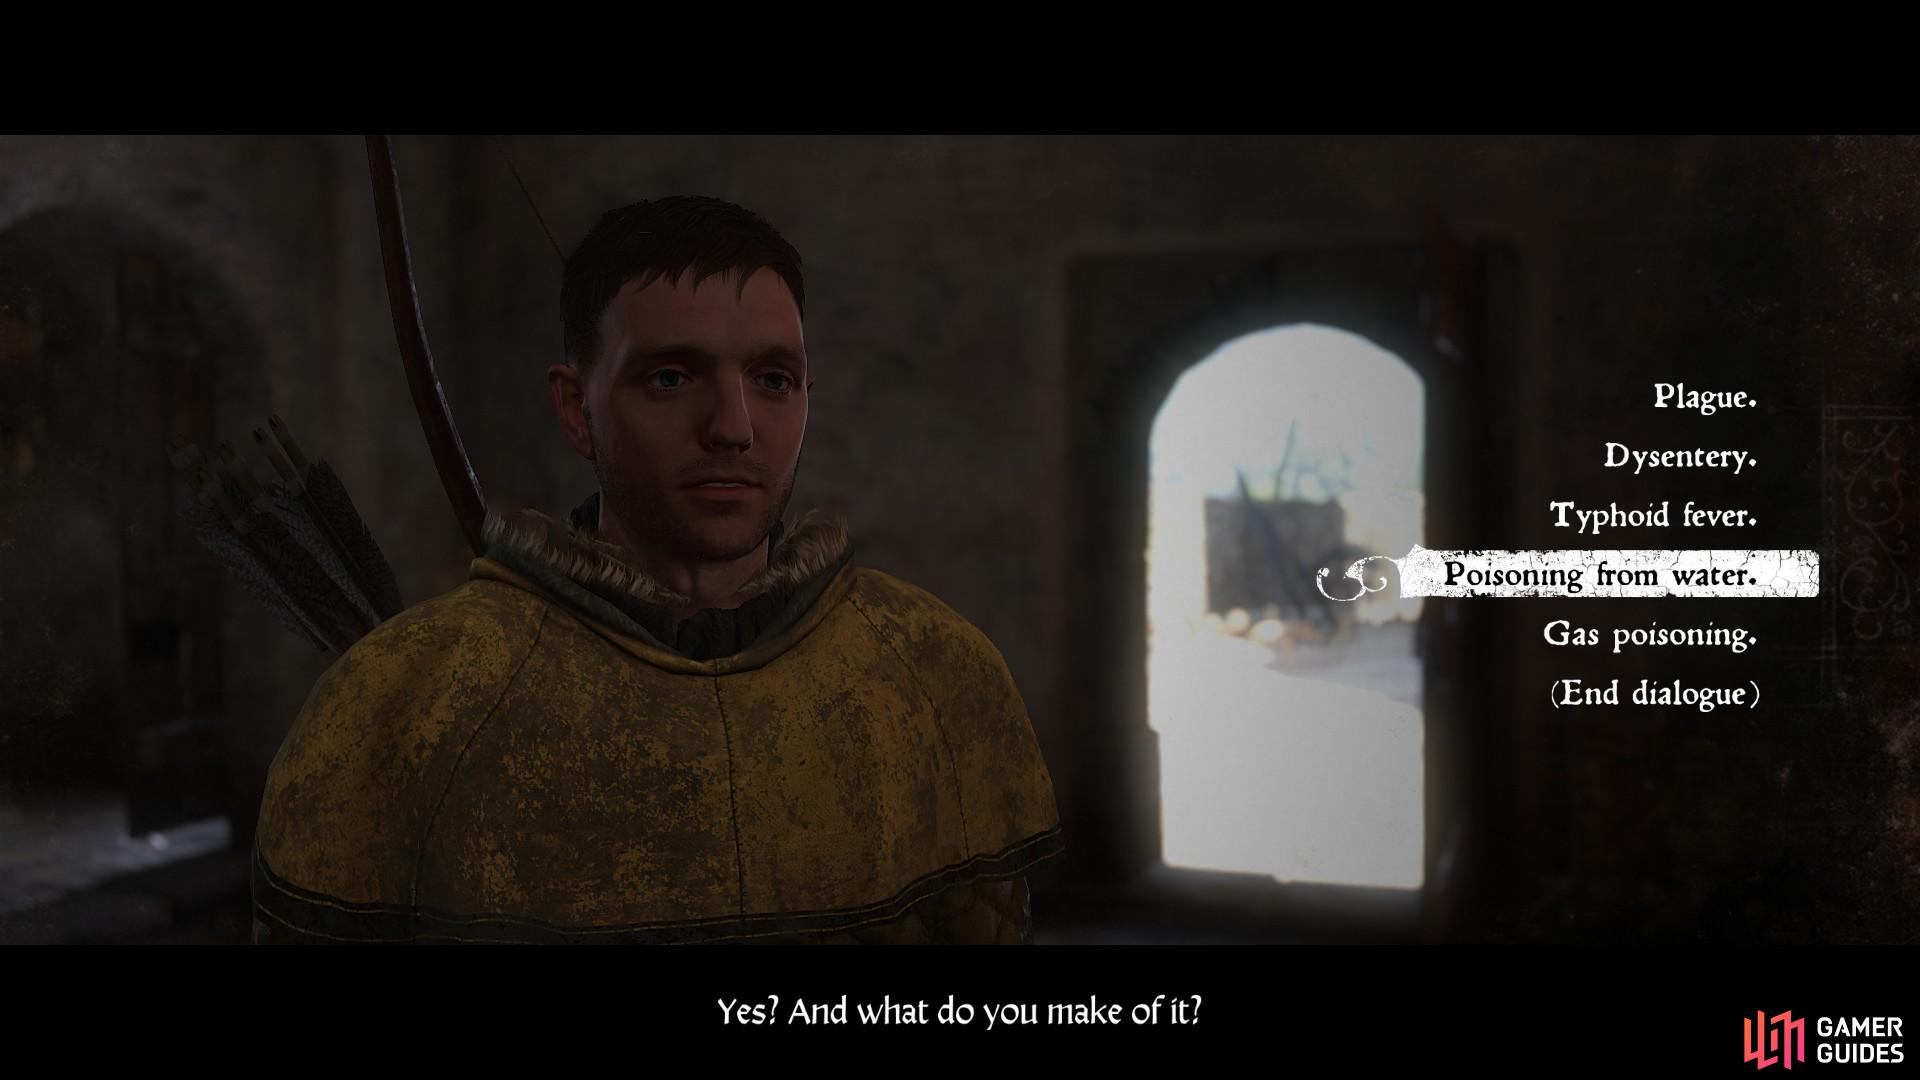
Tell Brother Nicodemus that the diagnosis is poisoning from water.
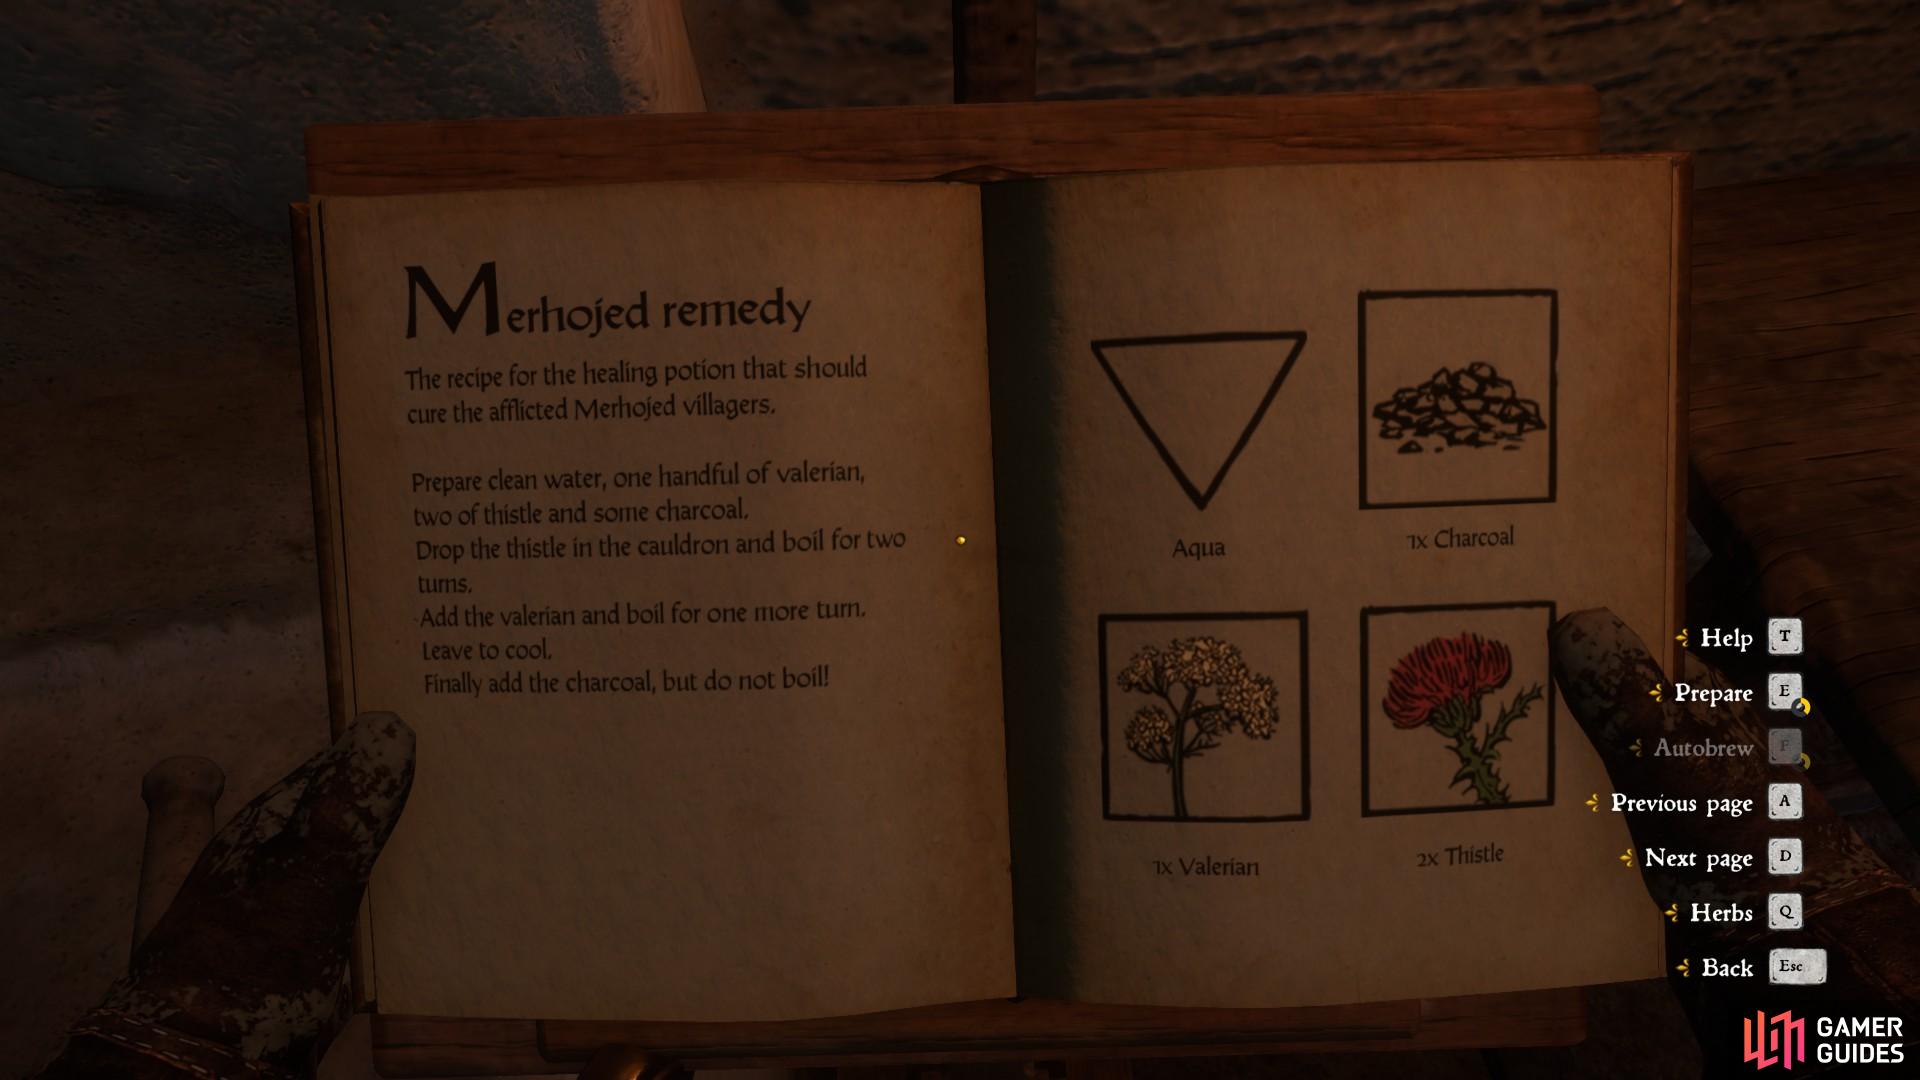
If you have sufficently high alchemy skill you can save some time by preparing the cure yourself, allowing Brother Nicodemus and Johanka to set off for Merhojed early. Nicodemus has given you leave to use his alchemy equipment and stores. The required recipe is specific to the Merhojed situation, and is provided by Nicodemus. You will need to get the following ingredients from the nearby shelf to prepare it:
– 2 Thistle
– 1 Charcoal
– 1 Valerian
The instructions for the recipe are contained within the book when using the alchemy equipment. Follow them carefully and be sure not to overlook any details.
When you have successfully brewed the remedy, take it to Merhojed as soon as possible; there is no time to lose!
When you arrive in Merhojed speak to Brother Nicodemus, who can be found in Old Straw’s house.
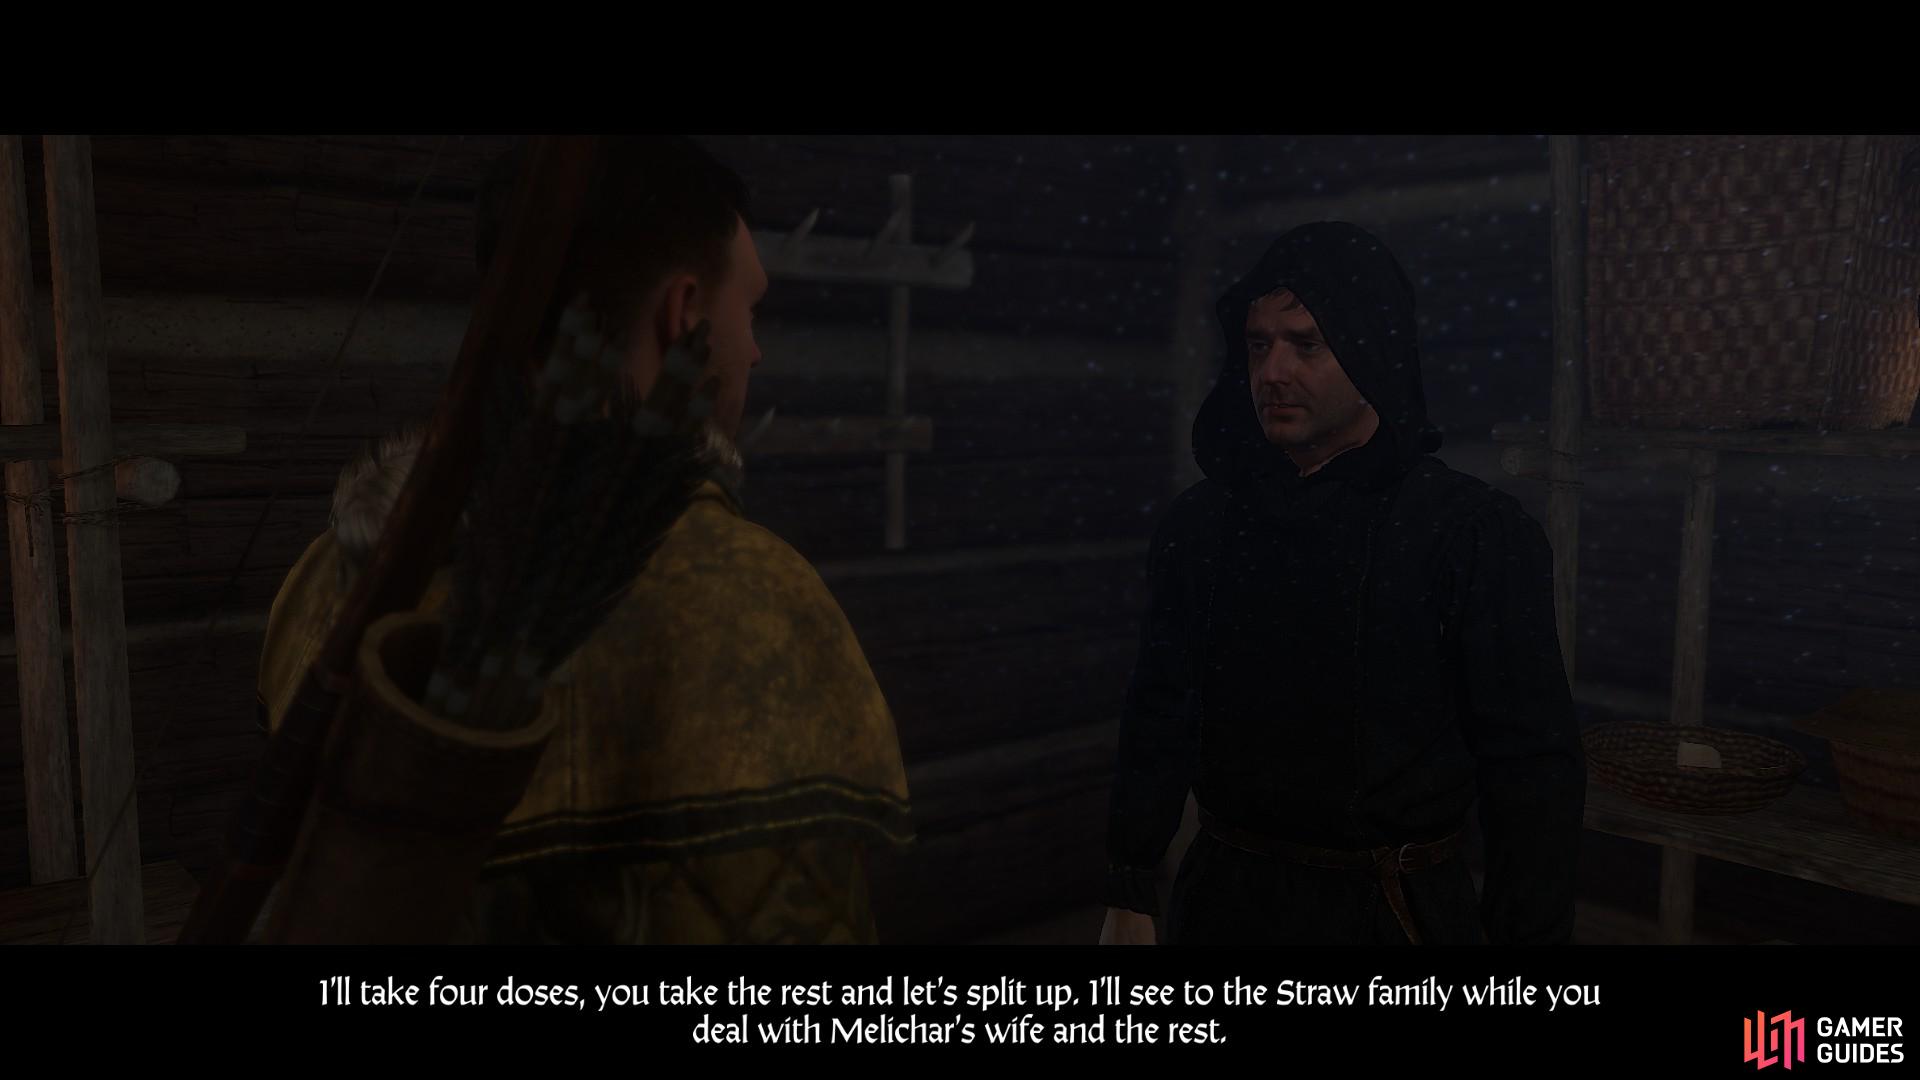
Nicodemus will inform you that the villagers would not let him tend to the captive bandit, but he will provide you with a share of the remedy so that you can cure the sick. Be sure to see each house affected before you speak with Melichar.
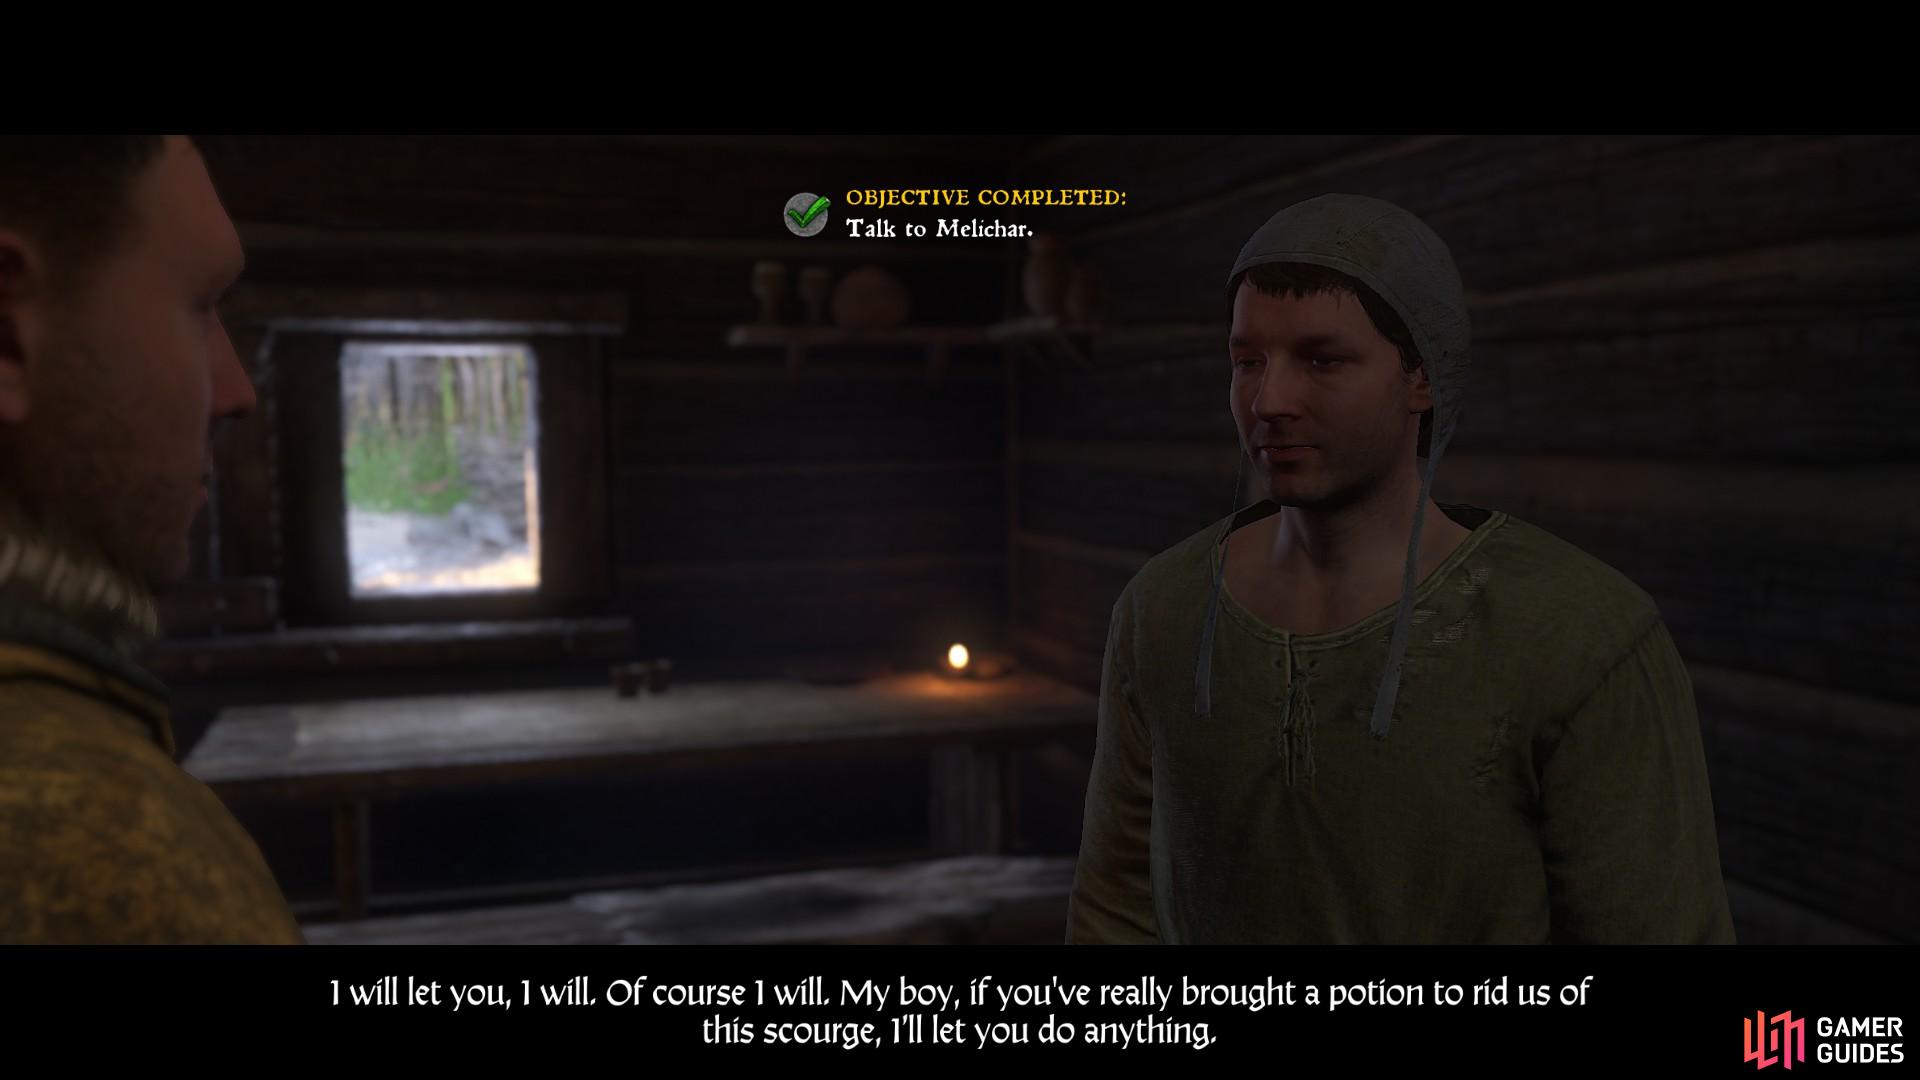
After providing the villagers with the remedy, with with Melichar and ask for permission to see the captive bandit.
Melichar is delighted that you brought a remedy to the sick and is more than happy to let you see the captive bandit. Go to the shed and open it to inspect the bandit. Use the time dial to wait for the remedy to work.
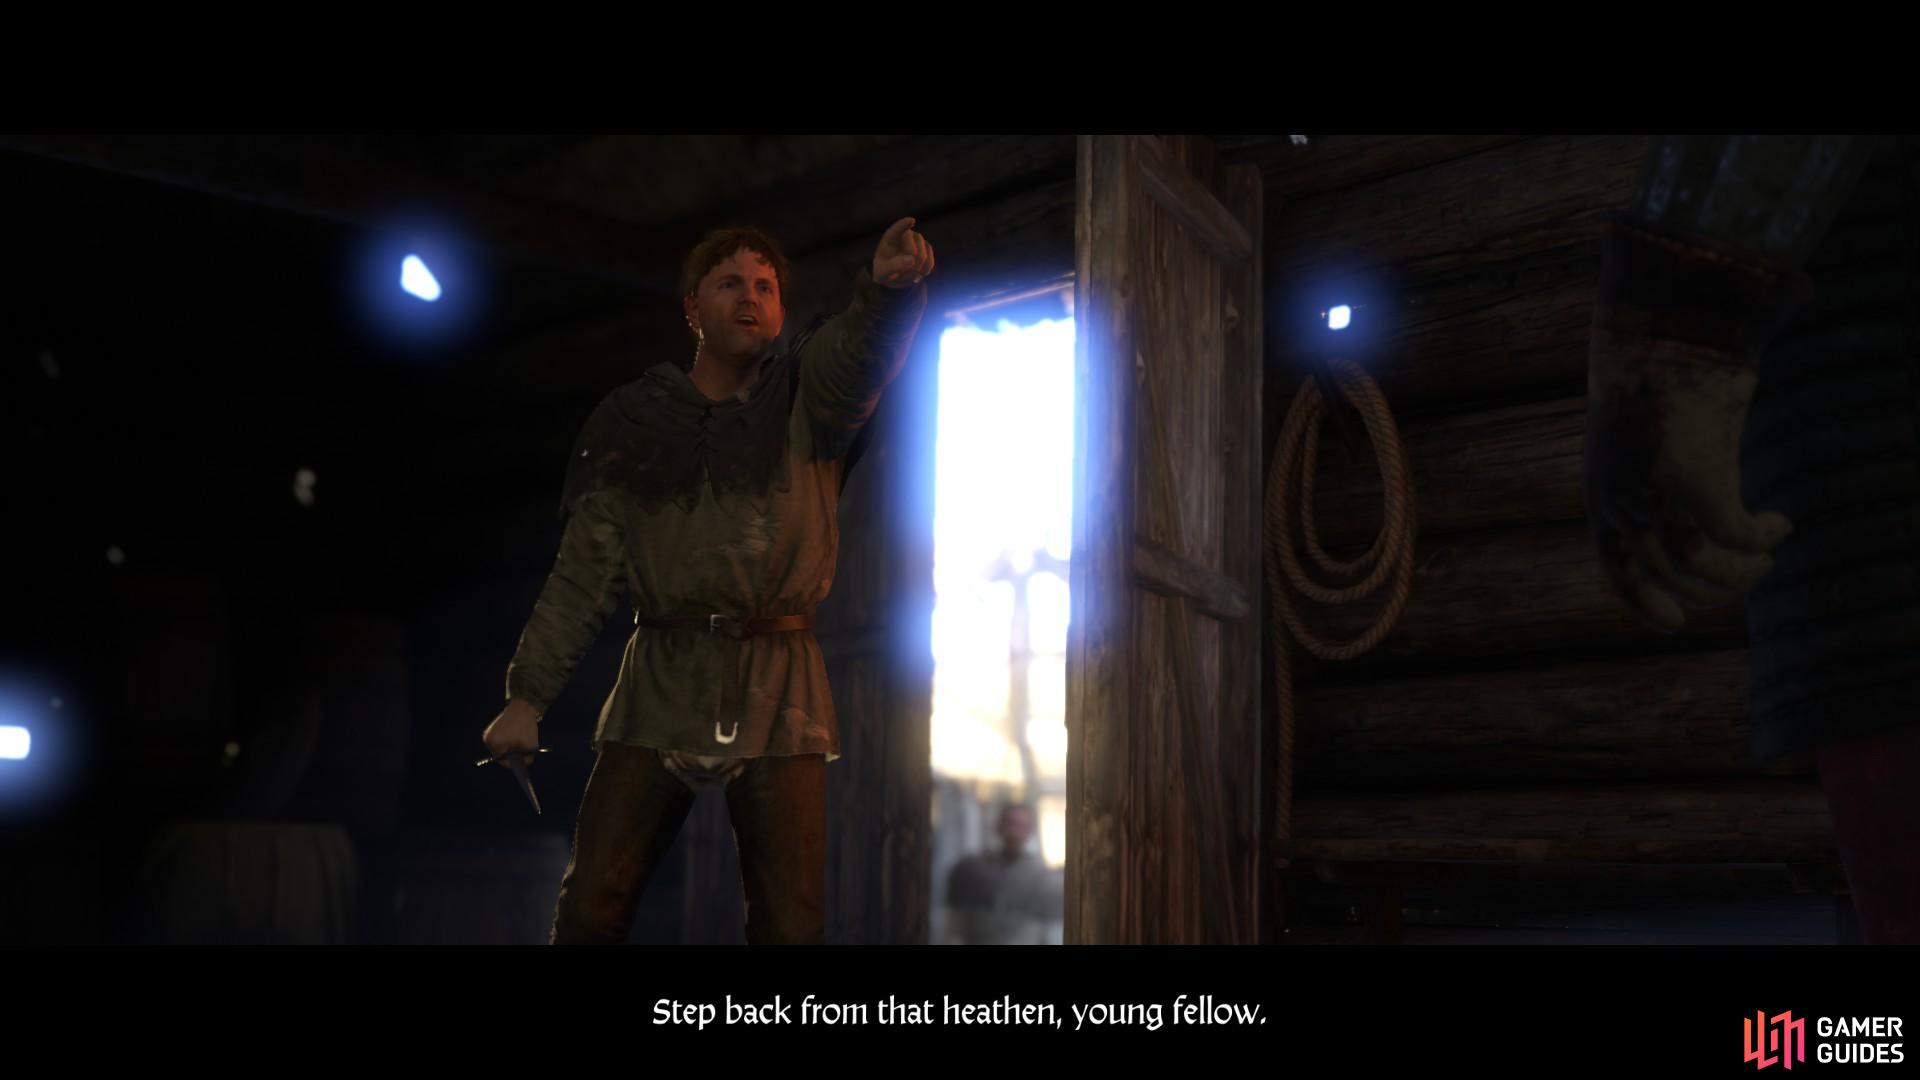
Once you have thoroughly questioned the bandit, you will have to deal with a very angry Old Straw. Diffuse the situation with your strongest persuasion skills and decide what is to be done with the bandit.
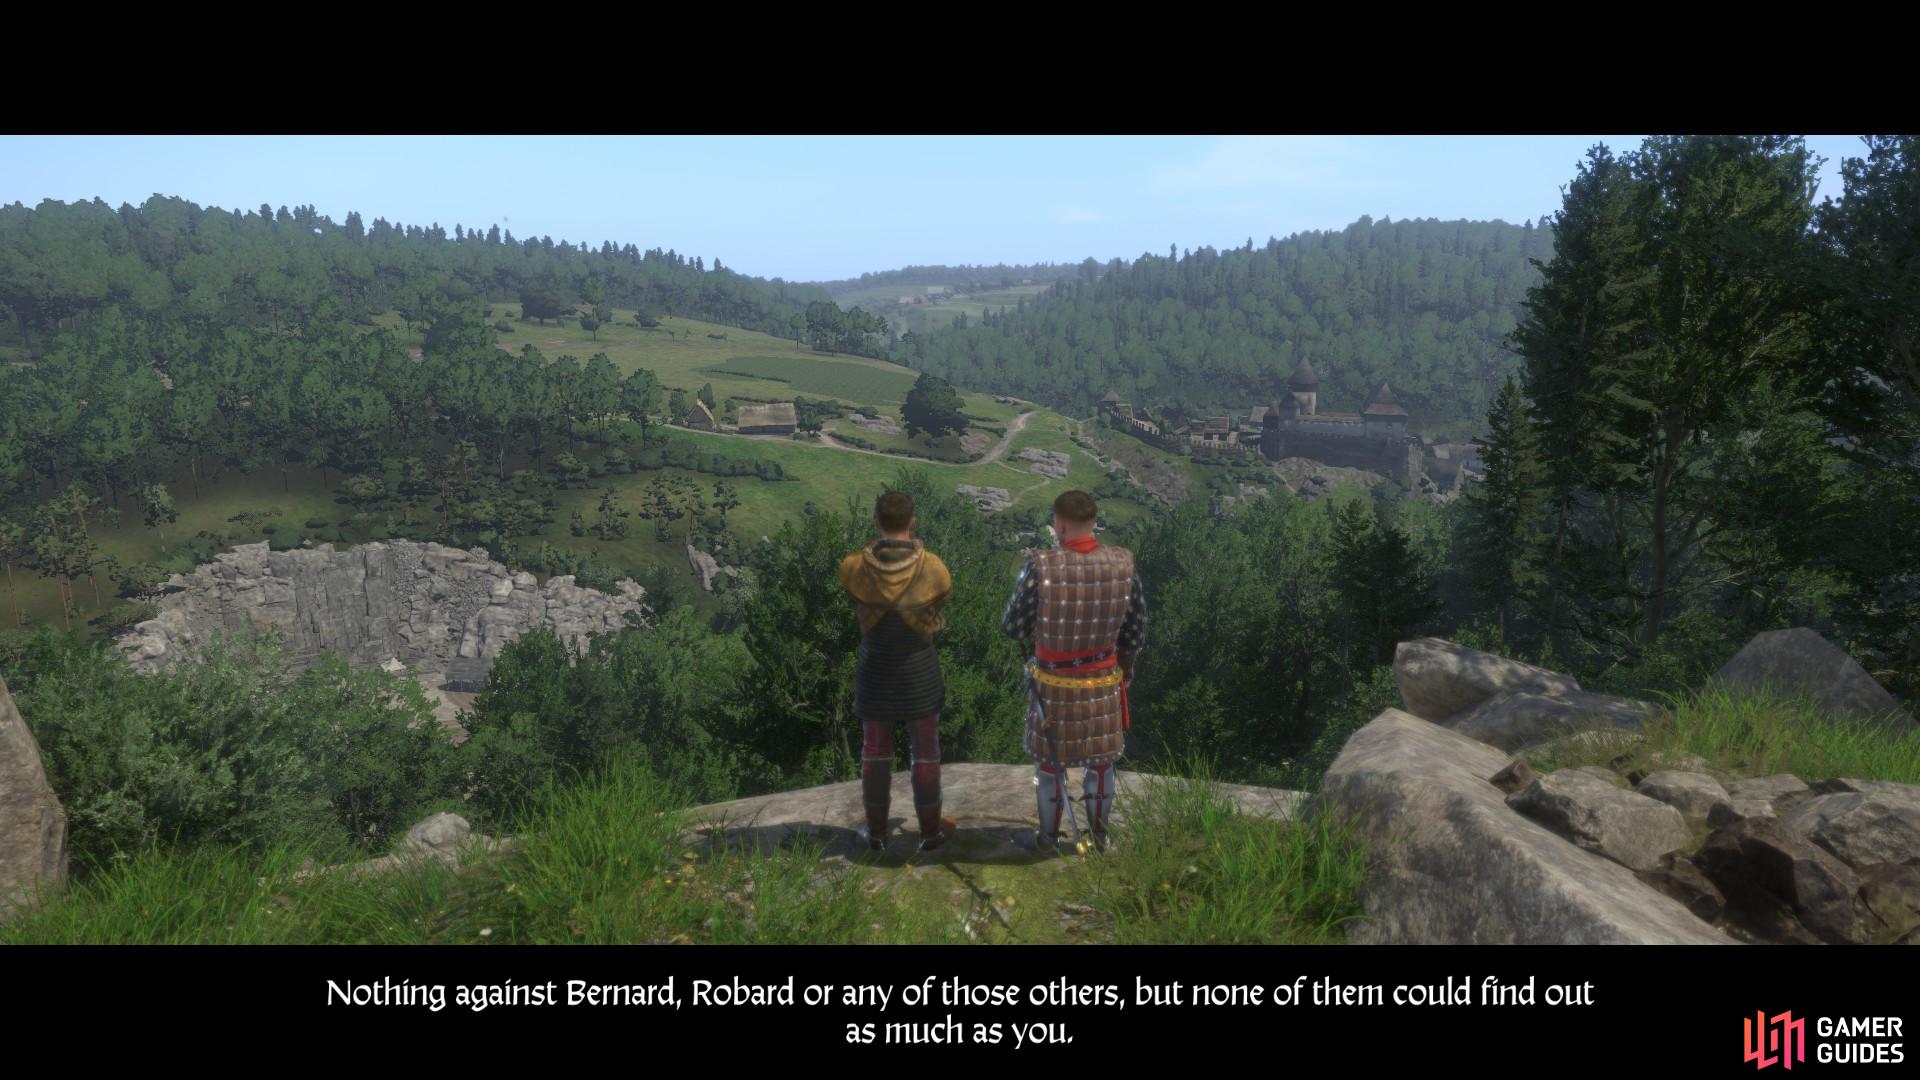
With or without the captive bandit, you can now return to Rattay and inform Sir Radzig about what you have learned. If you let the bandit live, you will be fast travelled to the Rattay jail house. You can now go to Sir Radzig at the lookout point near Talmberg.
After speaking with Sir Radzig a cut scene will follow in which Henry is given a new task; to find out who is producing the counterfeit money.


 Sign up
No Comments