Whew, that was a narrow escape and after a bit of a break, your next objective is to journey to the city of Sunfall, which is located southwest of Maker’s End in the northwest. If you’ve never been there before, fast travel to the campfire just north of the pit where you went for The City of the Sun to find Olin. Go north/northwest from here, crossing the river and then heading straight west (the house icon to the north is the Unflinching Watch gate, which has nothing but a campfire).
Continue going west, ignoring any other paths that diverge from your main one, passing by both a Rockbreaker and Broadhead site. You know you’re in the right area when you start seeing arches along the main road, so just keep going in that direction to eventually arrive in Sunfall. Before heading inside, you can start the Healer’s Oath errand by talking to Abas in the tent area just outside the main gates. When you’ve had your fill of exploring, head inside the city. There isn’t really much to do here, besides look around and open some supply boxes, so head straight to the Citadel Courtyard, only to view a scene of the Sun-Ring.
Grab Healer’s Oath outside of Sunfall (left), with Traitor’s Bounty automatically starting inside of the city (right).
Despite your wanton need for destruction, you can’t hit the Behemoth in the Sun-Ring. Go up the stairs nearby and up the next set that’s slightly curved, where you’ll see a bunch of Outlanders running into the Citadel. Head inside and make your way to the throne room, where a short scene will happen. After it ends, you will receive a new sidequest in your log, Traitor’s Bounty. You’ll be taking a little detour to do that sidequest, Healer’s Oath and a little bit exploration to the south of Sunfall.
Tallneck - Rustwash
From the campfire just outside of Sunfall, take the southern of the two paths to a campfire, then go east to find another one (you may already have these). Here, you will want to continue by going south, where you should get another unknown signal warning from Aloy. Use your Focus to find out that it’s another Tallneck, the last one according to this walkthrough. Continue south to find a number of machines in the same area as the Tallneck, including some Ravagers, Longlegs, Watchers and even some Bellowbacks.
You are more than welcomed to cut down all of the machines in the area if you want, although there are only two or three that need removed for you to gain access to the spot that lets you get on the Tallneck. Look for the two “plateaus” on your map, on slightly more north than the other. The northern of the two is the one you want, but you’ll need to get on the southern one to get to it. Cross some kind of “bridge” to get to the ledge where you can jump on the Tallneck. Climb to the top, override it and presto, you’ve cleared all of the Tallnecks now.
| Objective | Reward |
|---|---|
| For overriding the Rustwash Tallneck | 7,500 XP / +1 Skill Points / Map Revealed |
Vantage Point
Locate the Dimmed Bones ruins to the east of the Tallneck on your map and fast travel to the campfire that’s just west of it. Cross the waters to the west to end up on an eastern shoreline of the main body of land where you just were with the Tallneck. Follow this shoreline south to both a campfire and a Snapmaw site. Take care of the Snapmaws and just past the campfire will be some handholds. Climb these up to a ledge where you can find more handholds a little more south. Cross the rope at the top, then climb the rest of the way to find the Lake Powell Vantage Point .
Look for the handholds past the campfire (left). Use your Focus to find the supply crate, which is where the Vantage Point is located (right).
Healers Oath
You’ve already done Sun and Shadow, which brought you to the Kestrel’s Perch Shadow Carja fort, which has a campfire just north of it. Go to this campfire and venture north a little bit, opting to take the winding path on your map to come to the Blazon Arch settlement. Ghaliv is at the far end of the settlement, so go and talk with him to find out that he’ll heal Shianah, but not without a price. That price is a Thunderjaw Heart, with Ghaliv pointing out one that roams the Valley of Omens to the northwest.
While it’s possible to get a Thunderjaw Heart from any of the ones across the map, the one in the valley is guaranteed to drop it whenever you kill it. So, exit Blazon Arch, taking the path going north until you can clear the giant cliff to your west. Once you can, start heading in that direction, passing by a Watcher Site, with the entrance to the valley not far beyond that. The Thunderjaw is towards the north end of the valley and this fight isn’t really any different than the others.
Use Tearblast Arrows to knock off the disc launchers, then freeze the Thunderjaw with freeze arrows. Pick up a disc launcher and attack while it’s frozen, dealing major damage. If you need to use the second one, do that and the Thunderjaw will go down in no time. You likely saw the Metal Flower while fighting the Thunderjaw, so pick it up to receive Metal Flower - Mark II (H) , then loot the Thunderjaw Heart. Bring it back to Ghaliv by the tents outside Sunfall, then speak with Abas to end this quest.
| Objective | Reward |
|---|---|
| For convincing the healer to help Abas’ daughter) | 5,500 XP |
Banuk Figure - The Vision
From where you talked to Abas to finish Healer’s Oath, head straight south and you should see some familiar Banuk markings. Climb the pole to reach some handholds on the rock, then continue left and up to a ledge. You can keep going by grabbing the handholds on the “pillar,” which will get you to another ledge with a rope. Cross this rope and jump across a pair of gaps to reach the Banuk Figure - The Vision .
Look for the pole with the Banuk paintings to start (left). Once you cross the tightrope, you’re getting close to the figure (right).
Corrupted Zone
That should’ve been your final Banuk Figure, netting yourself another trophy. There’s one last thing to do before you dive into the other sidequest you got within Sunfall. From where you picked up the Banuk Figure, rappel down twice and follow the mountainside south to a corrupted zone. There is one major problem with this one, which are the two Behemoths. Besides those, there are three Broadheads, but those will go down very easily.
For the Behemoths, facing both at once can be a little challenging, especially with all of the rocks, both big and small, they can toss at you. If you can manage to sneak up on one, shoot it in the Freeze Canister with a freeze arrow to get that to explode. With it frozen, the Behemoth will take a lot more damage (target the Force Loaders). Of course, the same fire arrows weakness you’ve used on all of the other corrupted machines will still work here.
| Objective | Reward |
|---|---|
| For destroying the corrupted machines | 10,000 XP |
Traitors Bounty
You’ve pretty much cleared the map of the majority of its collectibles and side activities, barring a few Metal Flowers and some sidequests/errands. While you were turning in Healer’s Oath, you likely triggered a scene near the tents with Vanasha. She wants you to go find Uthid, a well-liked Shadow Carja officer, who is hiding at the Greenclimb. She says to look for the Three Dead Trees, which is off to your east. From the campfire just outside of Sunfall, look for the one that’s directly east and fast travel there.
Follow the path to the east, past the first fork and at the second one, head northeast. You will come upon one more fork, with paths going northwest, north, east and south; take the eastern road and when it goes northwest, continue in that direction until you come to the Three Dead Trees. Aloy will find a trail there, so follow that as it goes east, across the river and to some handholds. Climb up the first set, jump a gap, and do the same once again. Although it’s not needed, there is a trail once you get far enough, but it should be fairly obvious where to go by now.
The location of the Three Dead Trees, both in-game (left) and on the map (right).
At the top, you will not find Uthid, but there will be some food scraps, so examine them and continue tracking to the northeast. You’ll pass by a dead Watcher and when you approach the Grazer, you’ll have to stop and investigate it. Of course, with dead machines around, there’s going to be scavengers, as three Glinthawks glide into view. Burn them alive…or well, whatever machines are, then pick up Uthid’s trail again to follow it. It will bring you along a narrow ledge and into a cutscene not that far along.
Speak with Uthid to find out what really happened at Sunfall and as you finish your conversation, some mercenaries rear their ugly faces, so it’s time to fight. The enemies are on the opposite ridge and will consist of both archers and melee units. Keep an eye on the latter while you snipe the archers, preferably with a nice shot to the head. There will be at least two waves of them and once they’re all dead, follow Uthid to the rock wall, pressing Triangle to get on top of it. He mentions to gather all of the supplies while you can, so look for the little “cave” area to start the next bit.
This next battle is definitely a challenging one, as the enemies have the high ground, plus there’s a lot more melee thugs that will likely get a little too close for comfort. Use the rock in front of you as cover against the ranged attacks while you whittle down the other fools that show up in your face. Once you take them down, you can concentrate on the archers up above. When the bodies have hit ground, approach Uthid for another prompt to climb up the ledge.
Follow Uthid to one last area, where Bahavas will sic his guards on you. These are elite enemies and one of them will have a Firestriker, so he needs to die first. You can pick up his weapon to take out the other two, hopefully with Uthid occupying at least one of their attention. With them dead, use Uthid’s help to reach Bahavas, where him and Uthid will have a nice little talk. After that’s over, Vanasha will appear and tell you of her next plan, to aid the escape of Itamen and his mother, starting the next sidequest.
| Objective | Reward |
|---|---|
| For helping to clear Uthid’s name | 7,000 XP |
Queens Gambit
Your first task in helping Vanasha and the child king is to speak with Three-Toe Huadiv, who she hired to clear a path. He can be found at a campfire northeast of the Tallneck in Rustwash. If you don’t have that one, you should definitely have the one to the northwest of your objective, so fast travel there. When you get to the campfire with Huadiv, he will be a little ticked off about being tricked by Vanasha and her promises of money and an easy job. He says some rock-eating demon put quite a hurting on him in the pass, so it’s up to you to kill it.
This ledge allows you to dodge the majority of the Rockbreaker’s attacks (left), while still being able to attack it (right).
If you haven’t guessed by now, the demon Huadiv was talking about is a Rockbreaker, who are quite menacing due to their ability to burrow underground. Although you will take damage from its ranged attacks, the raised area just below Huadiv will serve as a nice spot to kill the Rockbreaker. Freeze arrows work very well on them, when coupled with precision arrows to their weak spots. When the machine is dead, return to Huadiv for a few scenes that will end up with you and Vanasha holding off some cultists while the others escape.
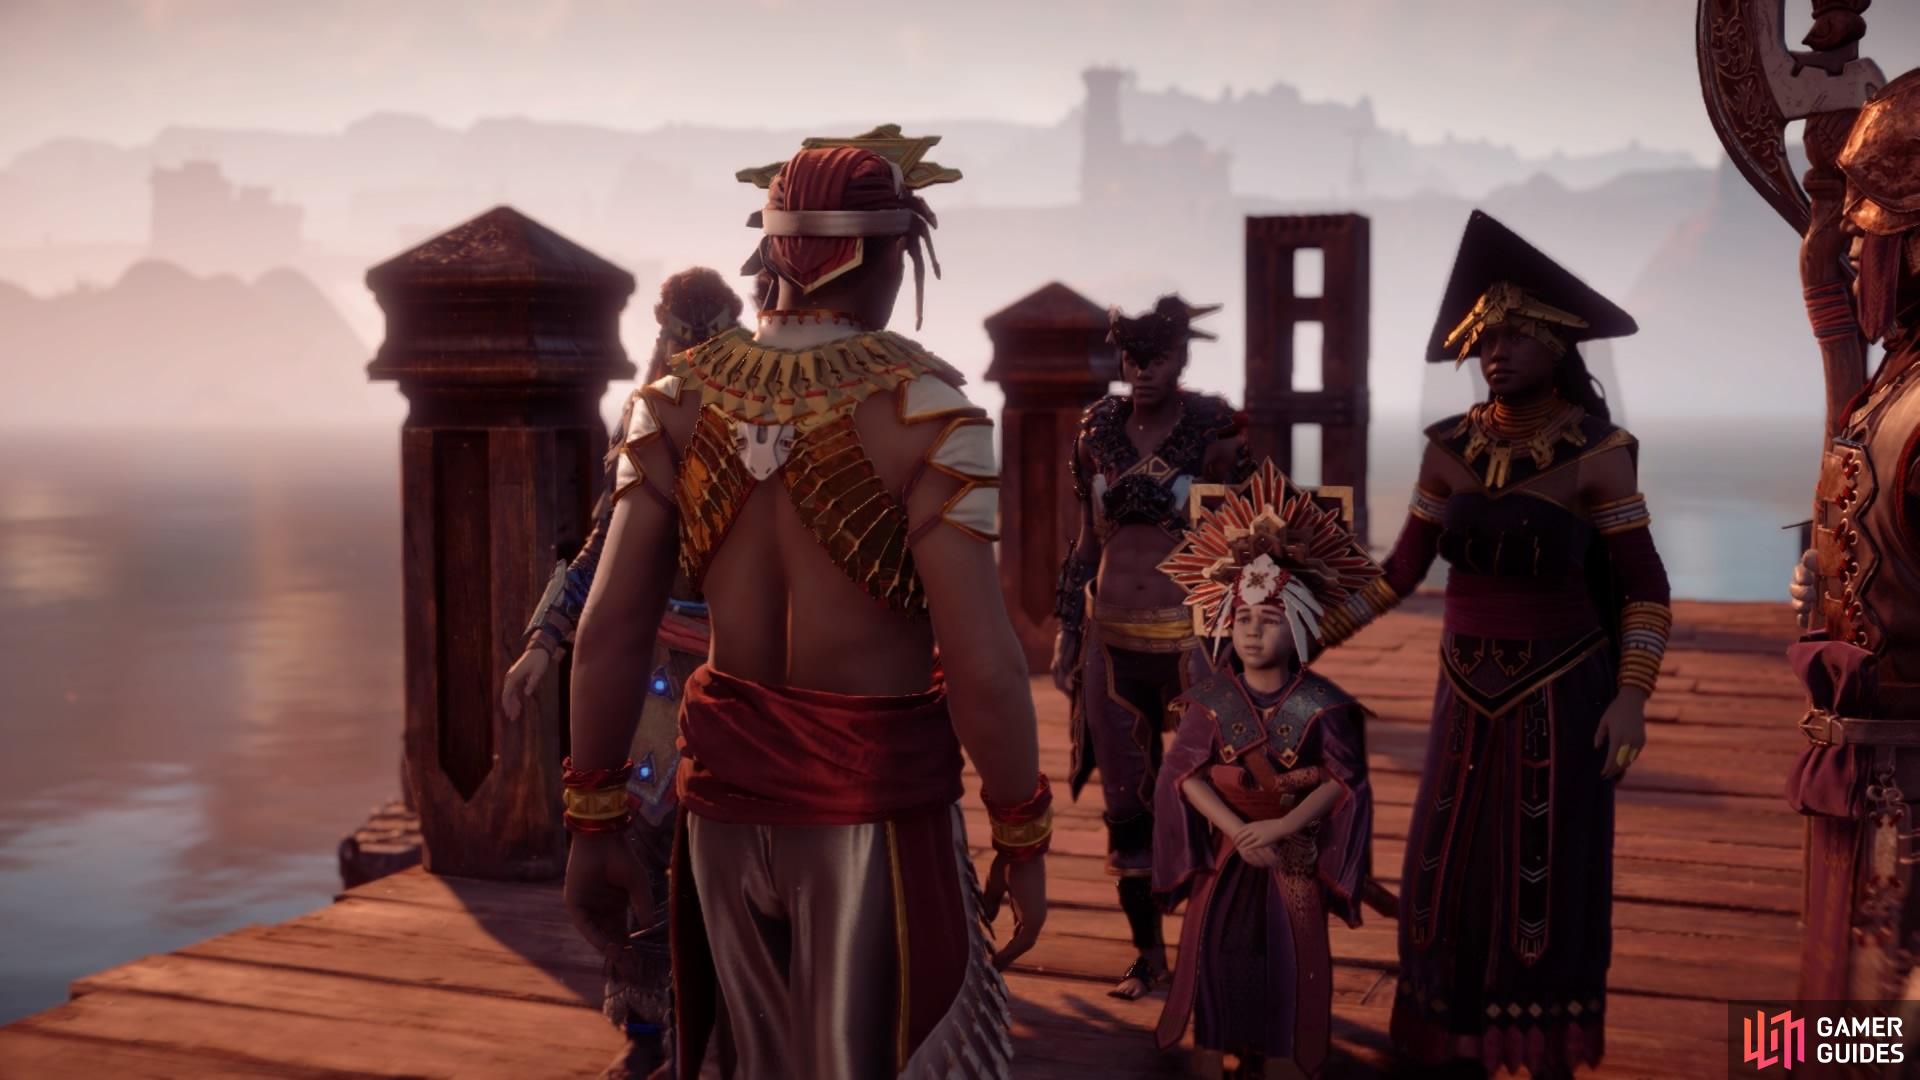
Before the enemies will actually come, you are forced to at least place a single trap down. There will be two waves here, the first of which is just three cultists. They will be easy to kill and the second wave isn’t that much more troublesome, as it consists of a single cultist and two Corrupt Watchers (hint: use fire). Talk to Vanasha when they’re done and there will be one final wave, with this one being a doozy. Be on the lookout for any stray cultists as you fight the Corrupted Thunderjaw.
As always, use Tearblast Arrows to remove the disc launchers, which makes the fight much more manageable. Being a corrupted machine, fire works wonders against it, as well as the previously removed disc launchers. With some skill, the Thunderjaw will eventually be felled, so meet up with Vanasha at the shoreline for more scenes that will bring this quest to an end.
| Objective | Reward |
|---|---|
| For helping the child king defect | 9,330 XP / +1 Skill Points |











 Sign up
No Comments