Walkthrough for the Main Quest The Eye of the Earth in Horizon Forbidden West.
This quest will begin immediately after completing The Dying Lands.
| Starting Location | Prerequisite | Level | Rewards |
|---|---|---|---|
| Repair Bay TAU | Complete The Dying Lands | 17 |
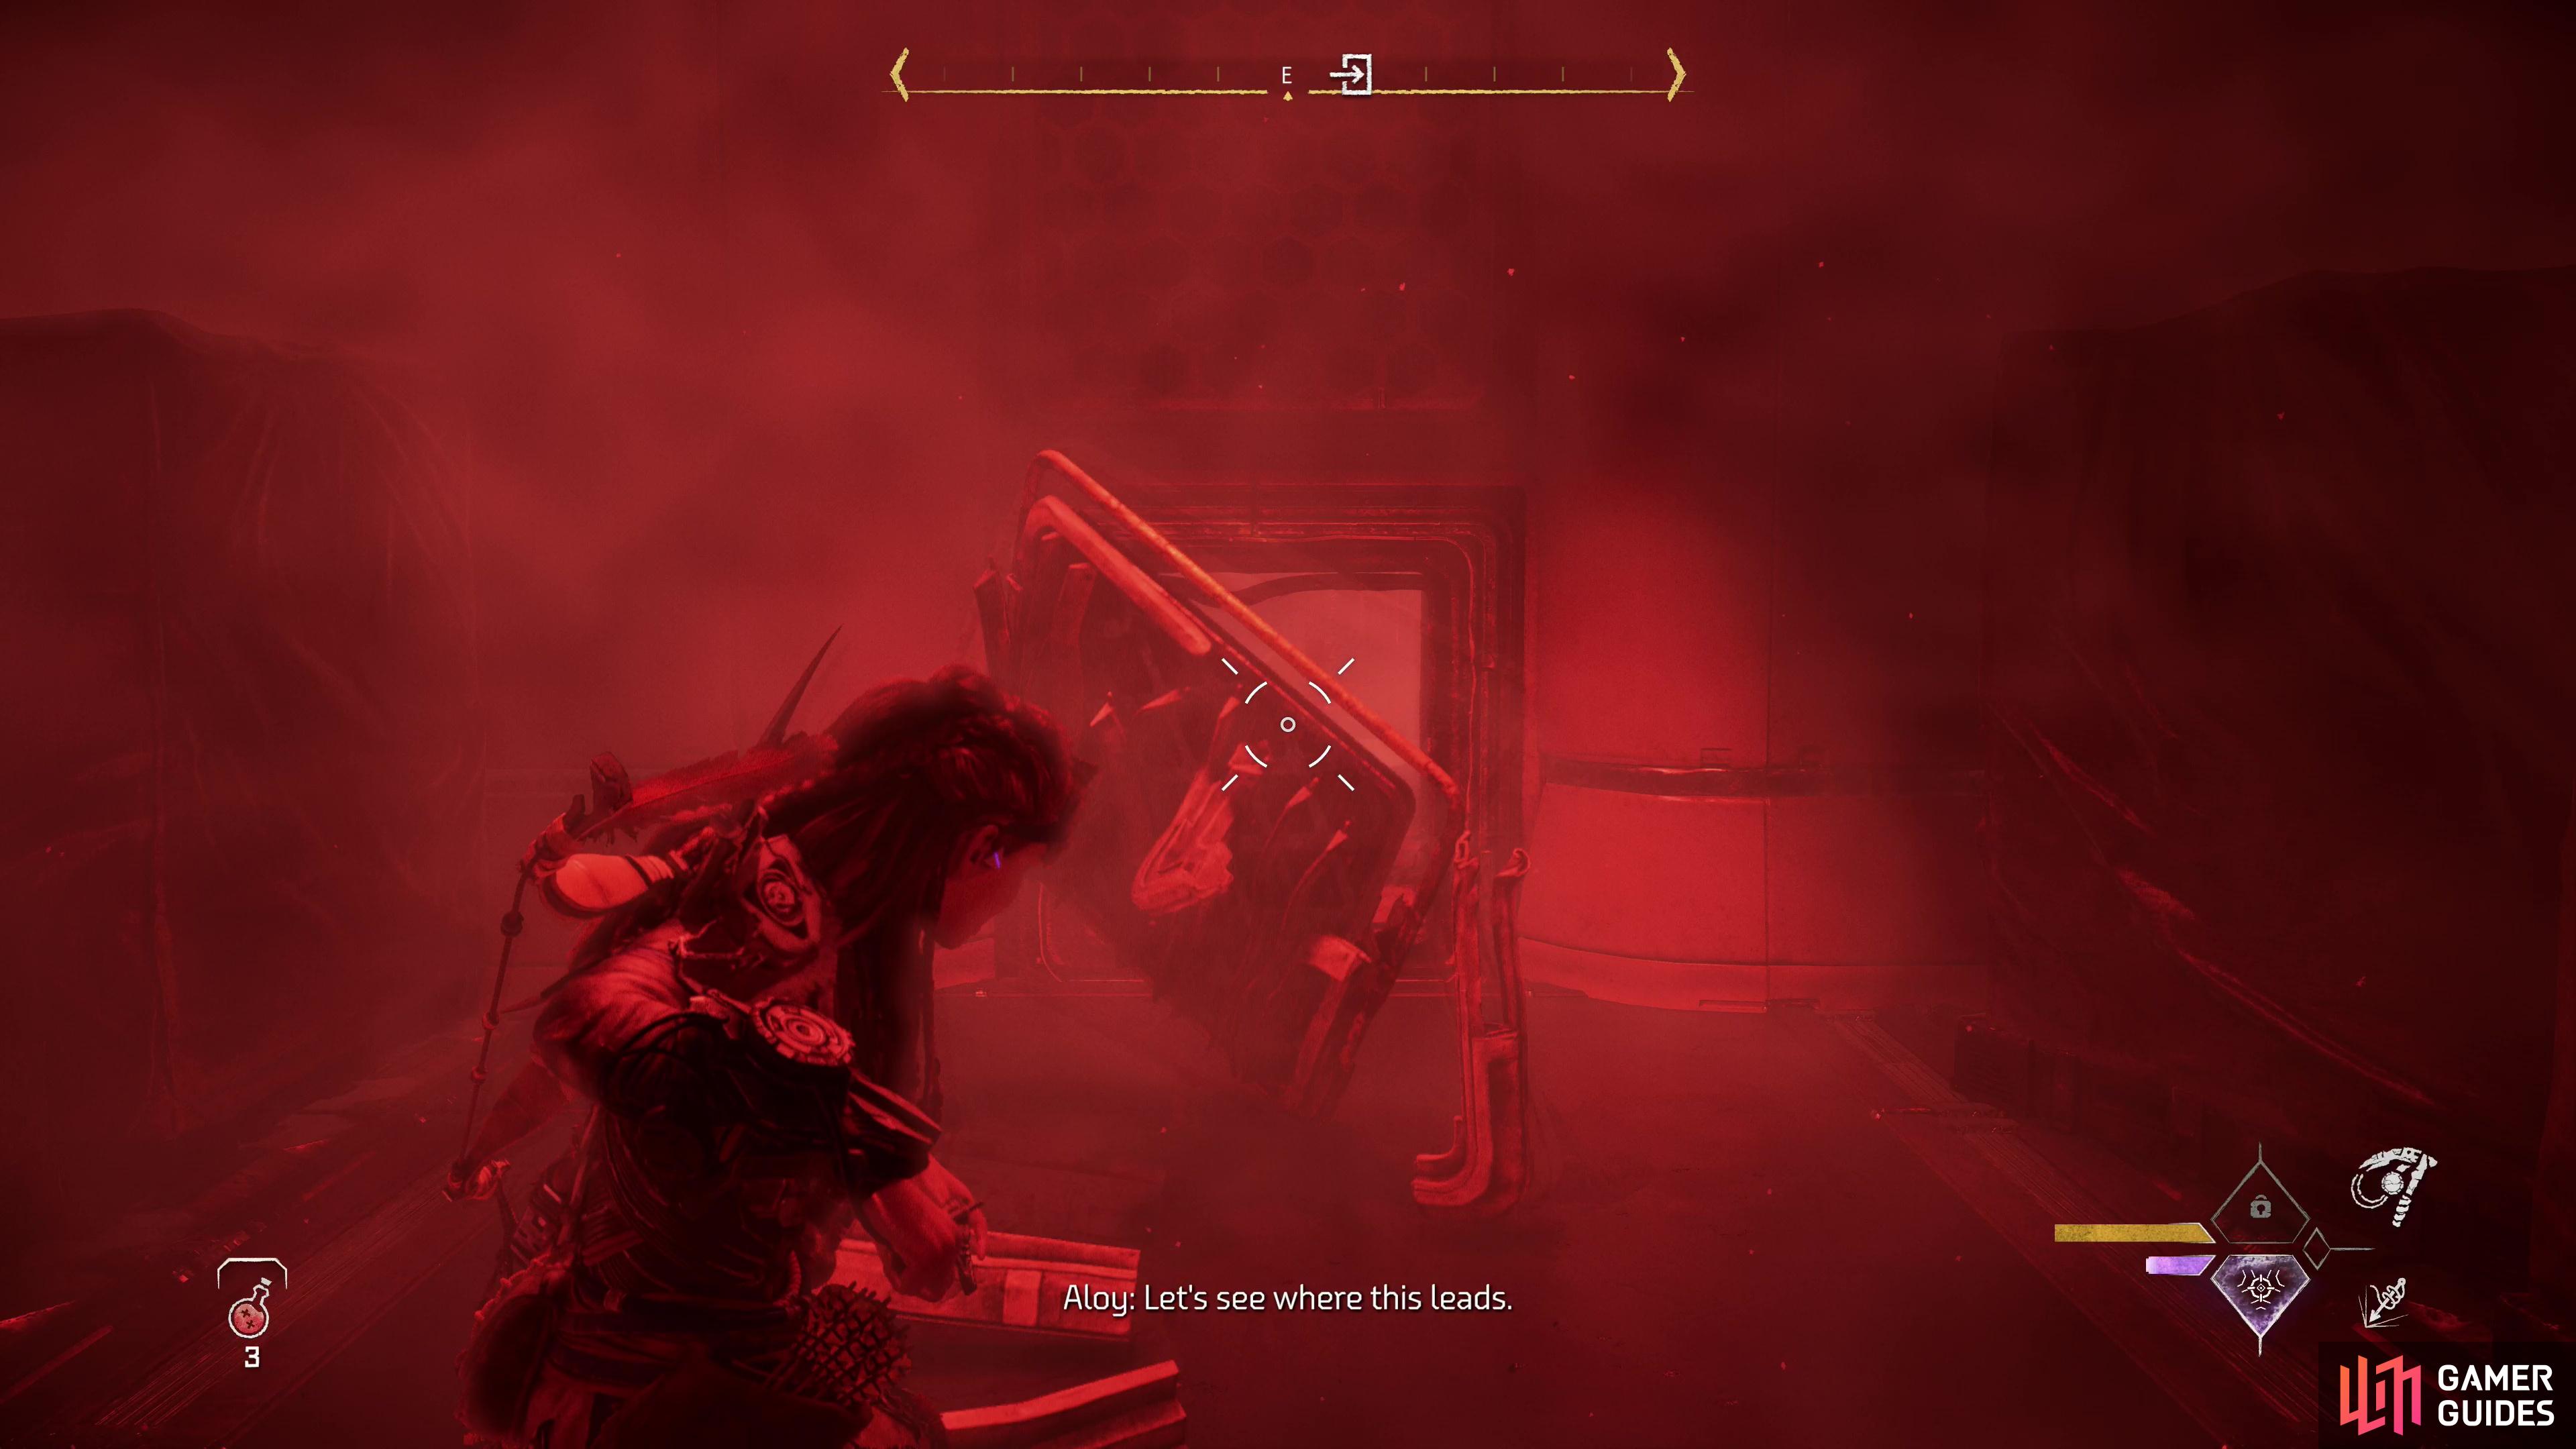
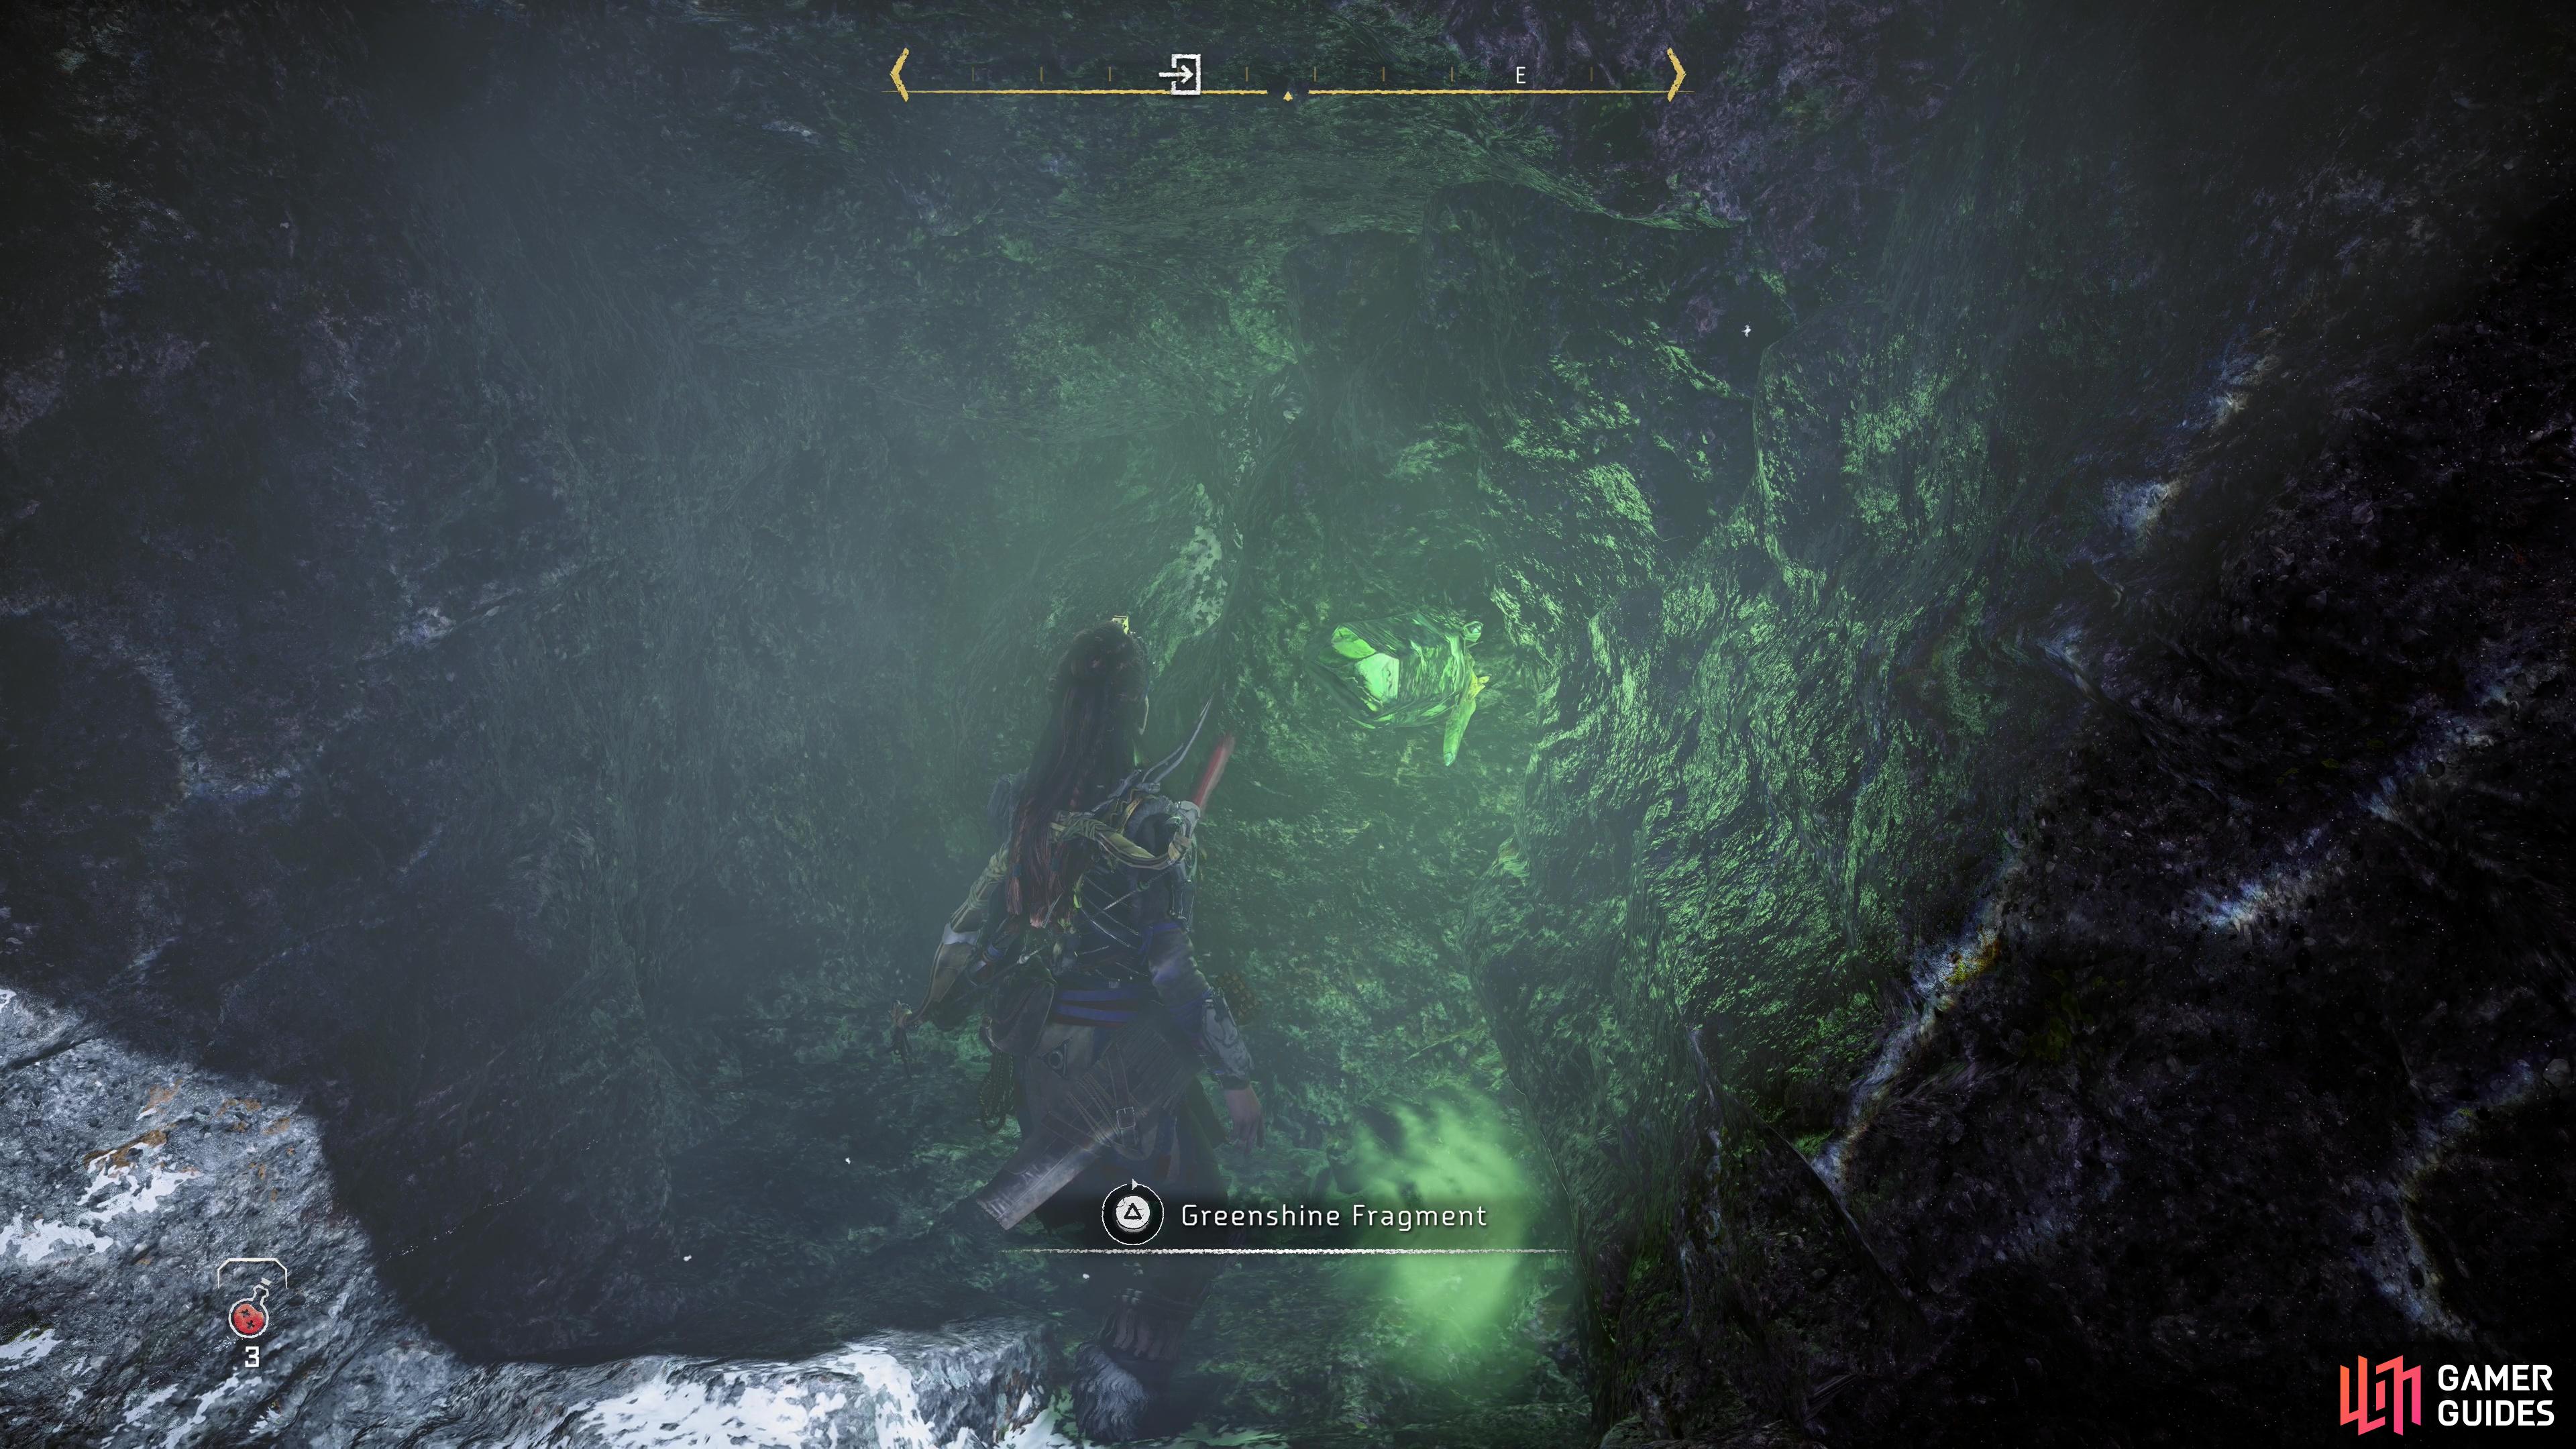
(1 of 2) Use your Pullcaster to access a vent,
Use your Pullcaster to access a vent, (left), then search an alcove to find a Greenshine Fragment. (right)
How to Find MINERVA
Head up some stairs and through a doorway to the west, southwest, then continue on the linear path ahead. You’ll ascend several flights of stairs before going through another doorway, beyond which you’ll find a lab. Attempt to go through a door to the north, and after some chatter, pry the door open and climb up an elevator shaft.
Once you reach the top, continue south, turn left (east) then pry open a door to the right (south) to reach a circular data storage chamber. Go through a door to the east (Minerva blocks the doors to the west) and use your Pullcaster to strip the grate off two vents, one to the north and one to the east. The vent to the north just leads to a cache, so plunder it, then enter the vent to the east.
Inside the vent, the eastern wall will feature some handholds you can climb. Before going up, however, turn right (south) and head down a shaft, stopping when you find a breach in the duct to the left (east) wherein you’ll find a Greenshine Fragment. Continue south, then west and you’ll reach a shaft you can drop down, but it’s a deadend. Return to the wall you neglected earlier and climb up it to reach another, elevated vent, and follow it east, then southeast to find yourself… outside?
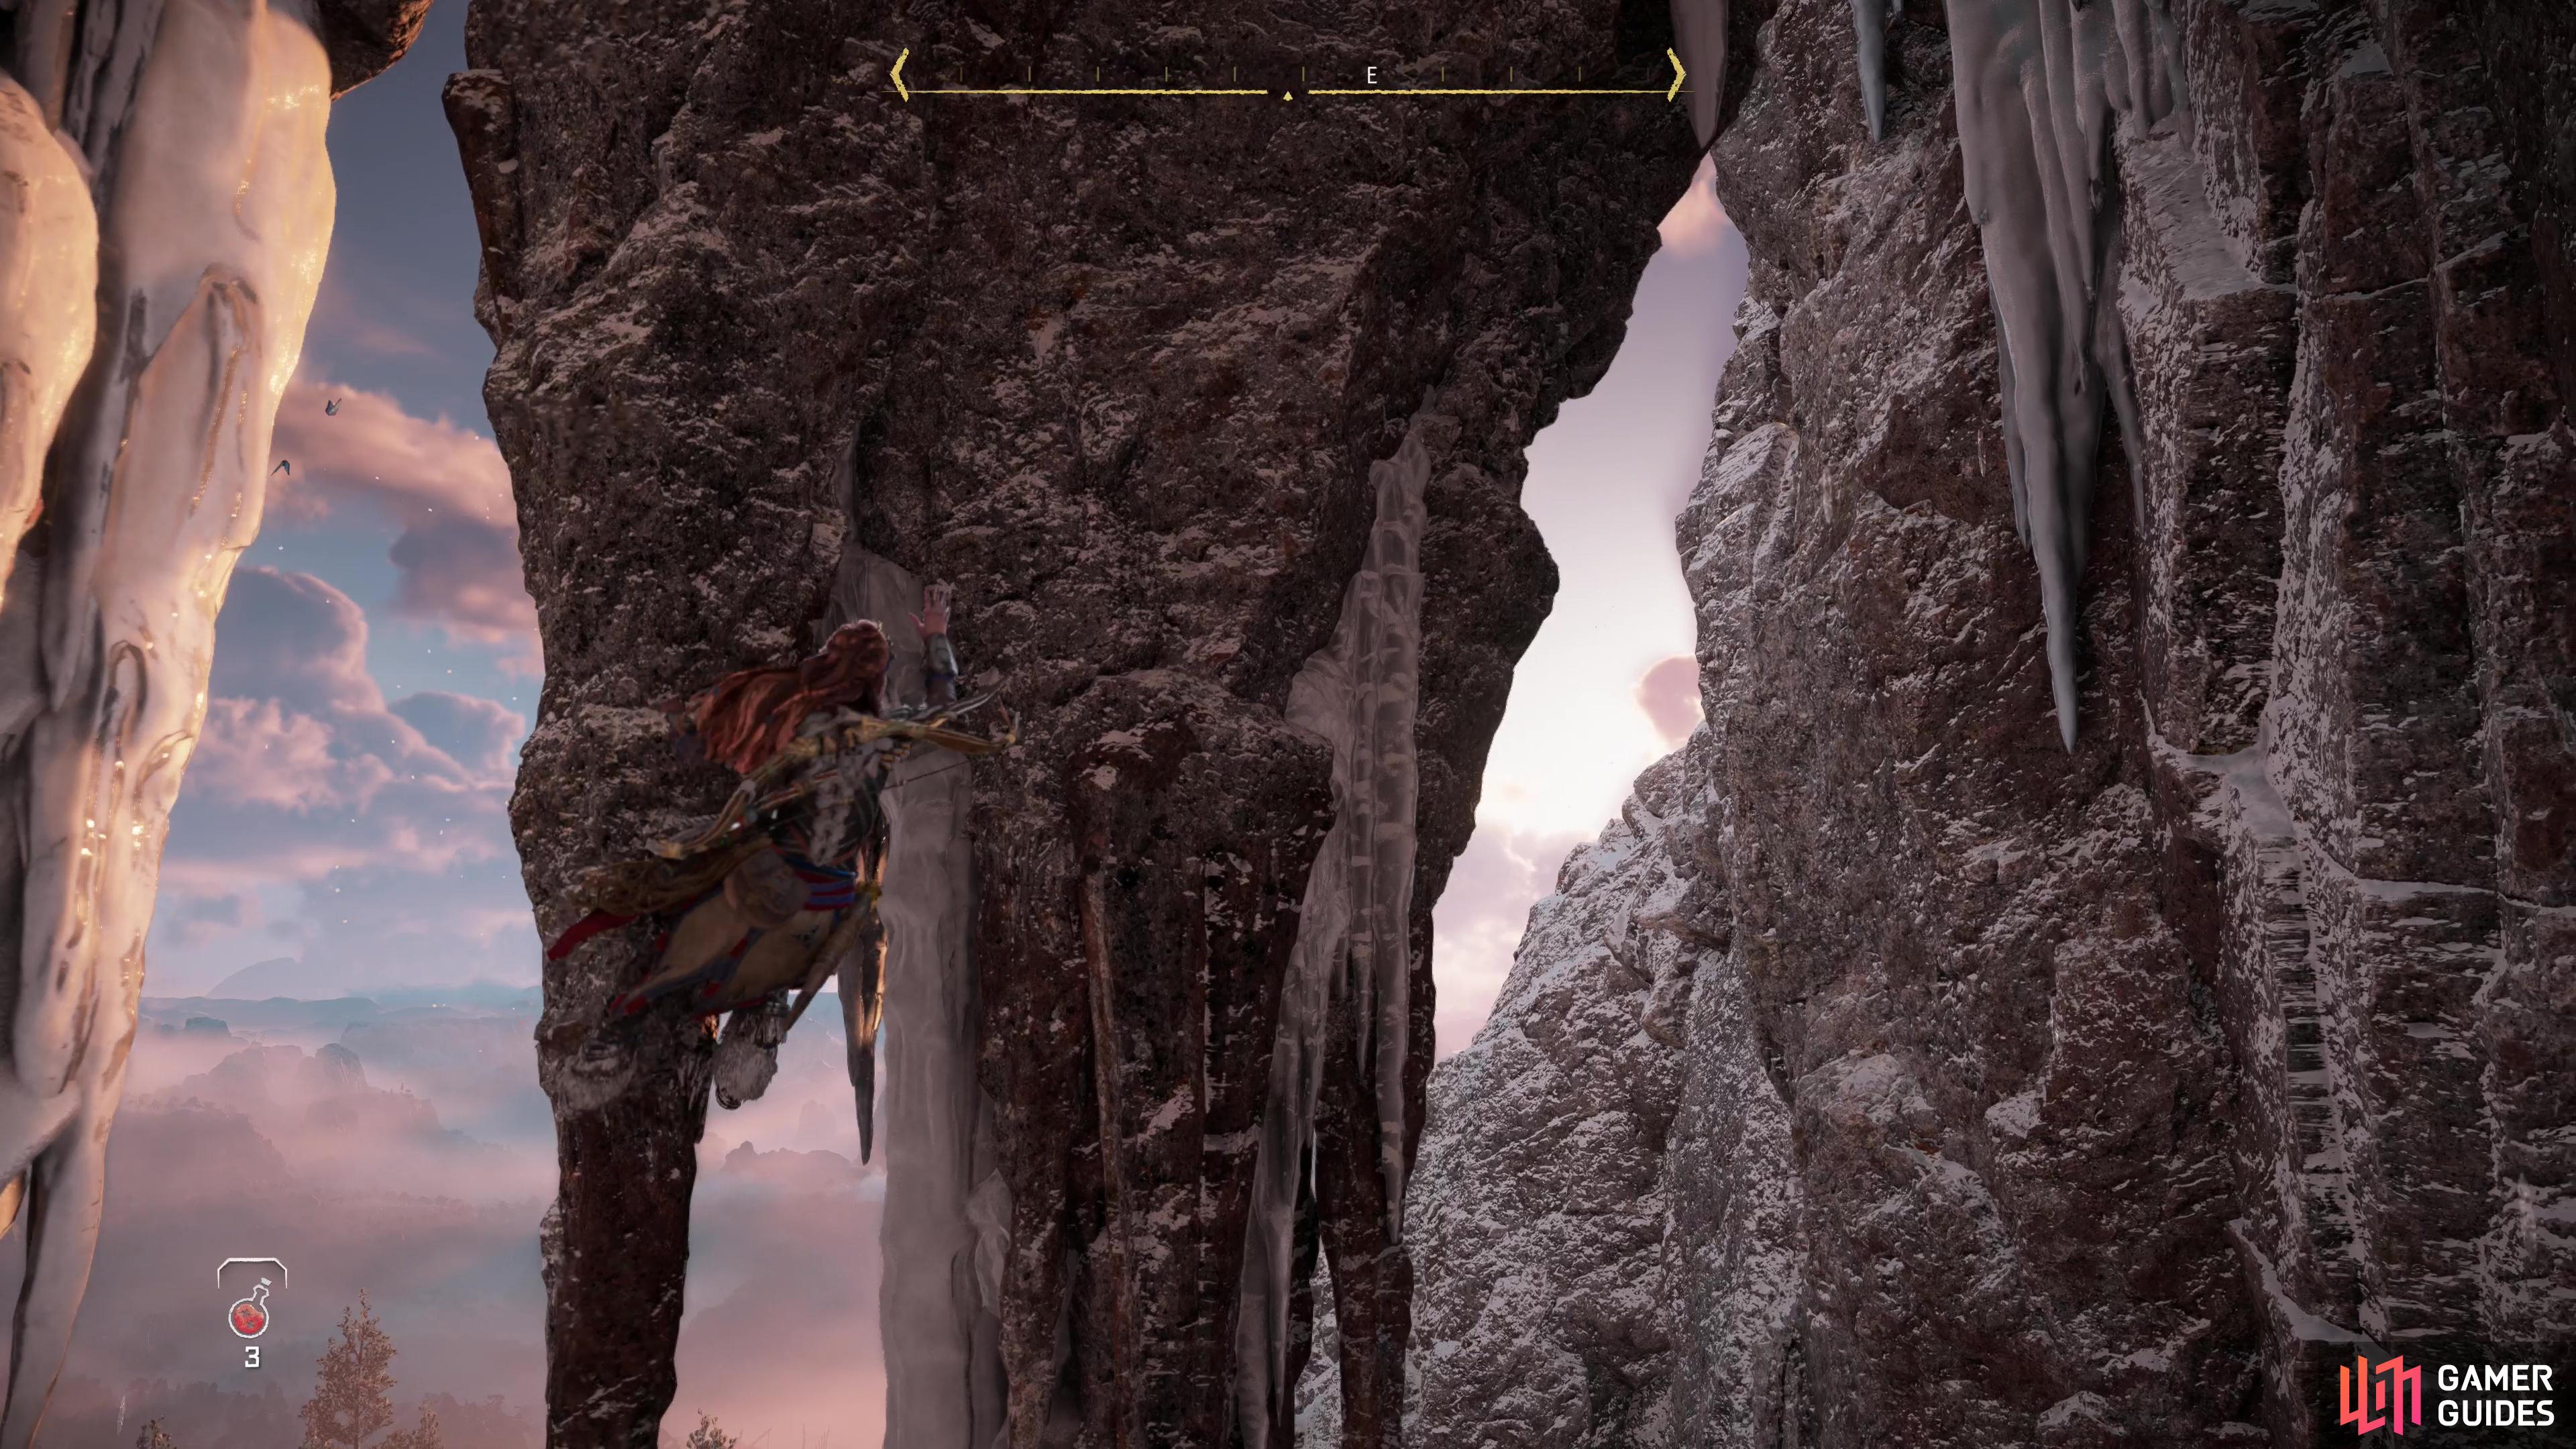
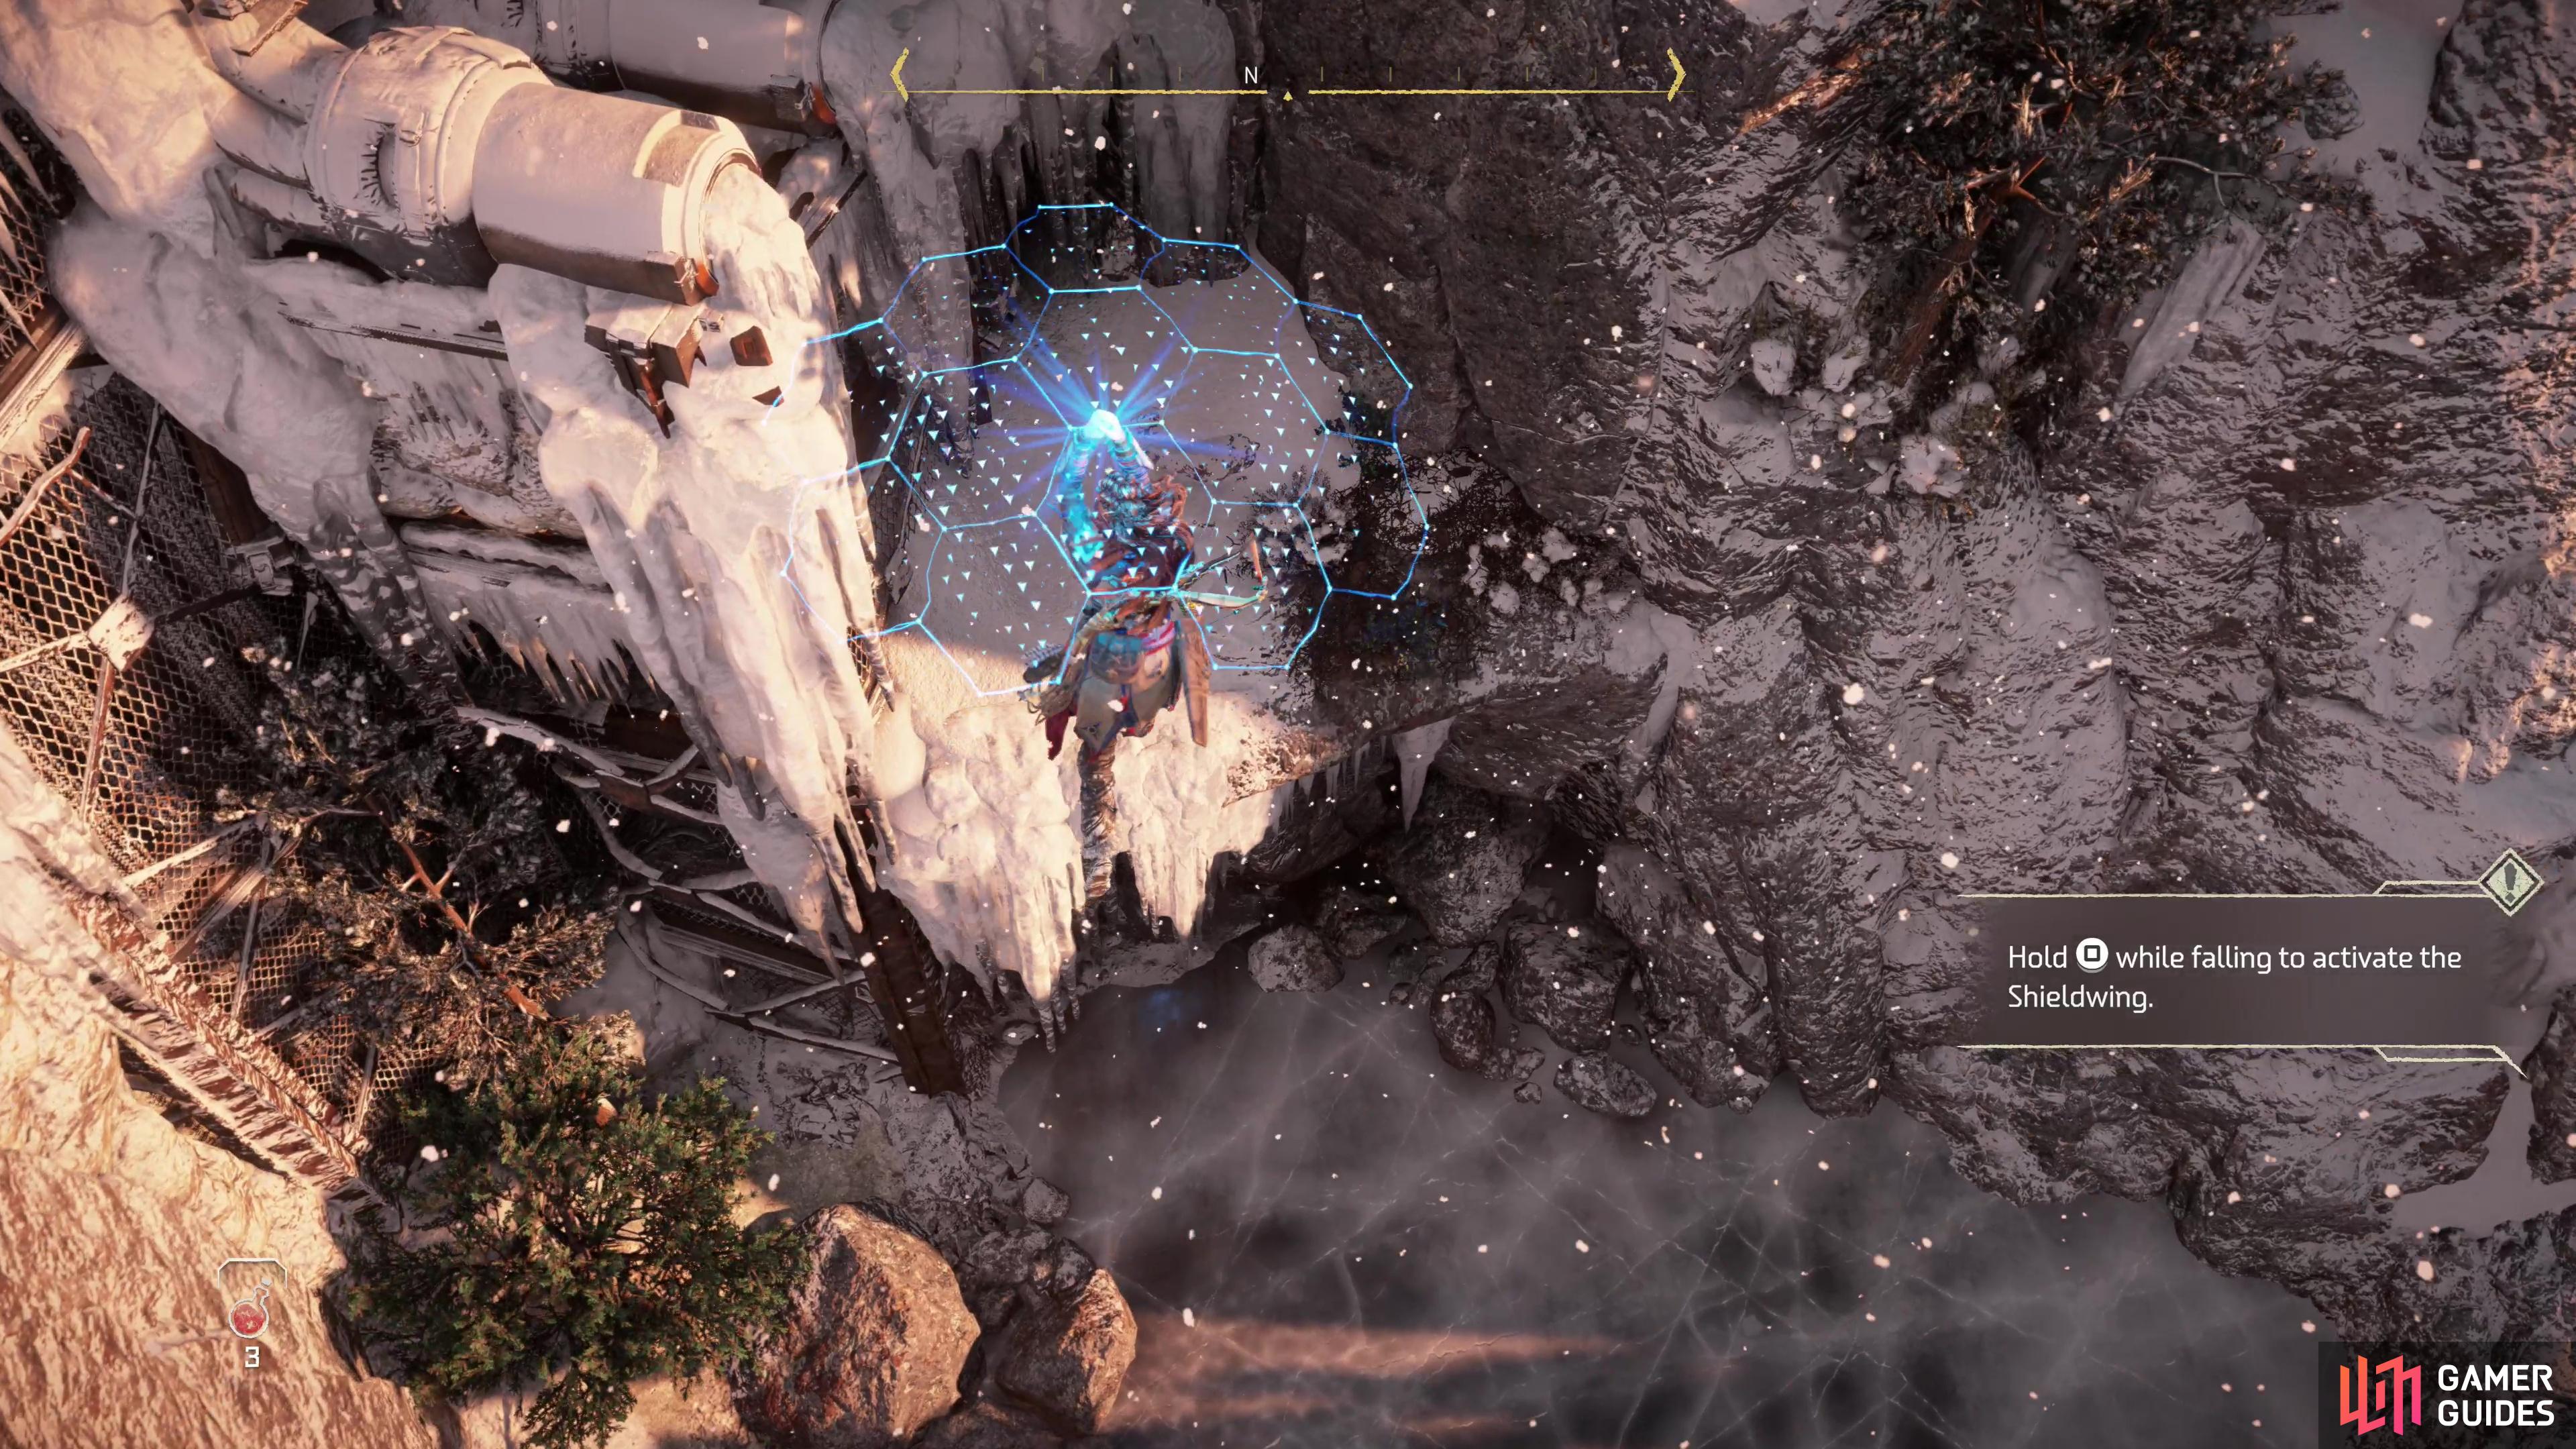
(1 of 3) Crawl around some stalactites,
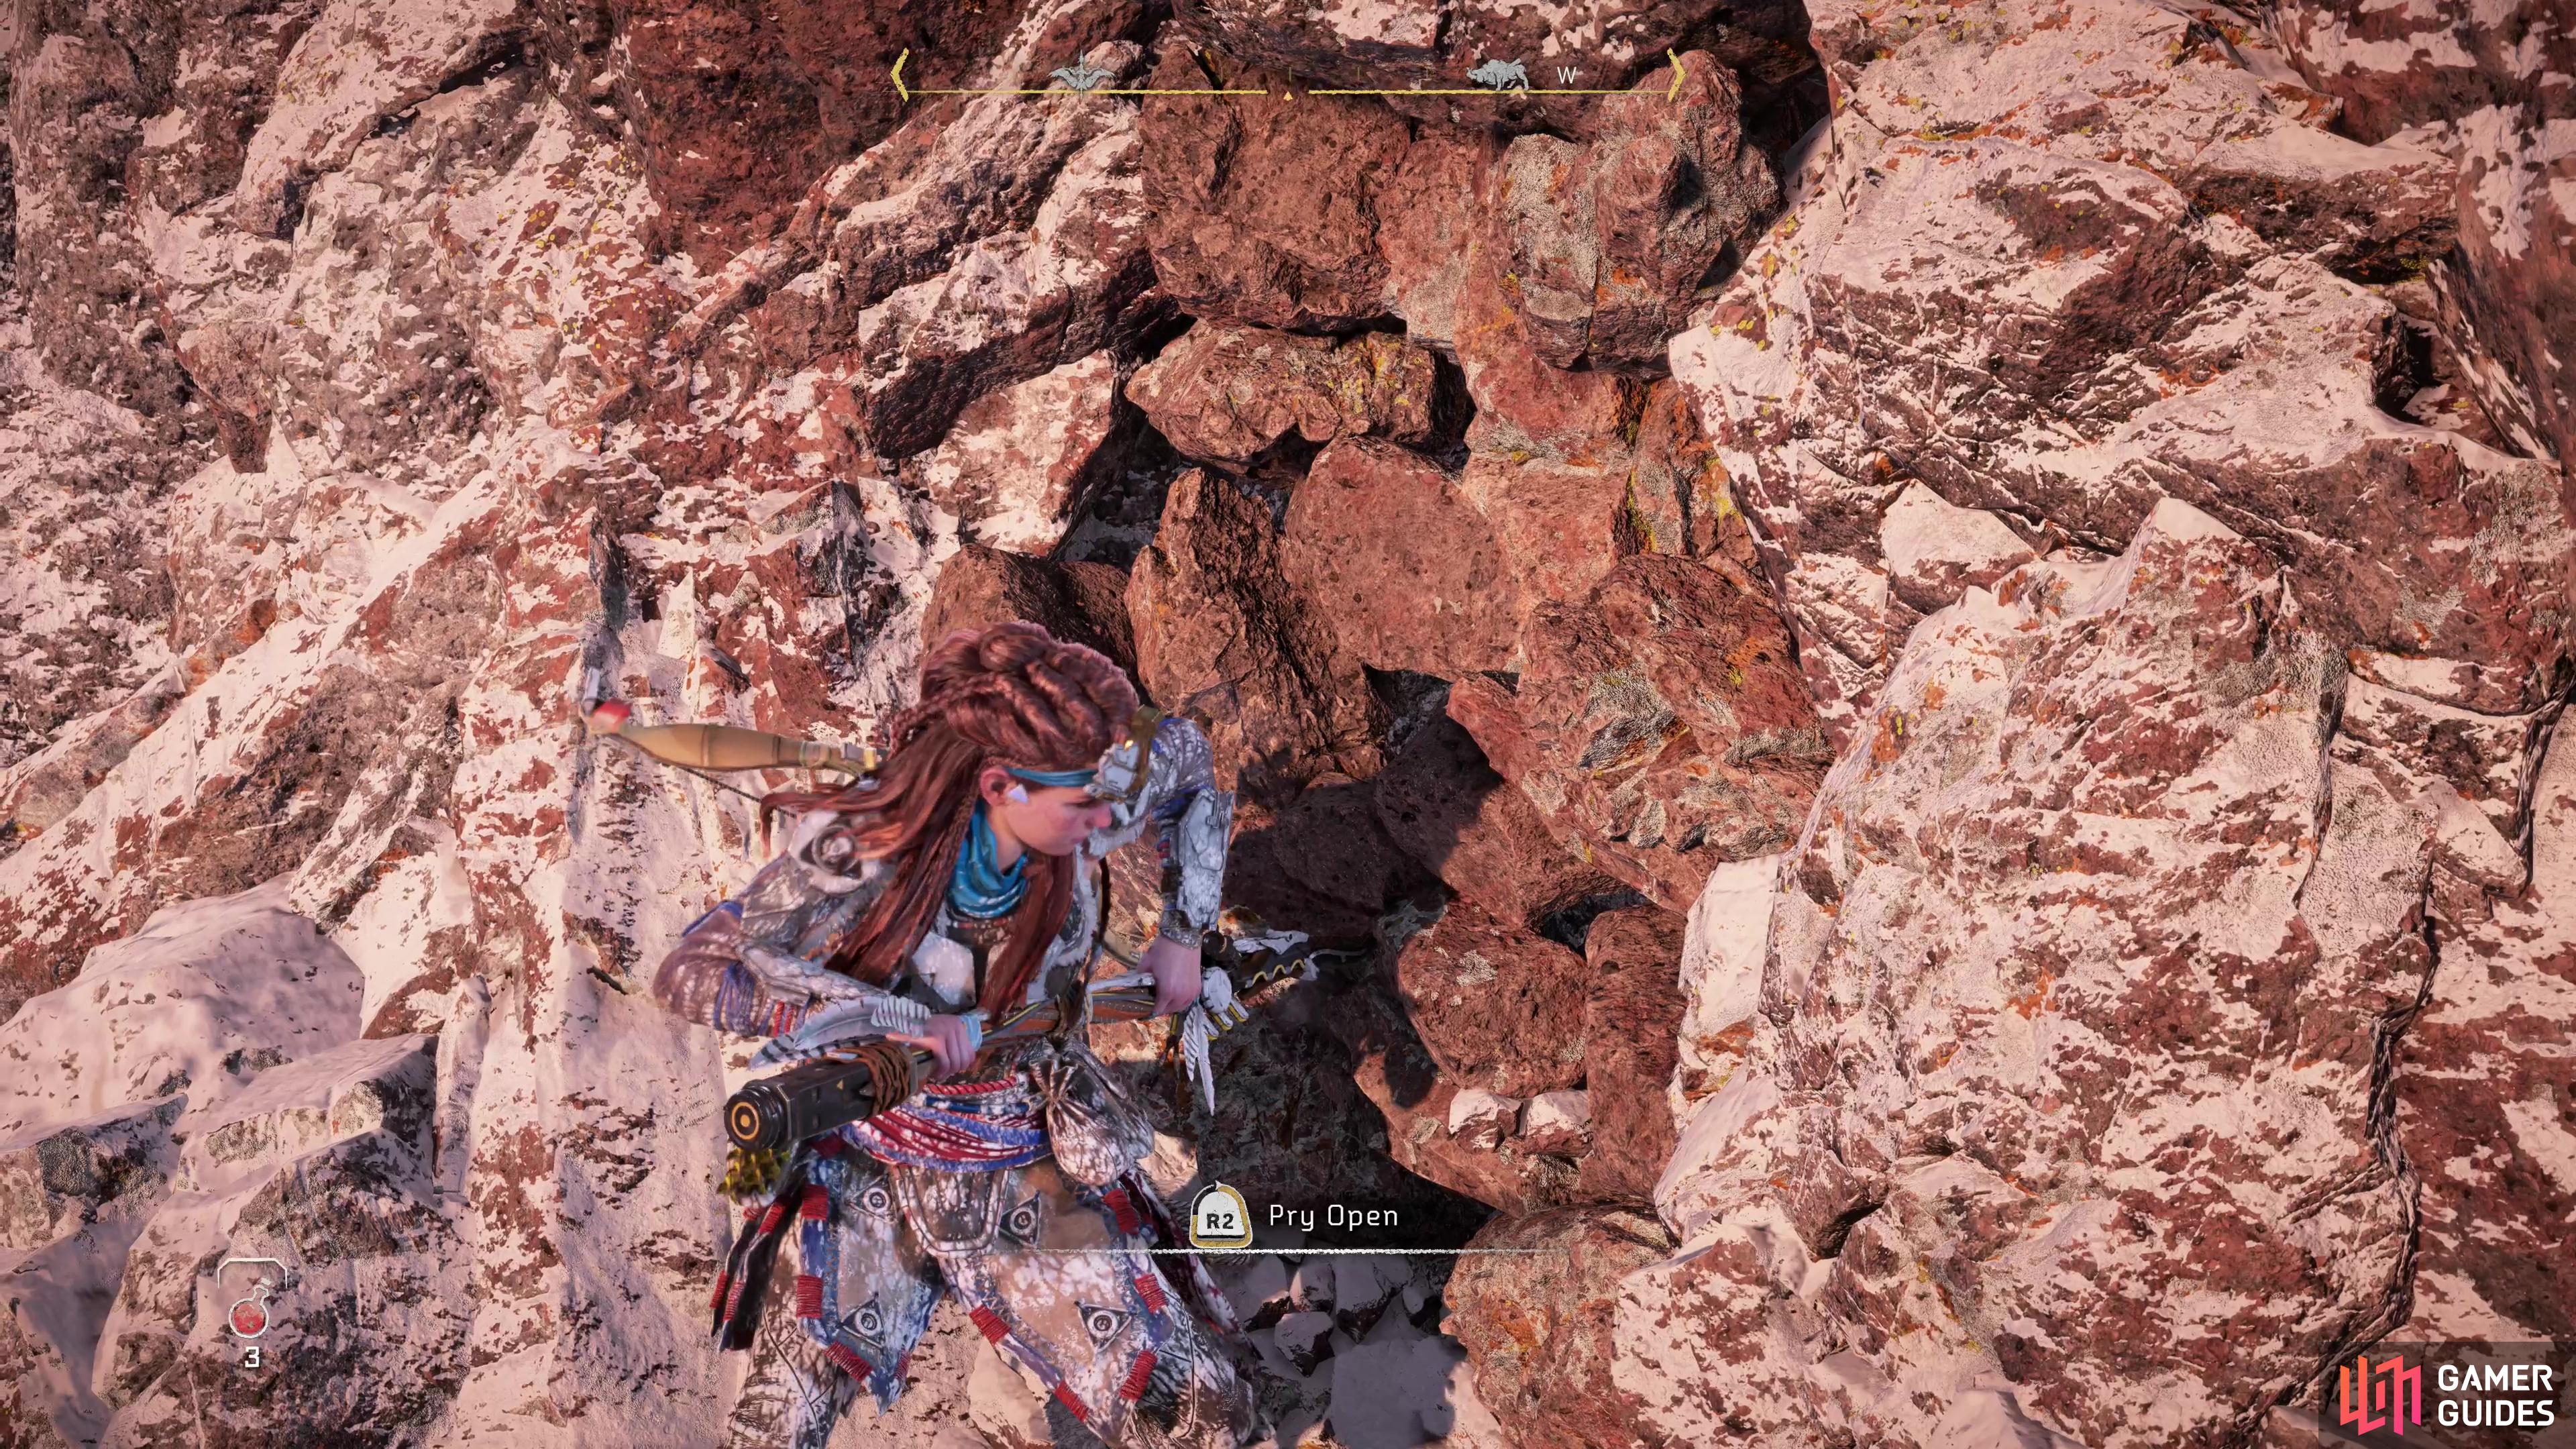
Head uphill to the south, then switchback around north and use a grapple point. From here, climb onto some stalactites and work your way right, then around to the far side of the stalactites, then right again until you can leap onto a ledge. From this ledge jump and glide to the north to reach a lower ledge across a gap, then climb up the cliffs to the northeast, use a grapple point when you’re high enough and keep climbing until you’re on another snowy ledge. Pry open some loose rocks and you’ll be back inside the facility.
Press forward and you’ll soon find yourself in a circular chamber. Head upstairs, then rappel down and when you land, insert the GAIA Kernal in a node.
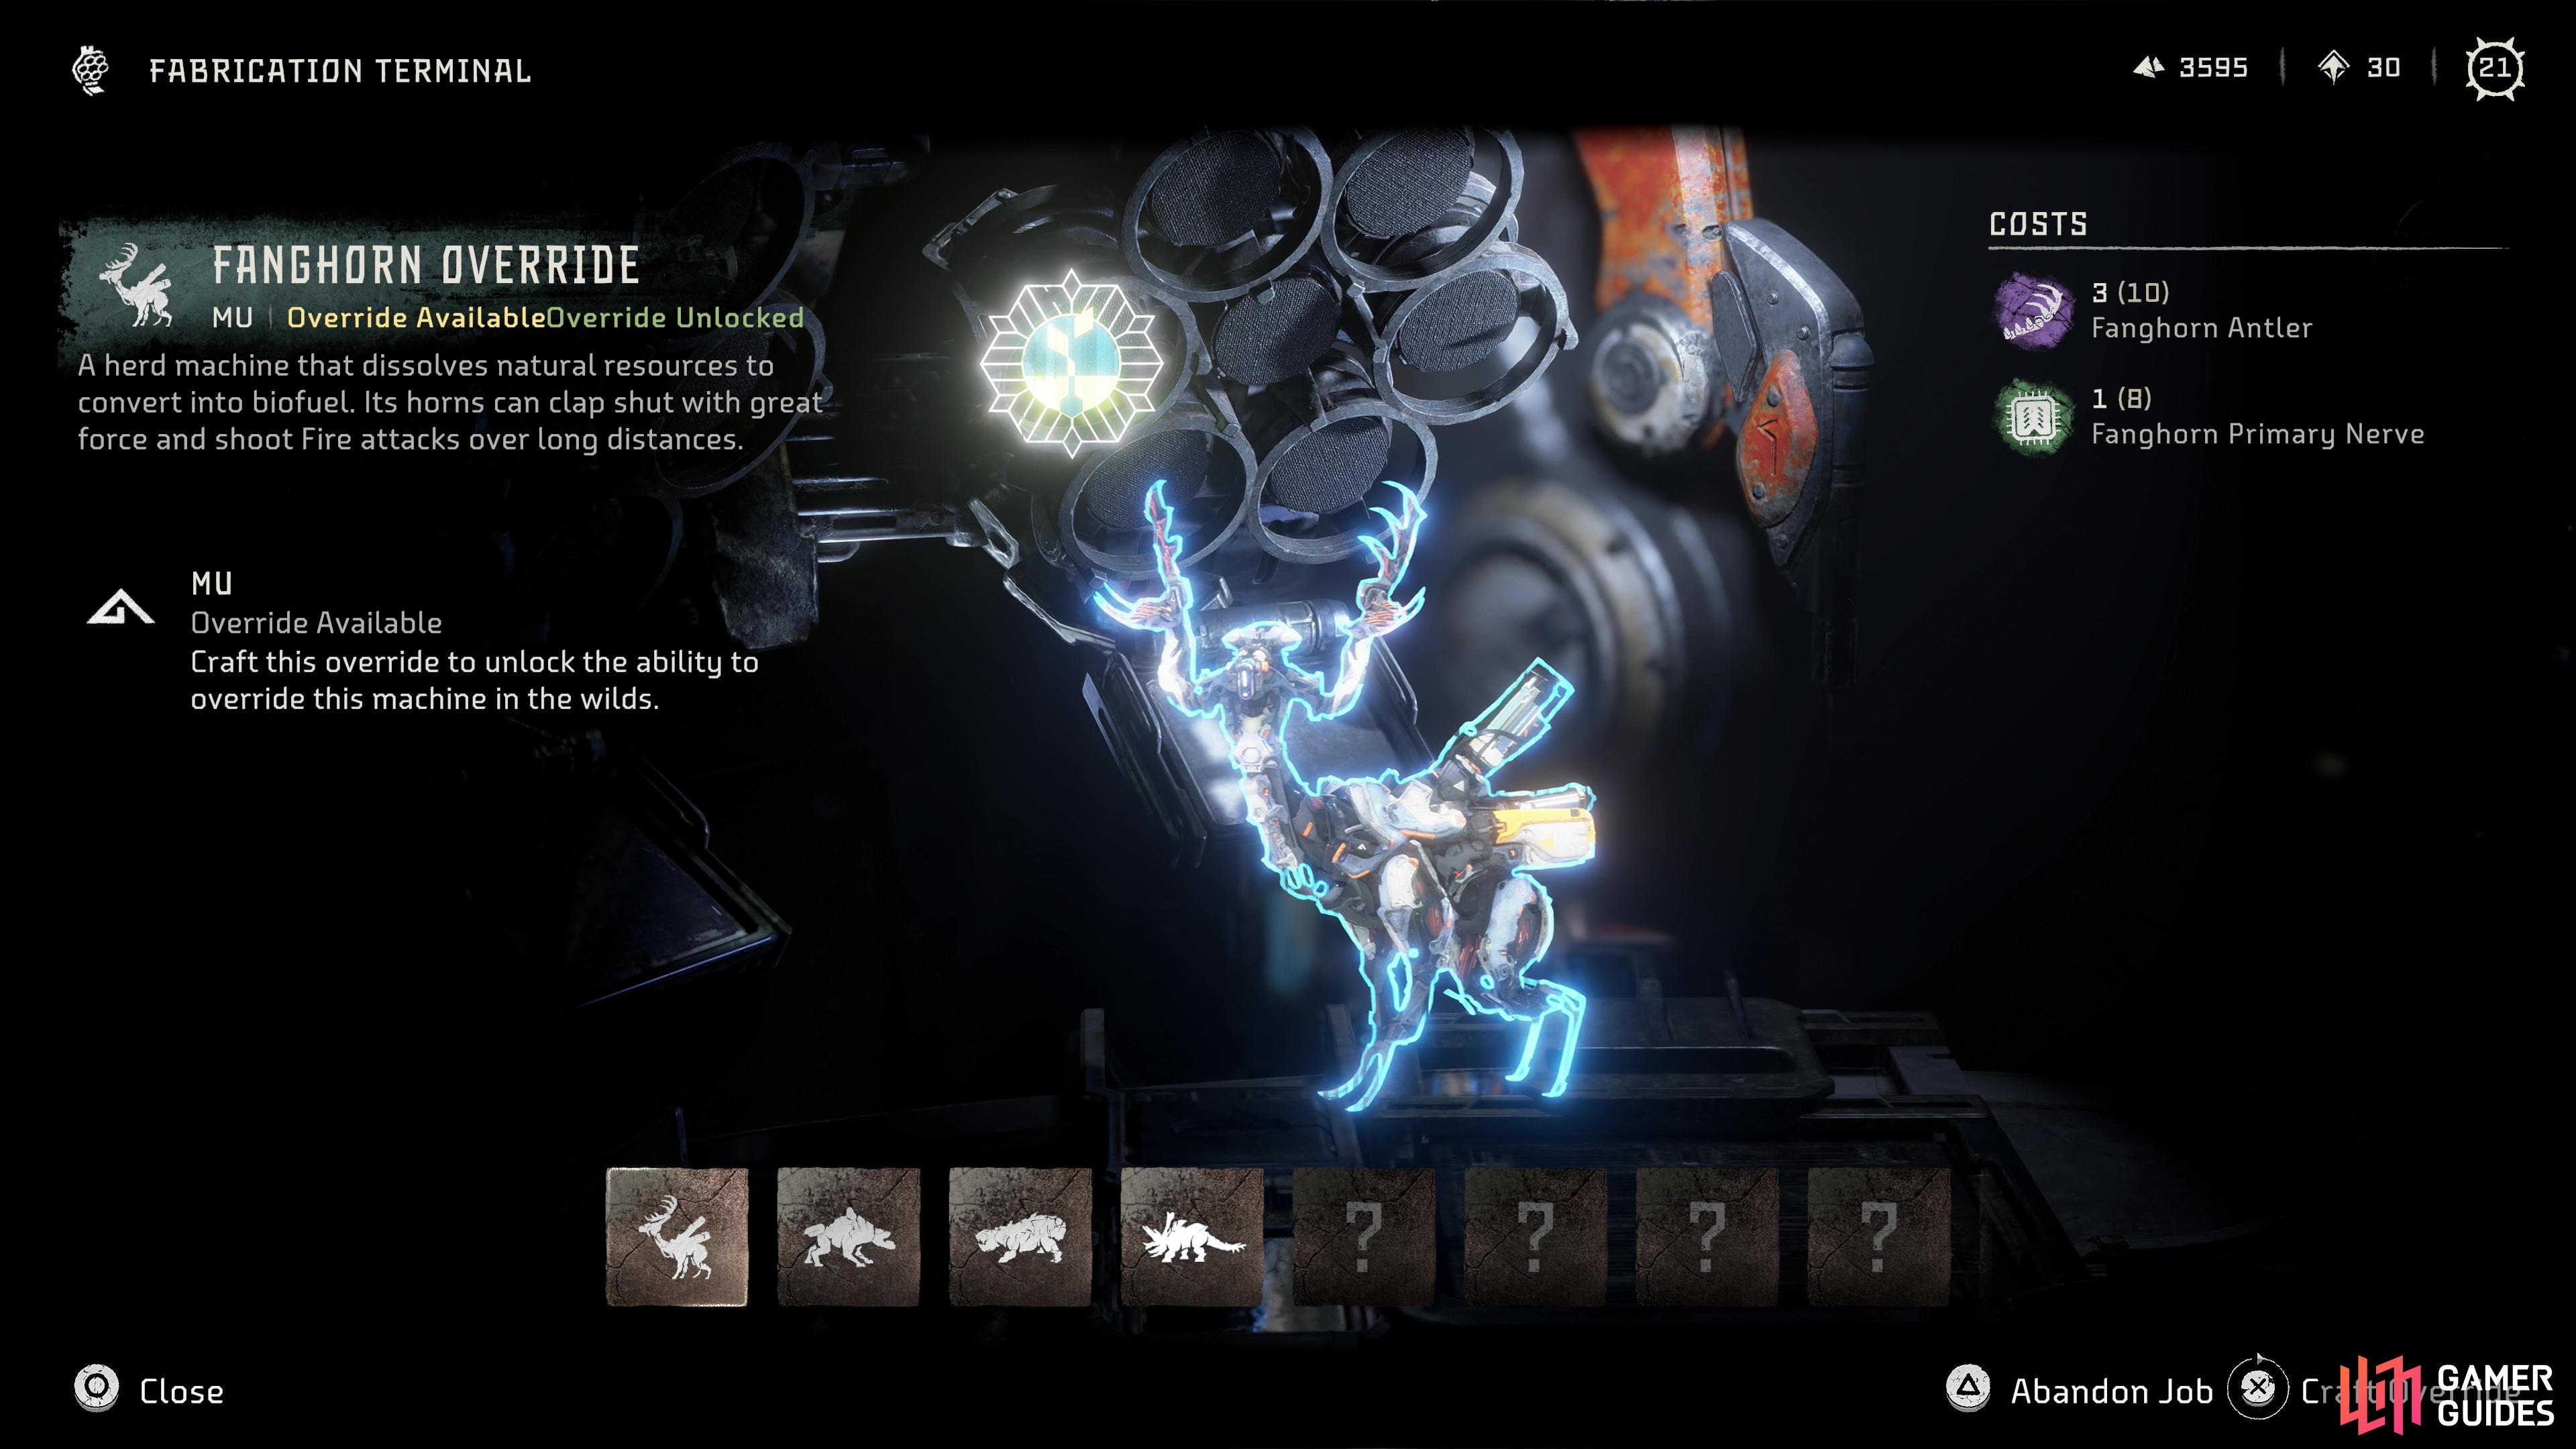
(1 of 2) Check out the Fabrication Terminal during some mandatory exploration.
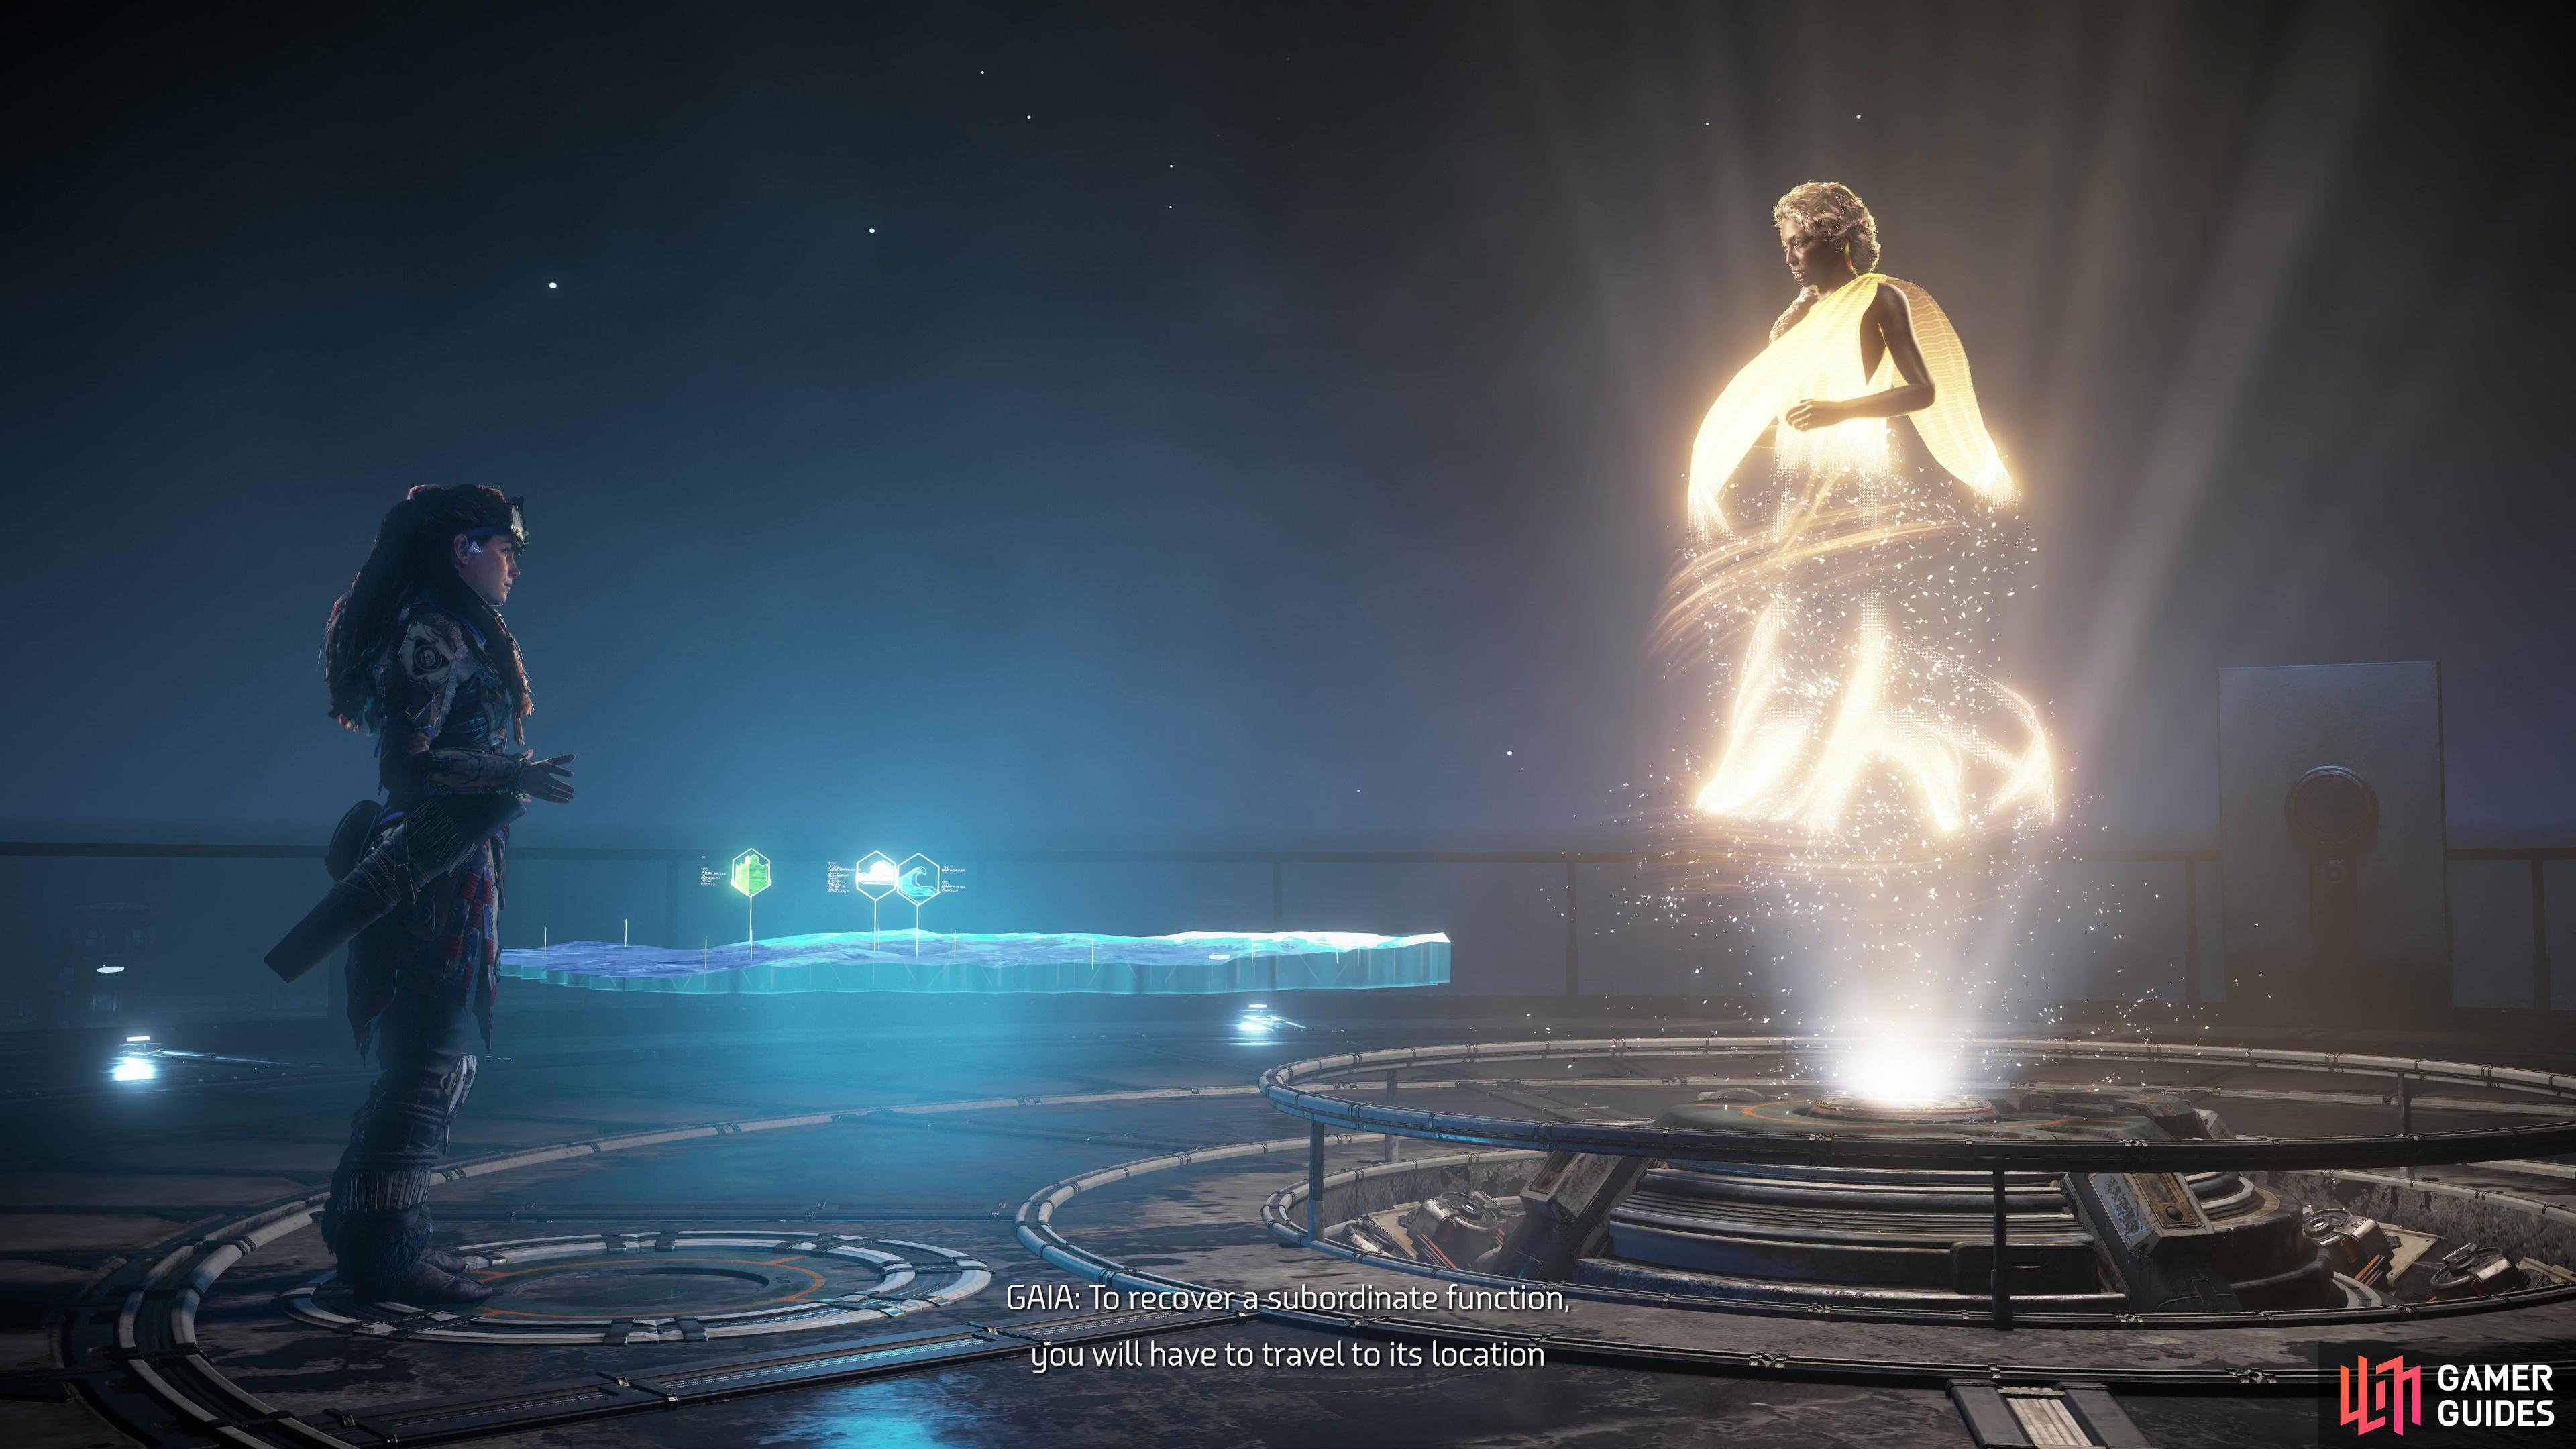
Check out the Fabrication Terminal during some mandatory exploration. (left), During your chat with GAIA, the objectives of next phase of the main questline will be covered in detail. (right)
Explore the Facility
After some scenes you’ll need to explore the facility, at least a bit. Head down stairs to the north and enter a circular room to trigger some chatter, then enter a room to the west and interact with the Fabrication Terminal. Here you can expend resources (machine parts) to gain the ability to override various machines. You’re not required to actually unlock any overrides here, but you do have to fiddle with the terminal to provoke some conversation about it.
Explore the other rooms for more commentary, if you wish, then return to GAIA and chat with her. You’ll get a lot of exposition here, and you’ll be sitting through a lot of chatter if you want to hear everything. At the end of the conversation you’ll be asked to choose between three objectives - pick whichever you want, the decision isn’t final, it sets your selection as the active quest, something you can change at any point.
When you’re done talking with GAIA, leave via the western exit and after some more chatter, the following main quests will start:
- [The Broken Sky]
- [The Sea of Sands]
- [Seeds of the Past]
You can choose to attempt them in any order, and while they’ll be listed in order of level in this guide, the level requirement isn’t terribly important. You’ll also unlock The Base, which you can travel to like any other settlement/campfire map marker. Finally, completing this quest will also give you access to the western half of the Forbidden West, opening up much new exploration, new activities, and new side quests.


 Sign up
No Comments