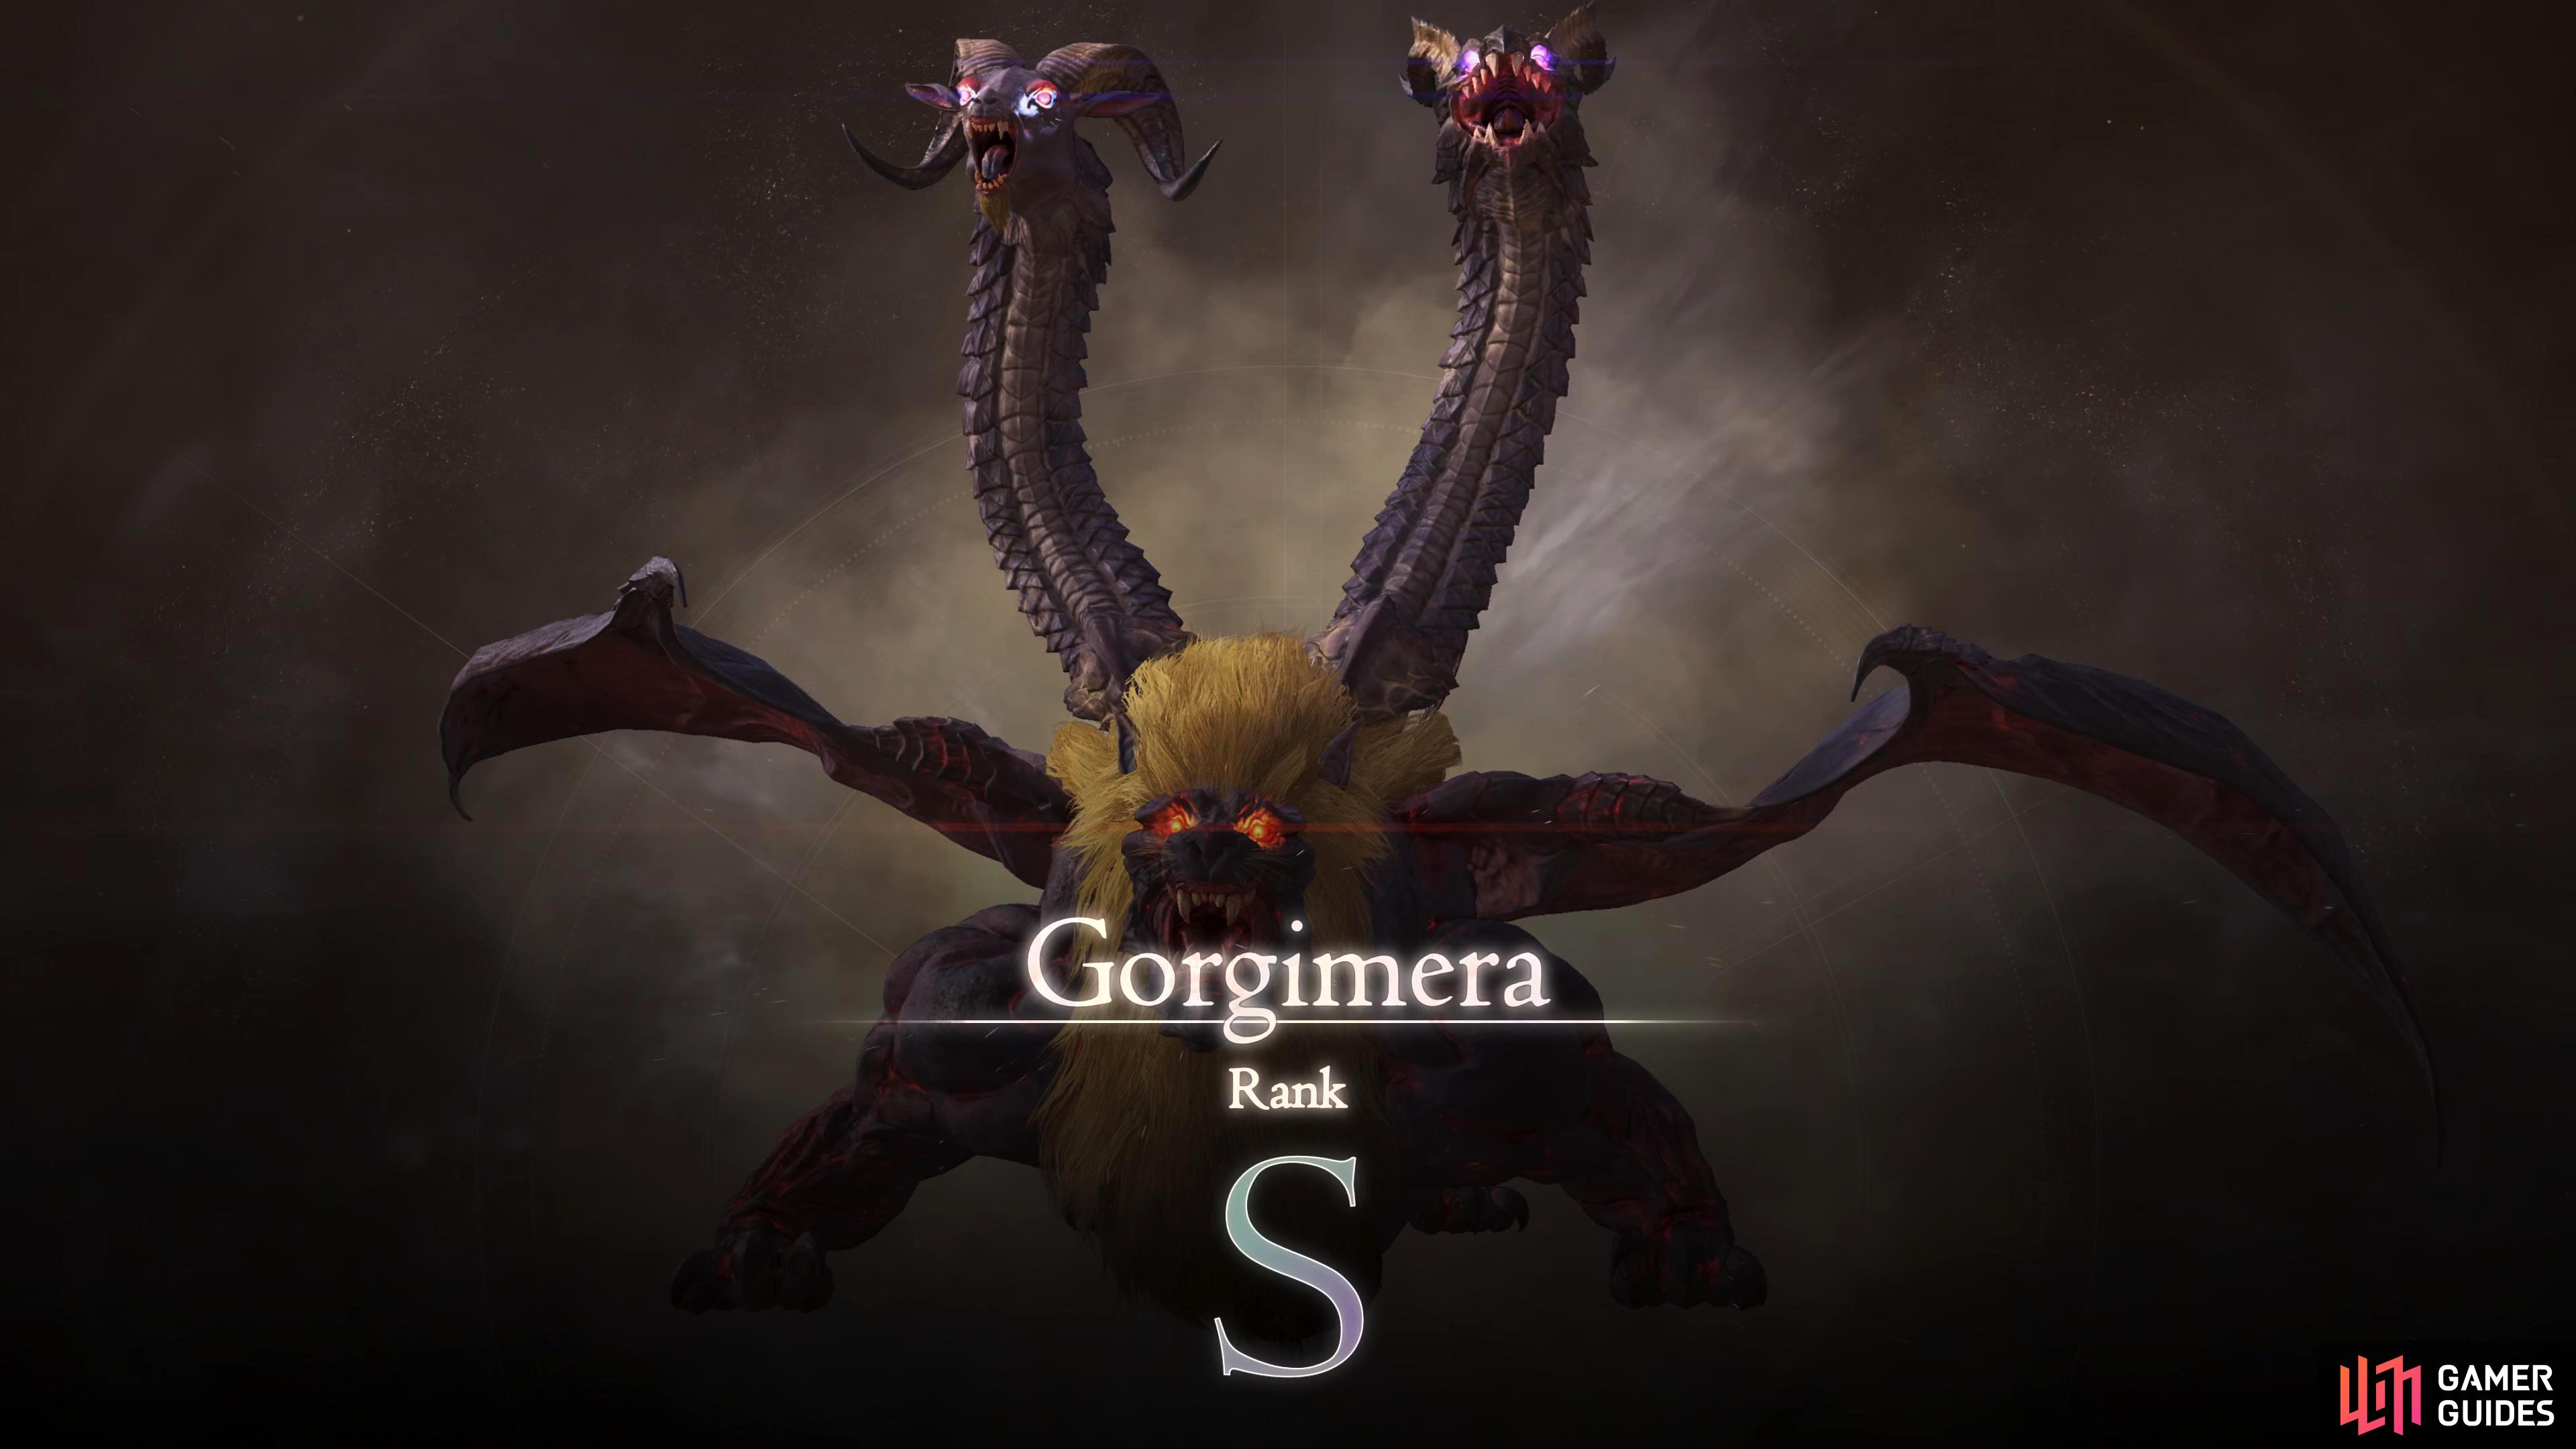
During the last stretch of Final Fantasy 16, The Tricephalic Terror Notorious Mark will appear on the hunt board. More specifically, during the “Across the Narrow” main scenario quest. Found in the Desert of Dhalmekia, this particular creature will bring back some memories, especially for the Final Fantasy XIV fans as you’ll be matched up against the !Gorgimera. Read below to find out the exact location of The Tricephalic Terror, and how to defeat them.
Gorgimera is an S-Rank accessed during the “Across the Narrow” main scenario quest.
Where to Find The Tricephalic Terror, Gorgimera
| Location | Level | Bounty |
|---|---|---|
| Velkroy Desert, Dhalmekia | 45 | 27,000 Gil, 50 Renown |
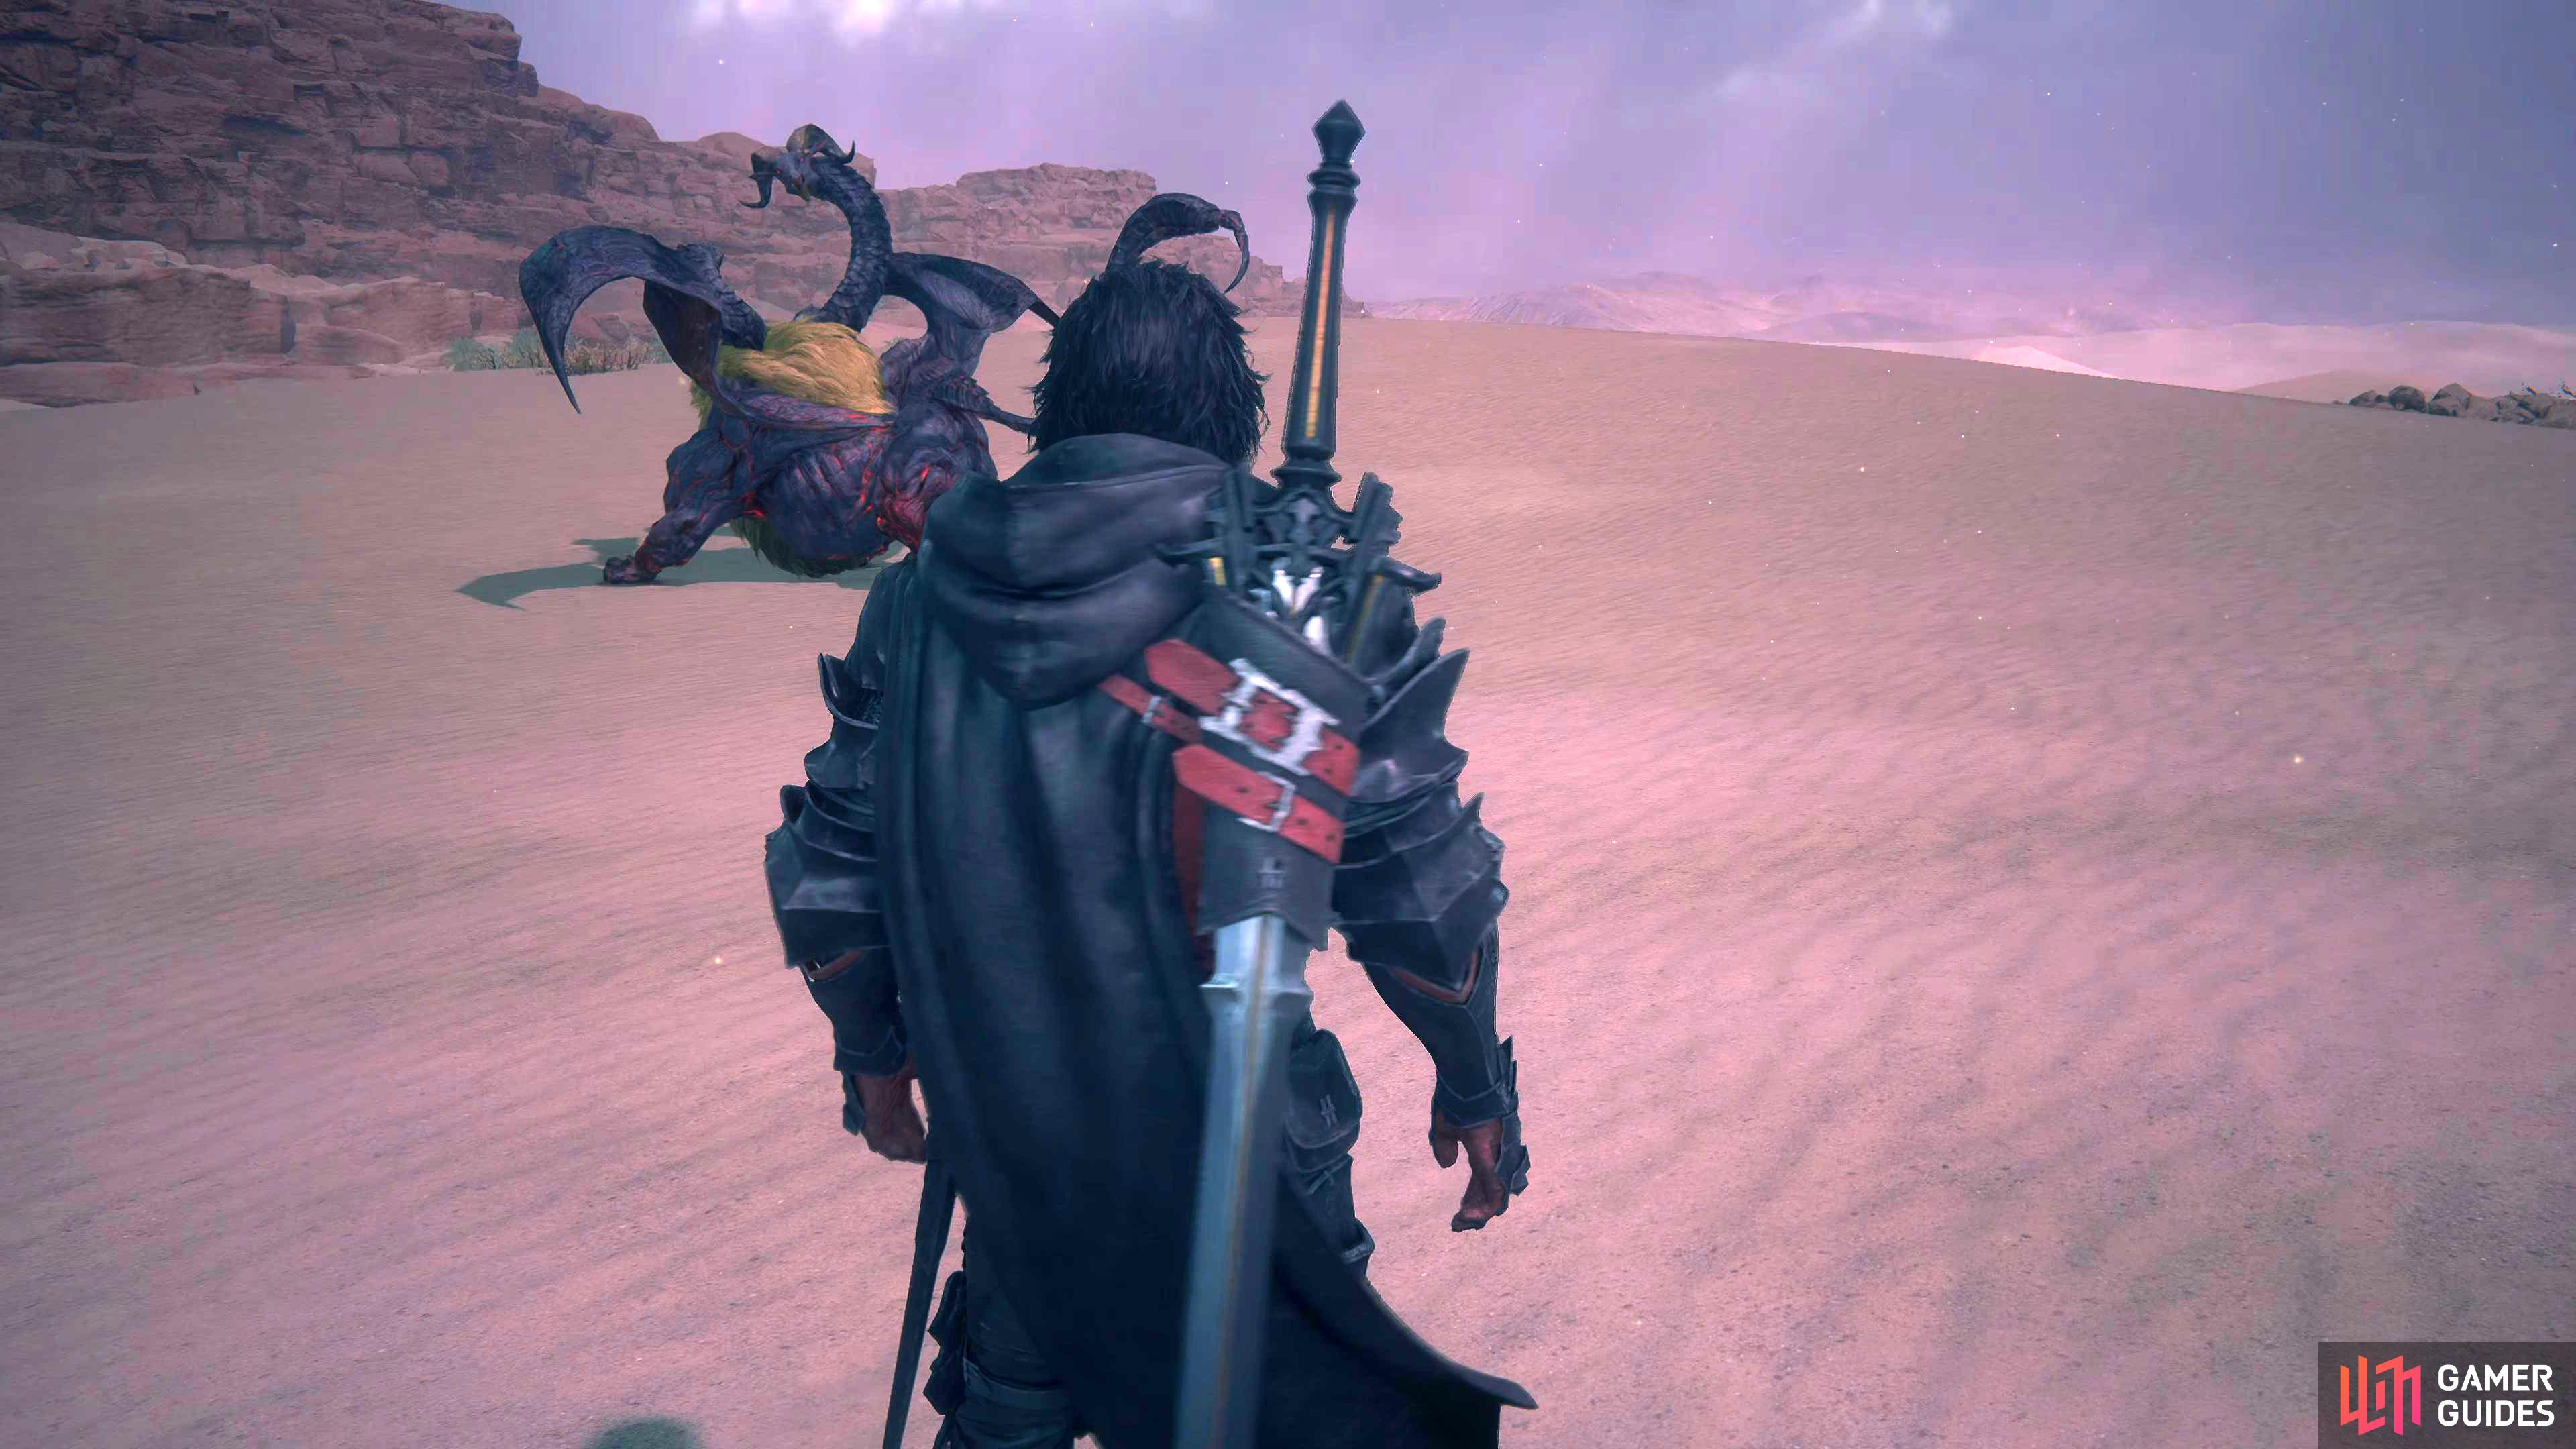
The !Gorgimera can be found roaming the west side of the Velkroy Desert after the bill appears on the Hunt Board during the Across the Narrow main story quest. Teleport to ![]() The Dalimil Inn obelisk in Dhalmekia and leave the town via the northern exit. Continue north until you’re allowed to turn west and head west/northwest. If you search in the northwest of the lower southwest portion of the desert, you’ll soon find it.
The Dalimil Inn obelisk in Dhalmekia and leave the town via the northern exit. Continue north until you’re allowed to turn west and head west/northwest. If you search in the northwest of the lower southwest portion of the desert, you’ll soon find it.
(1 of 2) Gorgimera can be found roaming the southwestern portion of the Velkroy Desert.
Gorgimera can be found roaming the southwestern portion of the Velkroy Desert. (left), It can be found exactly in the northwestern part of the southwest section. (right)
Gorgimera Video Guide
Watch the video below to see !Gorgimera’s attacks in action. This video will also show you the location if you’re still having trouble finding it.
Gorgimera’s Abilities and Attacks
Below you’ll find all the attacks that !Gorgimera has in its arsenal:
| Attack | Description | Counter |
|---|---|---|
| Two-Hit Combo | This is !Gorgimera’s generic melee attack where it will slam one paw to the ground, and follow it up with another from the opposite paw. | This can be dodged, sidestepped, parried, and even avoided altogether by keeping your distance. |
| Dive Bomb | !Gorgimera will take to the skies before diving across the arena at your location. | This attack is similar to the many wyverns Dive Bomb attack and can be dodged in the same manner. Wait until !Gorgimera swoops in before activating Dodge. This can also be sidestepped. |
| Fire Breath | !Gorgimera will arch its head back before spewing fire from its gaping mouth in a line in front of itself. | You’ll have seen this attack plenty of times from other hunts/monsters. Simply get to the sides/back of !Gorgimera to avoid the attack entirely, or dodge through the flame to get a Precision Dodge. |
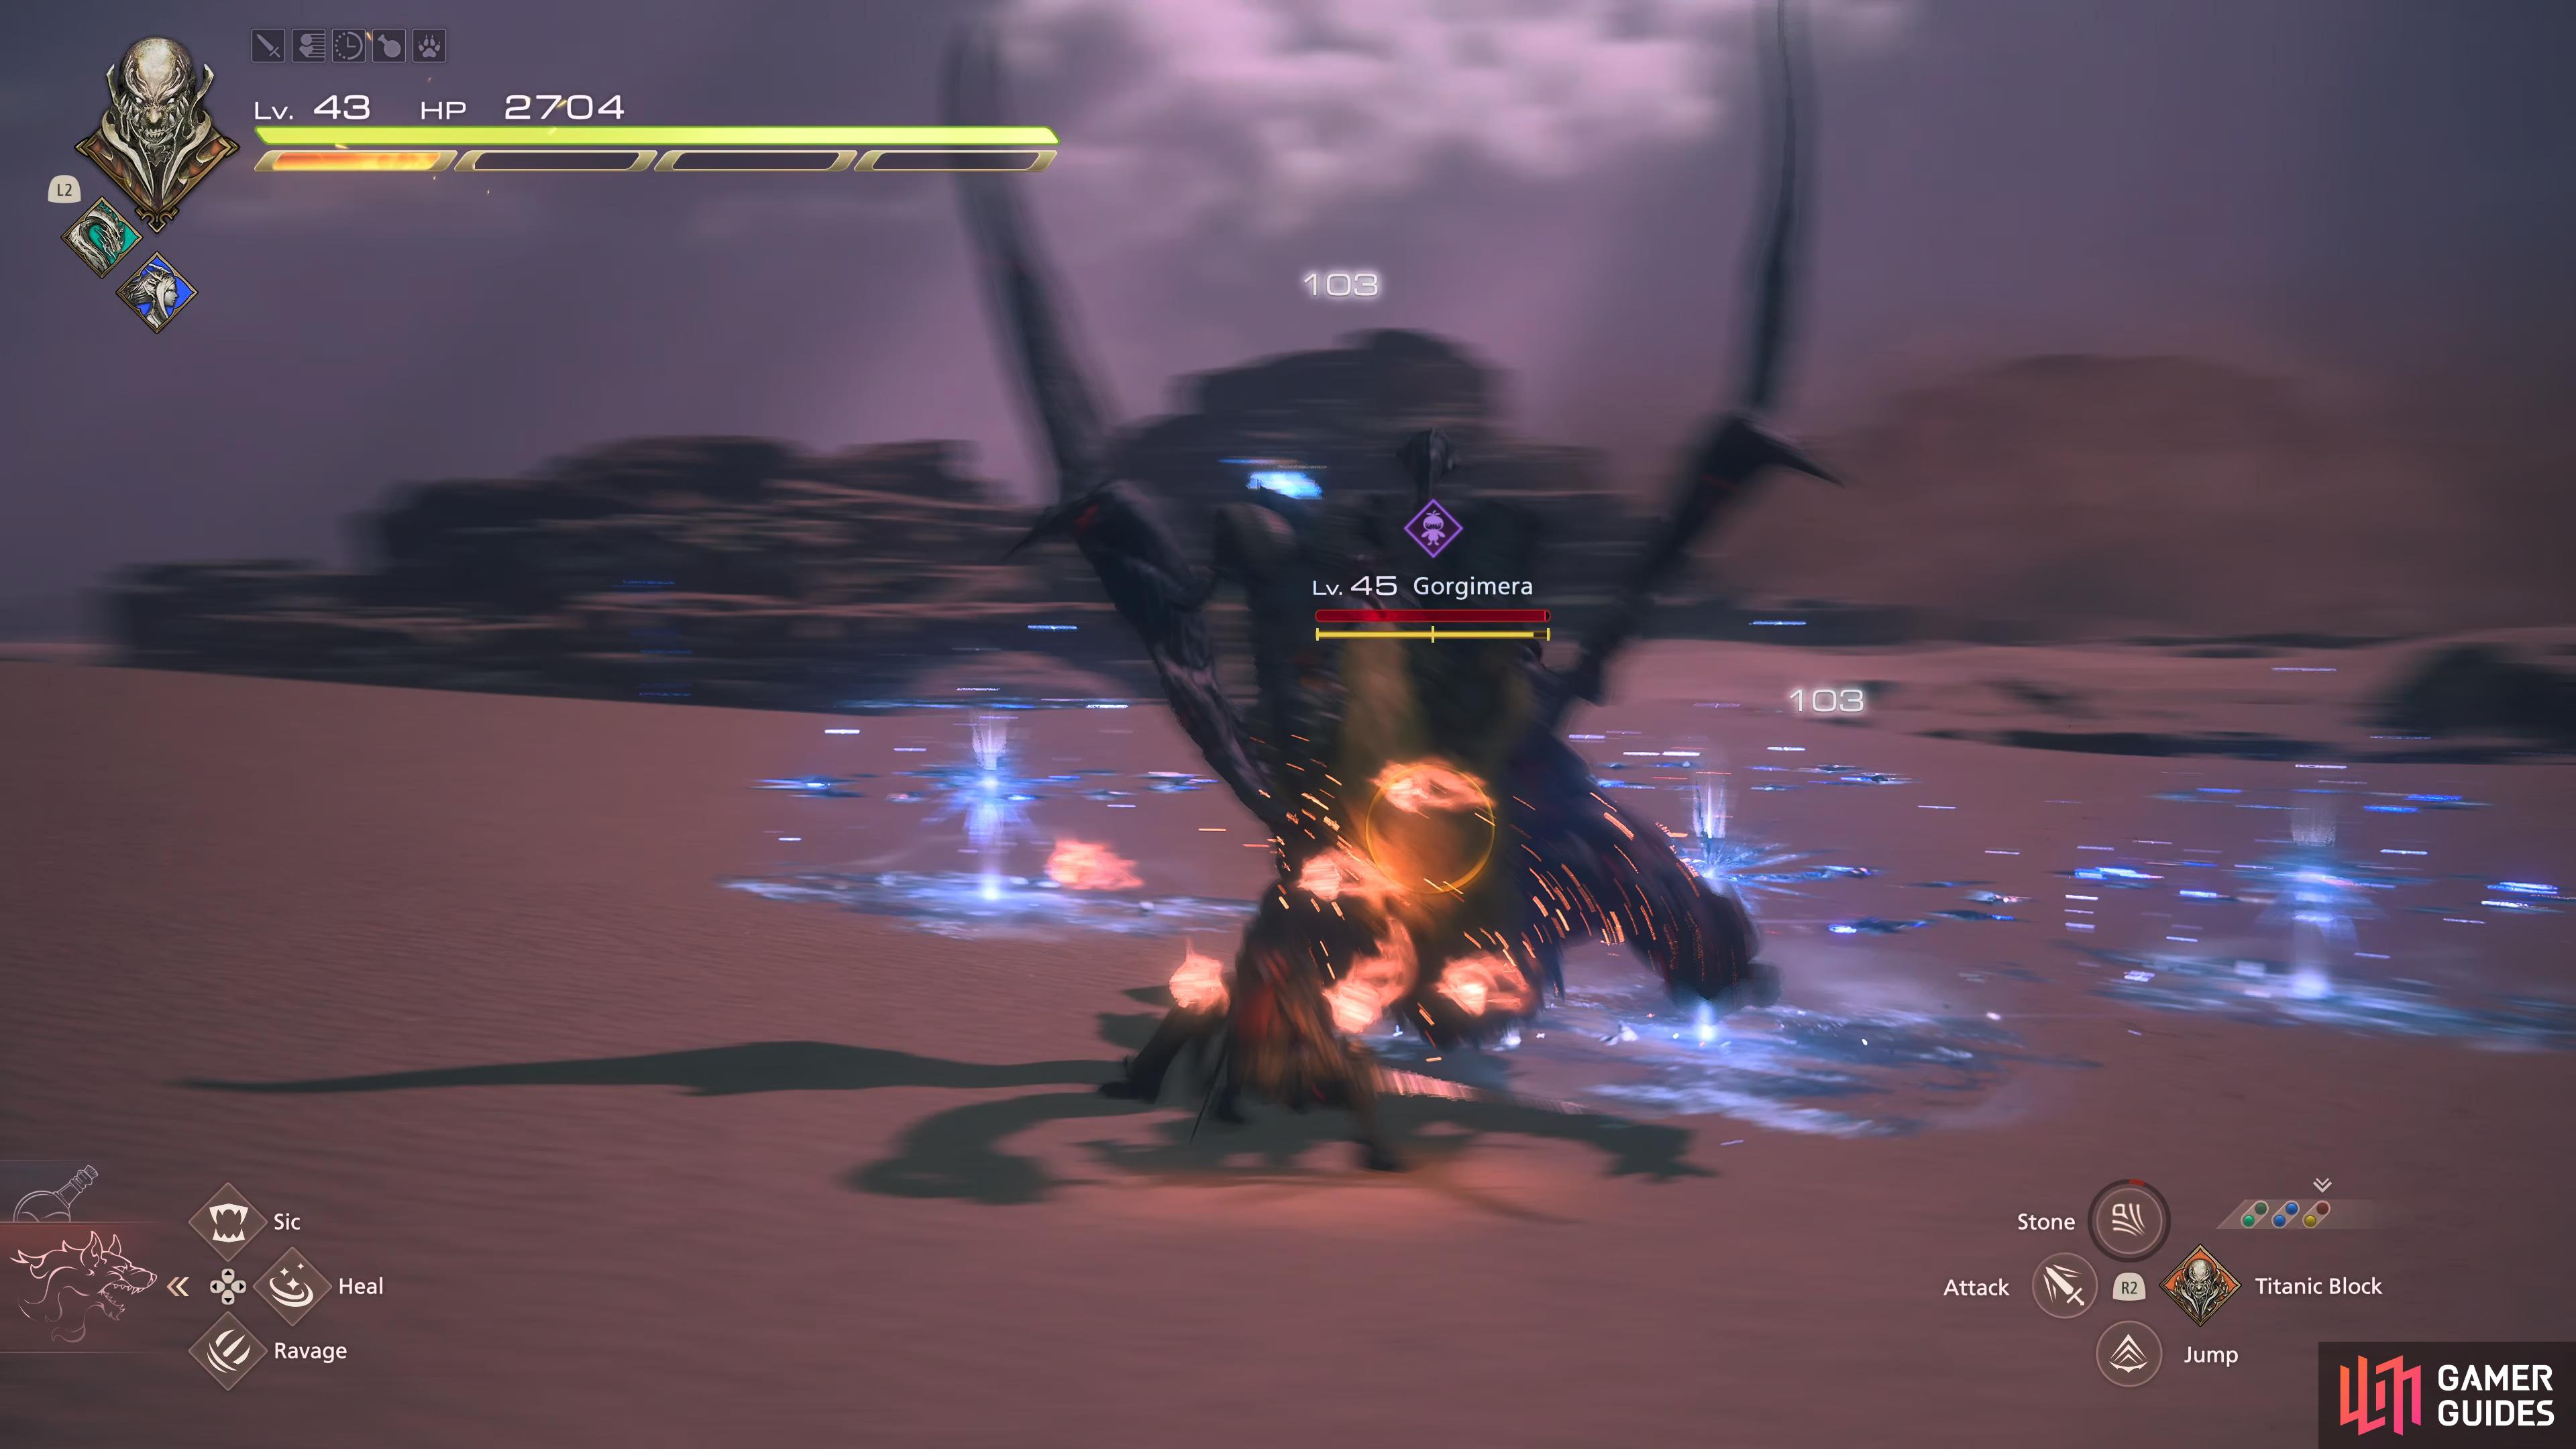
| Electric Storm | !Gorgimera will briefly charge itself with electricity before unleashing numerous bolts of electricity around the arena indicated by small bluish-purple circular markers. | It goes without saying, avoid standing on the markers to avoid the attack. If one happens to go off while you’re standing on it, quickly activate dodge. This attack is regularly followed up with another attack, predominantly Dive Bomb. |
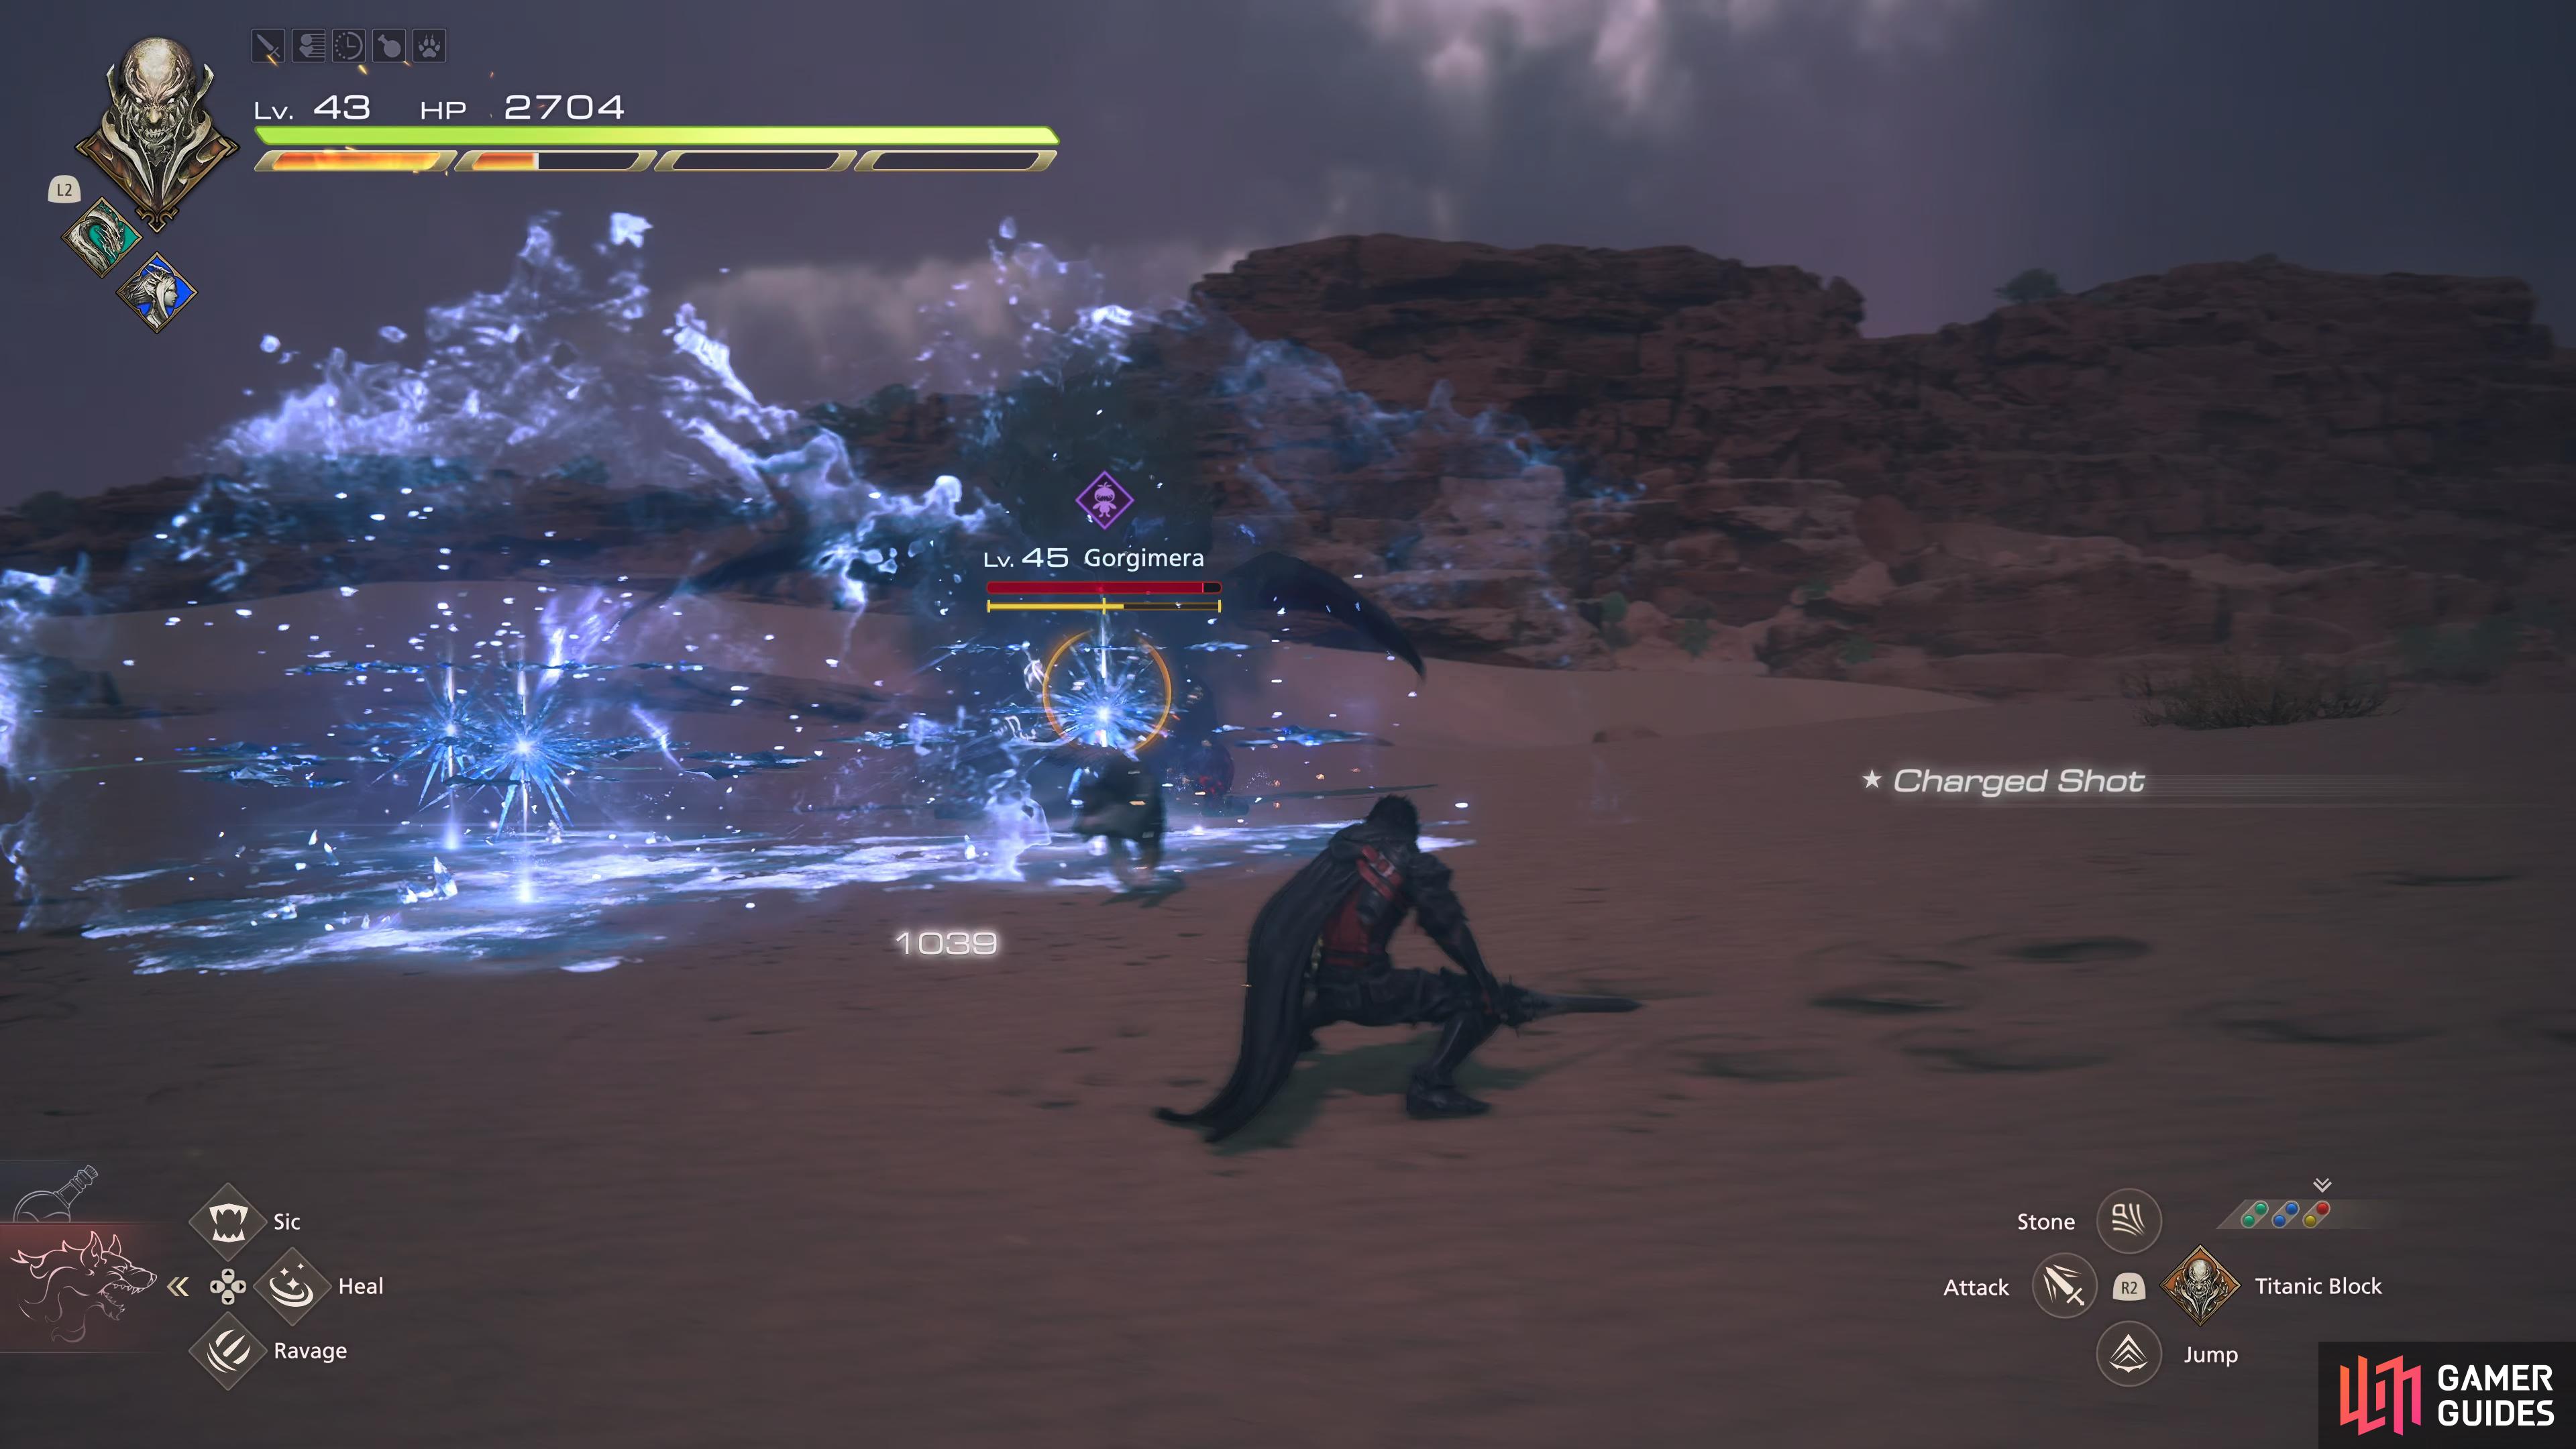
| Rime | The left dragon head (!Gorgimera’s right) will rise into the air channeling frost around its mouth before unleashing three icy crystals on the floor in front of itself, exploding after a brief moment. This attack is similar to Shiva’s Rime ability you have access to. The three ice crystals will launch from !Gorgimera’s mouth, and persist for a short while before exploding in a small area of effect around them. | Make sure you get enough distance away from these as they can cause significant damage. You can dodge the ice crystals if you activate dodge just as they’re about to explode. |
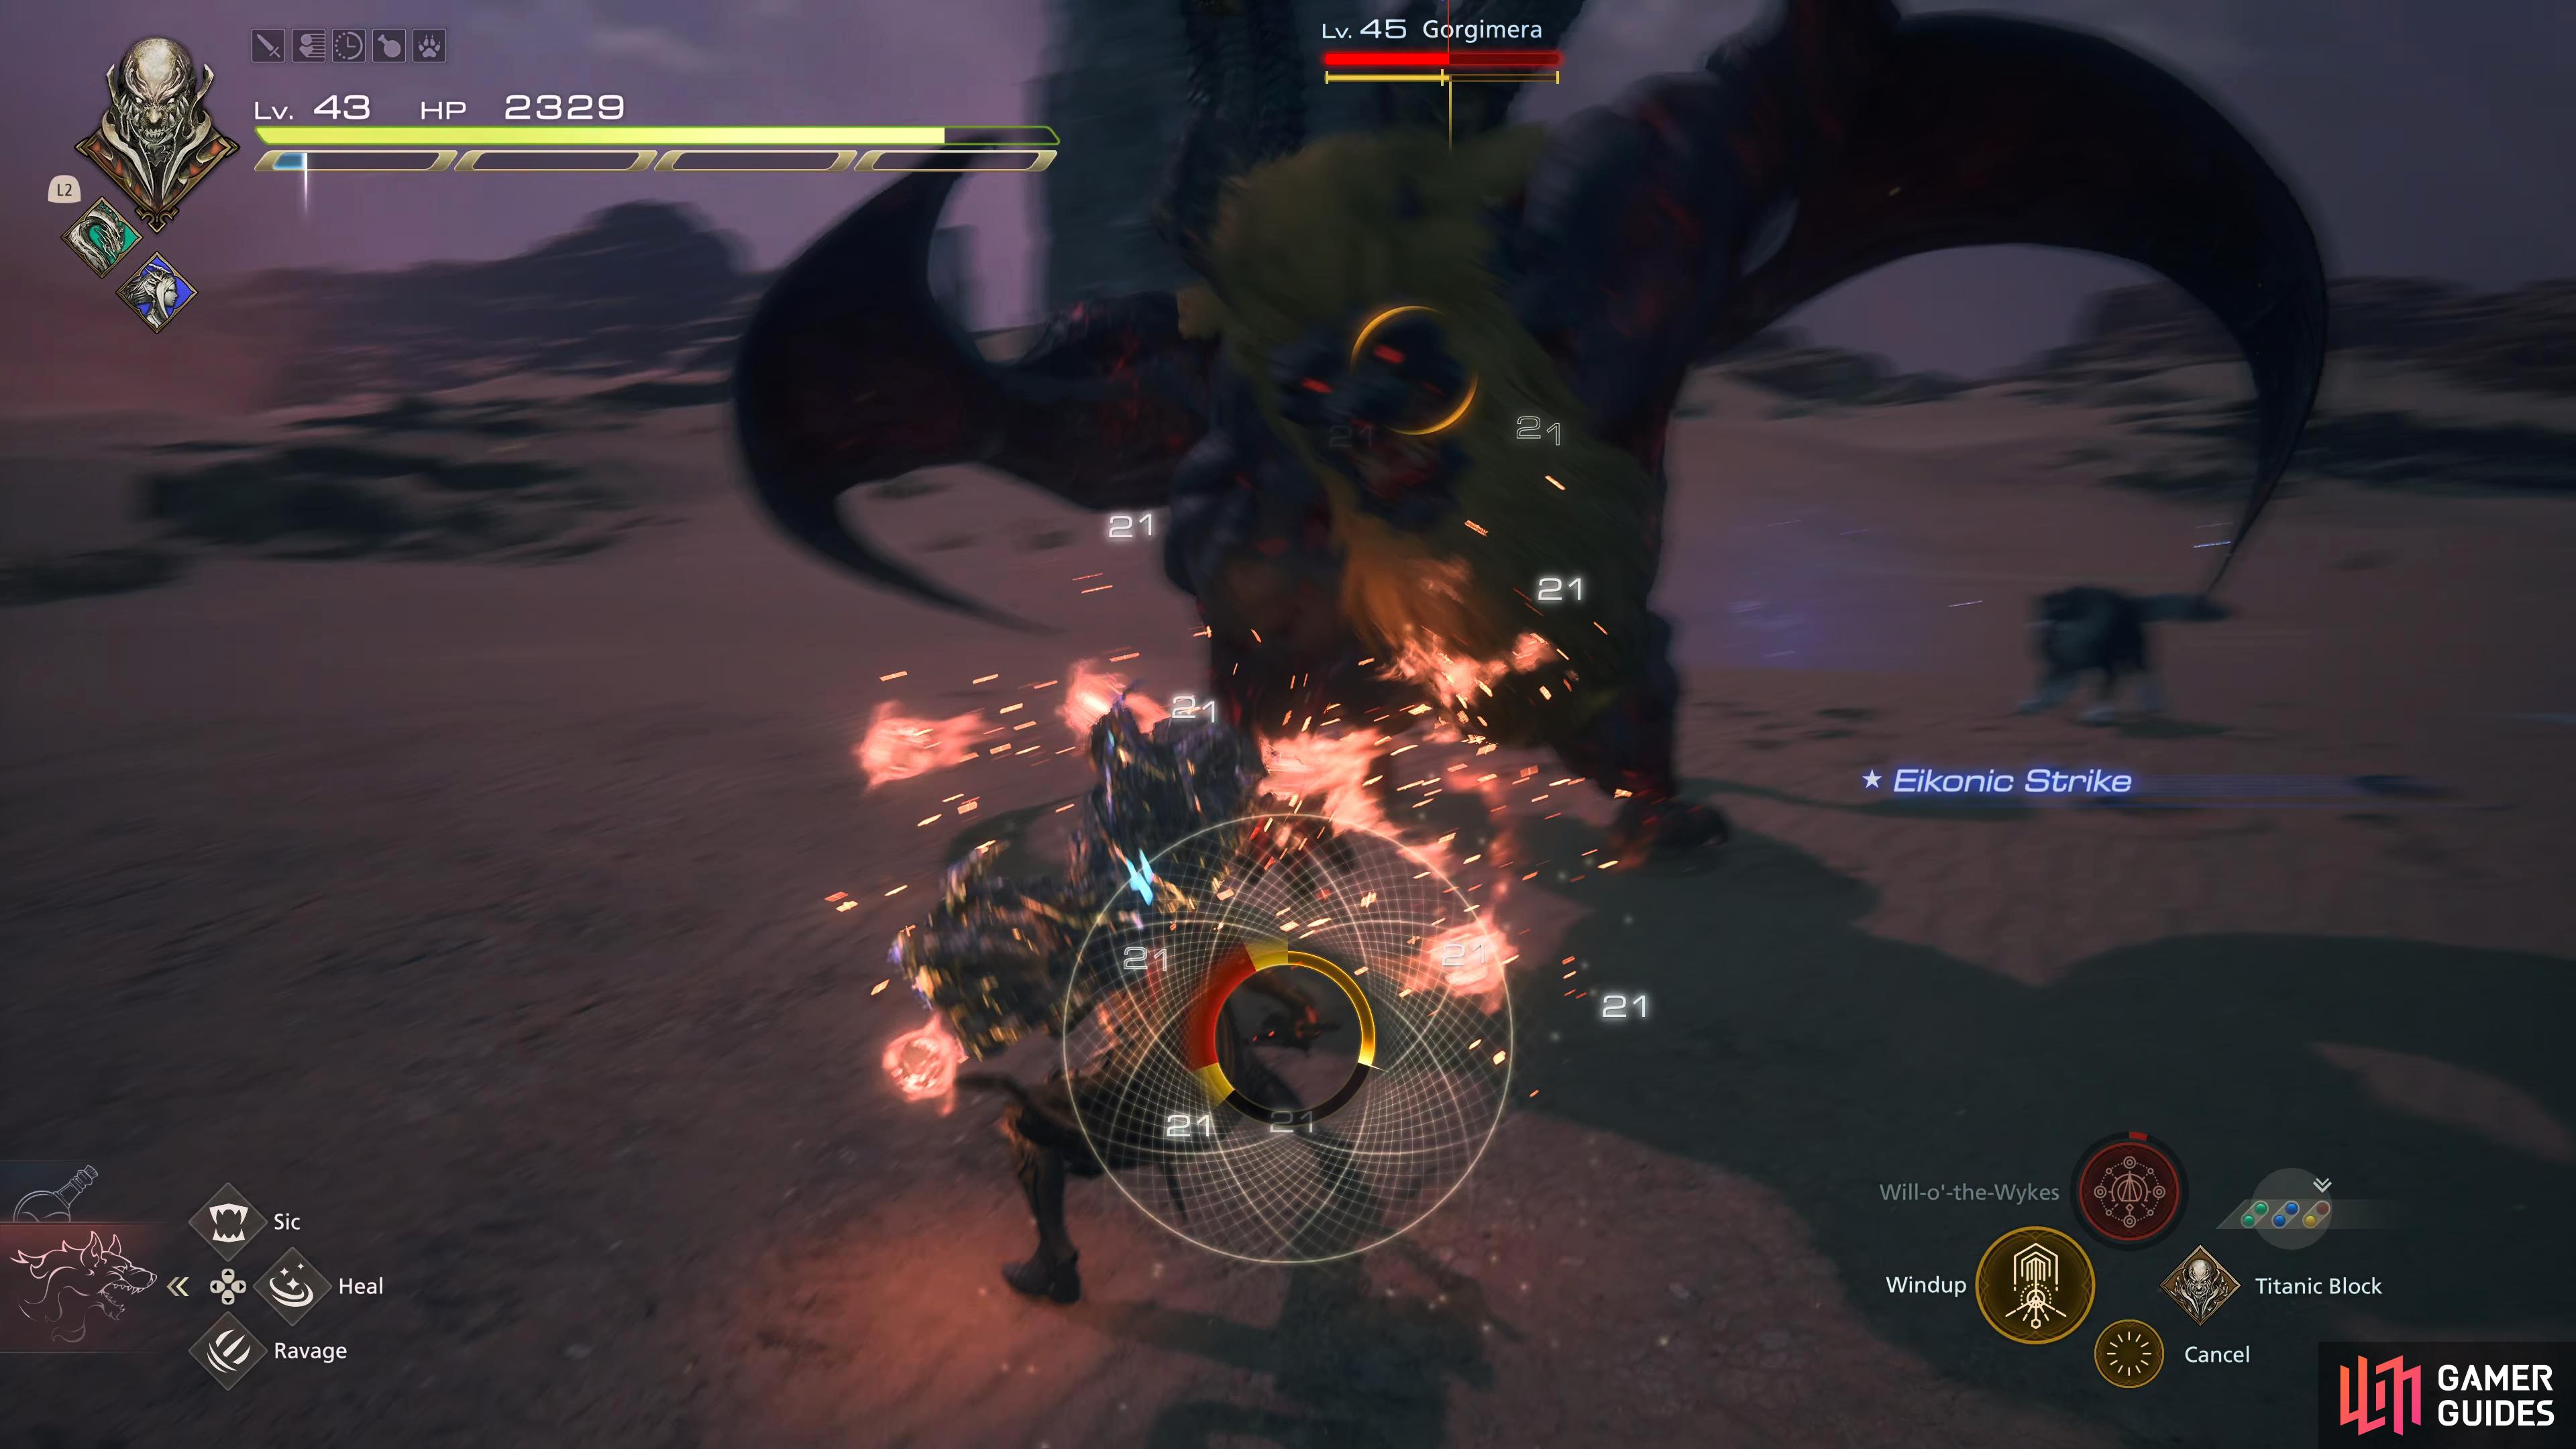
| Delta Attack | !Gorgimera will charge up an attack that combines all three elements (Ice, Lightning, Fire) that will explode when joined. Each element will have a beam of their respective color (Fire = Orange) that will form a circle then meet up in the middle. When they converge, the circle will explode dealing significant damage. | Rush towards !Gorgimera the second you see “Delta Attack” appear on the screen as it’ll be stuck in animation for a short time. This allows you to get some uninterrupted combos on it. |
| Delta Force | This is Delta Attack on steroids. !Gorgimera will do four Delta Attacks at the same time. One circle will be in front of !Gorgimera, one circle behind it, and two circles either side of the beast. | The safe spot for this attack is in the center, but far enough back to avoid the circle in front of !Gorgimera. These can be dodged through. |
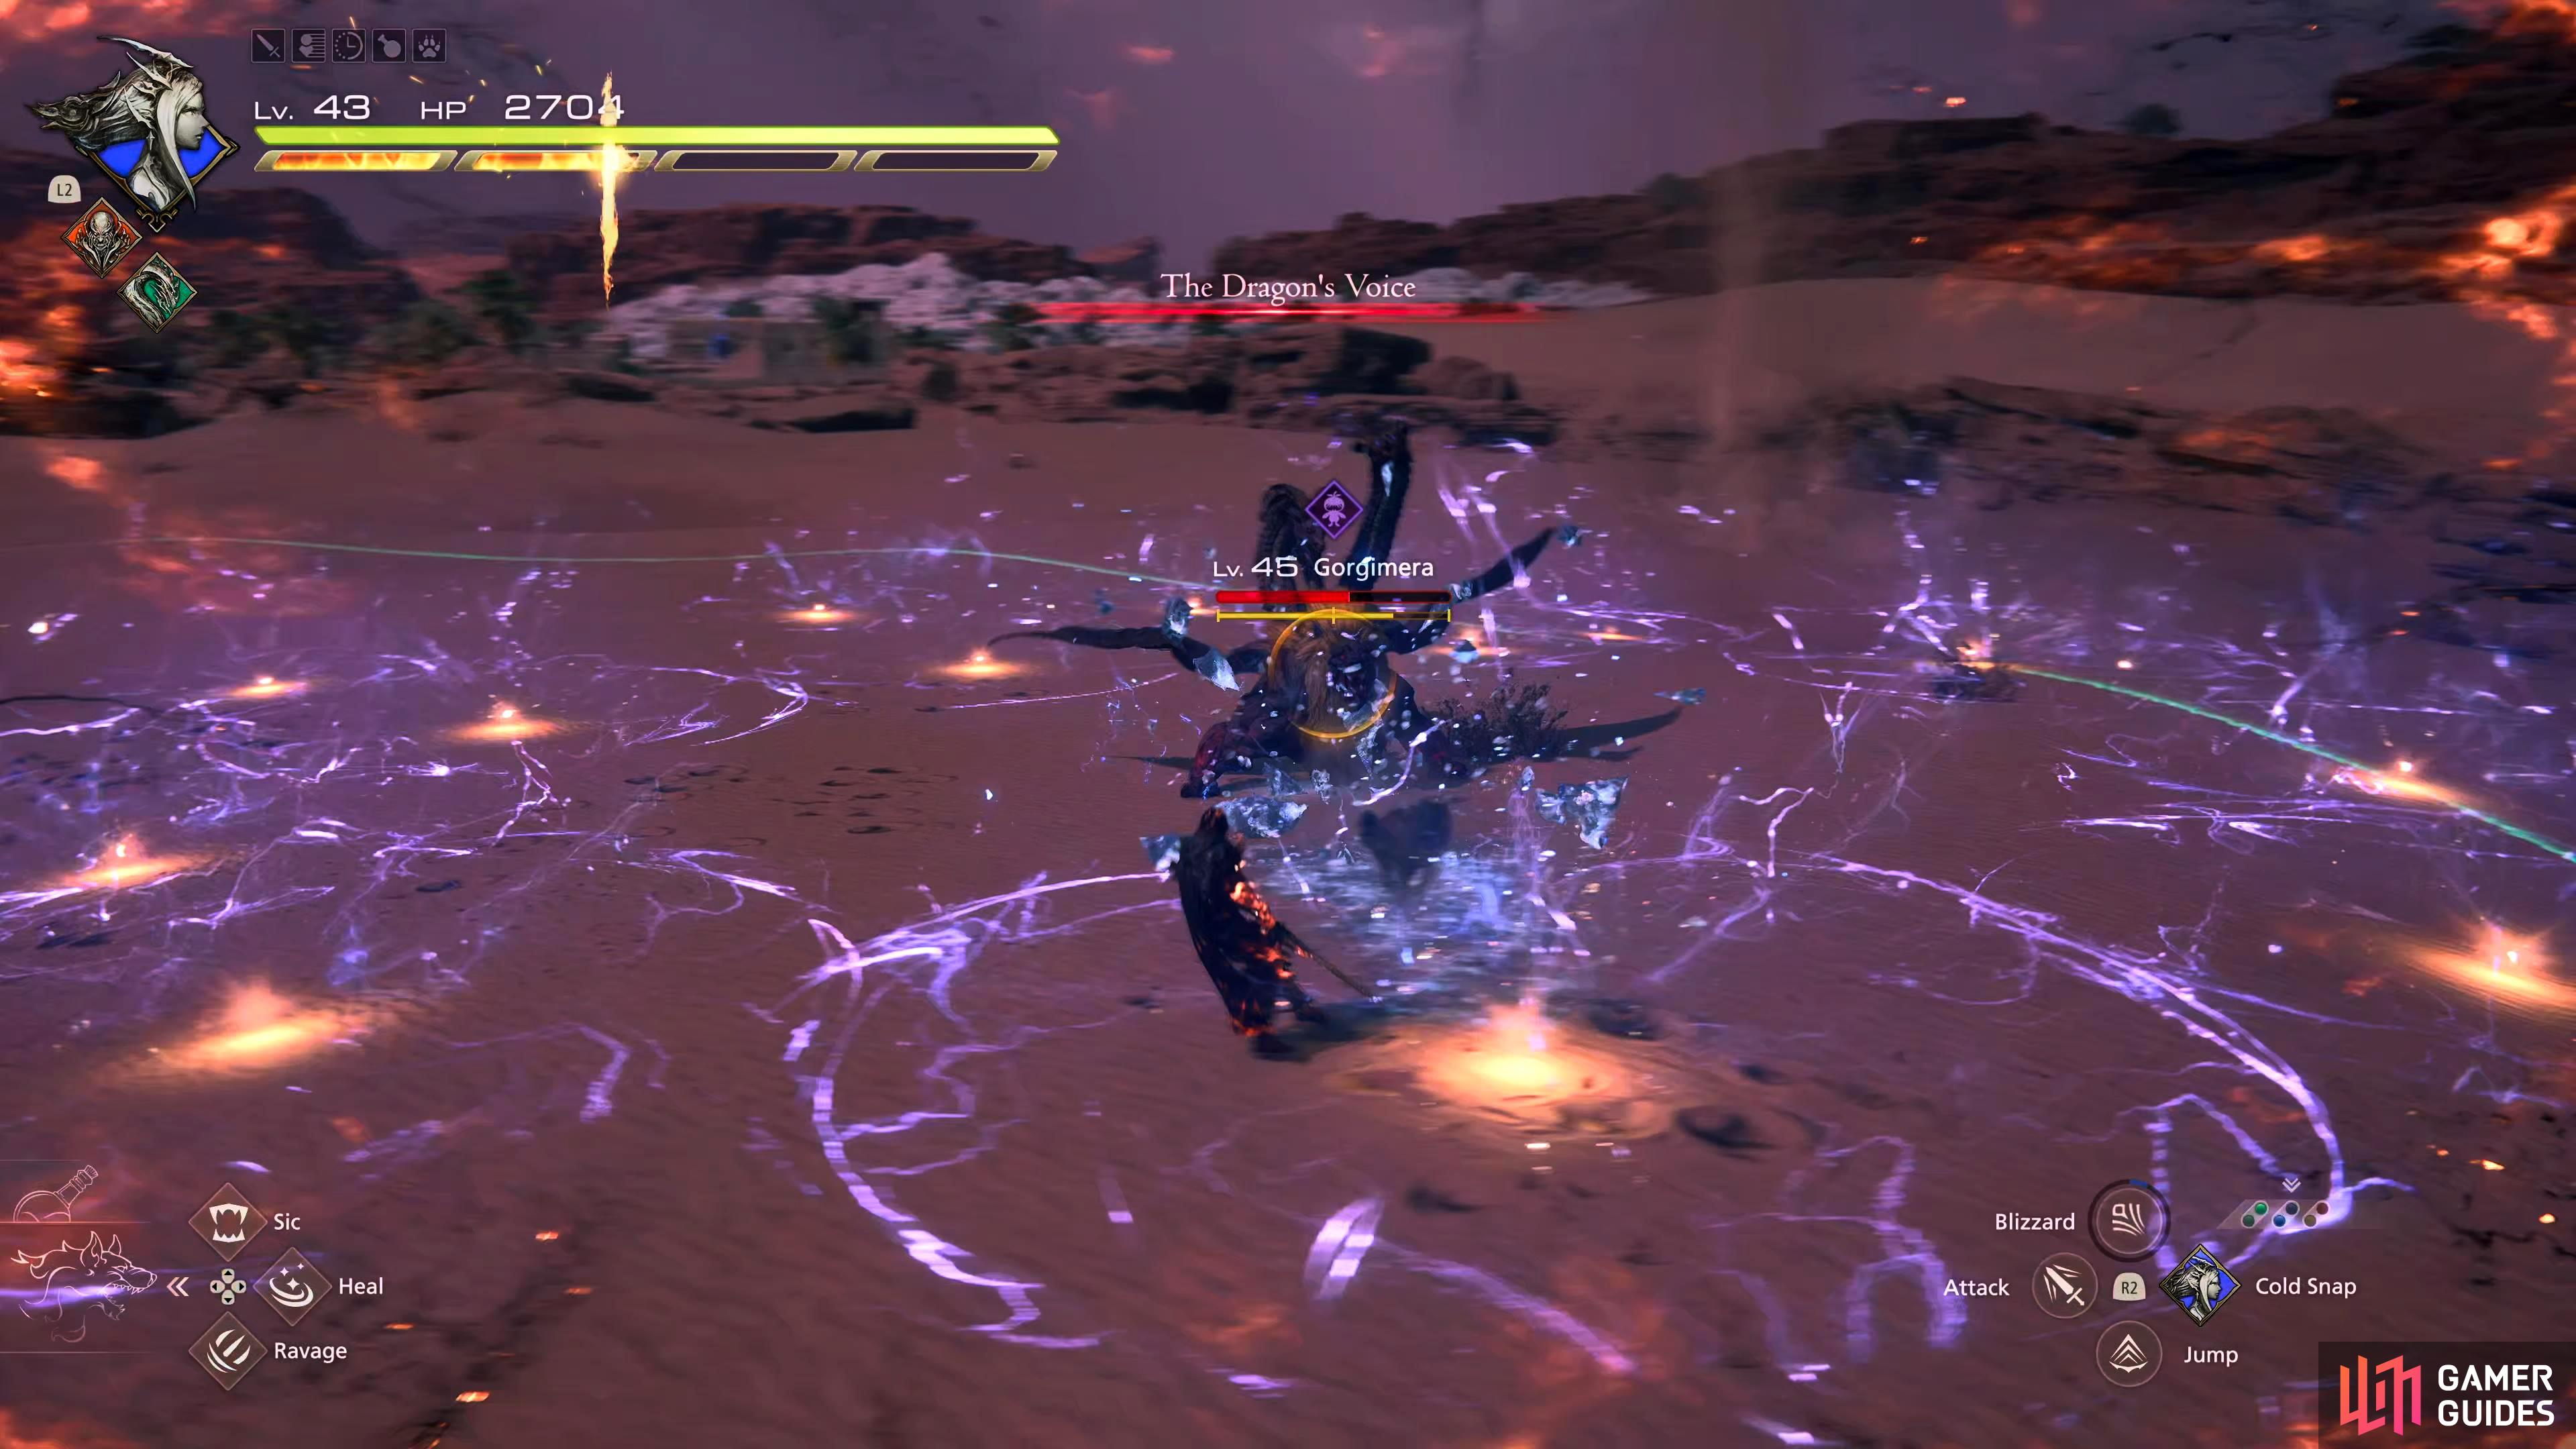
| The Dragon’s Voice | This attack is always interchanged with The Ram’s Voice. !Gorgimera will leap back before placing multiple lightning circles around the outside of the arena which join to create a large circle before exploding shortly after. | When you see “The Dragon’s Voice”, always run in to avoid the attack. |
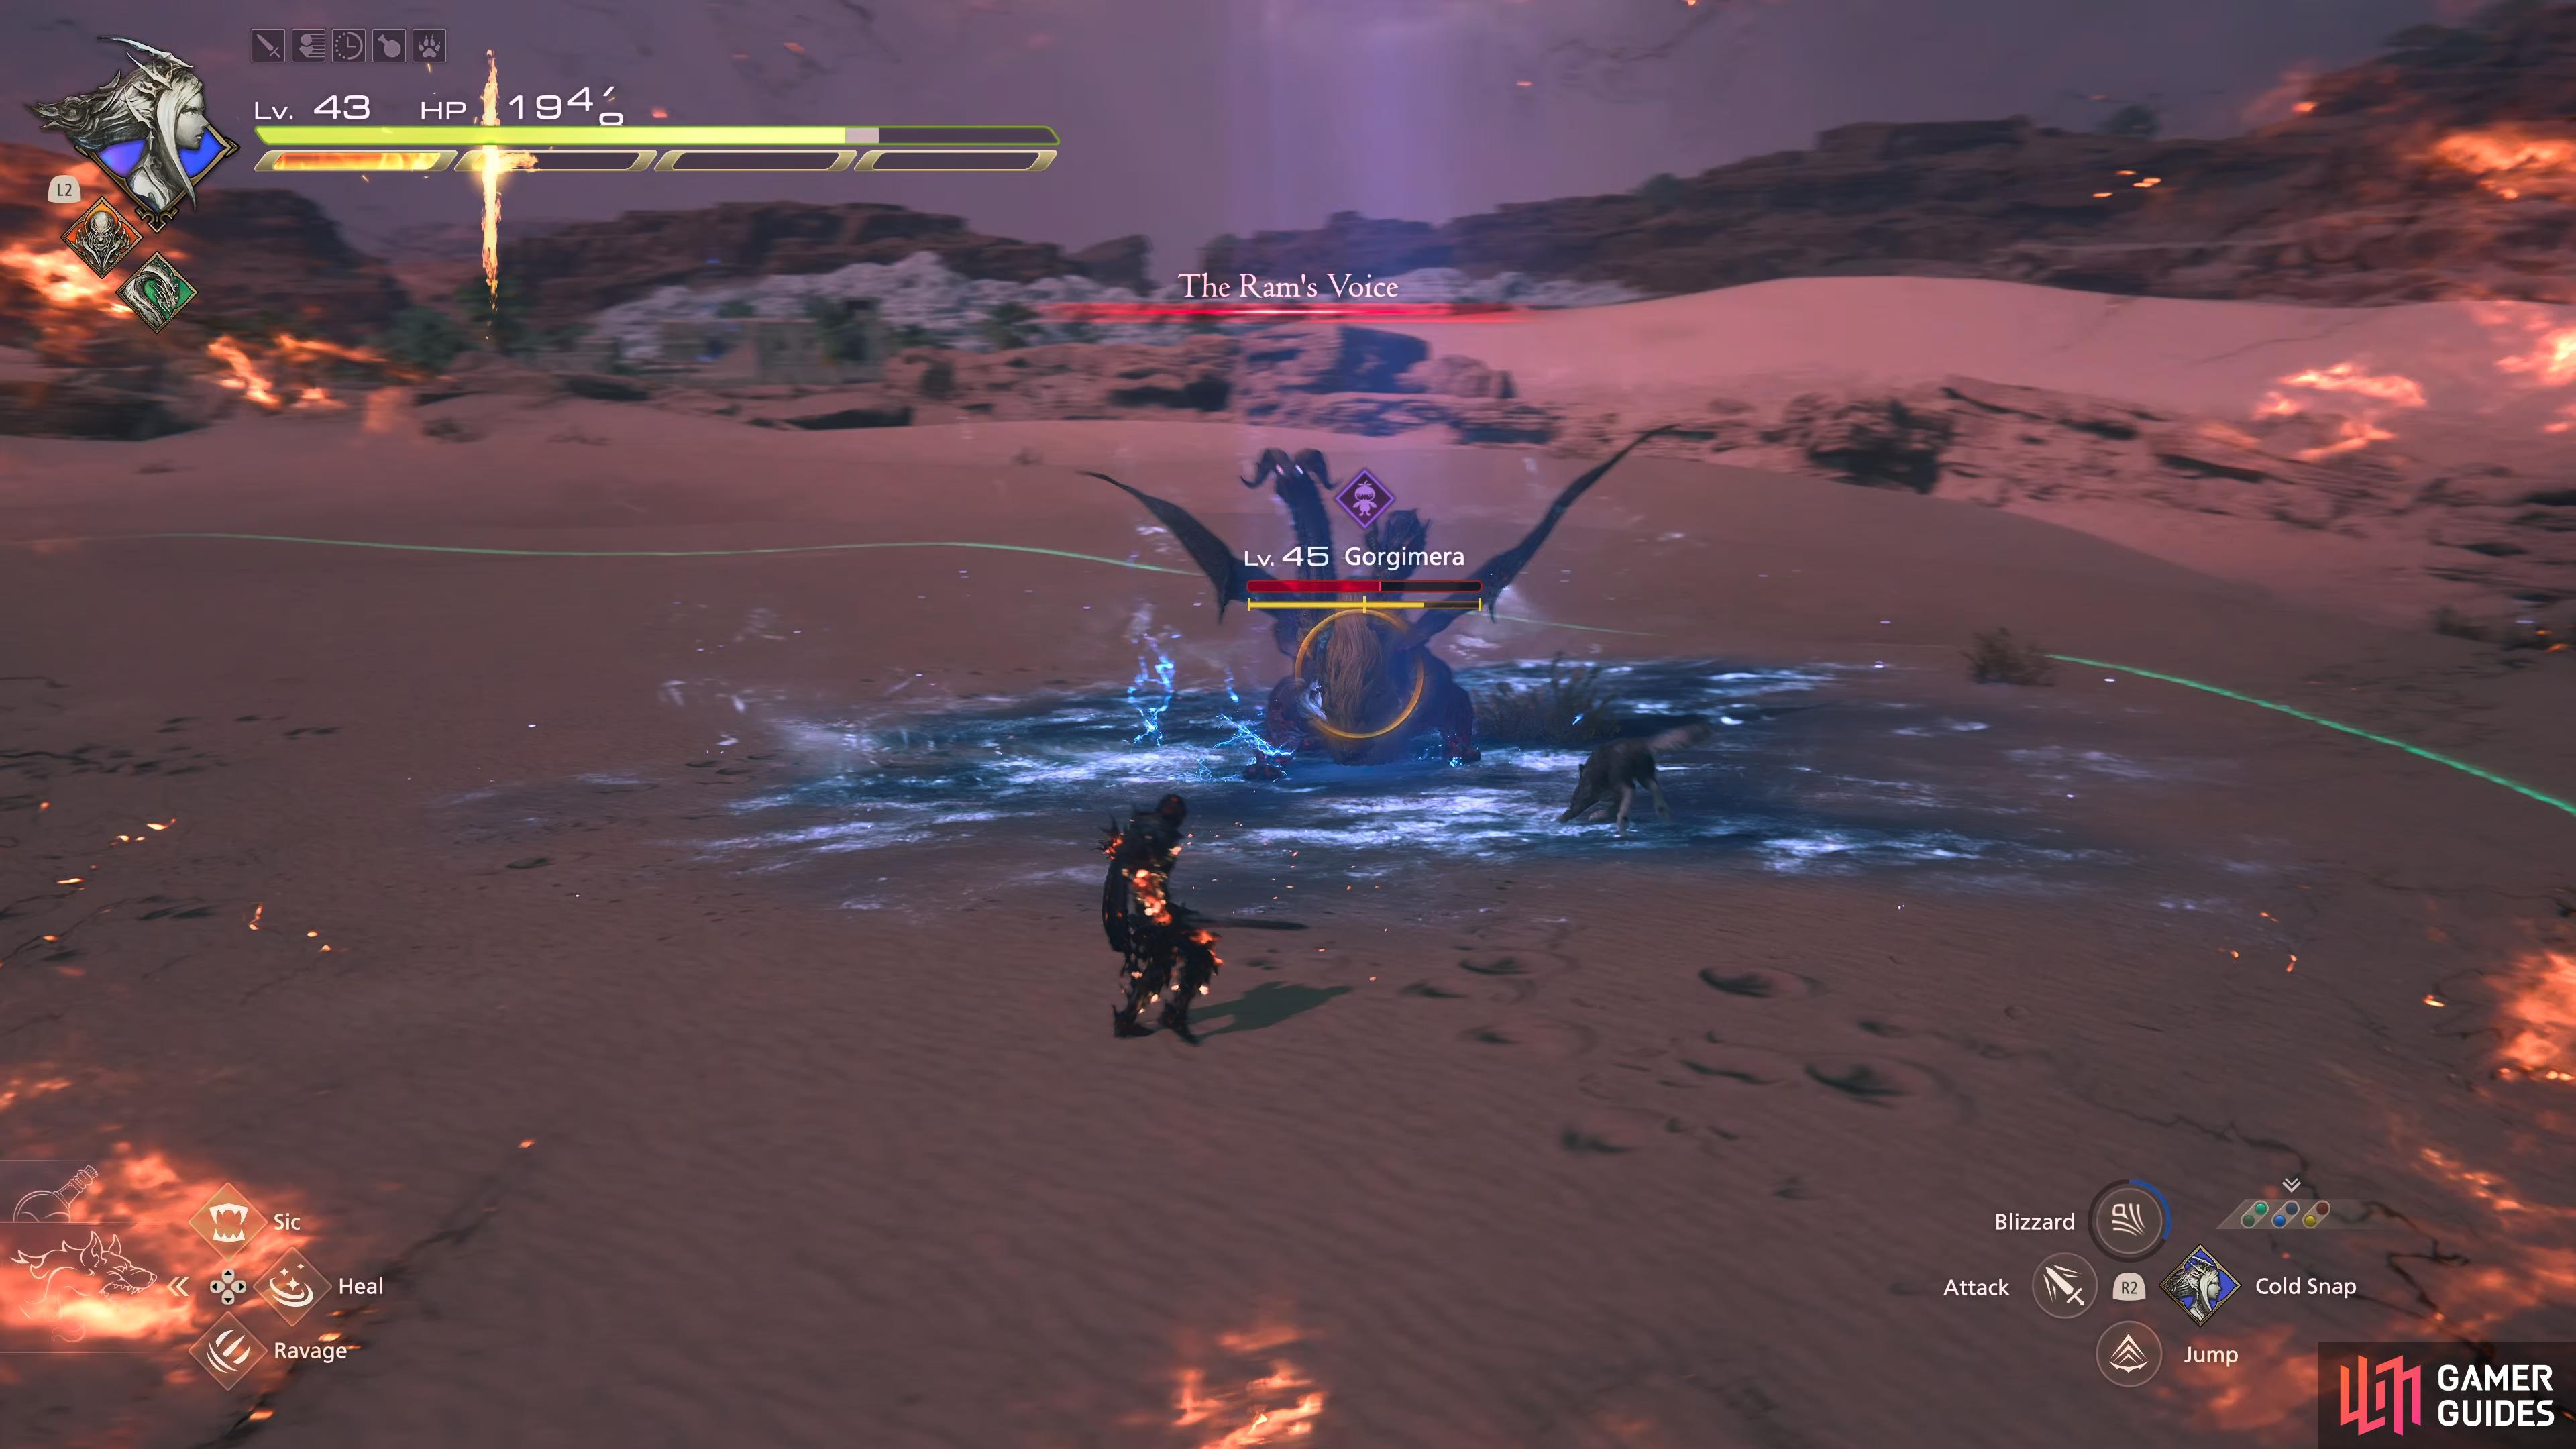
| The Ram’s Voice | This attack is always interchanged with The Dragon’s Voice. !Gorgimera will place a patch on the floor beneath, and around itself. | When you see “The Ram’s Voice”, always run out to avoid the attack. |
(1 of 7) Gorgimera has a two-hit combo attacking you with one paw before following it up its other paw.
Recommended Abilities for Gorgimera
Here we will list our recommended ability set up to do this fight effectively:
| Eikon | Ability | Damage Type |
|---|---|---|
| Damage (5 Stars) | ||
| Will (2 Stars) - Master this and place it as the second Bahamut ability. | ||
| Will (5 Stars) | ||
| Damage (2 Stars), Will (3 Stars) - Master this and place it as the second Shiva ability. | ||
| Damage (1 Star) Will (2 Stars) | ||
| No damage – Use to recover immediately from any ability or action. |
The reason behind the chosen abilities is as follows. Bahamut has Gigaflare which is absurdly strong and is great to use at the end of a stagger phase while also having the Wings of Light feat that allows you to charge up a Level 5 Megaflare which is best used just before the stagger phase. Shiva has the Will-Gauge shattering Diamond Dust as well as being able to Permafrost any enemy/boss when you perform a precision dodge. Finally, Titan gives you great defensive options with Titanic Block while also having the powerful Windup, and Raging Fists which not only performs multiple attacks to build up the damage multiplier, but it can be used to counter !Gorgimera’s attacks.
Recommended Items and Equipment for Gorgimera
Gear
For your Weapon, Belt, and Vambraces, you should have the following:
| Weapon | Belt | Vambraces |
|---|---|---|
| Icebrand |
If you don’t have what’s listed above, use the highest Attack for the Weapon, and the highest Defense and Health for the Belt and Vambraces.
Accessories
For your Accessories, this is more subjective, so here is what we used:
| Accessory 1 | Accessory 2 | Accessory 3 |
|---|---|---|
Items
Finally, we have items. This is more of a preference thing, but we chose the following items:
| Shortcut 1 | Shortcut 2 | Shortcut 3 |
|---|---|---|
!Gorgimera can be a tough hunt when it begins to chain all of its attacks together after the first stagger phase, and a lot of these attacks will deal major damage. This is why you should bring along ![]() Stoneskin Tonics, so you can get bolster your defense by 30%. If you’re proficient dodging and avoiding attacks, opt for
Stoneskin Tonics, so you can get bolster your defense by 30%. If you’re proficient dodging and avoiding attacks, opt for ![]() Strength Tonics instead.
Strength Tonics instead.
Gorgimera Hunt Strategy
!Gorgimera is a Chimera and these are known in myths to have three heads. For !Gorgimera, this is not only symbolic, but also a gameplay mechanic. Each head will have access to a different element which grants !Gorgimera one attack per head which is as follows. The left head will only use Lightning magic allowing it to cast Electric ![]() Storm, the central head only uses fire allowing it to cast Fire Breath, and finally, the right head only uses ice allowing it to cast Rime. Note, this is all from your perspective. When each head performs their attack, they’ll have some effect around them. The left head will rise into the air with electricity around it, the center will have flames, and the right head will have frost seeping from its mouth.
Storm, the central head only uses fire allowing it to cast Fire Breath, and finally, the right head only uses ice allowing it to cast Rime. Note, this is all from your perspective. When each head performs their attack, they’ll have some effect around them. The left head will rise into the air with electricity around it, the center will have flames, and the right head will have frost seeping from its mouth.
During the battle, !Gorgimera will combine all three elements to create the Delta Attack ability which will create a large circle that will explode when all three elements converge in the center. Later on, this attack will be upgraded to Delta Force which places four Delta Attack circles on the battlefield. The safe spot for this attack is in the center, but make sure you’re far enough back from the circle that appears in front of !Gorgimera.
All of these attacks are easy enough to counter on their own, but after the first stagger phase, !Gorgimera will start chaining them together which makes them a lot more difficult to avoid. This is where Will-o’-the-Wykes comes in, any attack that you mistime will be consumed by Will-o’-the-Wykes which can nullify up to four attacks (upgraded). Along with this change is two new attacks, The Dragon’s Voice, and The Ram’s Voice.
This is a mechanic taken from Final Fantasy XIV fighting the same monster. The Dragon’s Voice will place multiple lightning circles around the arena, sort of like a donut, and you’ll want to run in towards !Gorgimera to avoid the attack. The Ram’s Voice on the other hand is the opposite. !Gorgimera will place a large icy patch underneath, and around itself, and for this attack you’ll want to run away from !Gorgimera. These attacks are regularly used before, and after each other, but they can be used on their own.
(1 of 2) Run in! If you see The Dragon’s Voice, run towards Gorgimera.
Run in! If you see The Dragon’s Voice, run towards Gorgimera. (left), Run out! If you see The Ram’s Voice, run away from Gorgimera. (right)
Now that you know what to expect from !Gorgimera, here is what !Gorgimera should expect from you. Use Lightning Rod > Diamond Dust to frequently deplete its Will-Gauge, and punish !Gorgimera whenever it’s casting an ability like Delta Attack due to its long animation. When you stagger the creature, use Megaflare (Wings of Light) just before the stagger Limit Break (Strength Tonic if you have one) > Lightning Rod next to !Gorgimera’s head > Windup > Gigaflare. If you have any time left, use either Diamond Dust if it’s available, or melee combos with Torgal weaved in.
As the battle reaches its climax, !Gorgimera will cast multiple attacks at the same time as well as chain them together. This is when the battle gets difficult. When you’re dealing with this phase of the battle, make sure you avoid both of the Delta, and Voice attacks as these deal the most damage. Once again, keep up Will-o’-the-Wykes, and don’t be afraid to use Titan’s Titanic Block if you’re getting overwhelmed. Top up your health whenever you get to half health as the next attack could be your last.
Once you’ve toppled this foe, you’ll be rewarded with a staggering 15,000 XP, 120 AP, 27,000 Gil, and 50 Renown. From the spoils, you’ll get the much coveted ![]() Orichalcum which is used for various late-game equipment.
Orichalcum which is used for various late-game equipment.
What Orichalcum is used for
Read the pages below to find out where you spend your hard-earned Orichalcum.
More Final Fantasy 16 Hunts
For information on some of the other ![]() Notorious Marks you can take on in Final Fantasy XVI, check out these pages below:
Notorious Marks you can take on in Final Fantasy XVI, check out these pages below:






 Sign up
No Comments