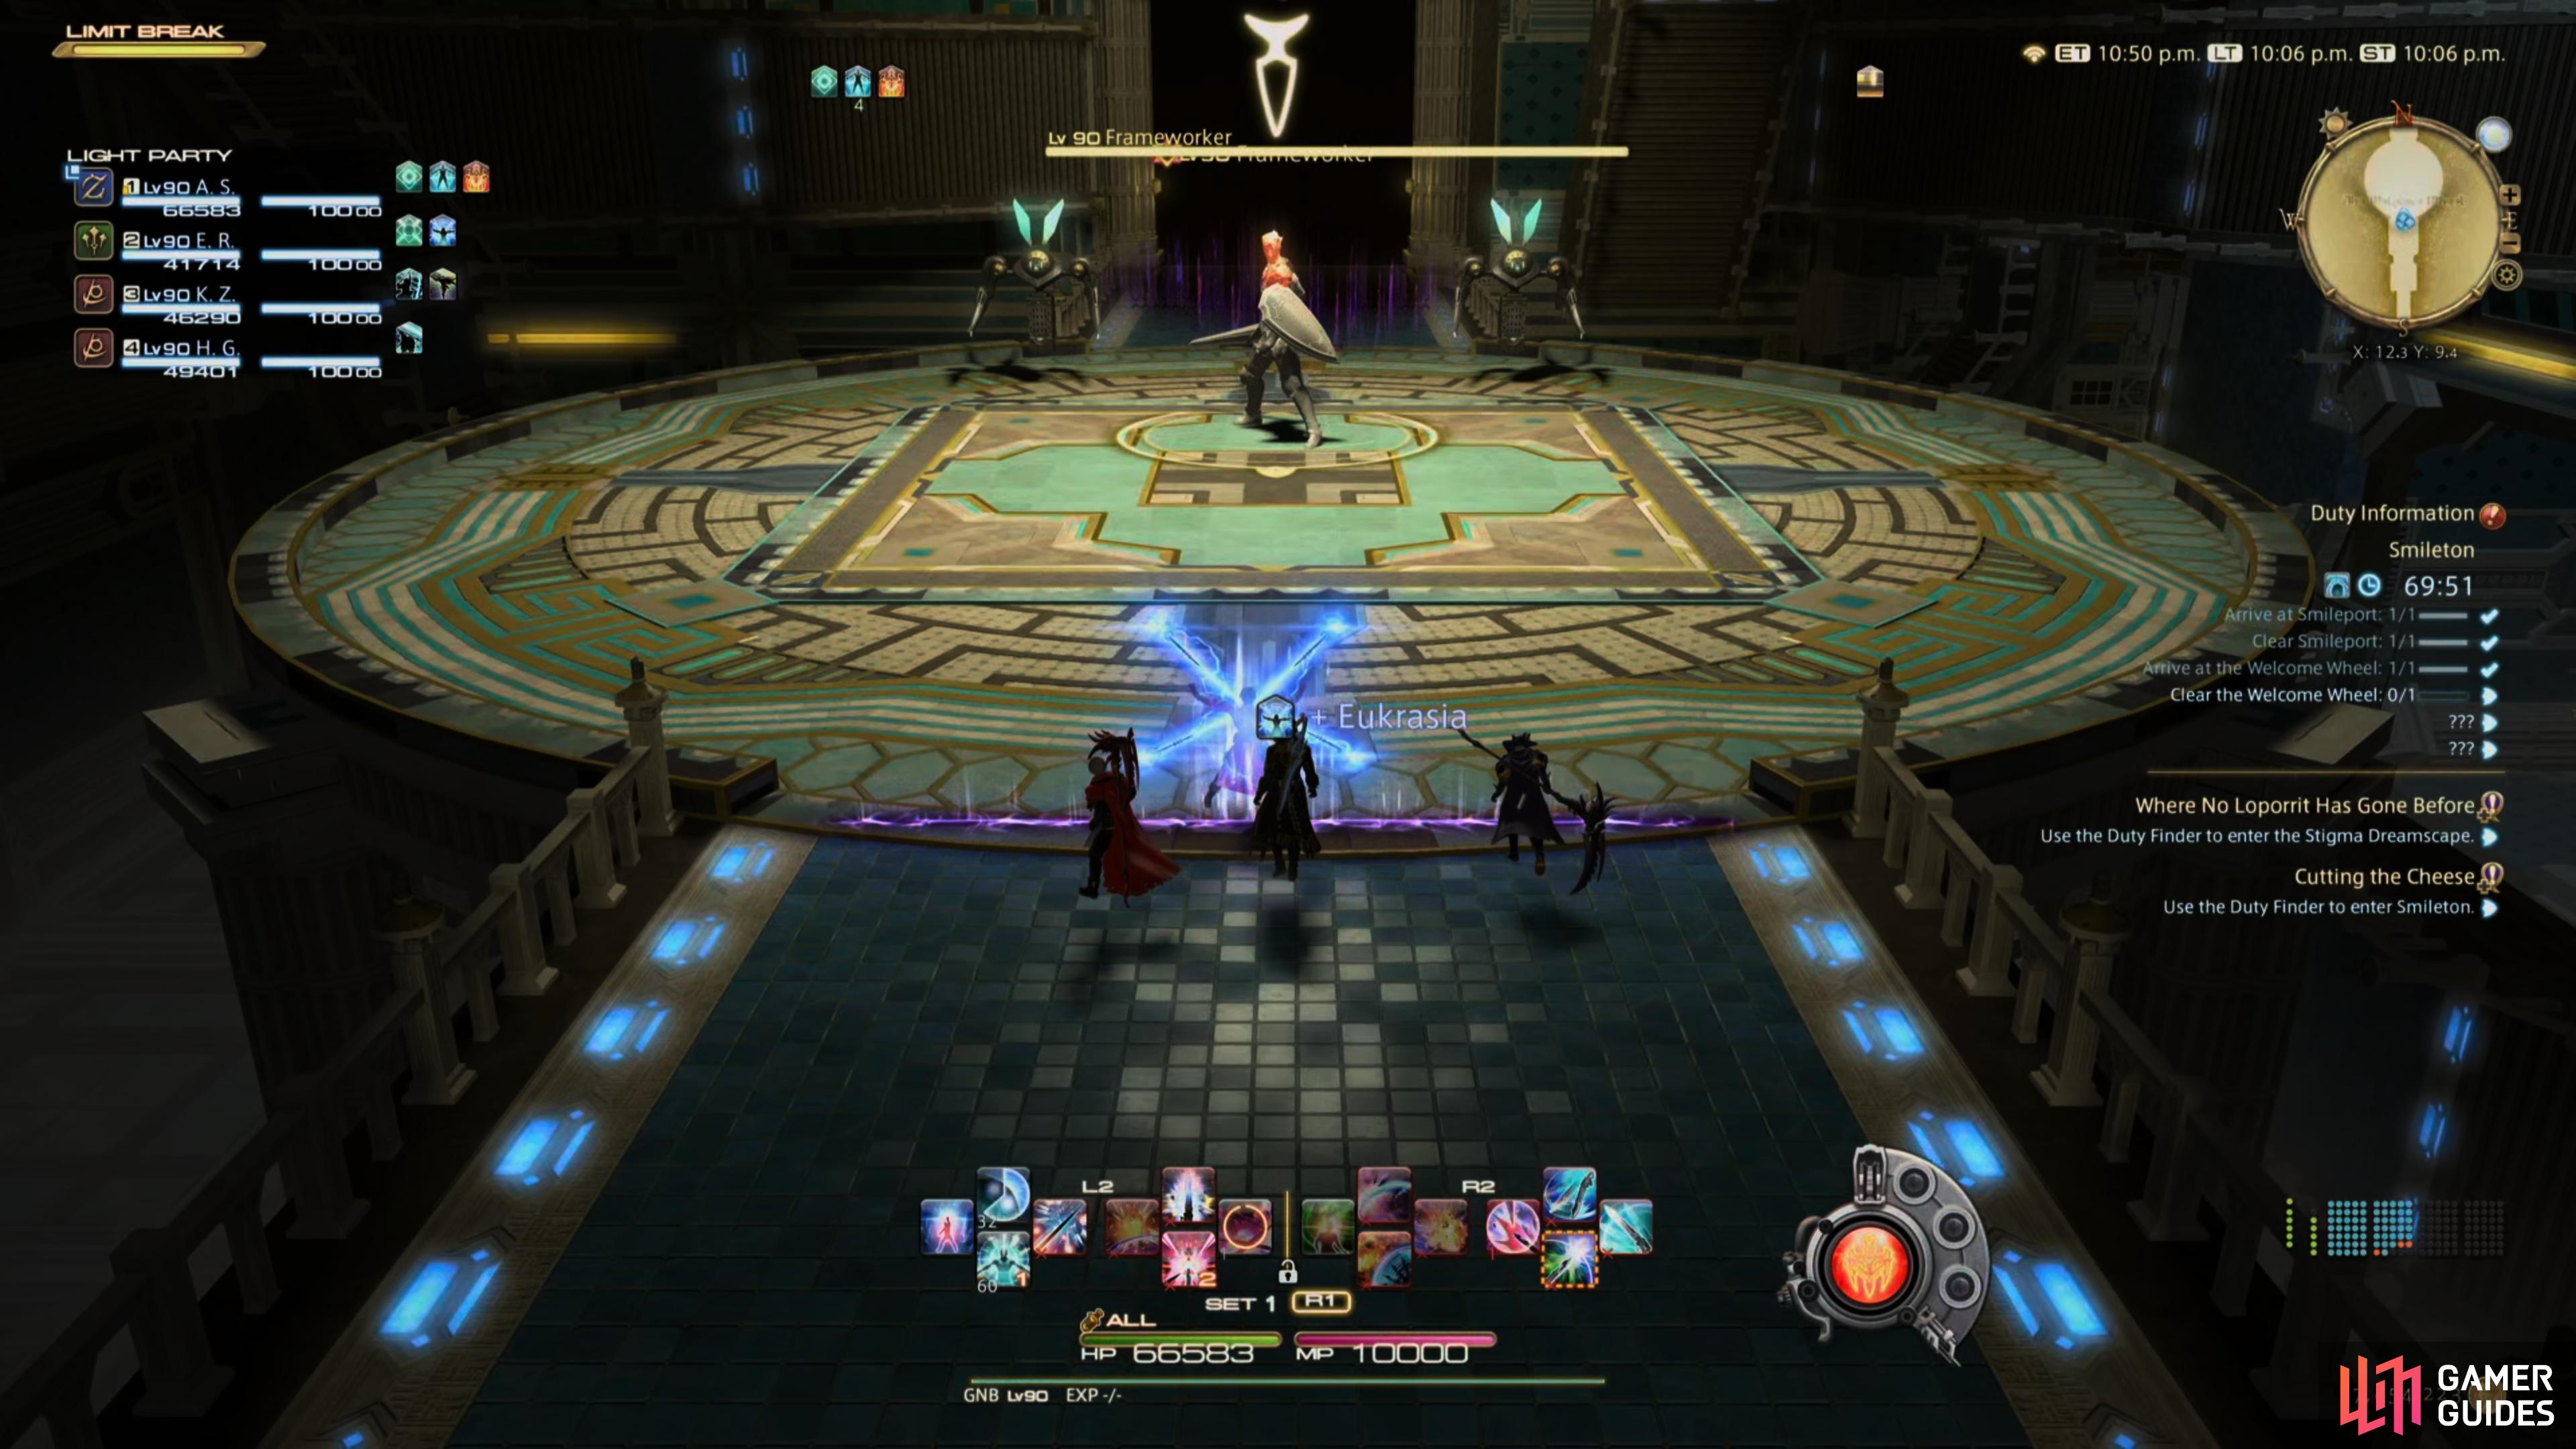
On this page you can find all the details needed to defeat Frameworker, the second boss in the Level 90 Dungeon, Smileton in Final Fantasy XIV Endwalker (FFXIV). Details on the mechanics along with how to tank and heal.
Frameworker is the second boss of Smileton.
Mechanics
Circular Saw
This is a group-wide attack that deals moderate damage to all party members. Simply heal up and use Shields to mitigate.
Leap Forward
This is Frameworker’s main mechanic, it will show arrows in the direction it intends to leap to. Once it lands, it will cause a large AoE in the vicinity so run away from where the arrows are pointing to avoid it.
Print Workers
Frameworker will tether itself to the adds and have them imitate the Leap Forward mechanic. As before, move away from the arrows to avoid the large AoE.
Omnidimensional Onslaught
Frameworker will prepare cone-AoEs in the cardinal directions before a second set in between each. Stand on one of the intercardinal AoEs to avoid the first blast and then move onto the safe spot after.
Steel Beam
This is a Tankbuster that deals heavy damage only, Shield up and use defensive cooldowns to mitigate it.
Strategy
The Frameworker is a rather simple boss, and by far the easiest of the Smileton dungeon. Its main mechanic revolves around the Leap Forward attack, and once you understand how that works, the rest is very easy to avoid. The Tank should look to tank Frameworker where it starts the battle, this makes the Print Workers mechanic much easier to avoid. Once the battle begins, Frameworker will always begin with Circular Saw, a group-wide attack so you should have all of your Shields up from pre-pulling.
Following this, Frameworker will launch straight into Leap Forward, pay attention to the black arrows and what direction they’re pointing, as that’s where it will land and cause a large AoE around. As soon as you see the arrows, move away from them to avoid the blast. It will then use Print Workers for the first time, this will see it create replicas of itself to enact the Leap Forward mechanic. Once again, pay attention to their arrows and move away from it to avoid their blast. This first one is usually towards the center of the arena.
Omnidimensional Onslaught will follow this attack, this is a lot easier to avoid than it might first look. It will use conal-AoEs on the cardinal directions, before using a second blast on the intercardinal directions. Simply stand on an intercardinal and then move over to a cardinal following the first blast. Get ready for another bout of Print Workers following this, only this time, each worker will leap to a different location so be sure to pick a safe spot away from both sets of arrows.
The final set of Print Workers that follows this will see the Frameworker itself perform a Leap Forward after the leaps from the workers, so you’ll need to keep on the move to avoid all three attacks. From this point, outside of using Steel Beam, its Tankbuster, the rest of the battle plays out the same. The damage that the Frameworker puts out isn’t exactly high, so you can even survive if your Healer dies and your Tank (outside of maybe Dark Knight) uses their sustain tools effectively.
How to Tank
Effective positioning for this battle makes it a lot smoother, so you should always try to Tank Frameworker near where it starts, in the middle of the two workers. This way, once it uses the Print Workers mechanic, it will be much easier to avoid the leaps. Outside of this, you’ll have to content with Steel Beam for its Tankbuster. Do note that the damage output from Frameworker isn’t high if you’re avoiding its attacks, that means that should your Healer die, you should be able to keep yourself up by using your sustain tools effectively.
How to Heal
There’s no real burst damage spikes to worry about in this battle, a lot of it is about avoiding mechanics so if everyone is doing their job, you’ll have to worry about the damage from Circular Saw and the Tankbuster, Steel Beam. It’s more important that you avoid the mechanics, it’s easy to get hit by Leap Forward/Print Mechanics if you’re not fully focused, but you can stick with the rest of the party to avoid all of the mechanics.


 Sign up
No Comments