Walkthrough for the ![]() Robotics Disposal Ground area in Fallout 4.
Robotics Disposal Ground area in Fallout 4.
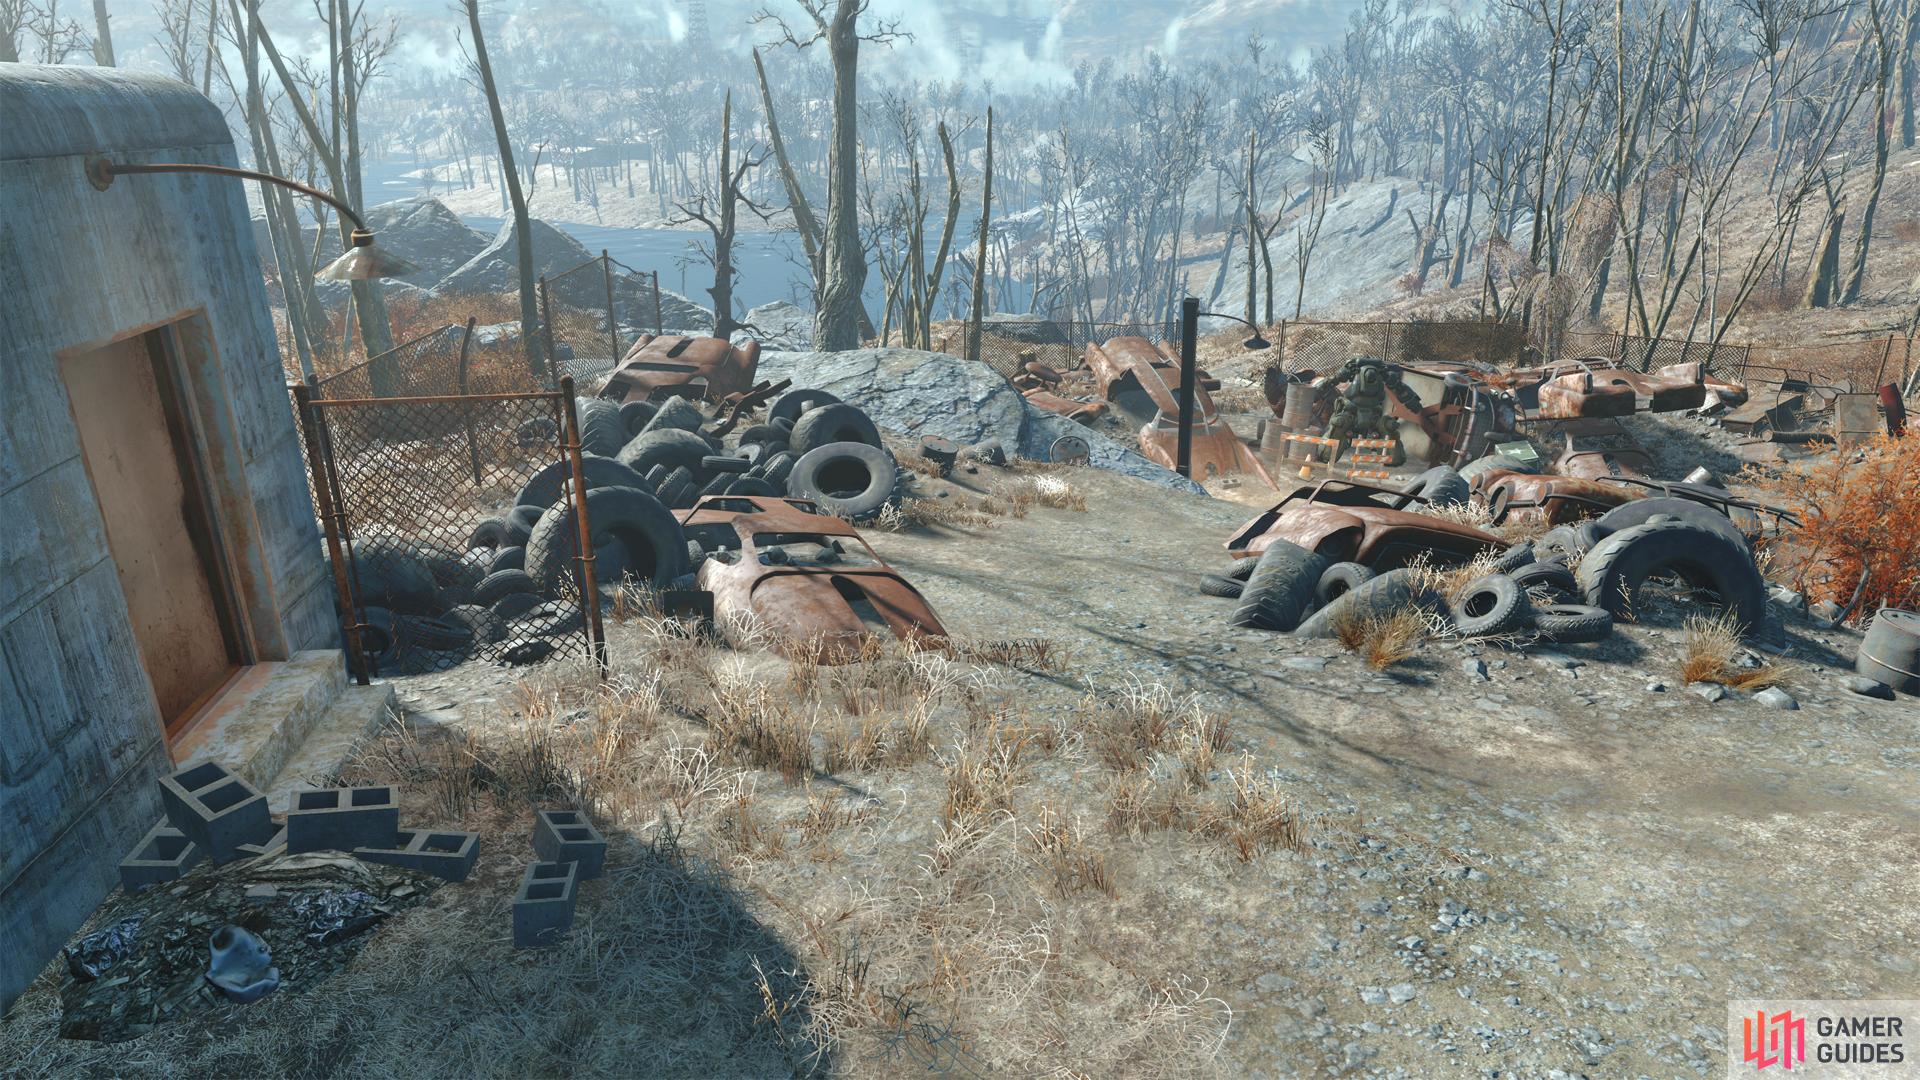
The Robotics Disposal Ground.
| Important Items in This Area |
|---|
| Hot Rodder |
This area can be found a good distance northeast from Sanctuary, northwest from USAF Satellite Station Olivia and north, northwest from Thicket Excavations.
(1 of 3) Loot a trunk to score a Fusion Core,
Given the name of this location, you shouldn’t be surprised to find a junkyard when you arrive. It’s a rather small area, and despite the name, there’s little in the way of robots here, save for a lone, inactive Sentry Bot standing amidst the car shells and discarded tires. Loot a Trunk near the Sentry Bot, then search the rusted car husks northwest of the Sentry Bot to find a ![]() Fat Man, a portable
Fat Man, a portable ![]() Mini Nuke launcher that deals unrivaled damage, restrained by the massive area of effect and relative scarcity of its ammo.
Mini Nuke launcher that deals unrivaled damage, restrained by the massive area of effect and relative scarcity of its ammo.
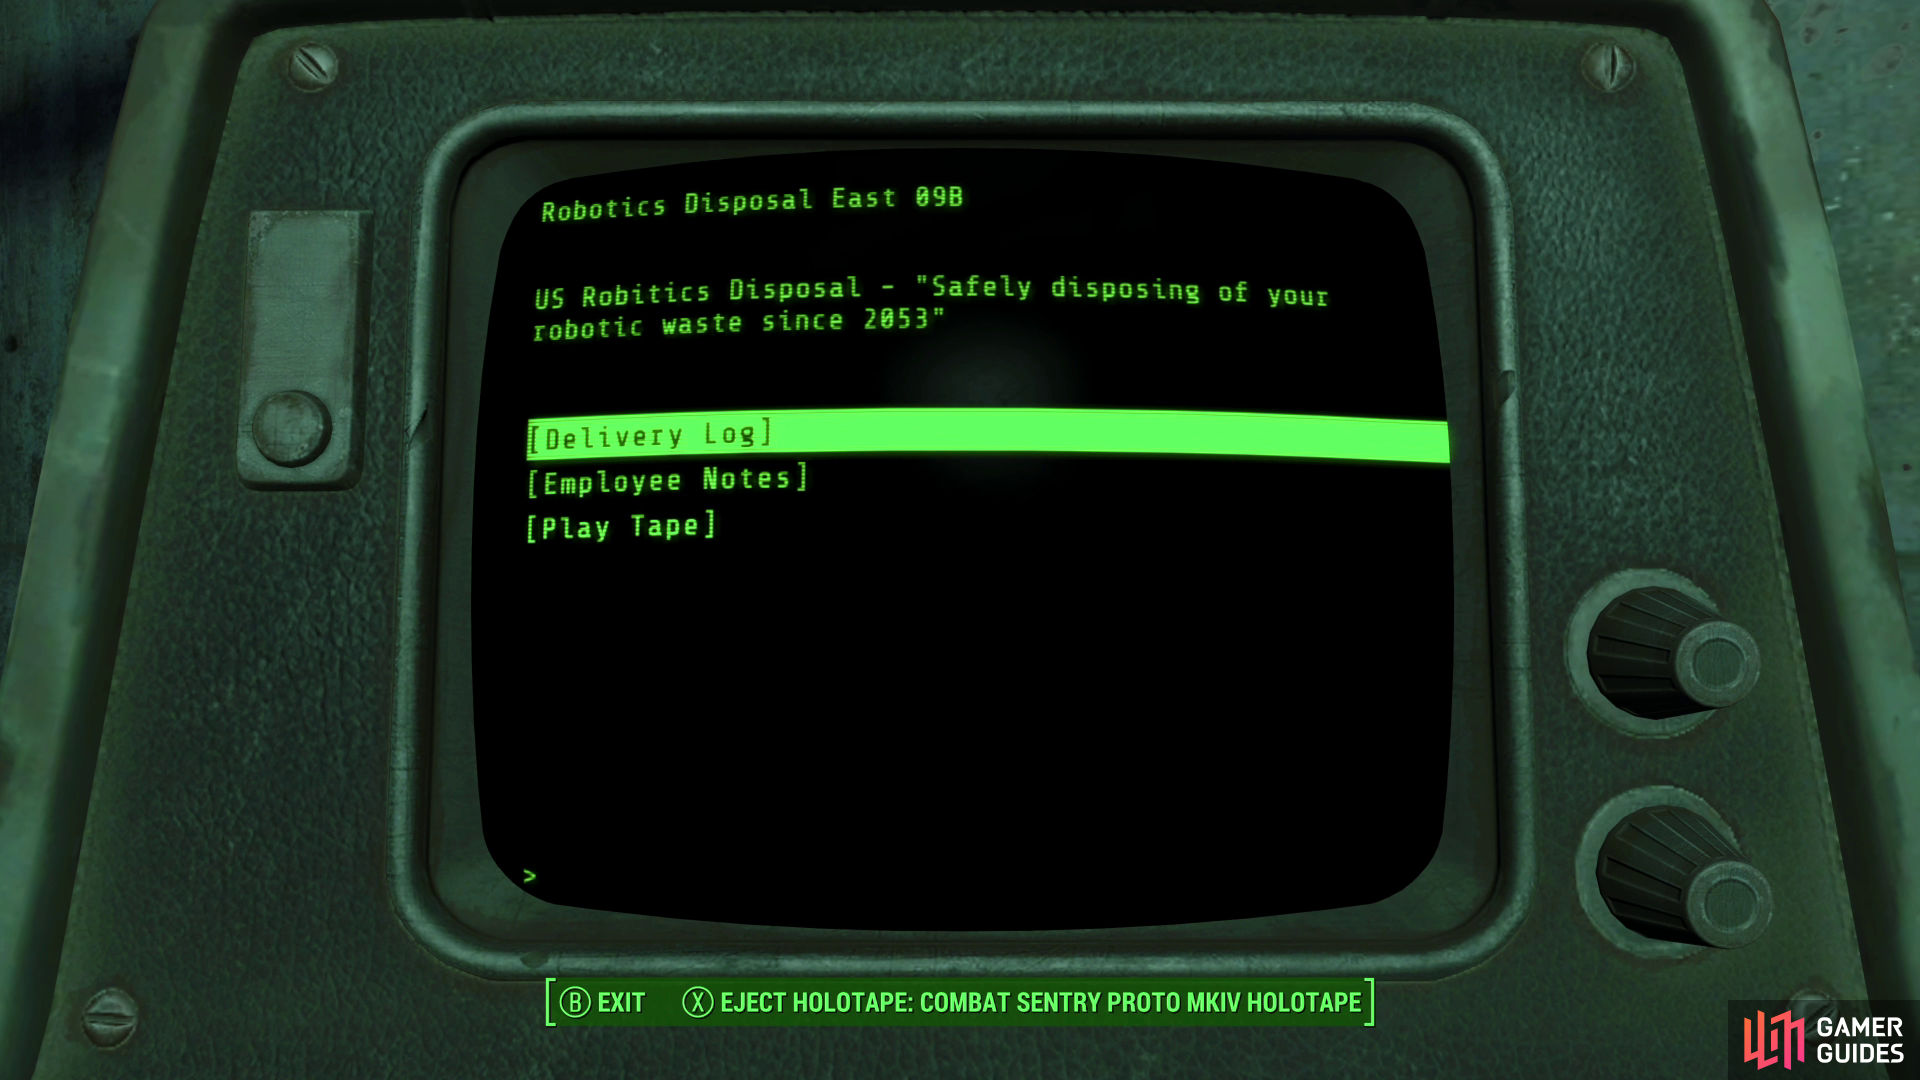
Enter a concrete building to the southeast and you’ll find a Weapons Workbench and a table housing a Terminal. If you interact with the terminal you’ll find some logs you can read, and you can eject the Combat Sentry Proto MKIV ![]() Holotape, which will give you some options with the Sentry Bot outside shortly. Loot the building for various goodies, including circuit boards and a First Aid box. You can also find an issue of Hot Rodder near the terminal, which will allow you to customize your Power Armor, should you care to.
Holotape, which will give you some options with the Sentry Bot outside shortly. Loot the building for various goodies, including circuit boards and a First Aid box. You can also find an issue of Hot Rodder near the terminal, which will allow you to customize your Power Armor, should you care to.
(1 of 3) Eject the holotape from the terminal,
With the holotape in hand, return to the Sentry Bot and play the holotape via your Pip-Boy to get the options “Information” and “Activate Sentry Bot”. Pick the former and confirm, and after the bootup sequence completes you’ll get three new options: “Deactivate Sentry Bot”, “Engage Defense Protocol” or “Initiate Self Destruct”. If you choose to destroy the robot, you can then loot it for two ![]() Fusion Cores, along with other (potentially uncommon) scrap. If you elect to “Engage Defense Protocol” you can send it to one of four areas of interest:
Fusion Cores, along with other (potentially uncommon) scrap. If you elect to “Engage Defense Protocol” you can send it to one of four areas of interest:
- USAF Olivia
- South Boston Checkpoint
 Revere Satellite Array
- Fort Hagan
If you select one of these areas, the Sentry Bot will head there, fighting any hostiles it encounters en route before clearing the area in question. The Sentry Bot is a powerful combatant, but expecting it to survive traversing long stretches of the Commonwealth is a bit of an ask. You can, of course, follow the doomed robot and loot its victims, then collect what salvage you can when it eventually succumbs to an explosive demise, but if you want the robot to remain operational, you should either refrain from sending it anywhere or direct it to USAF Satellite Station Olivia, which is just down the street. It’ll return to the Robotics Disposal Ground if it survives its mission.
It’s worth noting that the “Deactivate Sentry Bot” doesn’t work. Once it’s active, it’ll remain active… which isn’t surprising. Somebody put it in this junkyard for a reason.
Robotics Disposal Ground - Power Armor
If you want to salvage an arguably more useful bit of pre-war tech, make your way east from the Robotics Disposal Ground to find a road. Follow the road a short distance until you find a ruined card on the left. At this point head east into the wilderness and down a hill, looking out for a crashed Vertibird to the southeast. You should find a suit of Power Armor standing in the vicinity, which is yours to claim.
You can also find a Mole Rat nest to the northeast of this crashed Vertibird, if you want to pick a fight and loot a Duffle Bag which made its way into their nesting materials.


 Sign up
No Comments