This page contains everything you need to know about the locations in the Liurnia of the Lakes region of Elden Ring.
How Many Locations Are There in Liurnia of the Lakes?
Liurnia of the Lakes connects directly from Stormveil Castle after defeating the main boss there. It can be accessed early by taking the hidden winding narrow path to the east of the Castle, west of the dilapidated bridge. It has 55 unique areas and many more Sites of Grace to discover. The majority of these areas contain a sub-boss at the end of the location, or they are home to NPCs and merchants. You can find the full list below:
| Location | Description | Image |
|---|---|---|
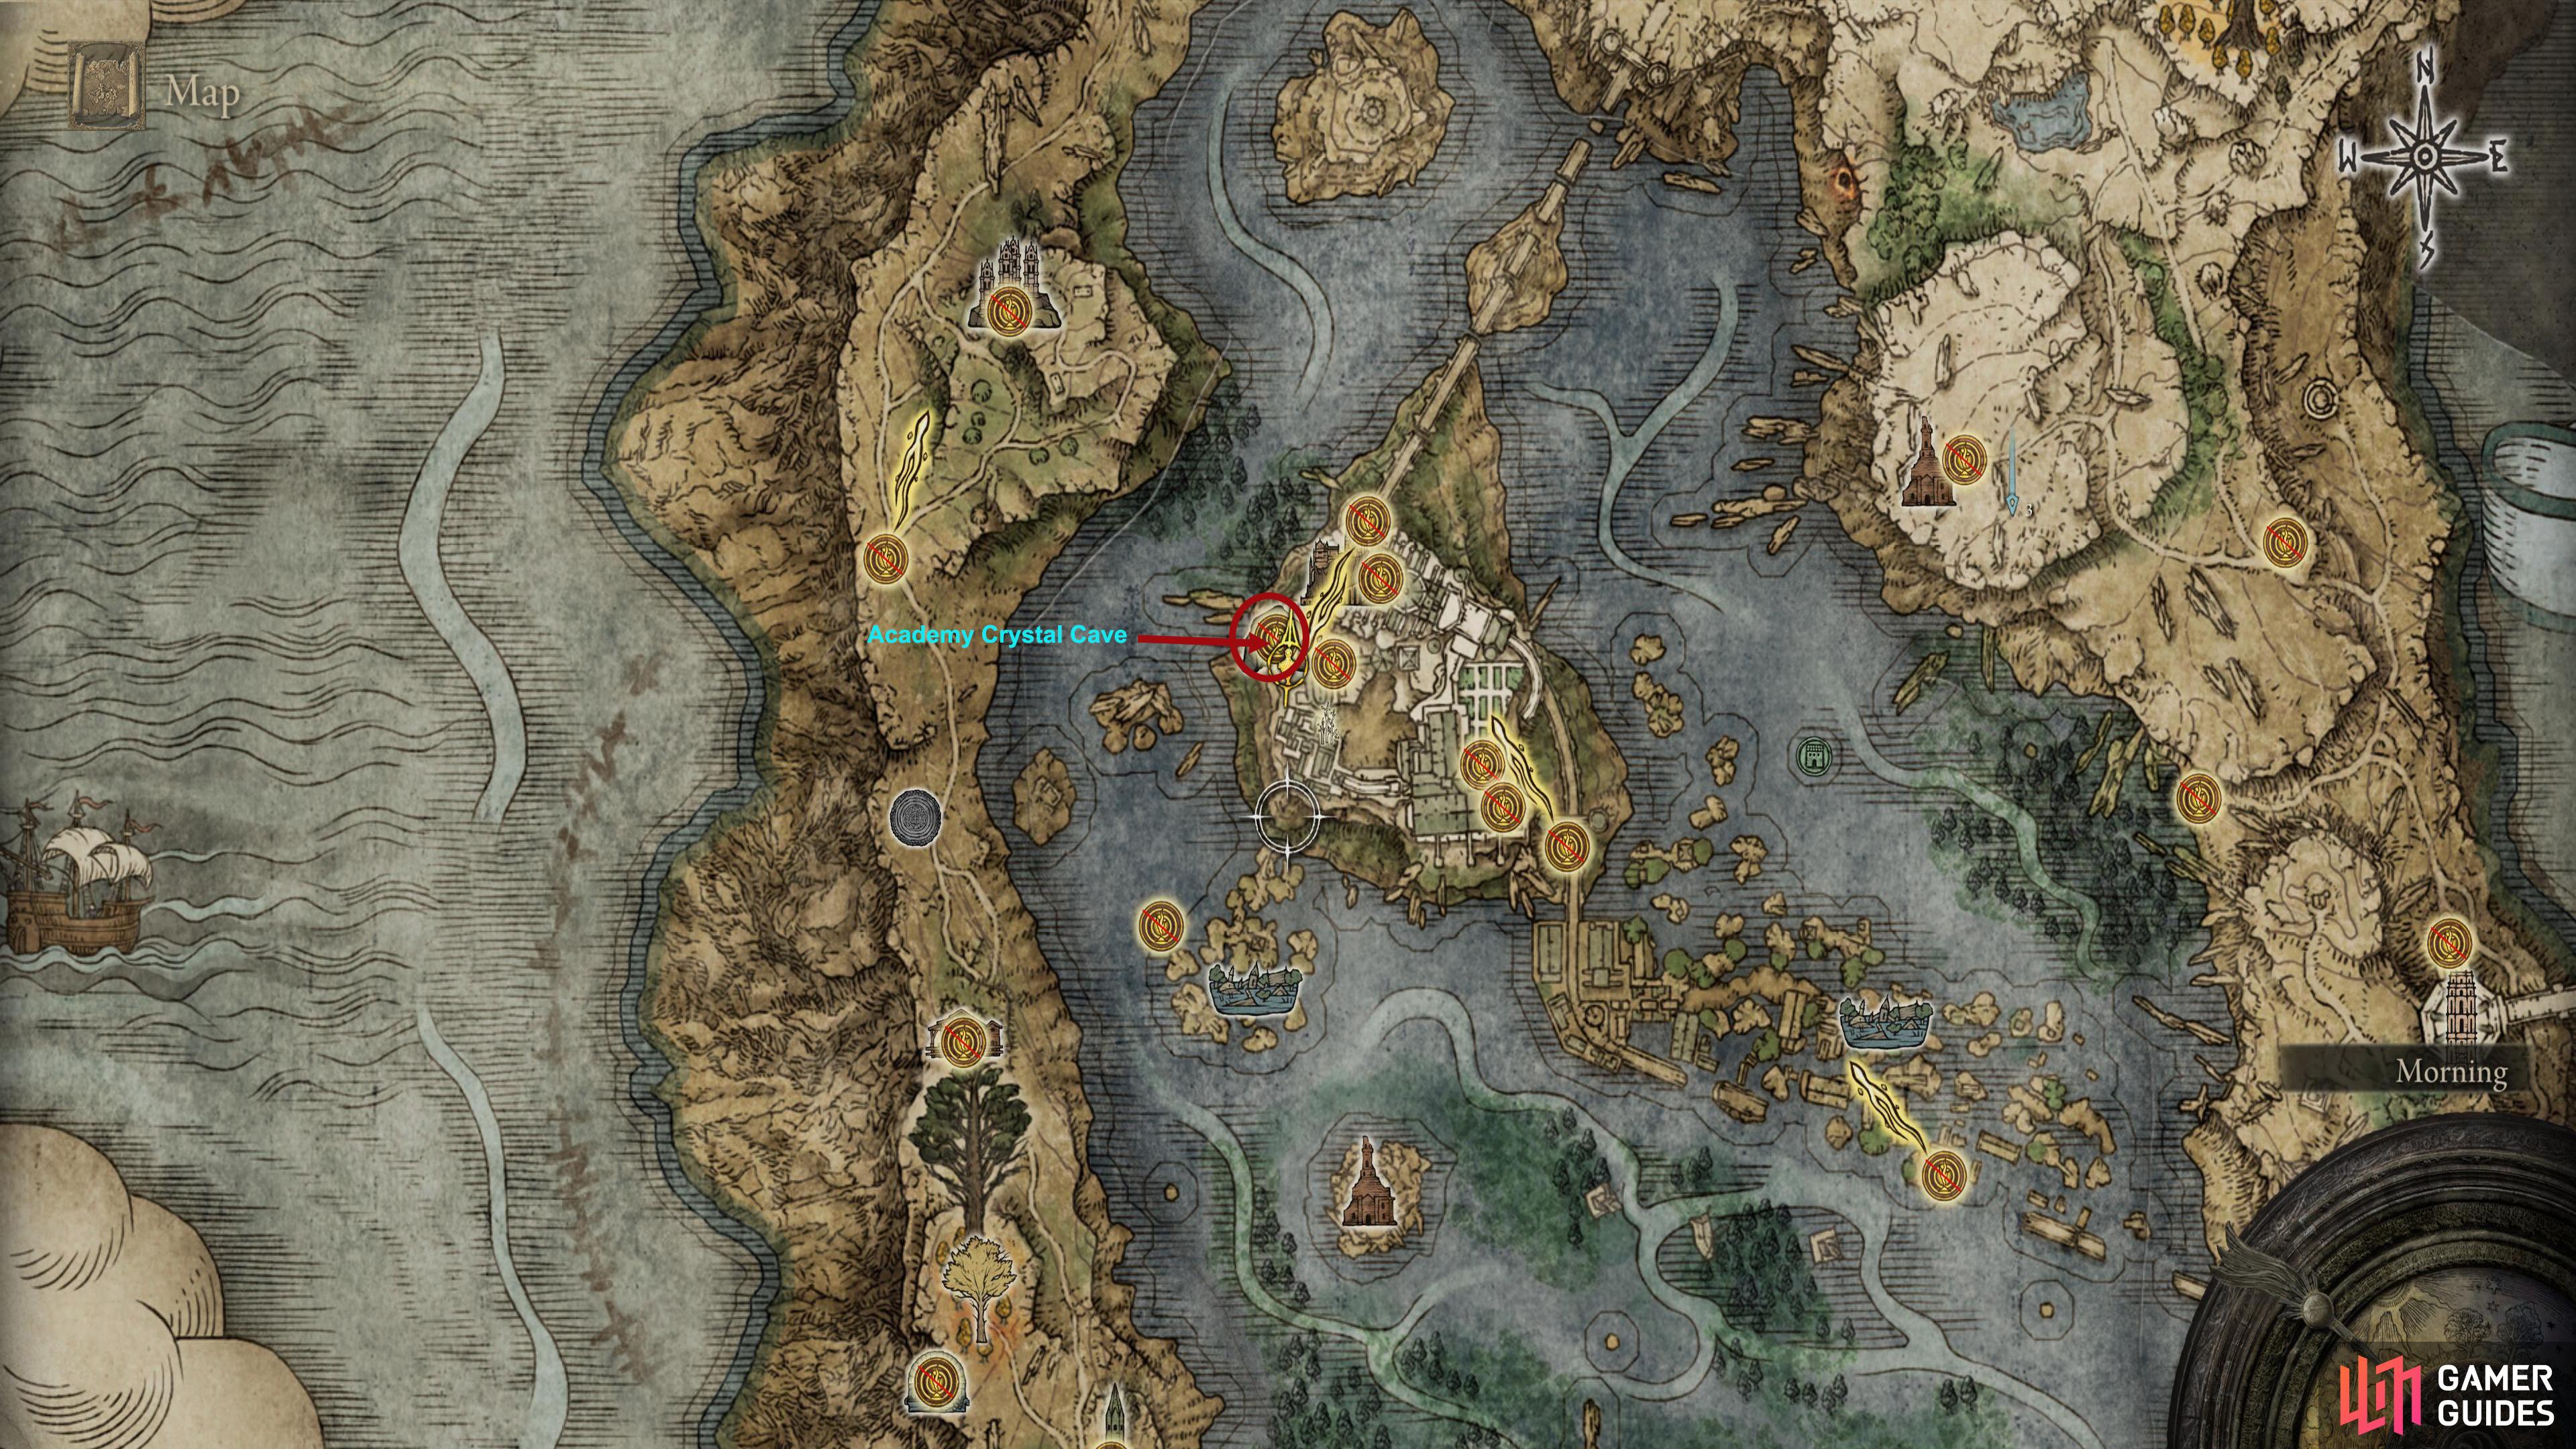
| Academy Crystal Cave | Home to the Crystalians Boss. The entrance can found to the west of the Raya Lucaria Academy. Needs two Stonewords Keys to access. |  |
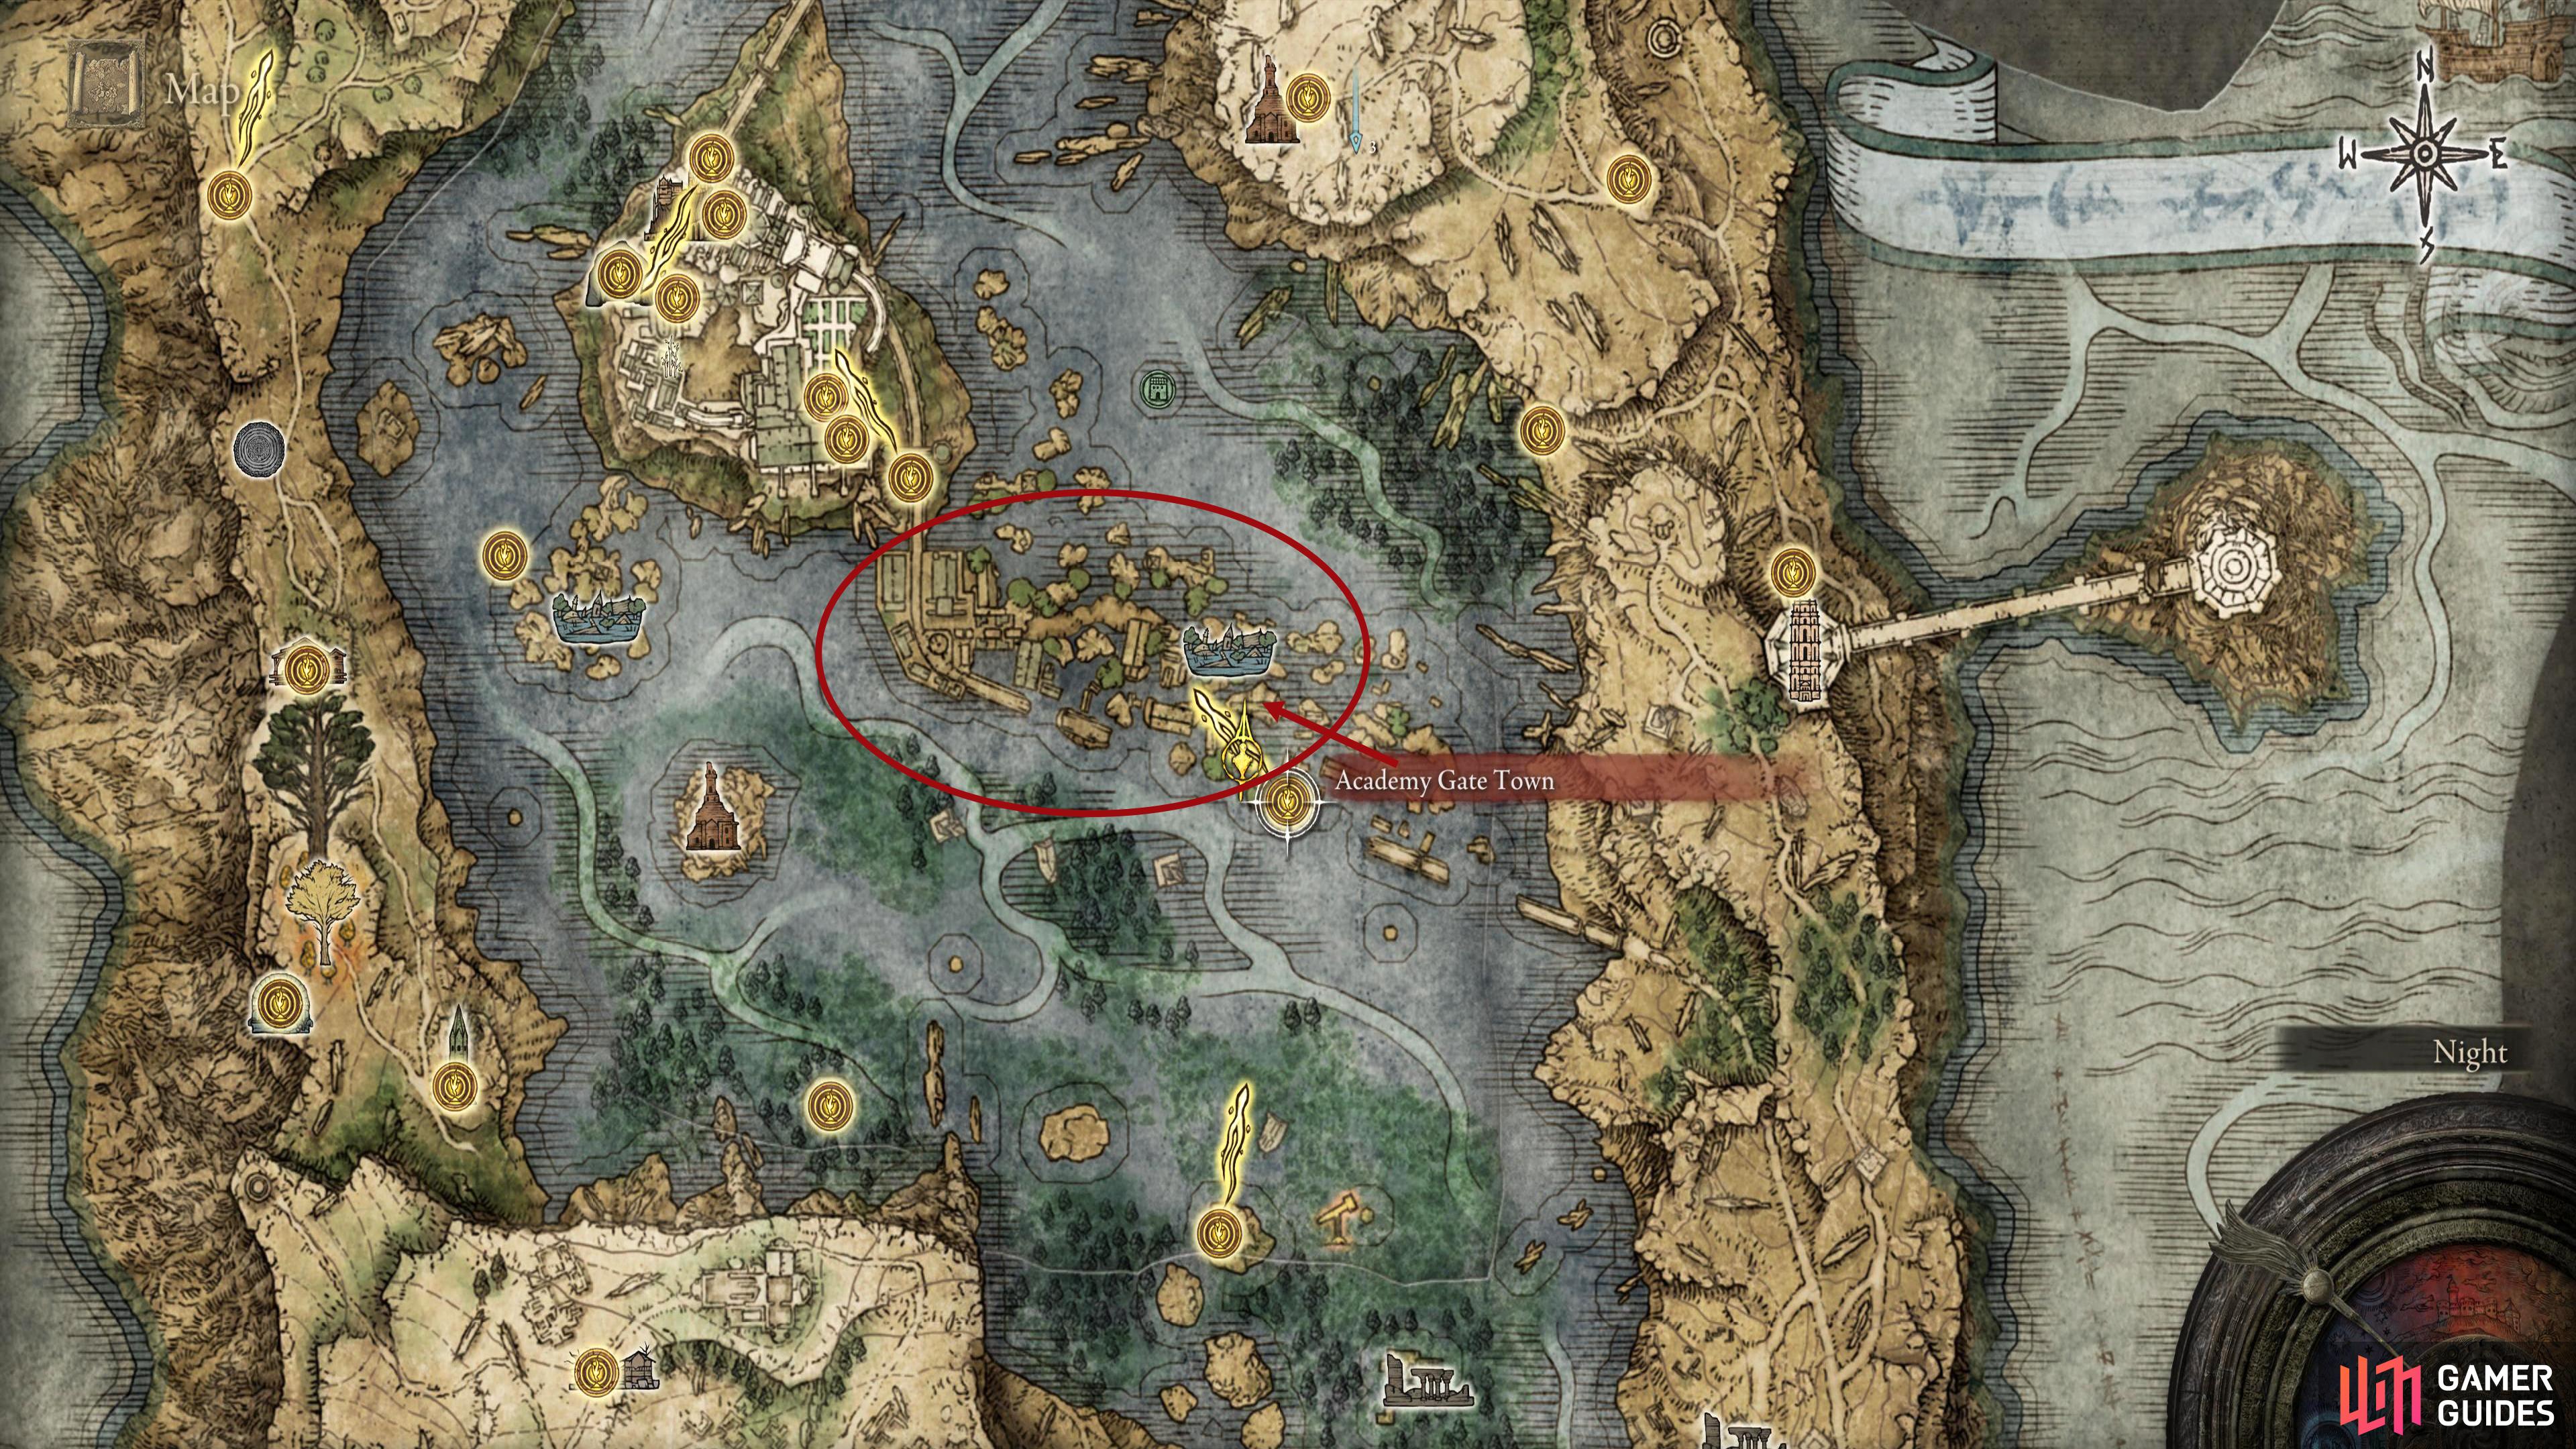
| Academy Gate Town | Remnants of a town that the students used to pass through to get to the Raya Lucaria Academy. A Golden Seed can be found in the center. |  |
| Ainsel River Well | A dingy well with an elevator that leads to the Ainsel River, the home of giant ants. |  |
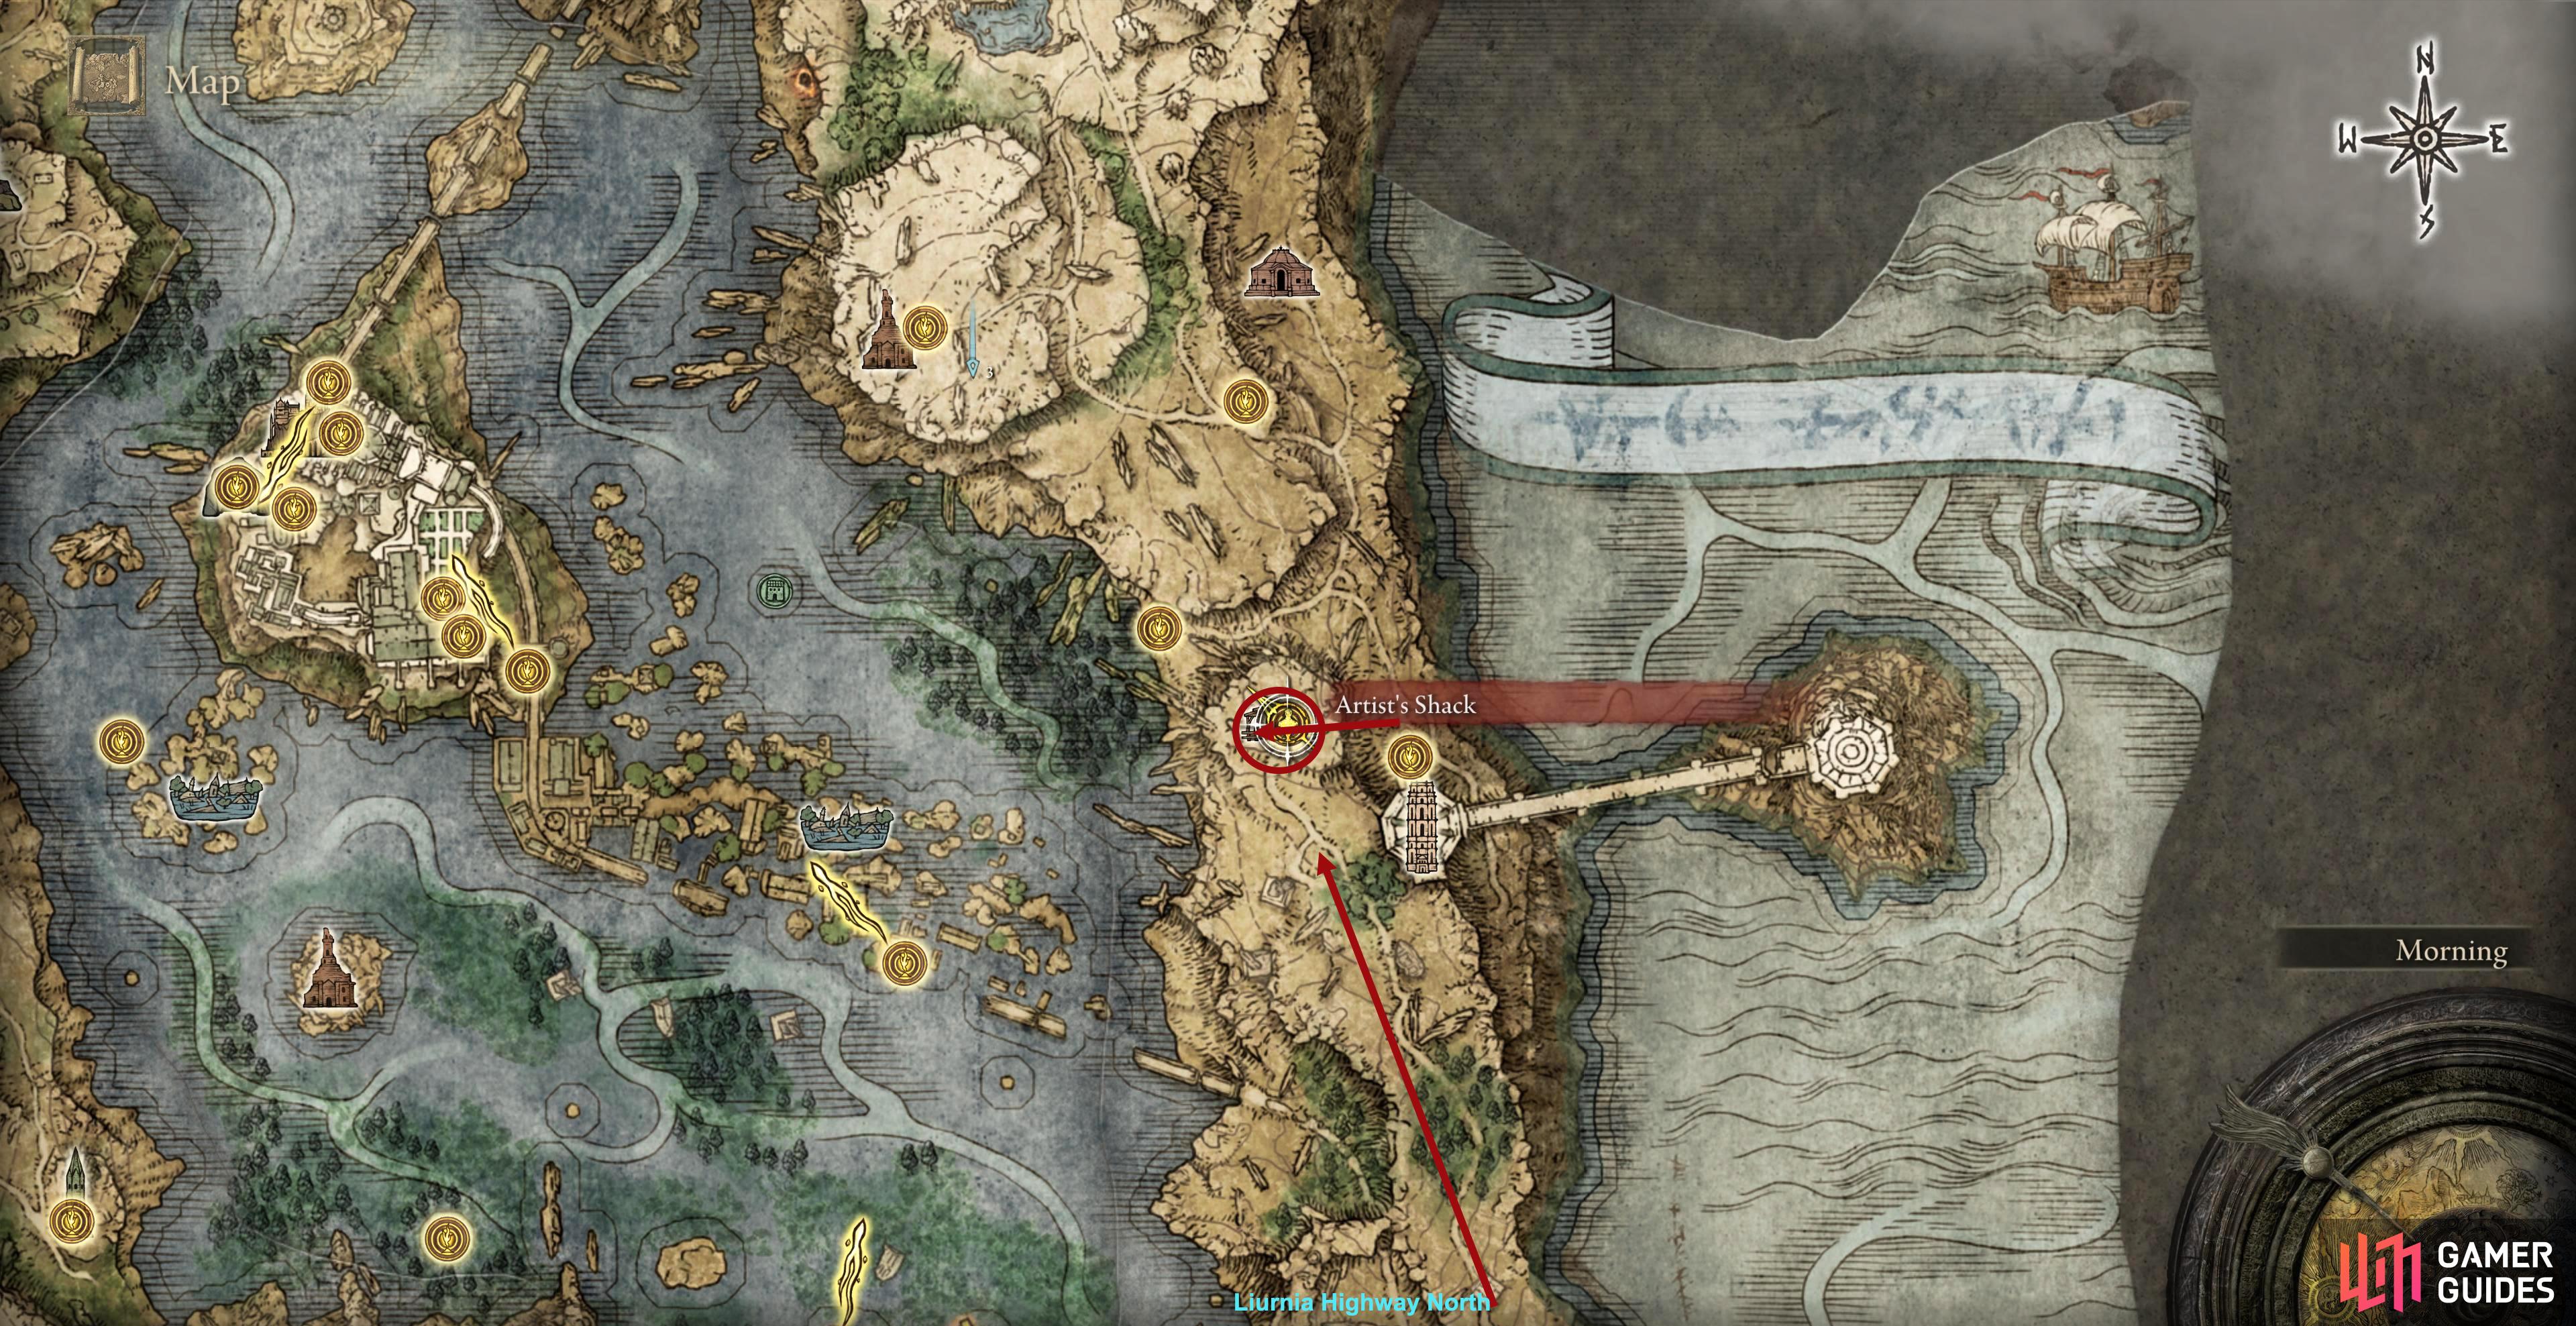
| Artist’s Shack | On the eastern landmass of Liurnia, at the tip of a cliff is a secluded war-torn shack that used to be home to a talented artist. The Ressurection Painting can be obtained inside it. |  |
| Bellum Church | The ruins of a Church just of the Bellum Highway. A sacred tear can be found at the feet of the statue. The NPC Hyetta can be found there if you progressed her quest line. |  |
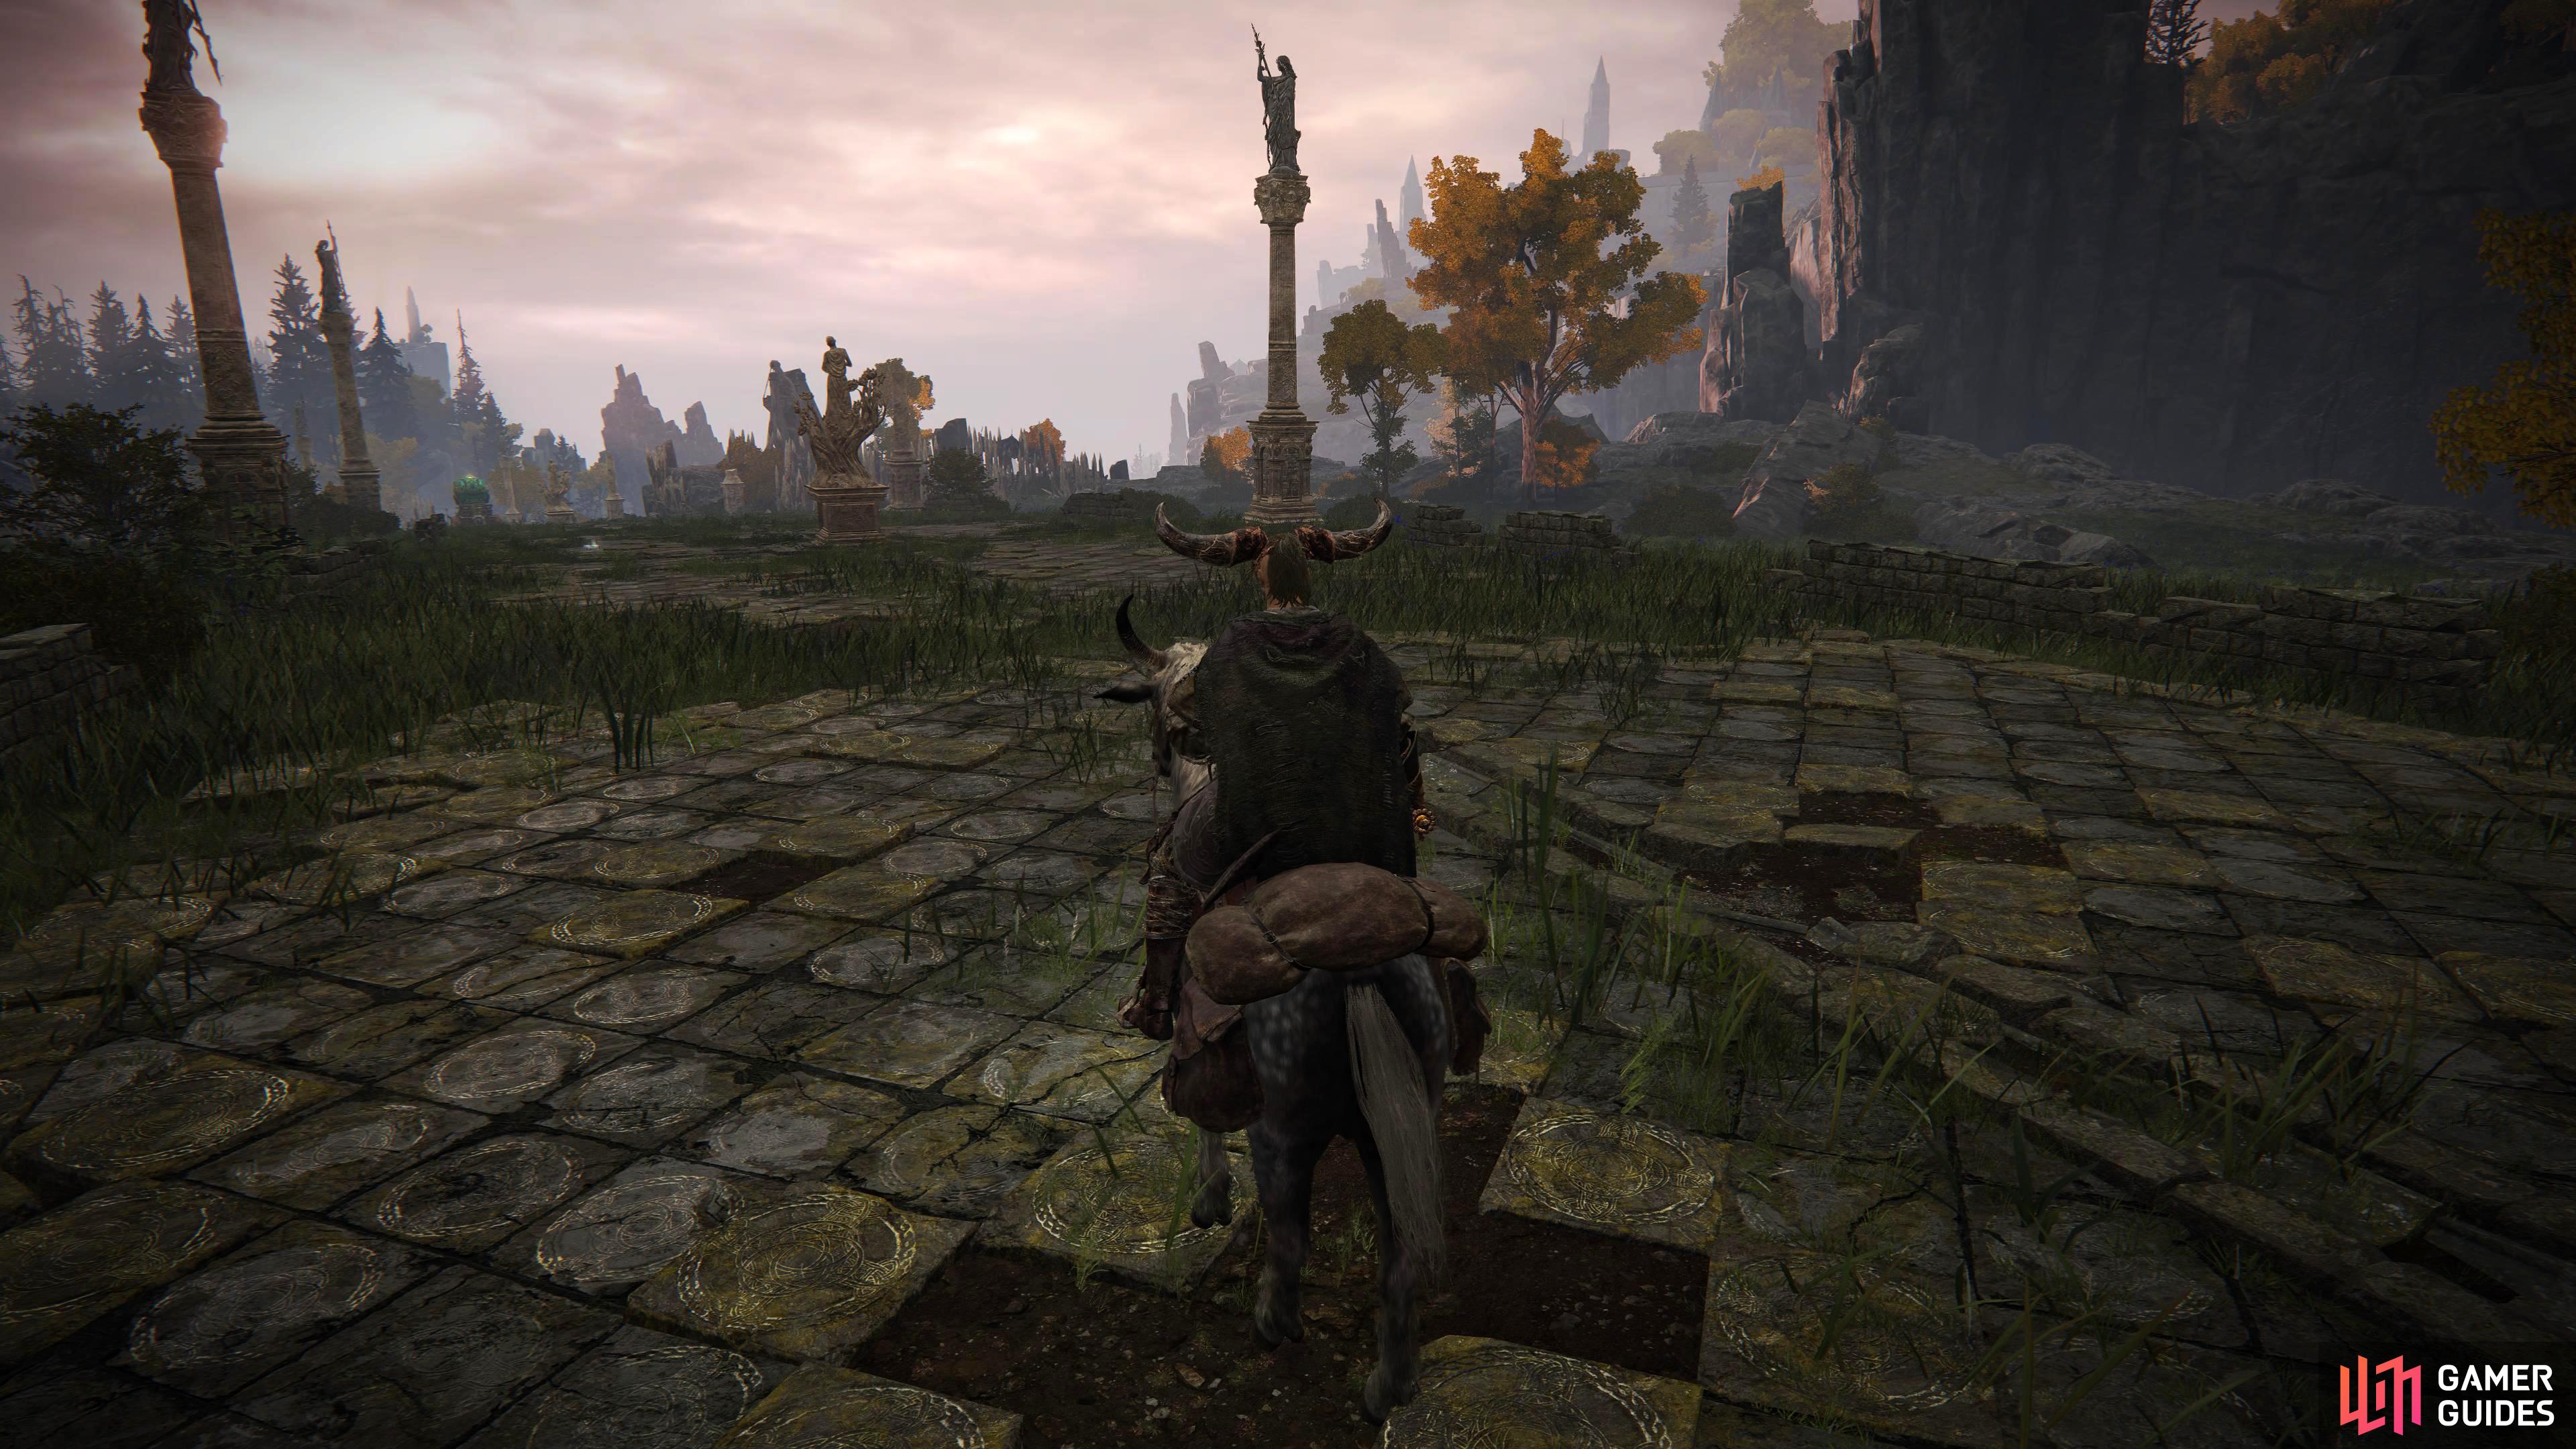
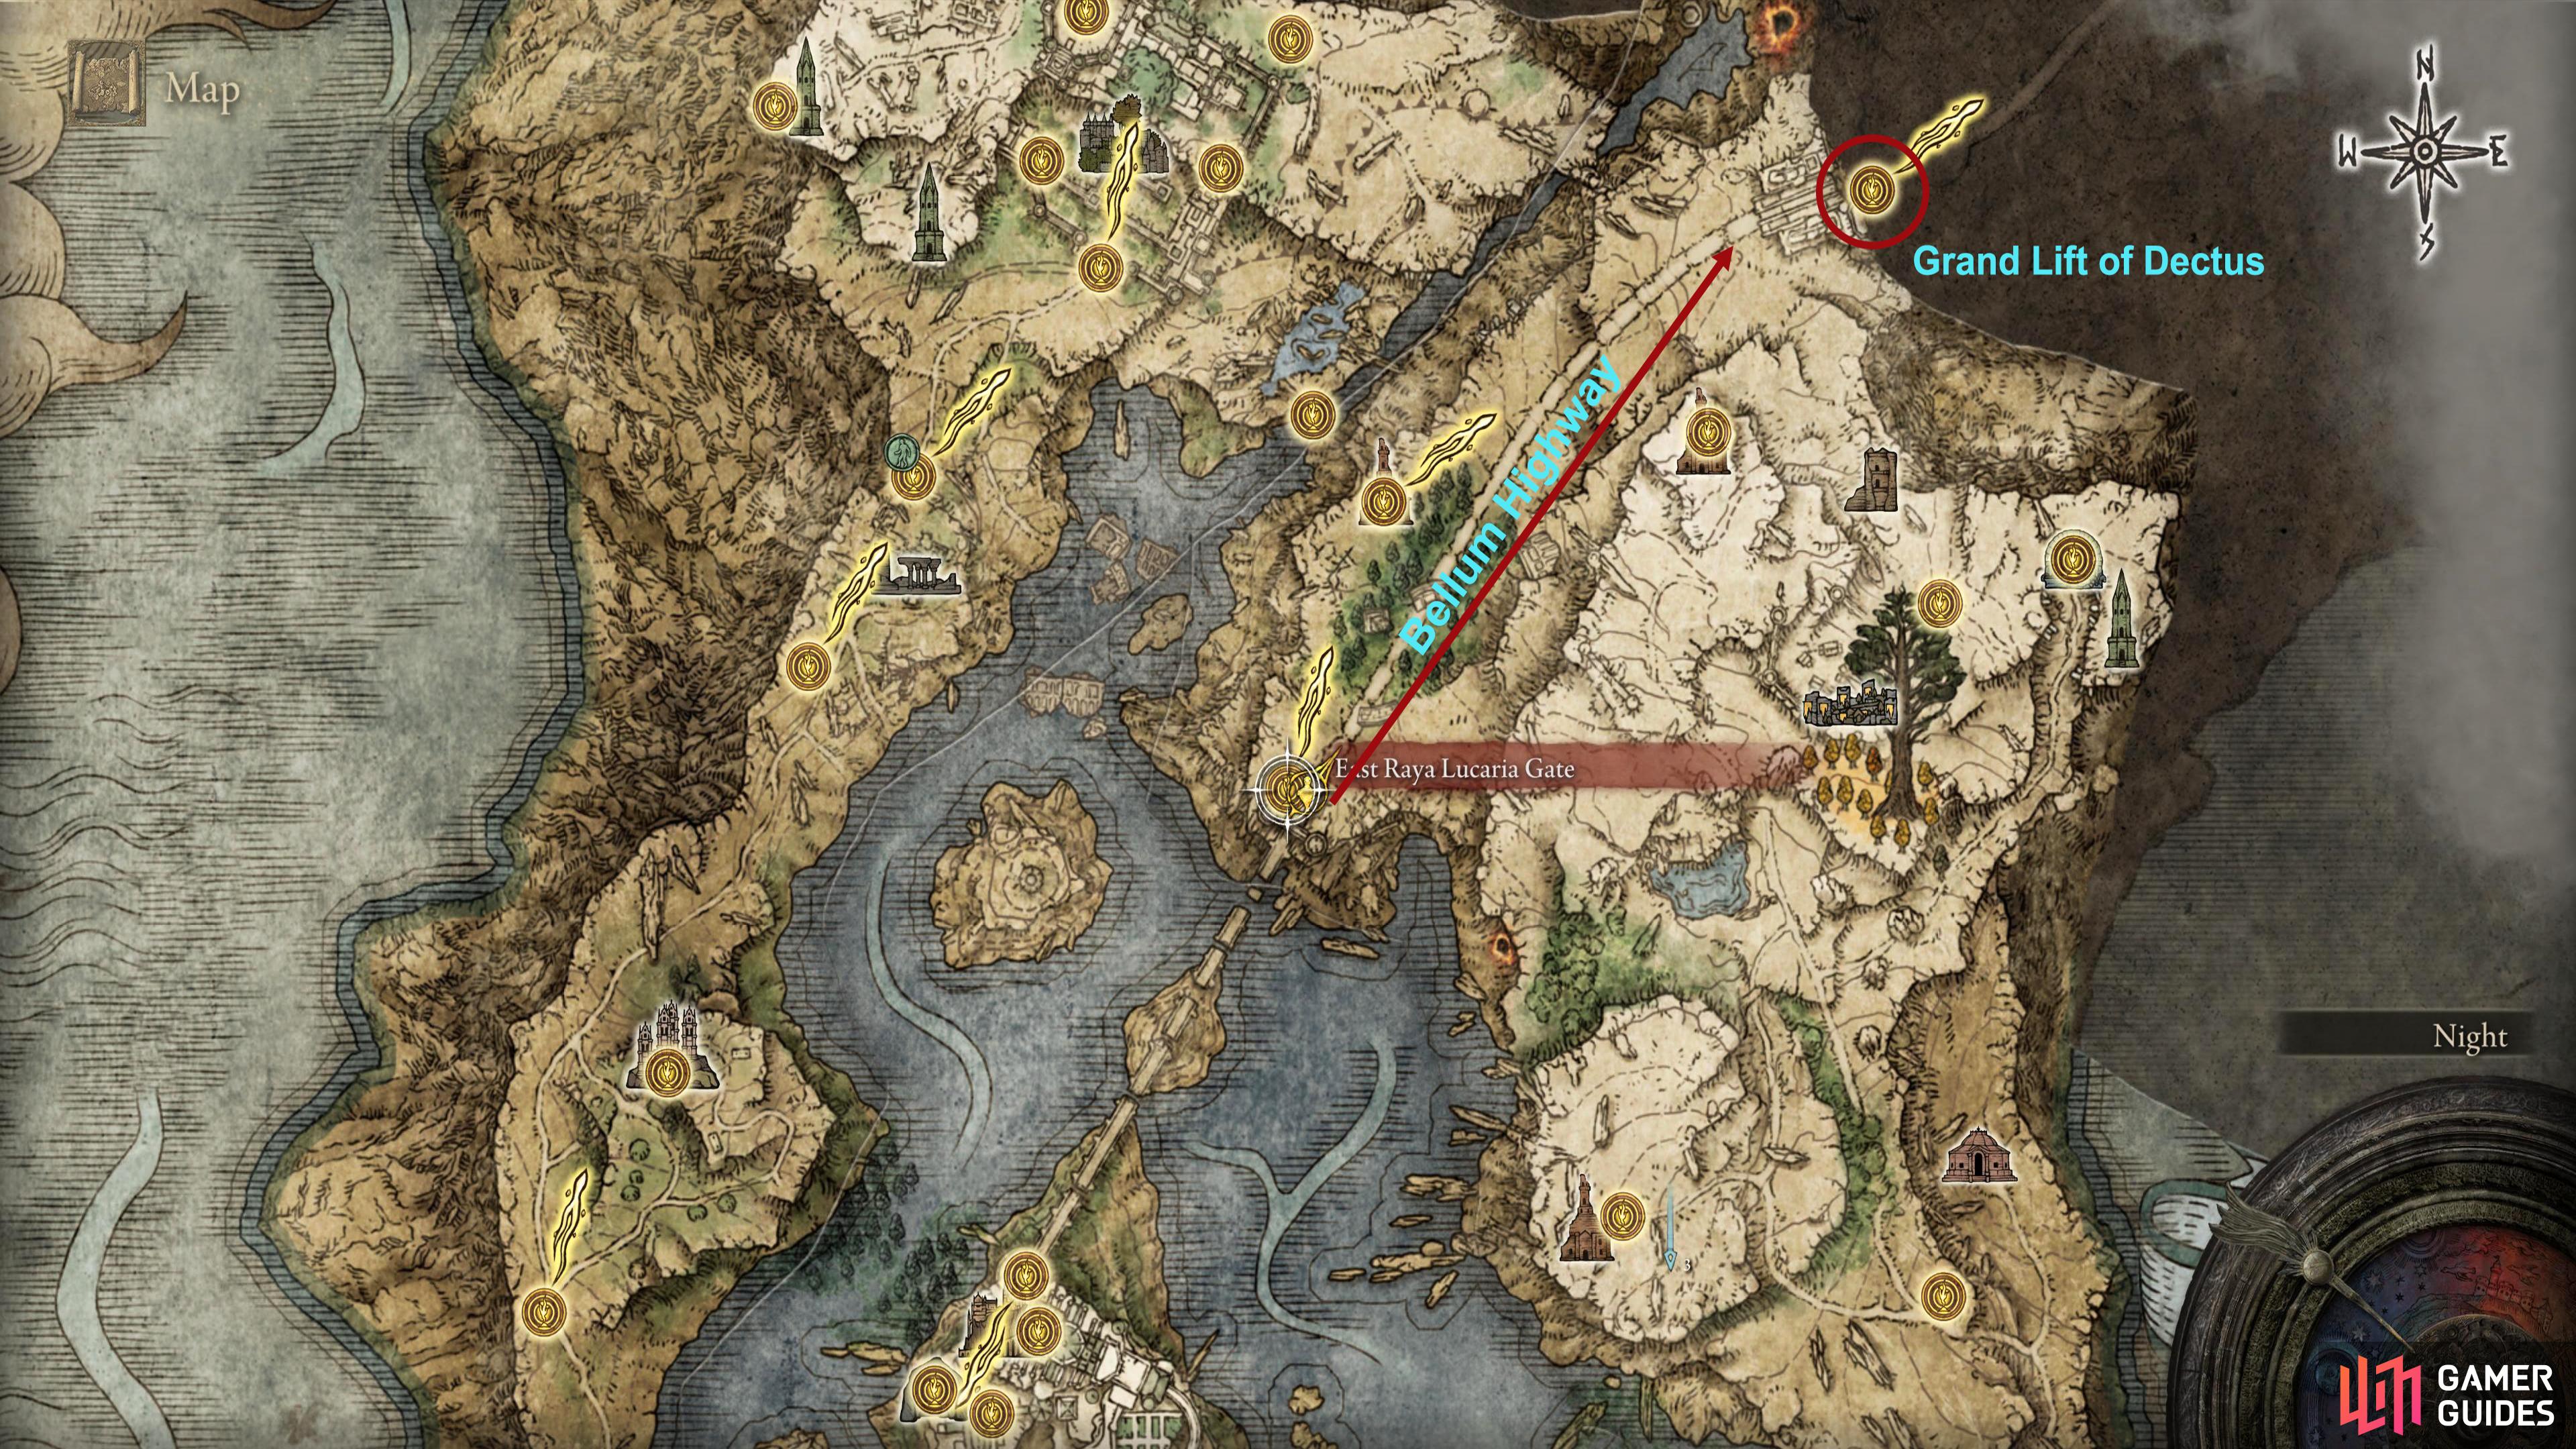
| Bellum Highway | A long stretch of road that starts at the east gate of Raya Lucaria all the way to the Grand Lift of Dectus. A Great Mace can be found inside a chest on the east side of the encampment near the Grand Lift of Dectus. The Night’s Cavalier can be found roaming the southern part of the Highway when the sun sets. |  |
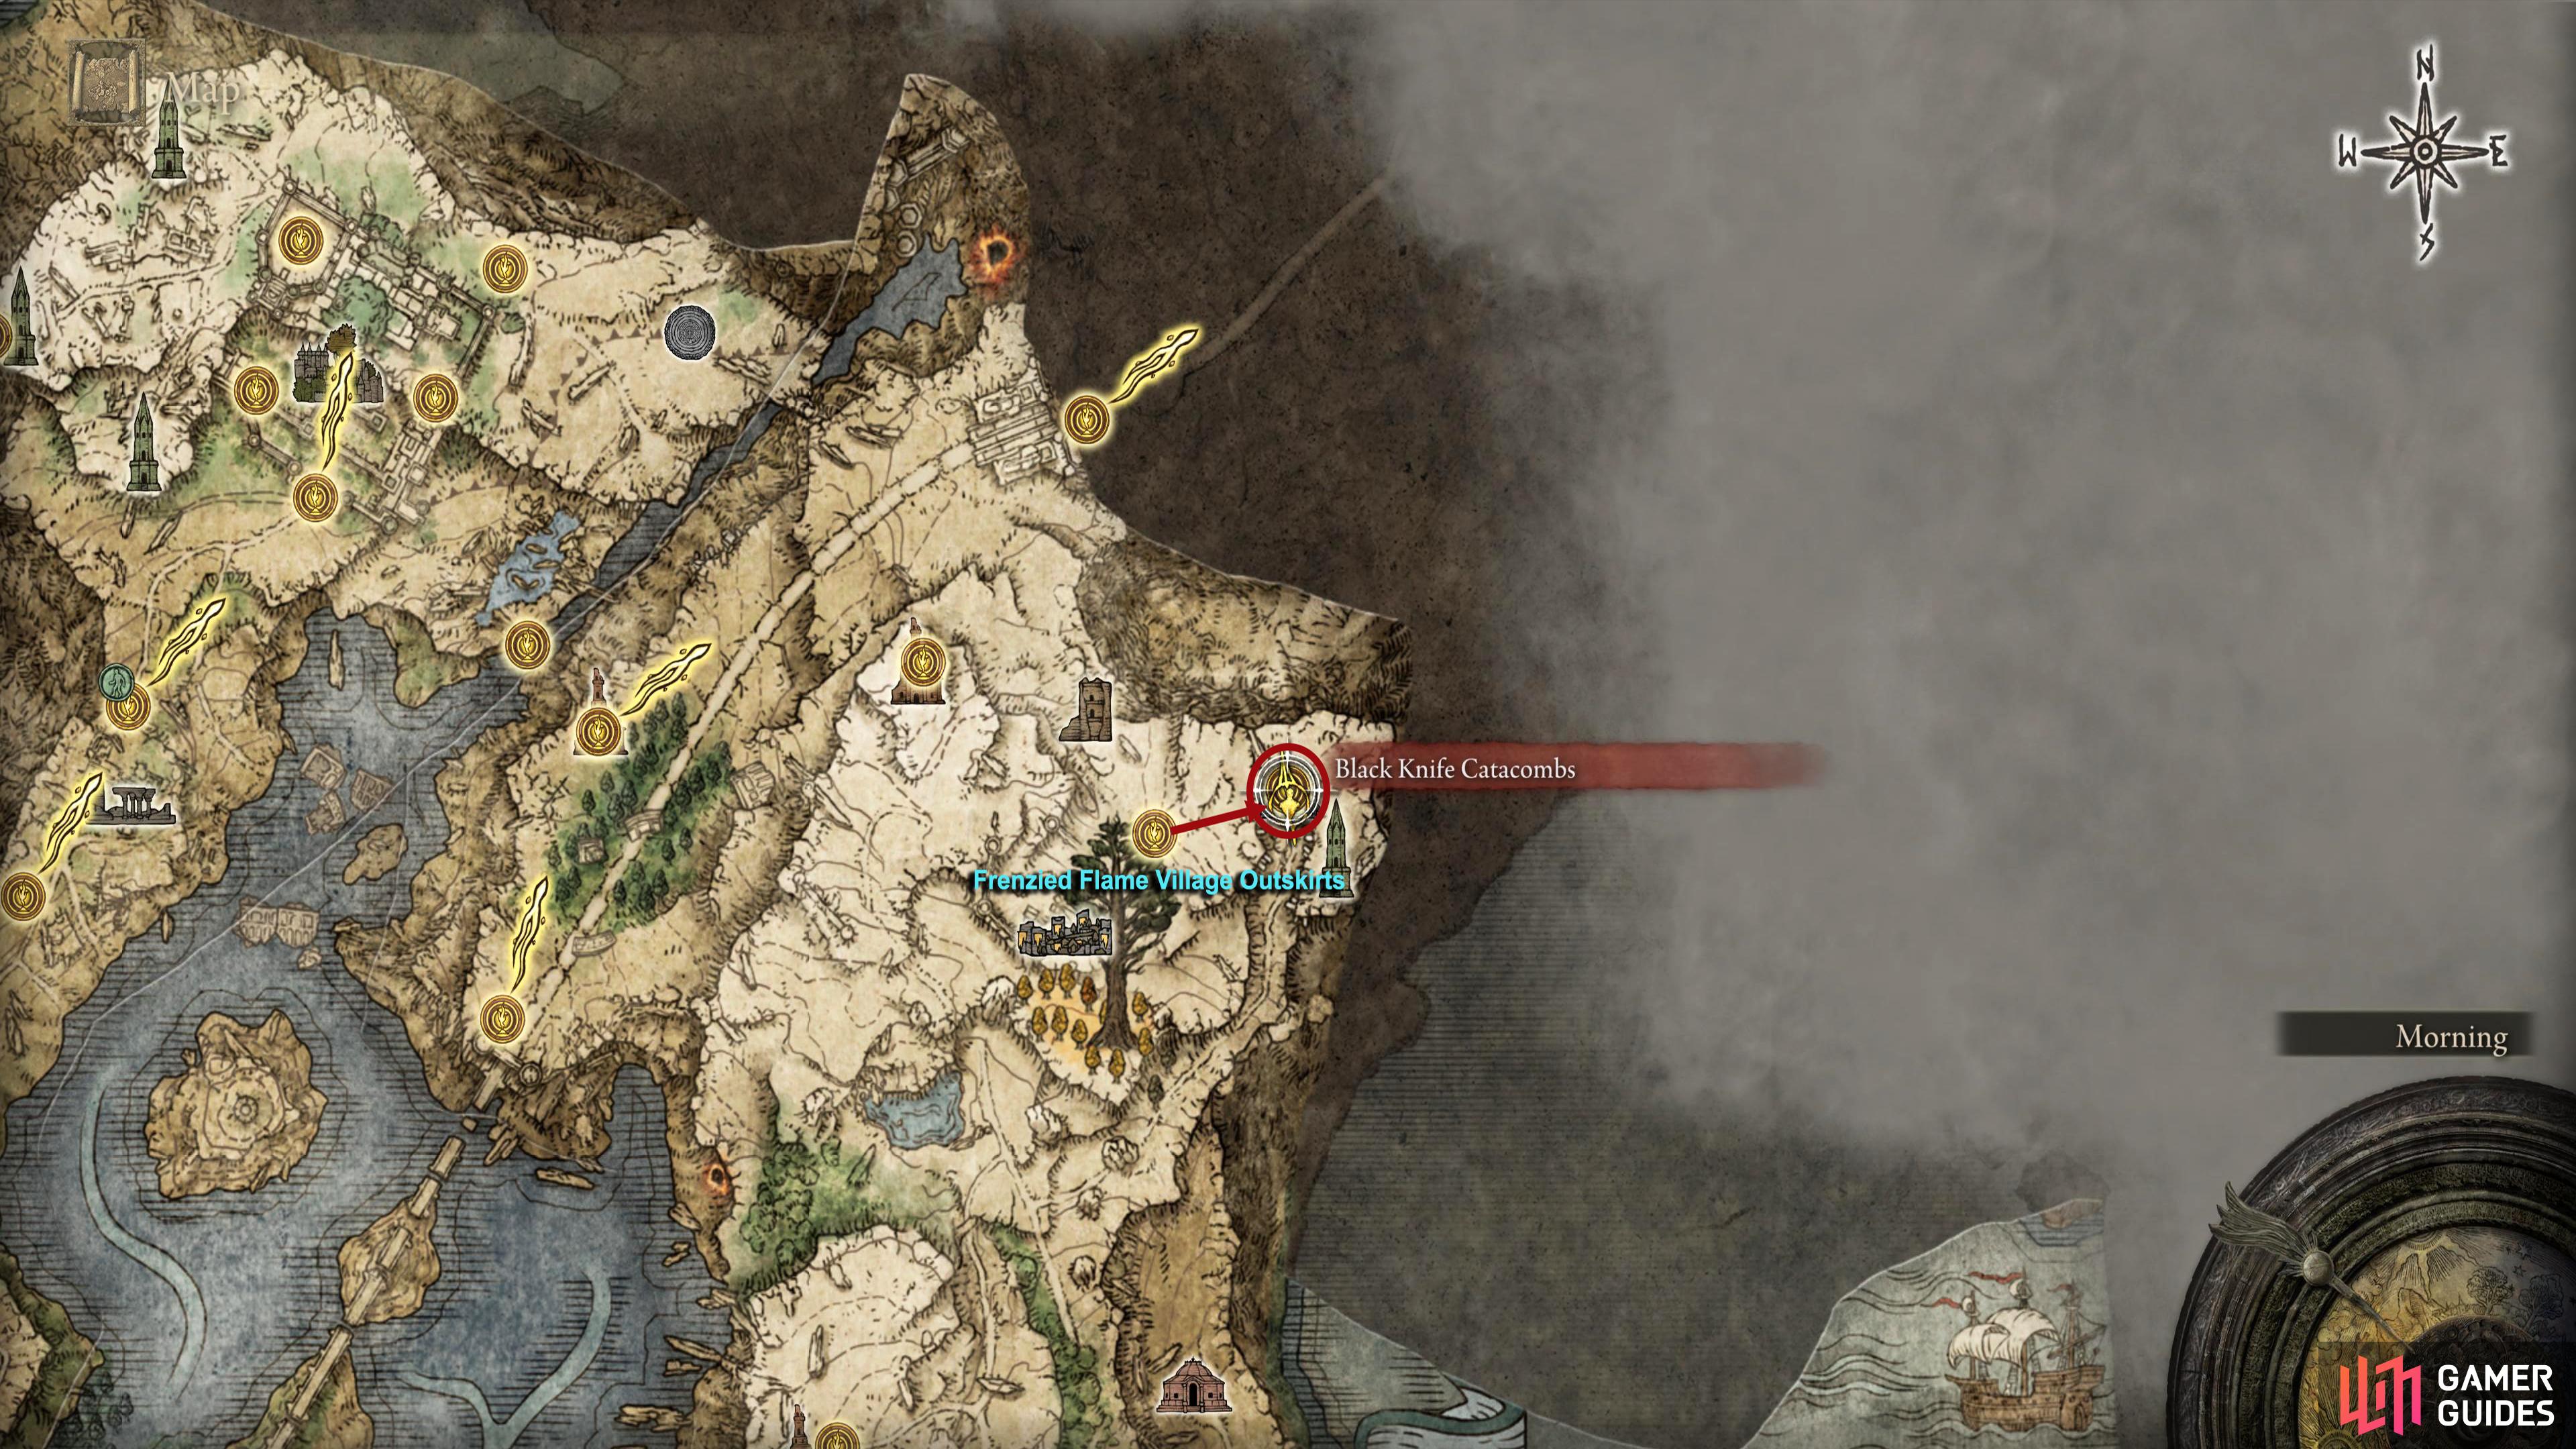
| Black Knife Catacombs | Found at the northeastern corner of Liurnia is a catacomb that acts as a secret headquarters for one of the Black Knife Assassins. There are two bosses in here, including the Black Knife Assassin, the other being Cemetery Shade. |  |
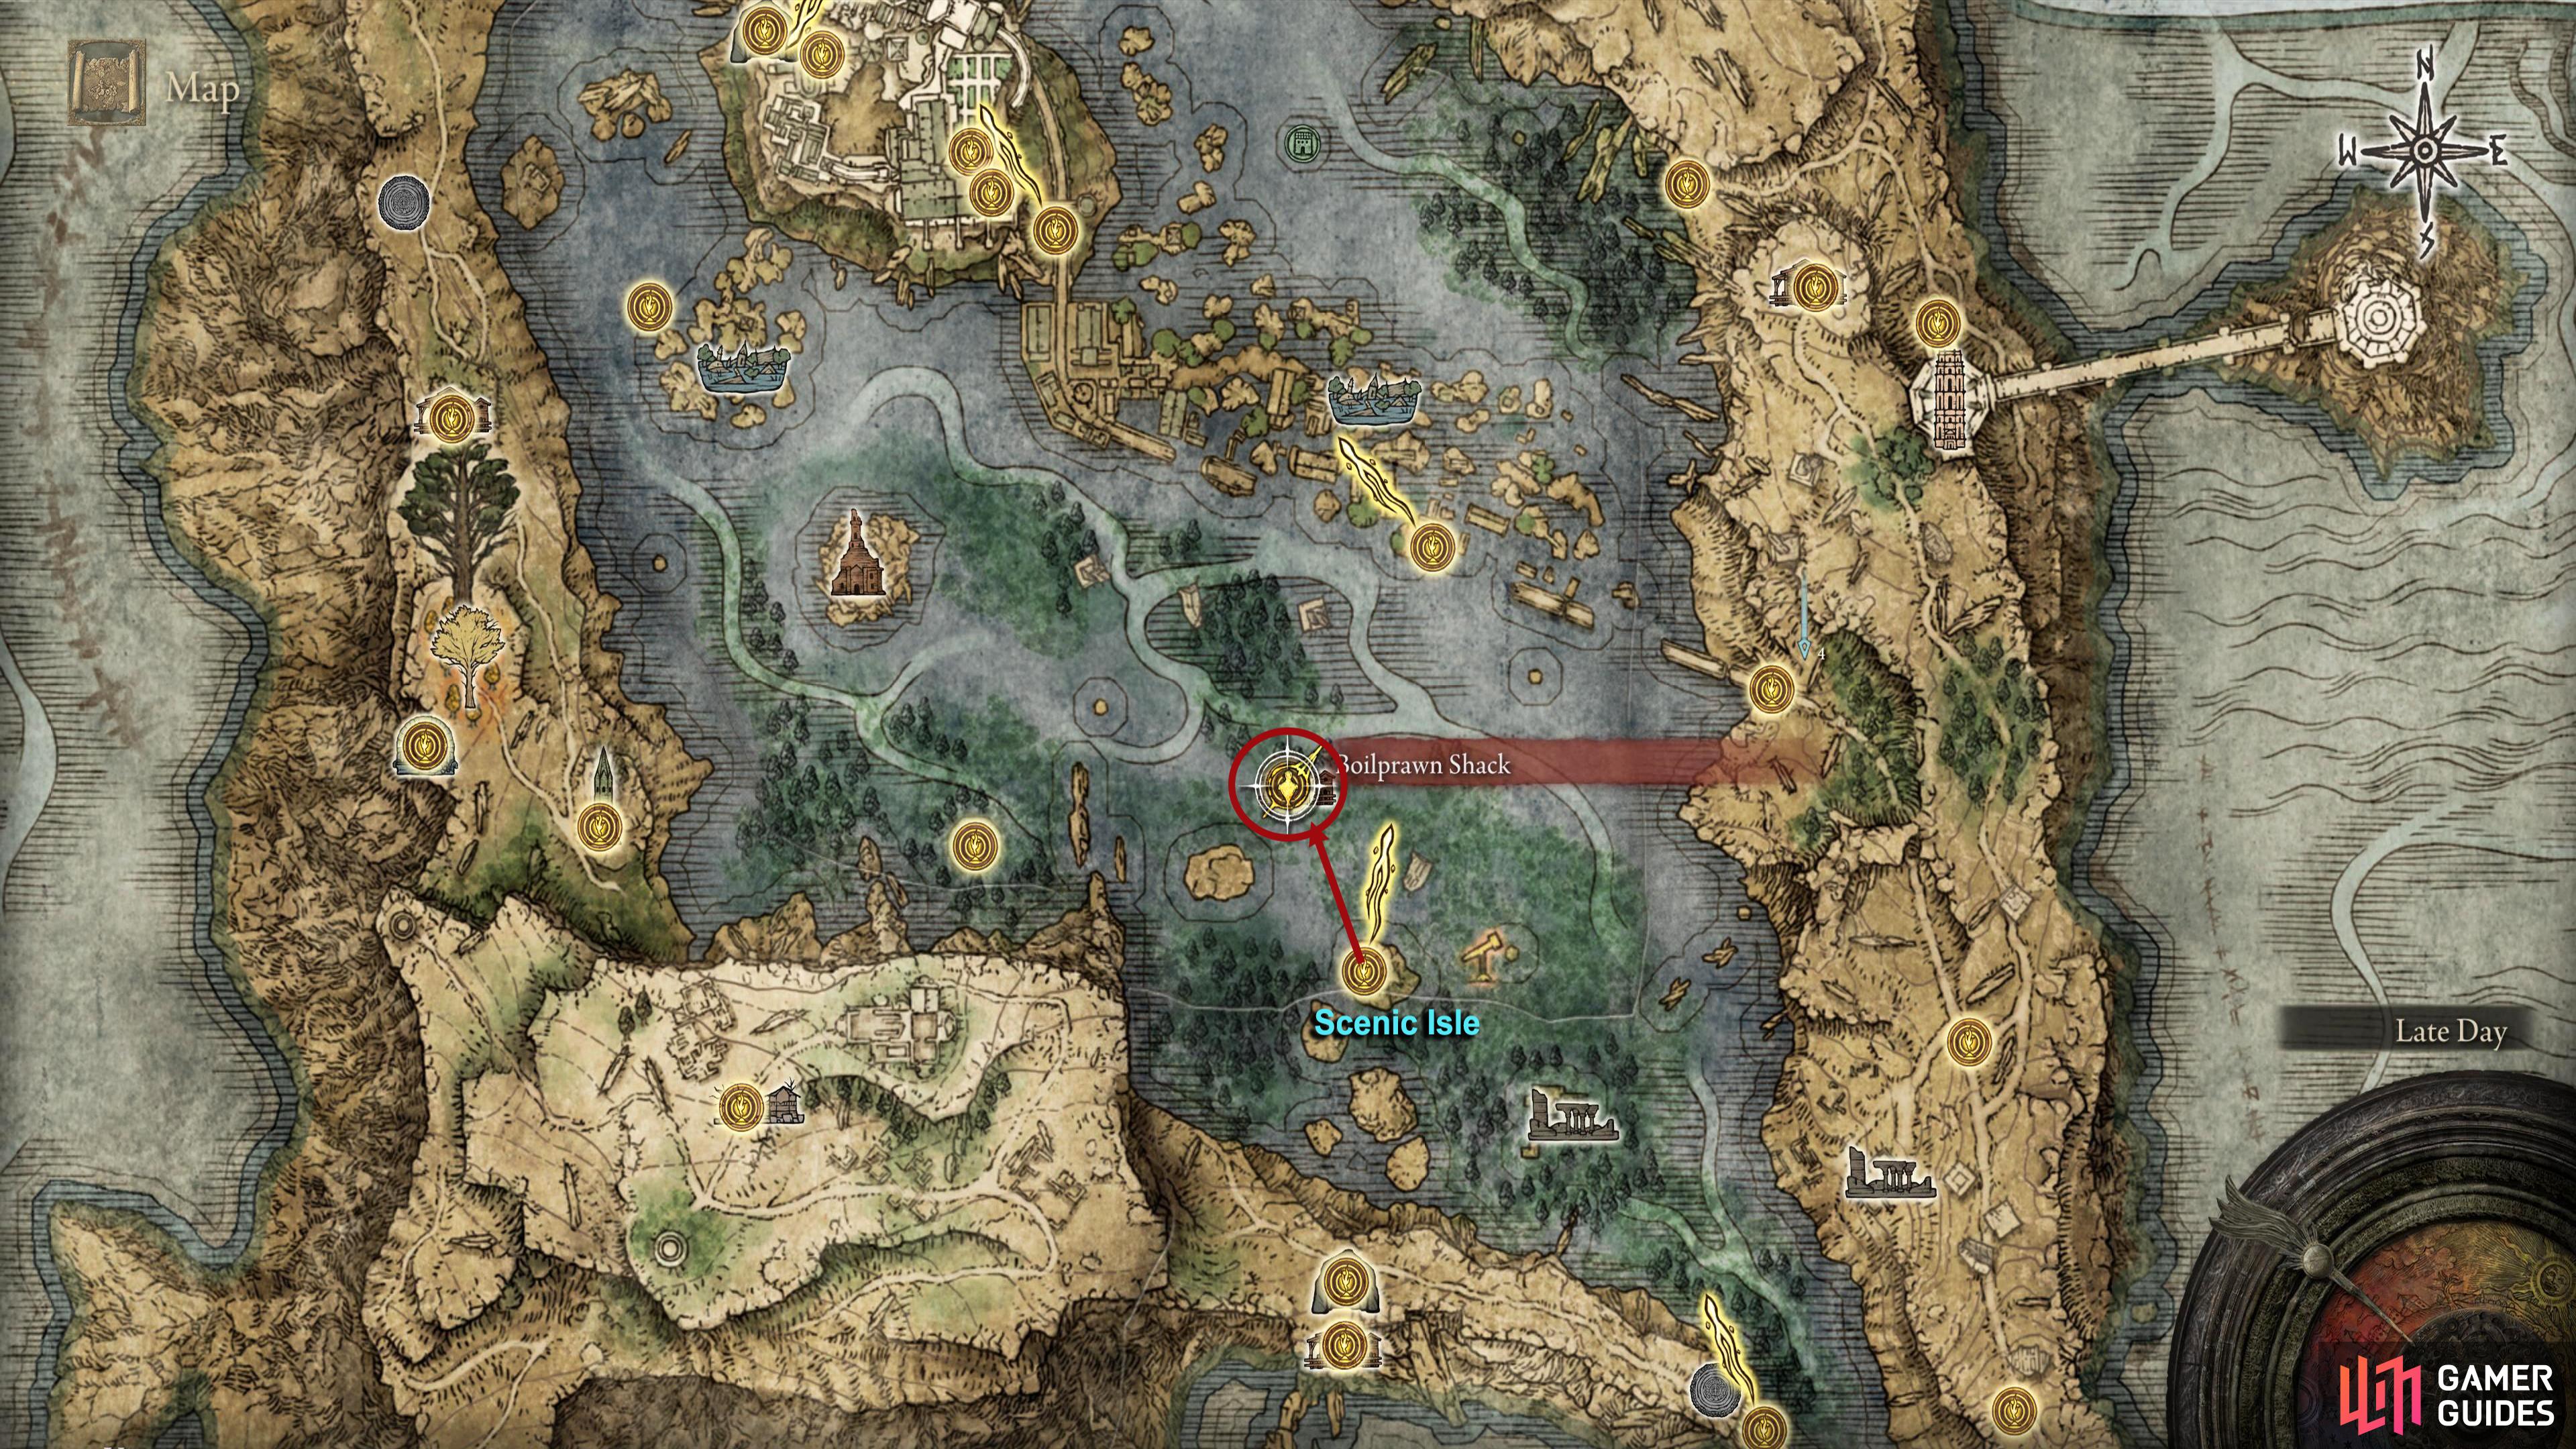
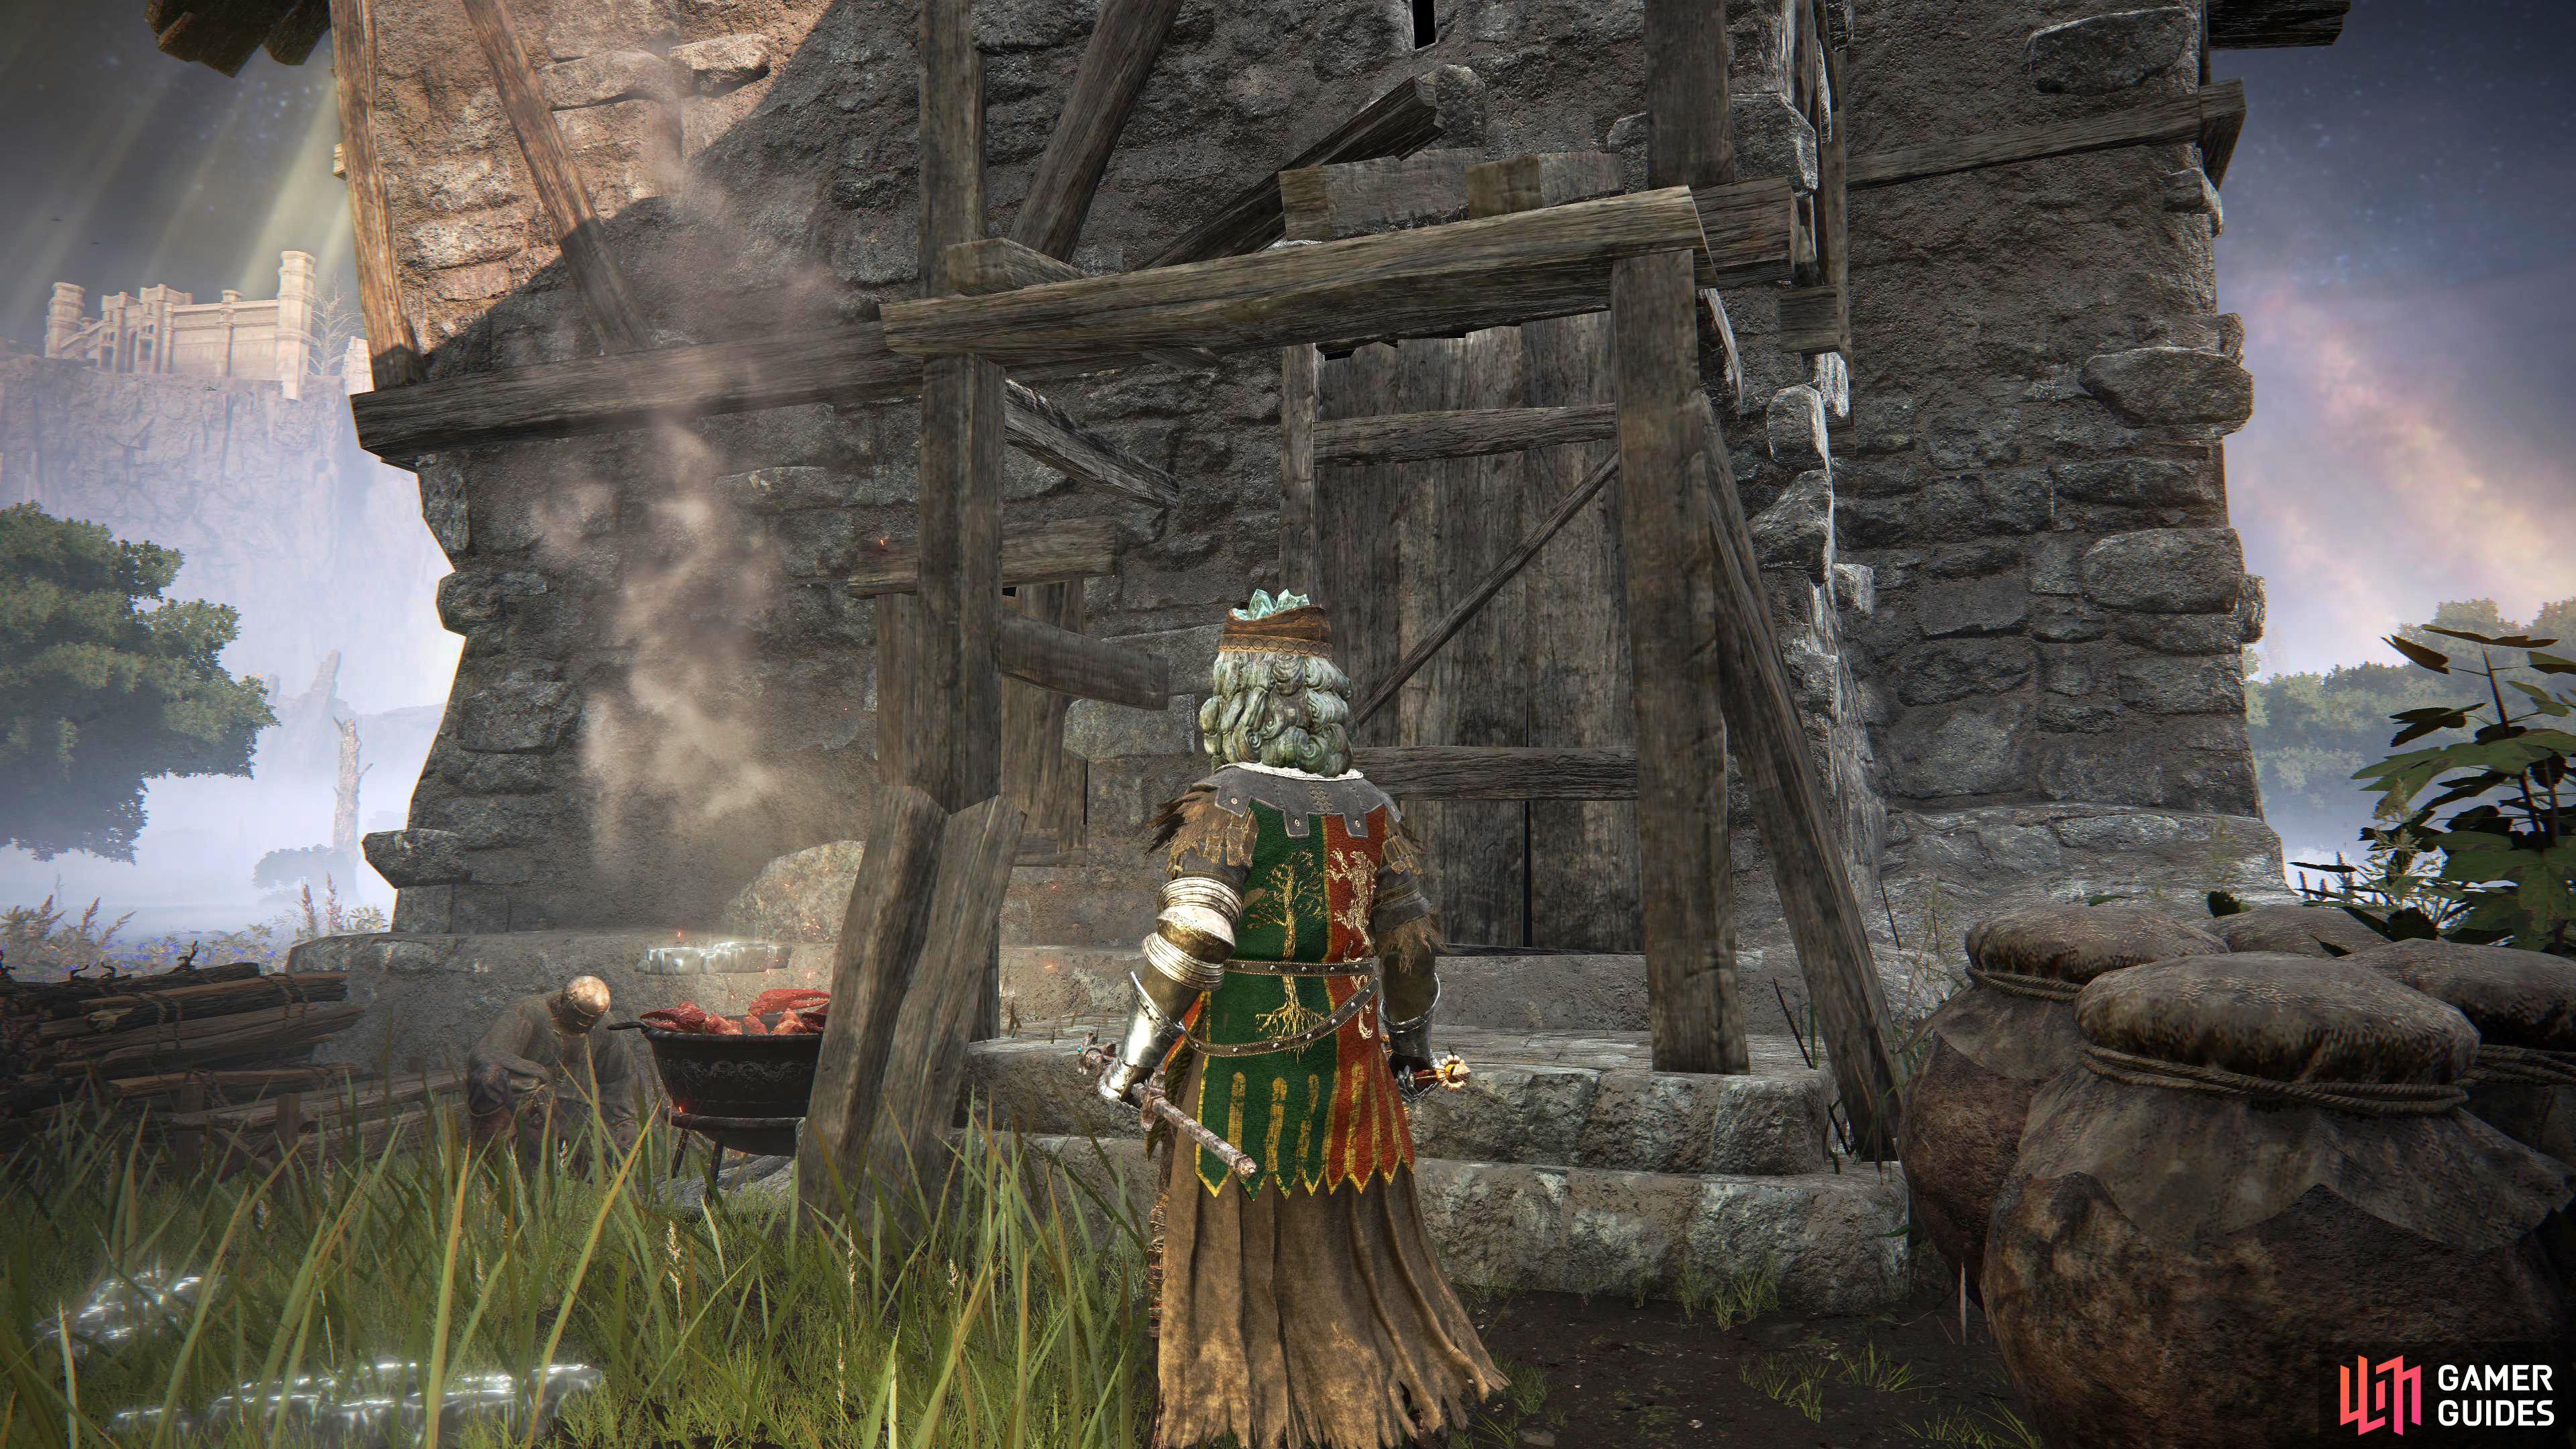
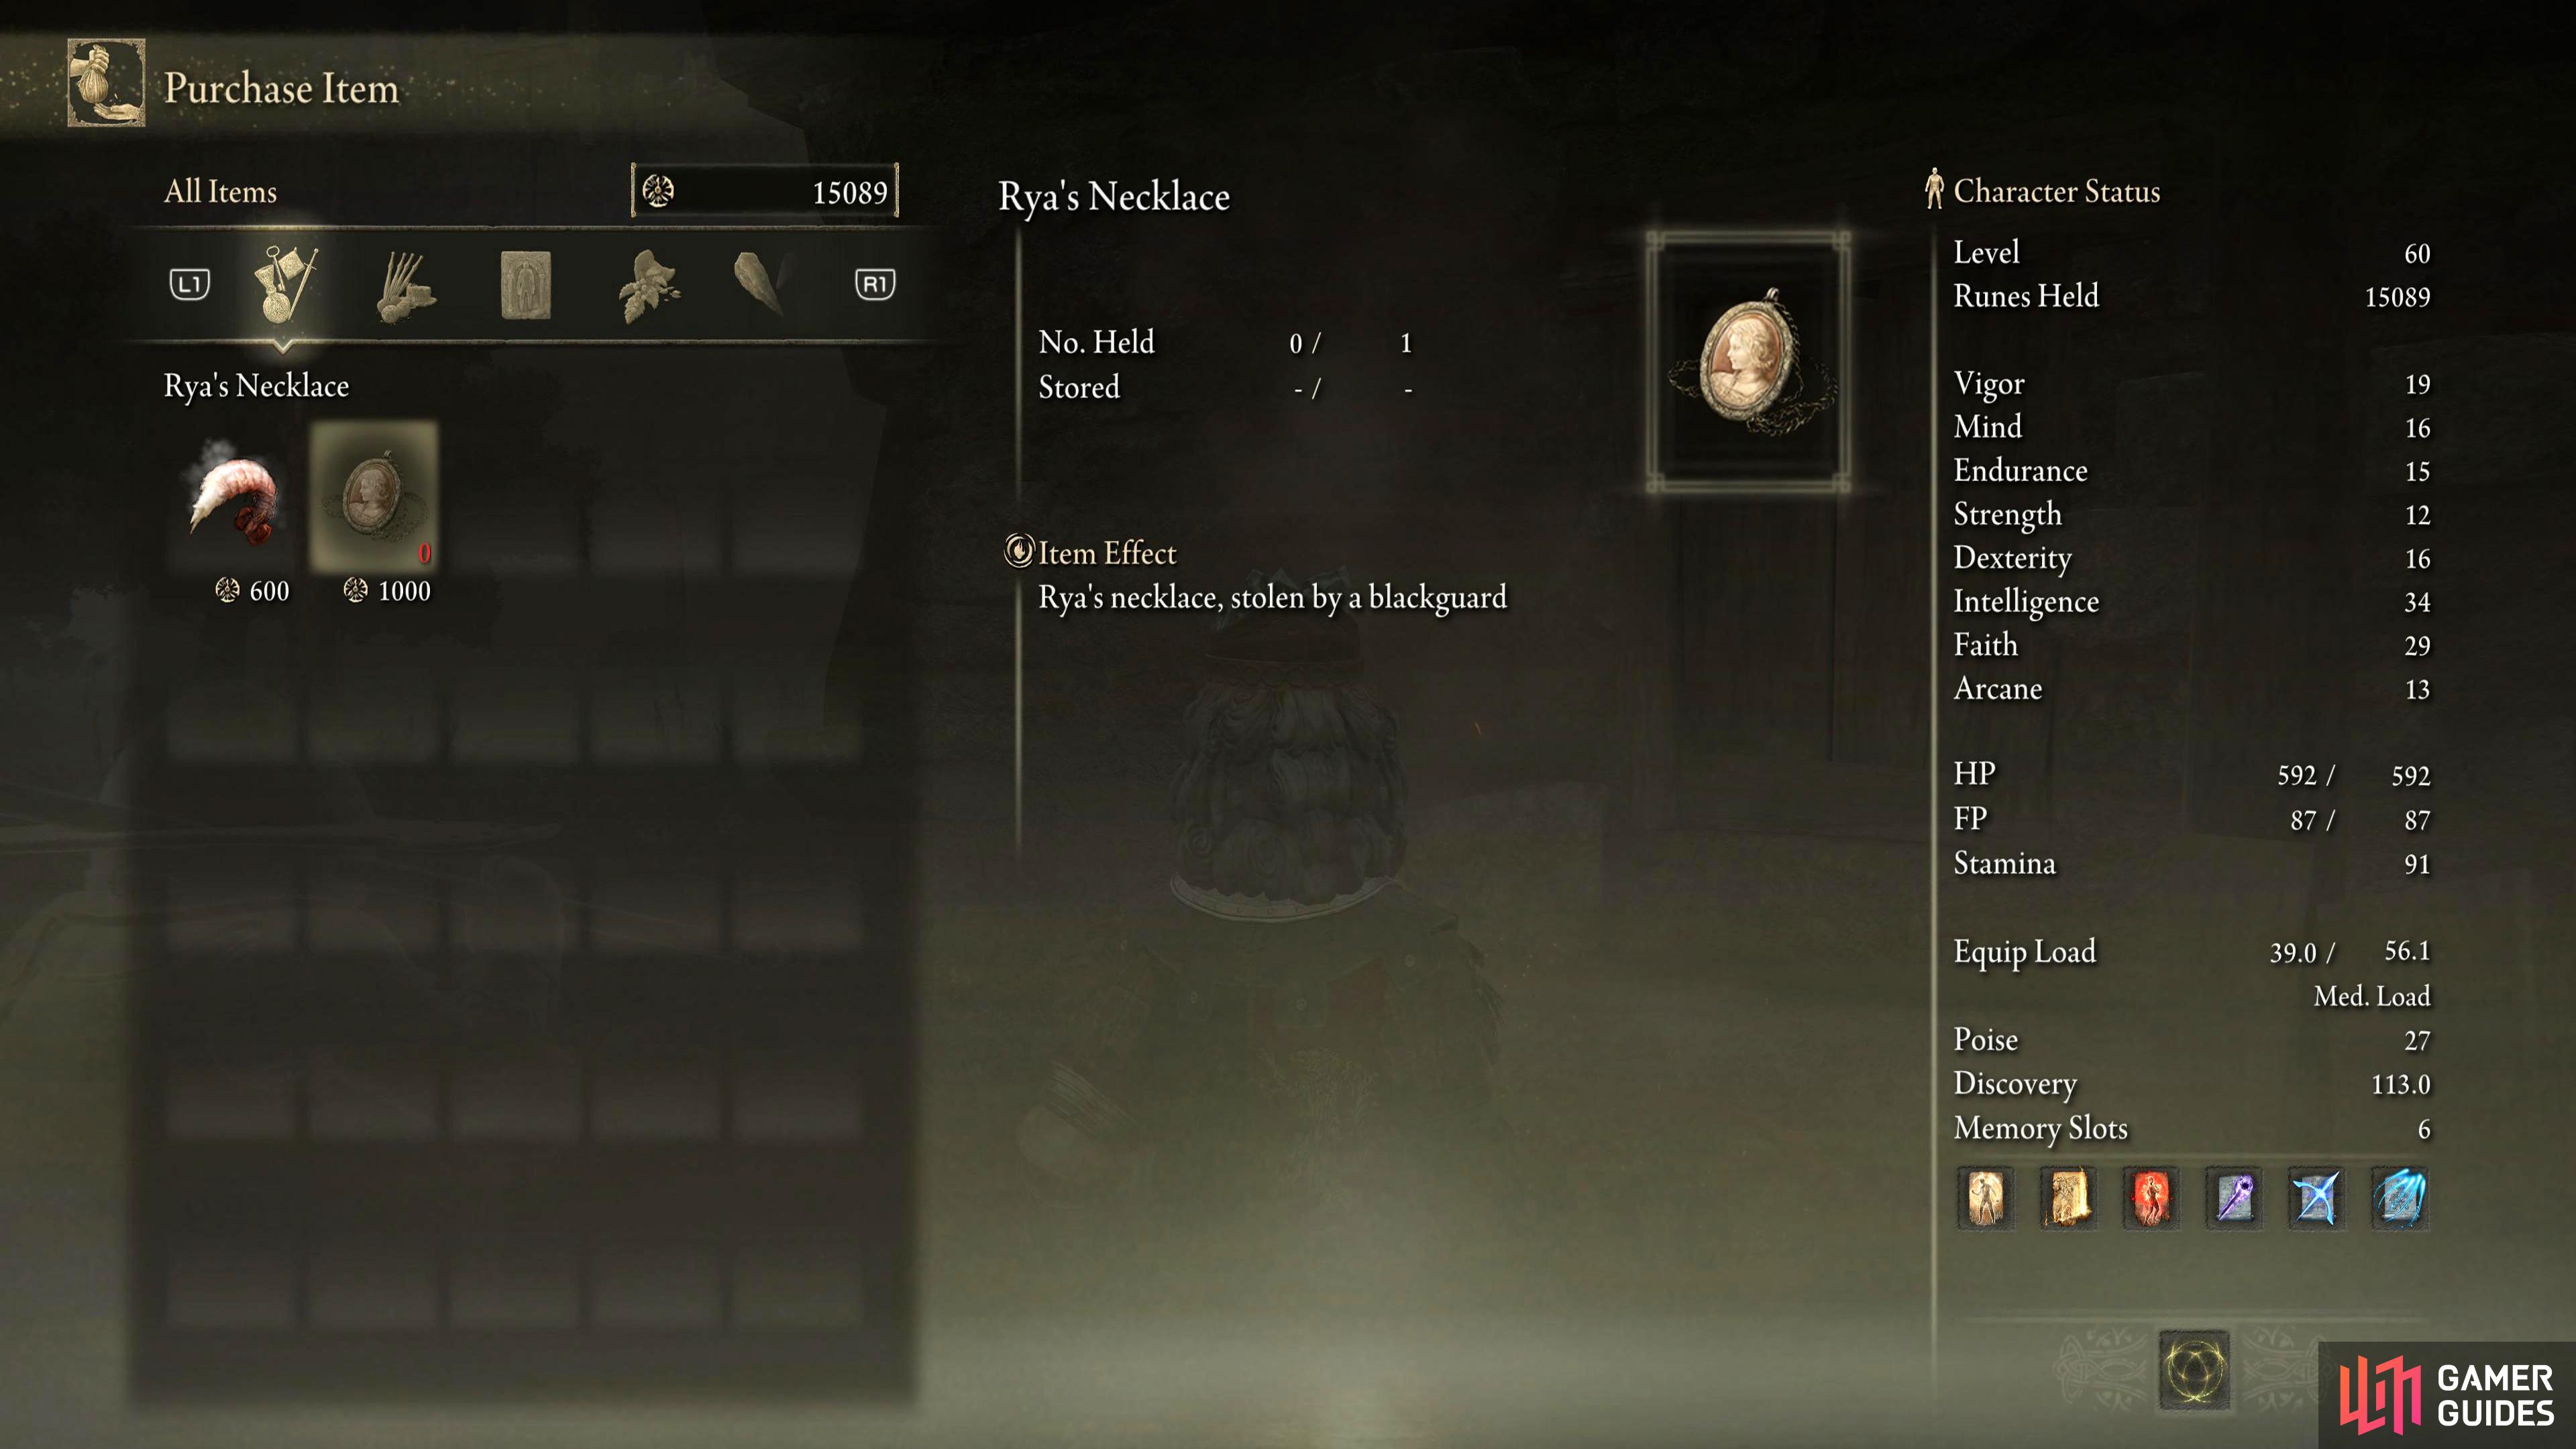
| Boilprawn Shack | Home to the lude NPC Blackguard who has stolen Rya’s necklace. He sells Boiled Prawns when he’s not out thieving. The necklace can be purchased for 1000 Runes, and is part of Rya’s quest line. |  |
| Caria Manor | Sitting in the northeast of Liurna is the vast and gloomy manor, home to Royal Knight Loretta. The Sword of Night and Flame can be obtained here. |  |
| Carian Study Hall | Home to the most irritating NPC in the game, who goes by the name Preceptor Miriam. It is a tall library with a large assortment of literature. By placing the Carian Inverted Statue on the desk near the entrance, you can go into an inverted version of the area. |  |
| Cathedral of Manus Celes | A beautiful Cathedral sitting atop the southwestern plateau of Liurnia. It can only be accessed by progressing Ranni’s quest to completion. |  |
| Chapel of Anticipation | ||
| Church of Inhibition | ||
| Church of Irith | ||
| Church of Vows | ||
| Cliffbottom Catacombs | ||
| Converted Fringe Tower | ||
| Converted Tower | ||
| Cuckoo’s Evergaol | ||
| Deep Ainsel Well | ||
| Divine Tower of Liurnia | ||
| Frenzied Flame Village | ||
| Frenzied Flame Tower | ||
| Grand Lift of Dectus | ||
| Highway Lookout Tower | ||
| Kingsrealm Ruins | ||
| Lakeside Crystal Cave | ||
| Laskyar Ruins | ||
| Lunar Estate Ruins | ||
| Malefactor’s Evergaol | ||
| Minor Erdtree (Liurnia Southwest) | ||
| Moonfolk Ruins | ||
| Purified Ruins | ||
| Ranni’s Rise | ||
| Raya Lucaria Academy | ||
| Raya Lucaria Crystal Cave | ||
| Raya Lucaria Crystal Tunnel | ||
| Renna’s Rise | ||
| Revenger’s Shack | ||
| Ringleader’s Evergaol | ||
| Road’s End Catacombs | ||
| Royal Grave Evergaol | ||
| Rose Church | ||
| Ruin-Strewn Precipice | ||
| Seluvis’s Rise | ||
| Stillwater Cave | ||
| Temple Quarter | ||
| Testu’s Rise | ||
| Uhl Palace Ruins | ||
| Village of the Albinaurics | ||
| Cuckoo’s Evergaol | ||
| The Four Belfries | ||
| Slumbering Wolf’s Shack | ||
| Jarburg | ||
| Purified Ruins Waygate | ||
Academy Crystal Cave
Academy Crystal Cave is just below Raya Lucaria Academy.
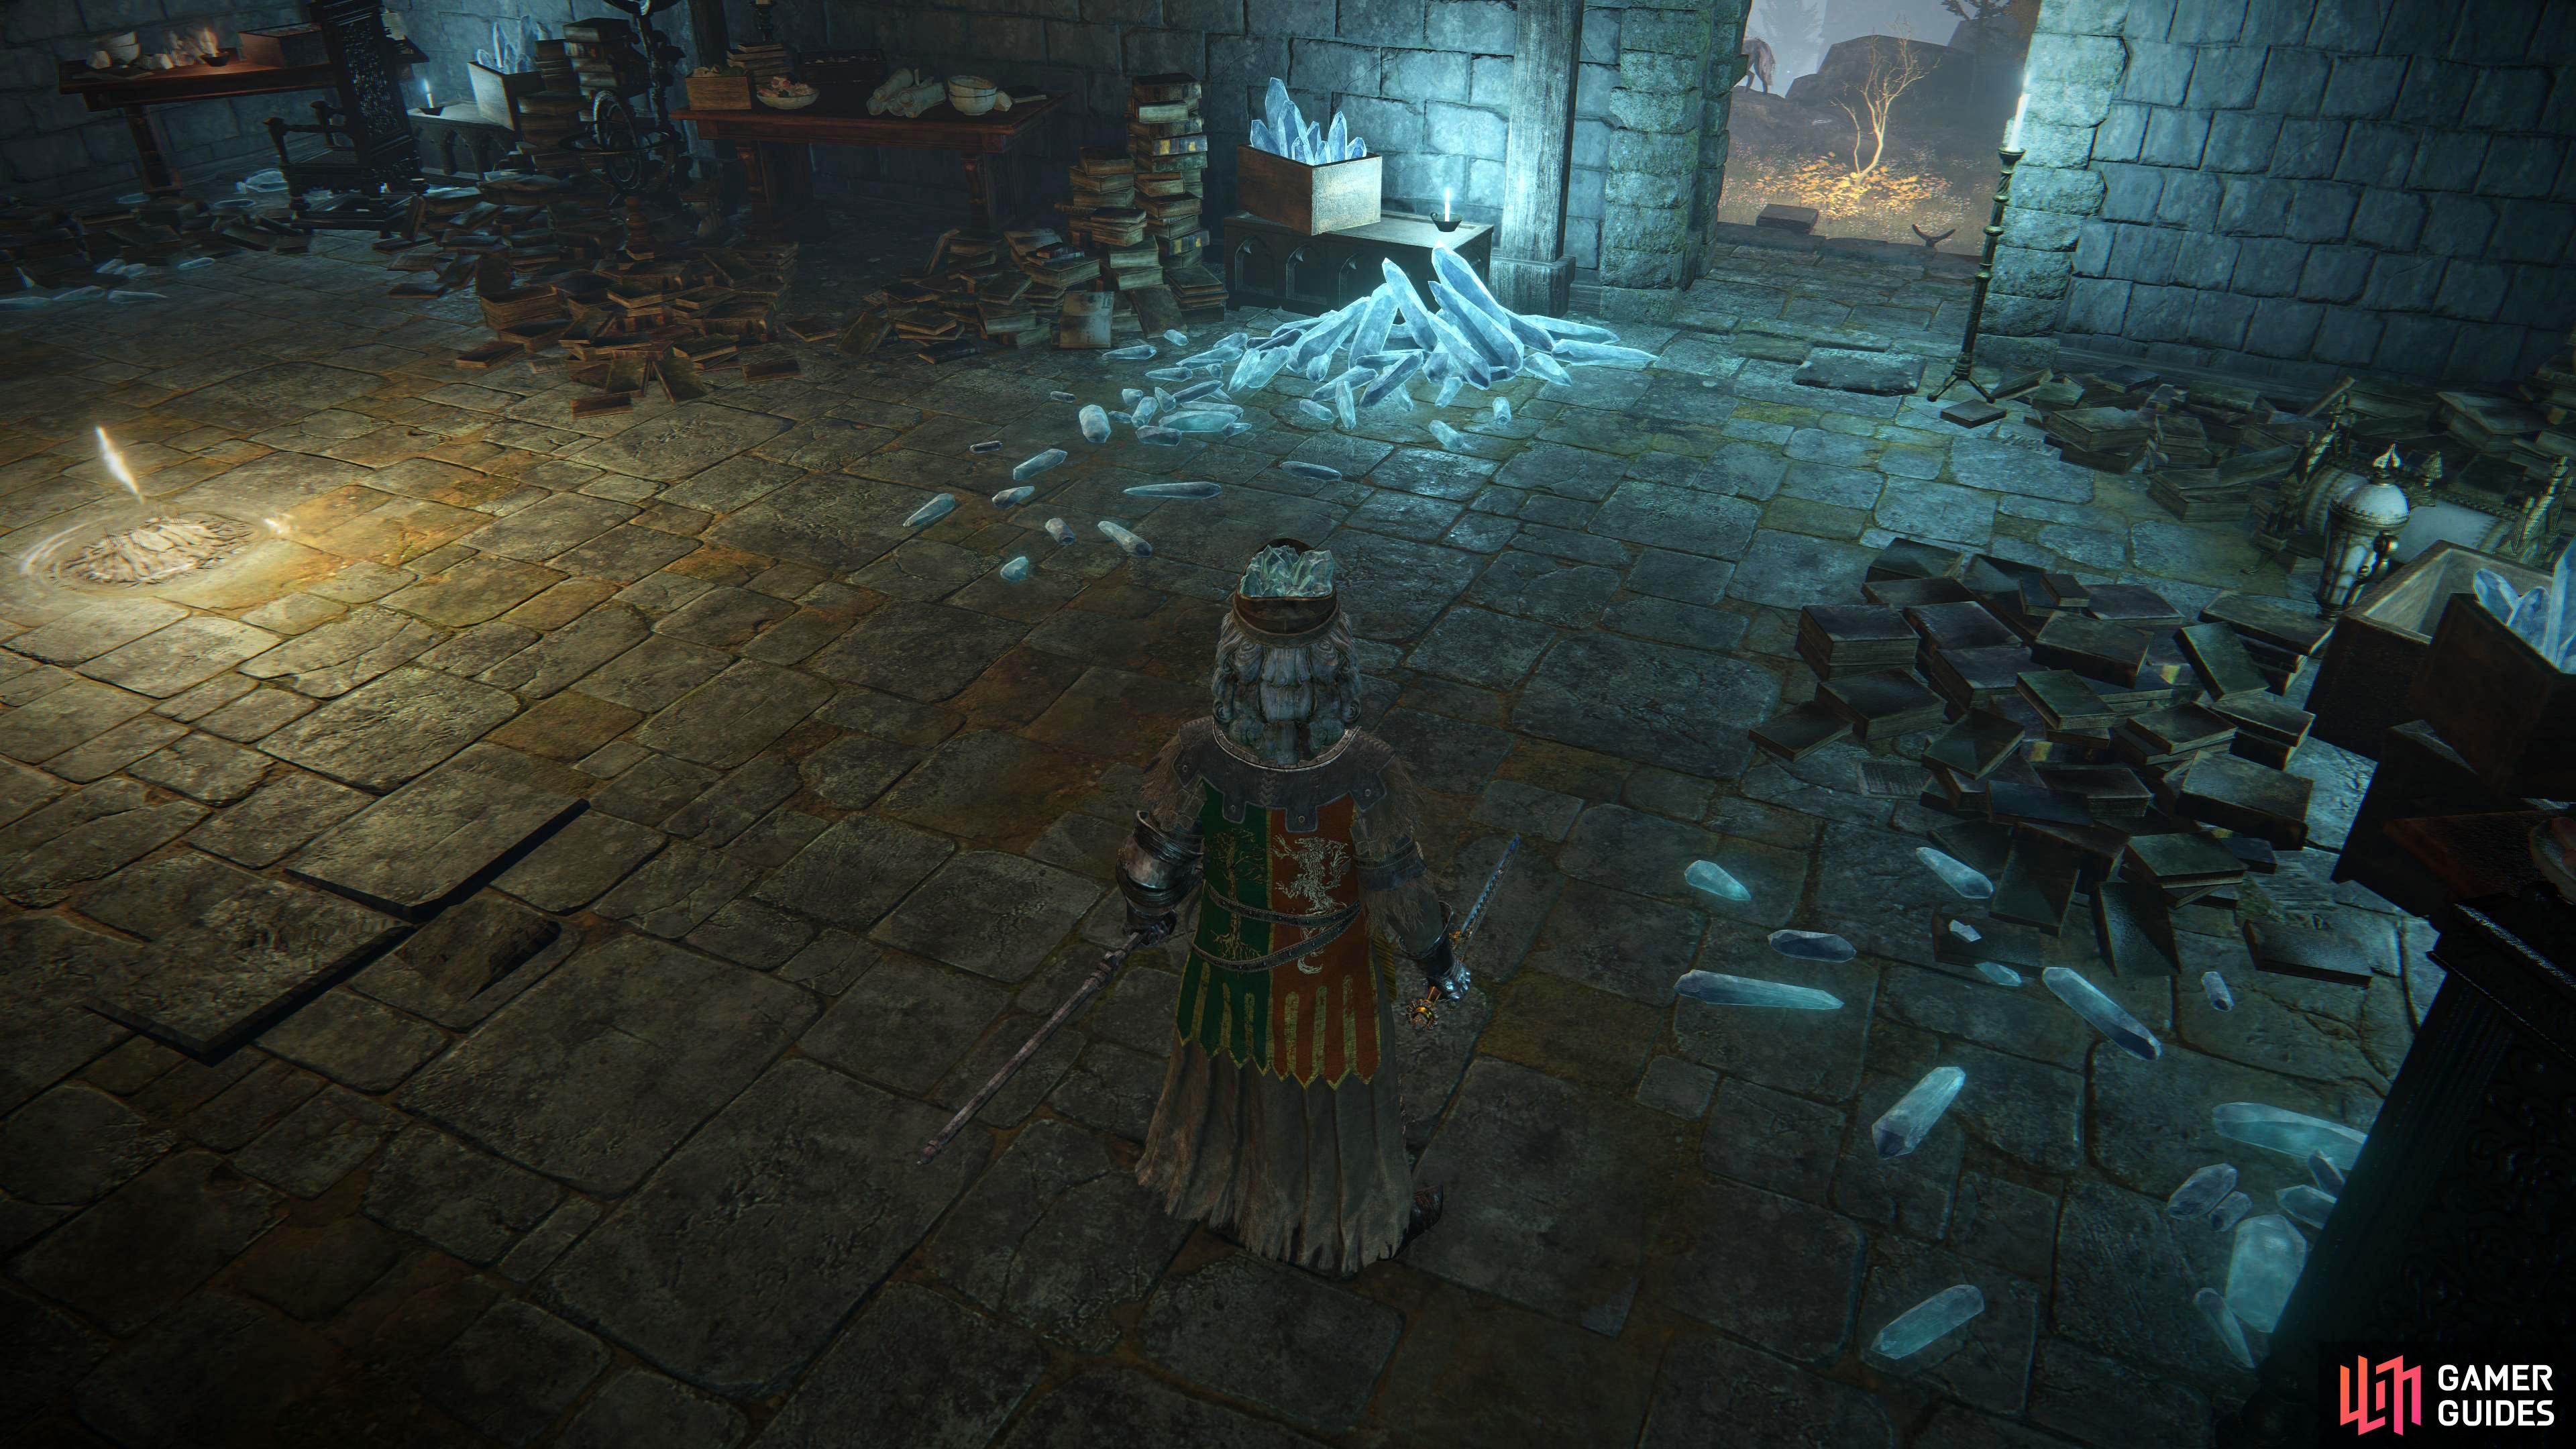
The Academy Crystal Cave can only be accessed by using two Stonesword Keys. It is the dungeon that hosts the Crystalians boss fight, which is situated on the lower western part of Raya Lucaria Academy. This drab dungeon hosts many Glintstone Sorcerers that traverse its dreary, narrow paths. You can find an abundance of items and equipment in the dungeon including but not limited to are a Stonesword Key, Crystal Release Sorcery, Rune Arc, Terra Magicus Sorcery, and a Crystal Staff.
For the magic, the Crystal Release Sorcery can be obtained by defeating the boss here, whist the Terra Magicus Sorcery can be found from a chest at the top of the academy tower which can be accessed by taking the elevator behind the boss.
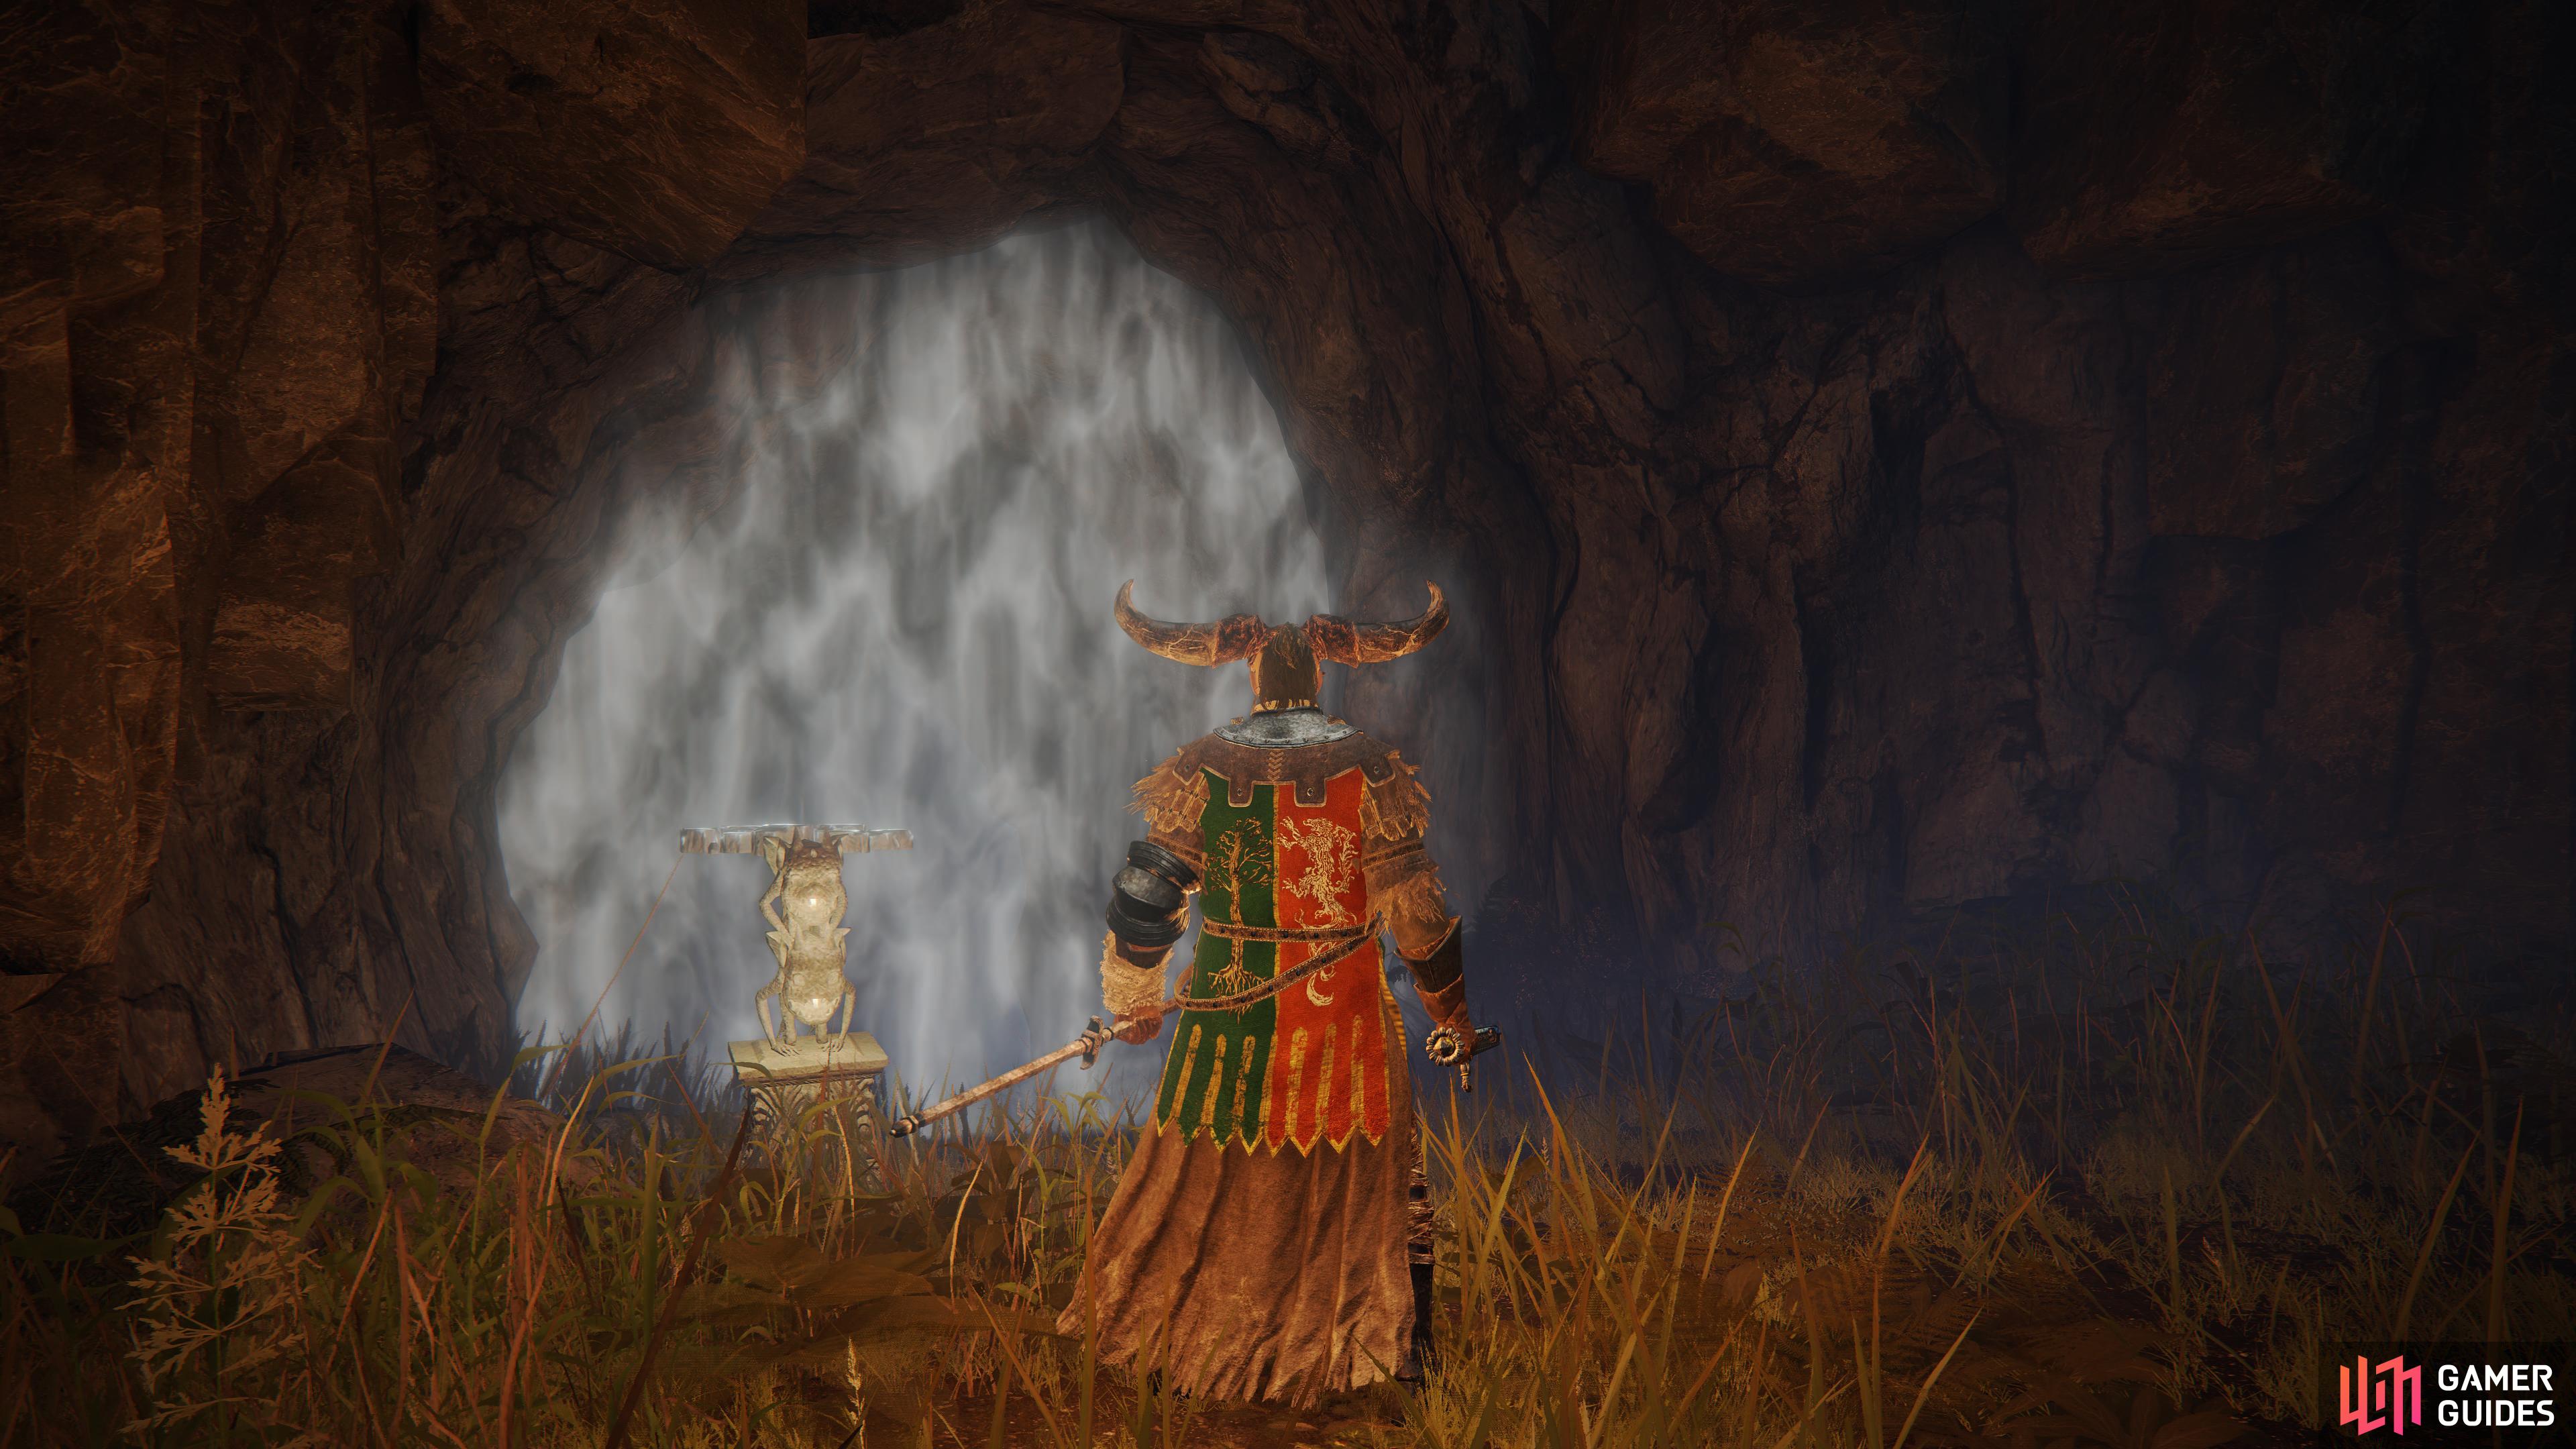
(1 of 2) You’ll need to use a Stonesword Key on the imp statue to access Academy Crystal Cave.
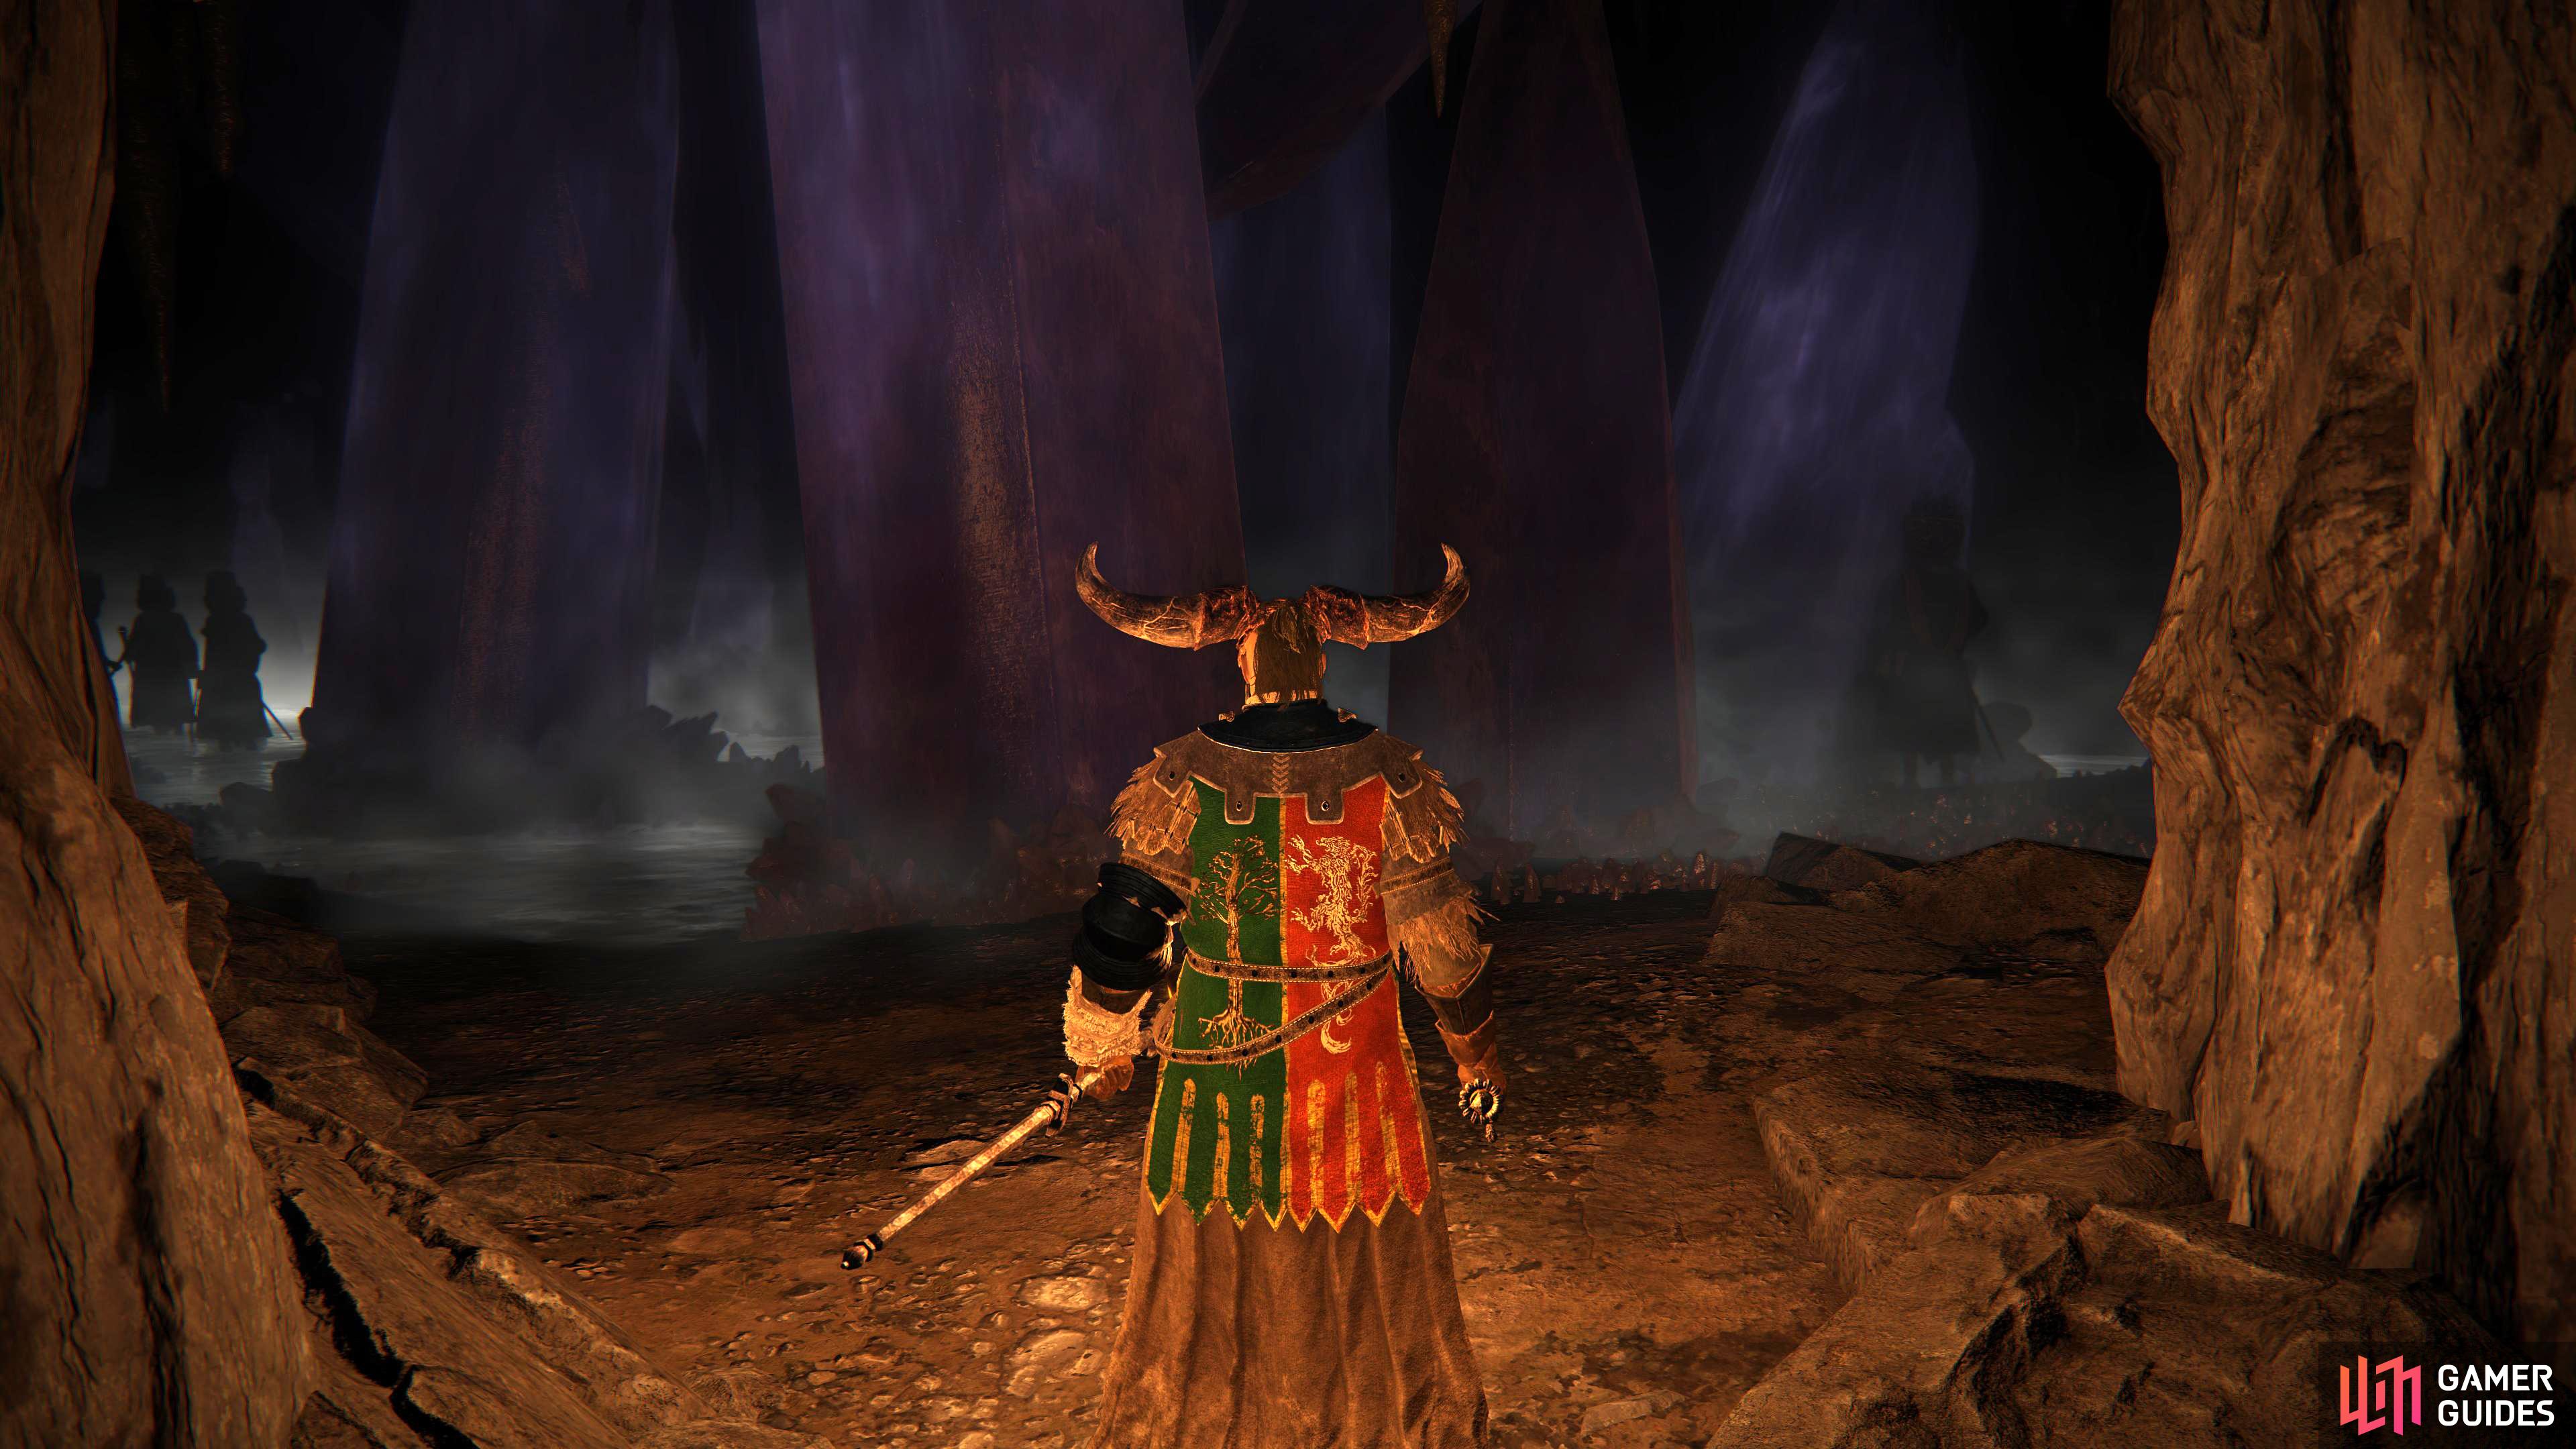
You’ll need to use a Stonesword Key on the imp statue to access Academy Crystal Cave. (left), The Cave is filled with wondrous crystalline structure and host many Glintstone Sorcerers who’ll try to protect every inch of it. (right)
The Crystal Staff can be obtained by opening a chest which is concealed behind a fog wall guarded by a Glintstone Sorcerer just before the boss. To gain access to the area, you’ll need to attack an illusory rock wall on the left side of the tunnel near the stone archway.
Academy Gate Town
Academy Gate Town is a spacious area that you’ll pass through to get to the Academy proper. That doesn’t mean there isn’t any loot here, though!
What once used to be a thriving town just south of the Raya Lucaria Academy is now nothing more than a cluster of half submerged buildings. You can find an abundance of items, equipment and spells in this area, although there are no bosses other than a couple of elite enemies. This isn’t a dungeon, and more of an area you pass through to reach the Academy proper.
Of all the items in the town, the most notable is the Map: Liurnia, North, which is just northeast of the Academy Gate Town site of grace. An NPC who goes by the name Diallos who can be found at the northern outskirts, although he will only be here if you exhausted his dialogue at Roundtable Hold.
You can see the Raya Lucaria Academy in the distance from the Academy Gate Town.
A Glintstone Craftsman’s Cookbook [4] in a chest at the top of the tower in the center of the town. A Golden Seed in the shallow water, under a golden tree to the west of the Glintstone Craftsman’s Cookbook. The Ash of War: Charge Forth can be dropped by a Teardrop Scarab who is hanging underneath the dilapidated bridge in the southwestern outskirts.
The Palm Reader NPC can be found at the end of the bridge that the Teardrop Scarab was under. And finally, a Blue-White Wooden Shield found on a corpse leaning against the side of a building southwest of the South Raya Lucaria Gate. There are a few Somber Smithing Stones and other items also scattered around the area, so make sure to explore!
Ainsel River Well
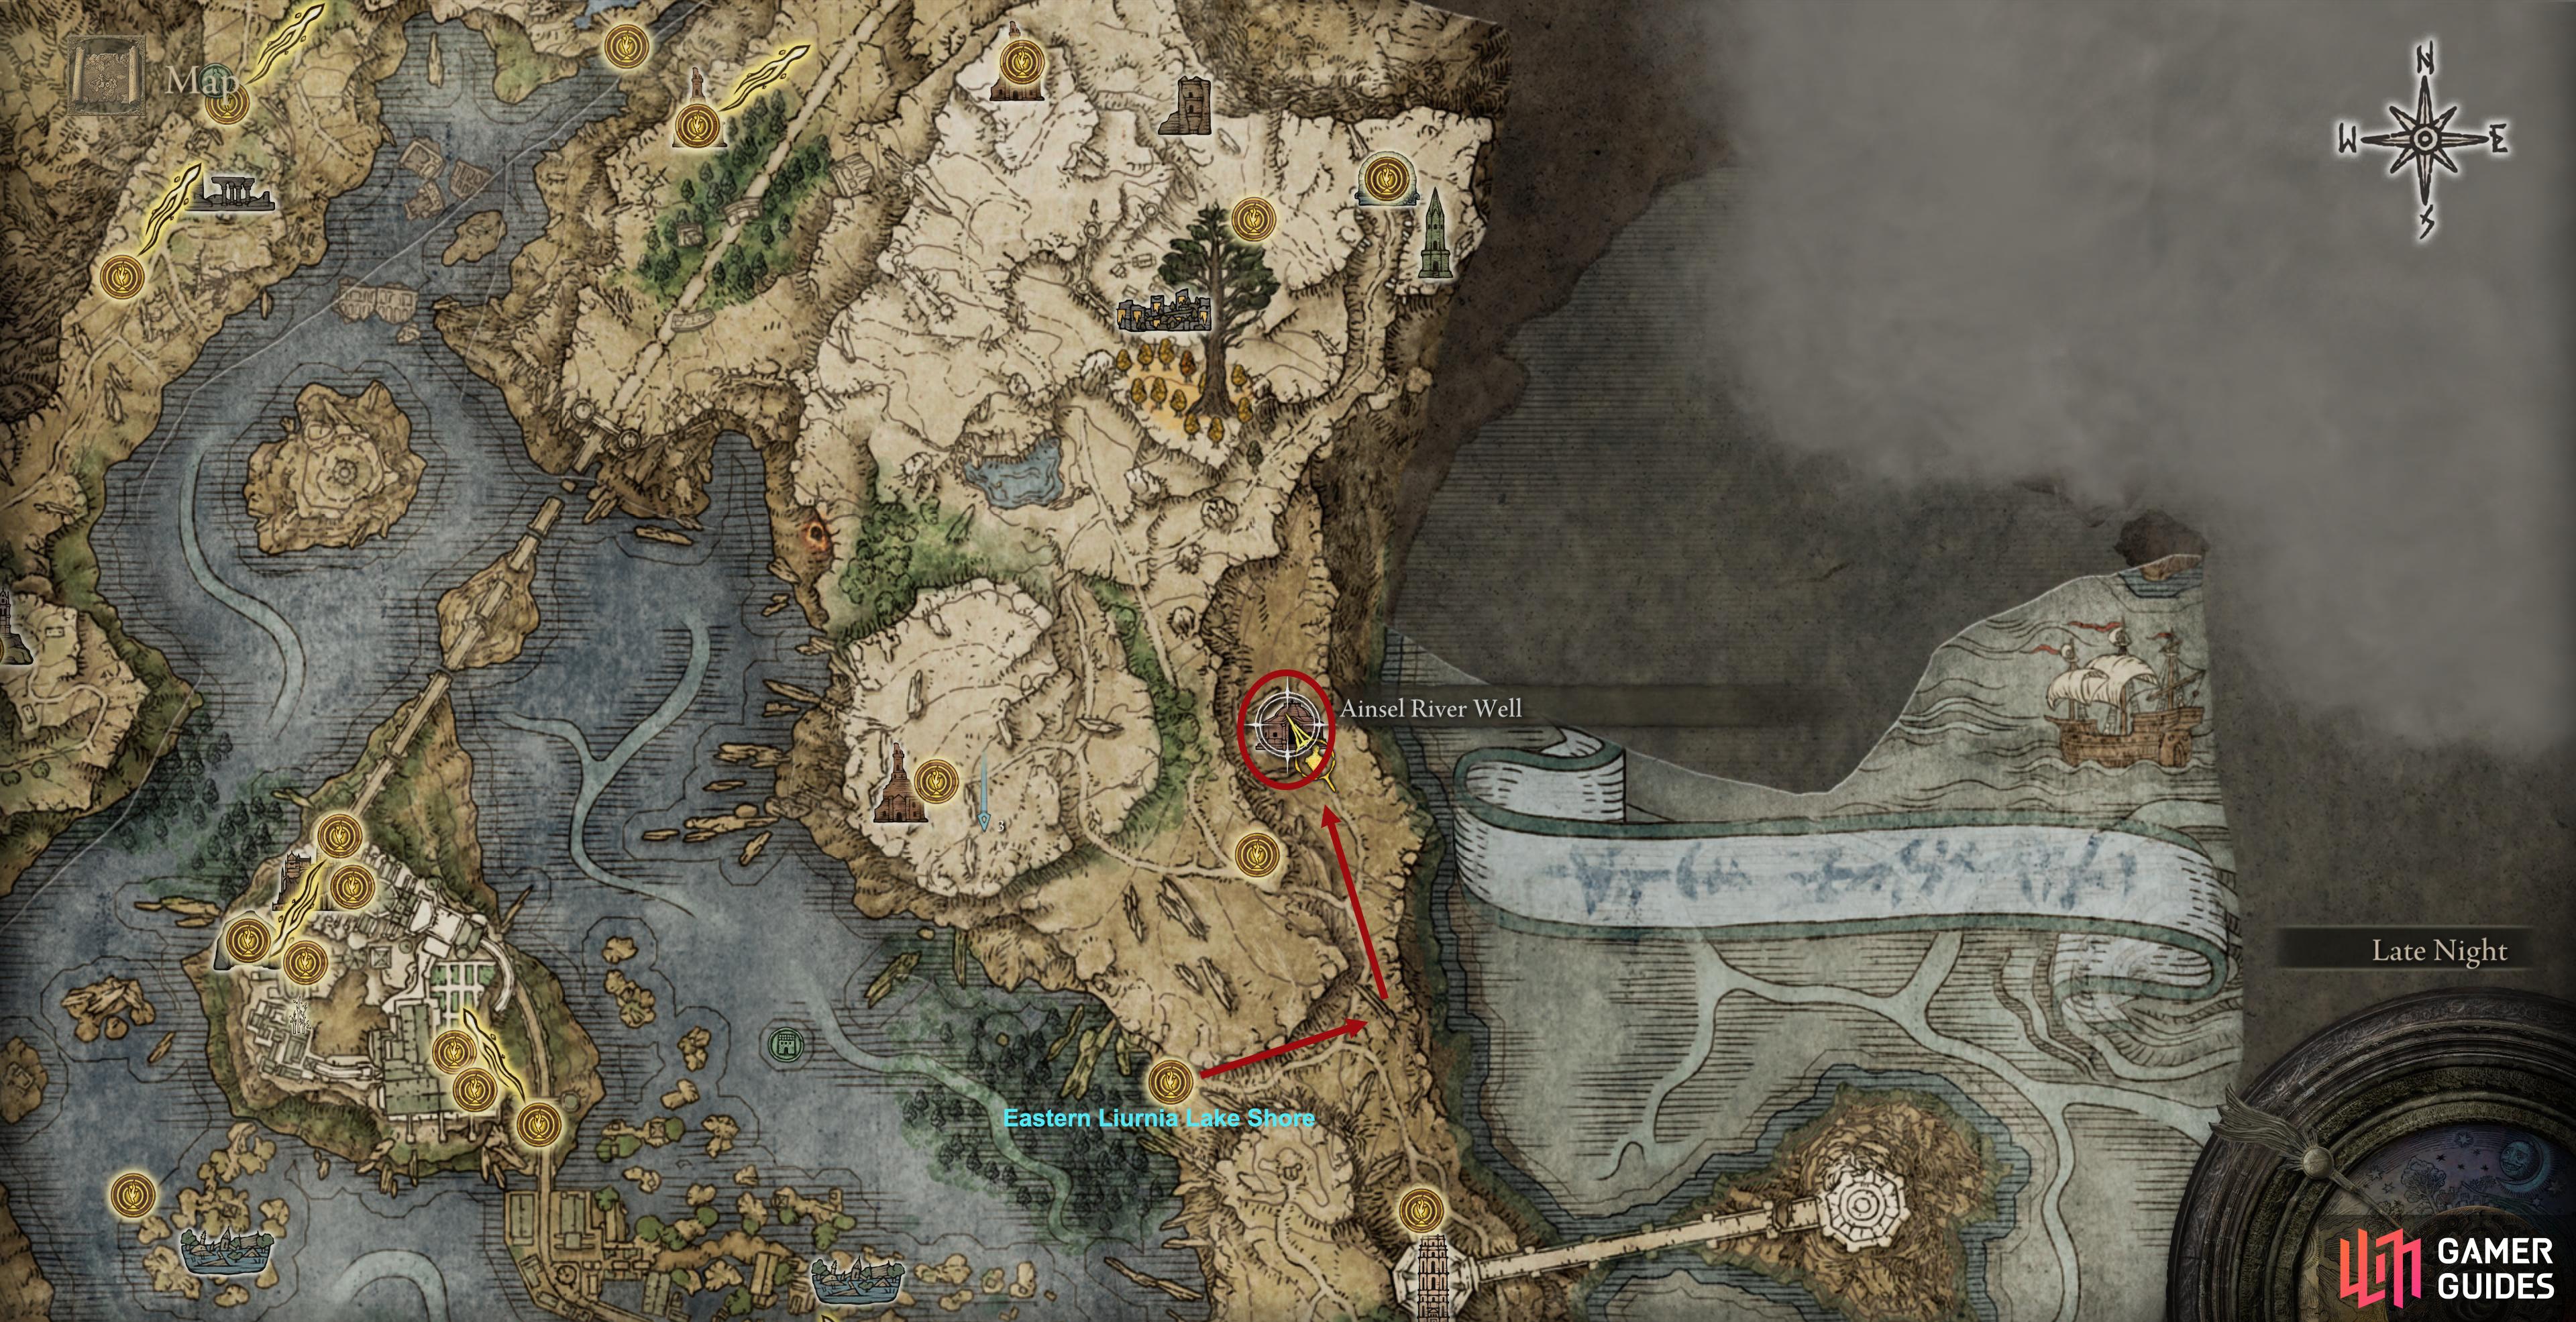
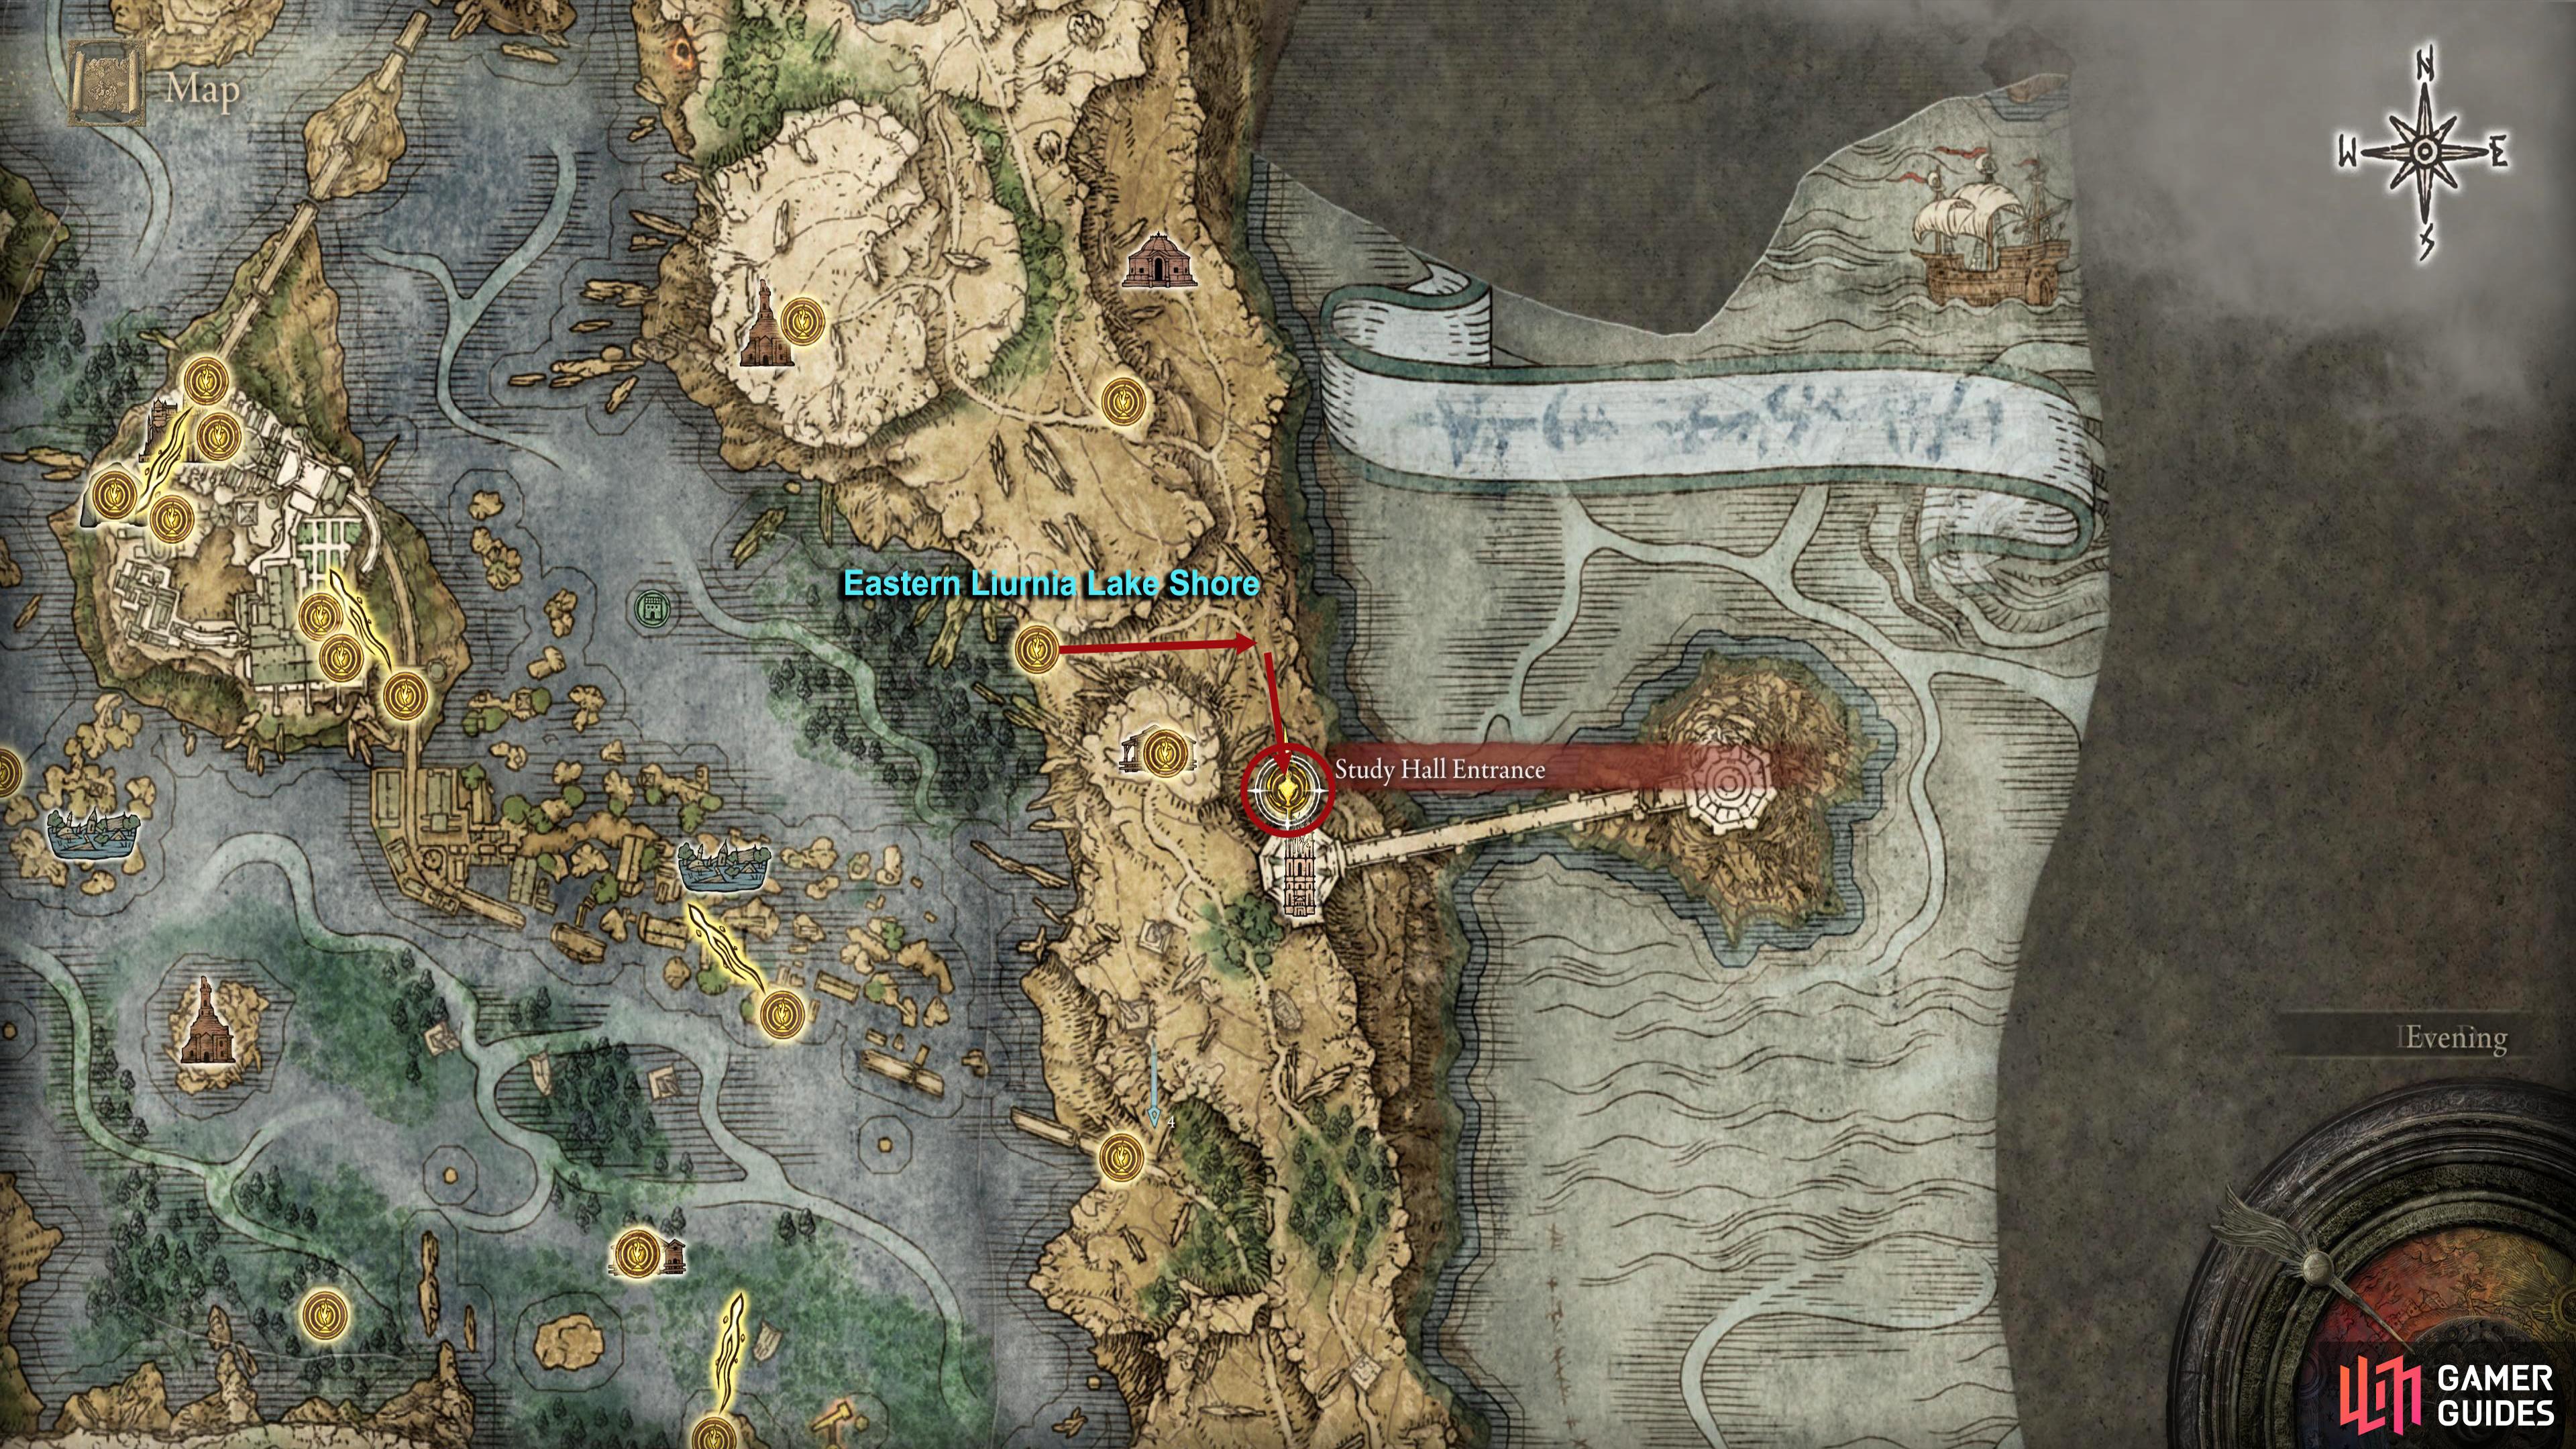
Follow the path east, then north at the crossroads from the Eastern Liurnia Lake Shore site of grace.
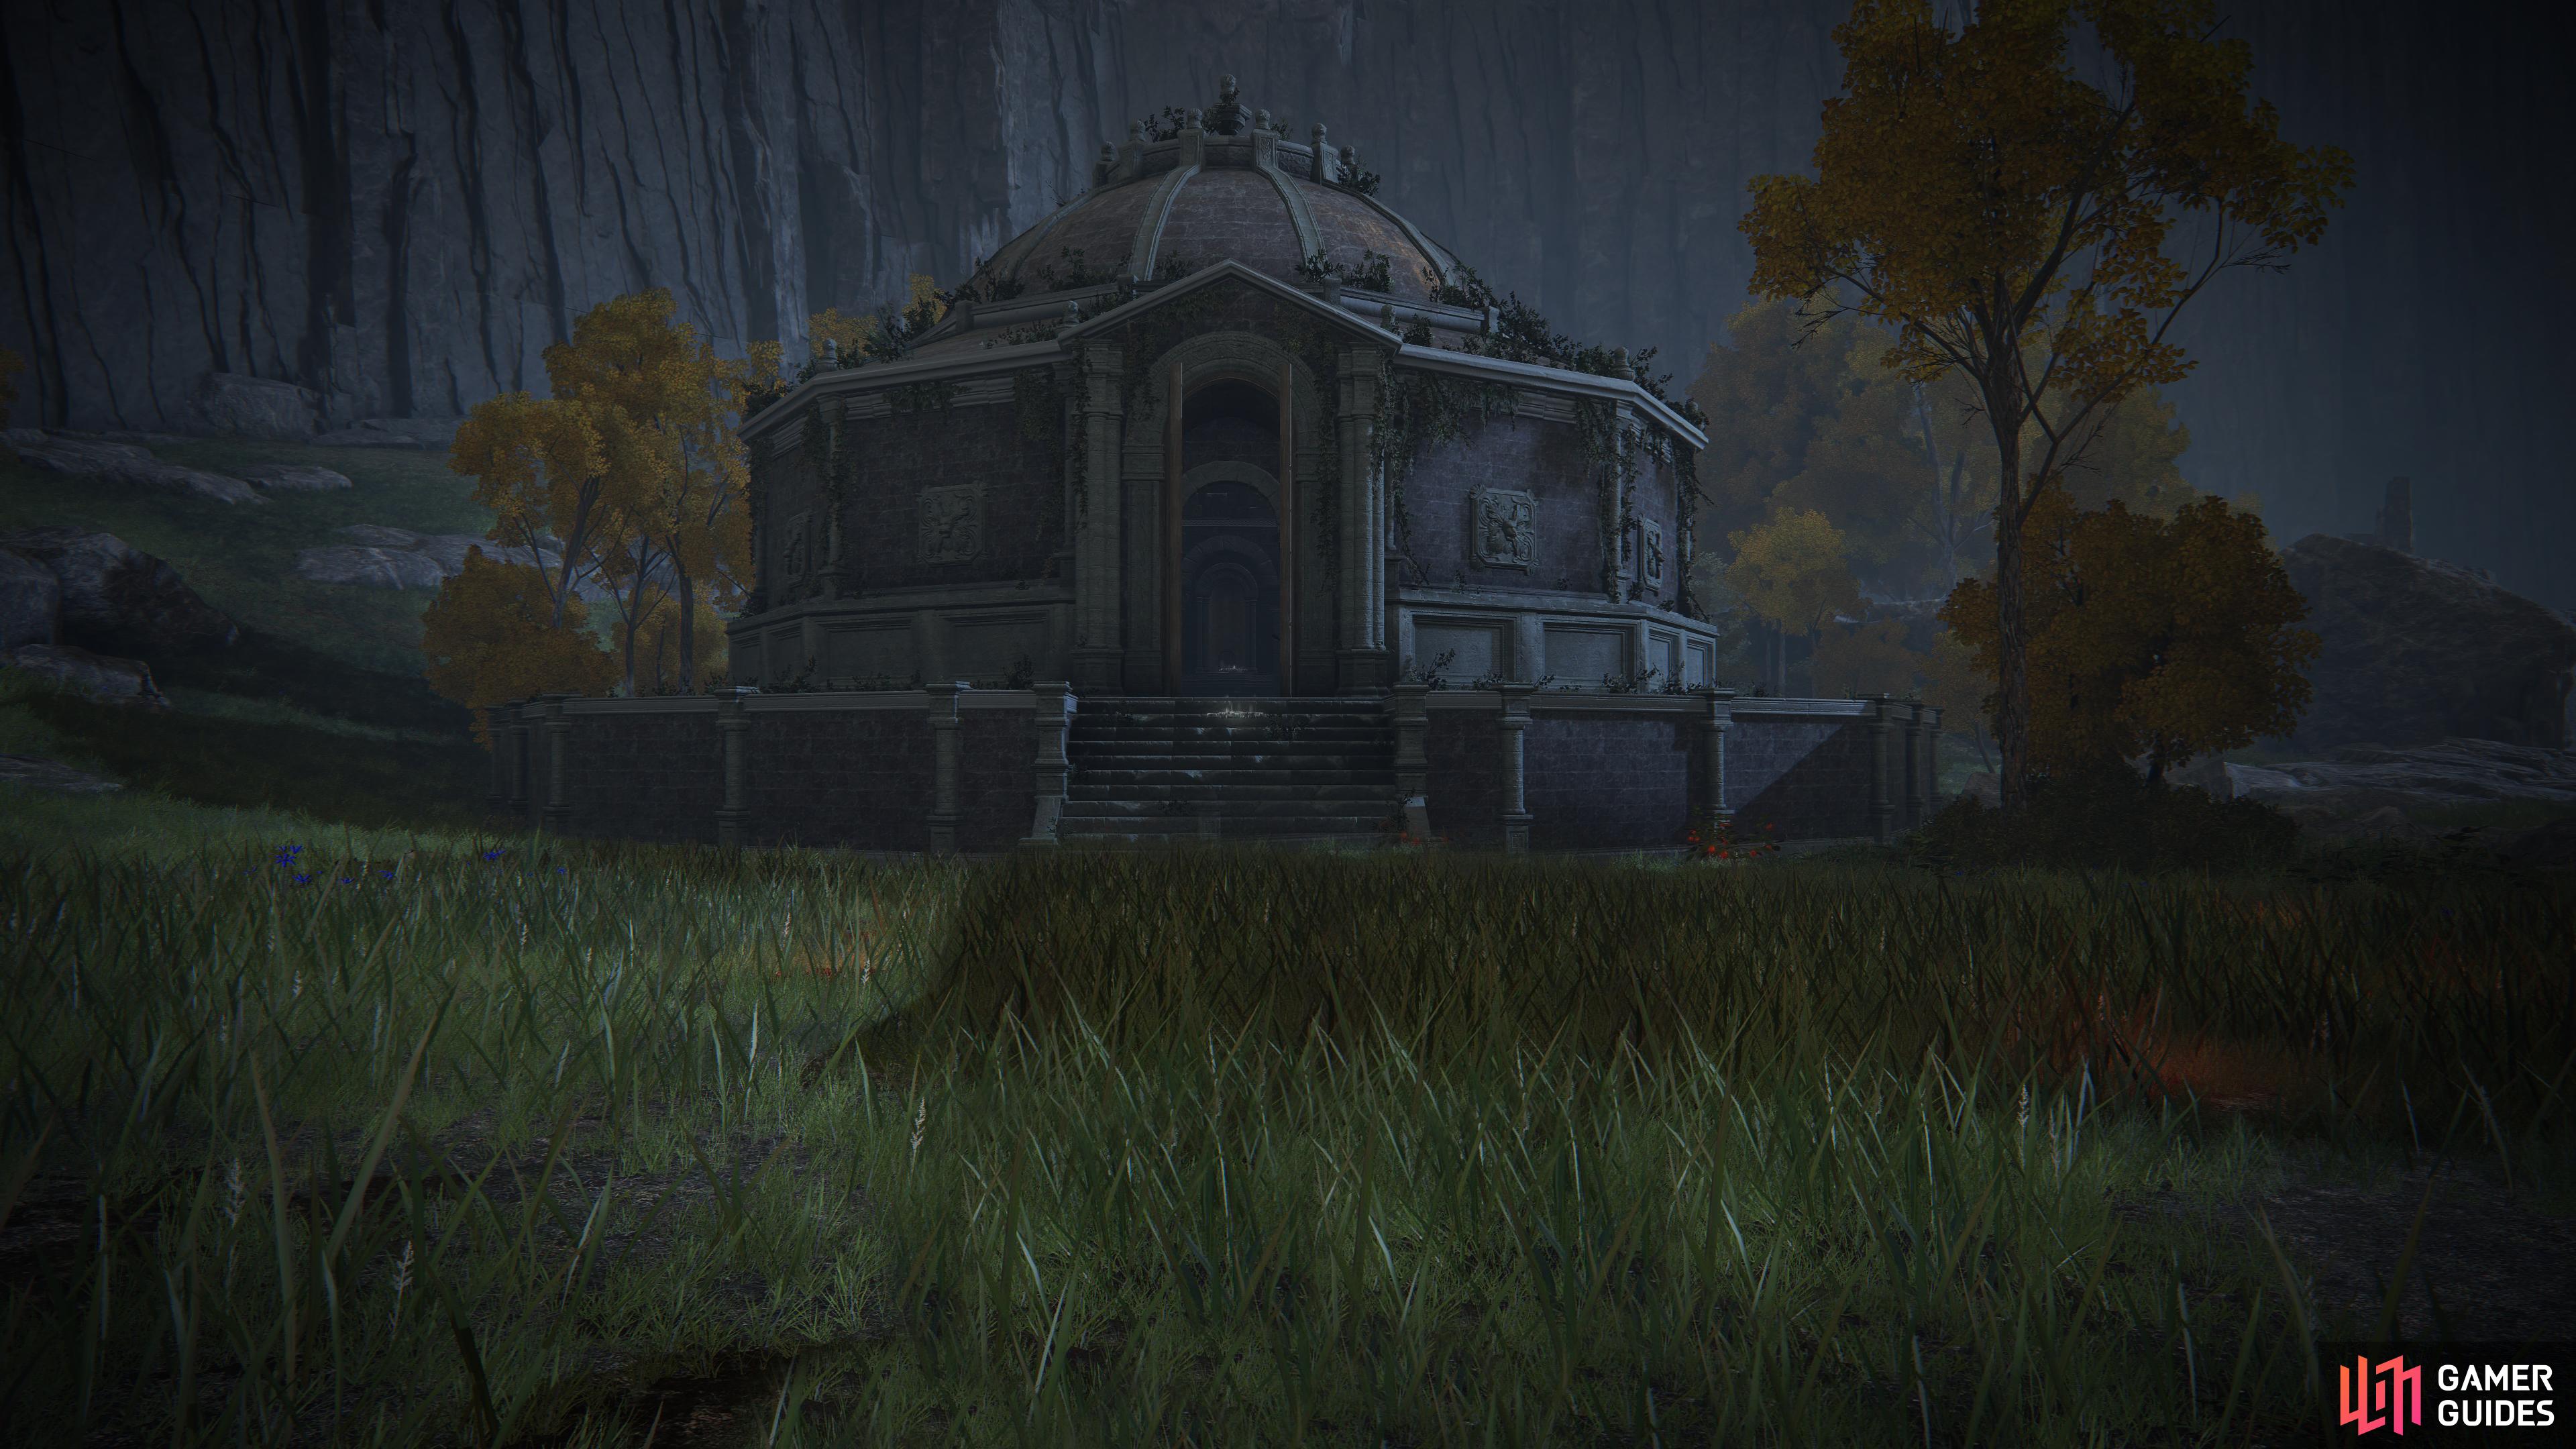
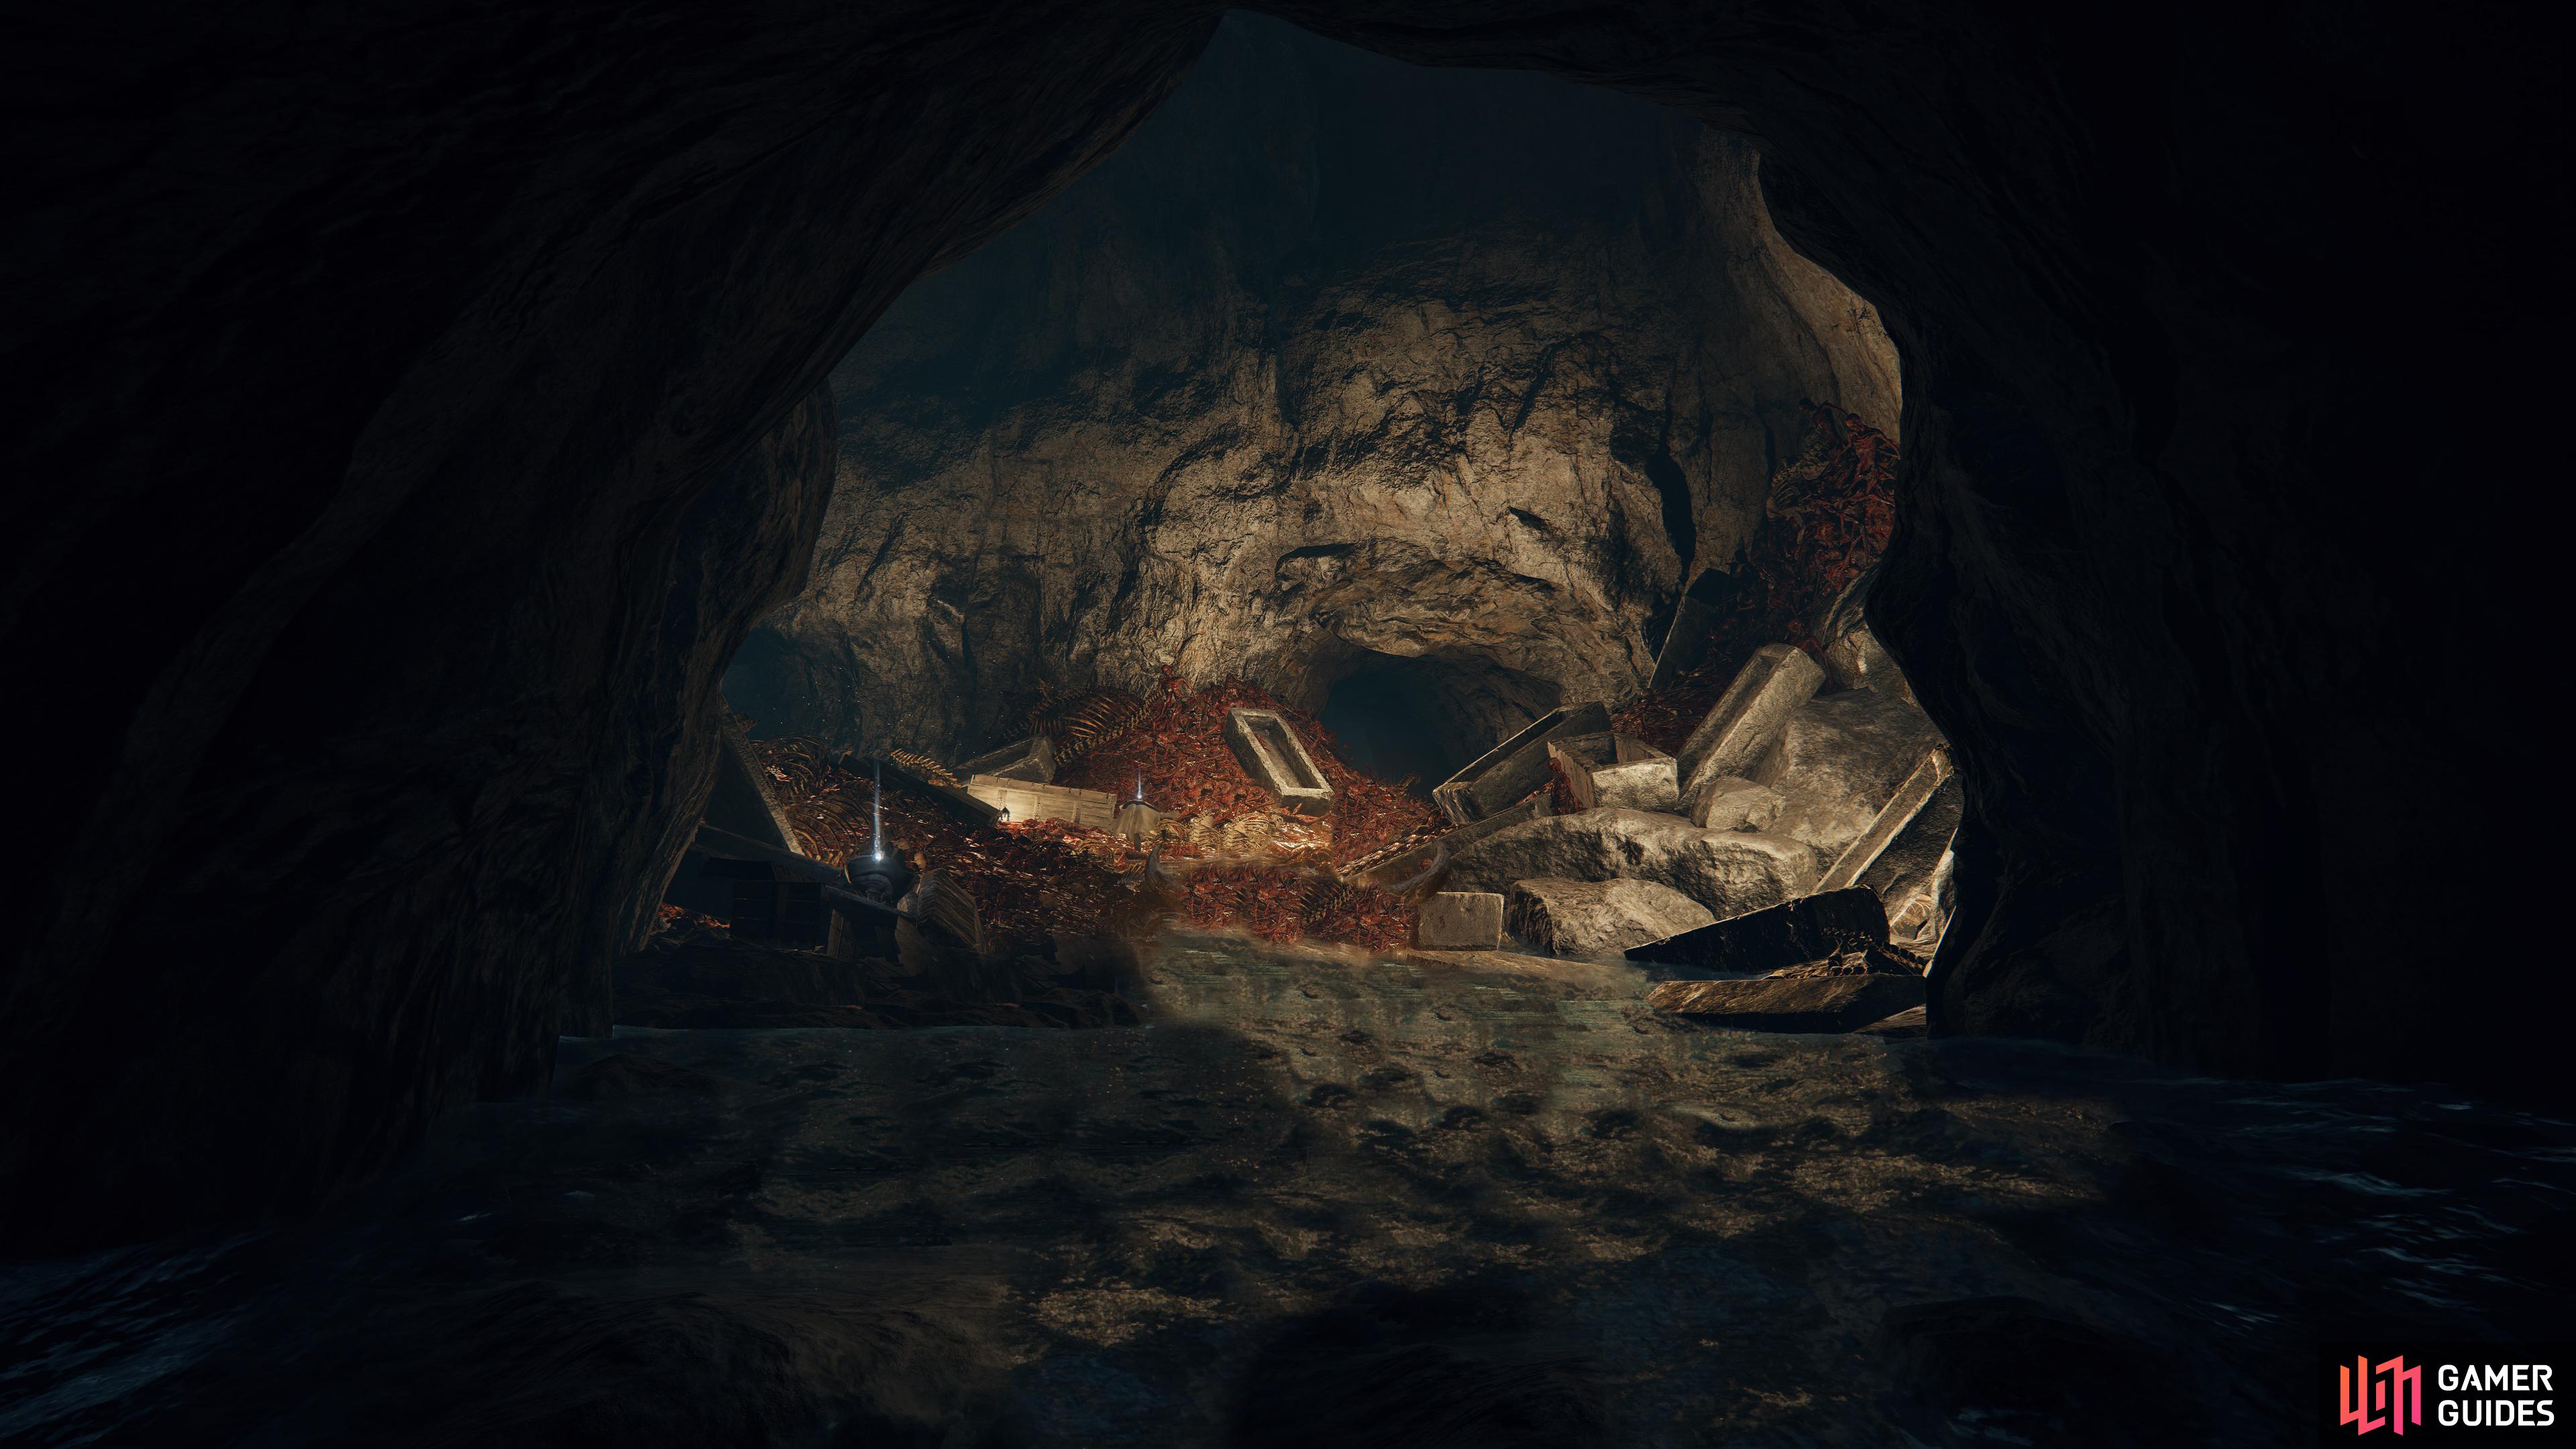
On the eastern landmass of Liurnia of the Lakes, sits the Ainsel River Well. Accessible by following the dusty road east from the Eastern Liurnia Lake Shore site of grace which is in the water, east of Raya Lucaria Academy. The entrance will be guarded by a giant Carian Knight, but you can just sprint past him into the well. Take the elevator down to enter Ainsel River proper. This place is filled with trepidation the second you enter this grim area as the first thing you’ll see is giant ants hanging on the wall above the tunnel, and that’s just the start! Although the well is in Liurnia, the actual river is its own location.
(1 of 2) The entrance will have a giant guarding it, defeat or run past to access the well.
The entrance will have a giant guarding it, defeat or run past to access the well. (left), This is one of the nicer parts of Ainsel River Well! (right)
Artist’s Shack
Take the north road from the Liurnia Highway North site of grace to find the Artist’s Shack.
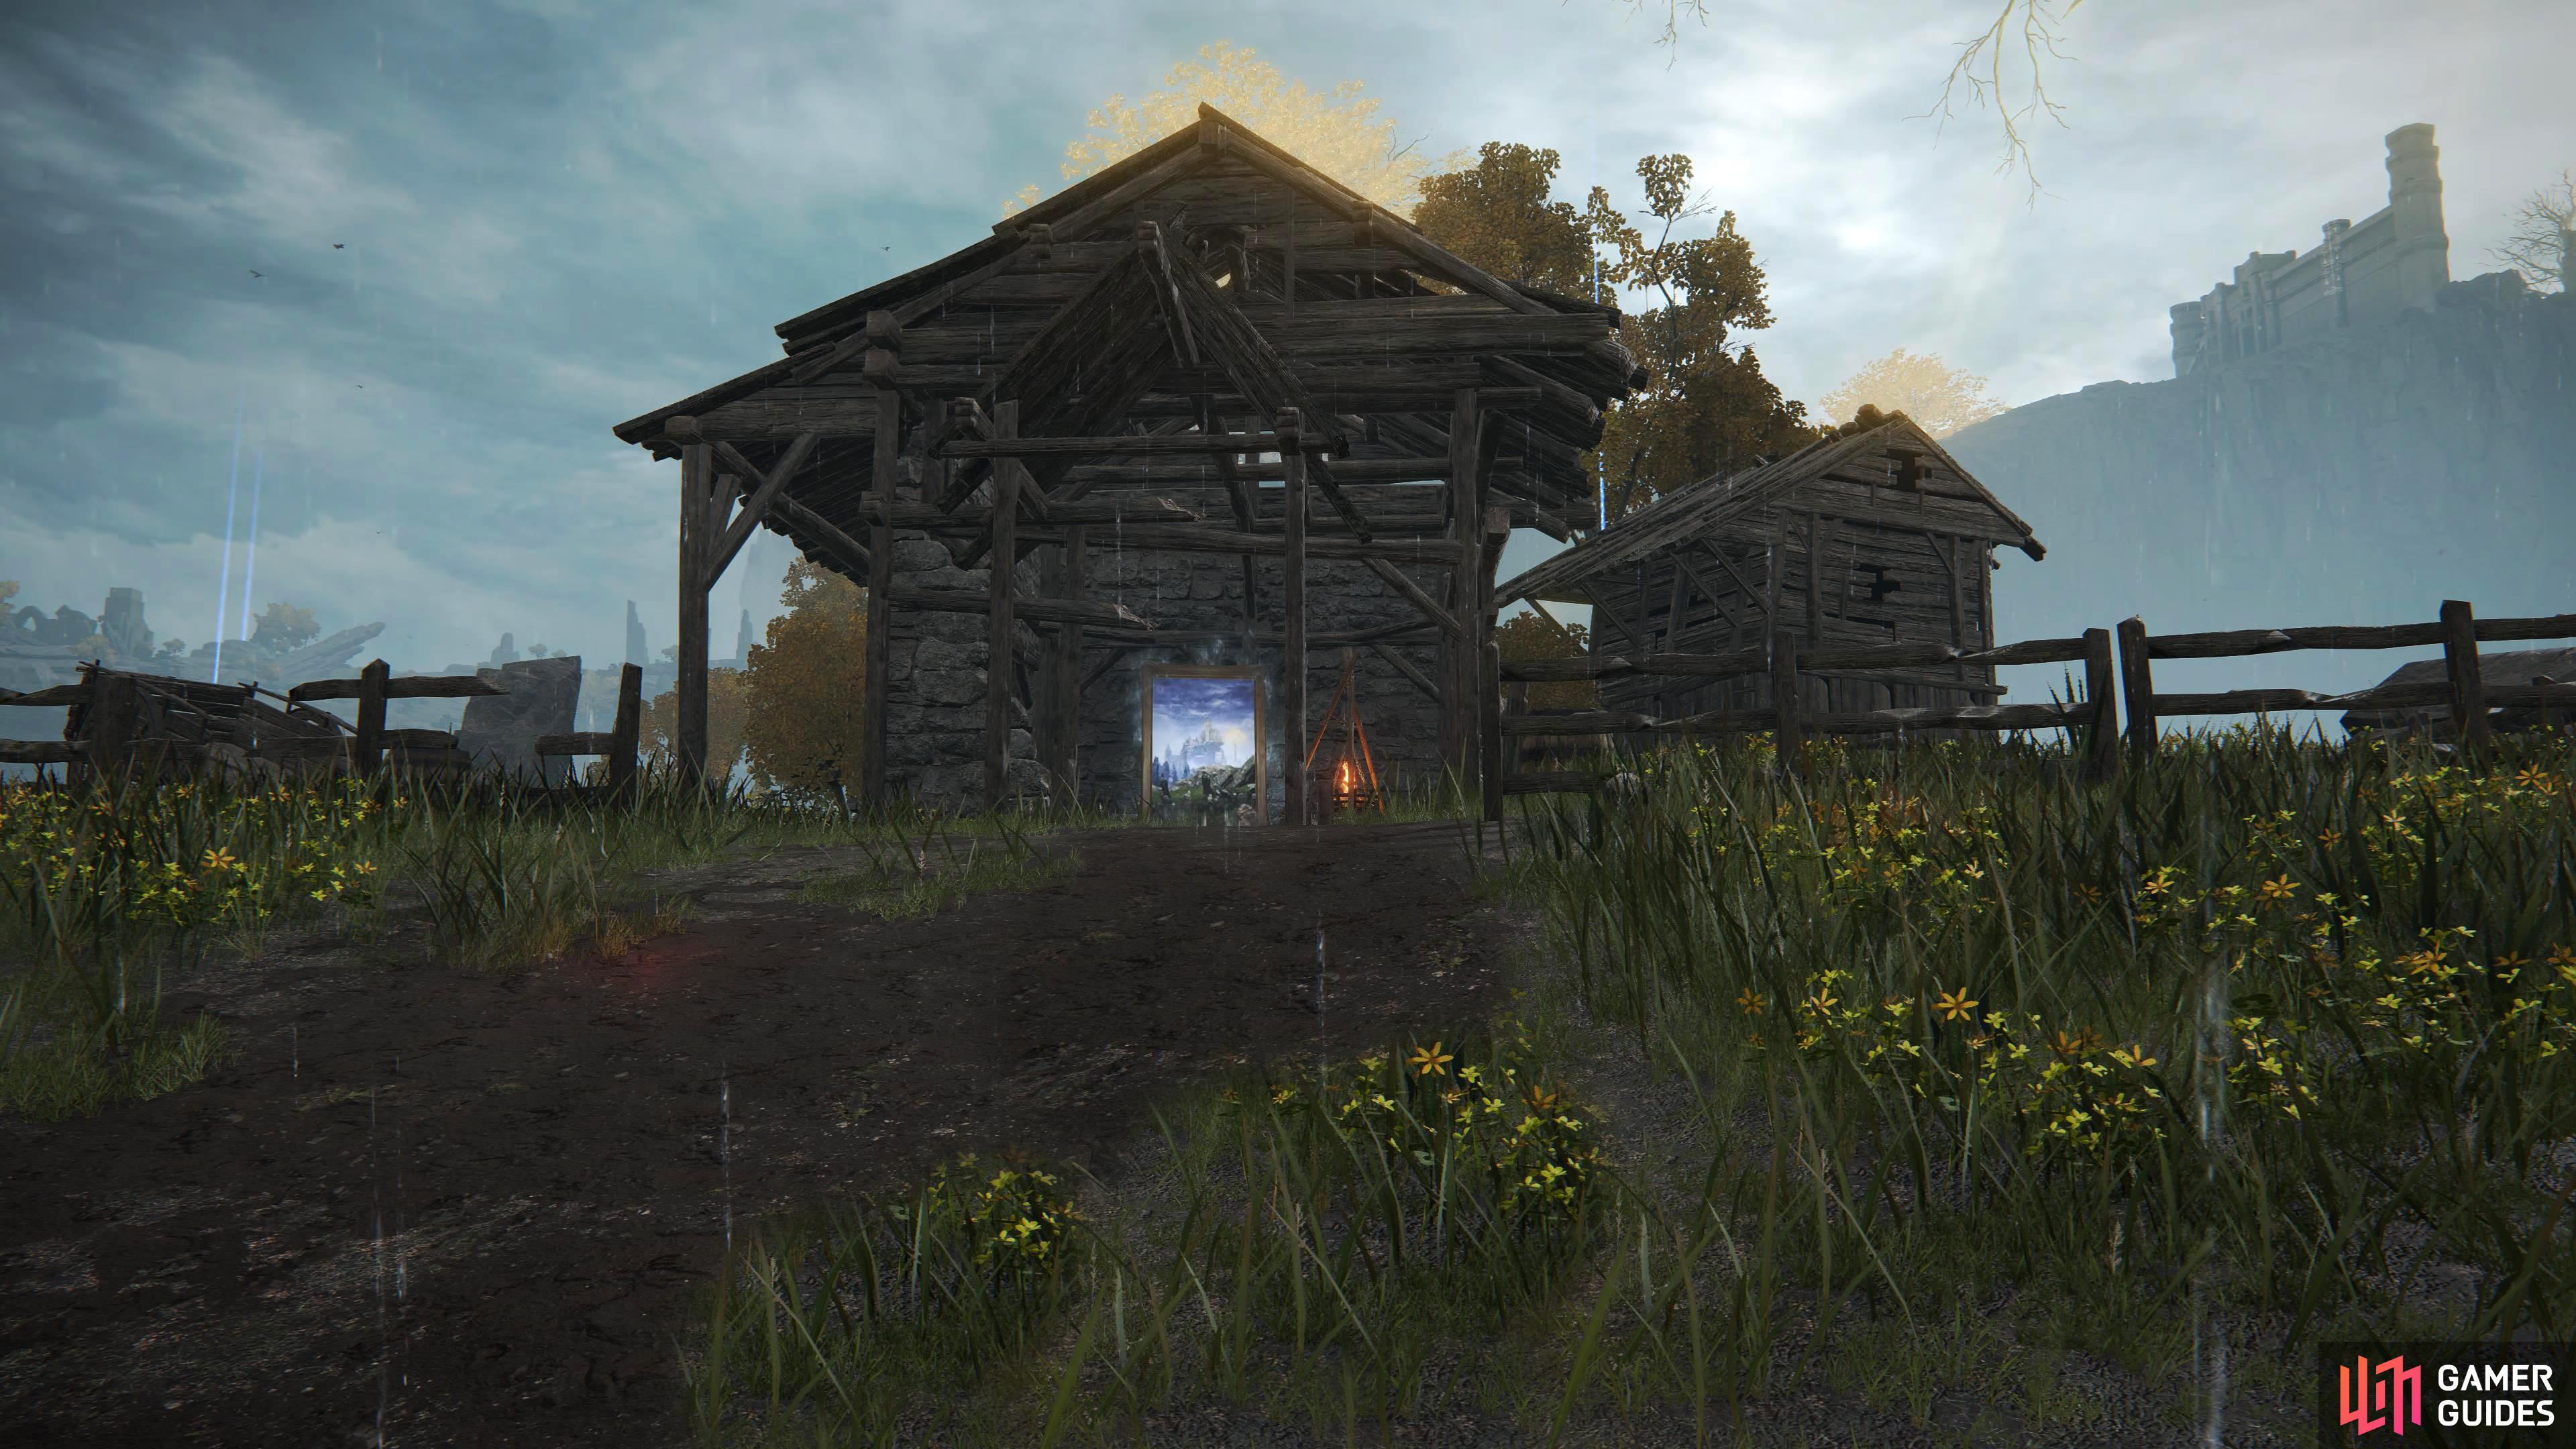
The Artist’s Shack is nothing but a dilapidated hut with a site of grace sitting next to it. Its only real purpose is the Resurrection Painting, which is sitting on proud display in the shack. You can find the Artist’s Shack on the tip of the eastern landmass, northwest of the Carian Study Hall. If you follow the muddy path north from the Liurnia Highway North site of grace, you’ll find it in no time.
There’s not much to do at the Artist’s Shack other than take the Resurrection Painting.
Bellum Church
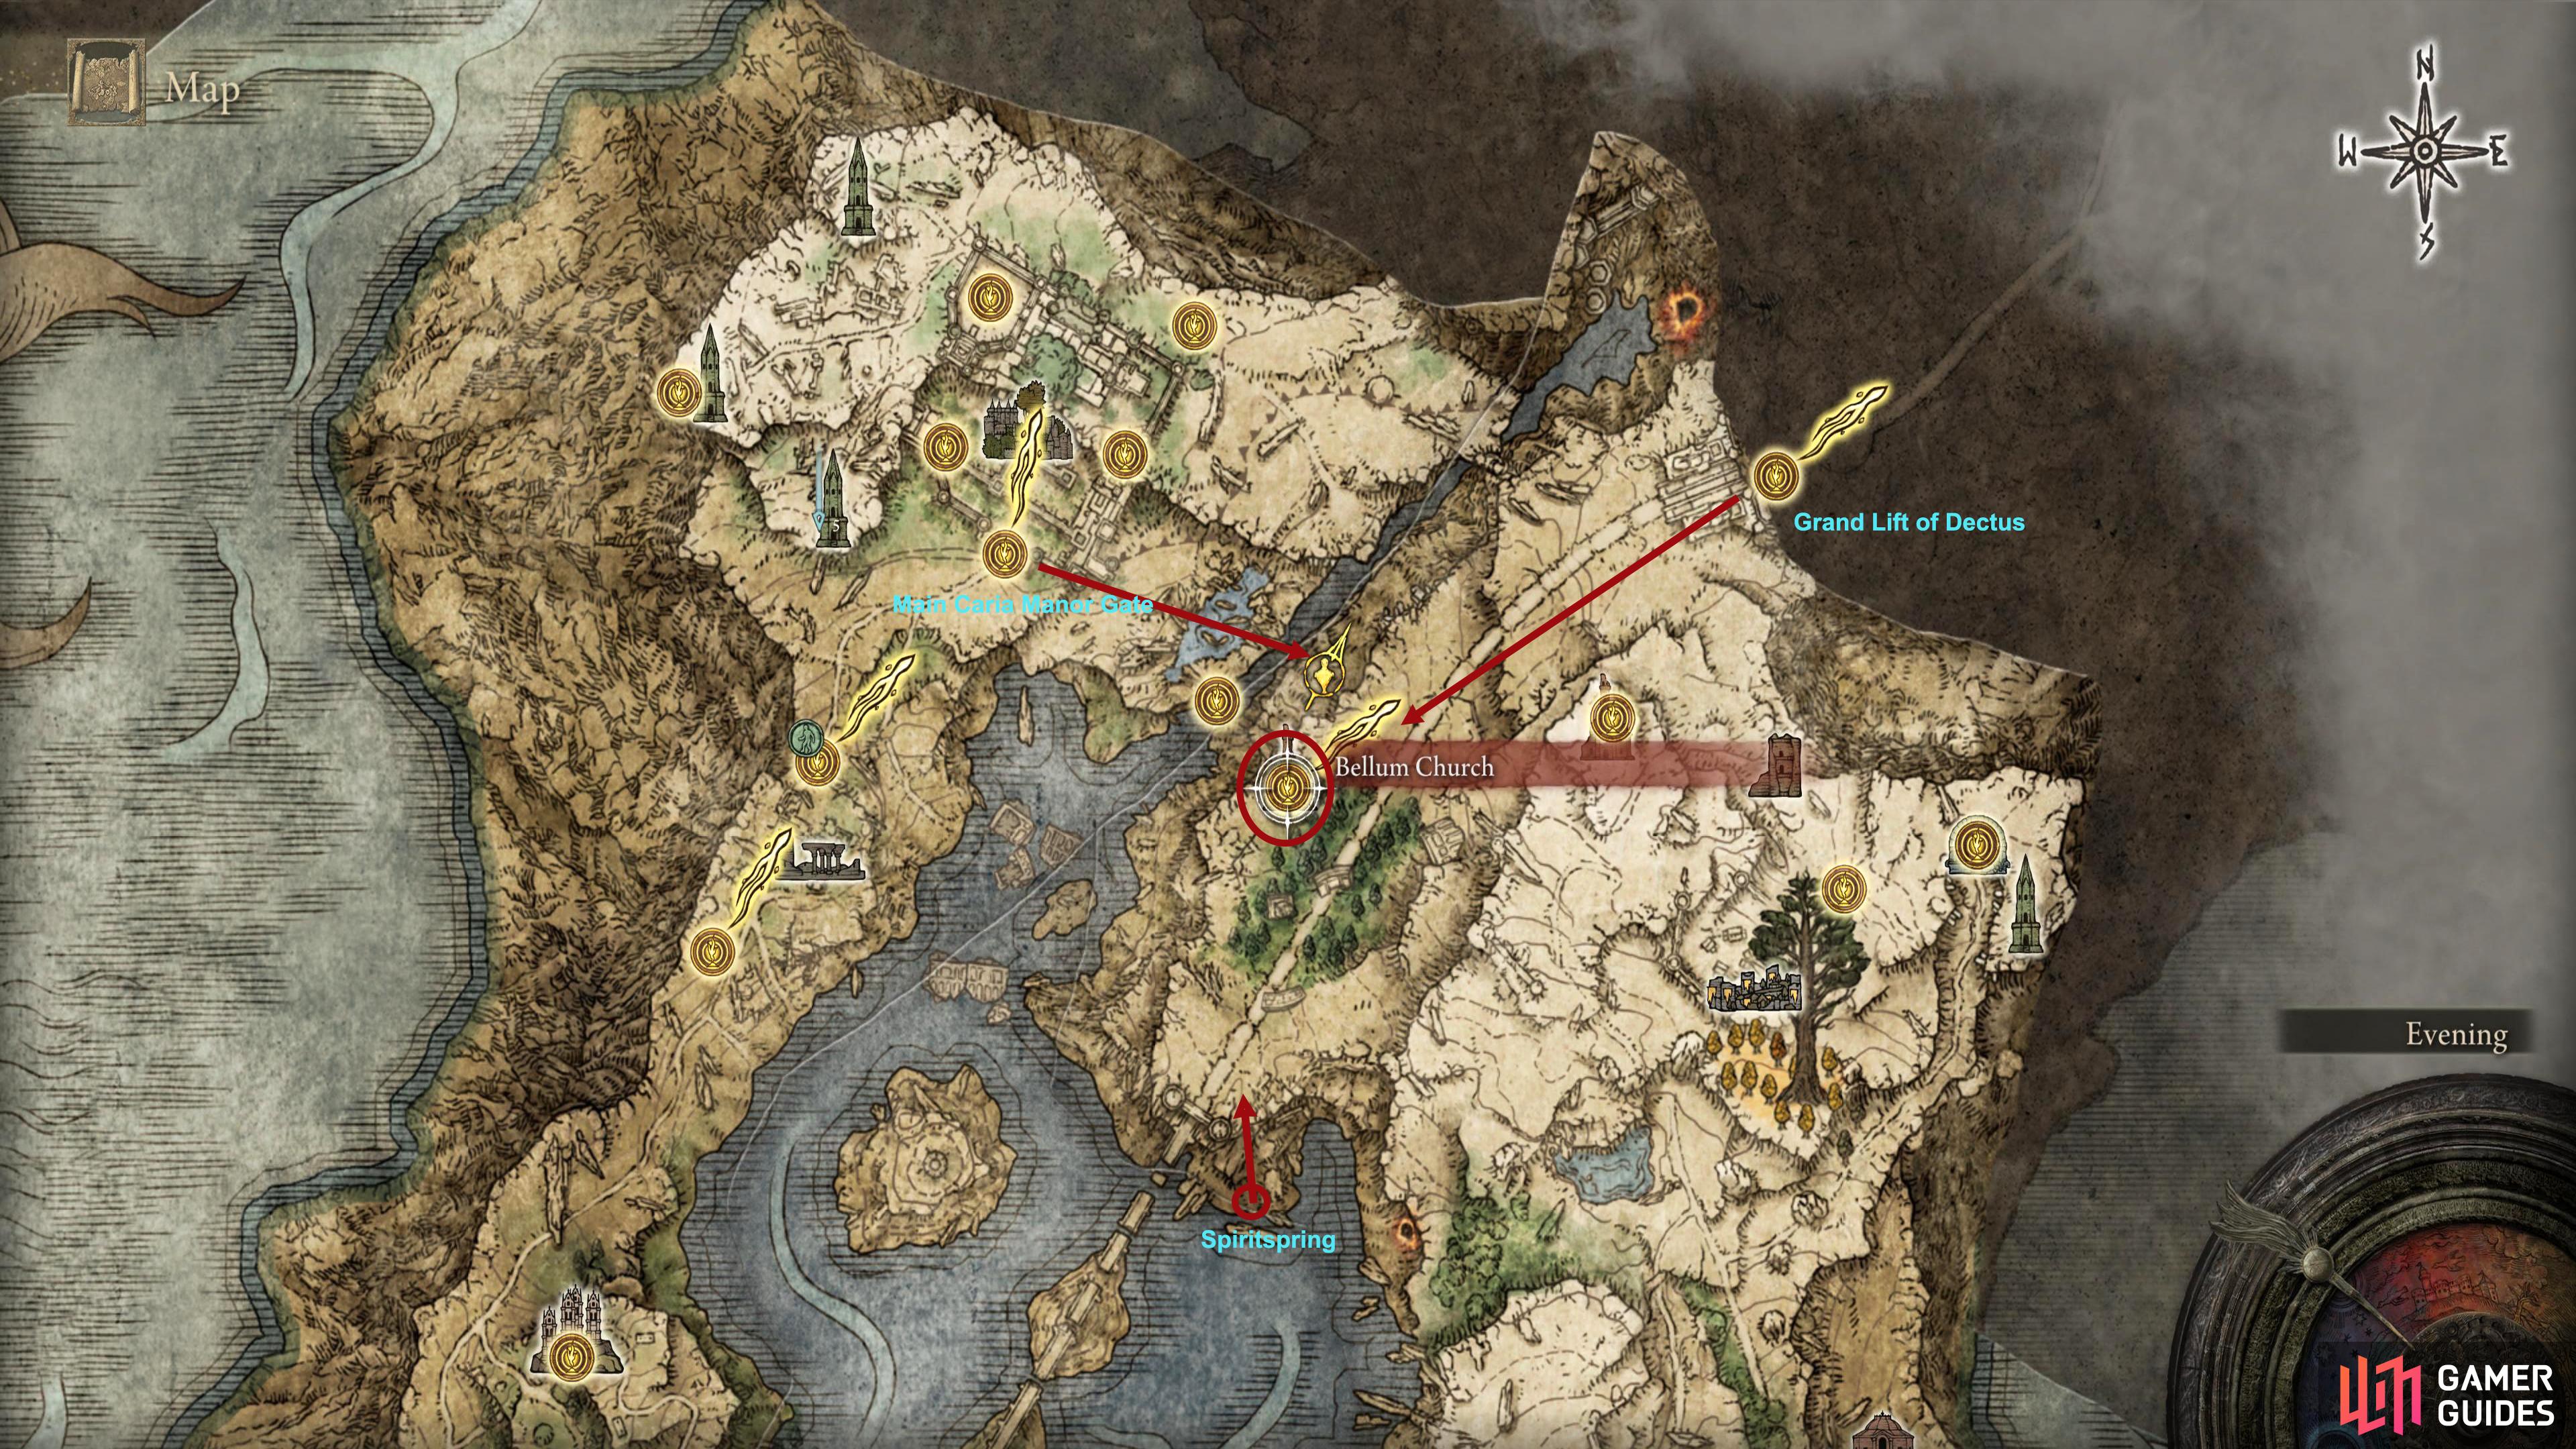
You can reach Bellum Church multiple ways. The methods located above are just some of them.
The Bellum Church is a rickety old church in ruins, like most of the other churches in the Lands Between. You can get to the church multiple ways, one way is to follow the Bellum Highway south of the Grand Lift of Dectus site of grace. Another method is to use the Spiritspring which can be found in the northeastern corner of the lake at the foot of the cliff, right next to the walking mausoleum.
(1 of 3) Head East from the Main Caria Manor Gate site of grace and use the overhanging rock as a bridge.
This one has a giant crater in the center of its floor that acts like a path. There is only one item to get here, that being the Sacred Tear, which is seated by the feet of the statue that resides there. If you’ve been following Hyetta’s quest line, she’ll be here if you’ve spoken to her three times before. Finally, there is a Night’s Cavalry boss that can be found roaming the path to the south of the church once the sun has set, he drops the Nightrider Glaive. The only other thing that you can do here is follow the path in the crater to find the Nomadic Merchant North, who’s at a campfire nearby.
Bellum Highway
Bellum Highway starts at the East Raya Lucaria Gate in the south to the Grand Lift of Dectus in the north.
This long stretch of road starts at the East Raya Lucaria Gate site of grace to the Grand Lift of Dectus site of grace. It appears that this road used to be how the Academy students from Raya Lucaria Academy would travel to Altus Plateau before the shattering.
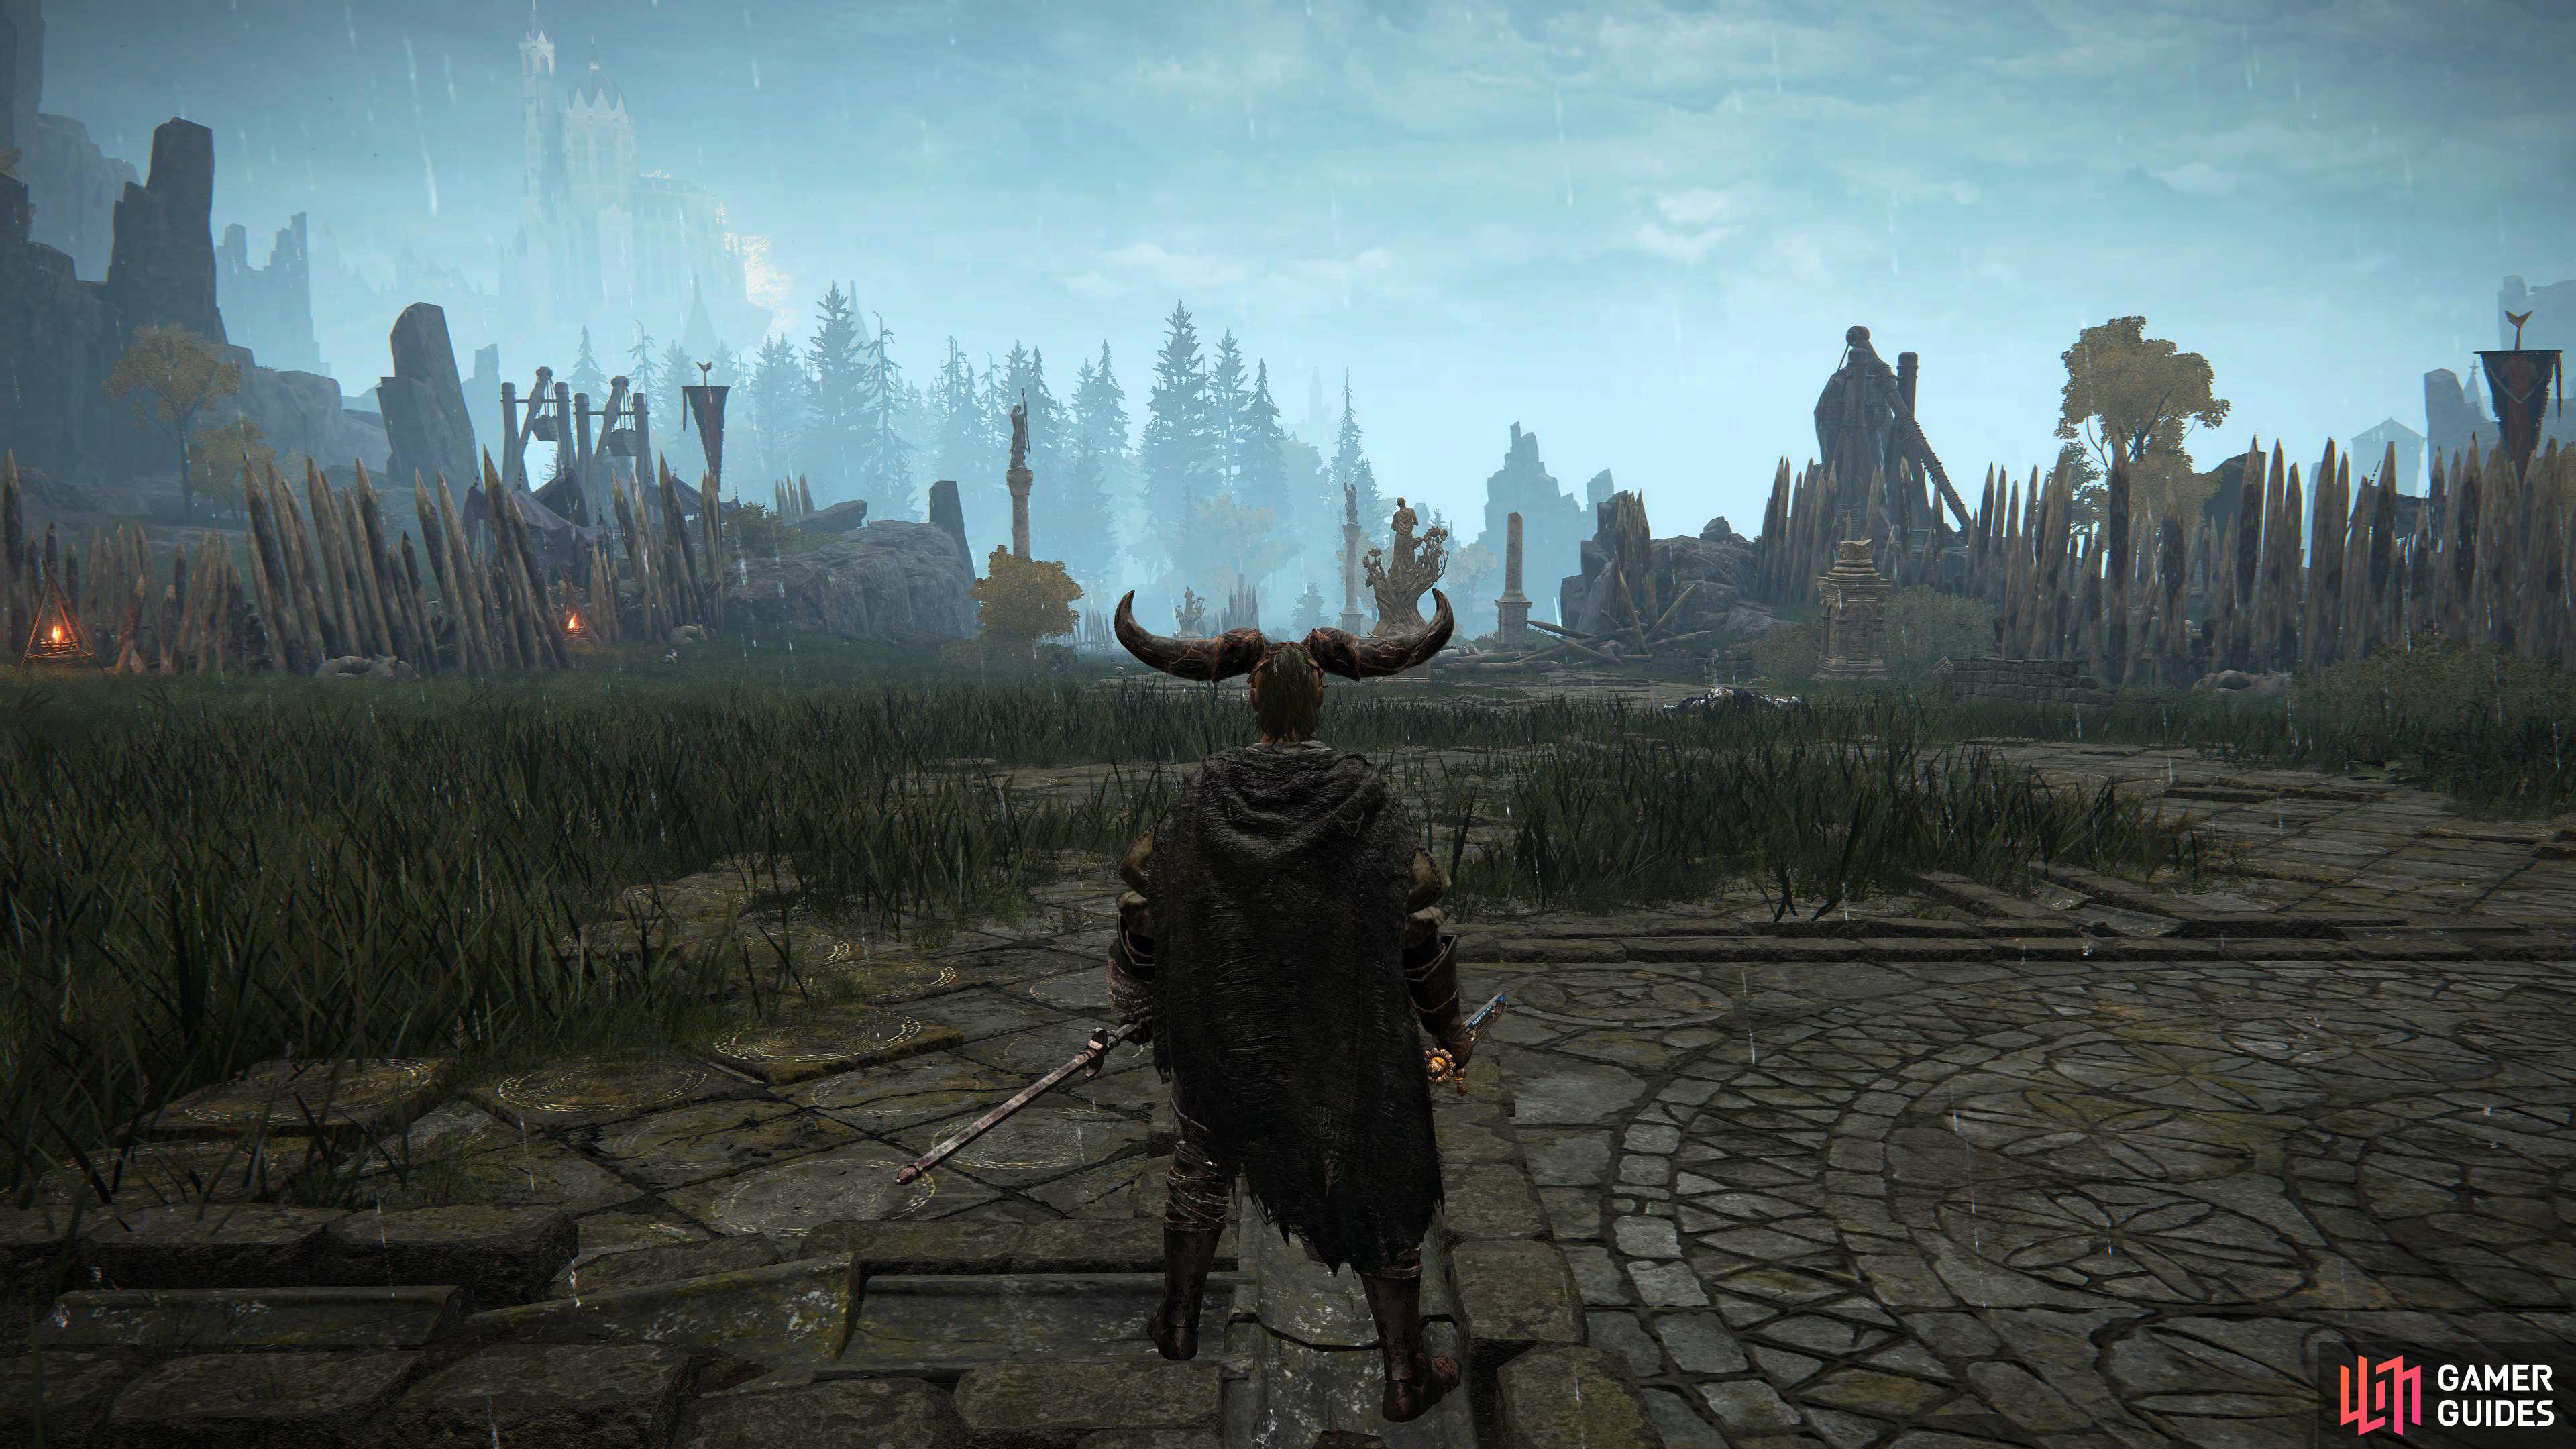
The encampment on Bellum Highway will fire at you with their trebuchets if you’re not careful.
In the middle of the Highway, just south from the Grand Lift of Dectus is an encampment full of Cuckoo Knights and Footsoldiers set up either side of the road with a Warmachine in the center. On the east side of the camp is a chest with a Great Mace inside, whilst to the west is Bellum Church. Note, if you come to the encampment from the south side, you’ll have to deal with trebuchets firing at you.
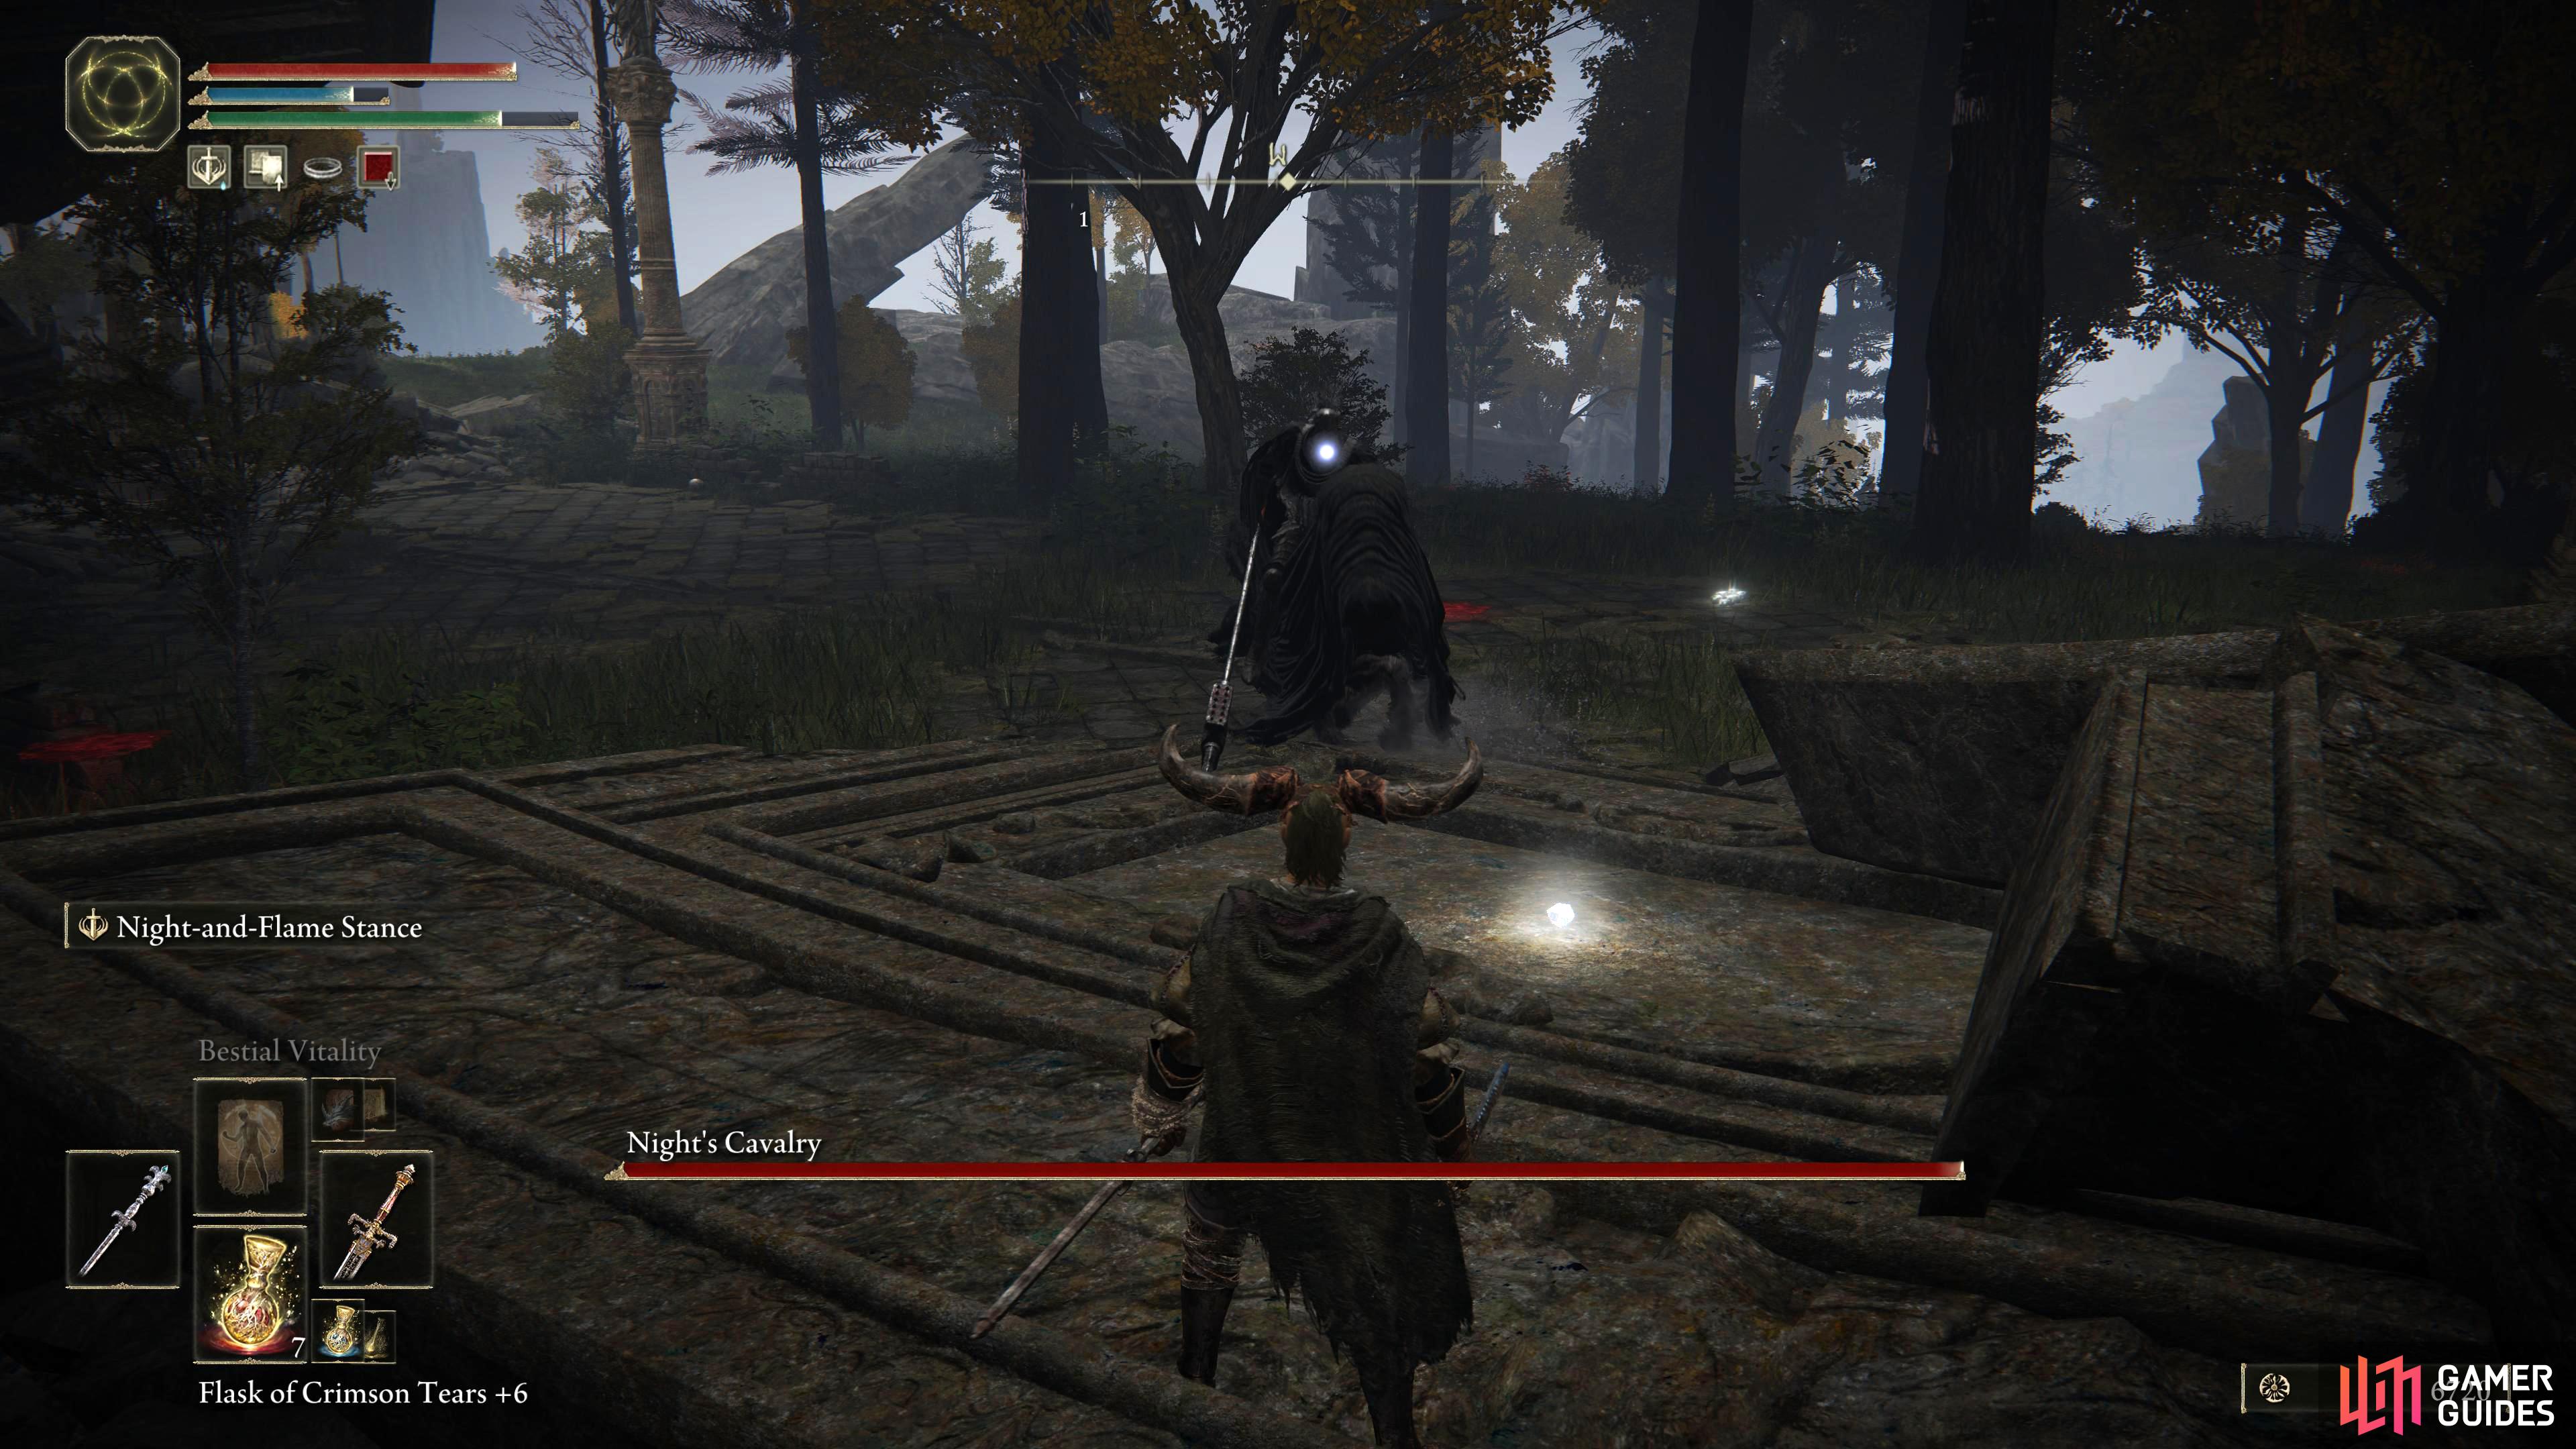
Rest at the East Raya Lucaria Gate site of grace until nightfall to find the Night’s Cavalry just to the north.
There are a couple of Rune Arcs either side of the Highway in-between Bellum Church and the Grand Lift of Dectus. At the southern part of the Highway, near the East Raya Lucaria Gate site of grace, there are two NPCs here. One is a Palm Reader who is by the side of the road, and the other is Boc at the site of grace if you have been pursuing his quest line. Finally, when the sun is set, the Night’s Cavalry boss can roam the road at the south looking for any trespassers on the Highway. If you defeat him, you’ll get the Nightrider Glaive. If you rest until nightfall at the East Raya Lucaria Gate site of grace, you’ll find him just to the north.
Black Knife Catacombs
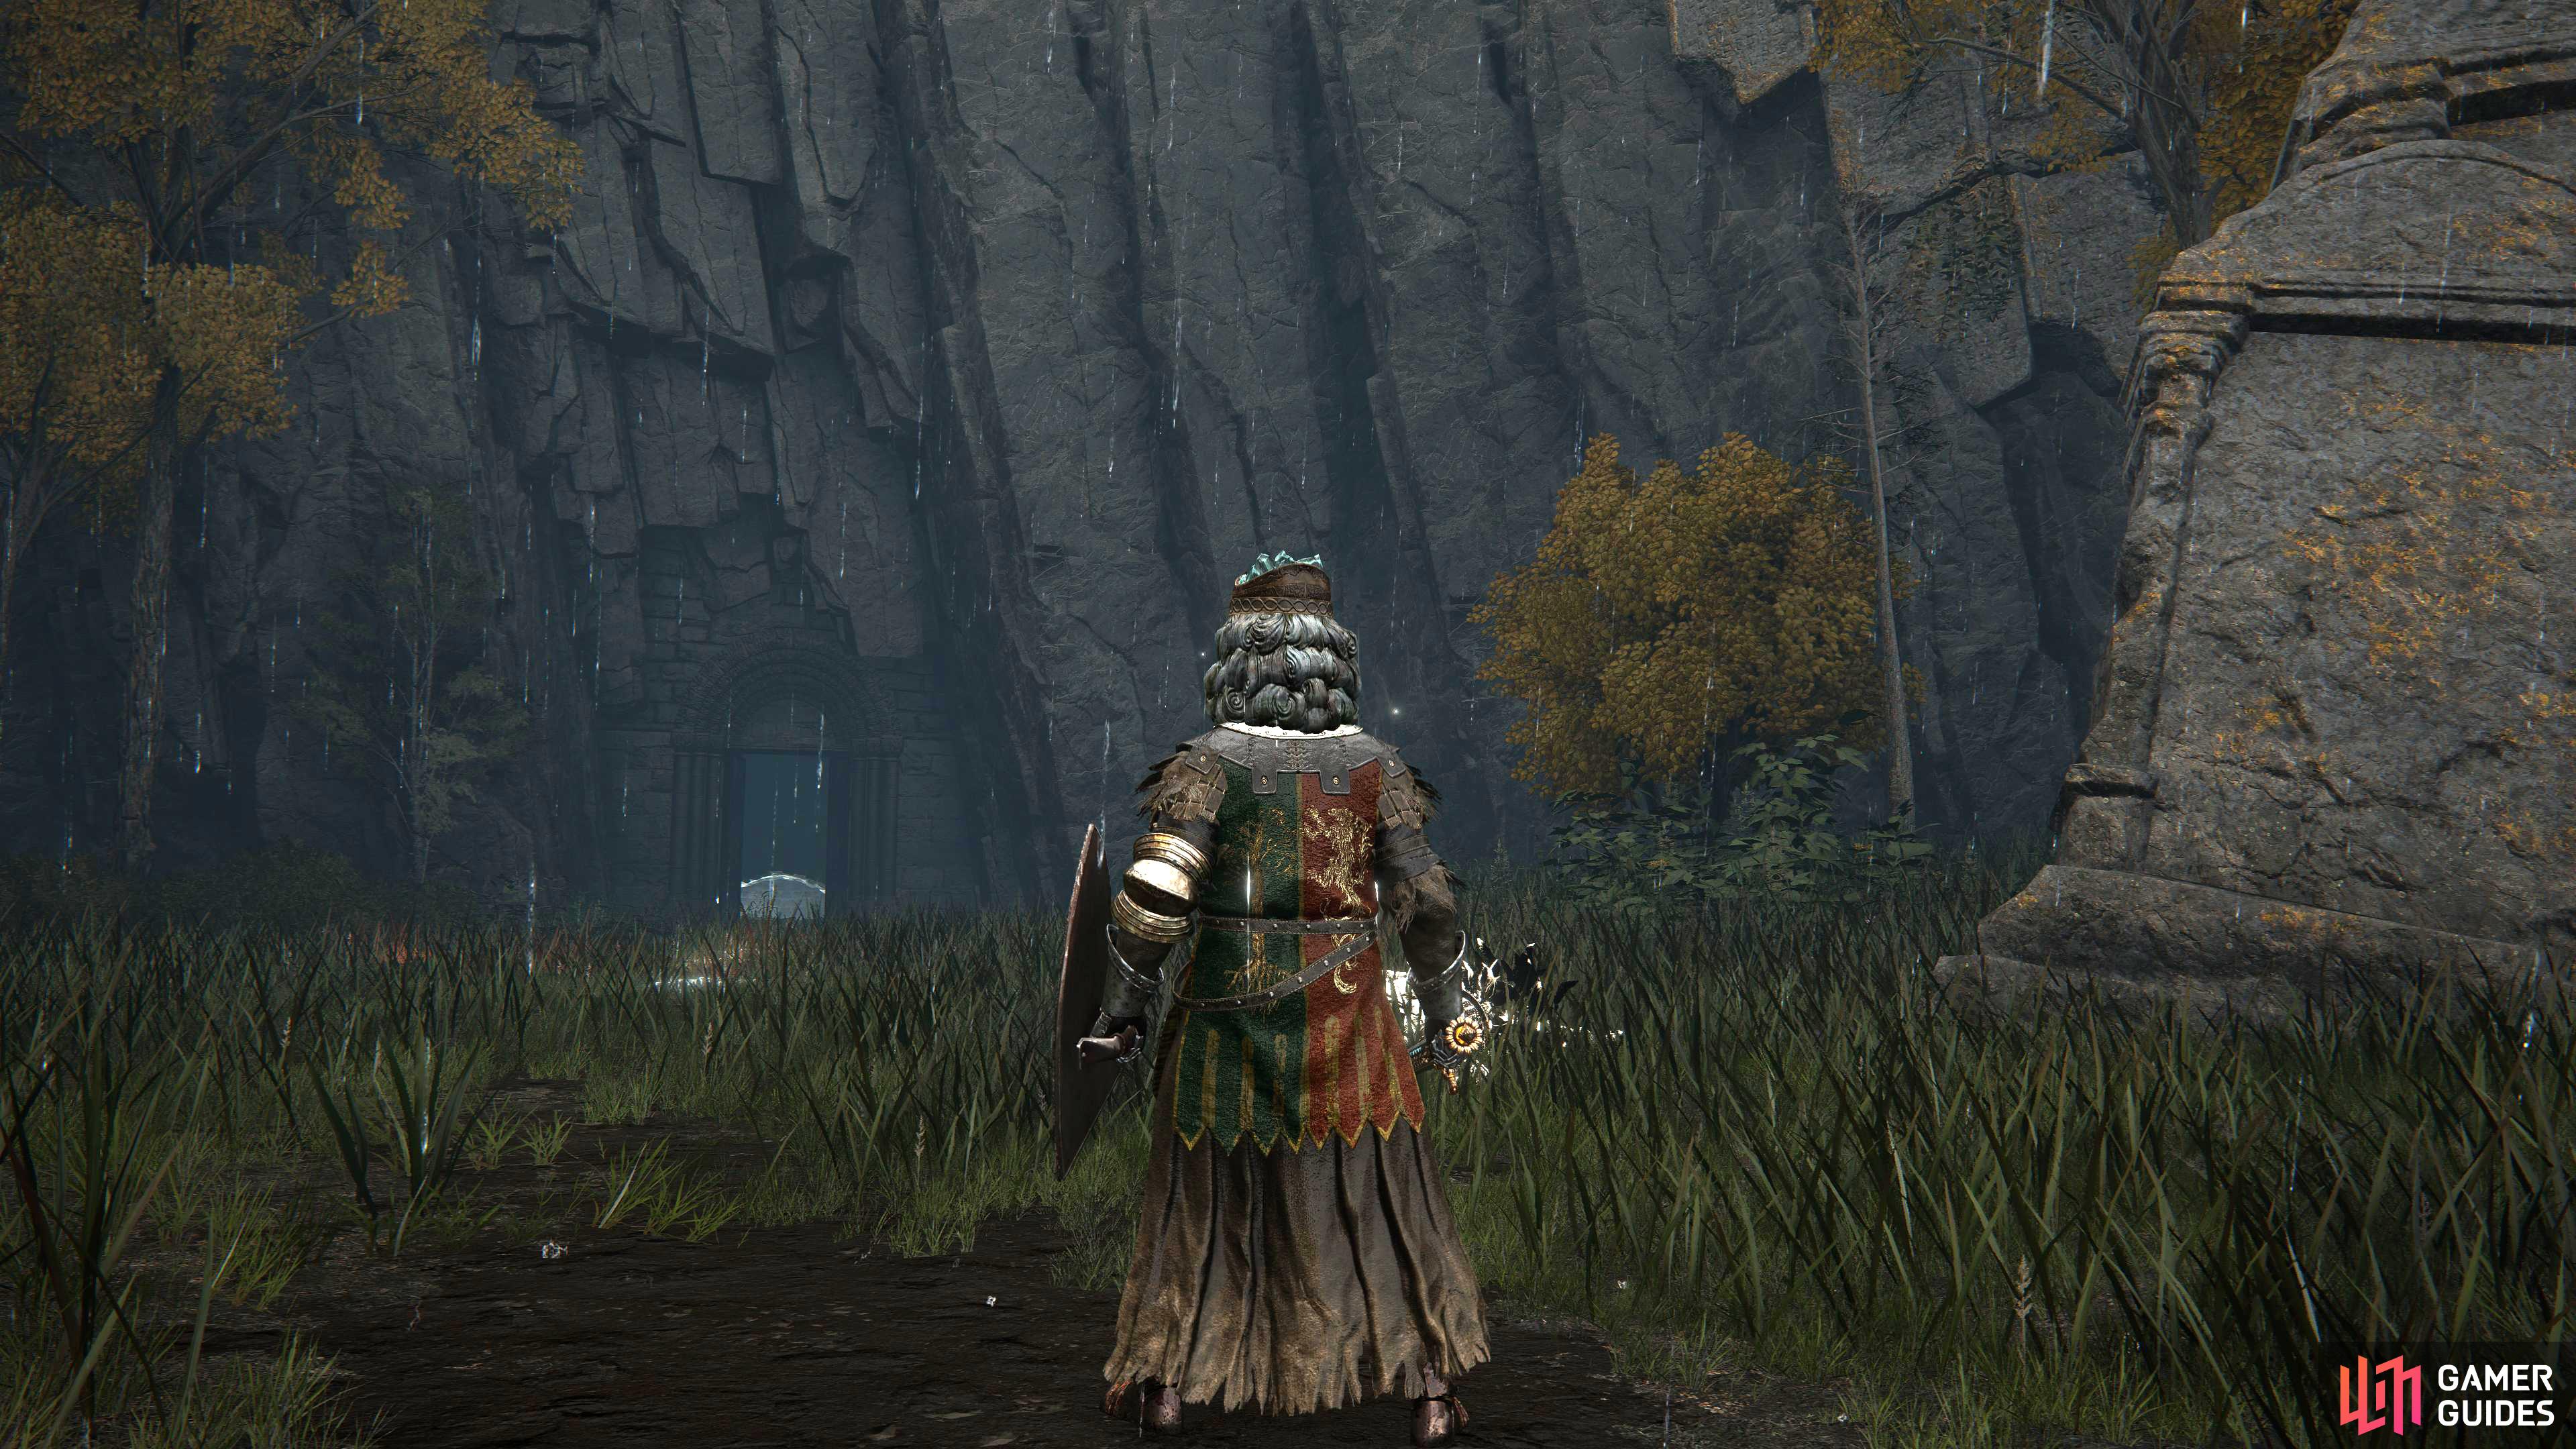
Head east from the Frenzied Flame Village Outskirts site of grace, and use the tombstones in the cliff as steps down.
The Black Knife Catacombs is a dungeon situated in the northeastern landmass of Liurnia and is home to another Cemetary Shade boss. The easiest way of getting to it is from the Frenzied Flame Village Outskirts site of grace. If you head east and look over the cliff edge, there’ll be some tombstones protruding out of the cliff. You can use these as make shift stairs to reach the catacombs. These will be guarded by a rather tough enemy called the Mausoleum Knight, but you can sprint past it and interact with the door to the dungeon and touch the site of grace just inside.
You’ll need to fight or run past the Mausoleum Knight guarding the catacombs.
Within the confined eerie corridors of the catacombs are a lot of loot that awaits you to plunder, including the important key item: Black Knifeprint which is needed for Rogiers quest line. There are also several other items to keep an eye out for, mainly the Assassin’s Cerulean Dagger, Twinsage Sorcerer Ashes, Deathroot, and Rosus’ Axe which is behind a sealed room near the beginning that requires two Stonesword keys to enter.
The place is surprisingly lit up for a catacomb, but it’s still brimming with groups of skeletons, some of whom can only be killed by defeating a nearby necromancer. Although the main boss in the area is the Cemetary Shade, there is a hidden boss, the Black Knife Assassin, who you may remember from Limgrave.
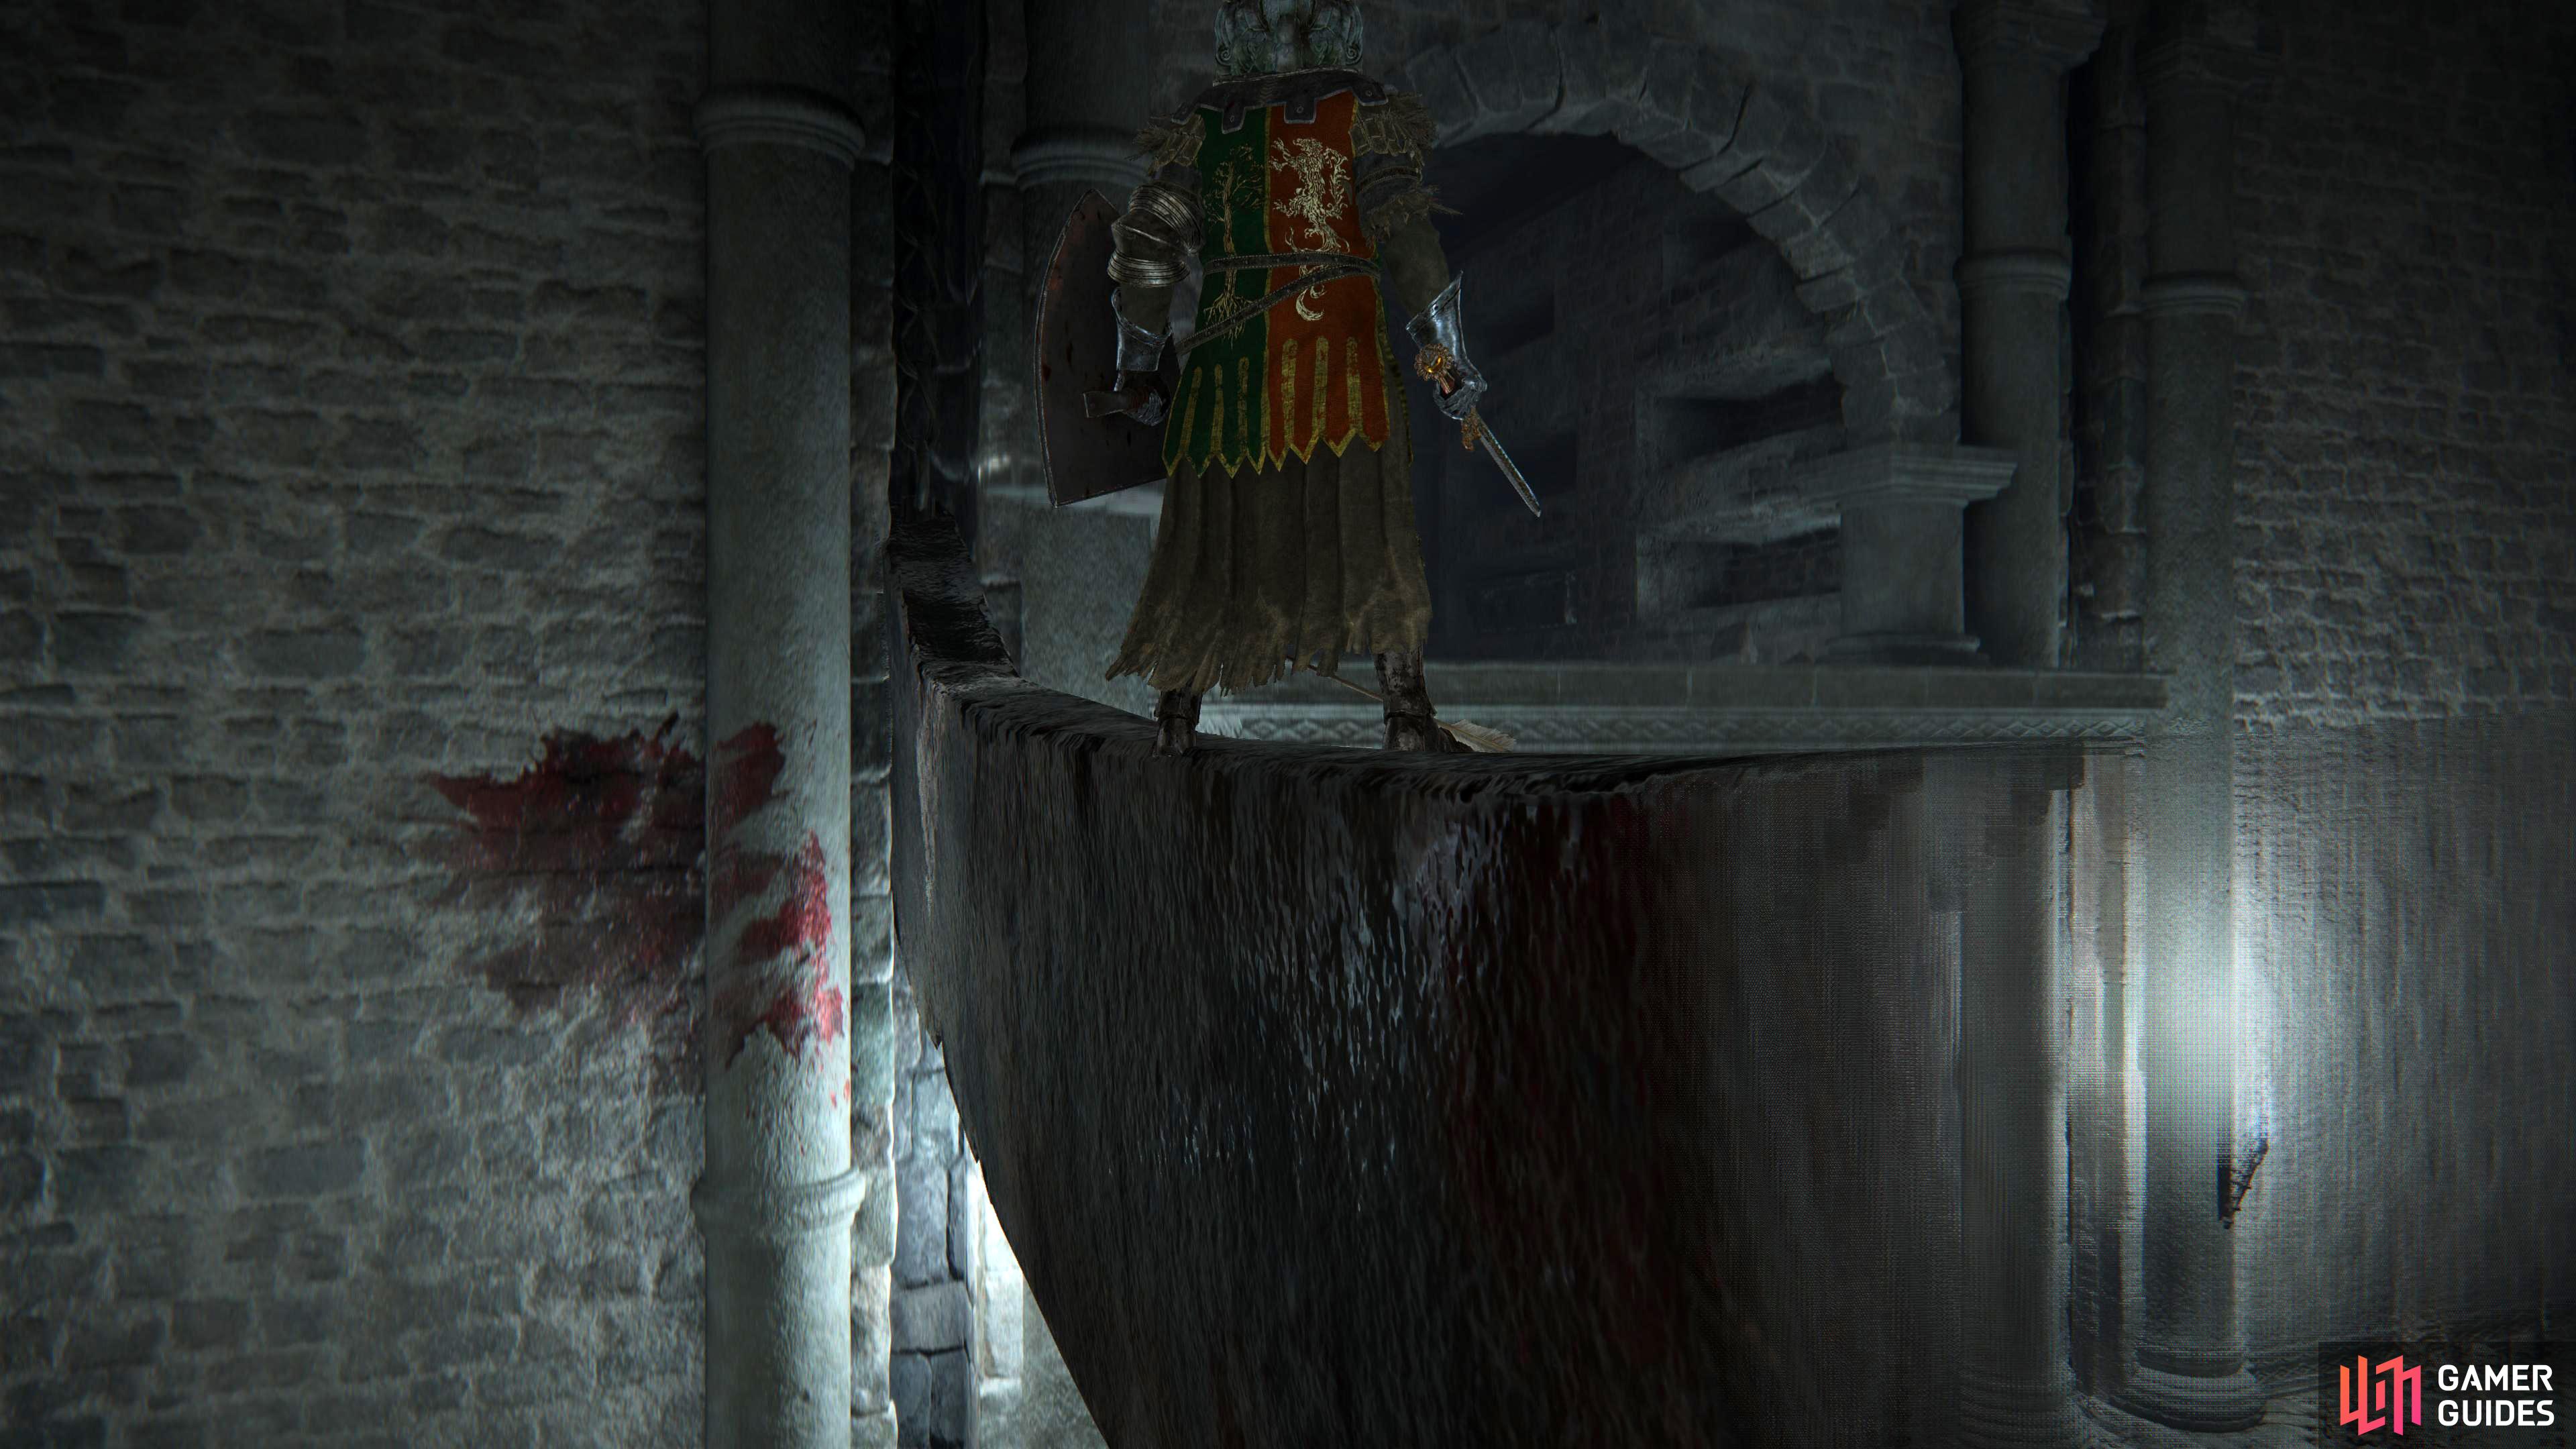
(1 of 2) Ride either of the back two guillotines into the small room, above.
Ride either of the back two guillotines into the small room, above. (left), Here you’ll see the secret boss room already revealed from attacking the illusory wall. (right)
To find the Black Knife Assassin, you’ll need to ride one of the back two guillotines up into a small corridor with a necromancer and a skeleton. Follow the path running or dispatching the enemies as you come to them and at the end of the path will be an illusory wall that will disappear when it’s attacked, revealing the secret boss room. If you have been following D’s quest line, you can summon him for this fight. The majority of the above items are rewards from the bosses.
Boilprawn Shack
Head northeast from the Scenic Isle site of grace.
Home to the lively Blackguard Big Boggart who is the bandit who stole Rya’s necklace that she asked you to retrieve if you spoke to her first at the pavilion southeast of this shack. He has his own quest line as well, so make sure you pay the 1000 Runes for the necklace instead of killing him. If you talk to him again, you can purchase a
Boiled Prawn, that’ll boost physical damage negation for a certain duration for 600 Runes. You need to purchase the Prawn and talk to him again to progress his quest.
(1 of 2) Blackguard can be found cooking delicious boiled prawns just outside his shack.
Blackguard can be found cooking delicious boiled prawns just outside his shack. (left), Make sure to purchase Rya’s necklace and return it to her. (right)
Caria Manor
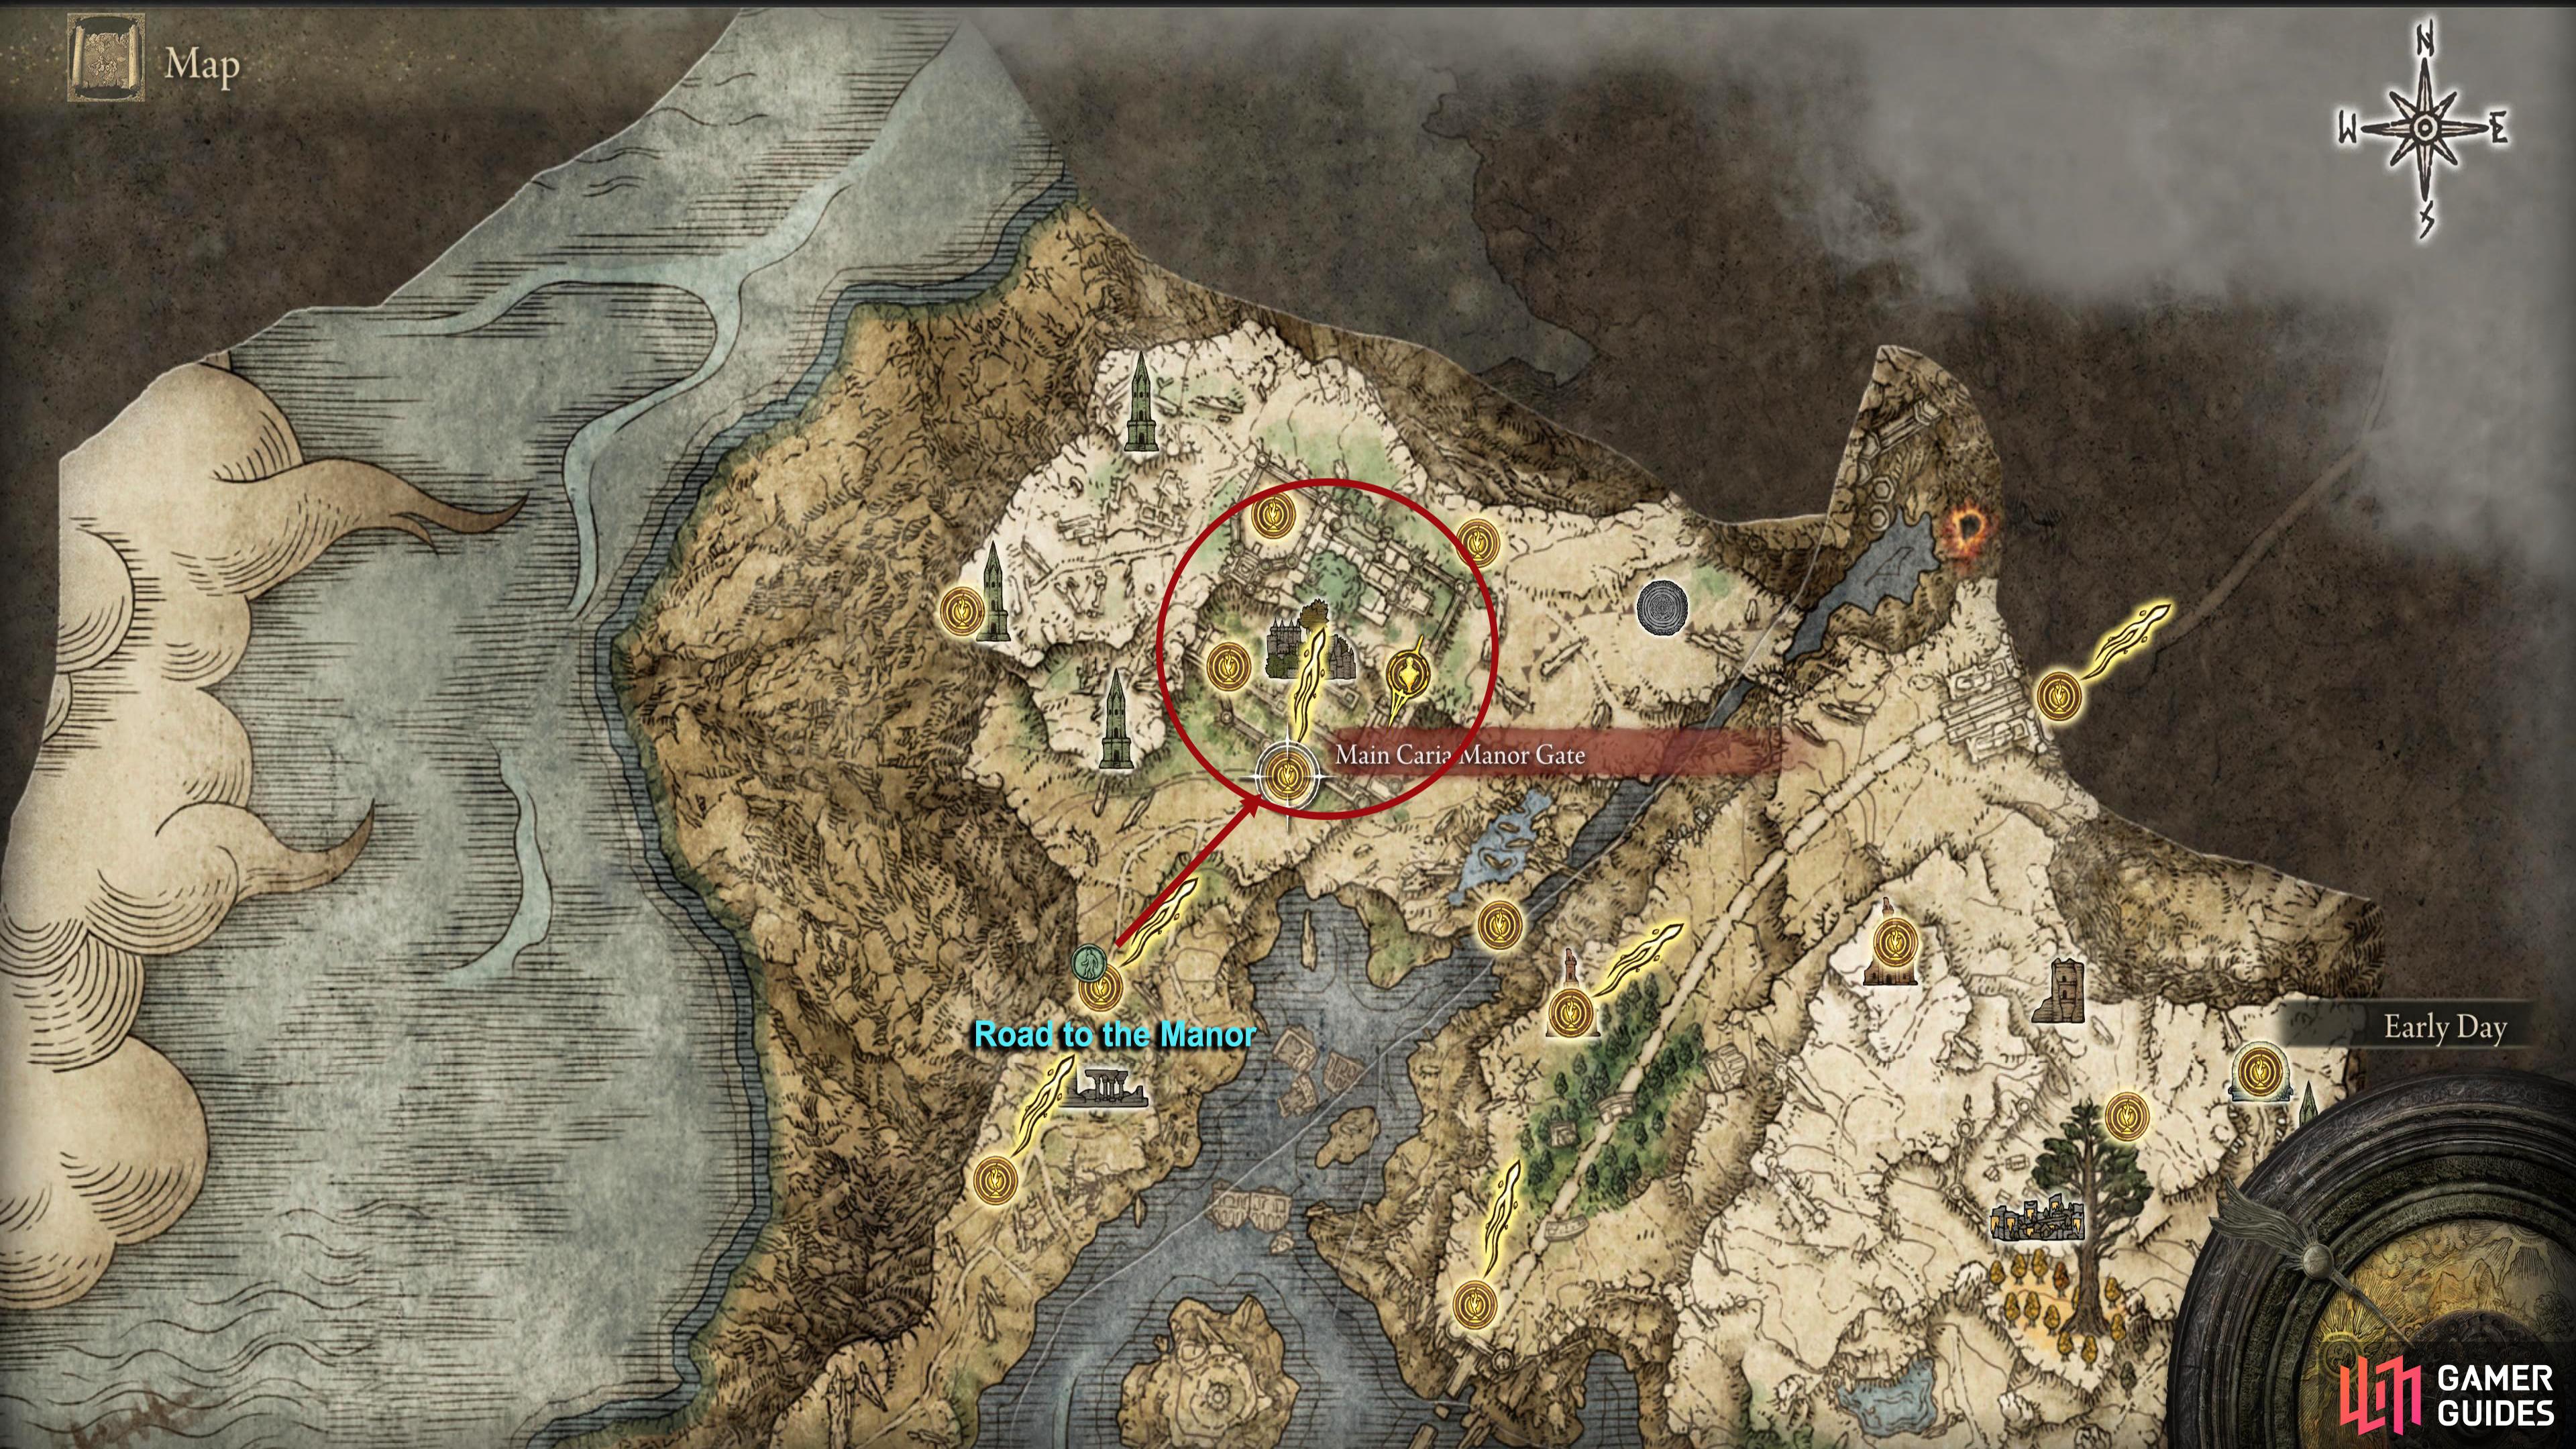
Follow the road north from the aptly named site of grace Road to the Manor.
Situated at the far northwestern edge of Liurnia is a large manor which is guarded by all varieties of untold horrors, including the Spectral Royal Knight Loretta, who is the main boss here. Caria Manor is a vast, gloomy area where your steed cannot be used. It is a mysterious place holding many secrets that some may want it kept that way.
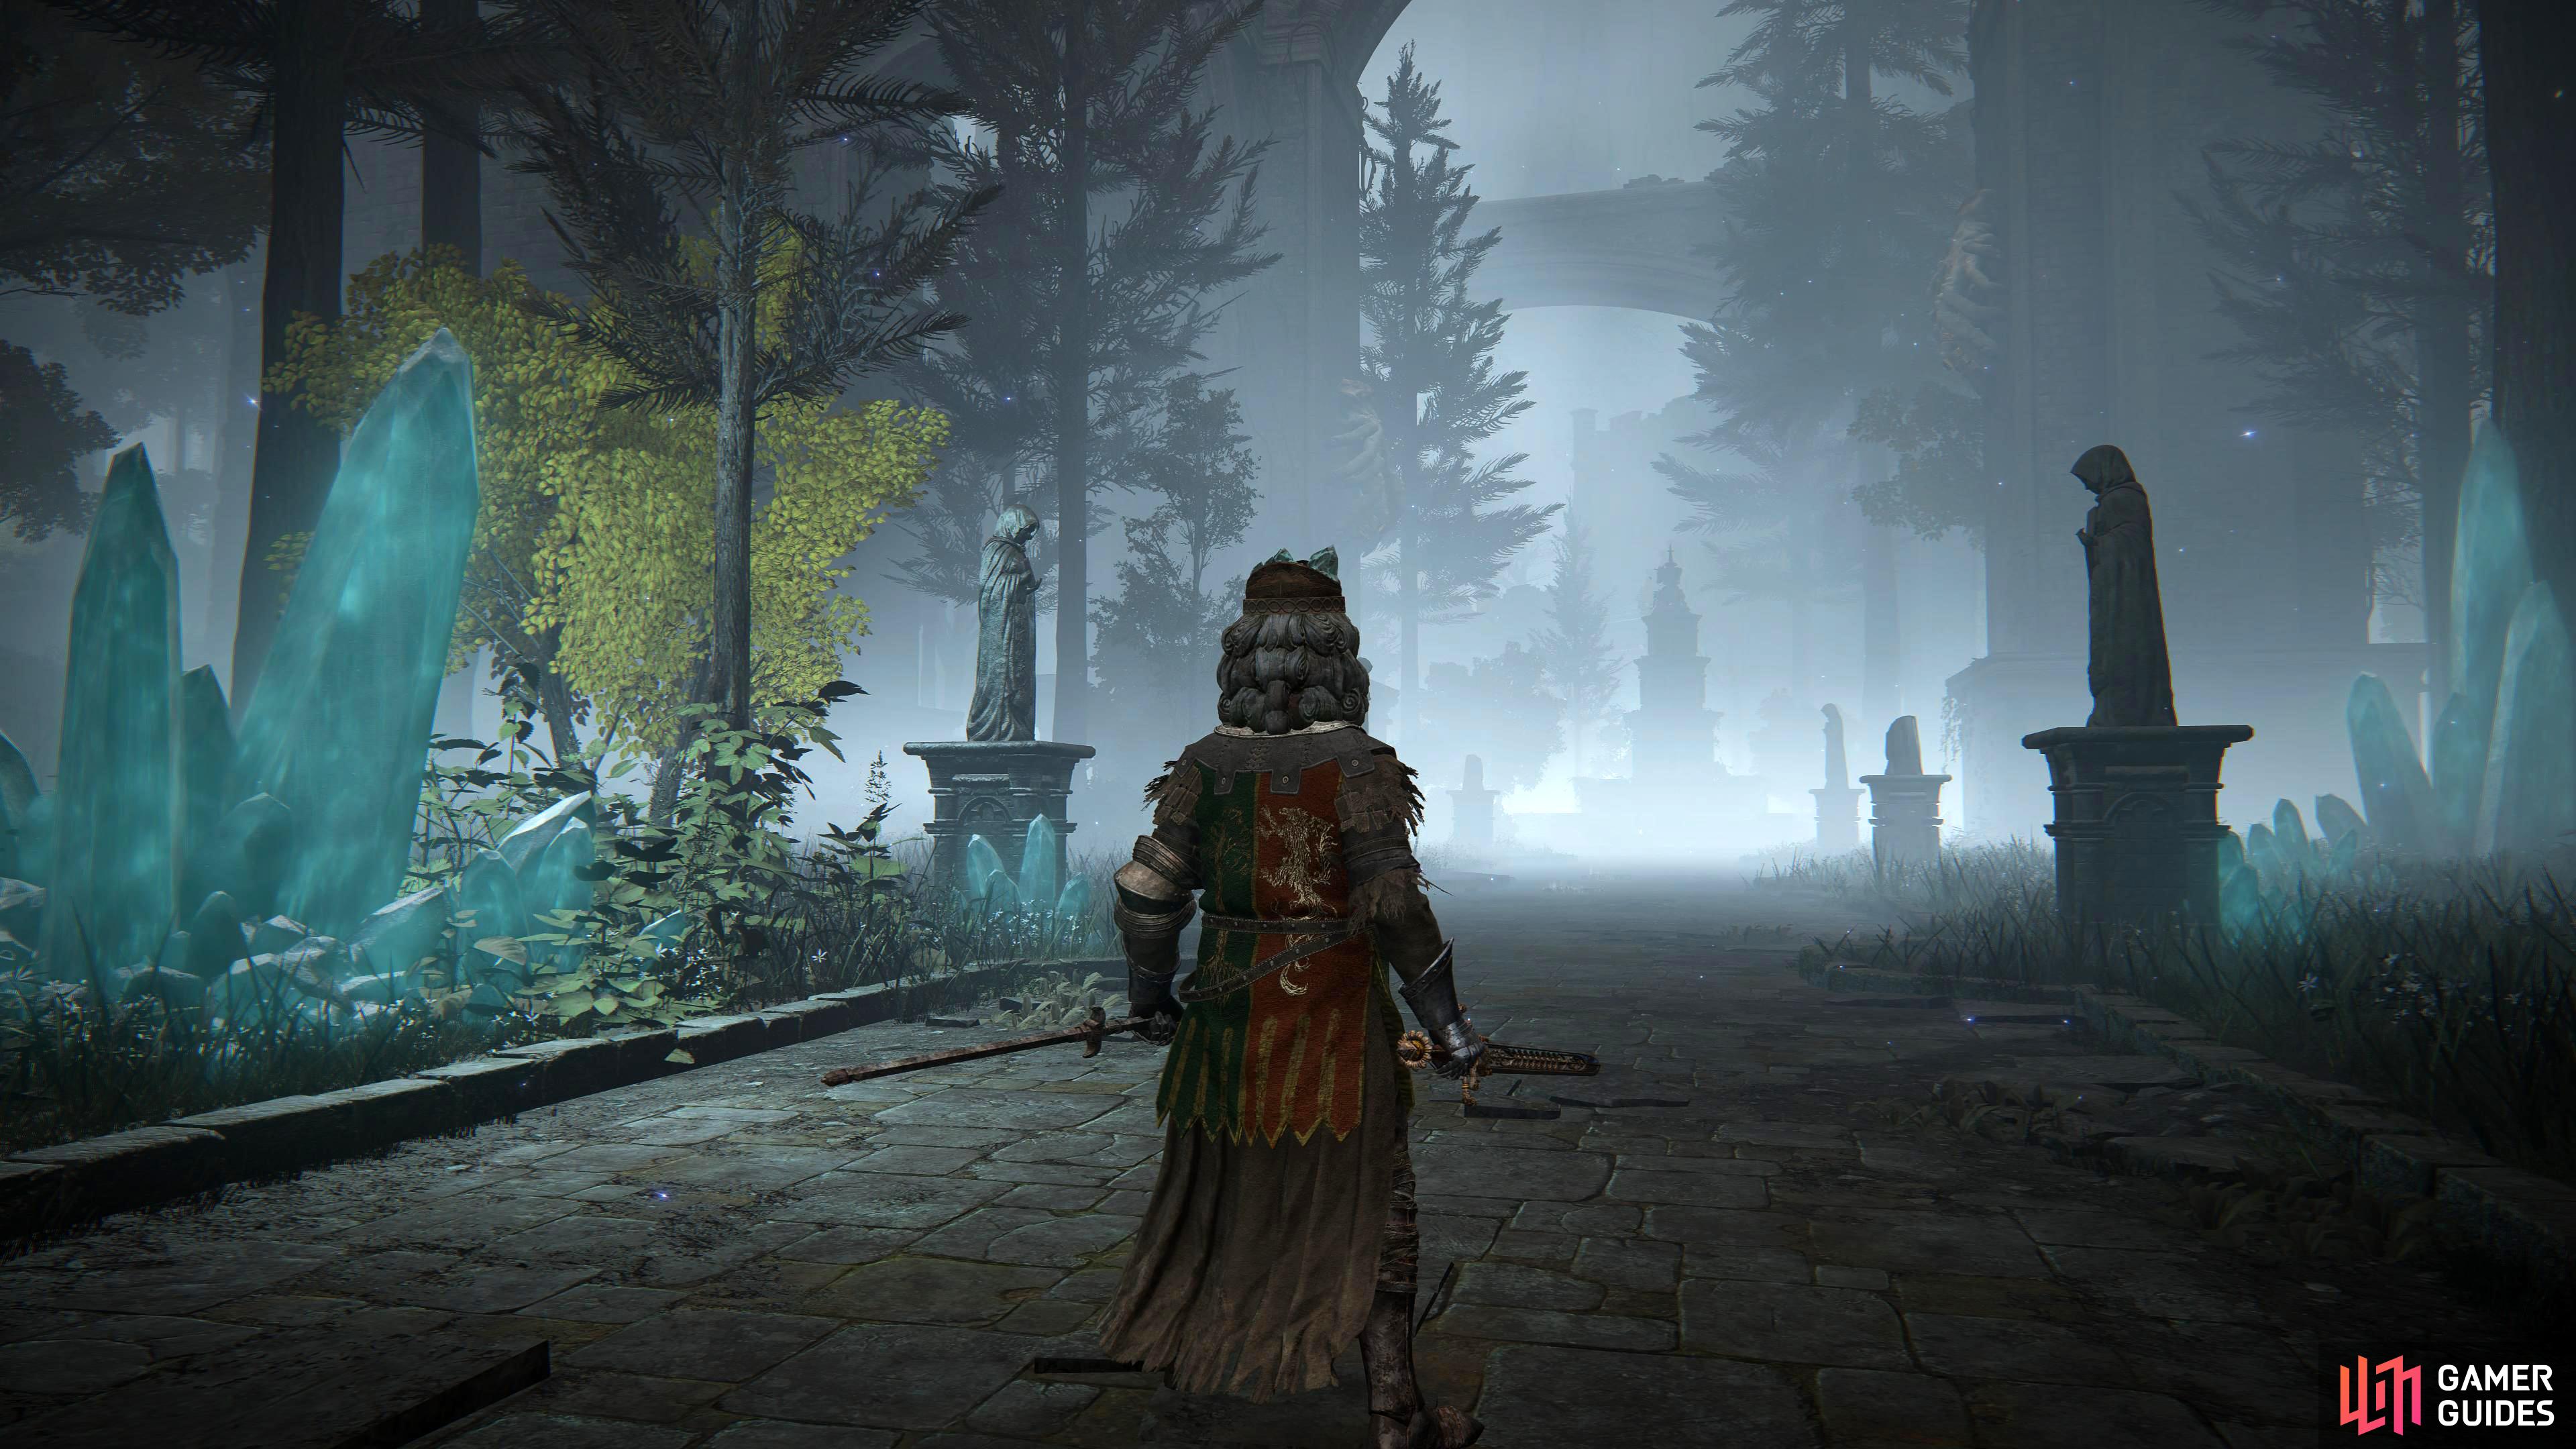
Caria Manor is a hauntingly beautiful place filled with horrors.
There is an abundance of loot waiting to be plucked from an adventurous tarnished like yourself, including, but not limited to, a Golden Seed that is nestled by the foot of a golden tree in the courtyard down the western stairs from the Manor Upper Level site of grace.
The Golden Seed is down the western stairs from the Manor Upper Level site of grace.
The powerful Sword of Night and Flame can also be unearthed here, inside a locked room behind the gardens at the east side of the manor that can only be accessed from the walkways above. Start at the ** Manor Lower Level** site of grace, heading east across the rooftops until you reach the first intersection. Head north until you reach the end, and jump off to a roof just below. There will be another roof to the north that you can jump to, which’ll have a ladder leading down into a room. This small room will host the chest containing the weapon.
(1 of 2) You’ll need to drop off two rooftops to reach the roof, with the ladder leading down
You’ll need to drop off two rooftops to reach the roof, with the ladder leading down (left), at the bottom of the ladder is a chest with the wonderful Sword of Night and Flame. (right)
There are a lot more unique items to find here like Lorreta’s Greatbow (sorcery), Loretta’s Slash (Ash of War) dropped by the boss. As well as Carian Grandeur (Ash of War), Ice Crest Shield, Carian Piercer (sorcery) plus many more, so make sure to thoroughly explore every inch of the manor!
Carian Study Hall
From the Eastern Liurnia Lake Shore site of grace, follow the path east then south at the crossroads to reach Carian Study Hall.
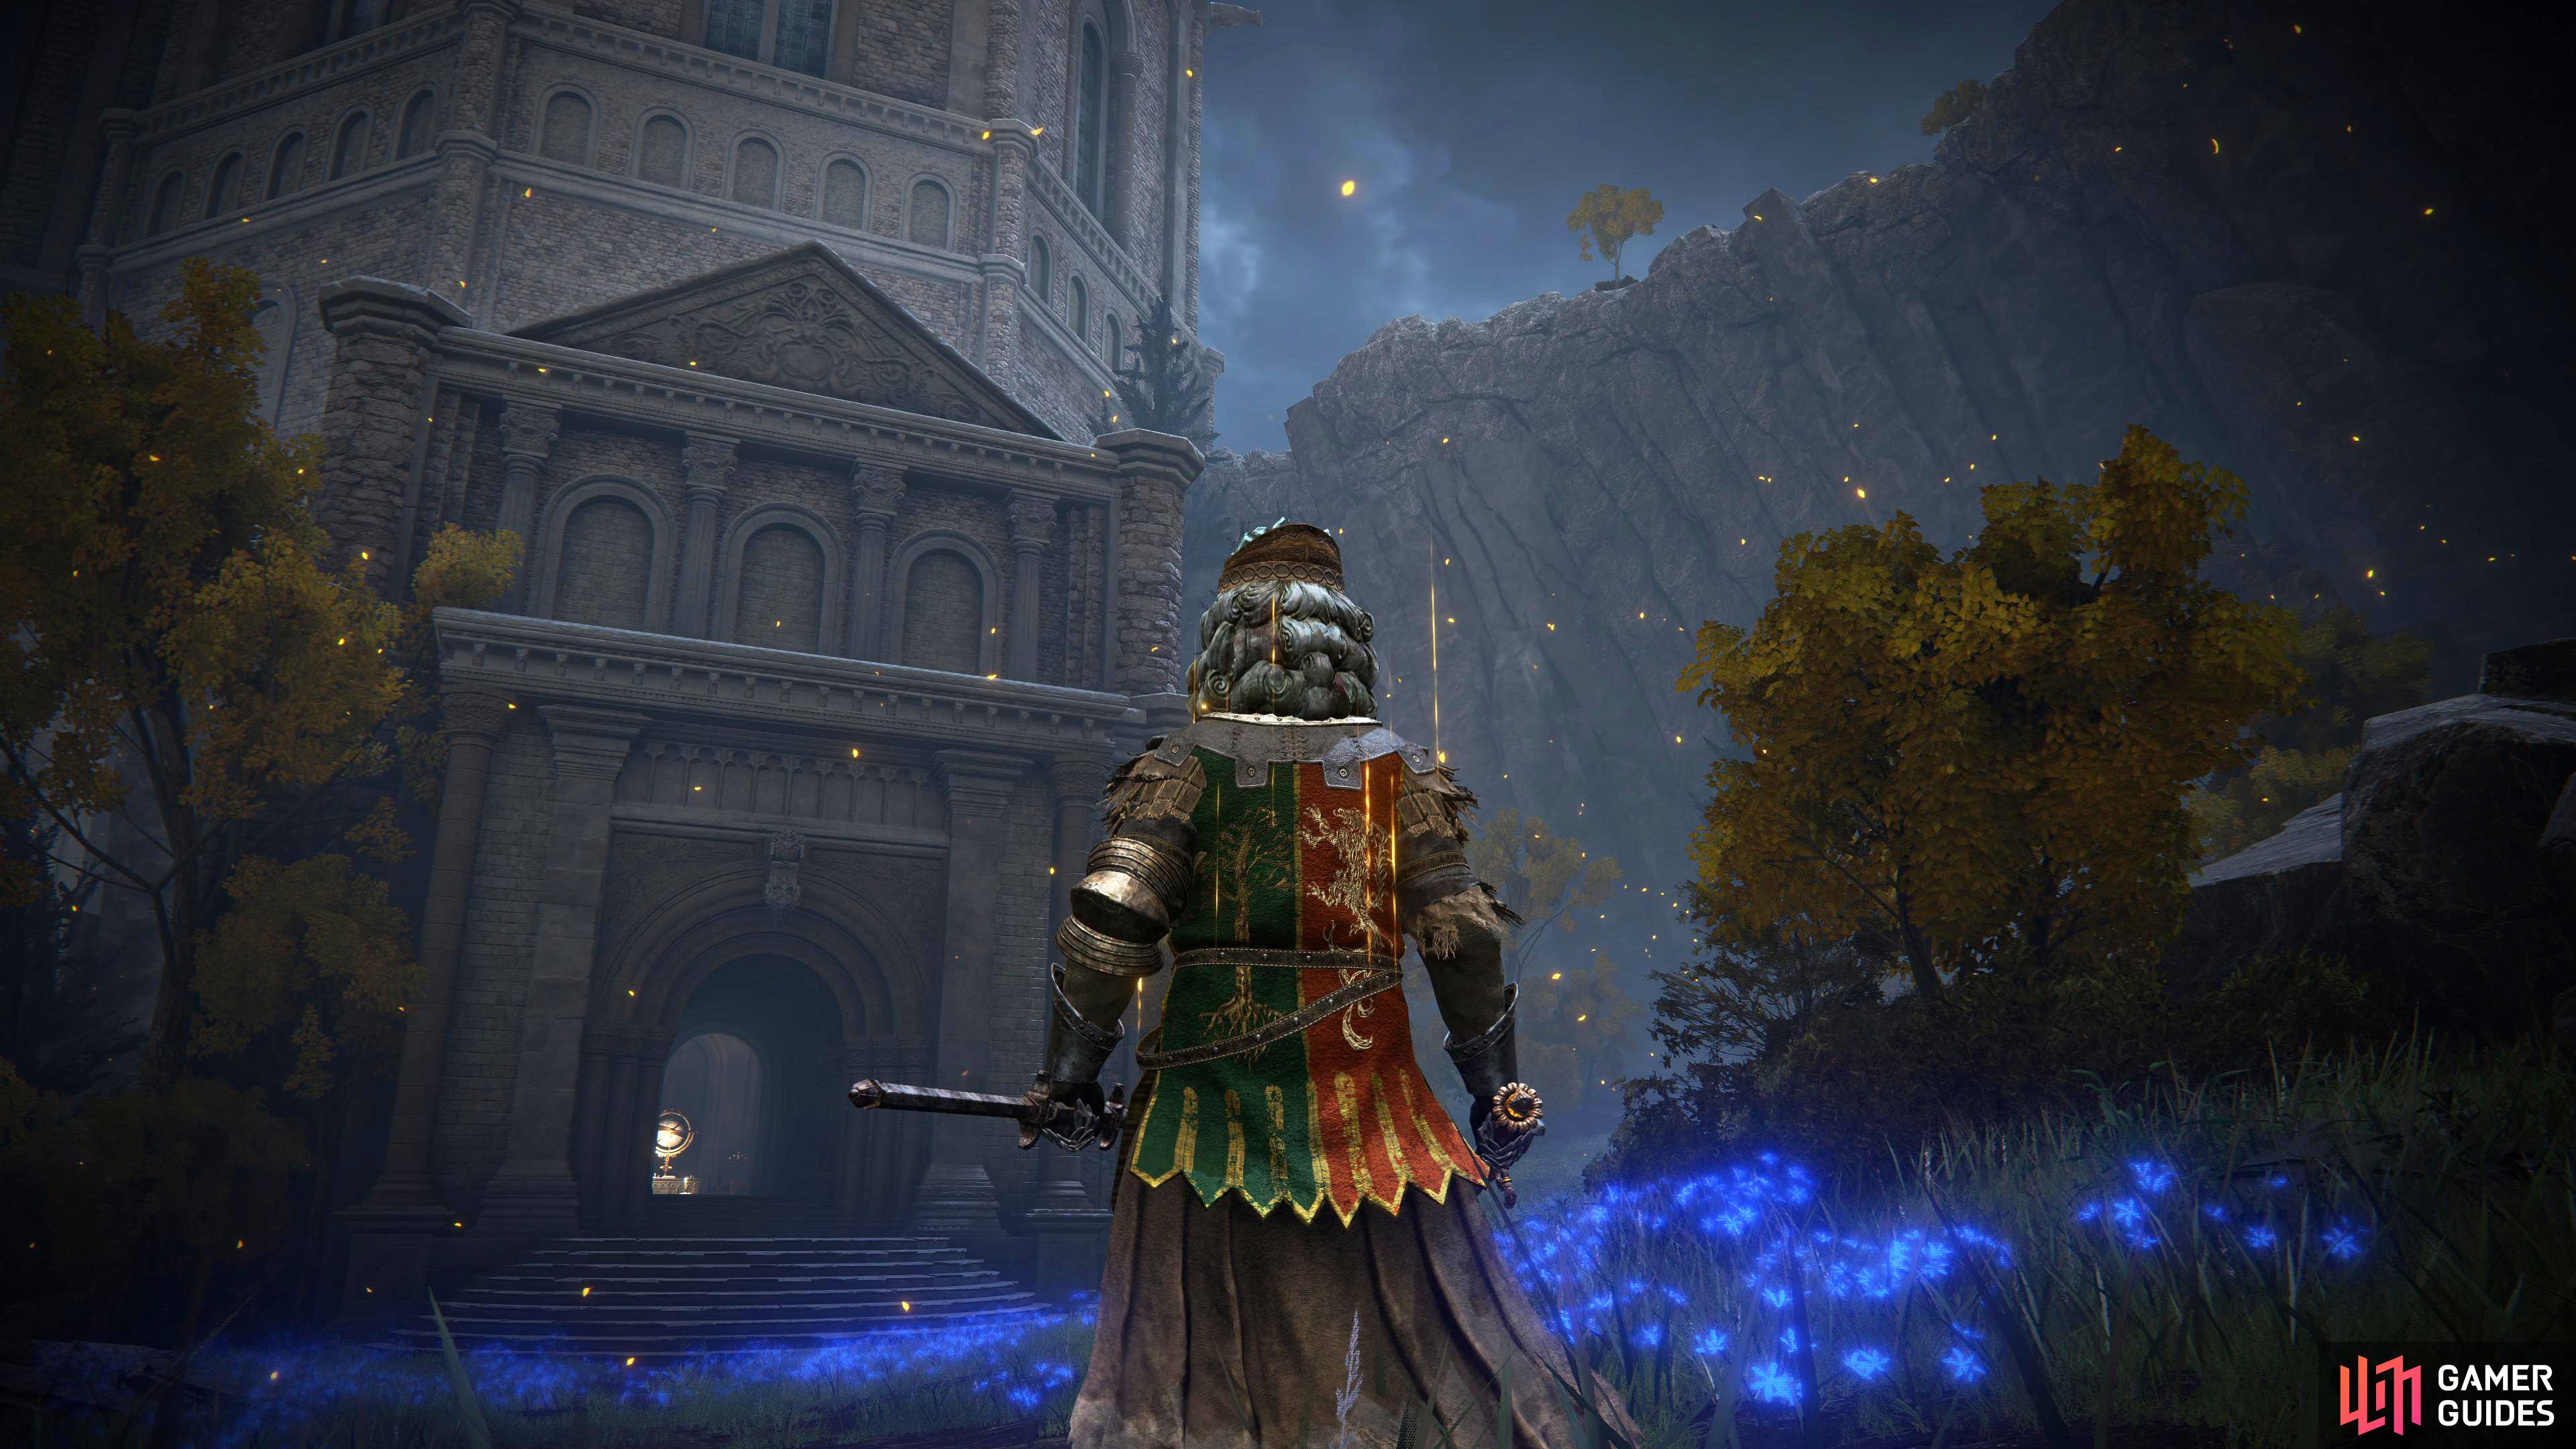
As a place brimming with knowledge, the Carian Study Hall is a large library with an extensive amount of books that has been archived for a considerable amount of time. Unfortunately, this brings about a broad amount of people and creatures with high intelligence. And where this is high intelligence, sorcery normally follows. Enter Preceptor Miriam, the most irritating sorcerer in the Lands Between. You’ll have to fight her step-by-step up the tower whilst she bombards you with sorceries. She does reward you with the Magic Downpour sorcery upon defeat for your troubles.
You’ll need to defeat a giant Carian Knight to get to the entrance of the hall.
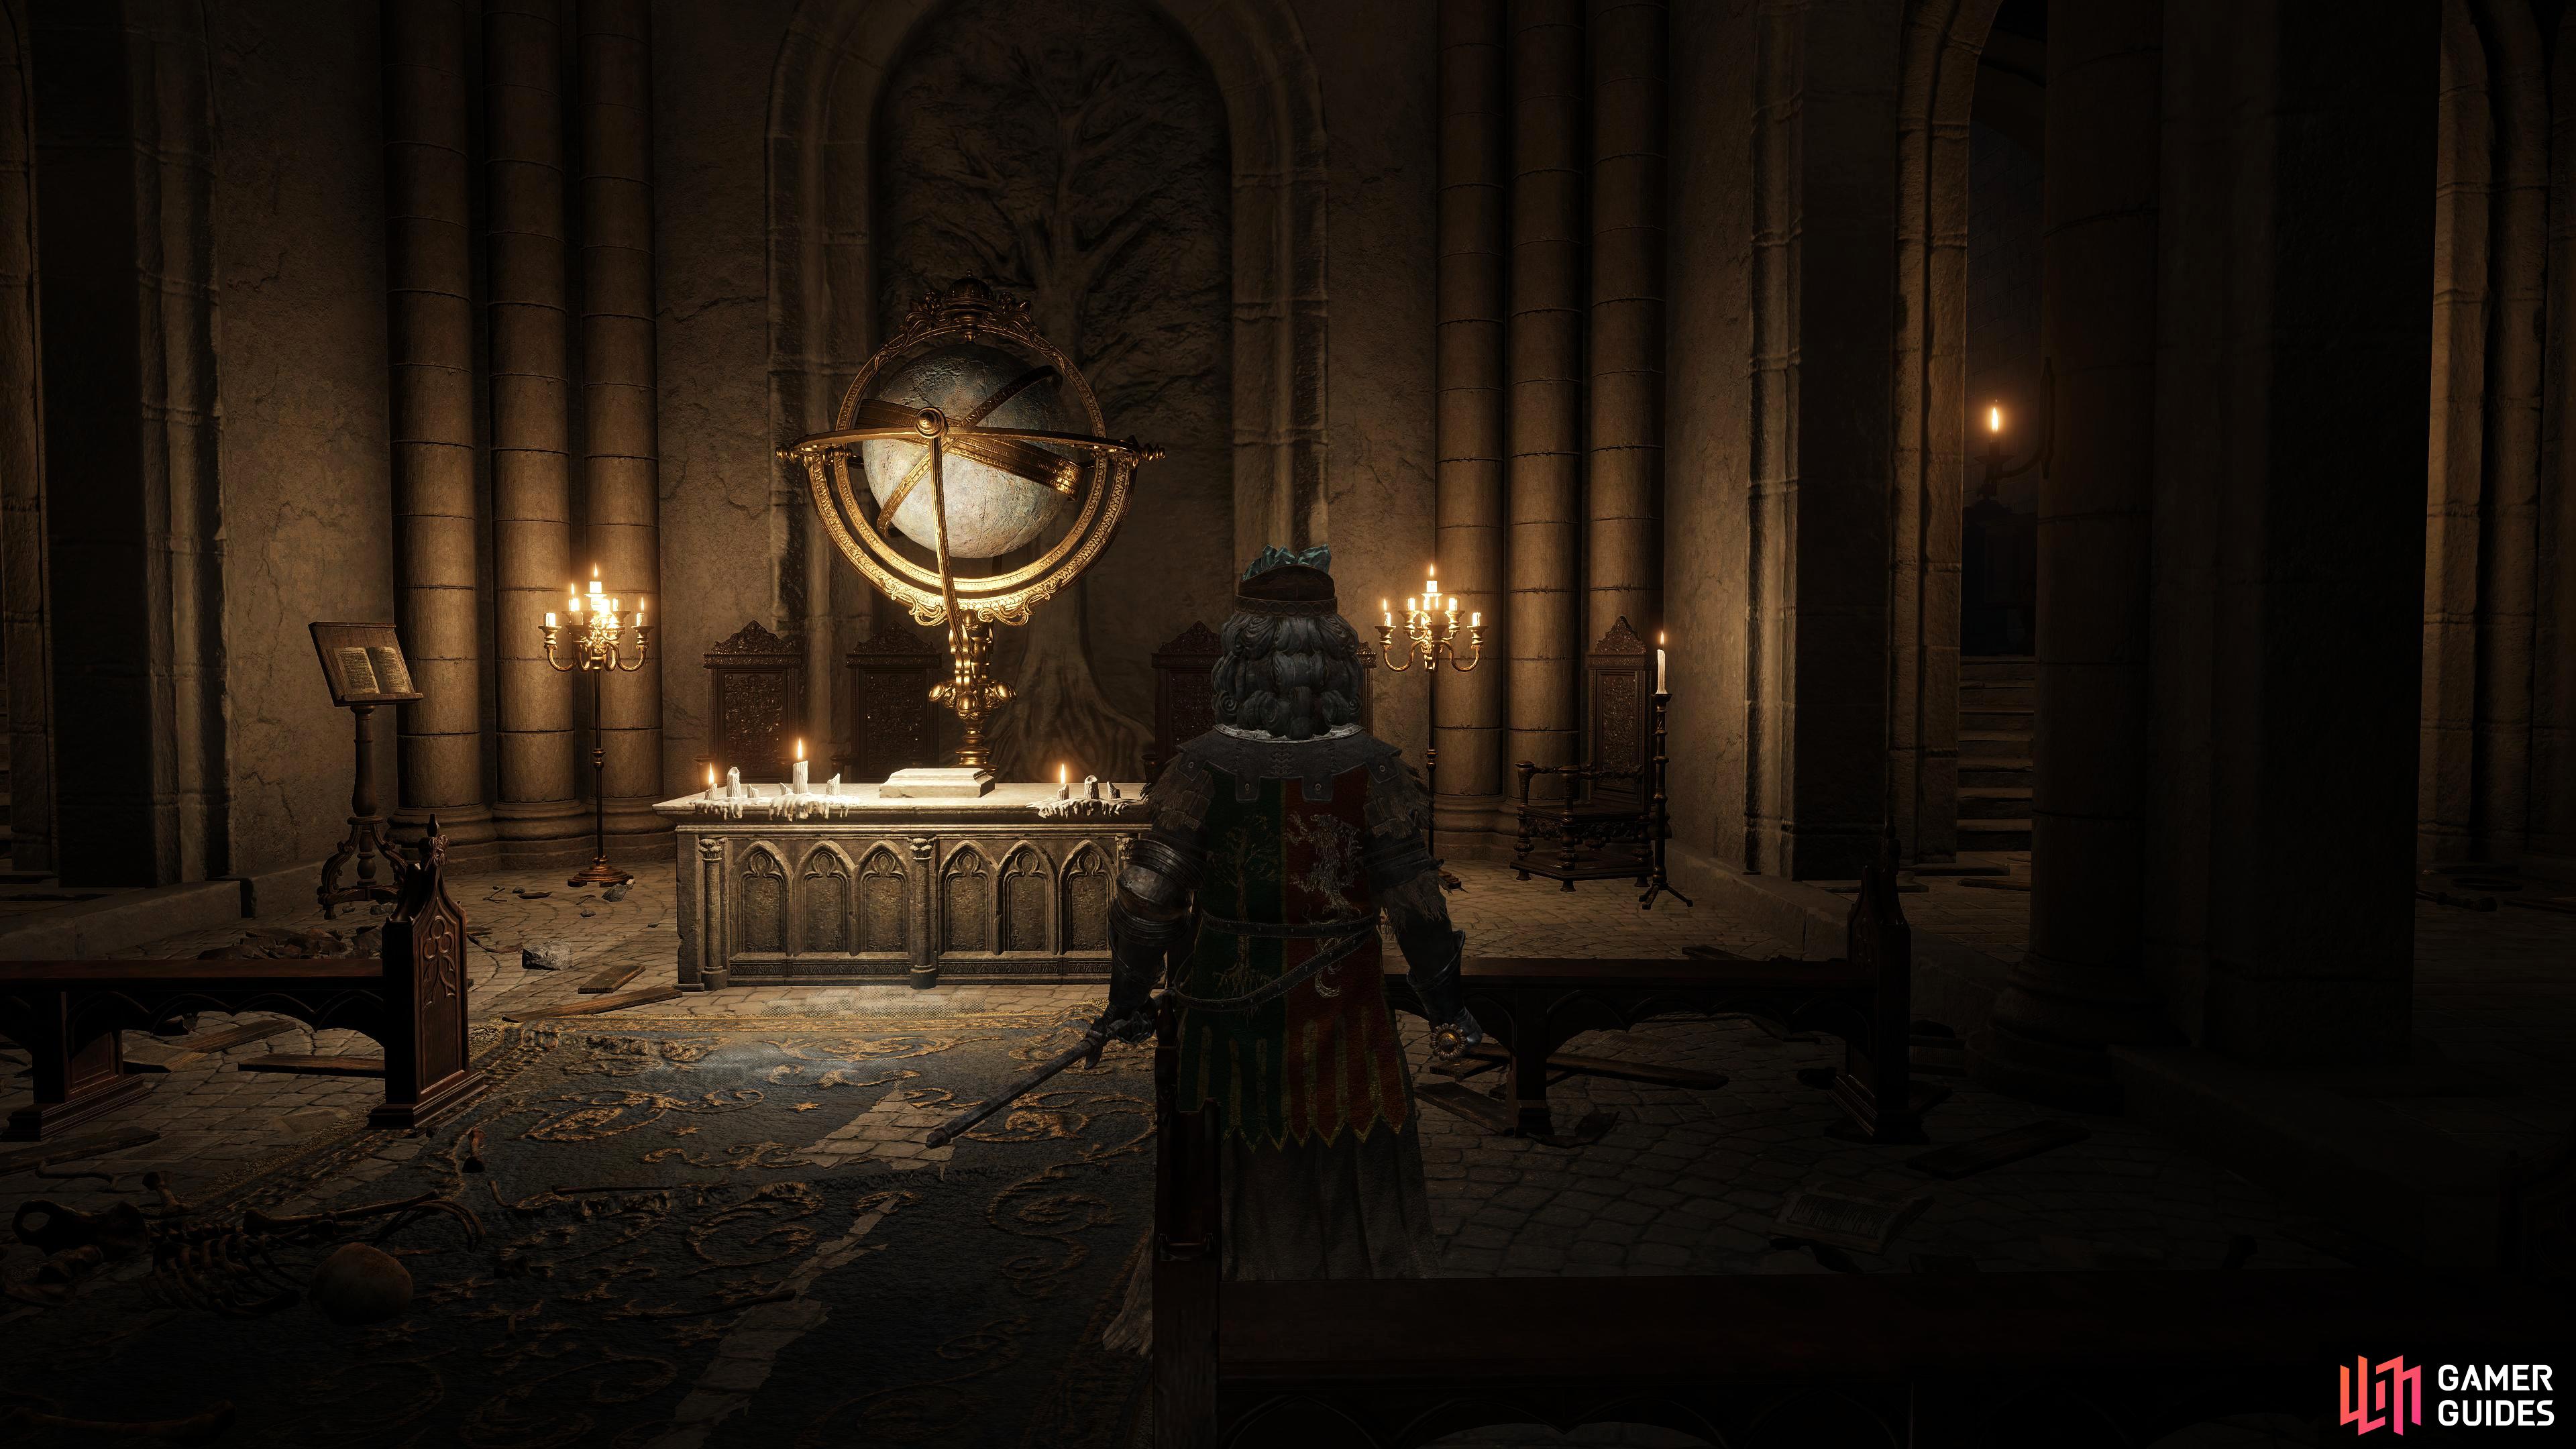
You’ll need to travel here if you have any intention on going to the Divine Tower of Liurnia which can only be accessed by progressing Ranni’s quest line enough to obtain the Carian Inverted Statue. Once the statue is placed on the desk at the beginning, you’ll have access to an inverted hidden area.
Place the Carian Inverted Statue you get from Ranni on this desk to transform the area.
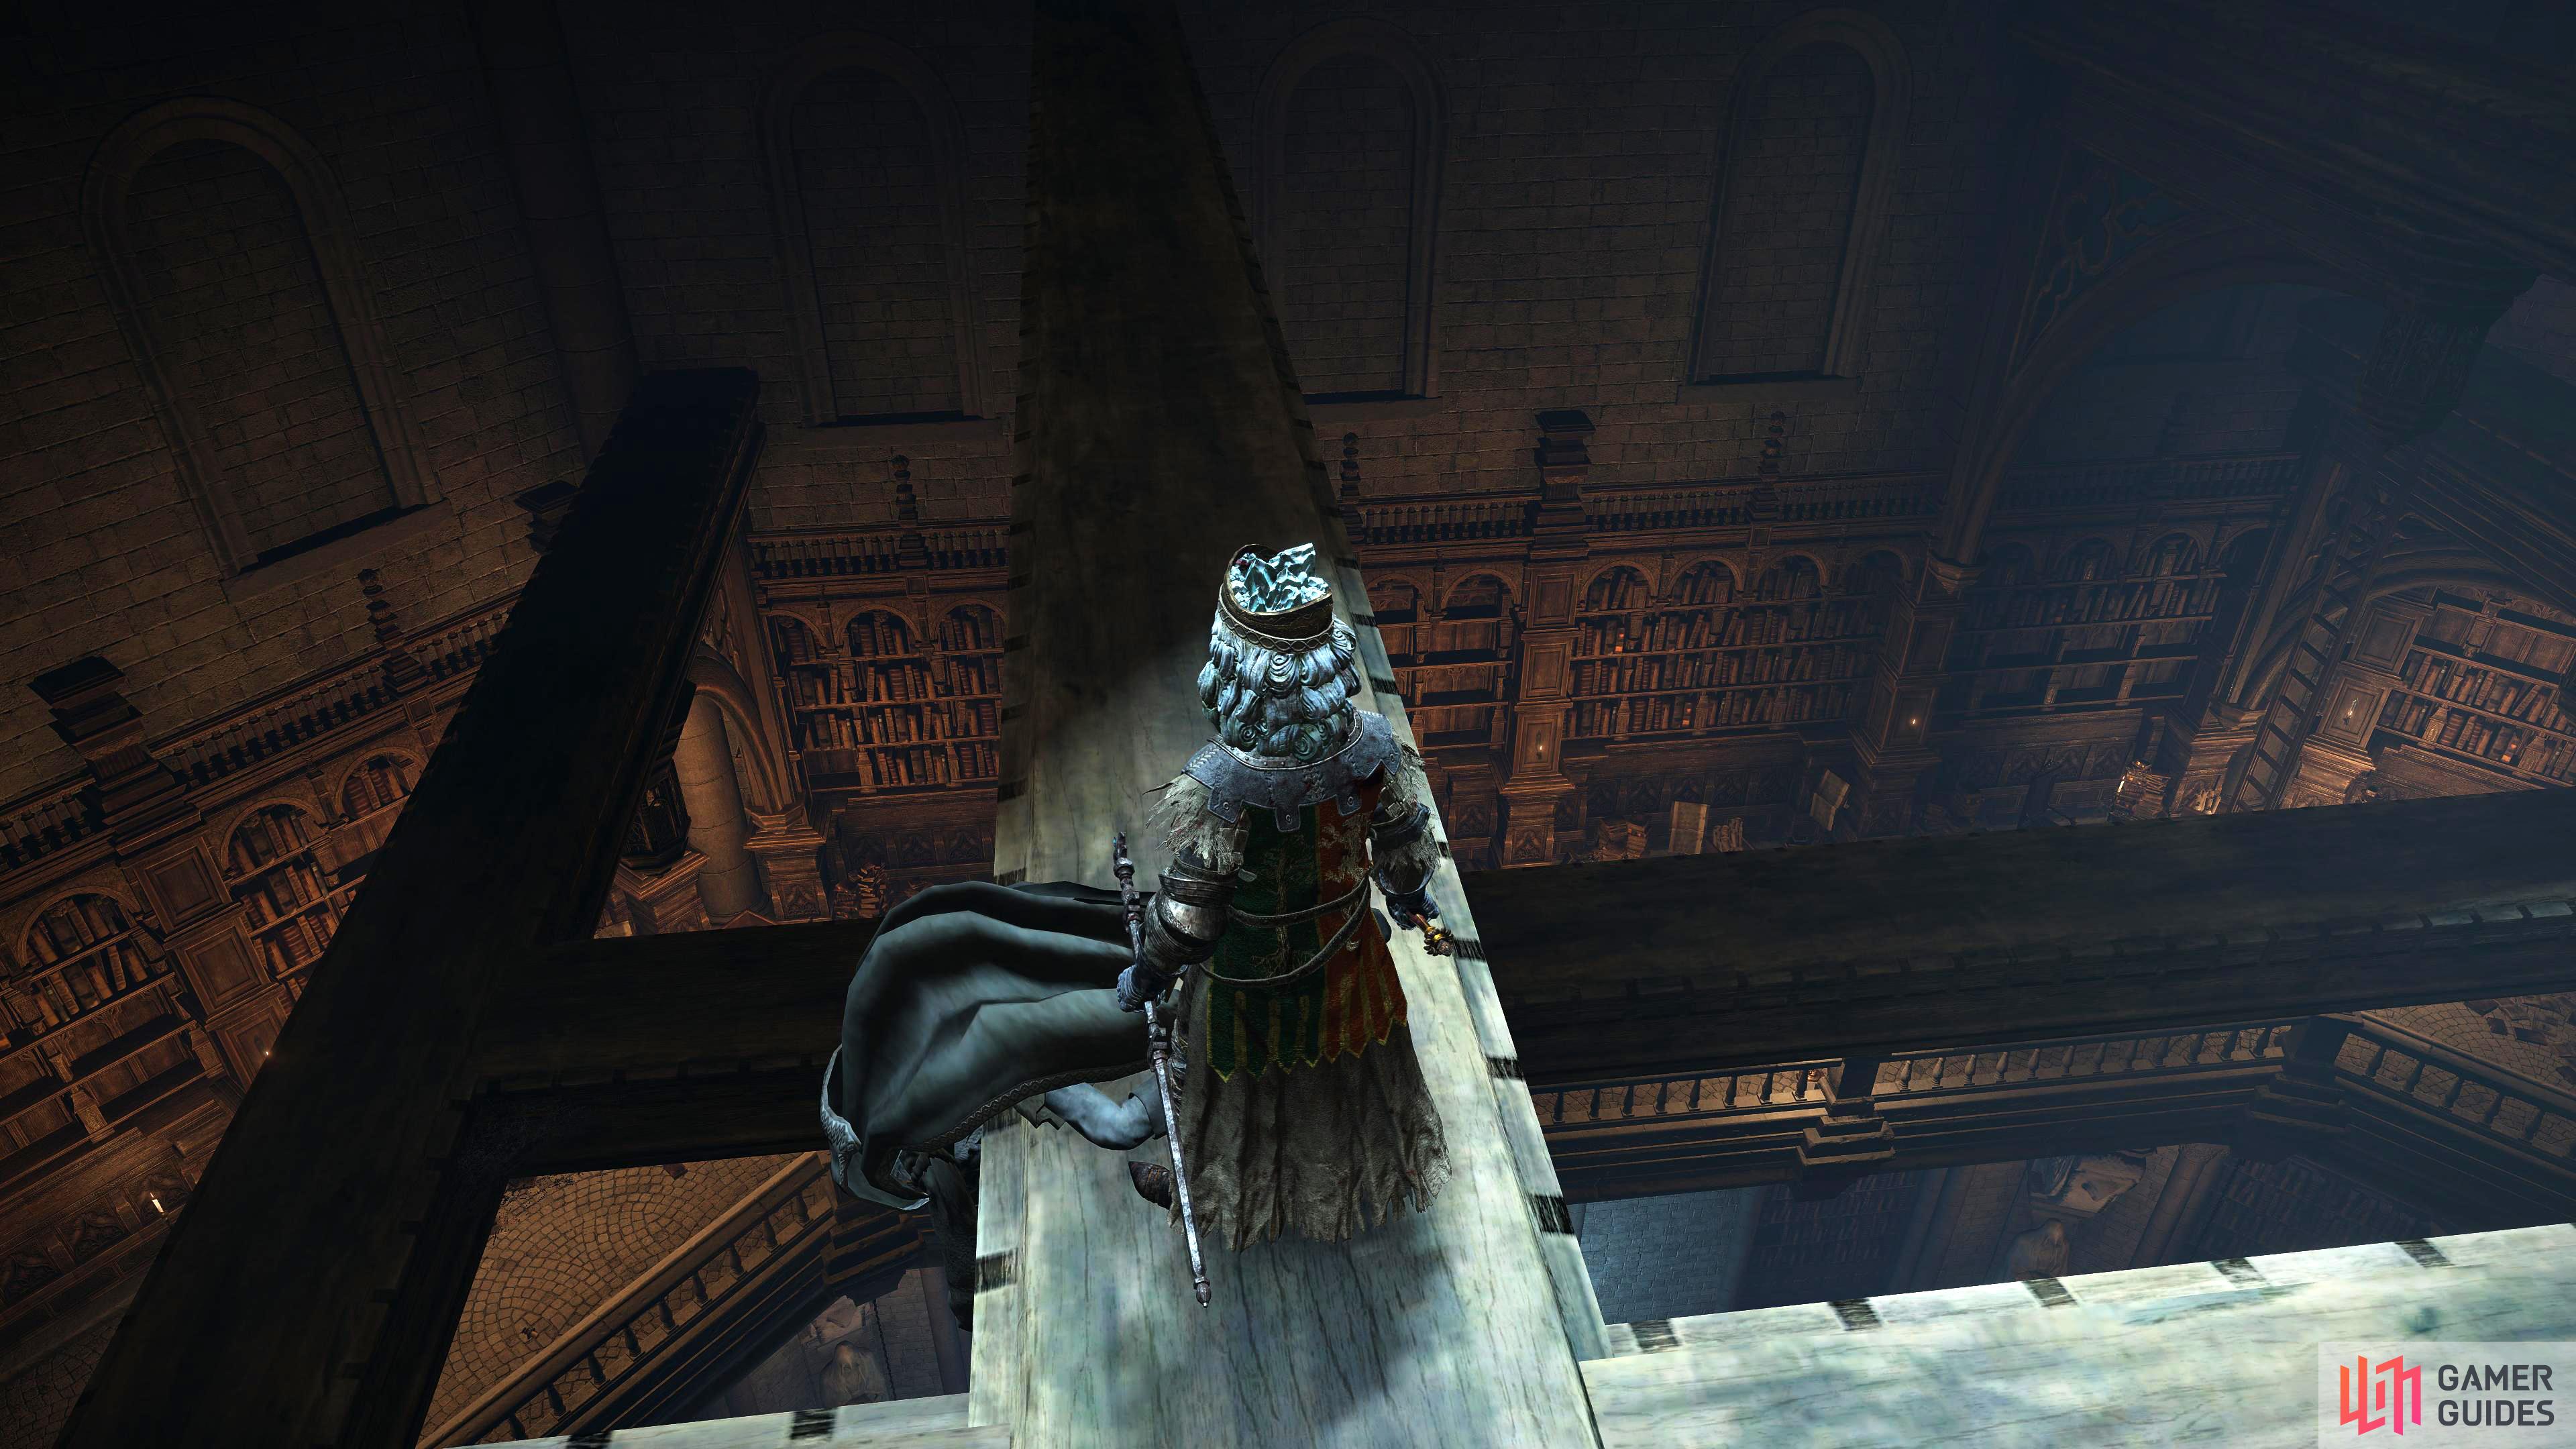
Other than the Cerulean Seed Talisman which is on top of the rafters reached by climbing a ladder on the top floor, and the Carian Glintblade Staff which is in a chest on the top floor. There’s not a lot of loot in this tower. If you progress Ranni’s quest enough, Preceptor Selvius will appear here to fight, but this is only once you have given Ranni the Fingerslayer Blade.
The Cerulean Seed Talisman is found on the body leaning over the rafter. You’ll need to climb two ladders to reach this poor soul.
Cathedral of Manus Celes
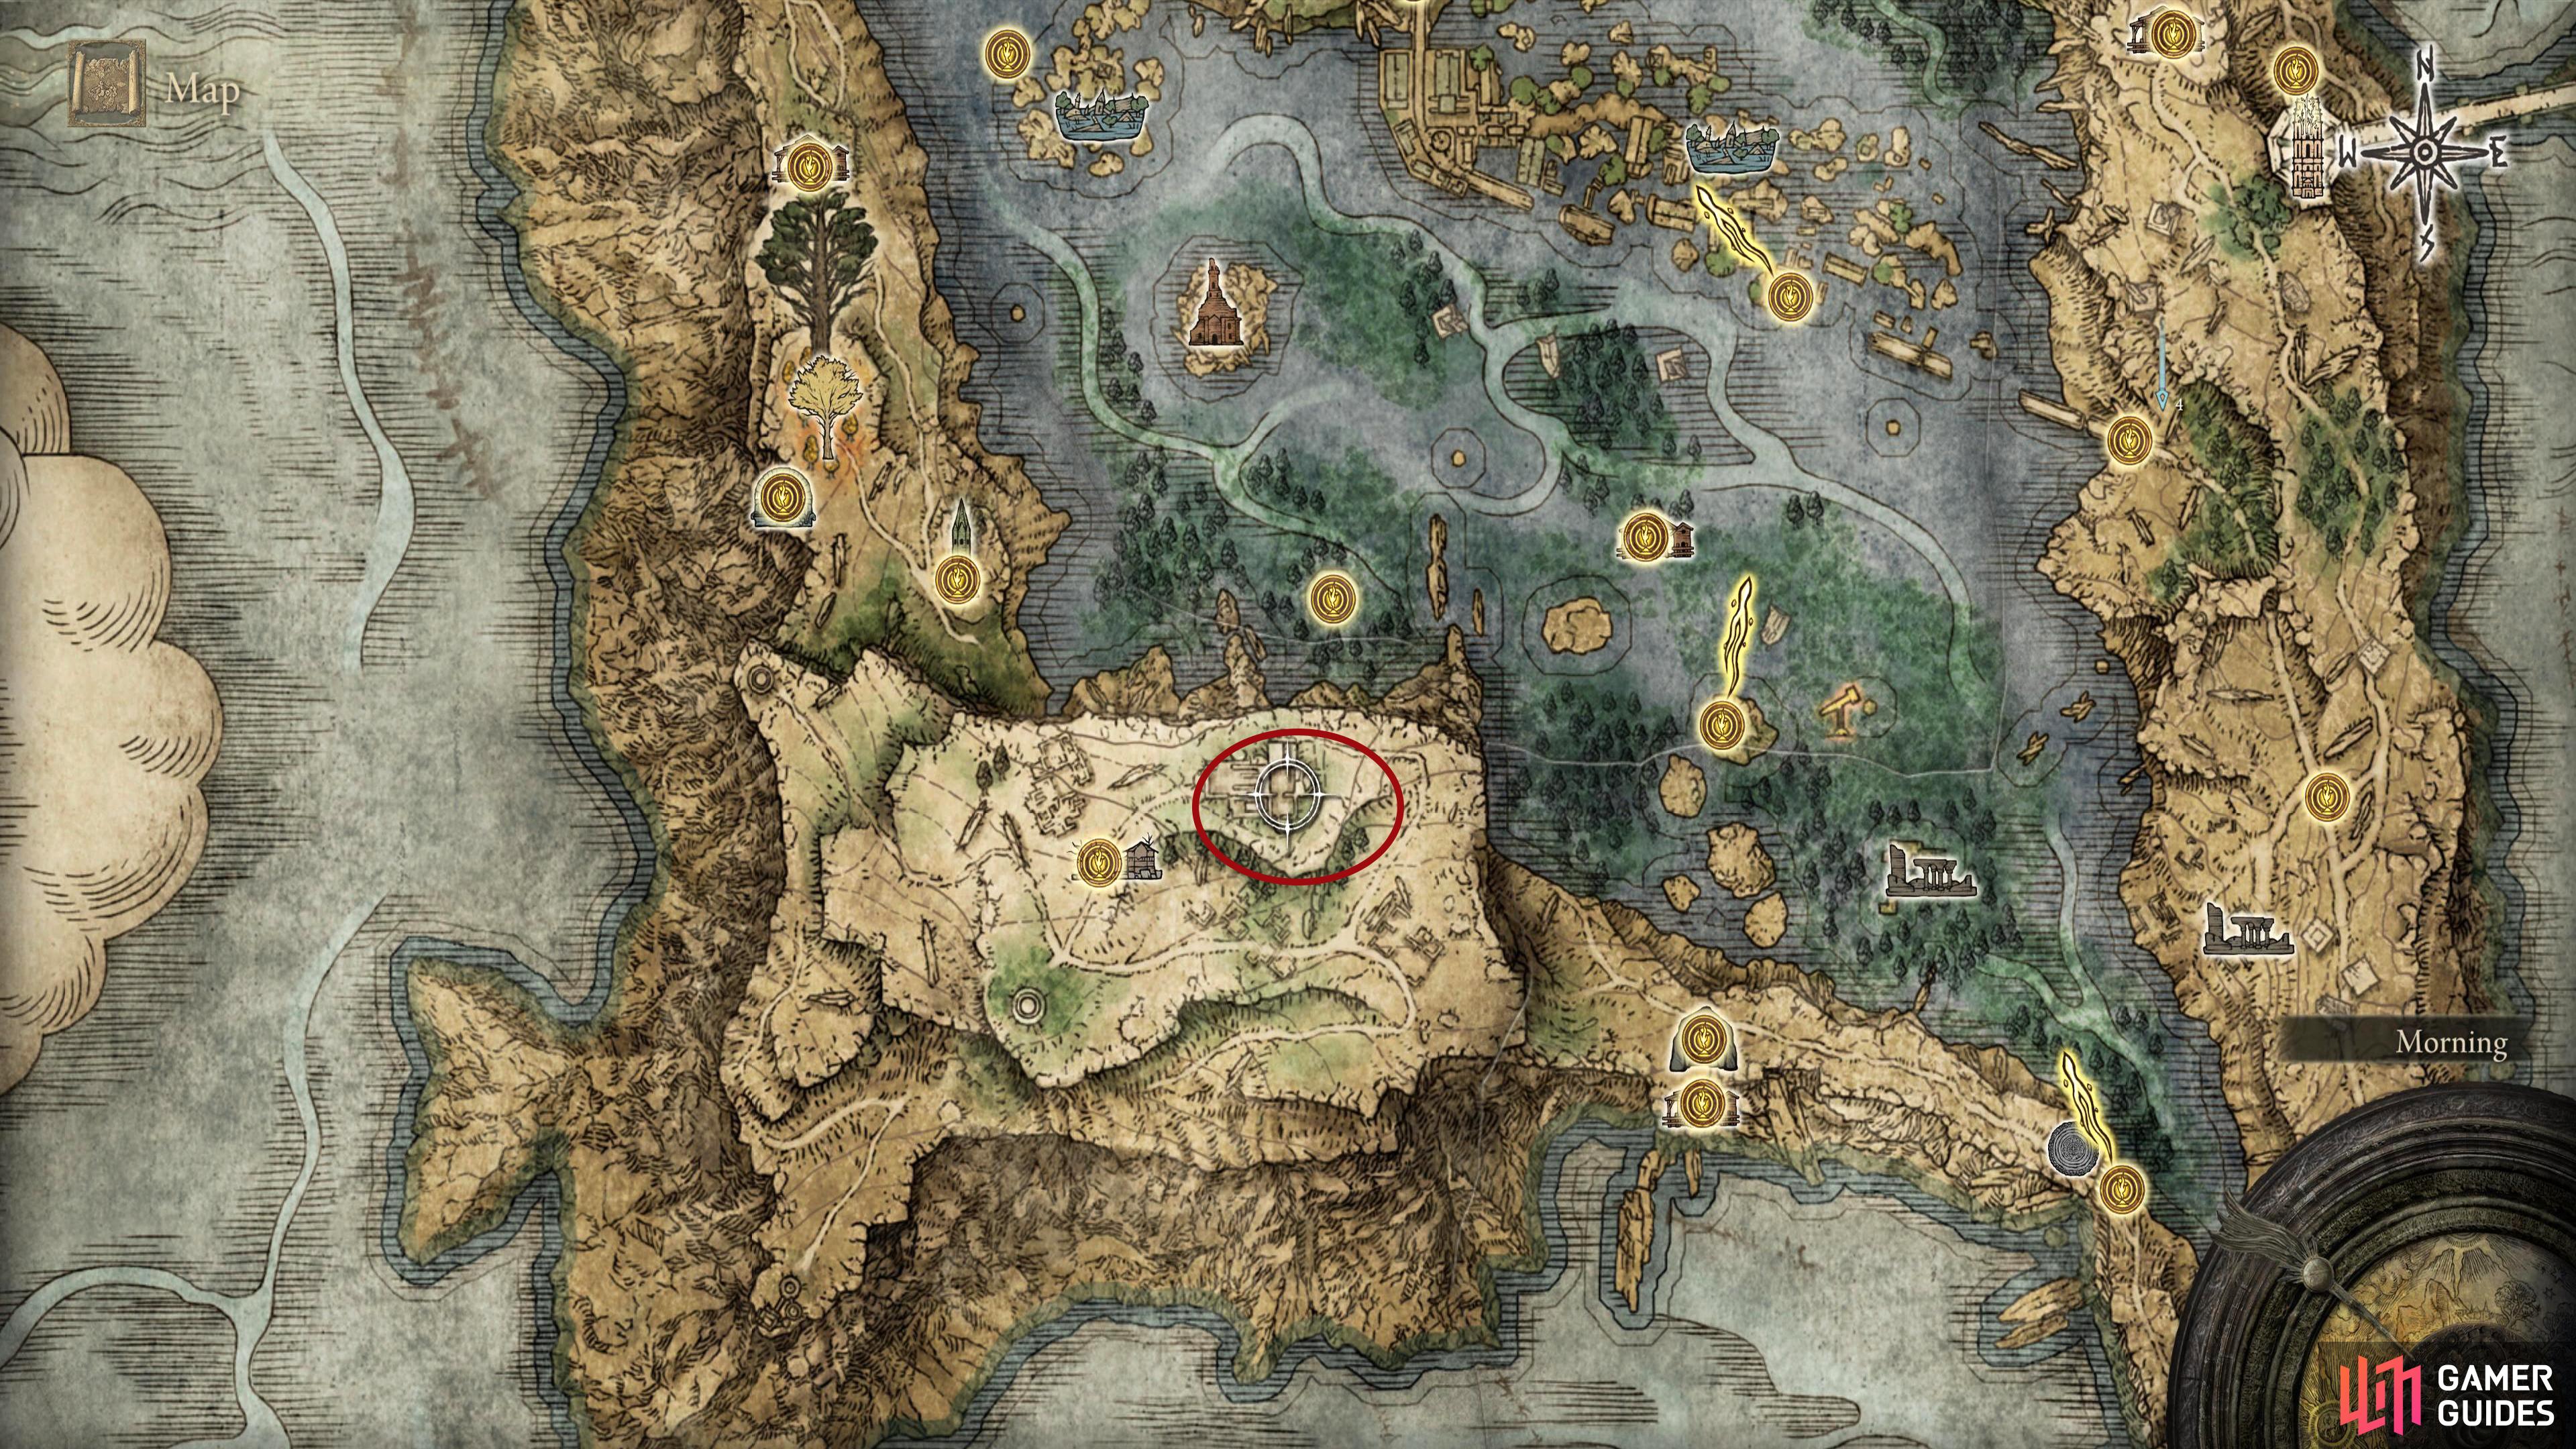
The cathedral of Manus Celes is above and to the east of the Village of Albinaurics. Only accessible by following Ranni’s quest line.
On the far northeastern plateau lies the mysterious Cathedral of Manus Celes that can only be reached after progressing Ranni’s quest line enough. There are a couple of excellent items to obtain here, one being the Adula’s Moonblade sorcery, which is your reward for defeating the boss Glintstone Dragon Adula. The other item is the much coveted Dark Moon Greatsword which is a reward for completing Ranni’s quest. It’s worth noting that a Dragon Heart can be found here.
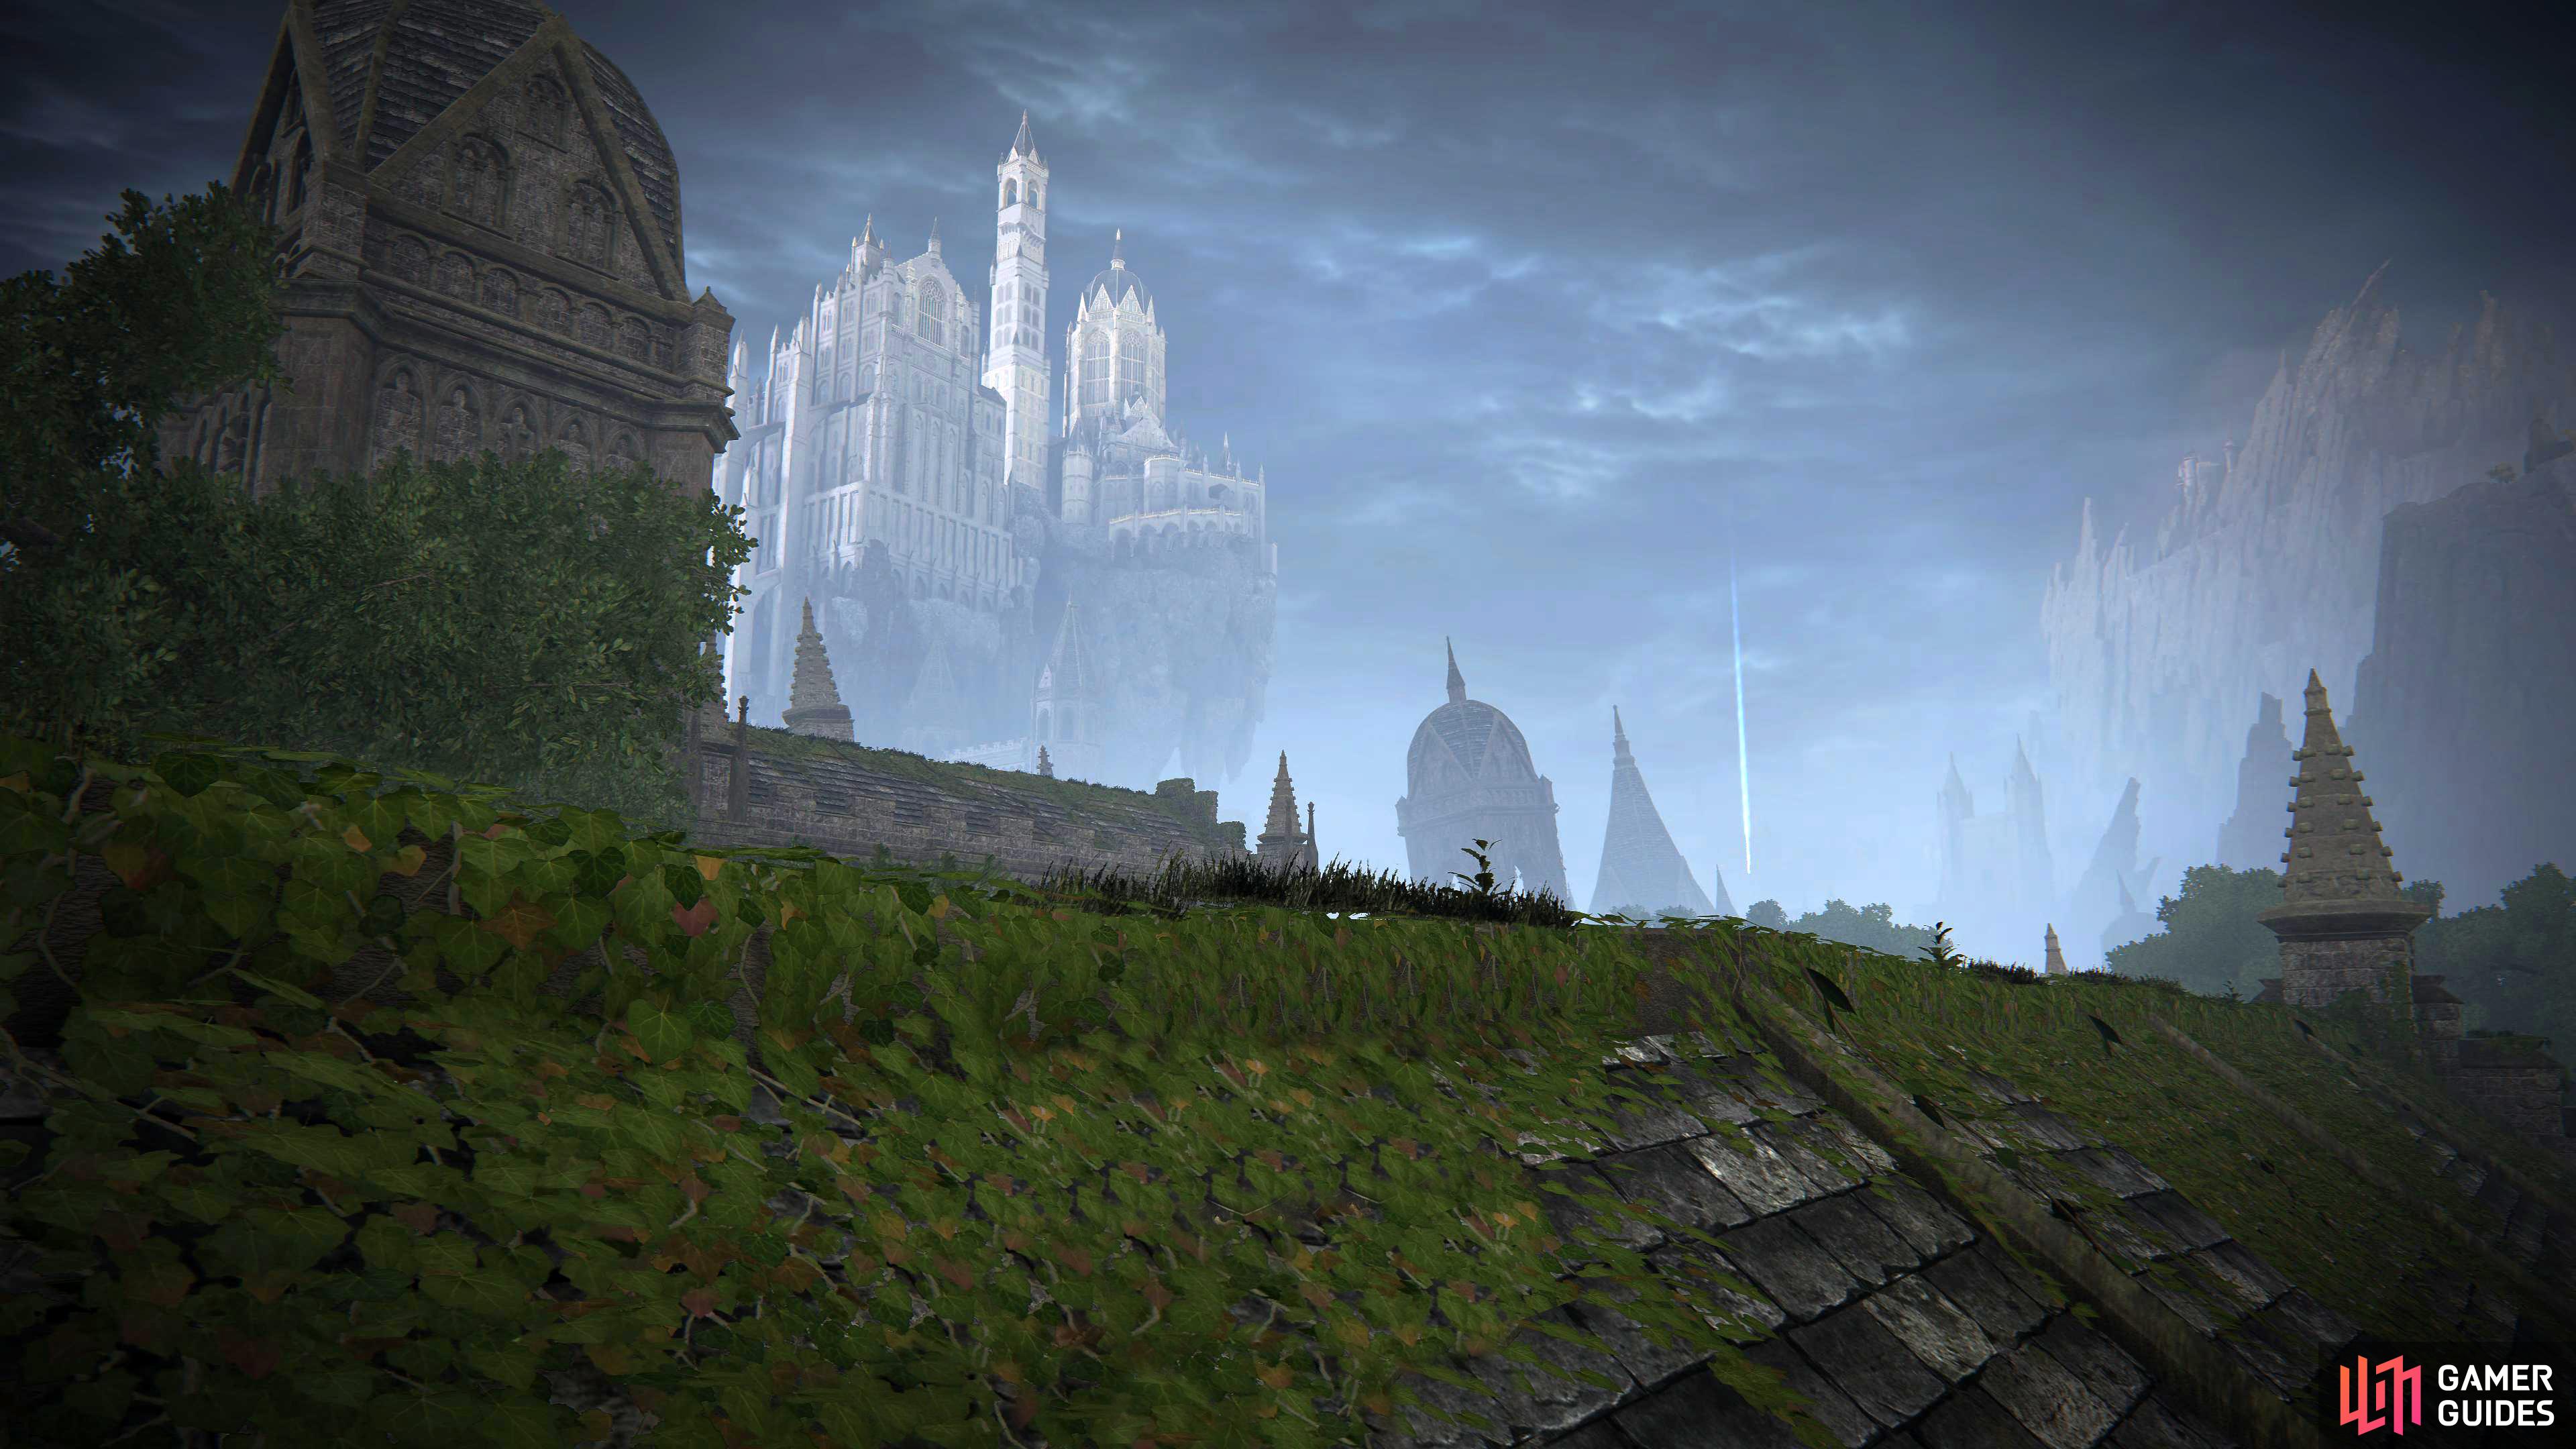
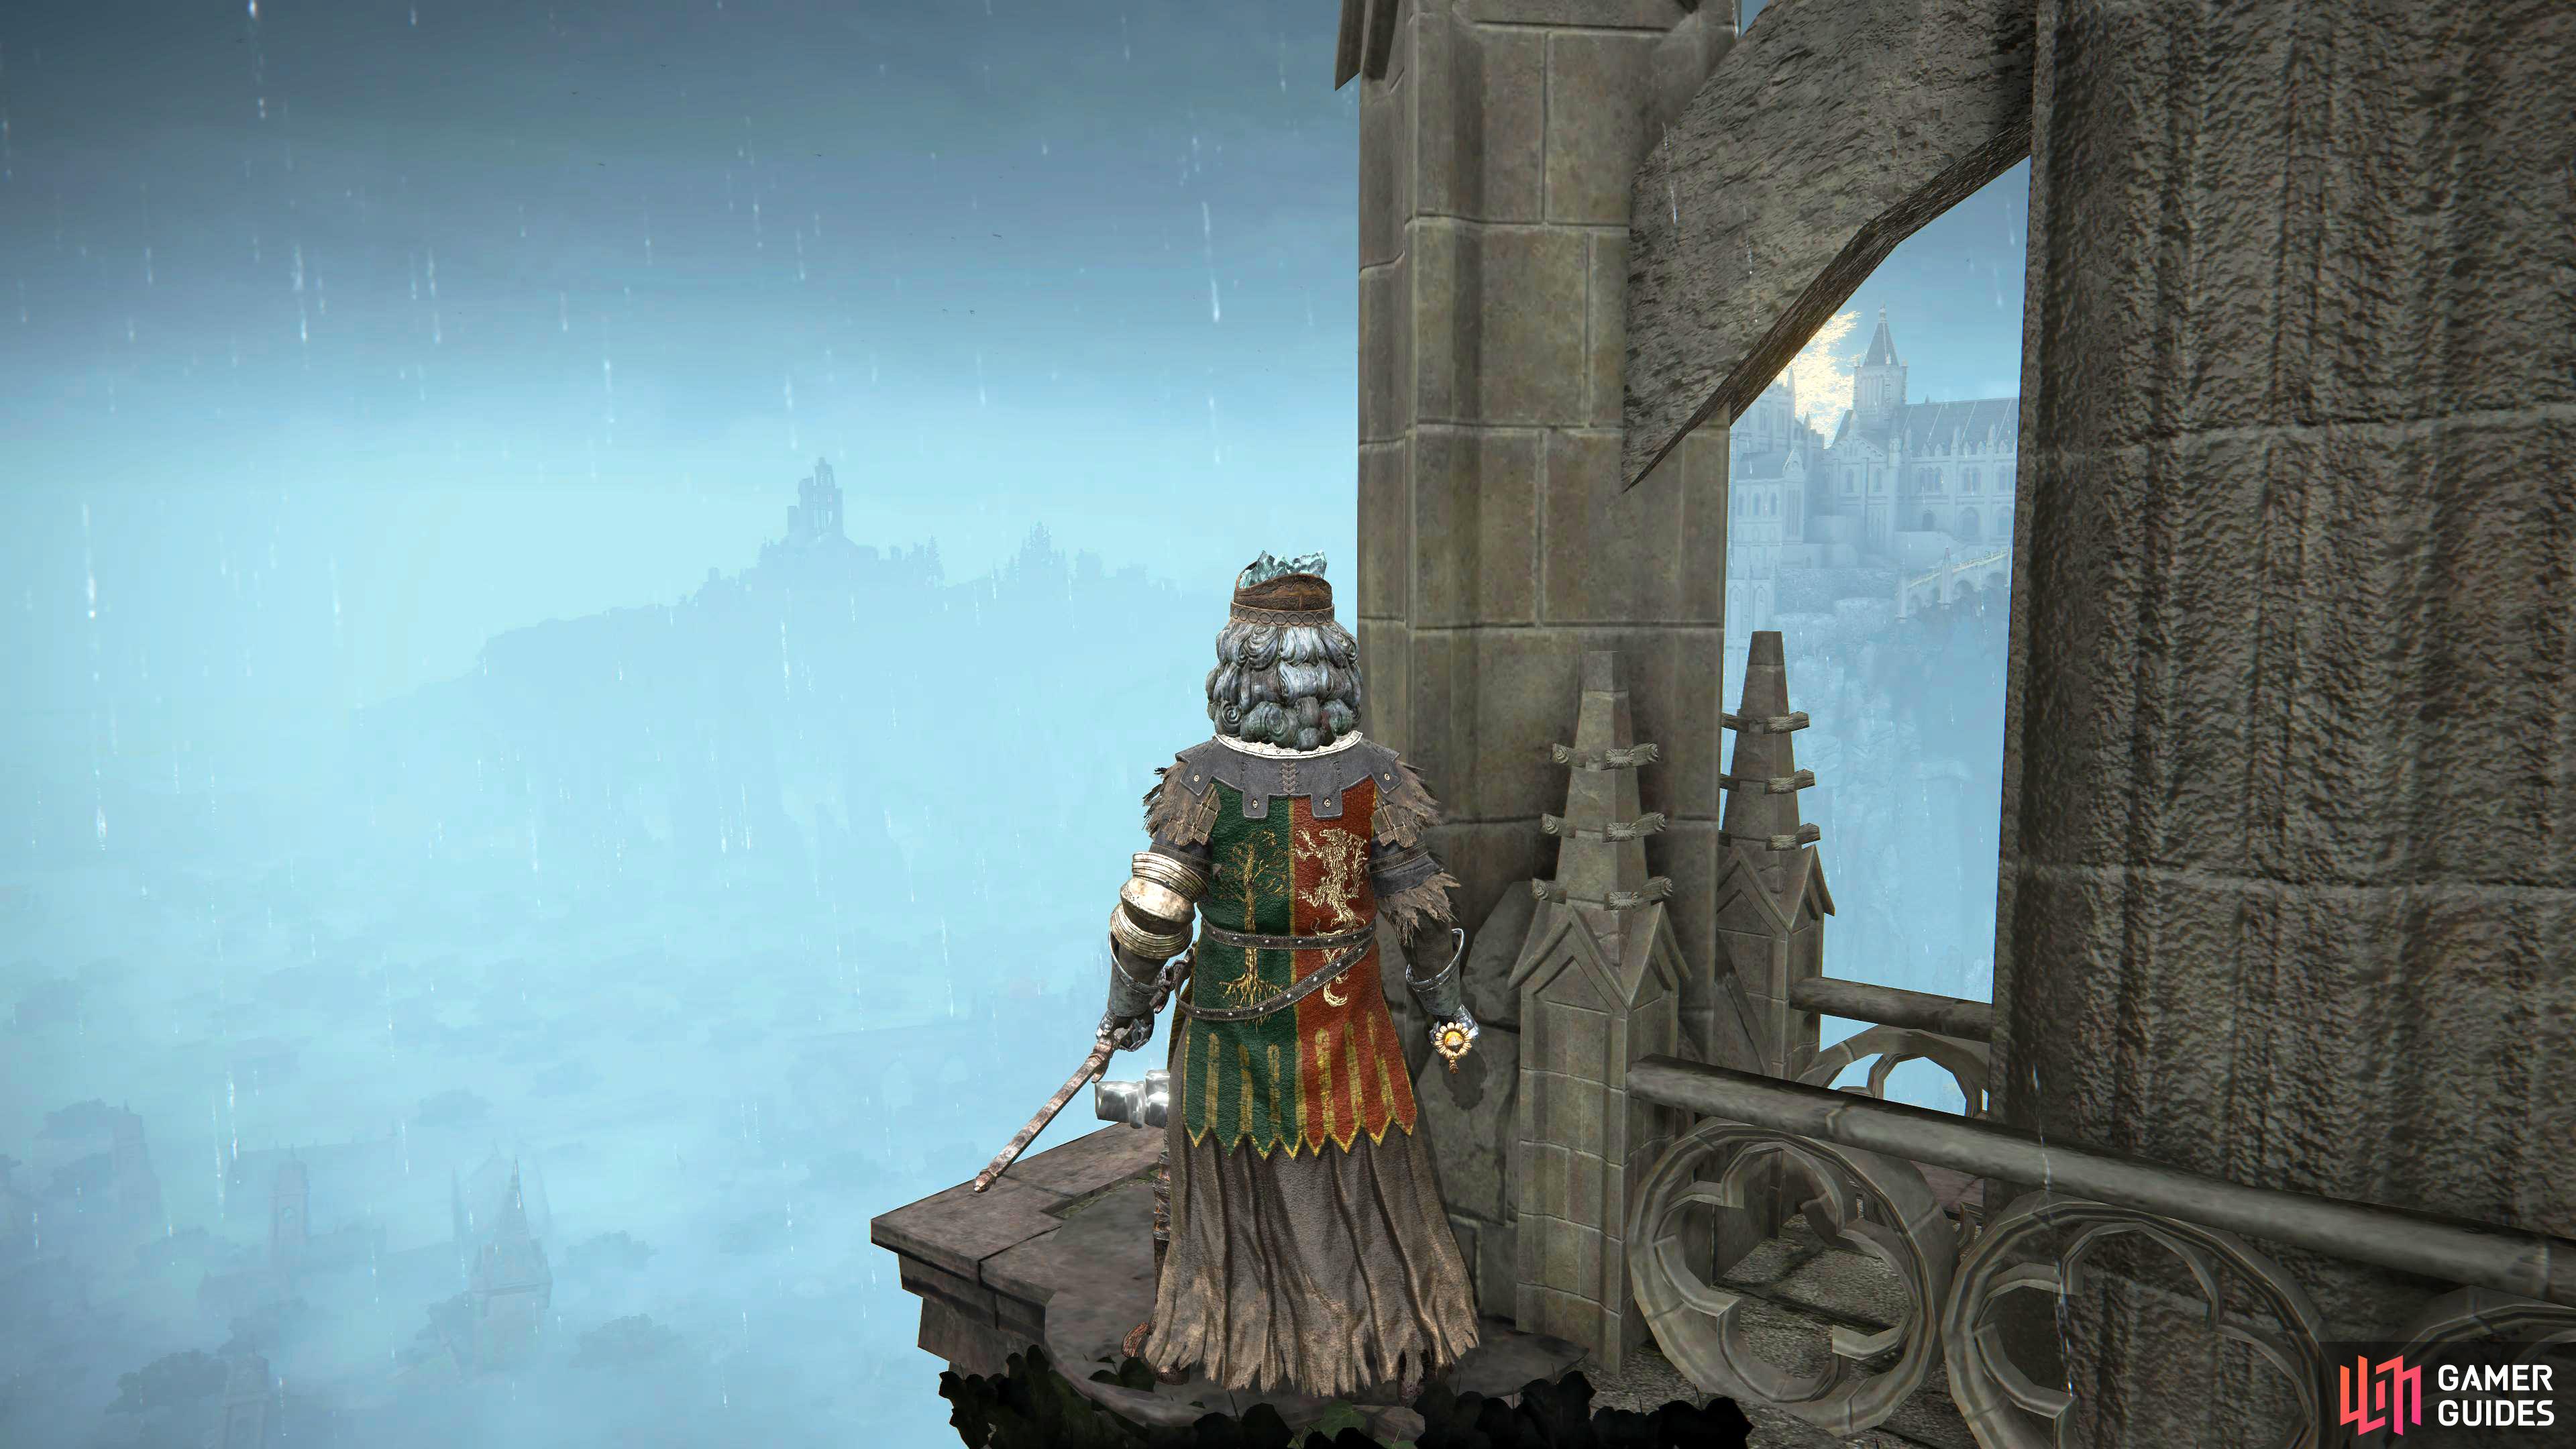
You can see the cathedral in the distance from the Church of Vows.





 Sign up
No Comments