During a visit to your Headquarters, you hear some exclamations that a monster has appeared inside the town. It turns out this monster is really one of the Treefolk, who ran away from his home to experience the outside world. This leads you to the Treefolk Village, where you eventually have to head to the Proving Grounds, which is another of the Runebarrows. This dungeon can be confusing, as you need to rotate parts of it to get to the deepest parts. It is also a little dangerous, as some enemies are very annoying and you will be fighting two sets of bosses at the end of it.
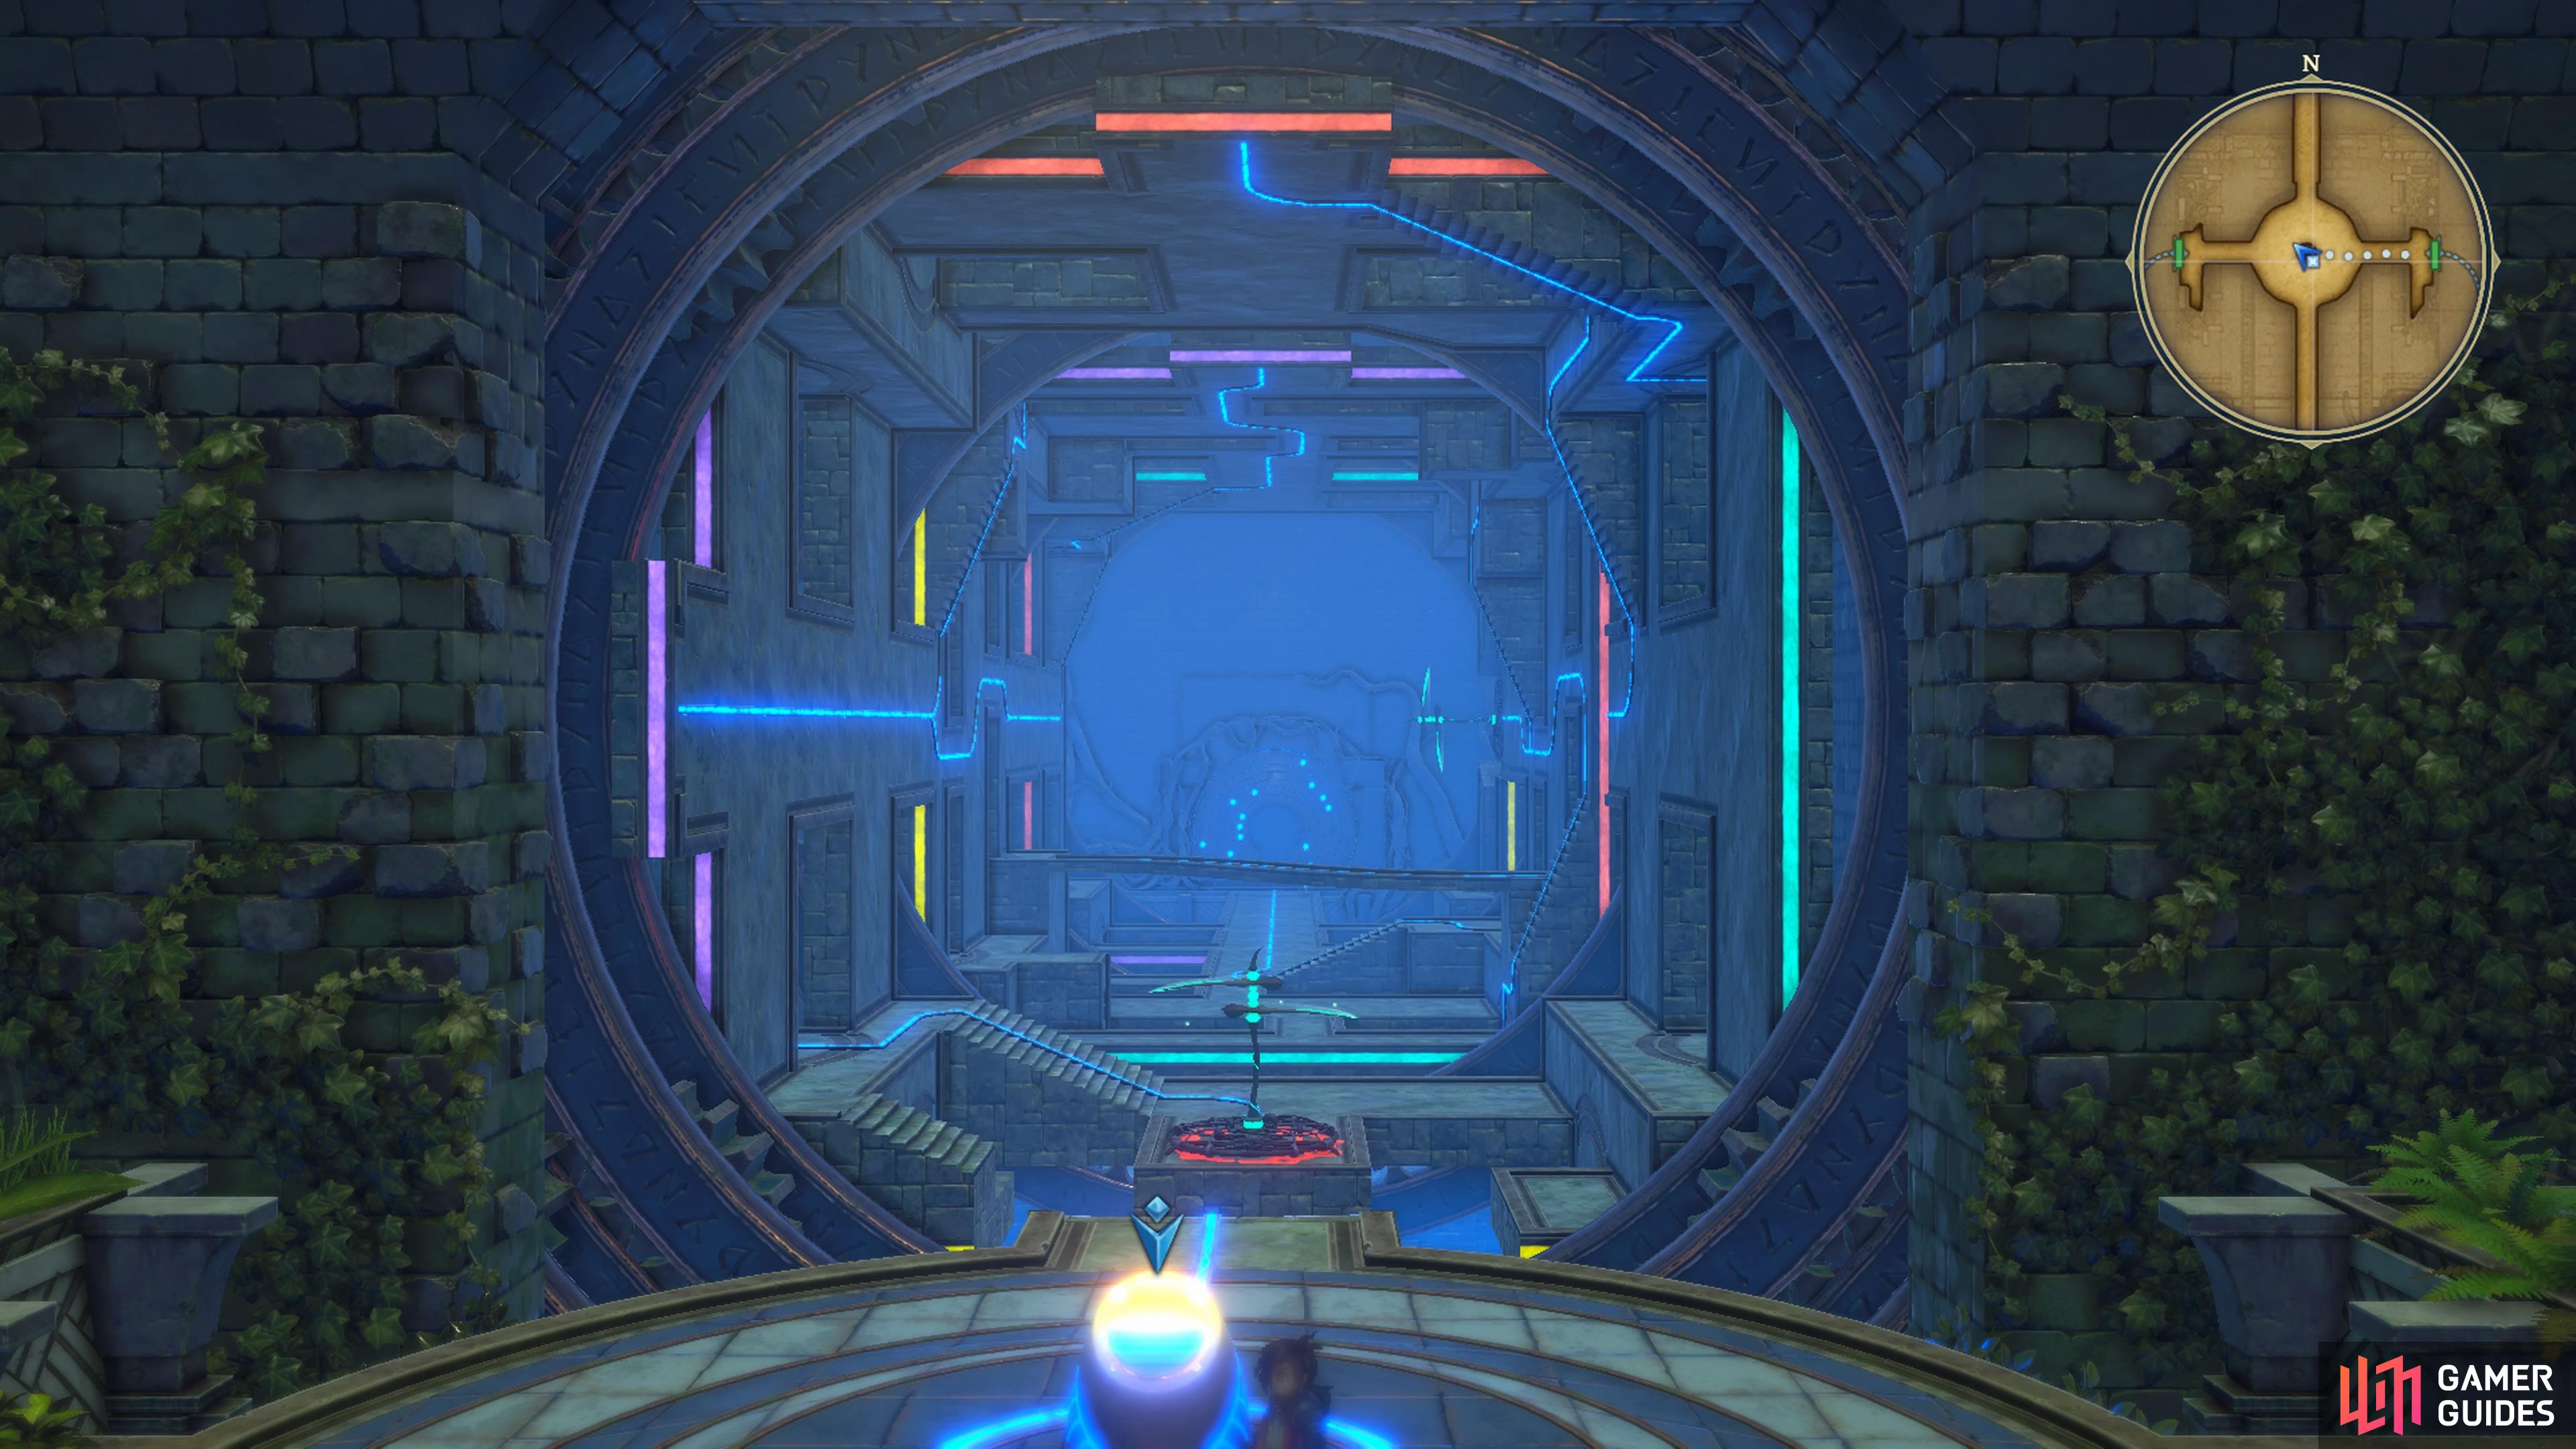
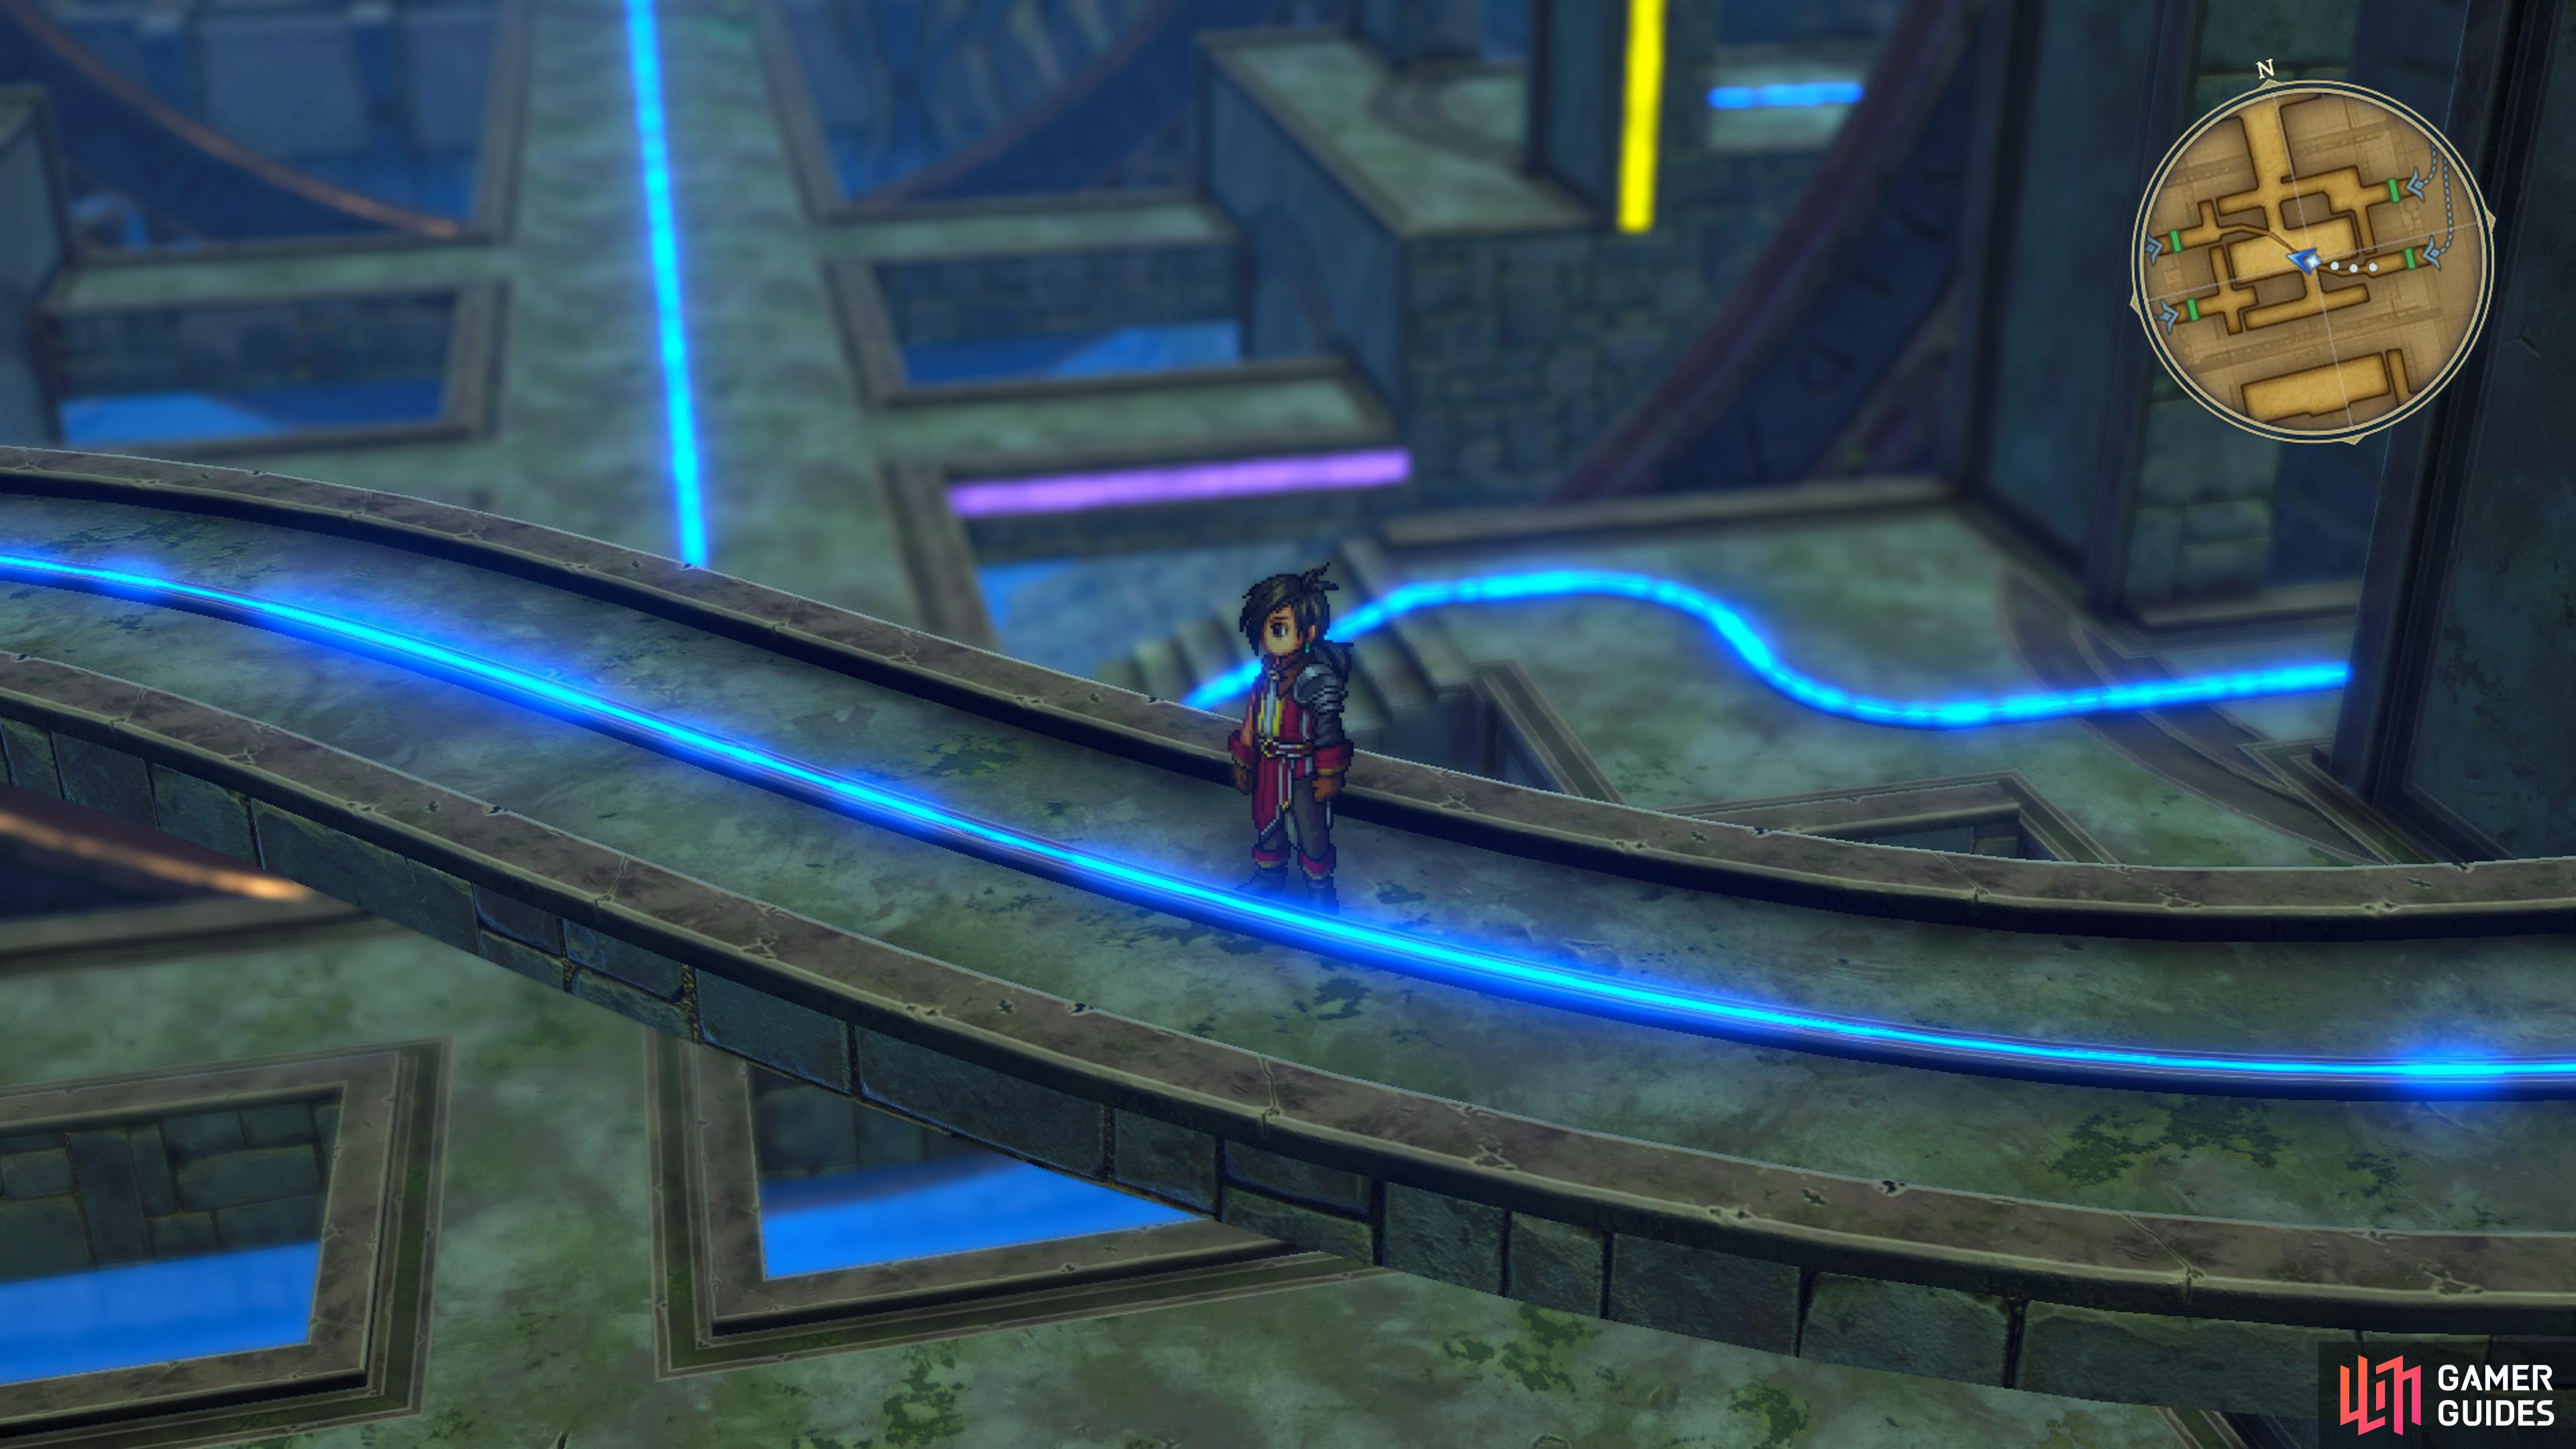
The Proving Grounds can be a confusing dungeon to navigate.
Enemies in Proving Grounds
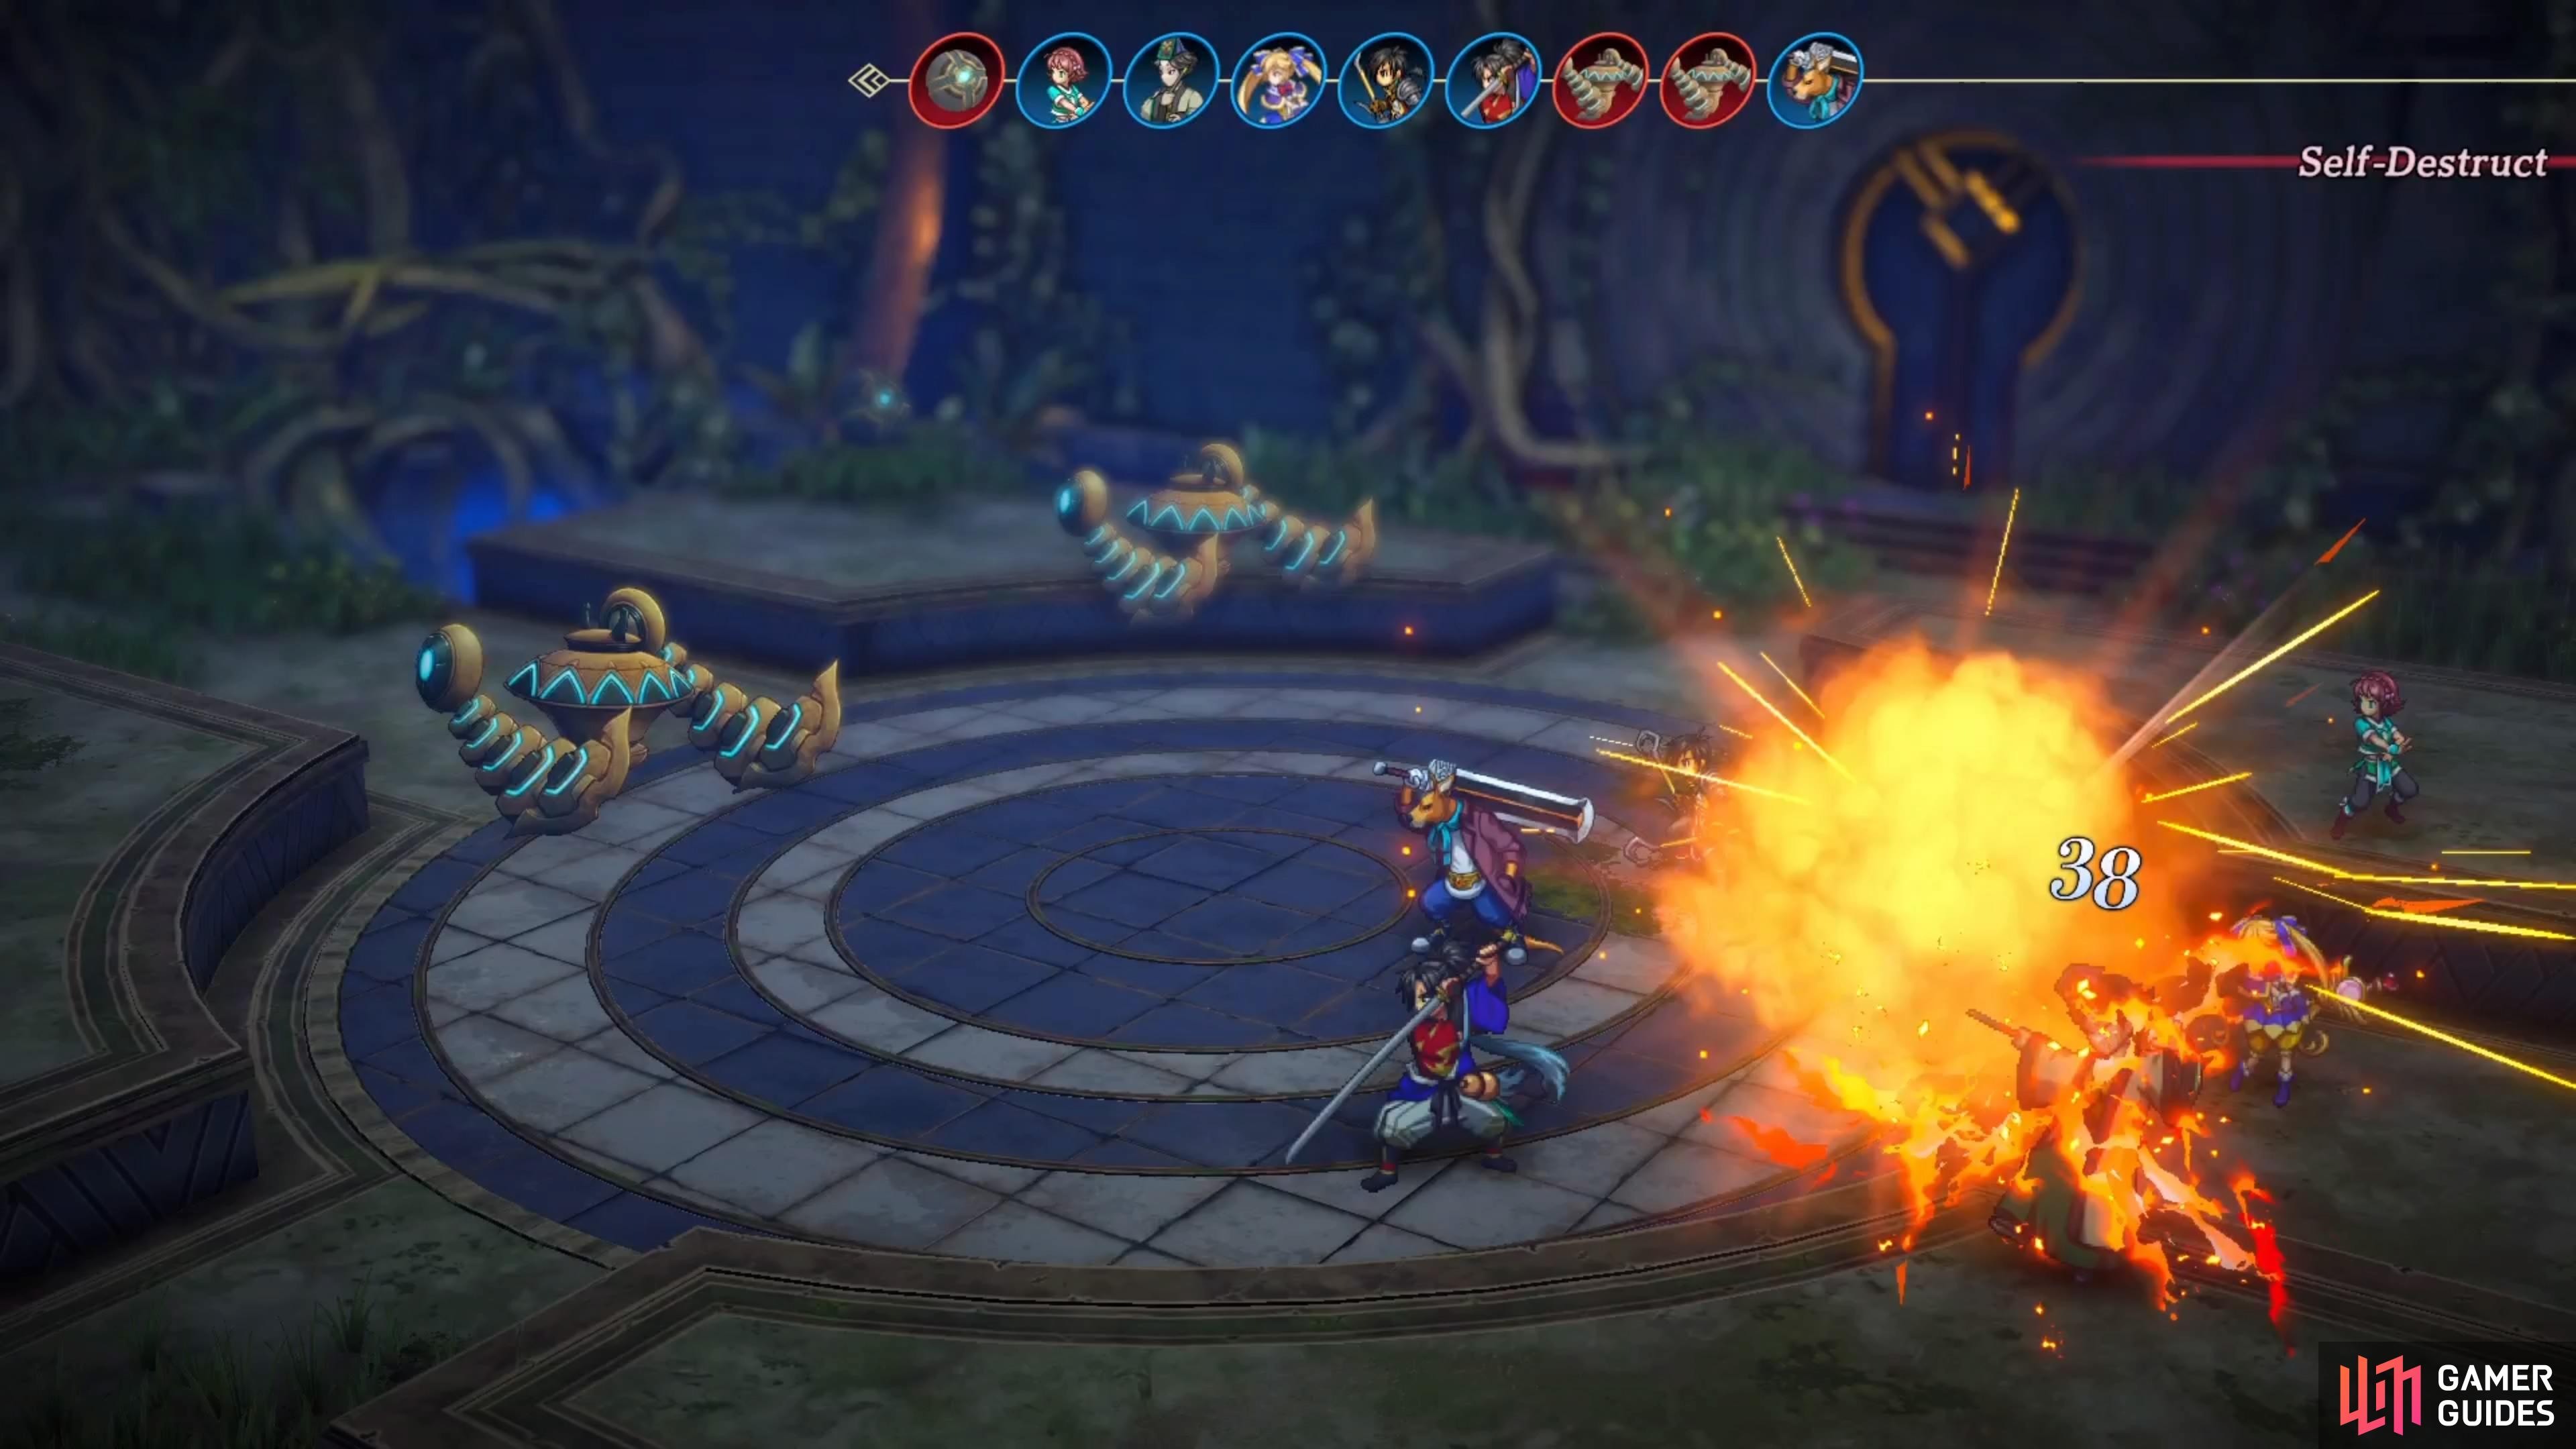
By far, the most annoying enemy in this dungeon is the Spy Orb, as they will almost always go first and they like to Self-Destruct. If you are lucky enough for them not to do this right at the beginning of a battle, it might be a good idea to target them first, to prevent such a thing from happening. Other enemies you will encounter in this dungeon include the Shadow Unicorn, Hardknock, Yellow Slime, and Greedtoy. None of them are as annoying as the Spy Orb, since they will mainly use normal attacks to inflict damage.
Items in Proving Grounds
These are all of the treasure chests you can find inside the Proving Grounds. Getting all of these can be annoying, since some of them are in optional areas you don’t need to visit.
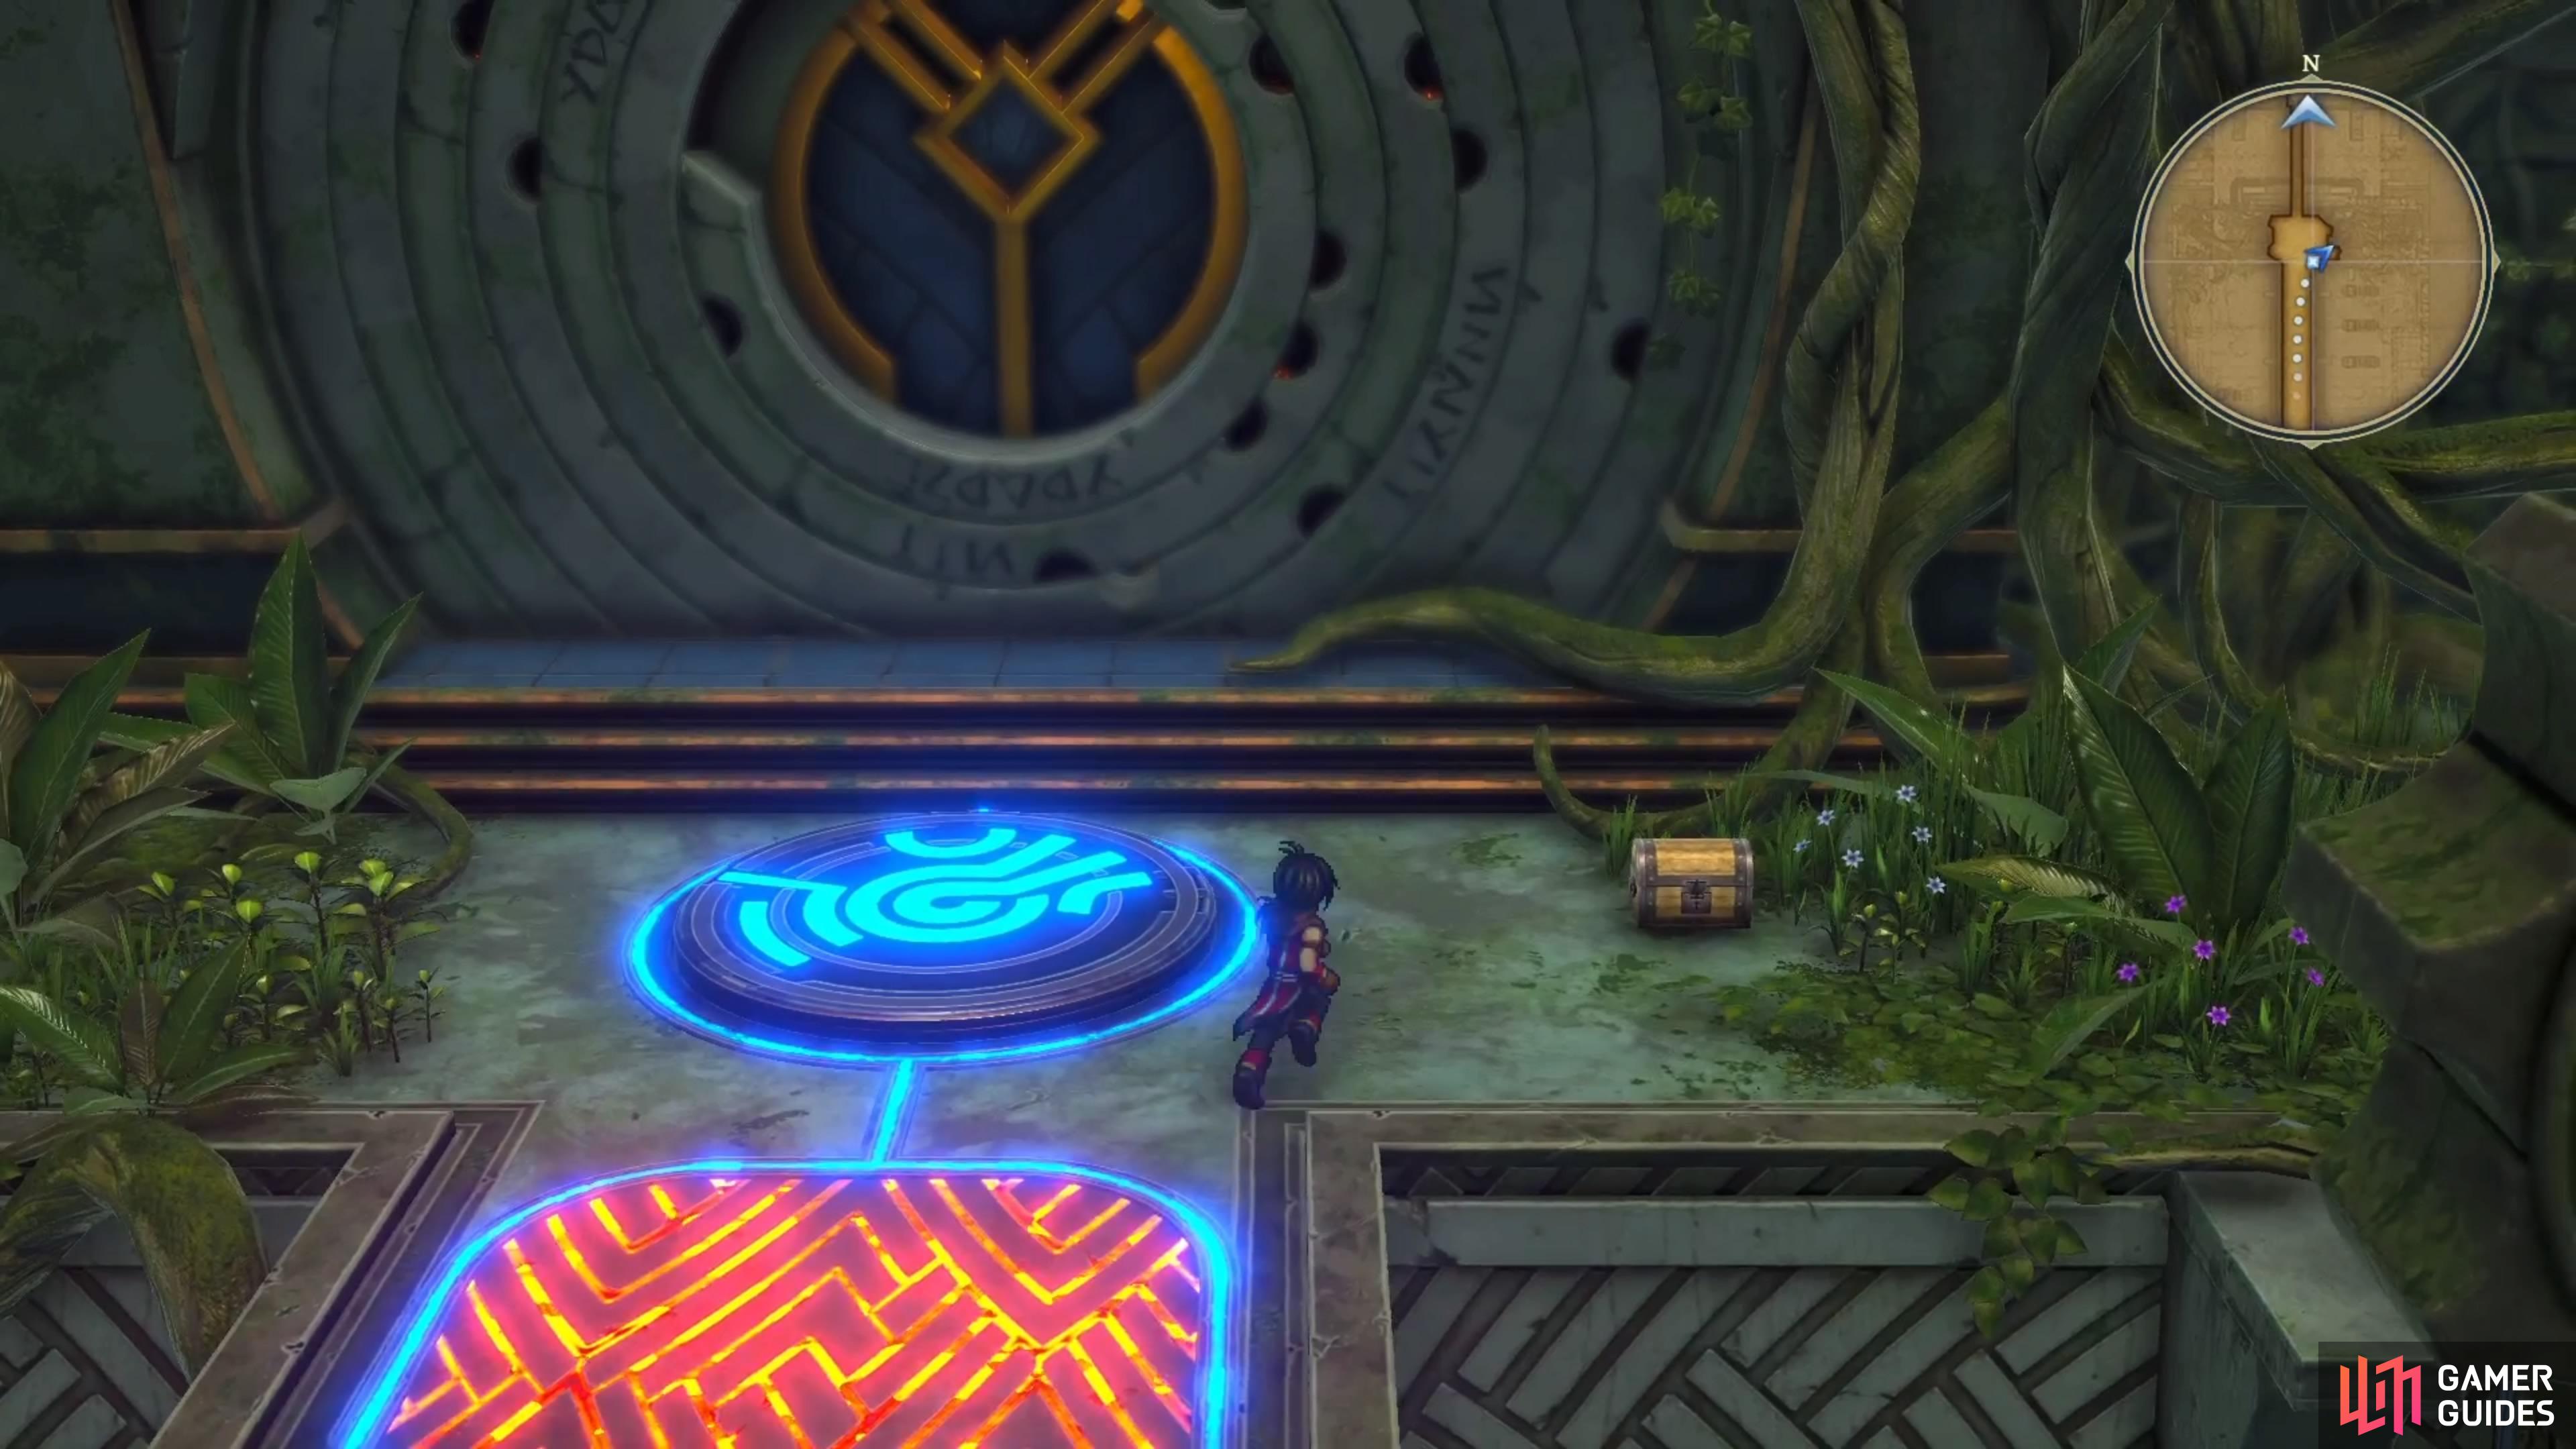
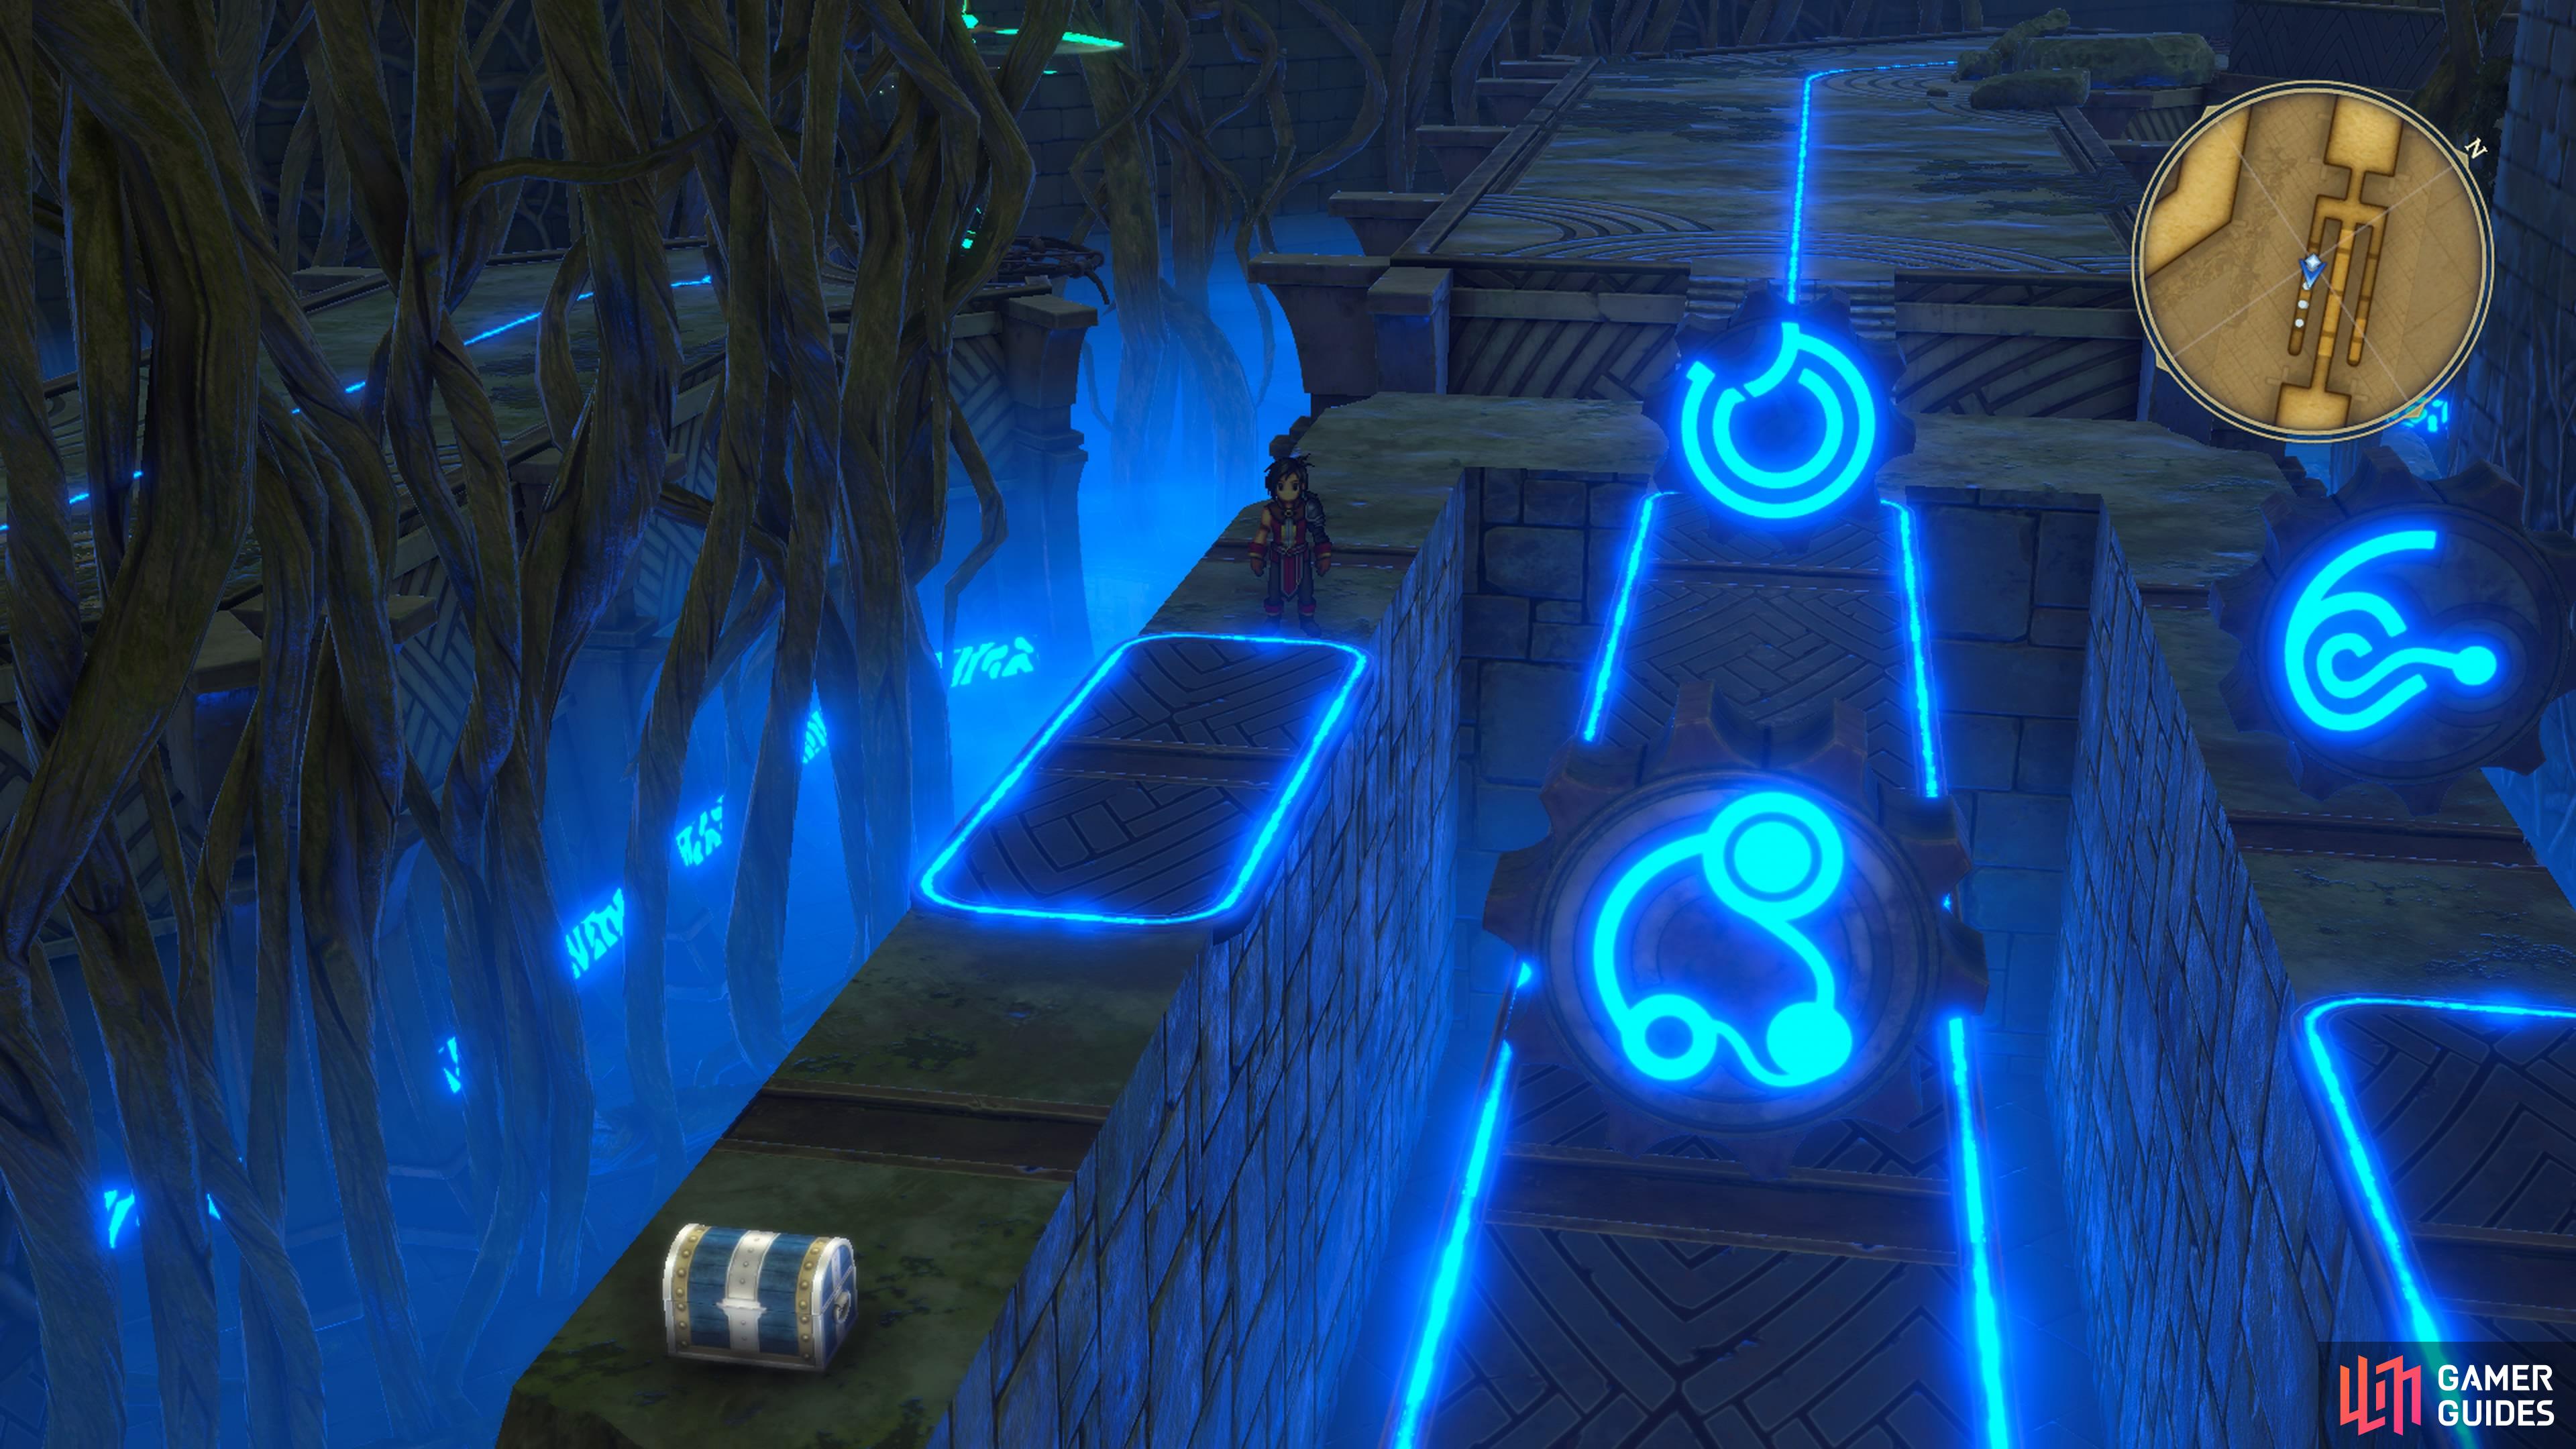
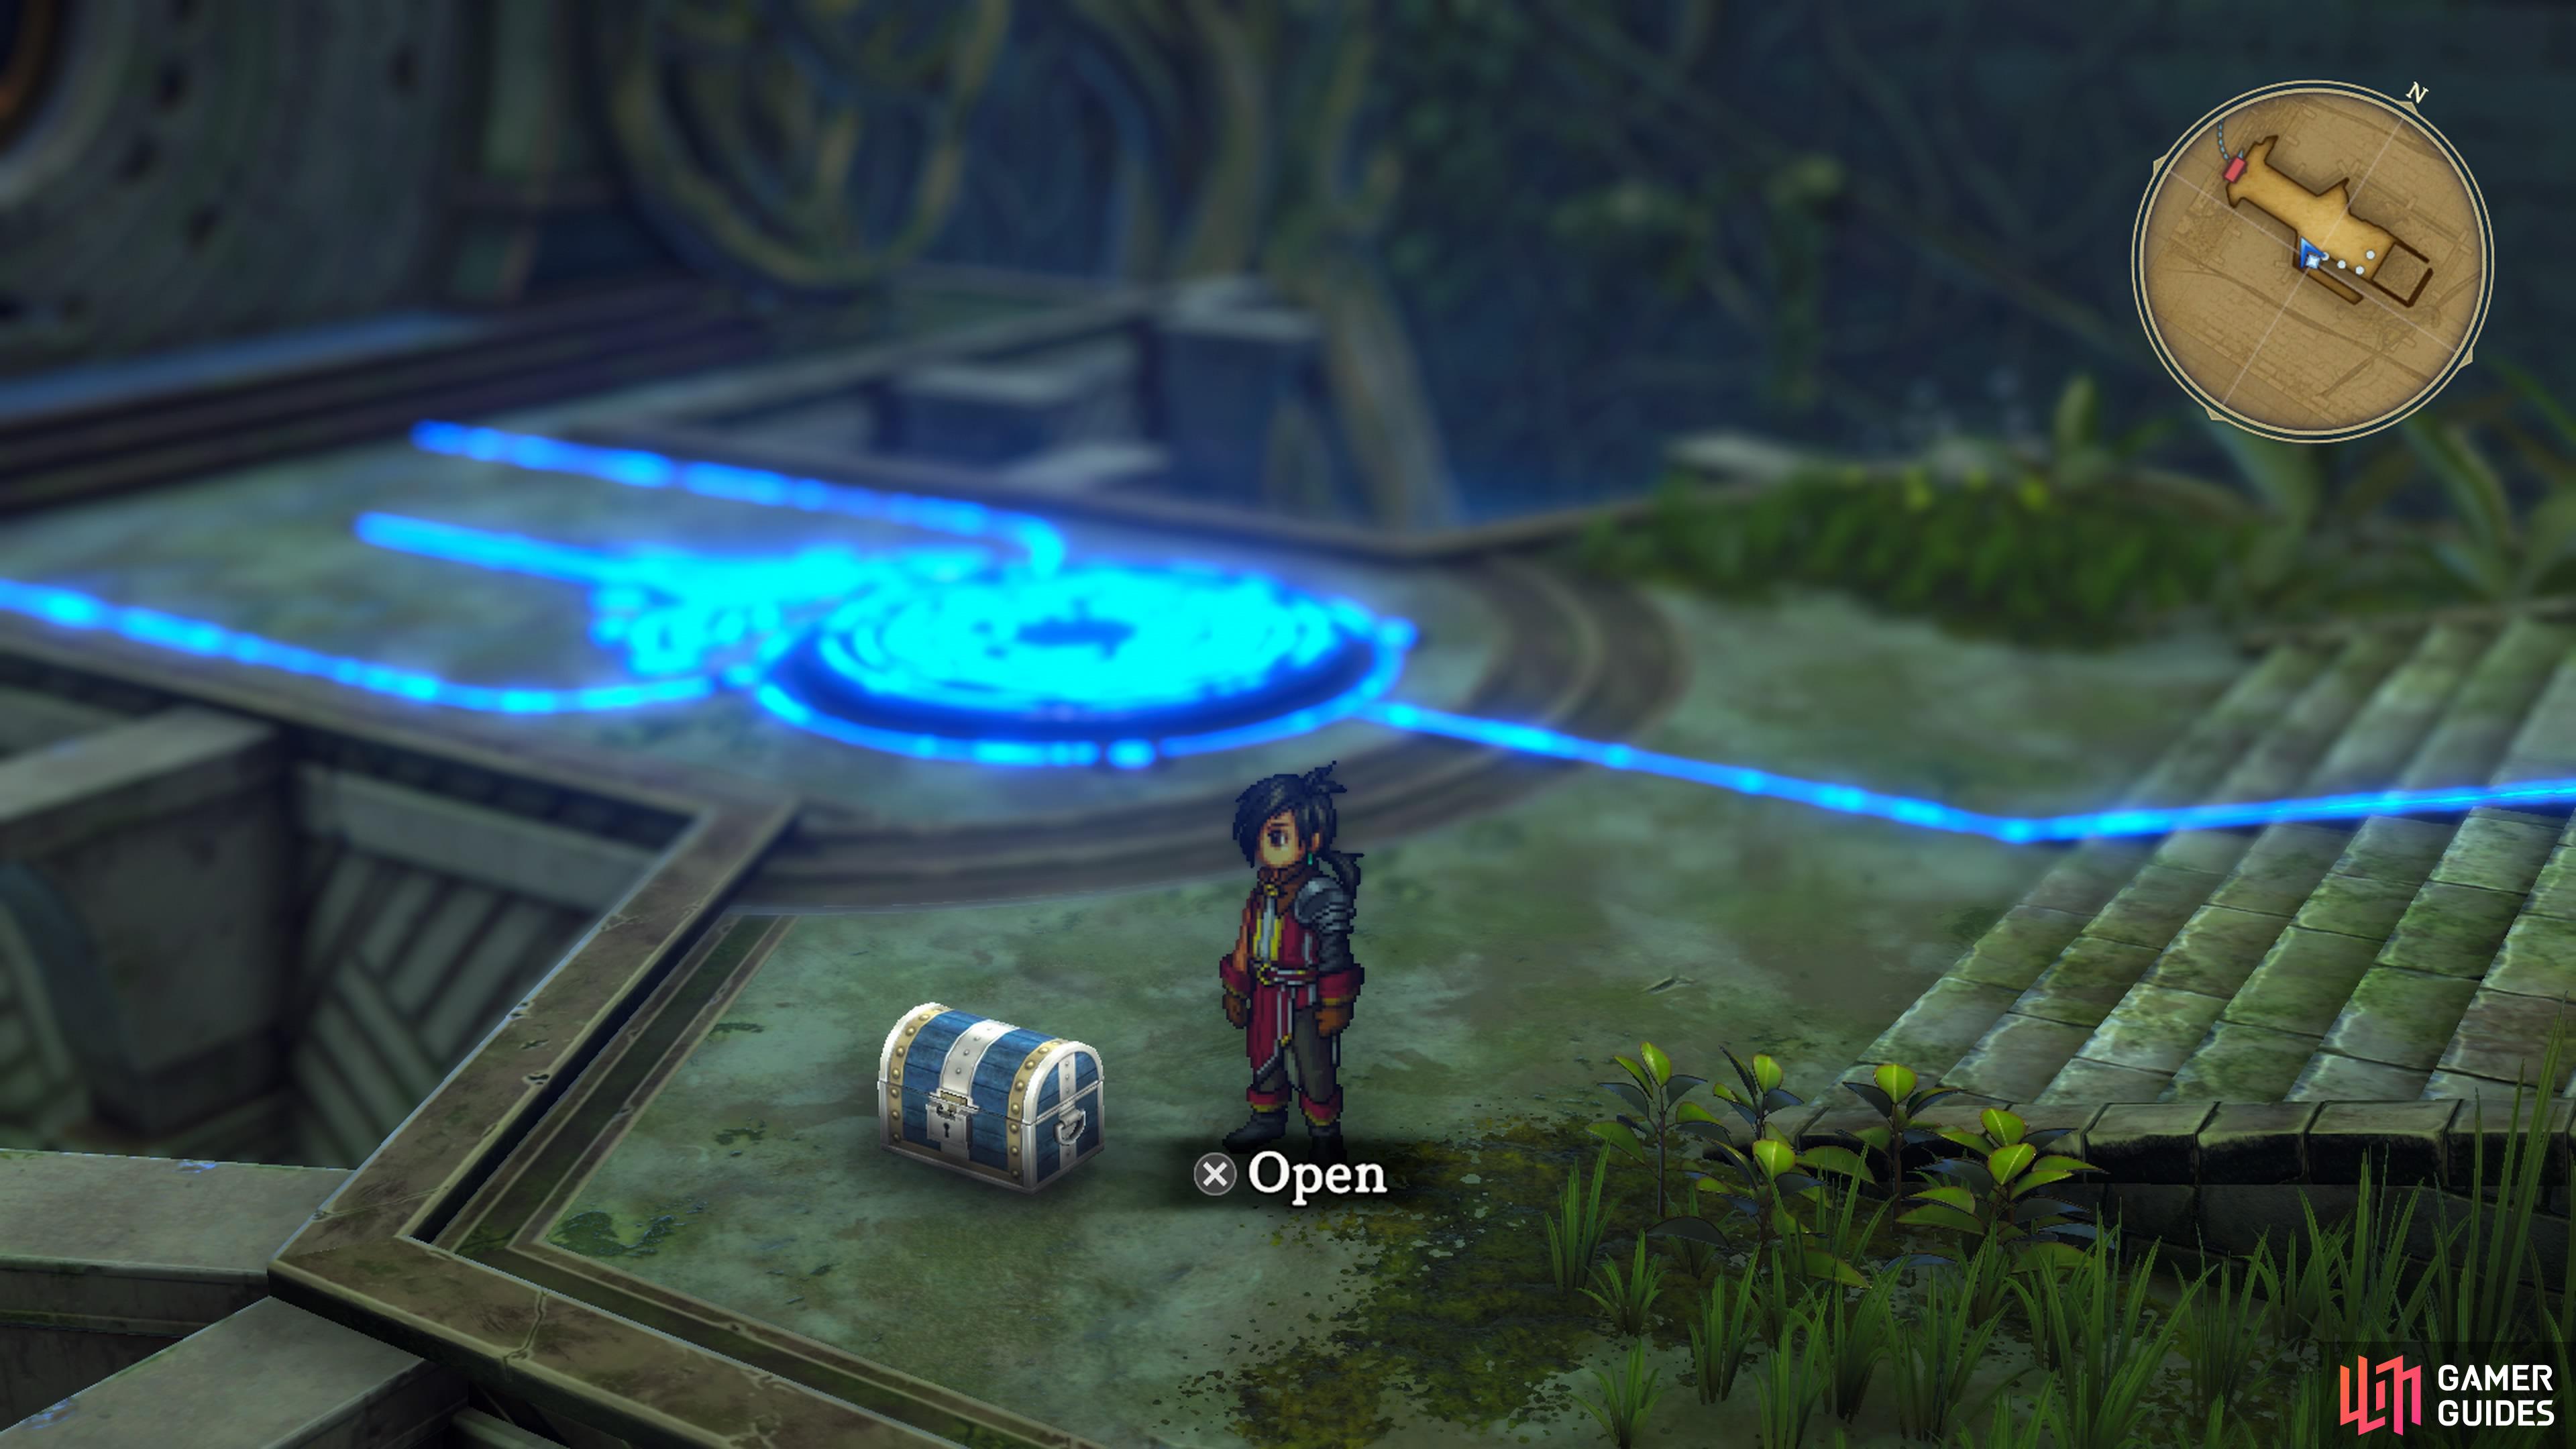
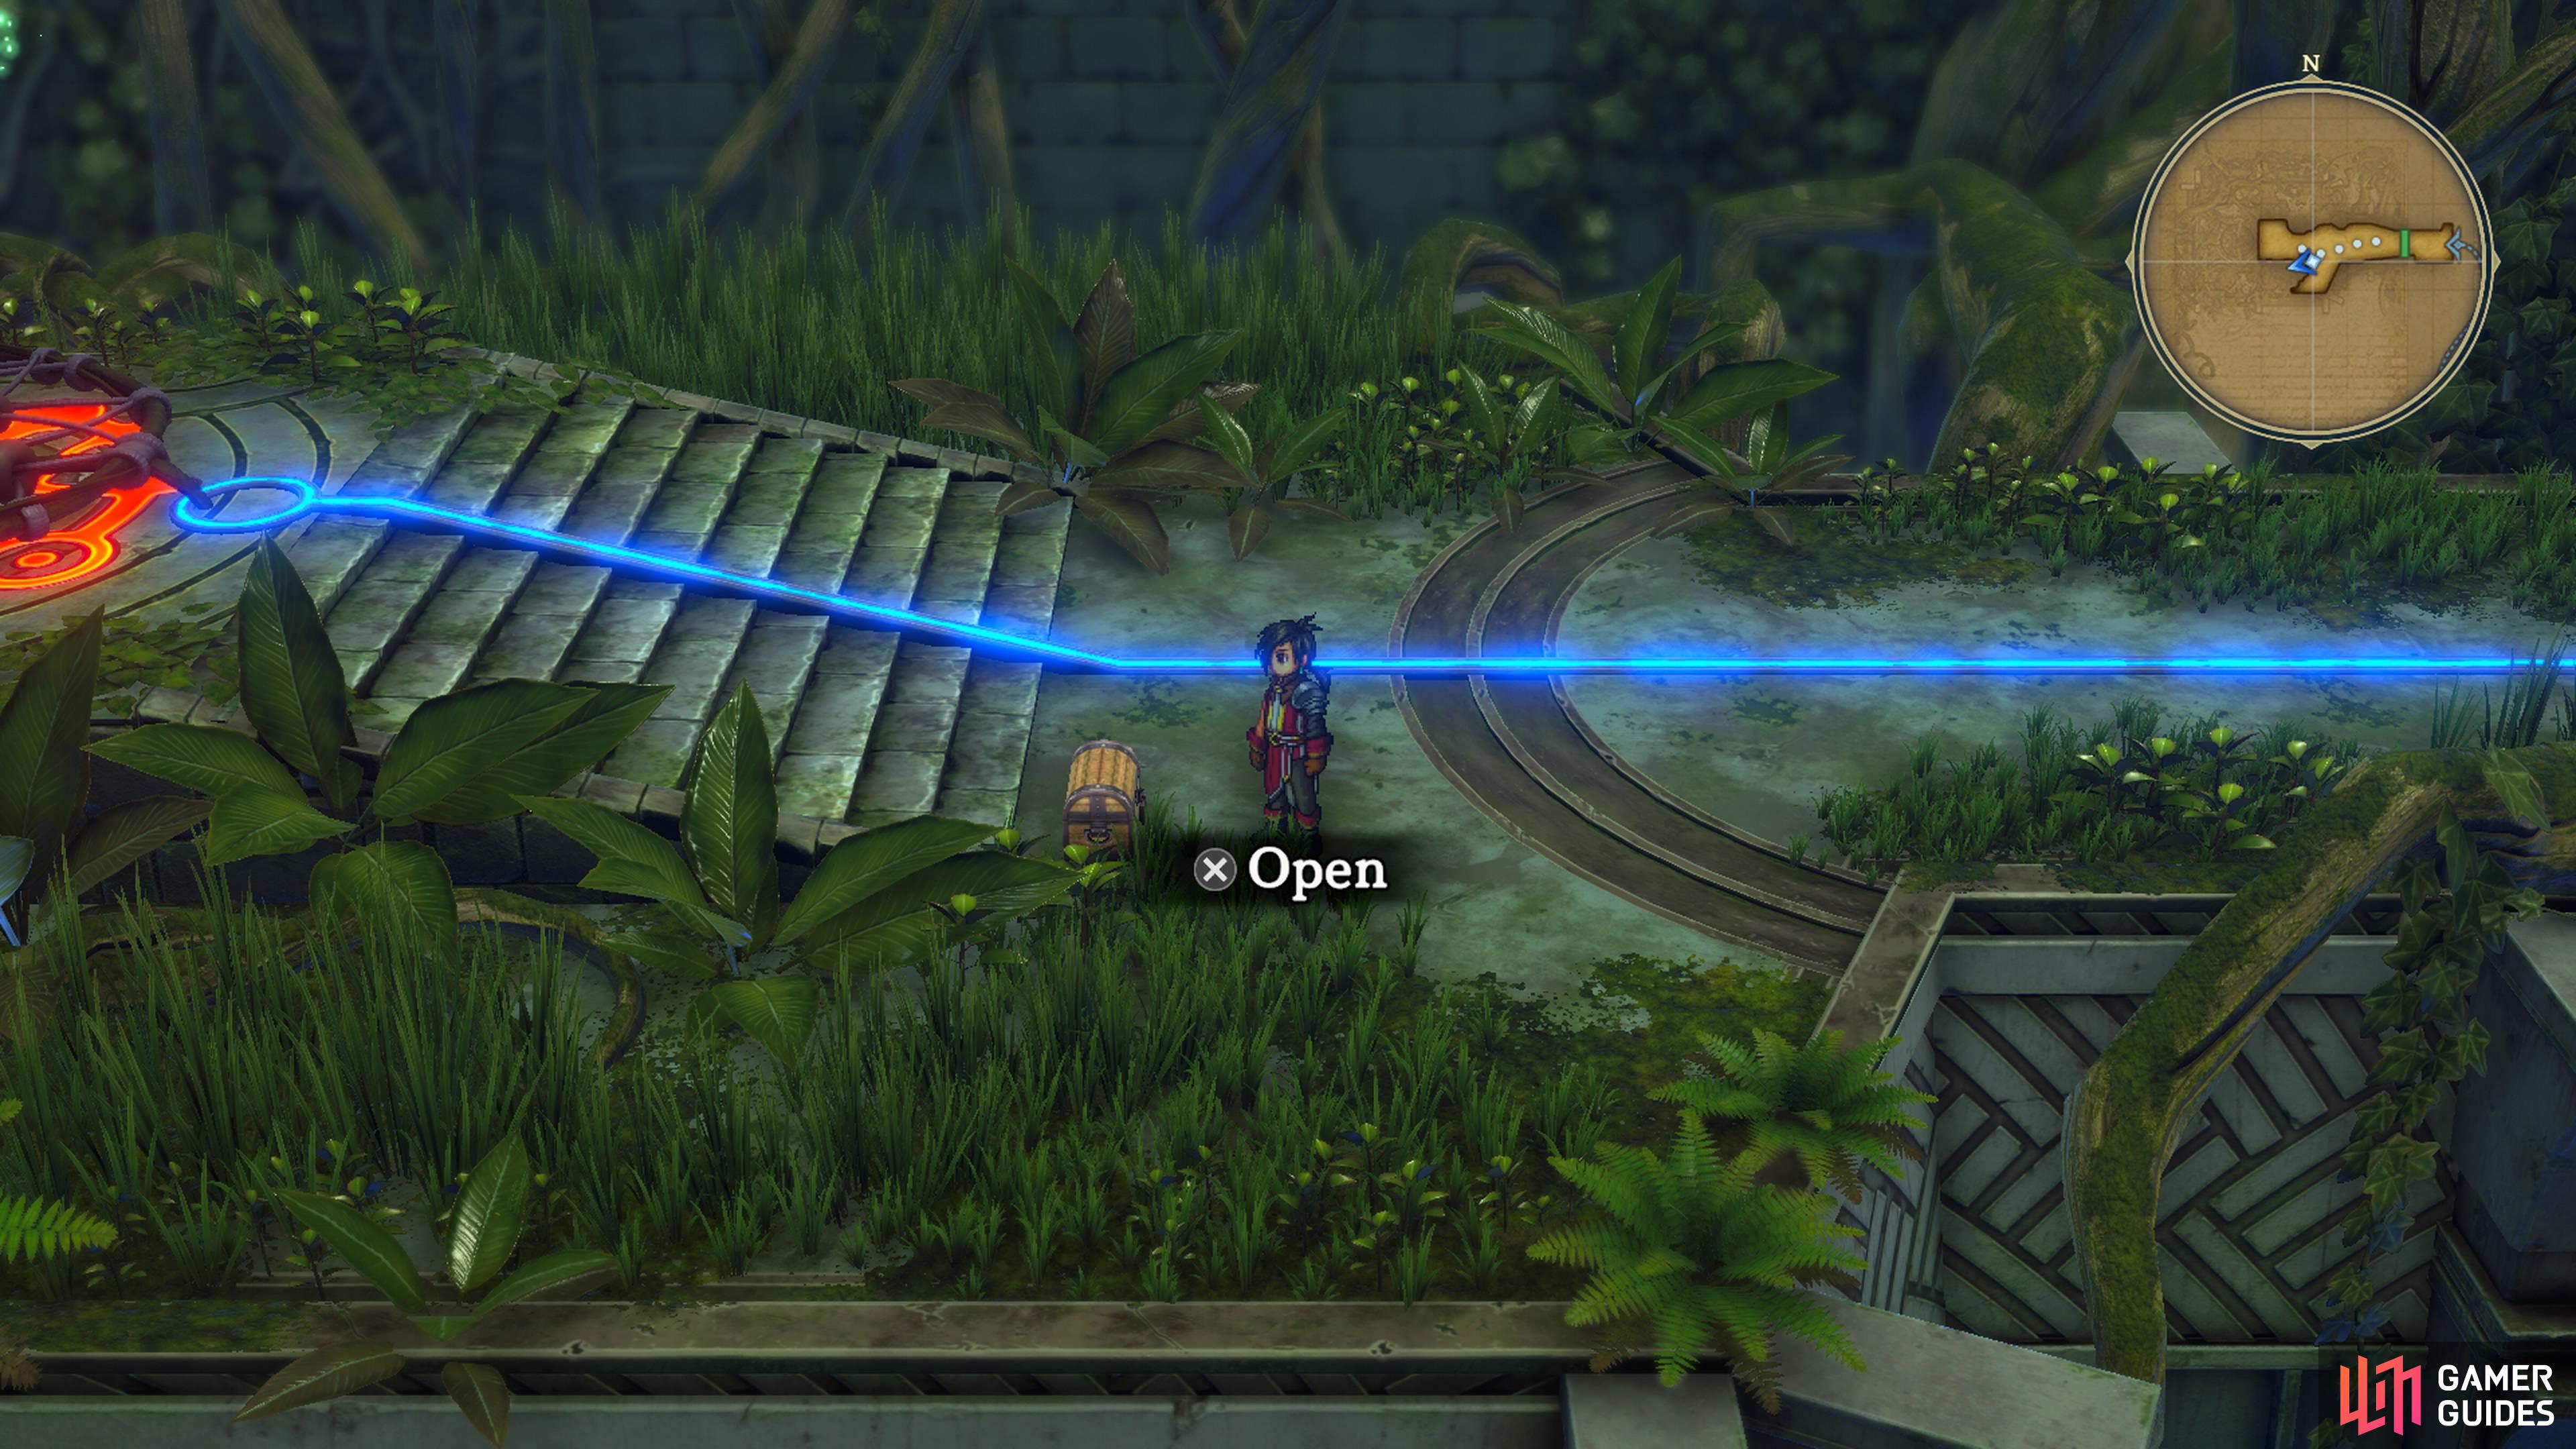
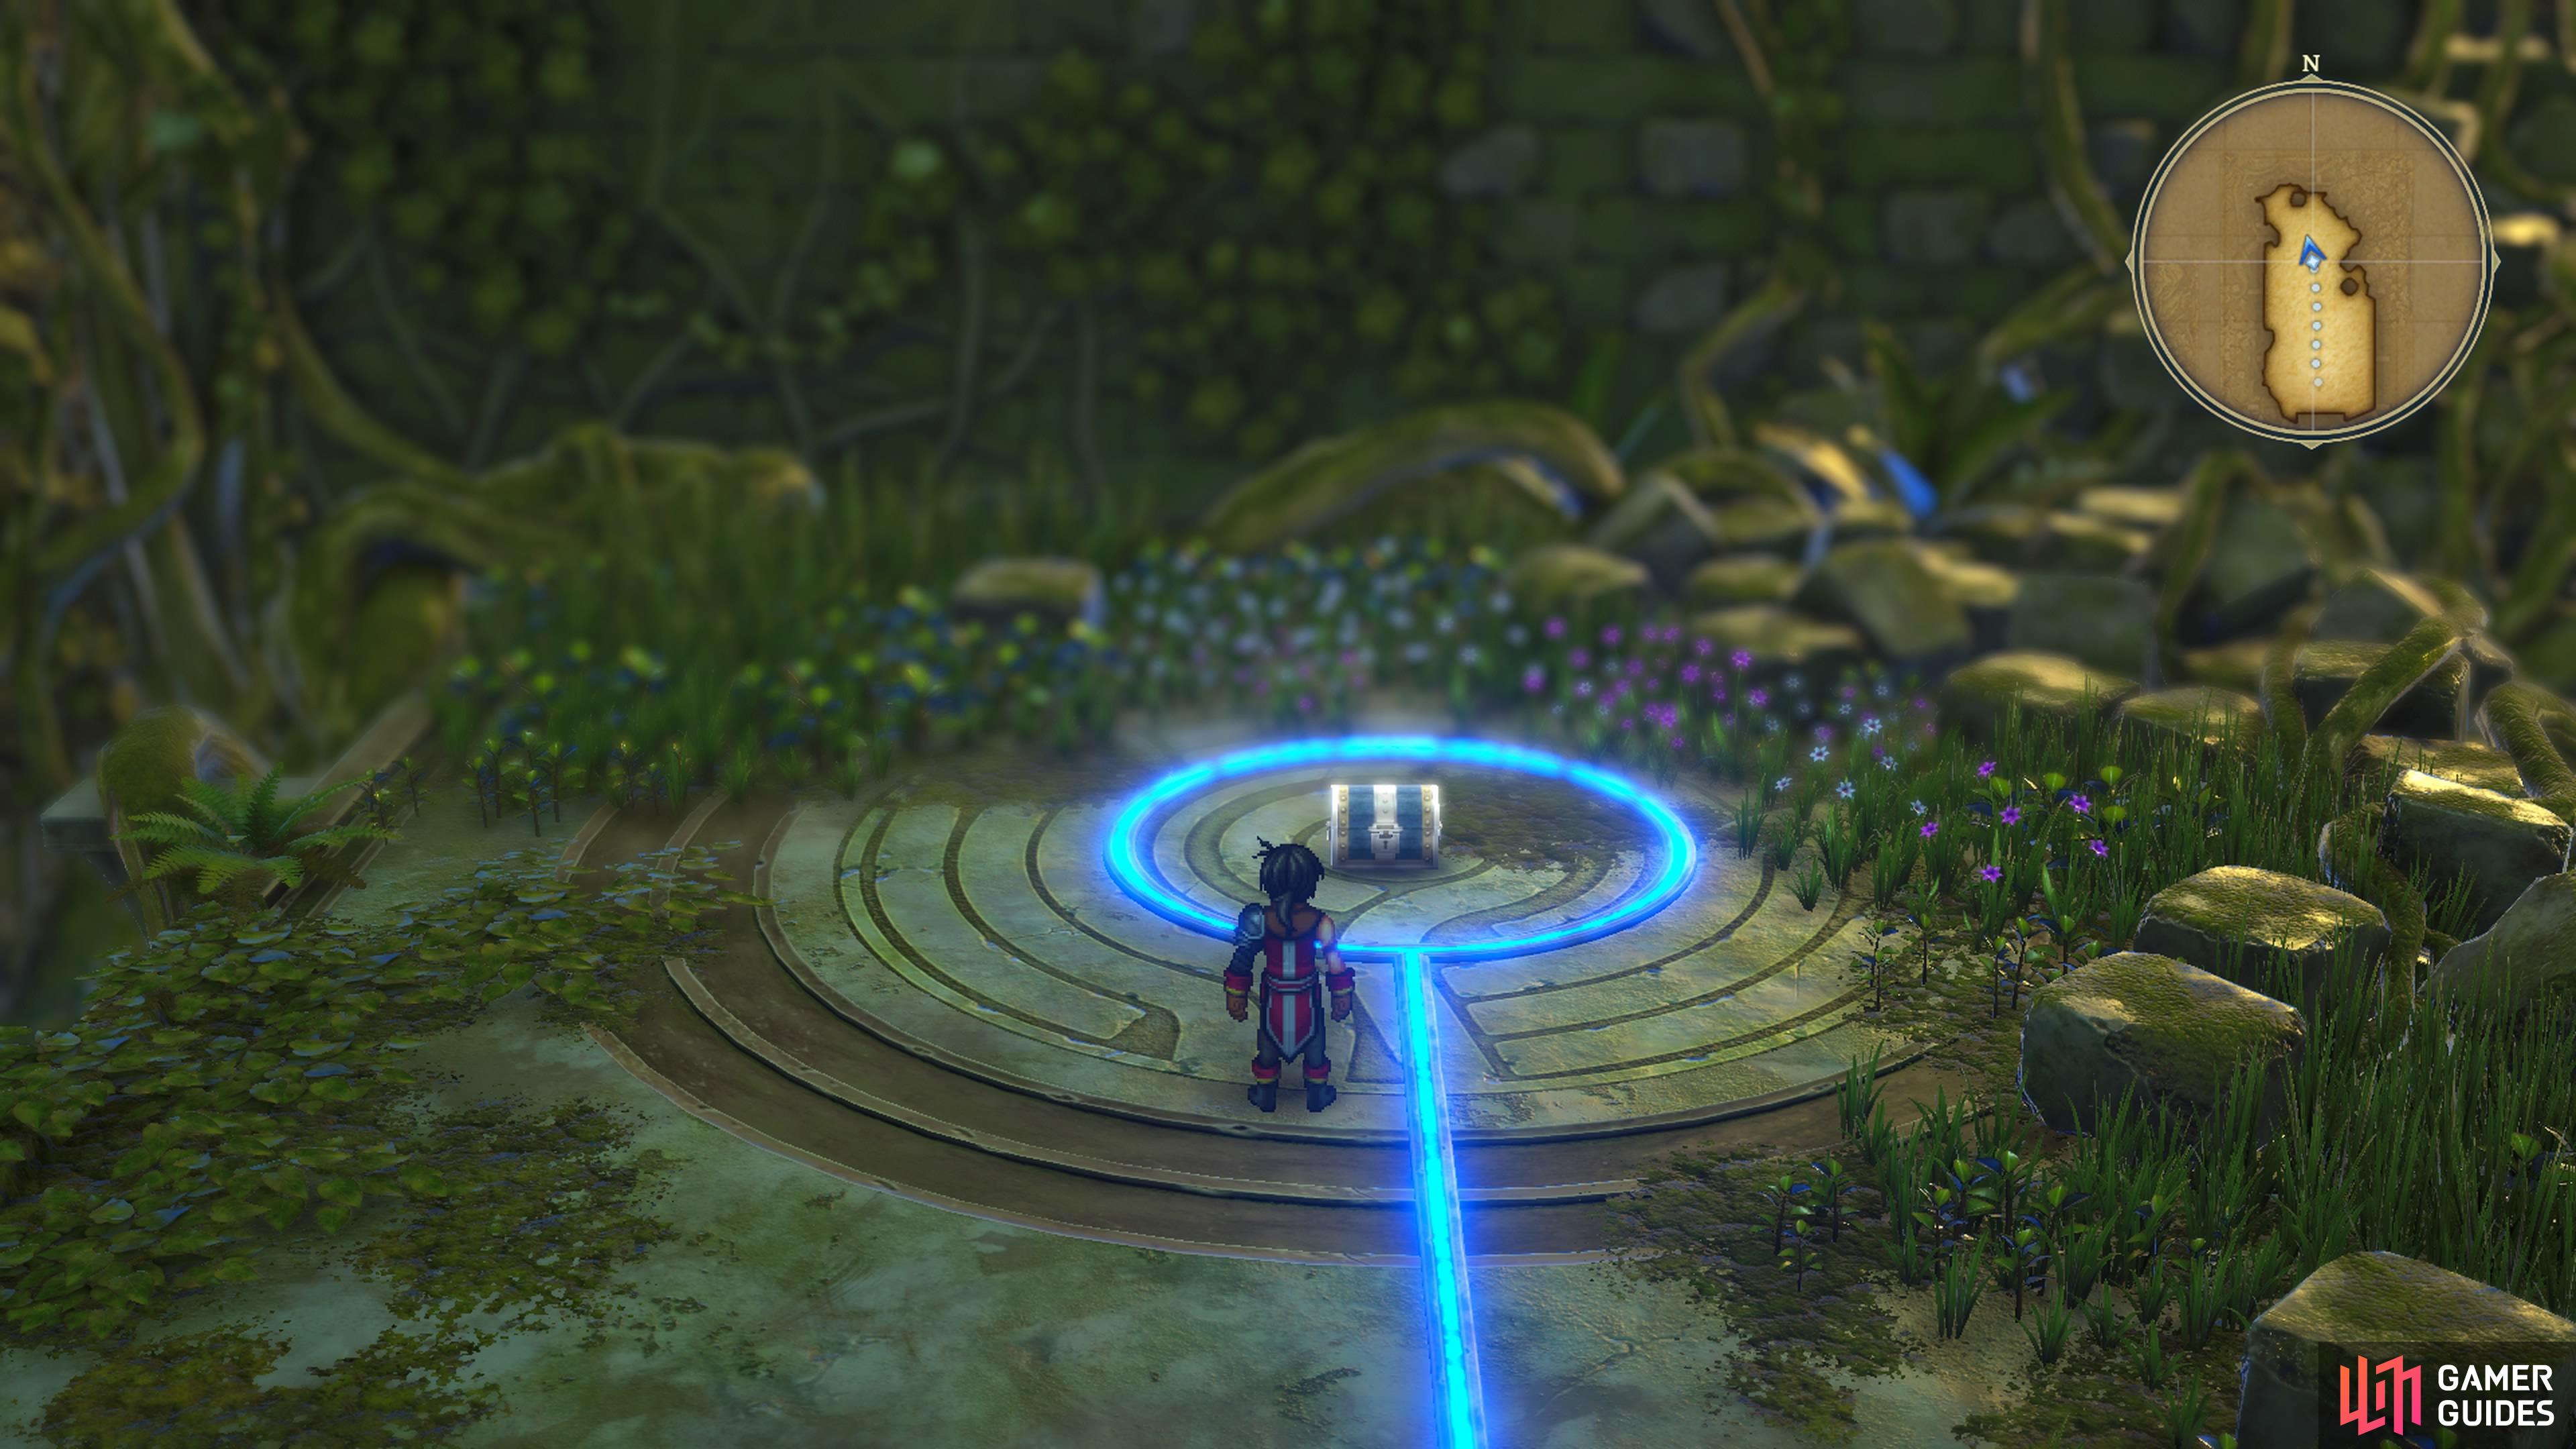
(1 of 2) There will be a chest right by the entrance, so make sure to loot it.
There will be a chest right by the entrance, so make sure to loot it. (left), Spy Orbs are annoying, since they can instantly Self-Destruct on their first turn. (right)
| Chest No. | Item |
|---|---|
| 1 | x1,500 Baqua |
| 2 | Ruby Brooch |
| 3 | x2 Magic Drop |
| 4 | Tanzanite Brooch |
| 5 | x6 Quality Healing Herbs |
| 6 | x1,500 Baqua |
| 7 | Topaz Brooch |
| 8 | Rune of Fire Enchantment |
| 9 | Palenight Mail |
| 10 | Rune of Sidewinder |
| 11 | Rune of Quick Slash |
Navigating the Proving Grounds Dungeon
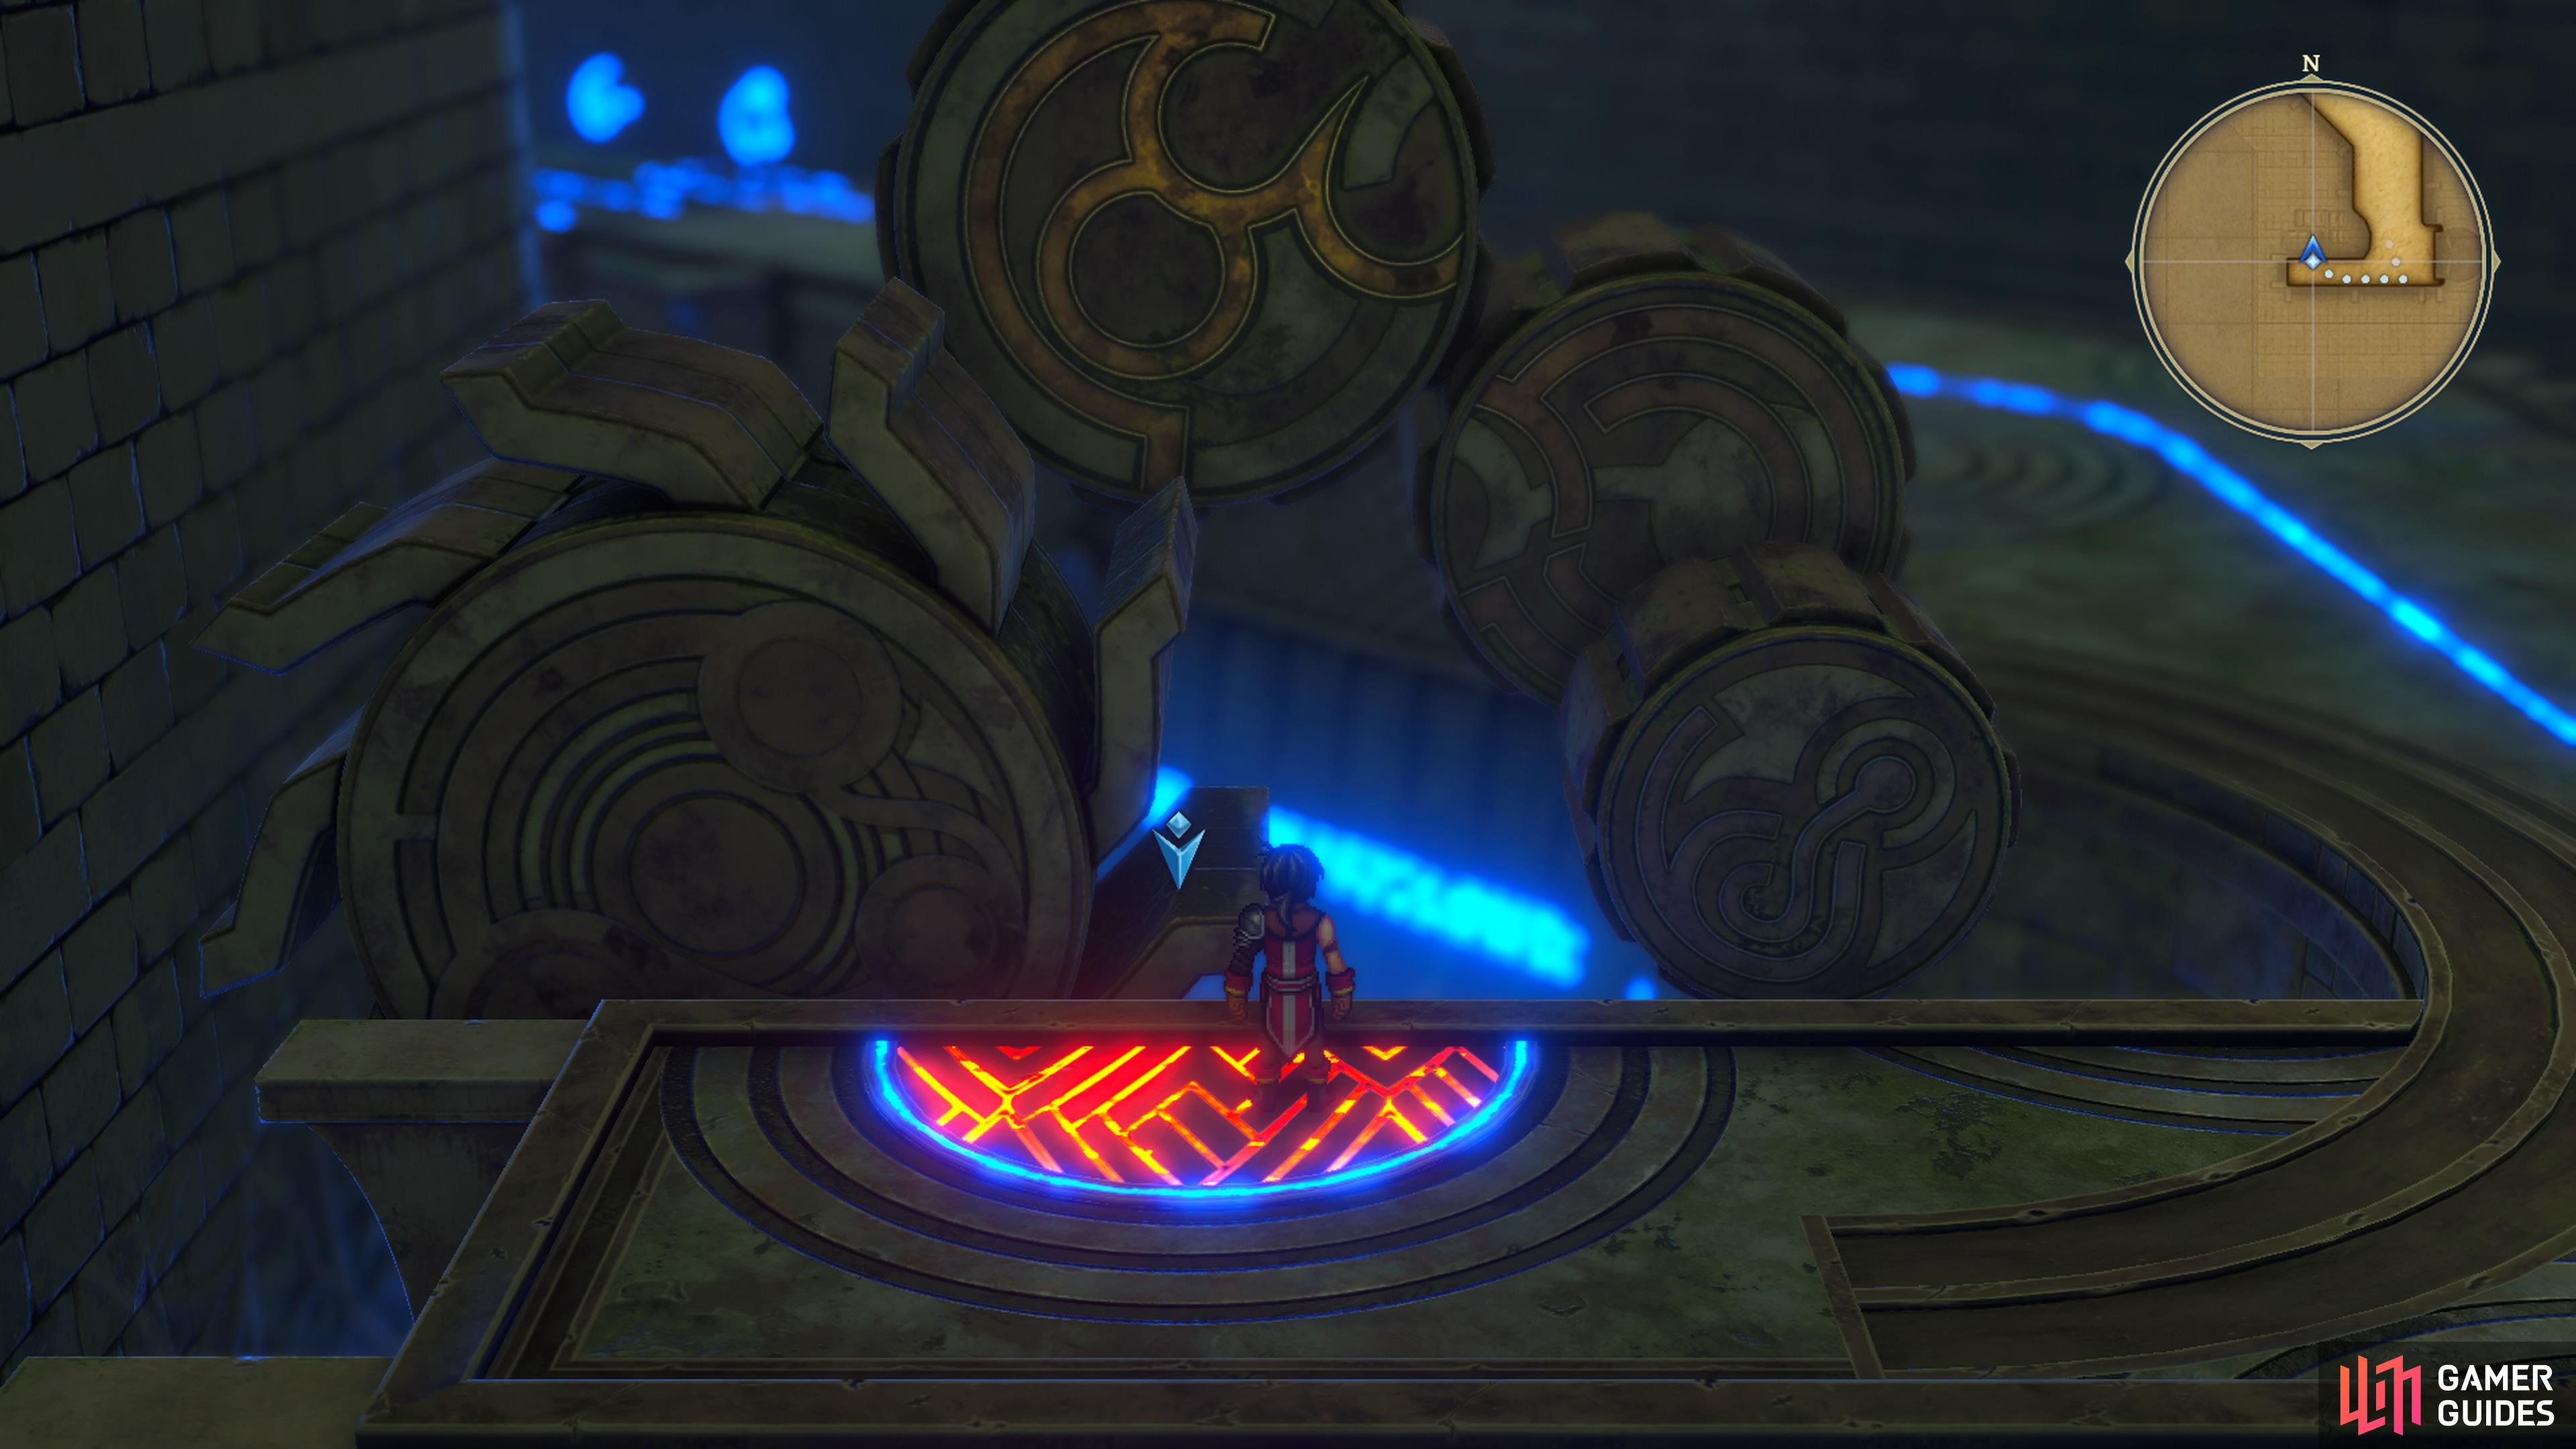
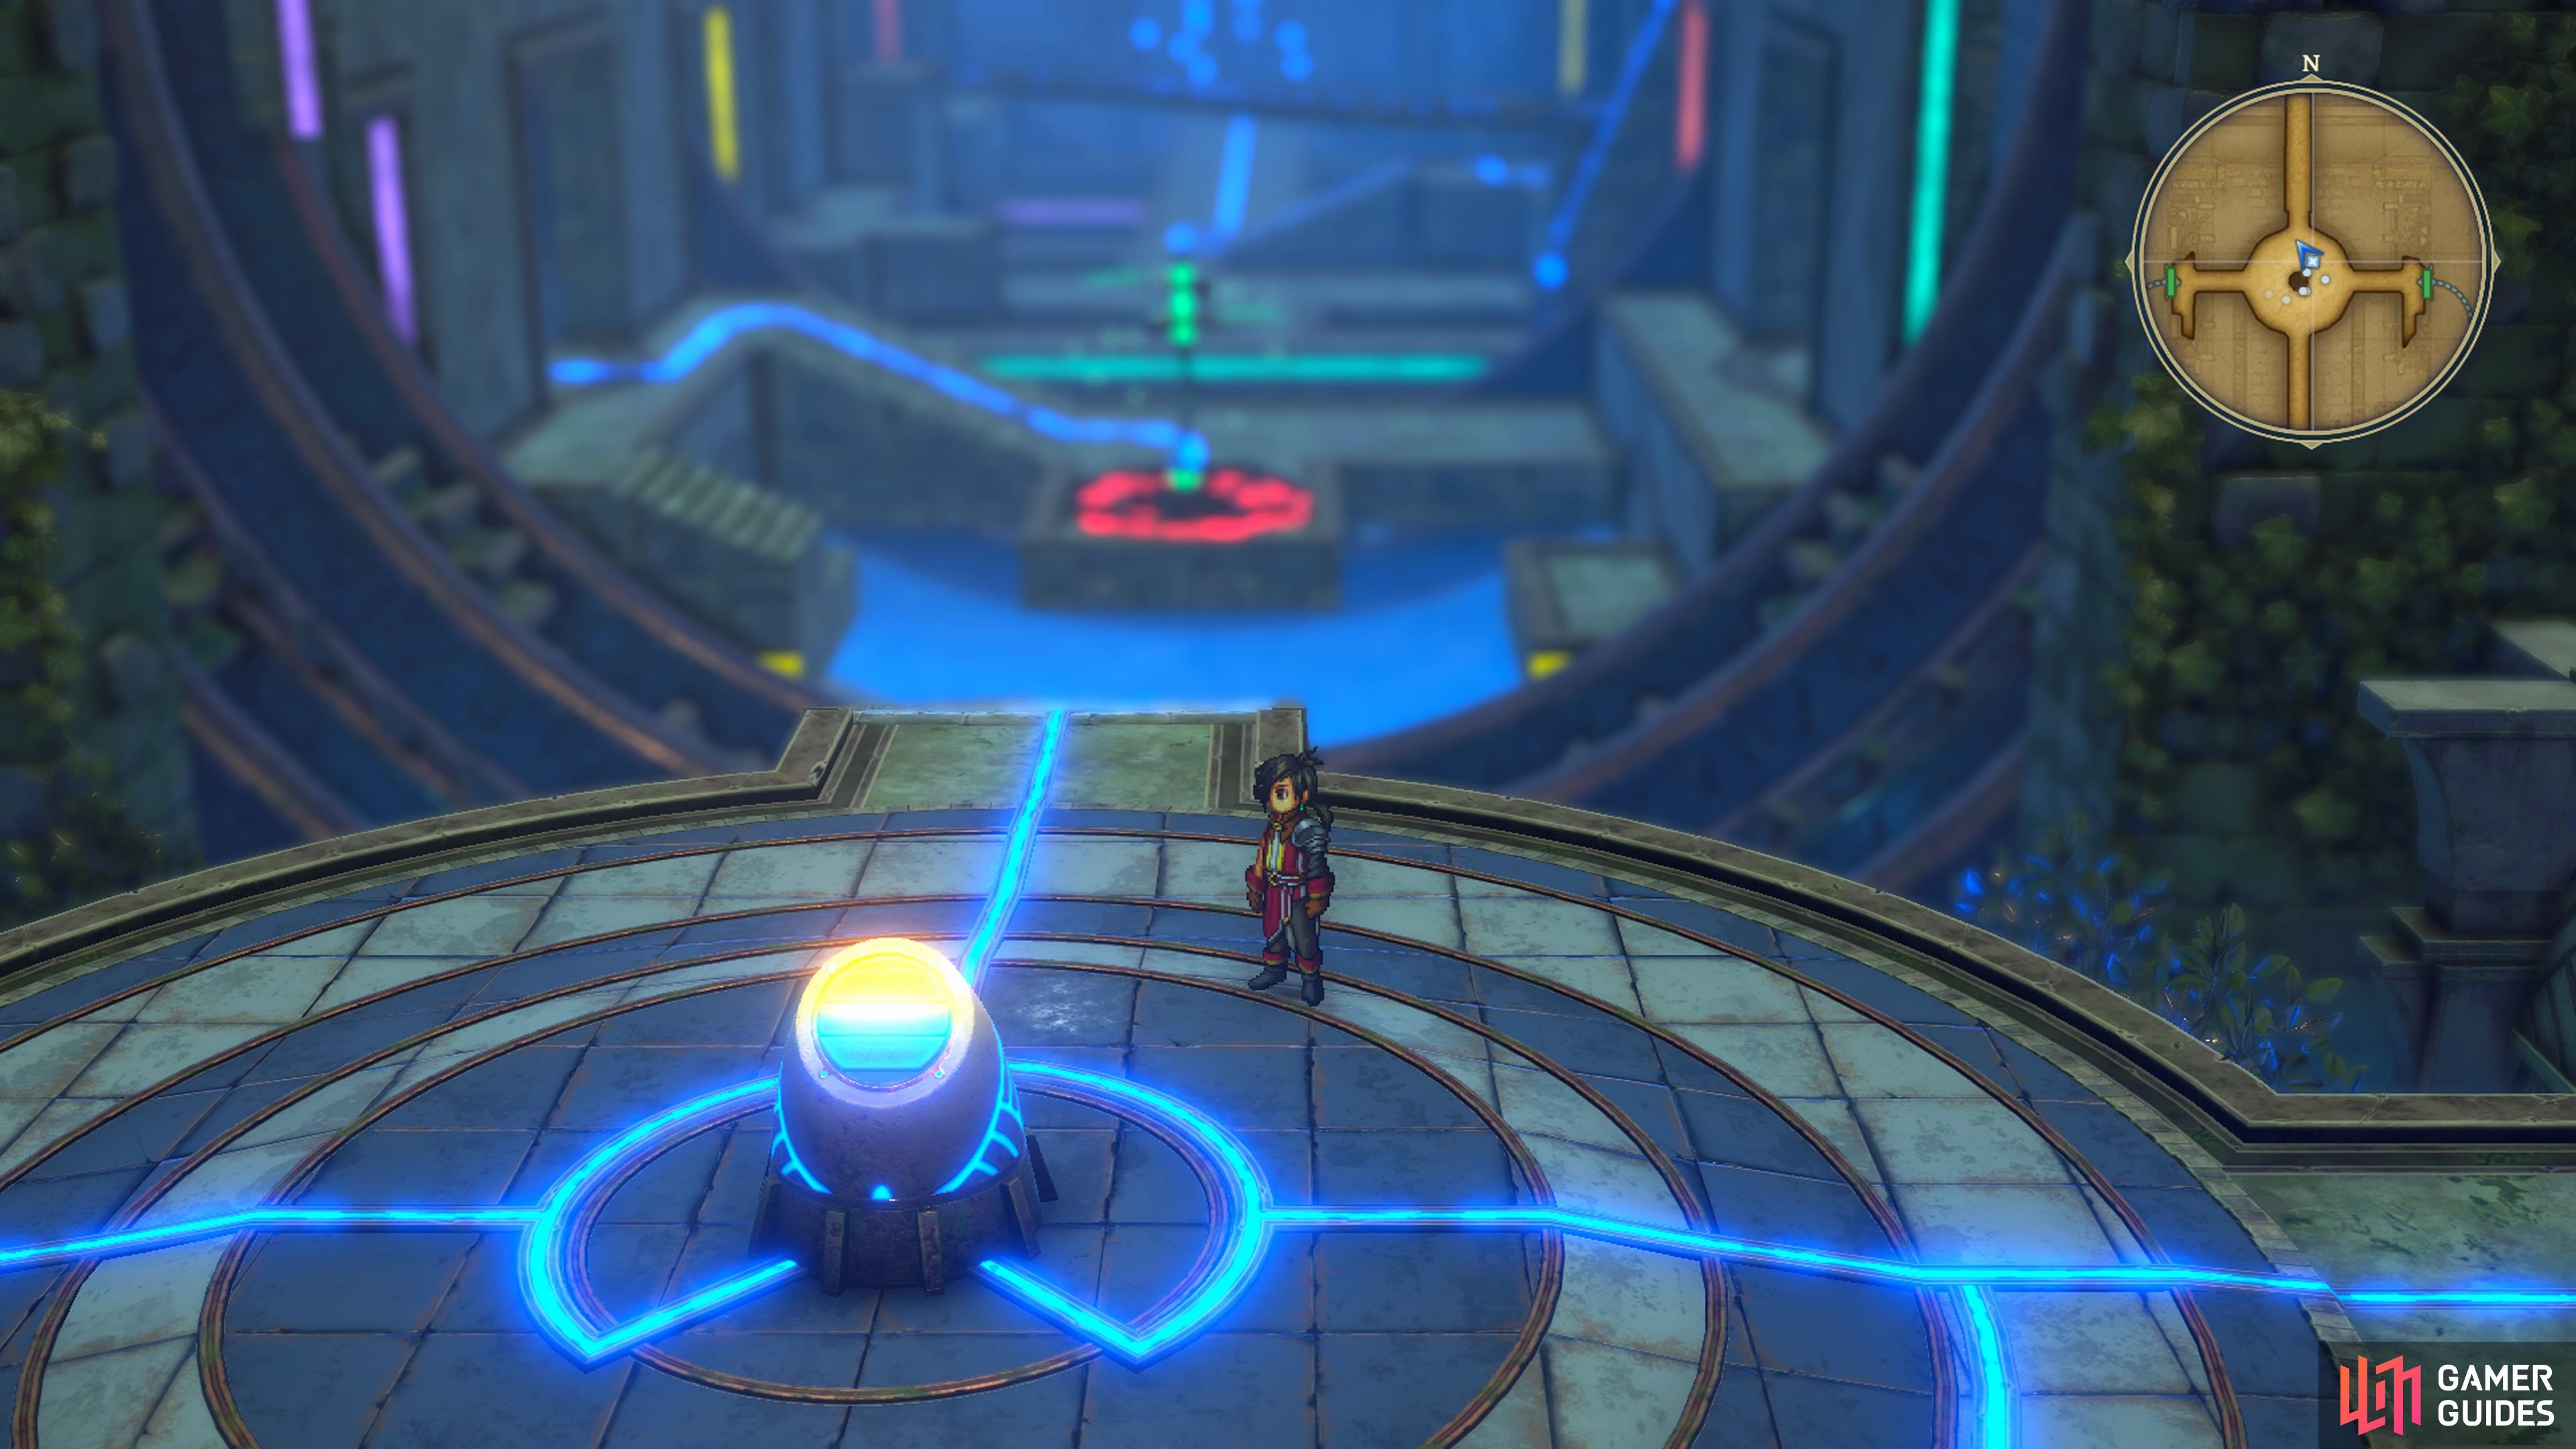
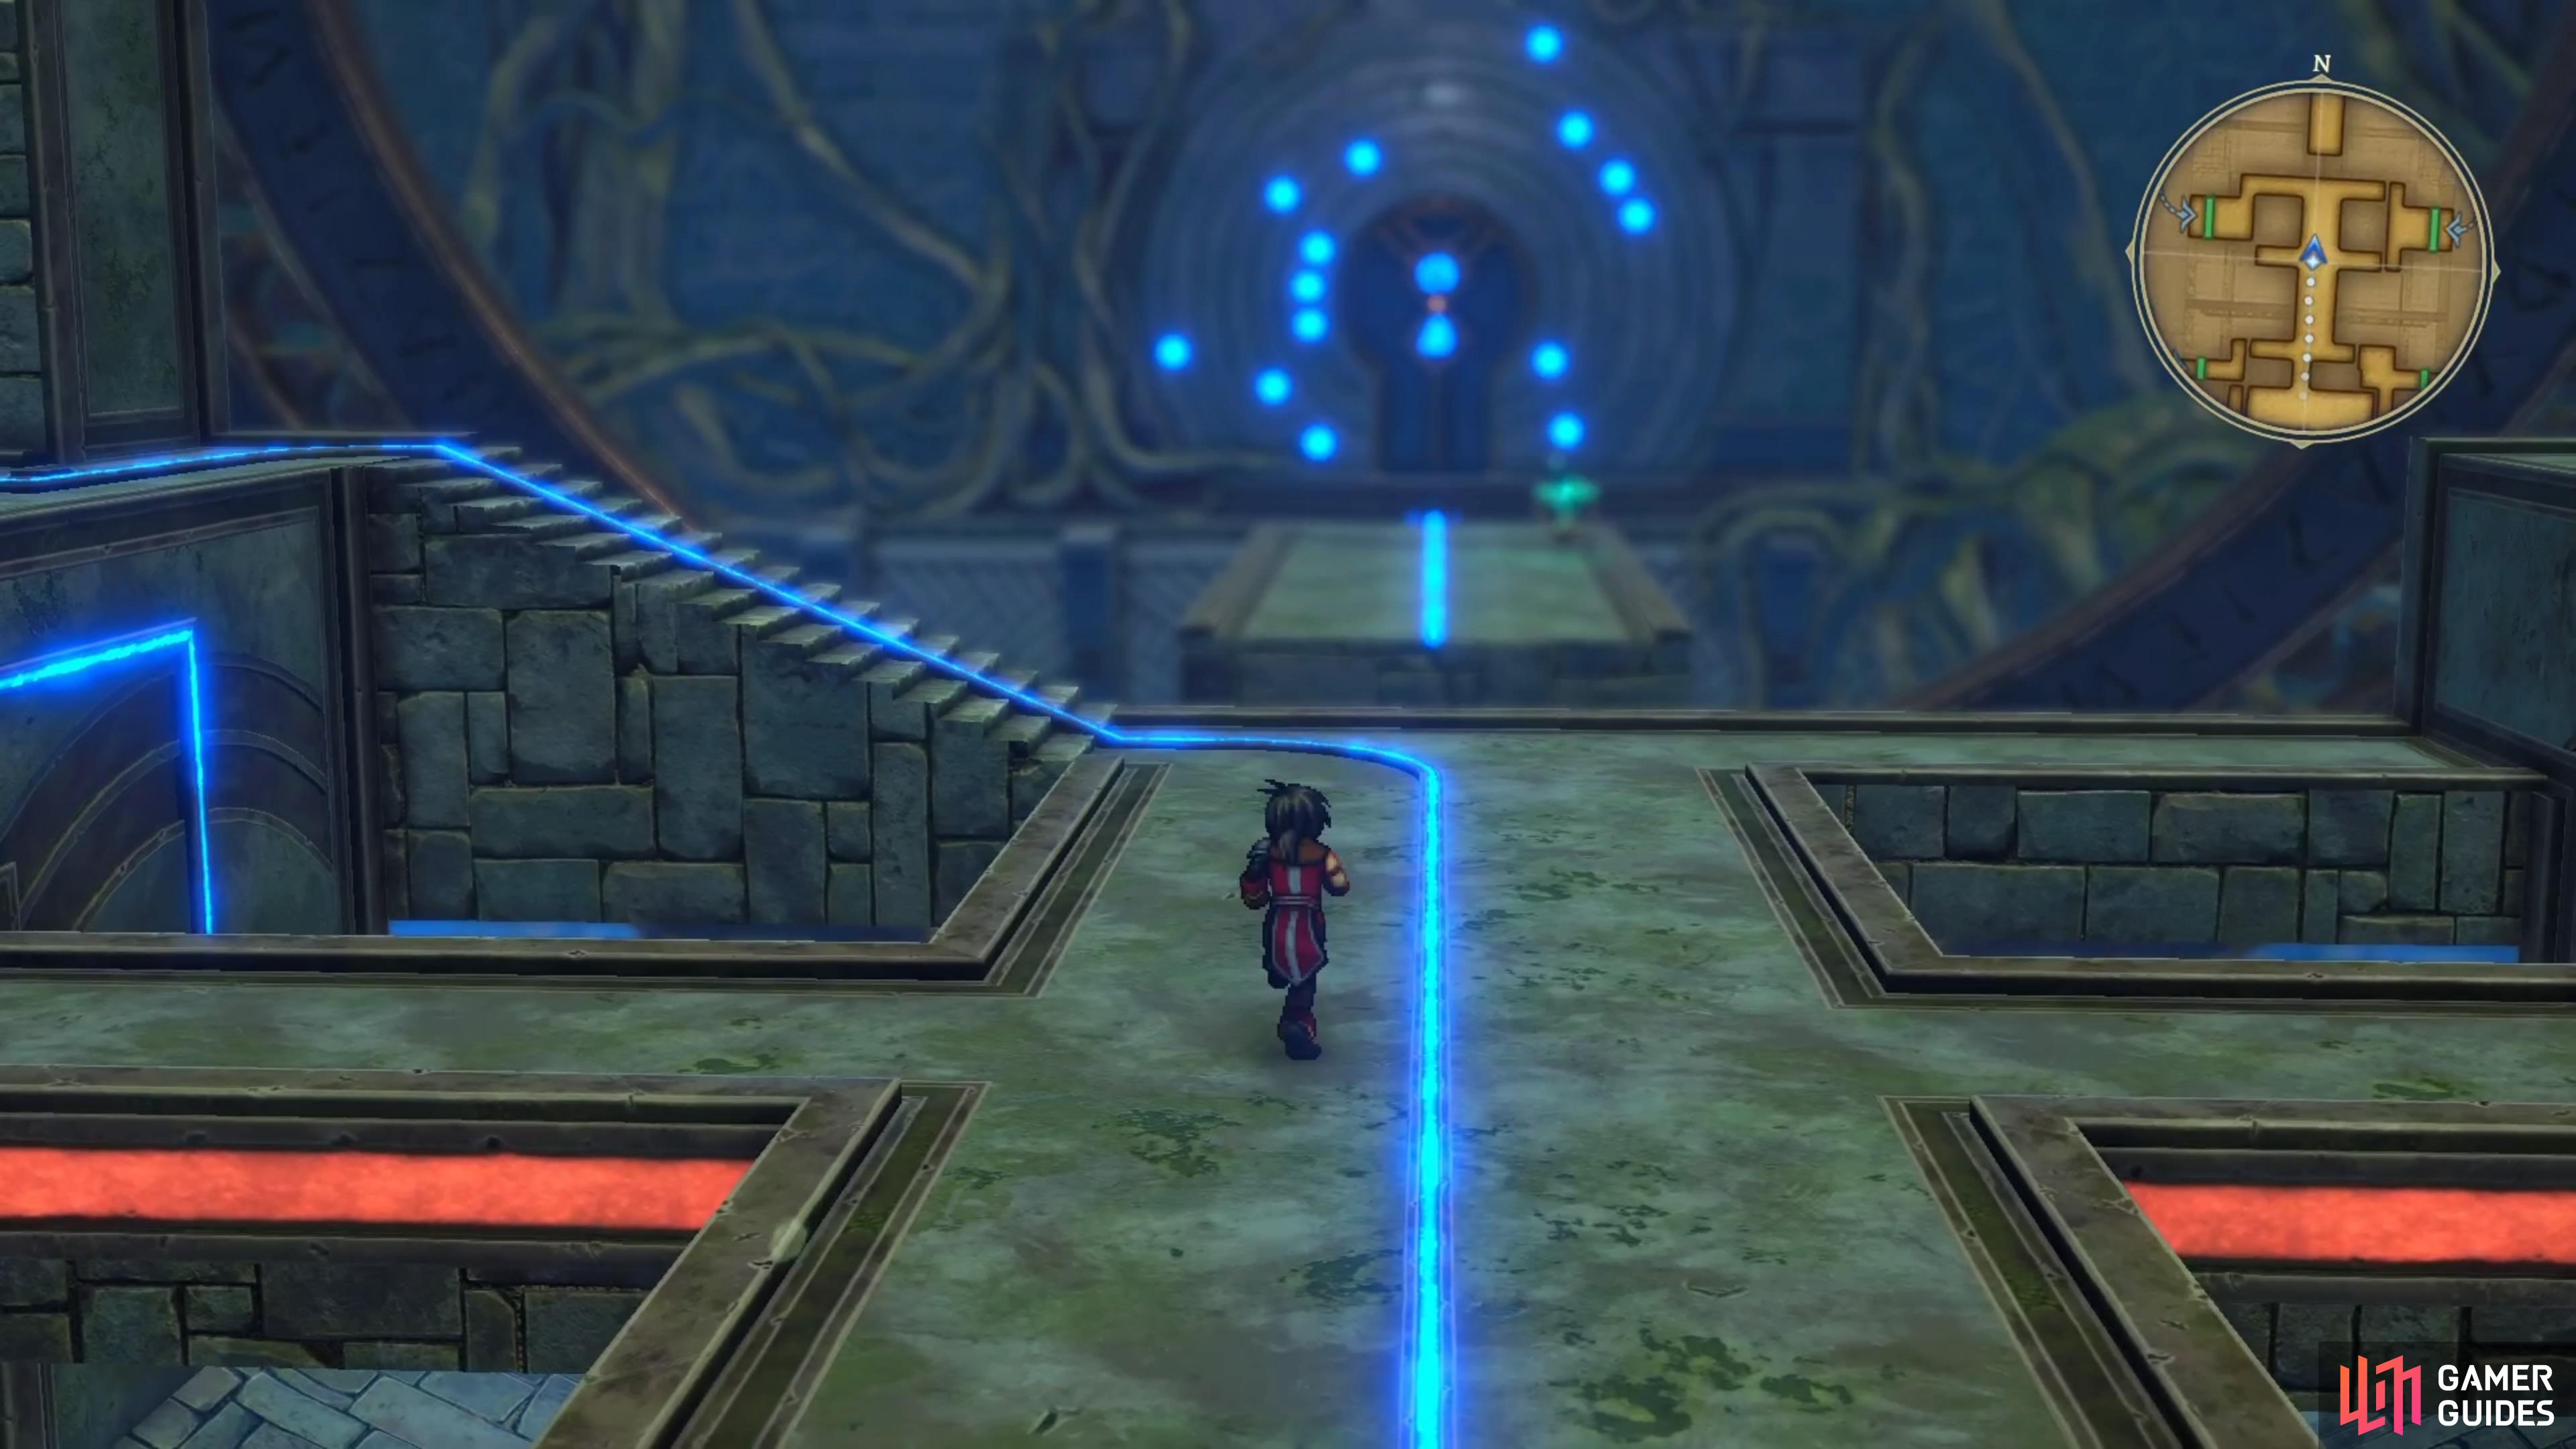
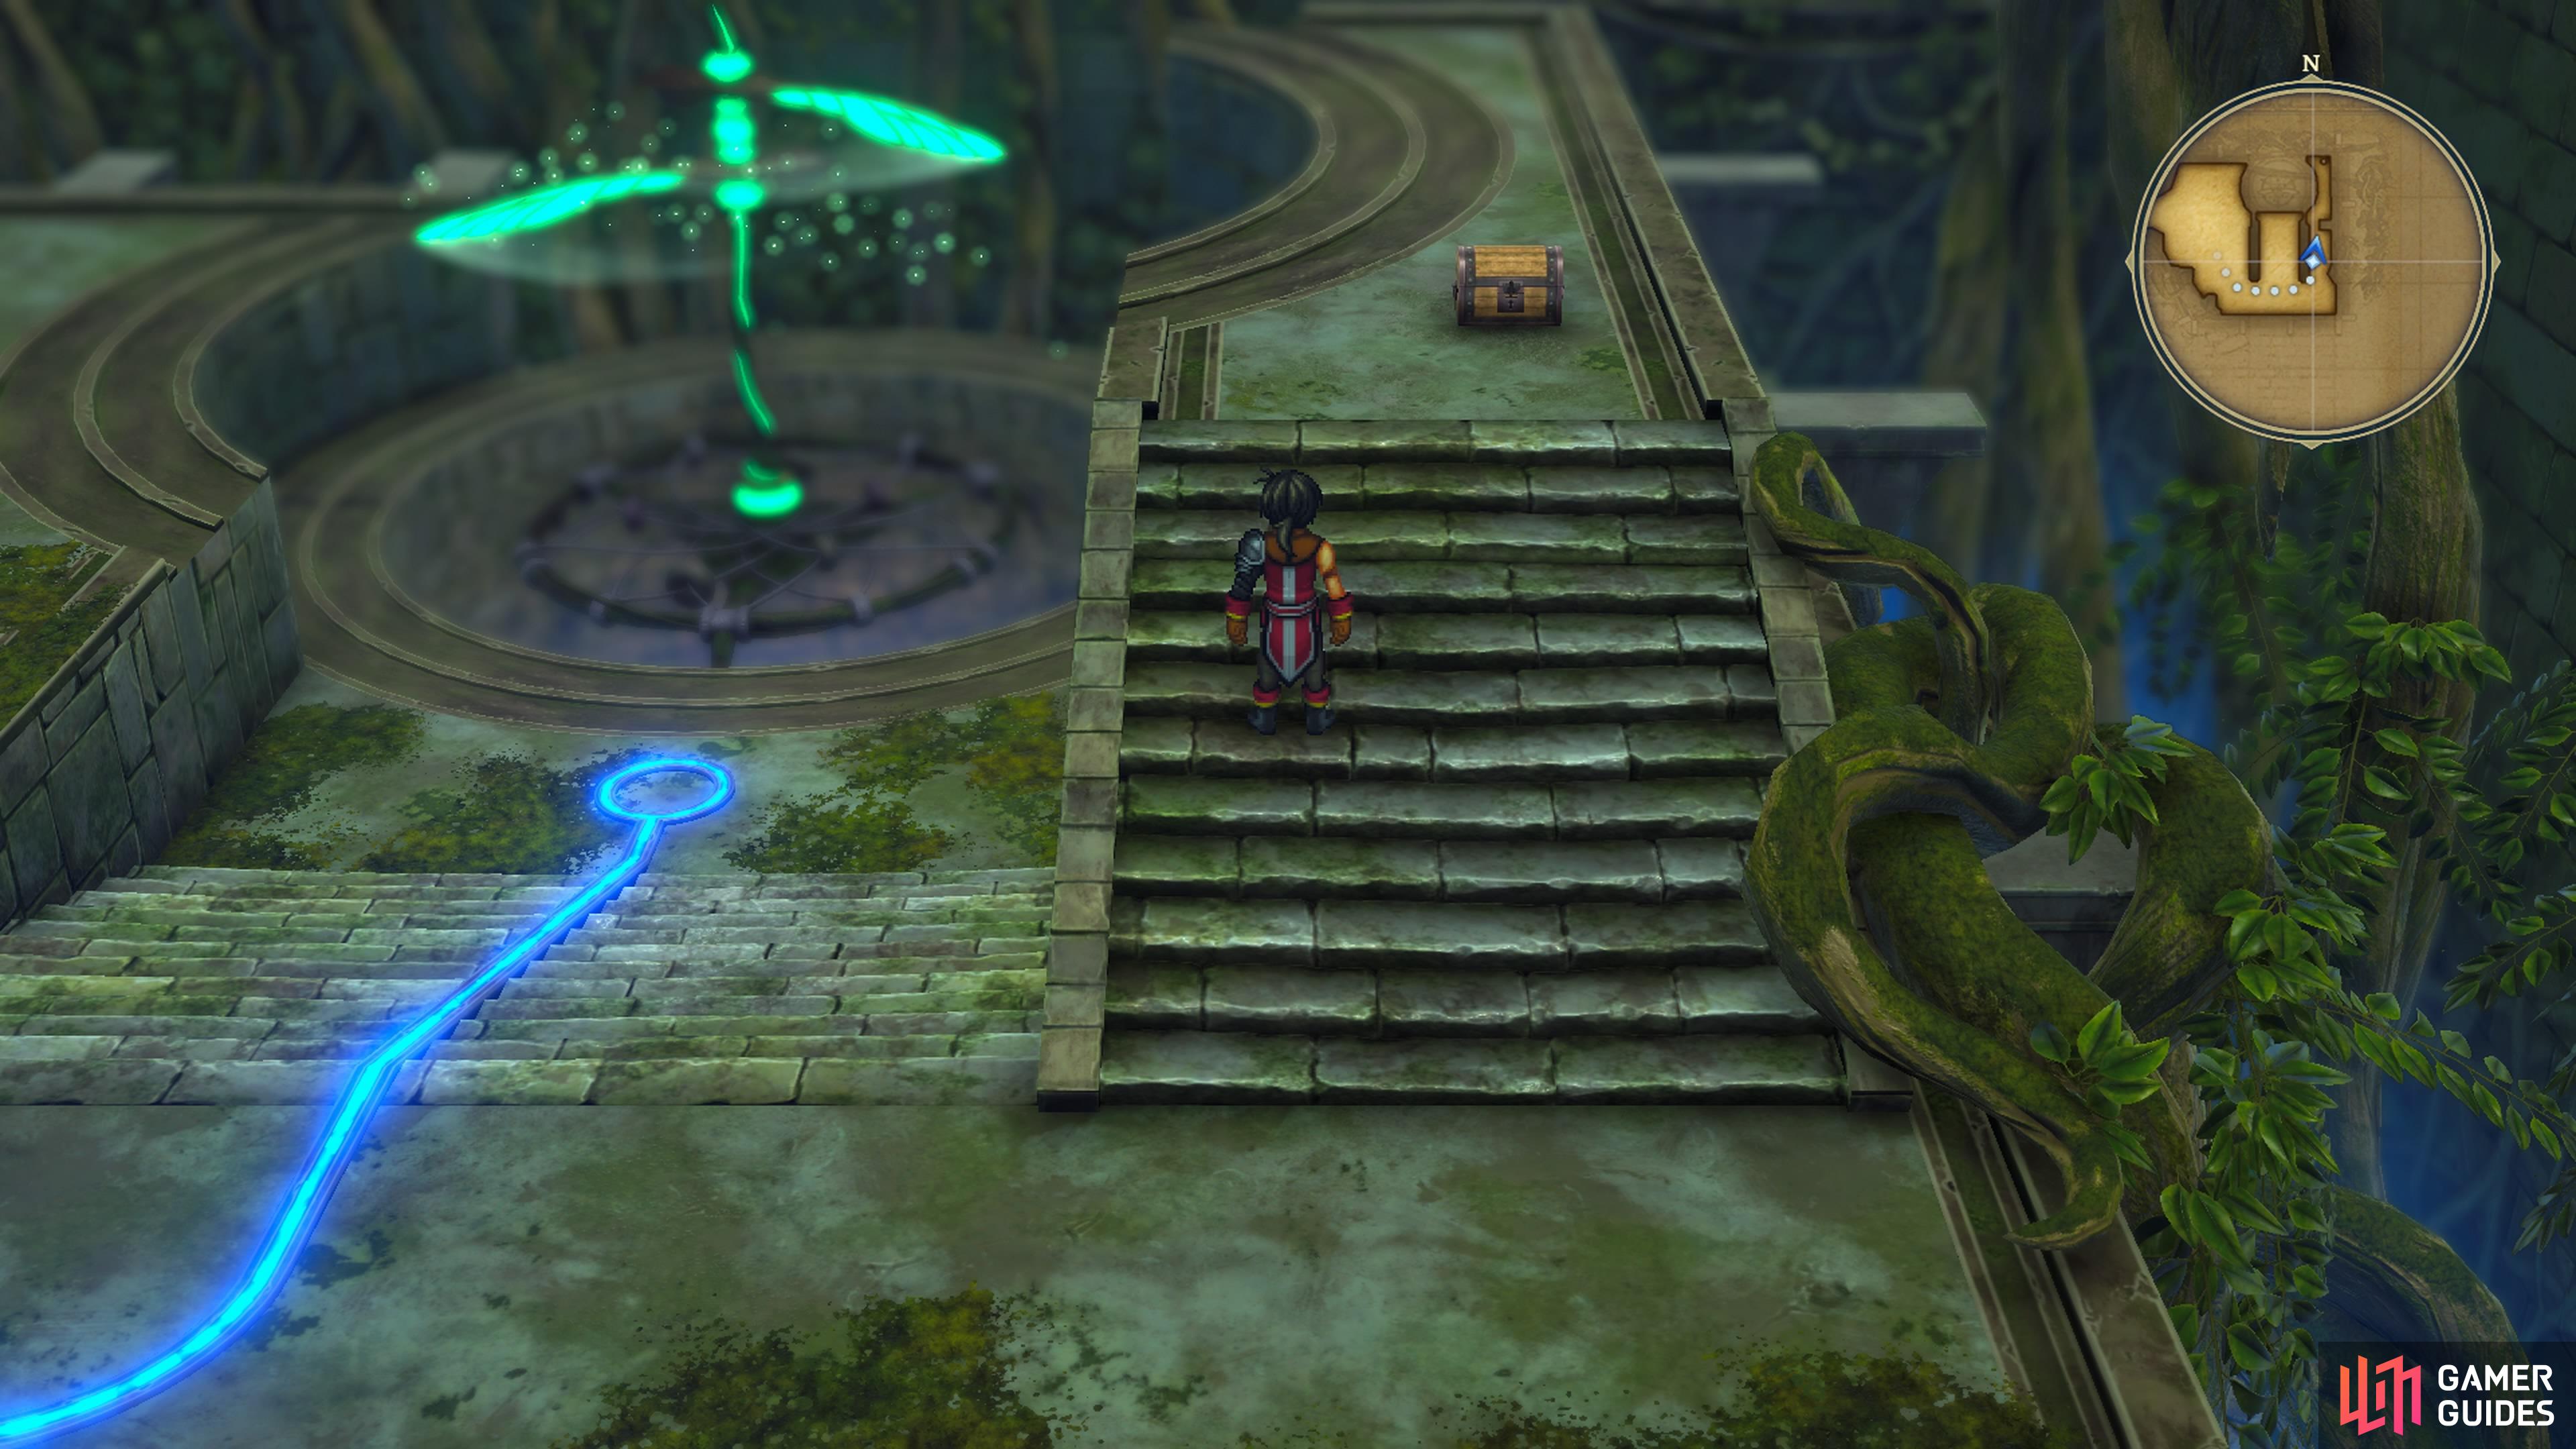
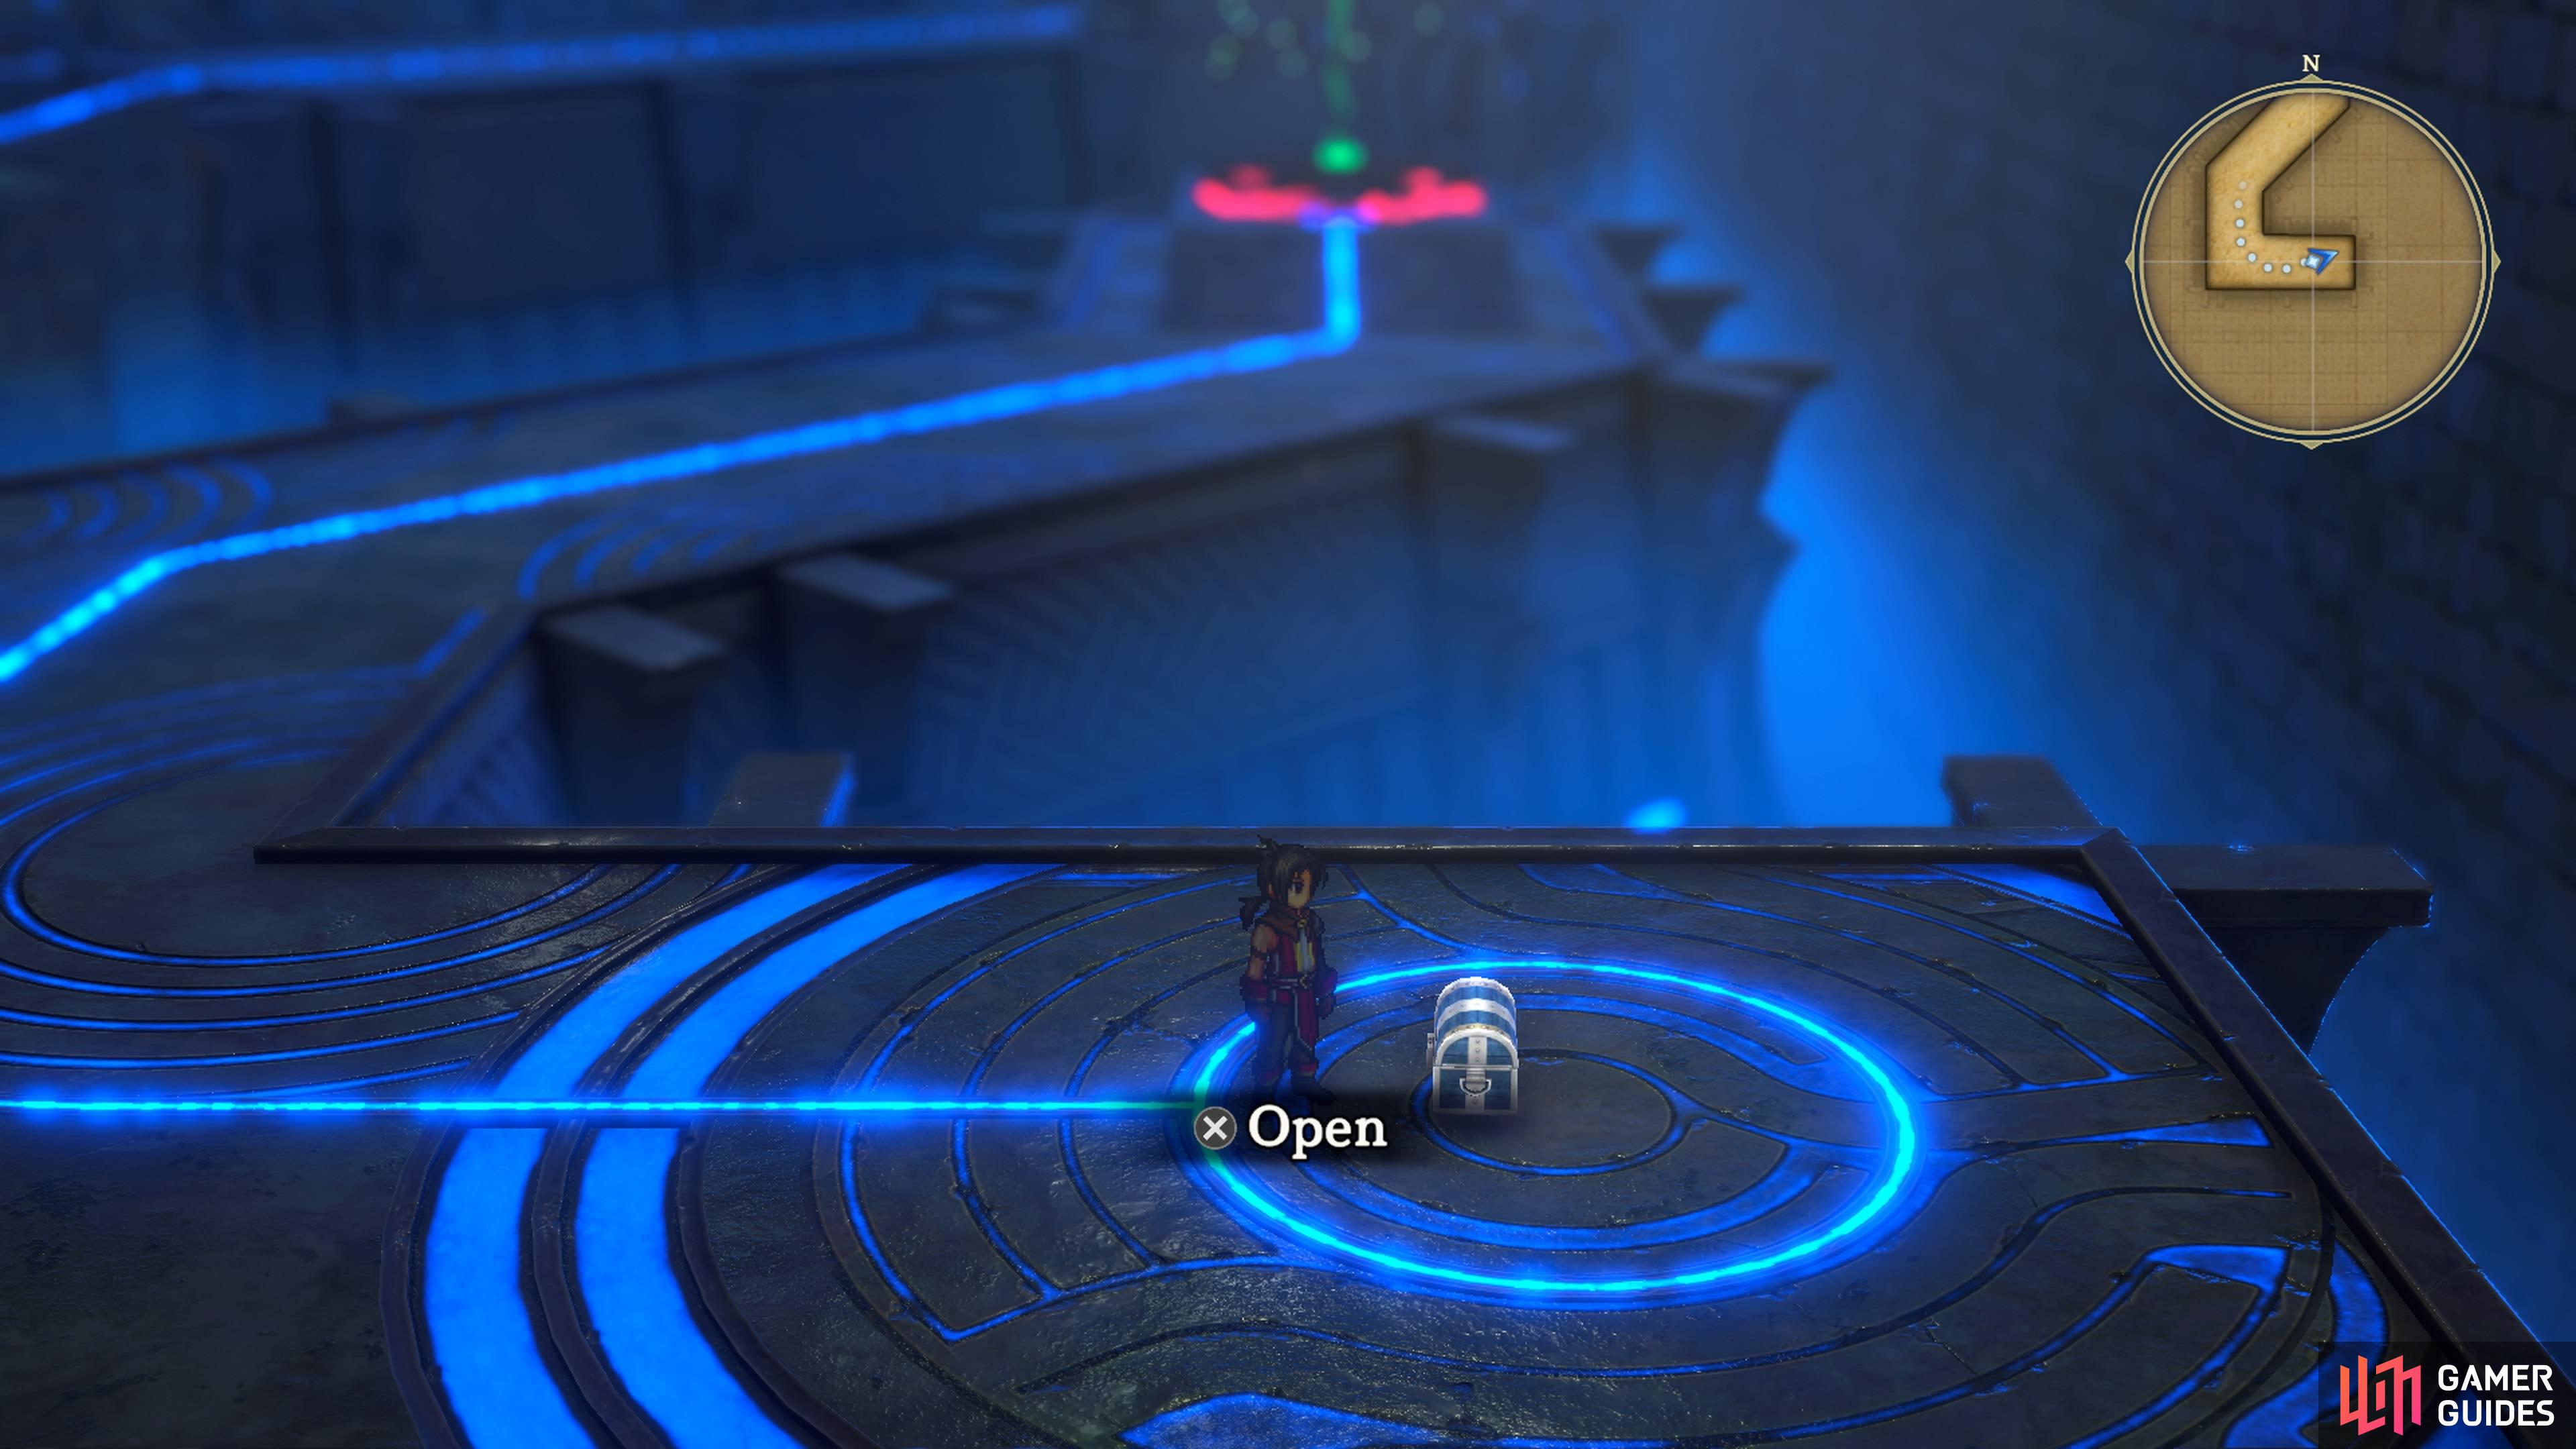
Upon getting inside, you will see a scene of Nowa stepping on a floor switch and some gears moving out of the way. This will be important, as these are found throughout the dungeon. Make your way past the first floor switch and open the chest to the right of the door (1,500 Baqua), then interact with the big, round switch in front of the door to open it. Welcome to the main room of the Proving Grounds. You won’t find much to do right away, without tinkering with the central console. There are doors to the sides of the central console, but they are locked from the start.
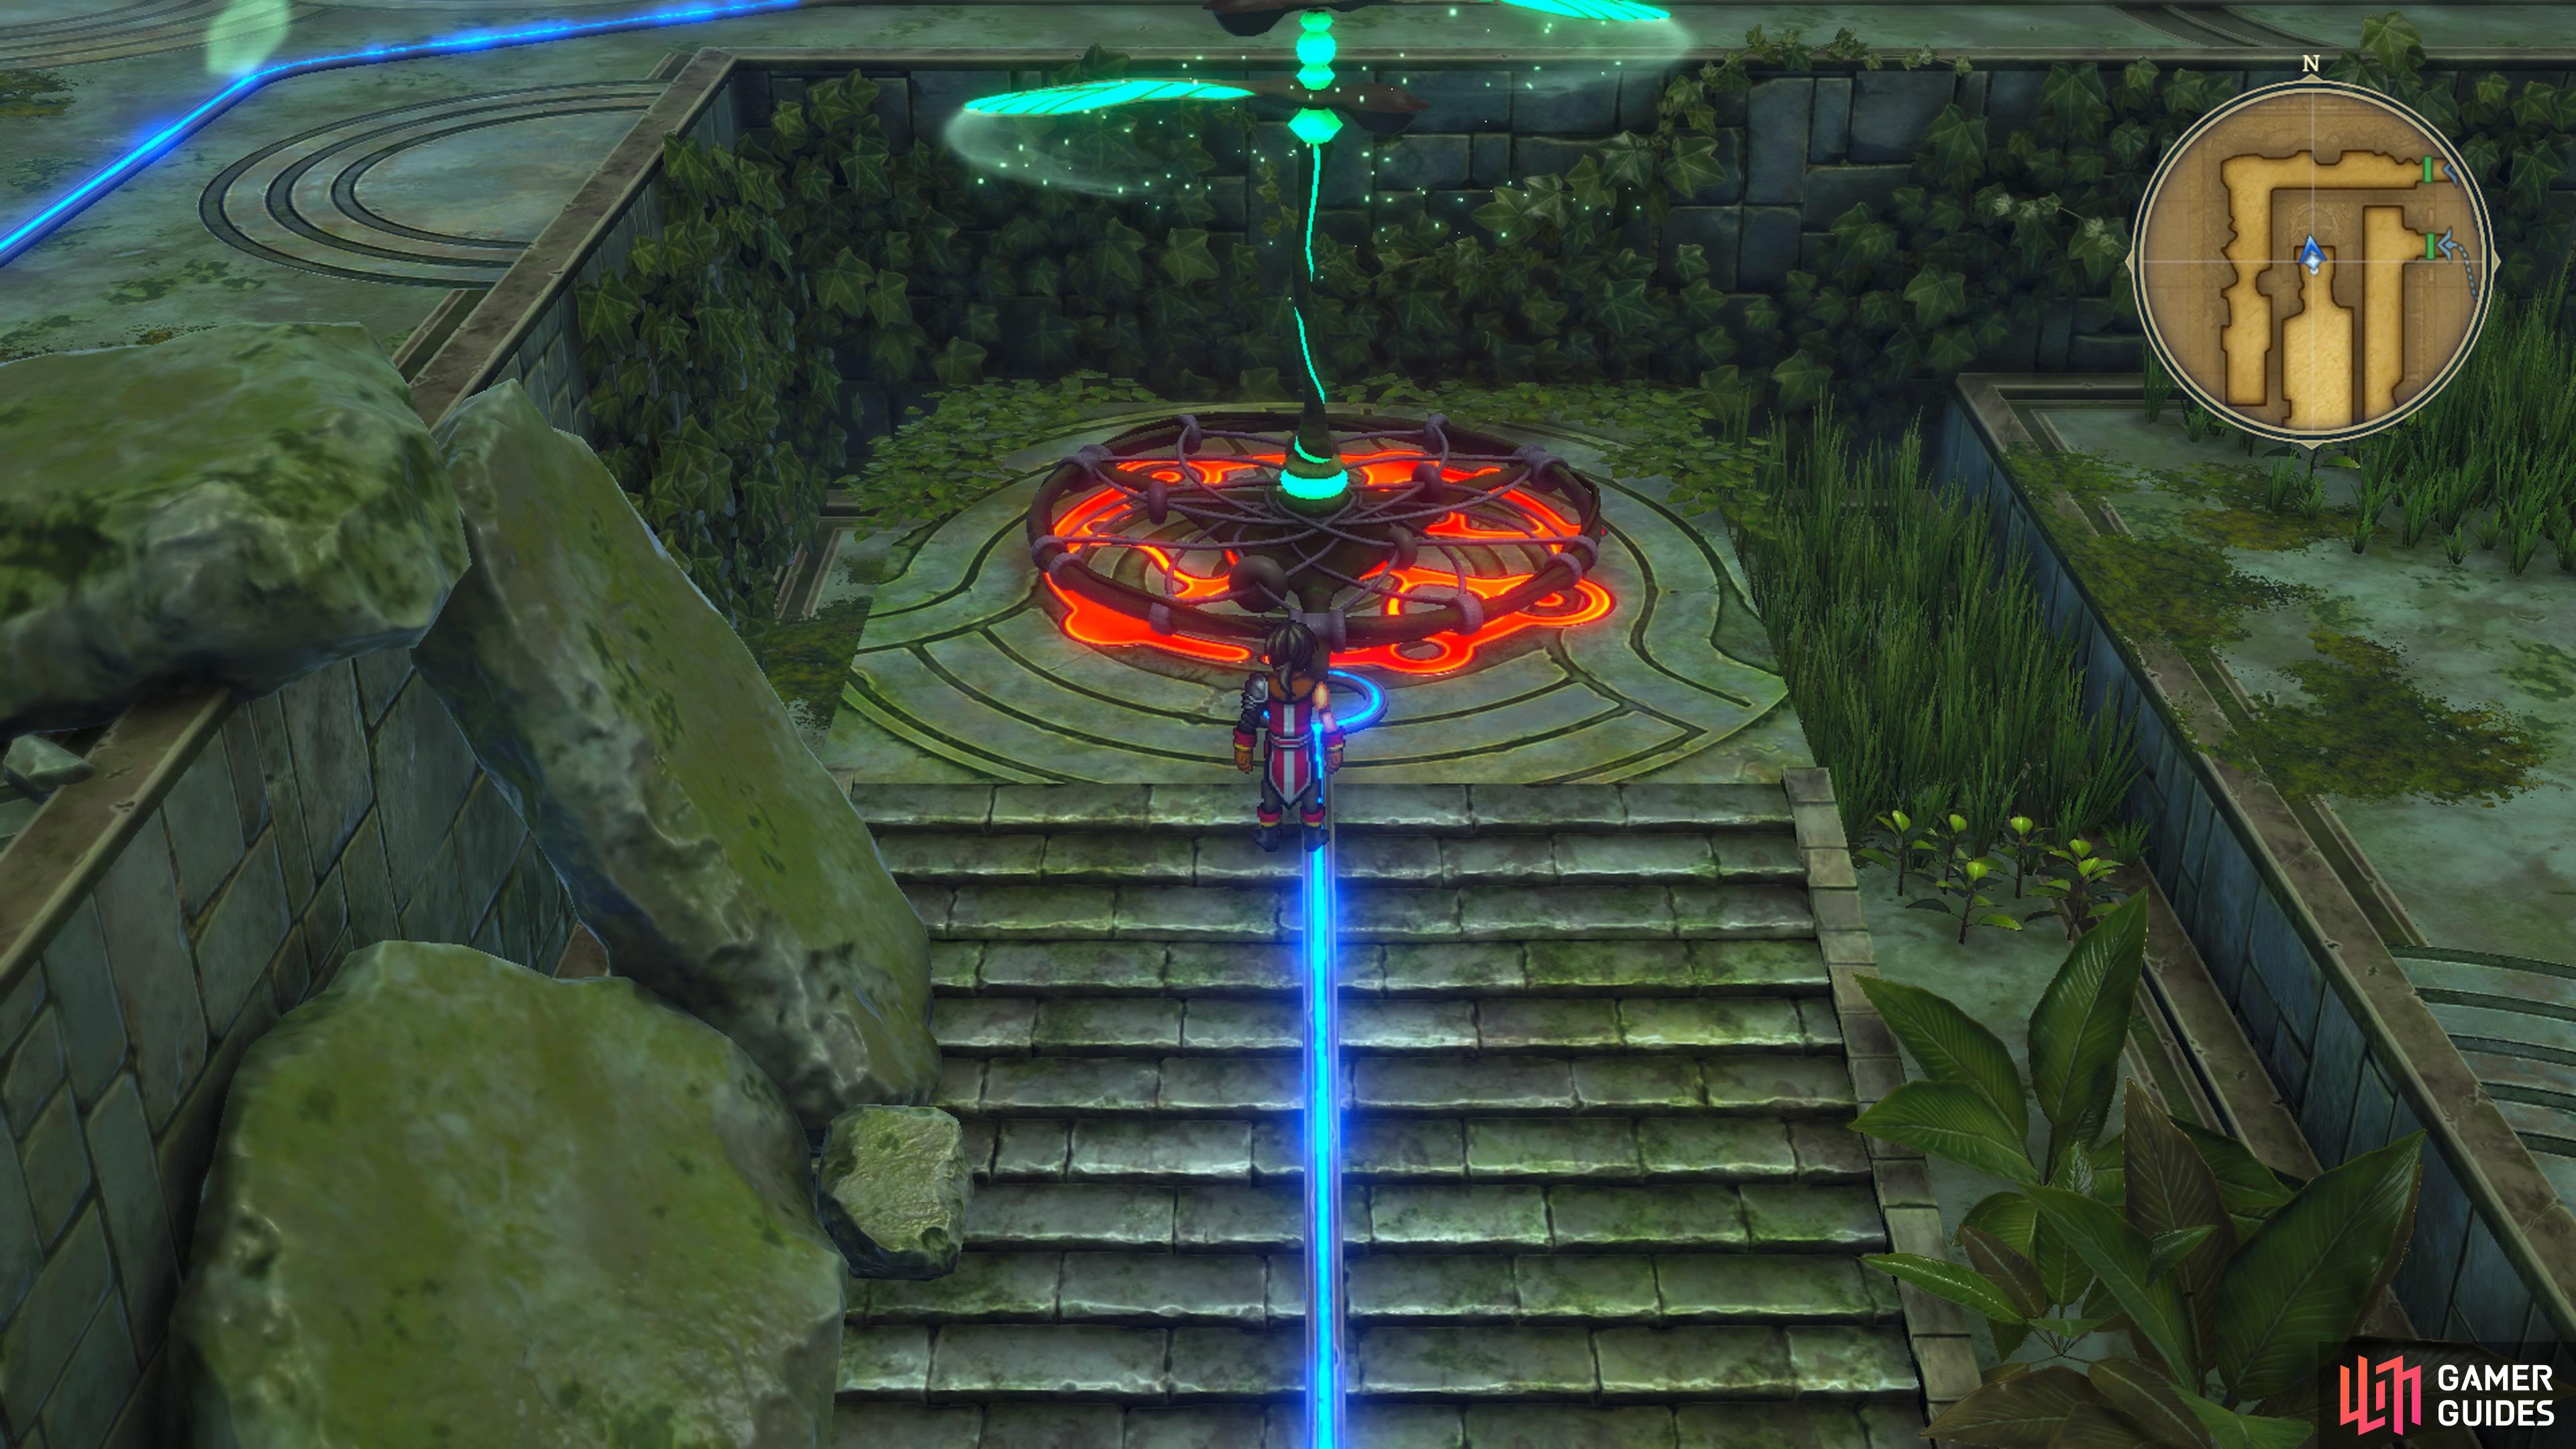
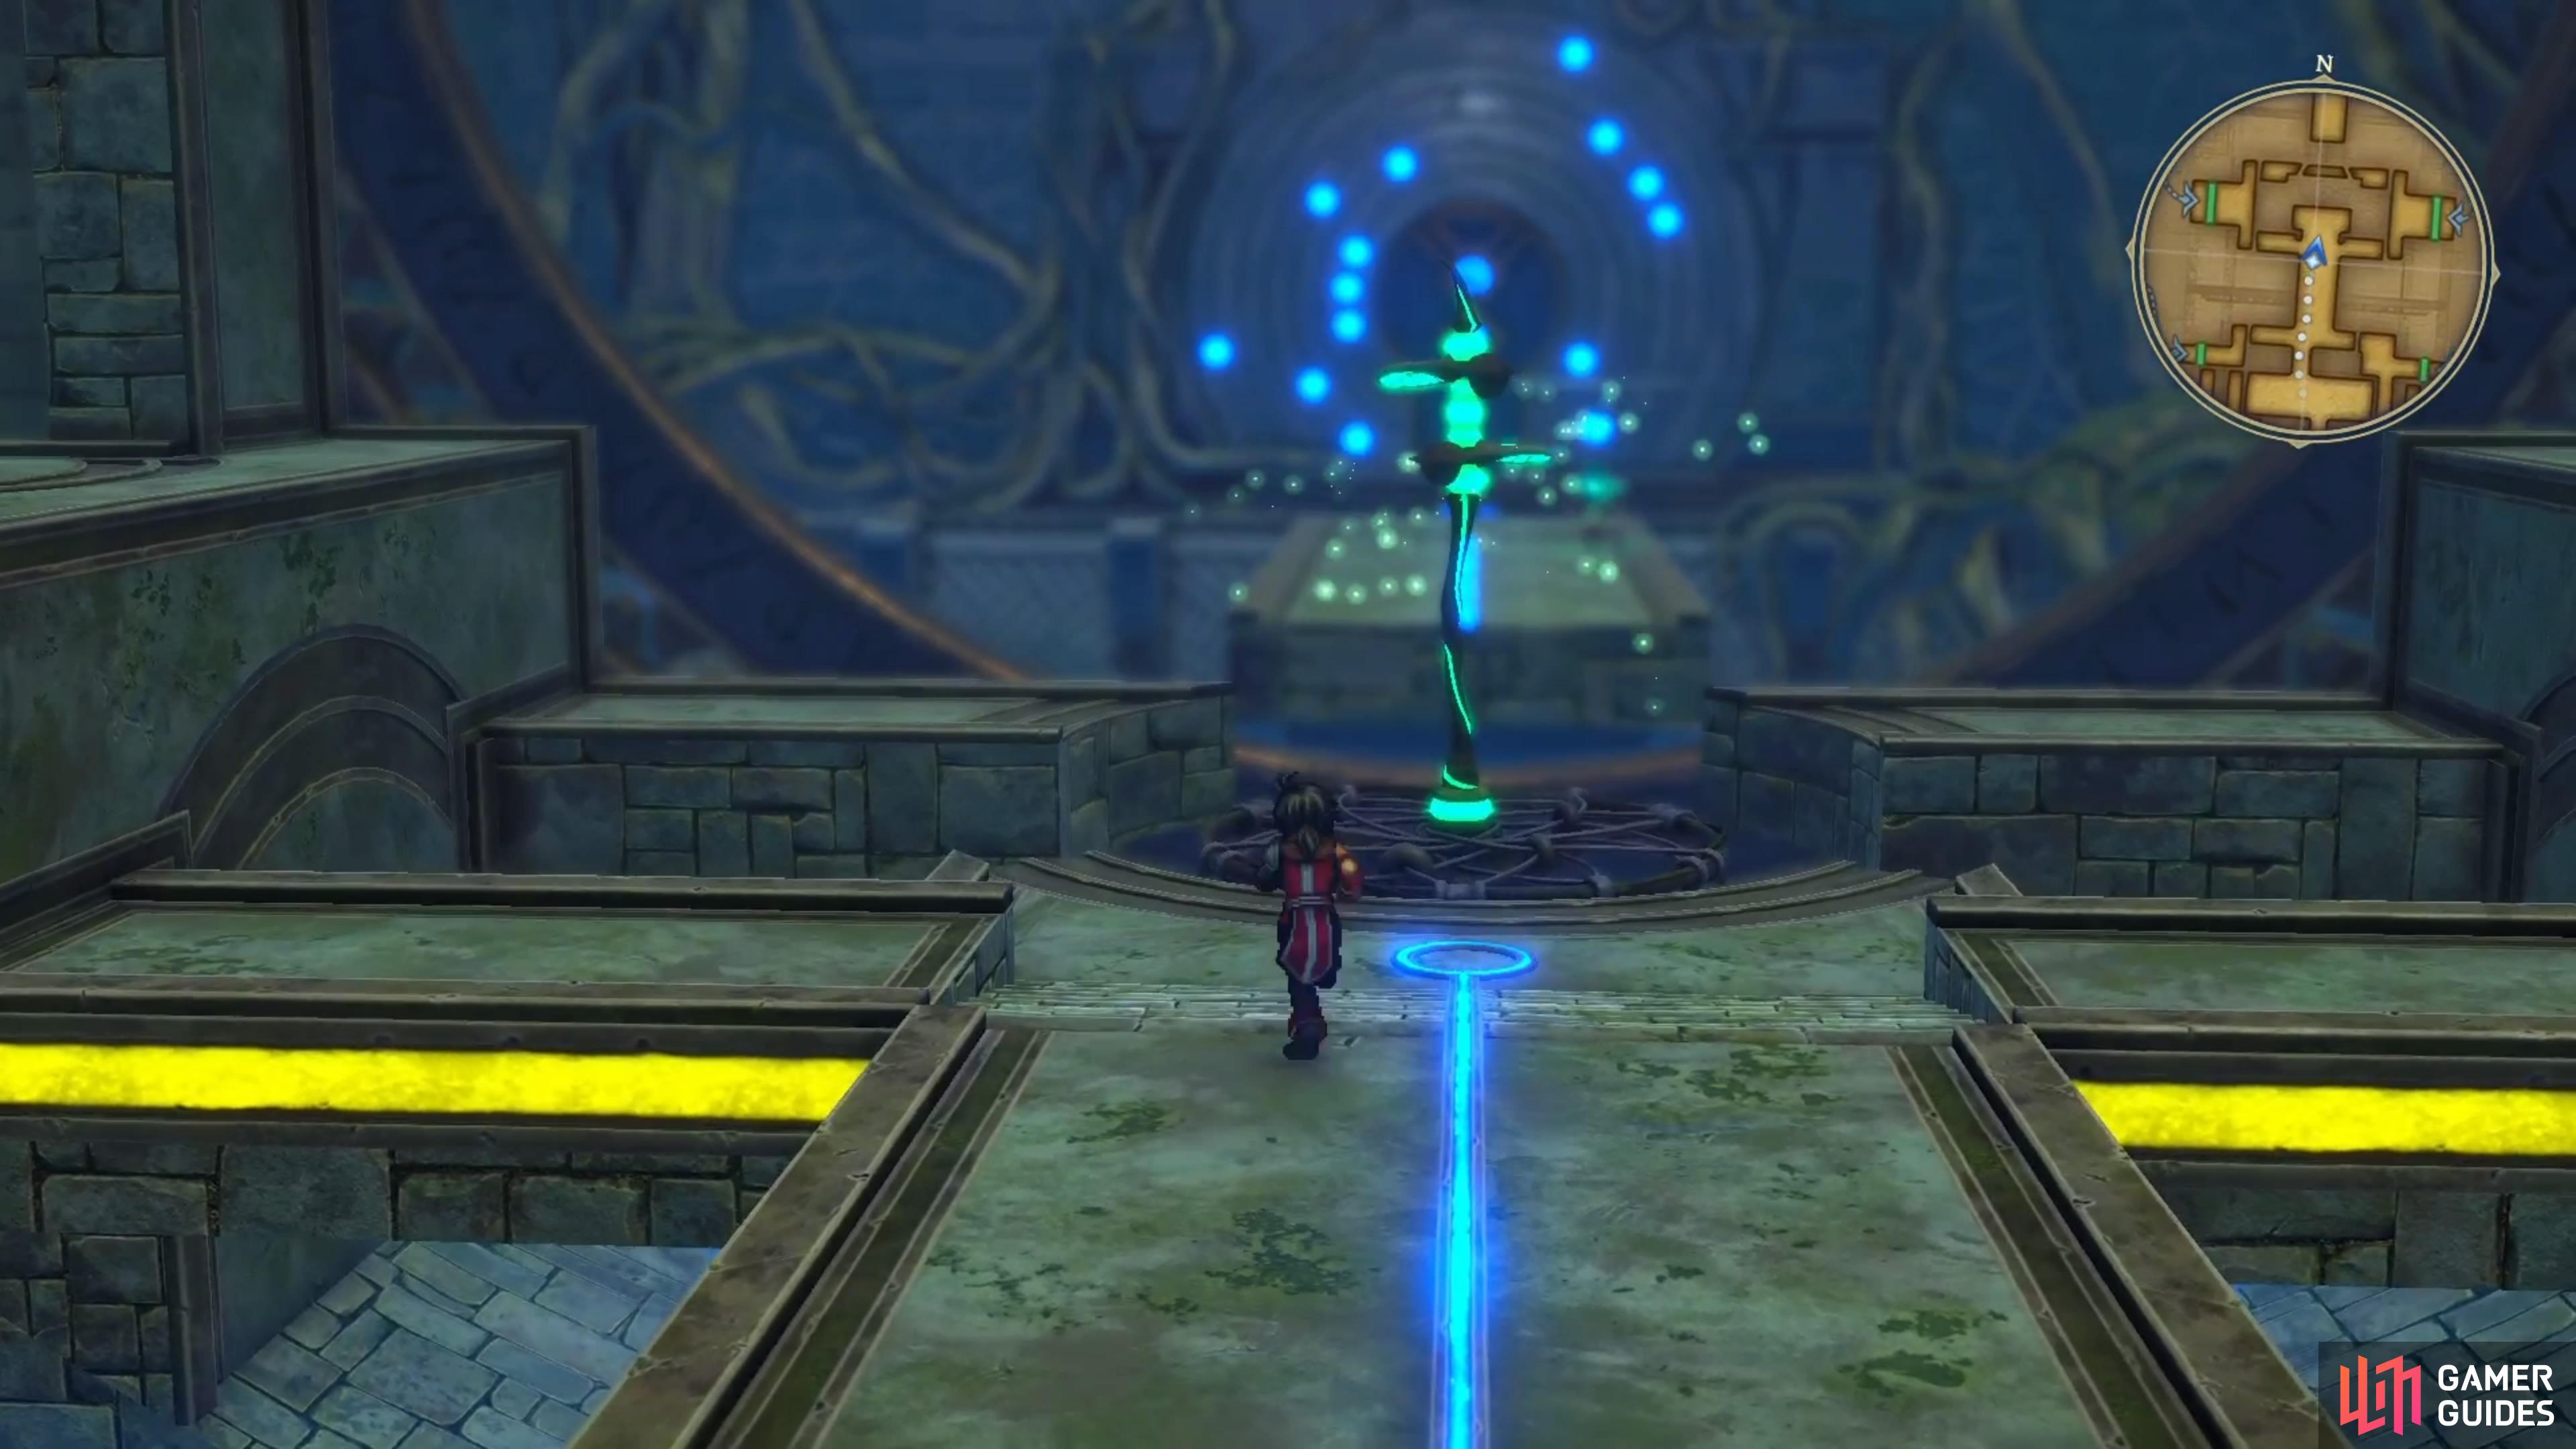
Hit the console so it will be red in color, which will allow you to enter the first door on the left in the main hallway (look for the glowing line on the floor to guide you). To the north of where you entered, there will be another doorway that leads back to the main hall, which will become important later. For now, go south and follow the path to the end to find some contraption with spinning blades. This is essentially an elevator, so interact with it to head to the next floor.
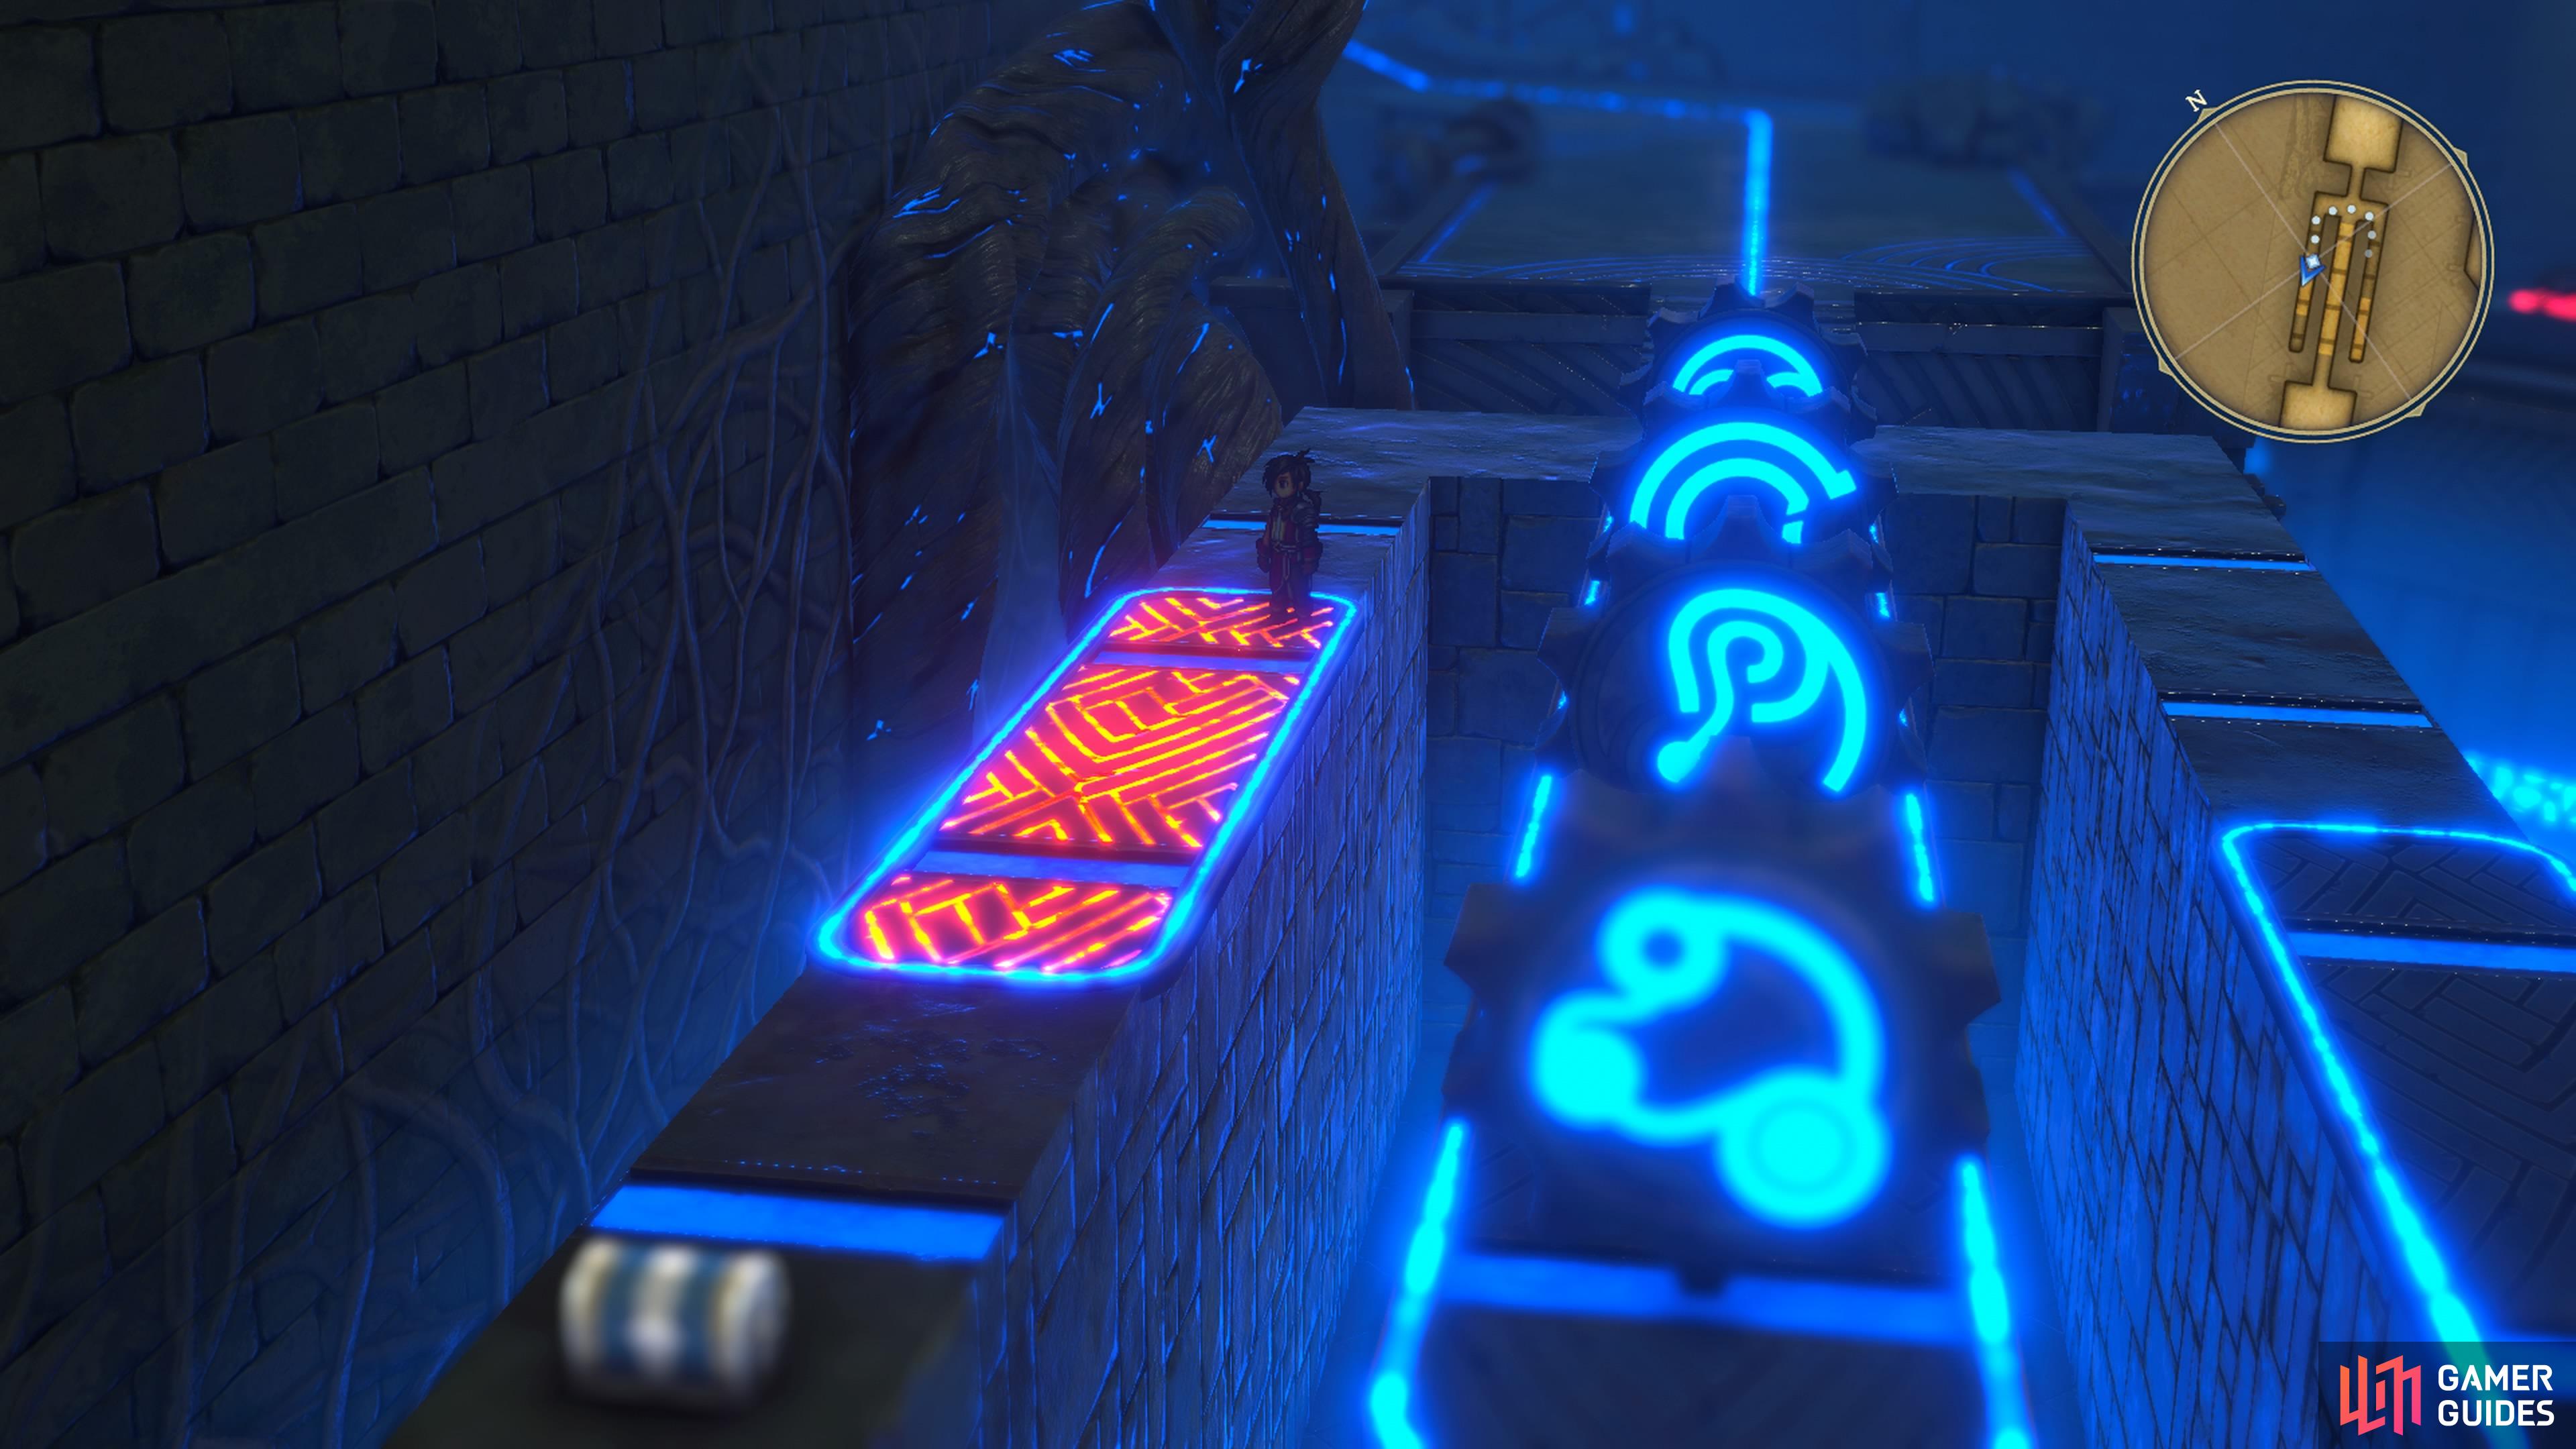
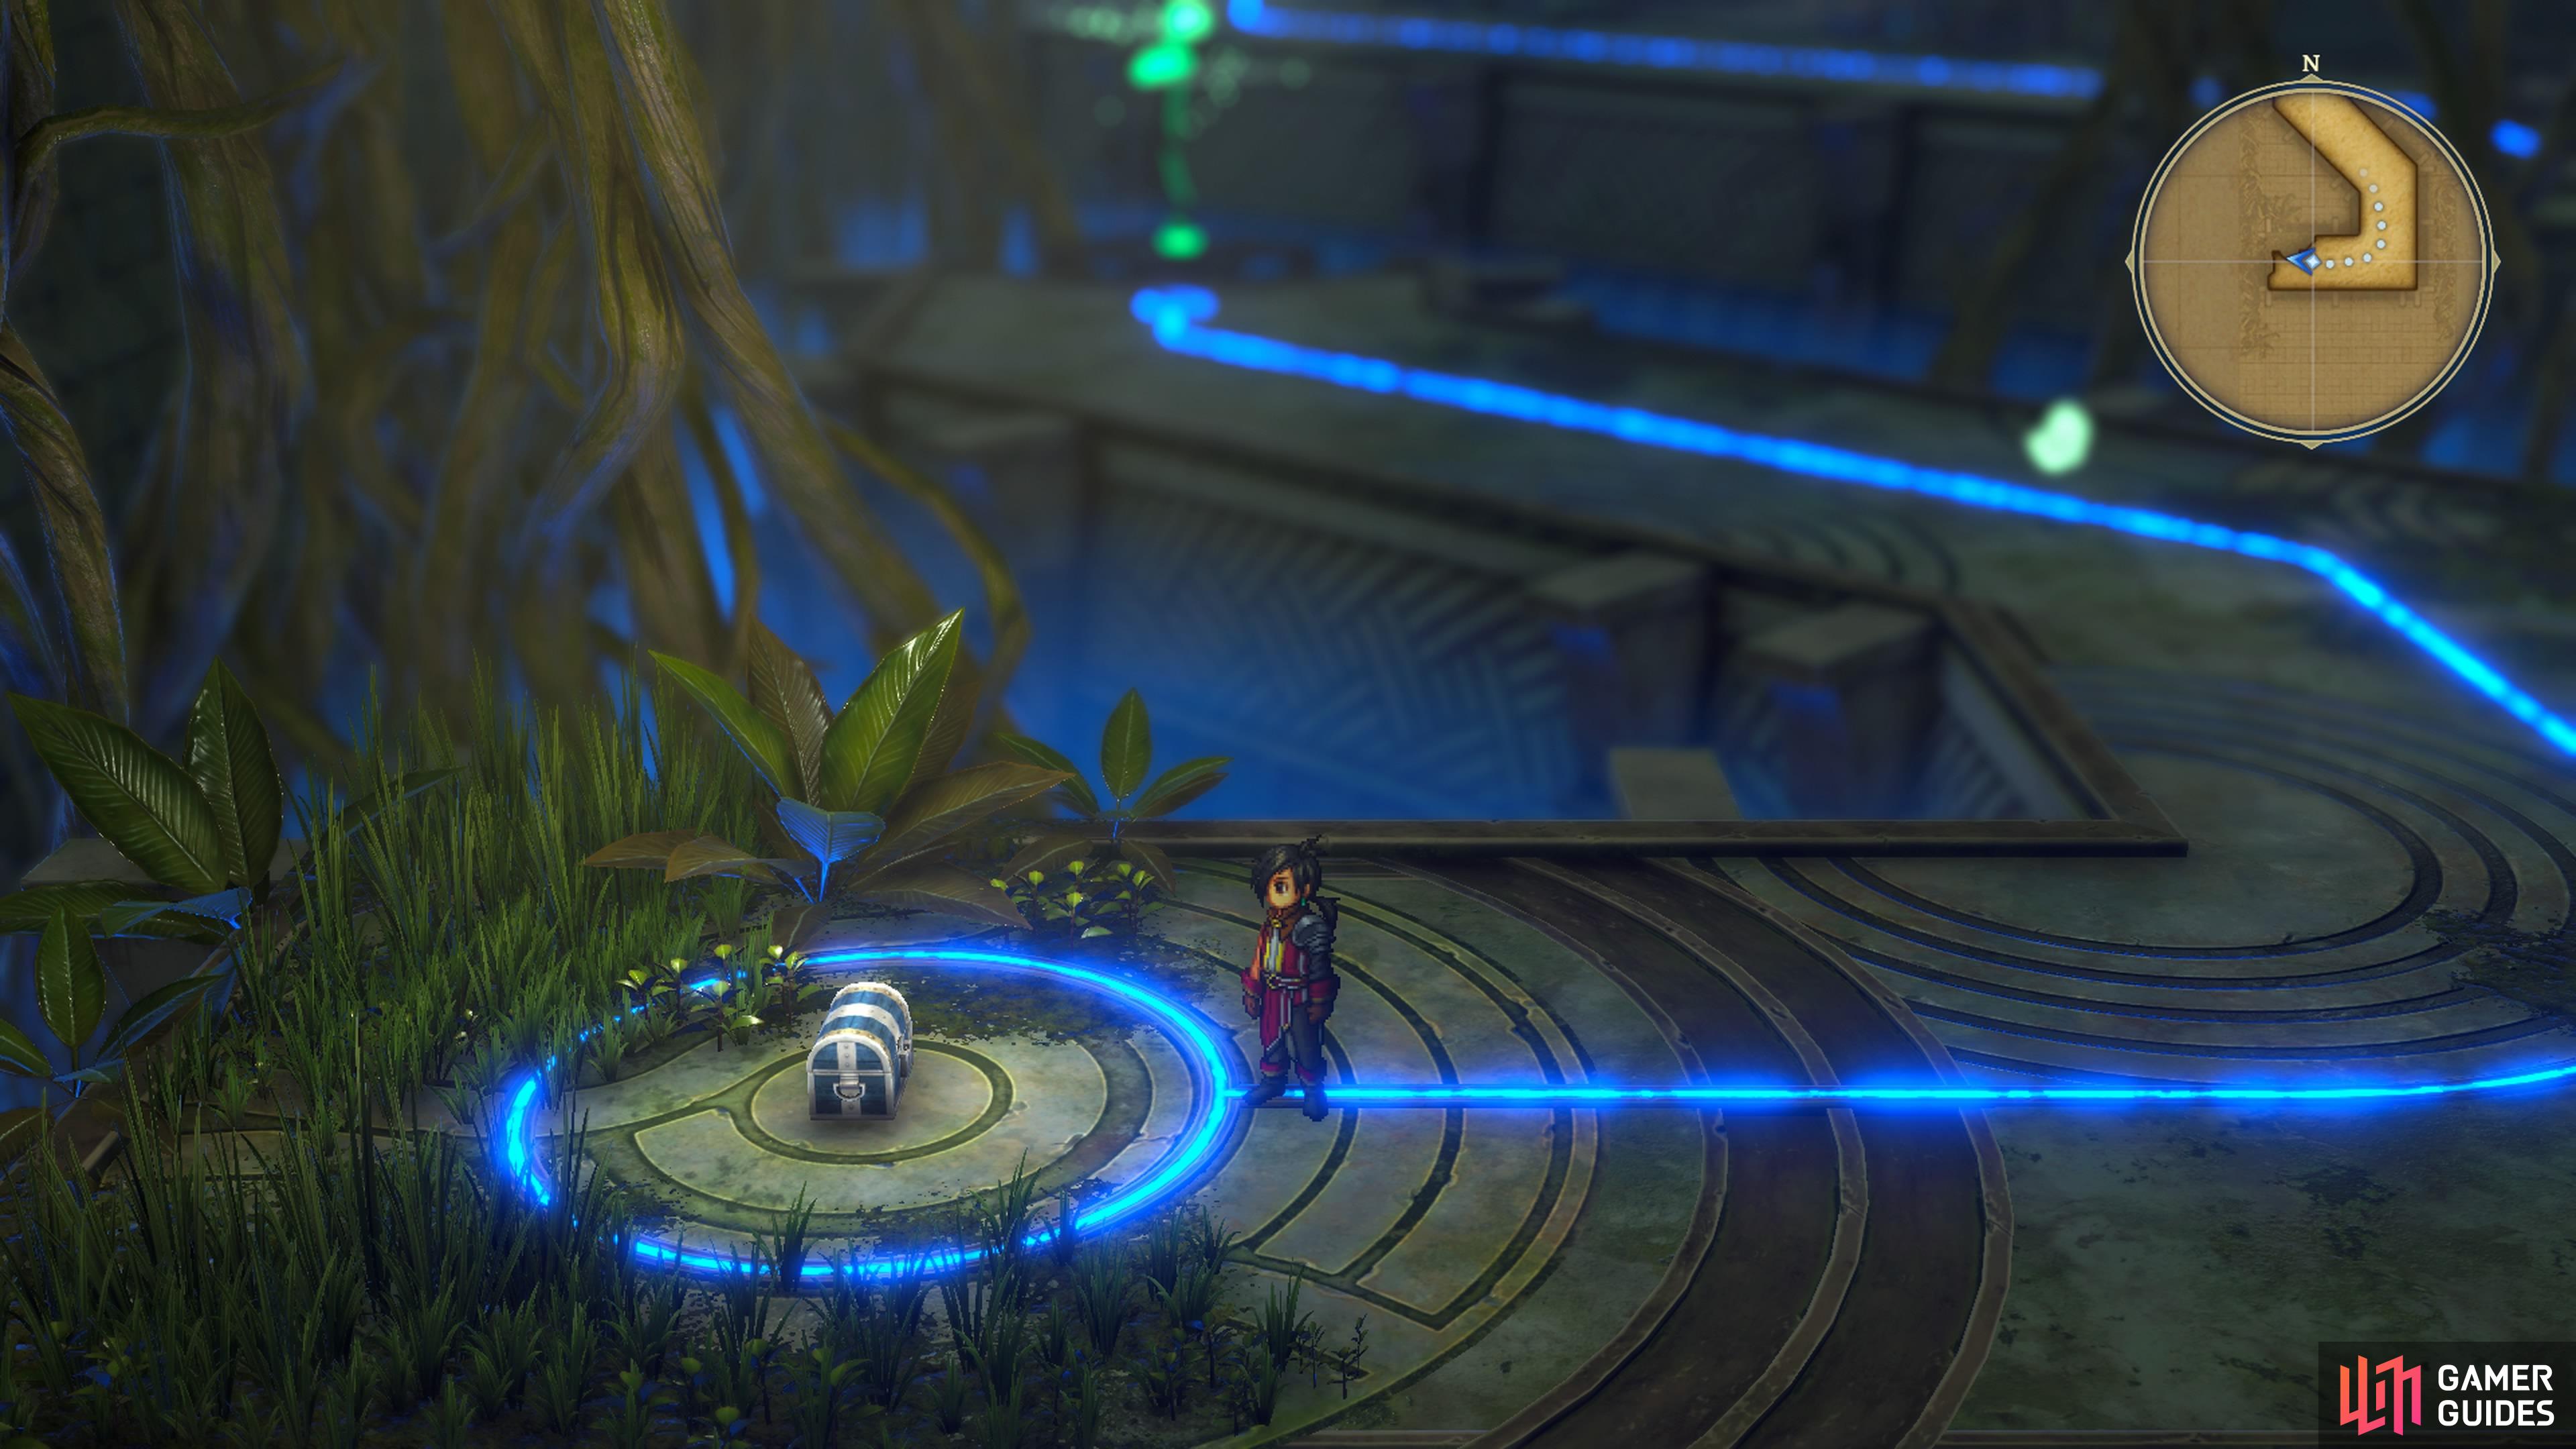
On the next floor, follow the path until you reach some more floor switches, as well as some gears that block you. There is a chest at the end of the western path, so to get it, step on the left switch first, then the right switch second. Return to the left side once more and hit the switch as many times as needed to get past the gear and to the chest (Ruby Brooch). Make sure all of the gears are on the central path when you return to the top, then use the middle path to get to the bottom.
At the very end, you’ll see another elevator off to the right, but if you look to the left, there’s another floor switch. Interact with it to cause the gears in front of it to activate, triggering something in the main hall. Use the elevator now, then open the chest in this room for x2 Magic Drop and use the switch on the ground to open the nearby door. This is one of the two doors off to the side of the control panel in the main hallway.
Second Room Puzzles
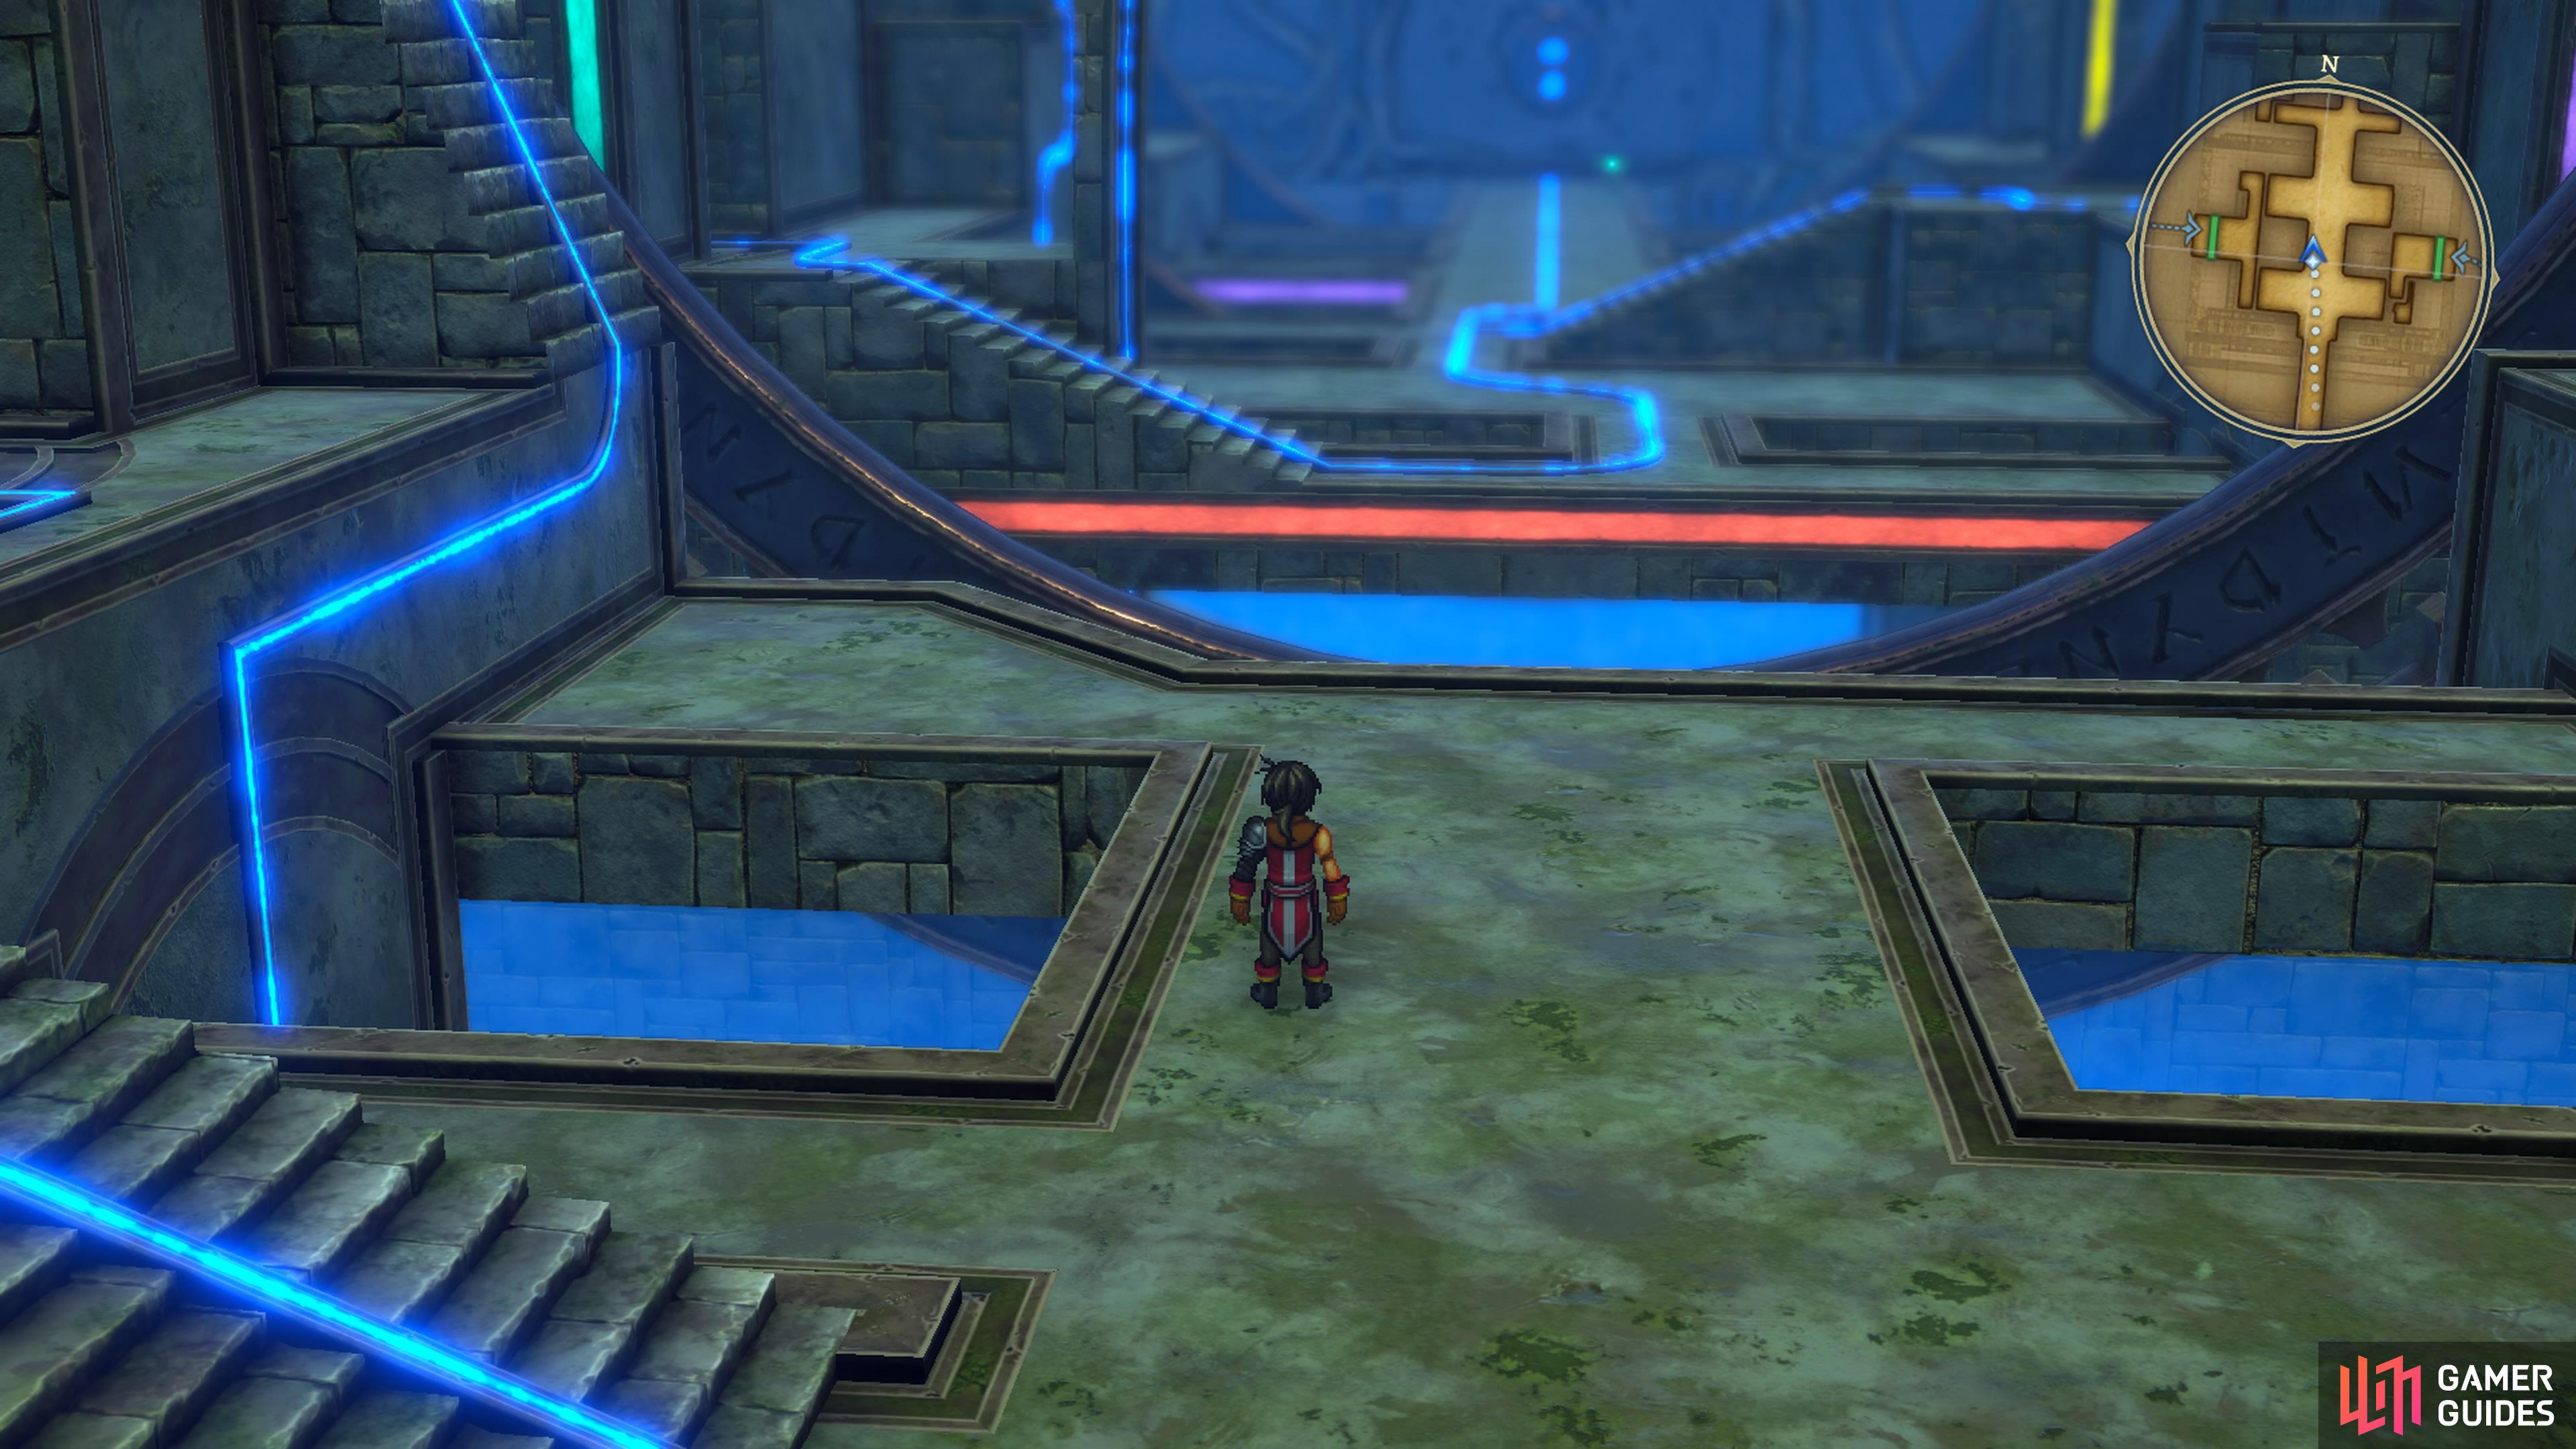
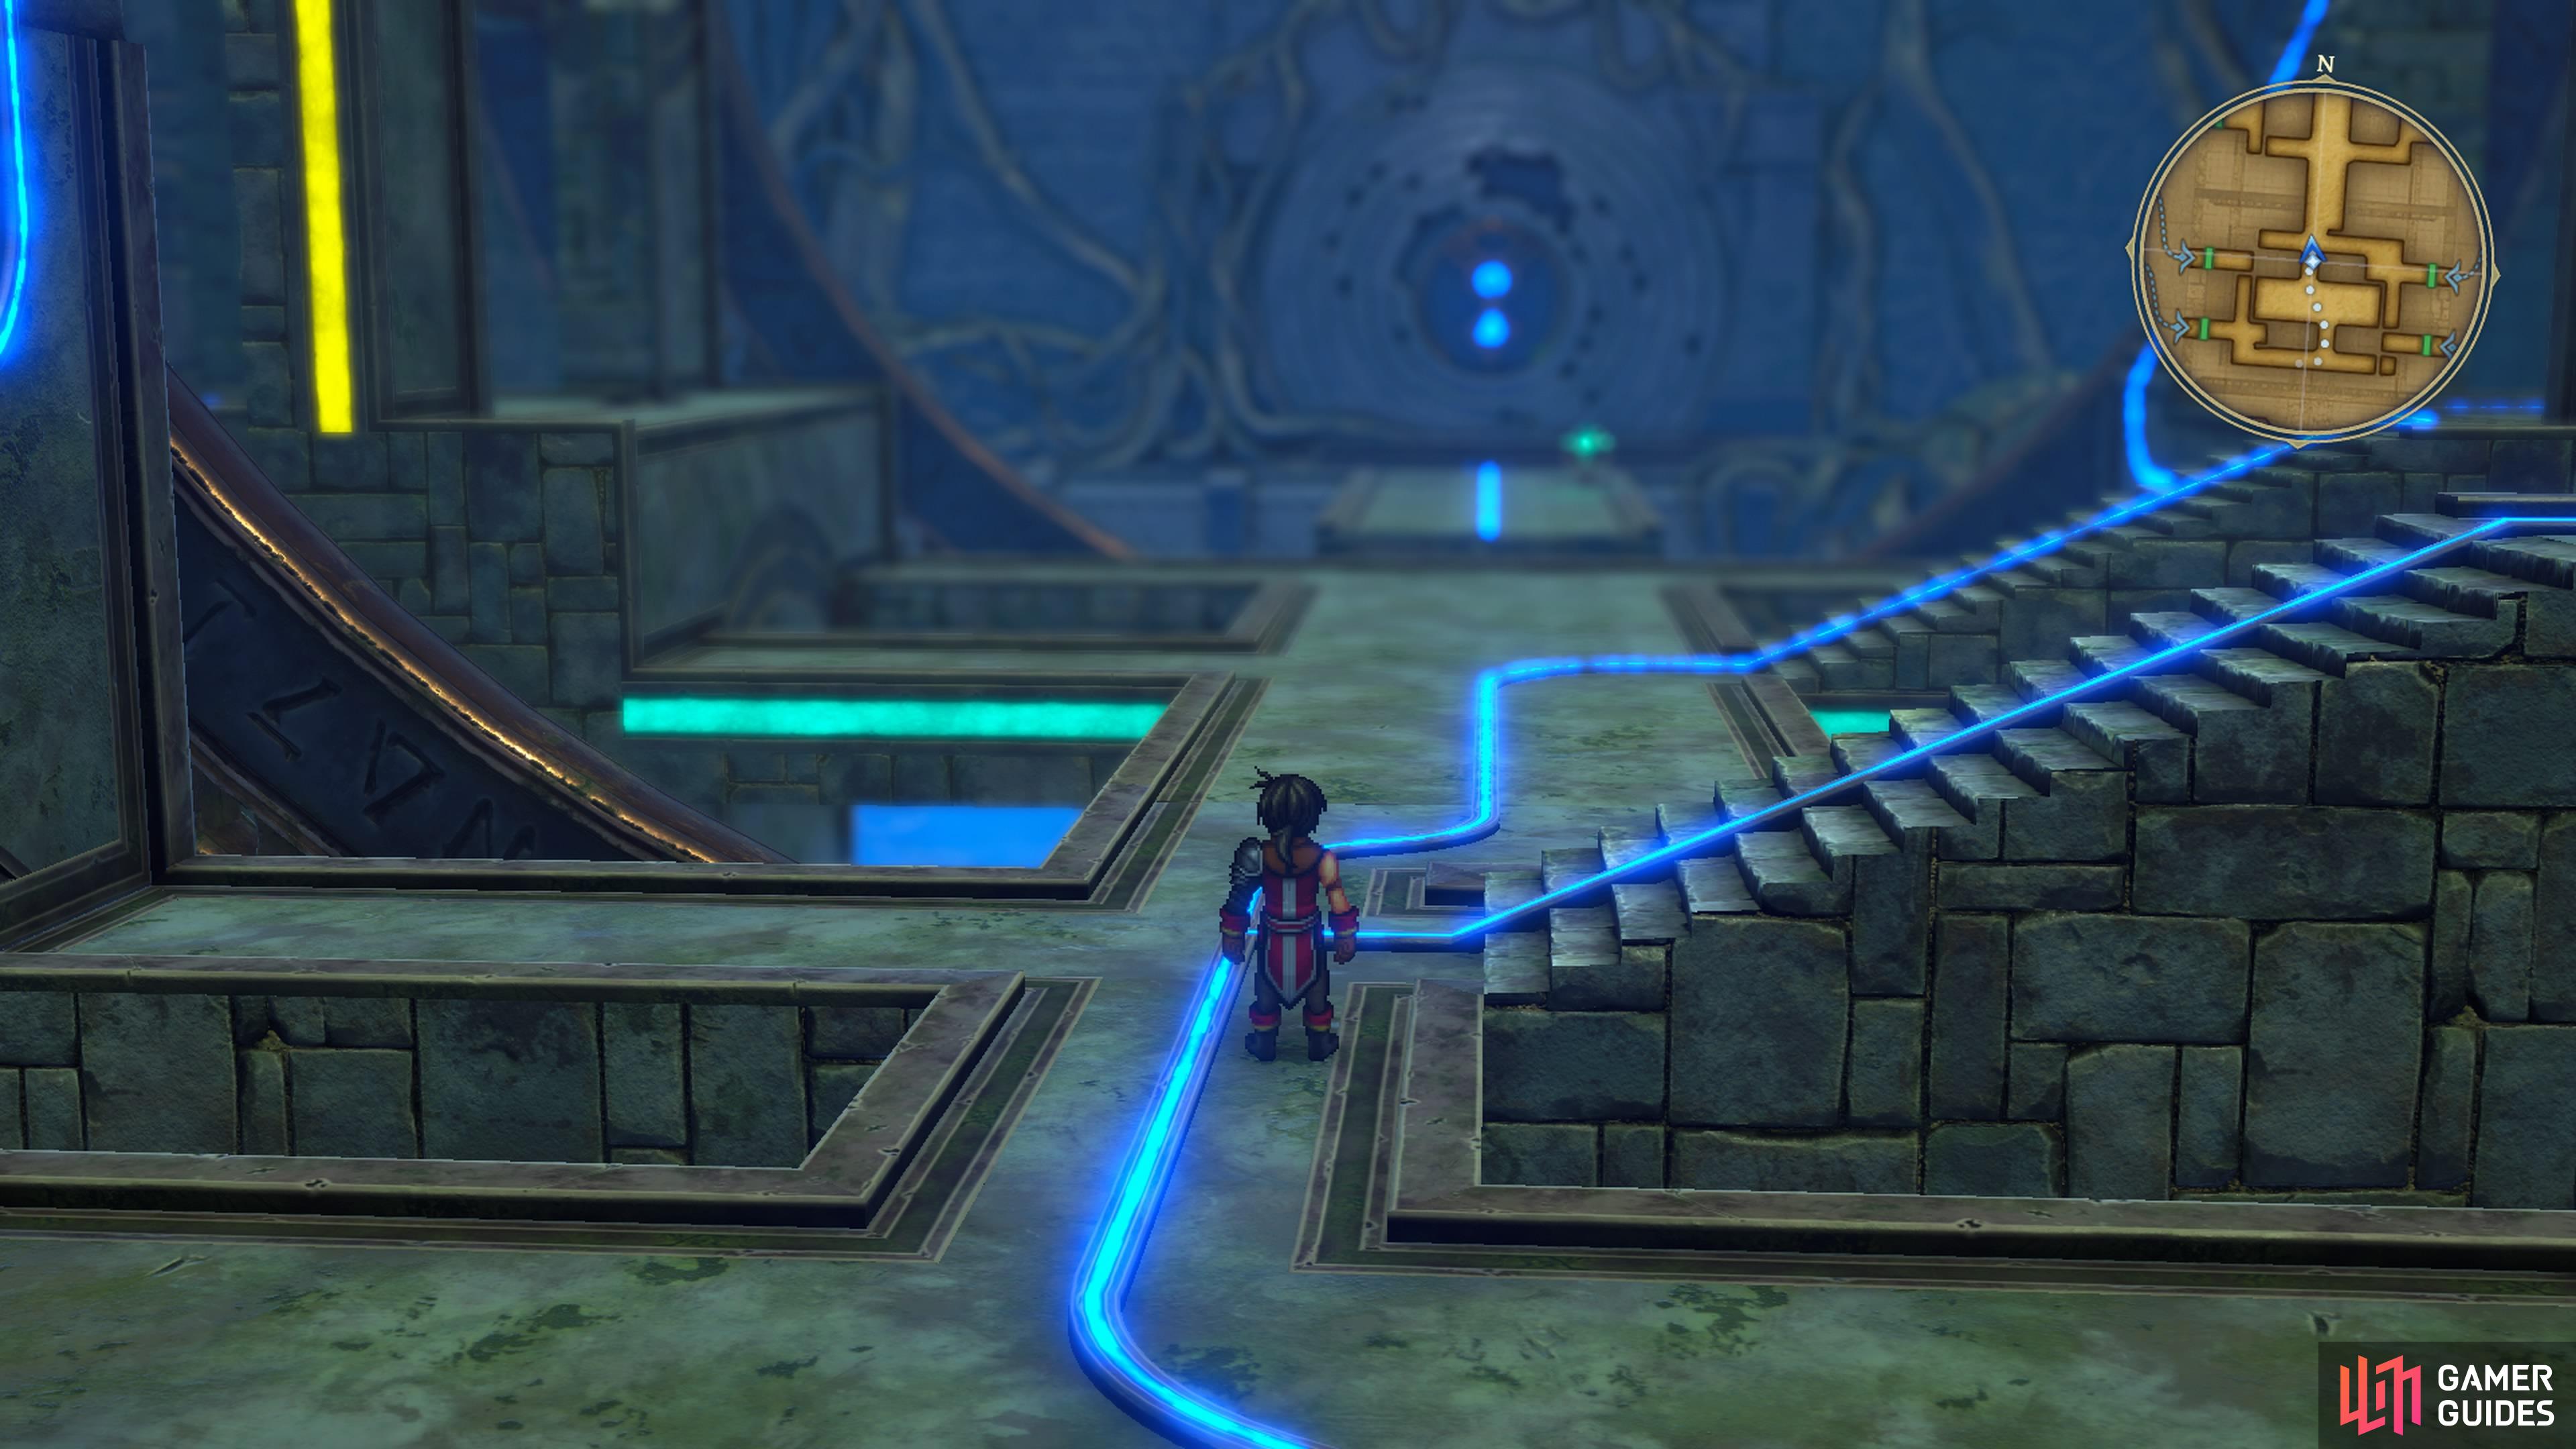
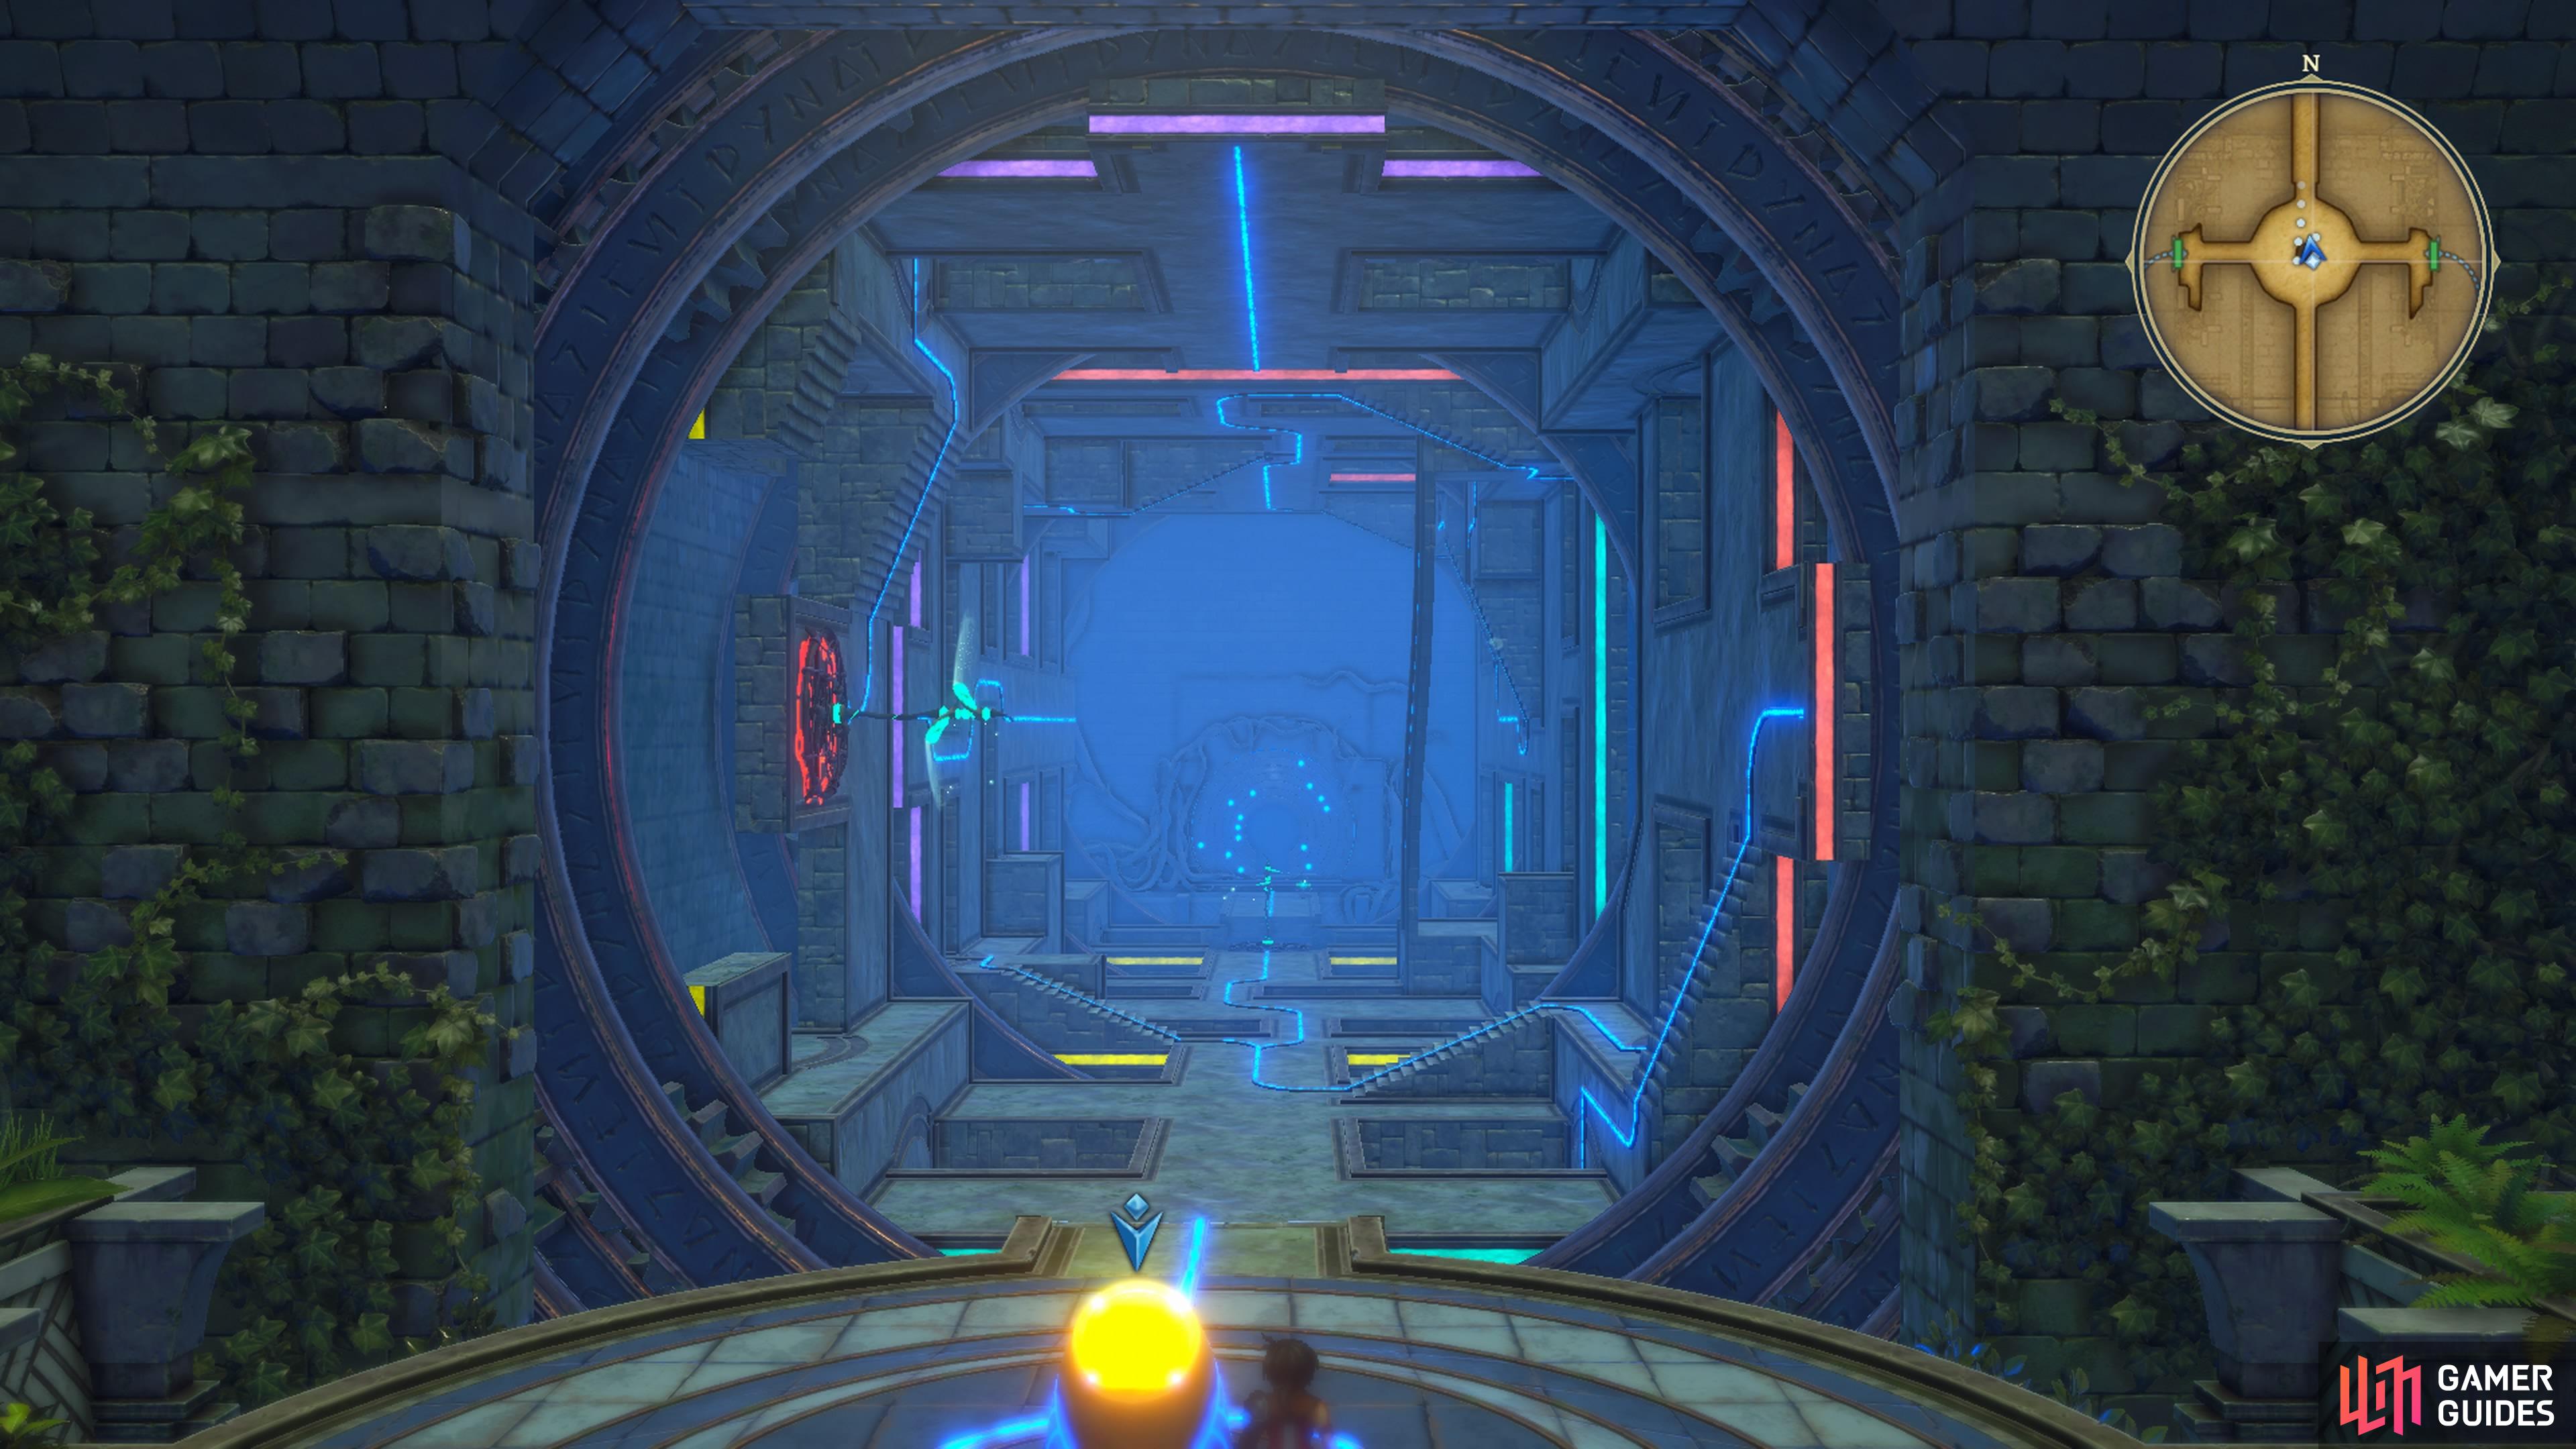
Back in the main hallway, use the main control panel until you can enter the first room on the left once more. However, make sure that you see a line coming out of the next doorway on the left side, which will lead over to the right side. Enter the first door, like before, then head north and take the exit there to return to the main hallway. Follow the line to the right side and enter the doorway there. In this room, you will see two paths to take, but the northern one will just lead to a dead end, so you can ignore it for now.
(1 of 3) Set up the main hallway like this, which will allow you to across over to the right side from the second door on the left.
The southern one brings you to another elevator, which will take you to another floor switch/gear puzzle. For this one, step on the right one first, then on the left one second. This will put all of the gears on the central lane and allow you to open the chest on the left side (Tanzanite Brooch). Journey to the end of this area to find another set of gears to activate, and an elevator to bring you back to the main area. As soon as you step off the elevator, loot the chest to the north (x6 Quality Healing Herb), then use the button to open the locked door and return to the main hallway.
Third Room Puzzles
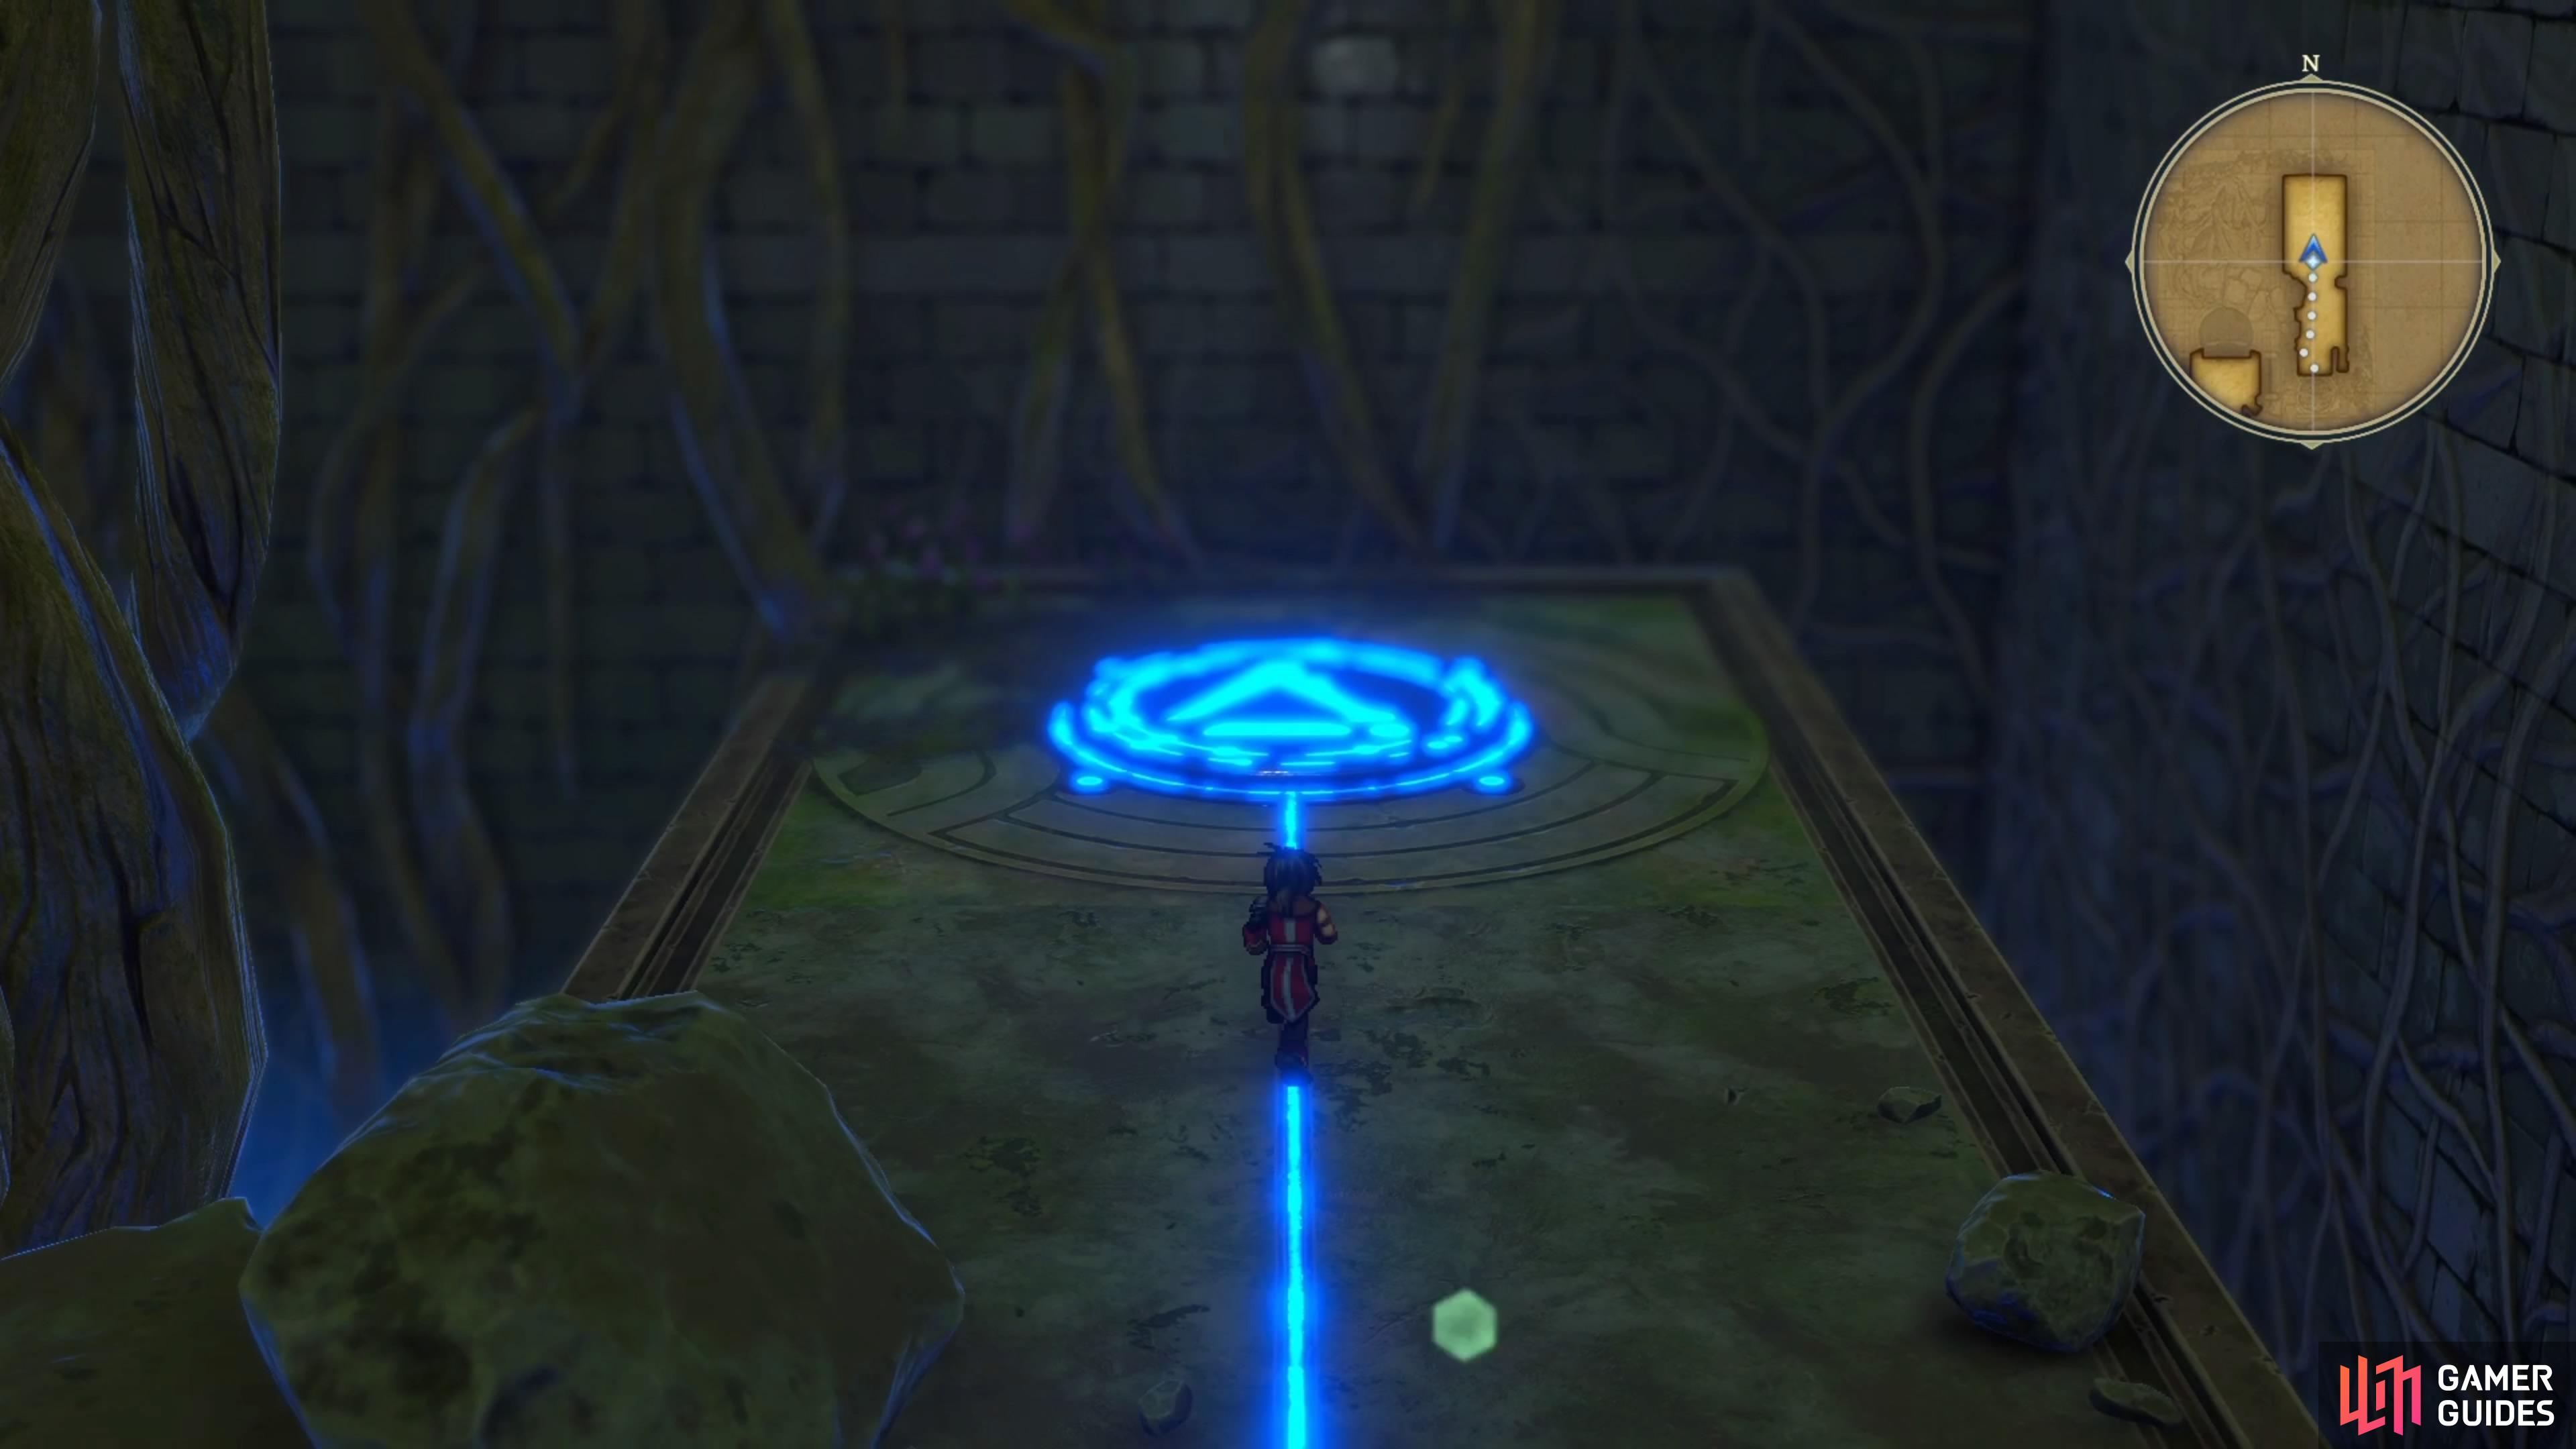
At the control panel, rotate the rooms until you can enter the first door on the left and there is a glowing line coming out of the second door on the same side. Enter the first door, then go north and take the exit out of the door there. Back in the main hallway, continue north and ignore the first path to the right side. Instead, opt to go a little more north to see a second path off to the right, which is the one you want to take. Use the elevator in this new room to go down and reach a second elevator.
(1 of 2) You’ll want to go for the path at the far end for the third bit.
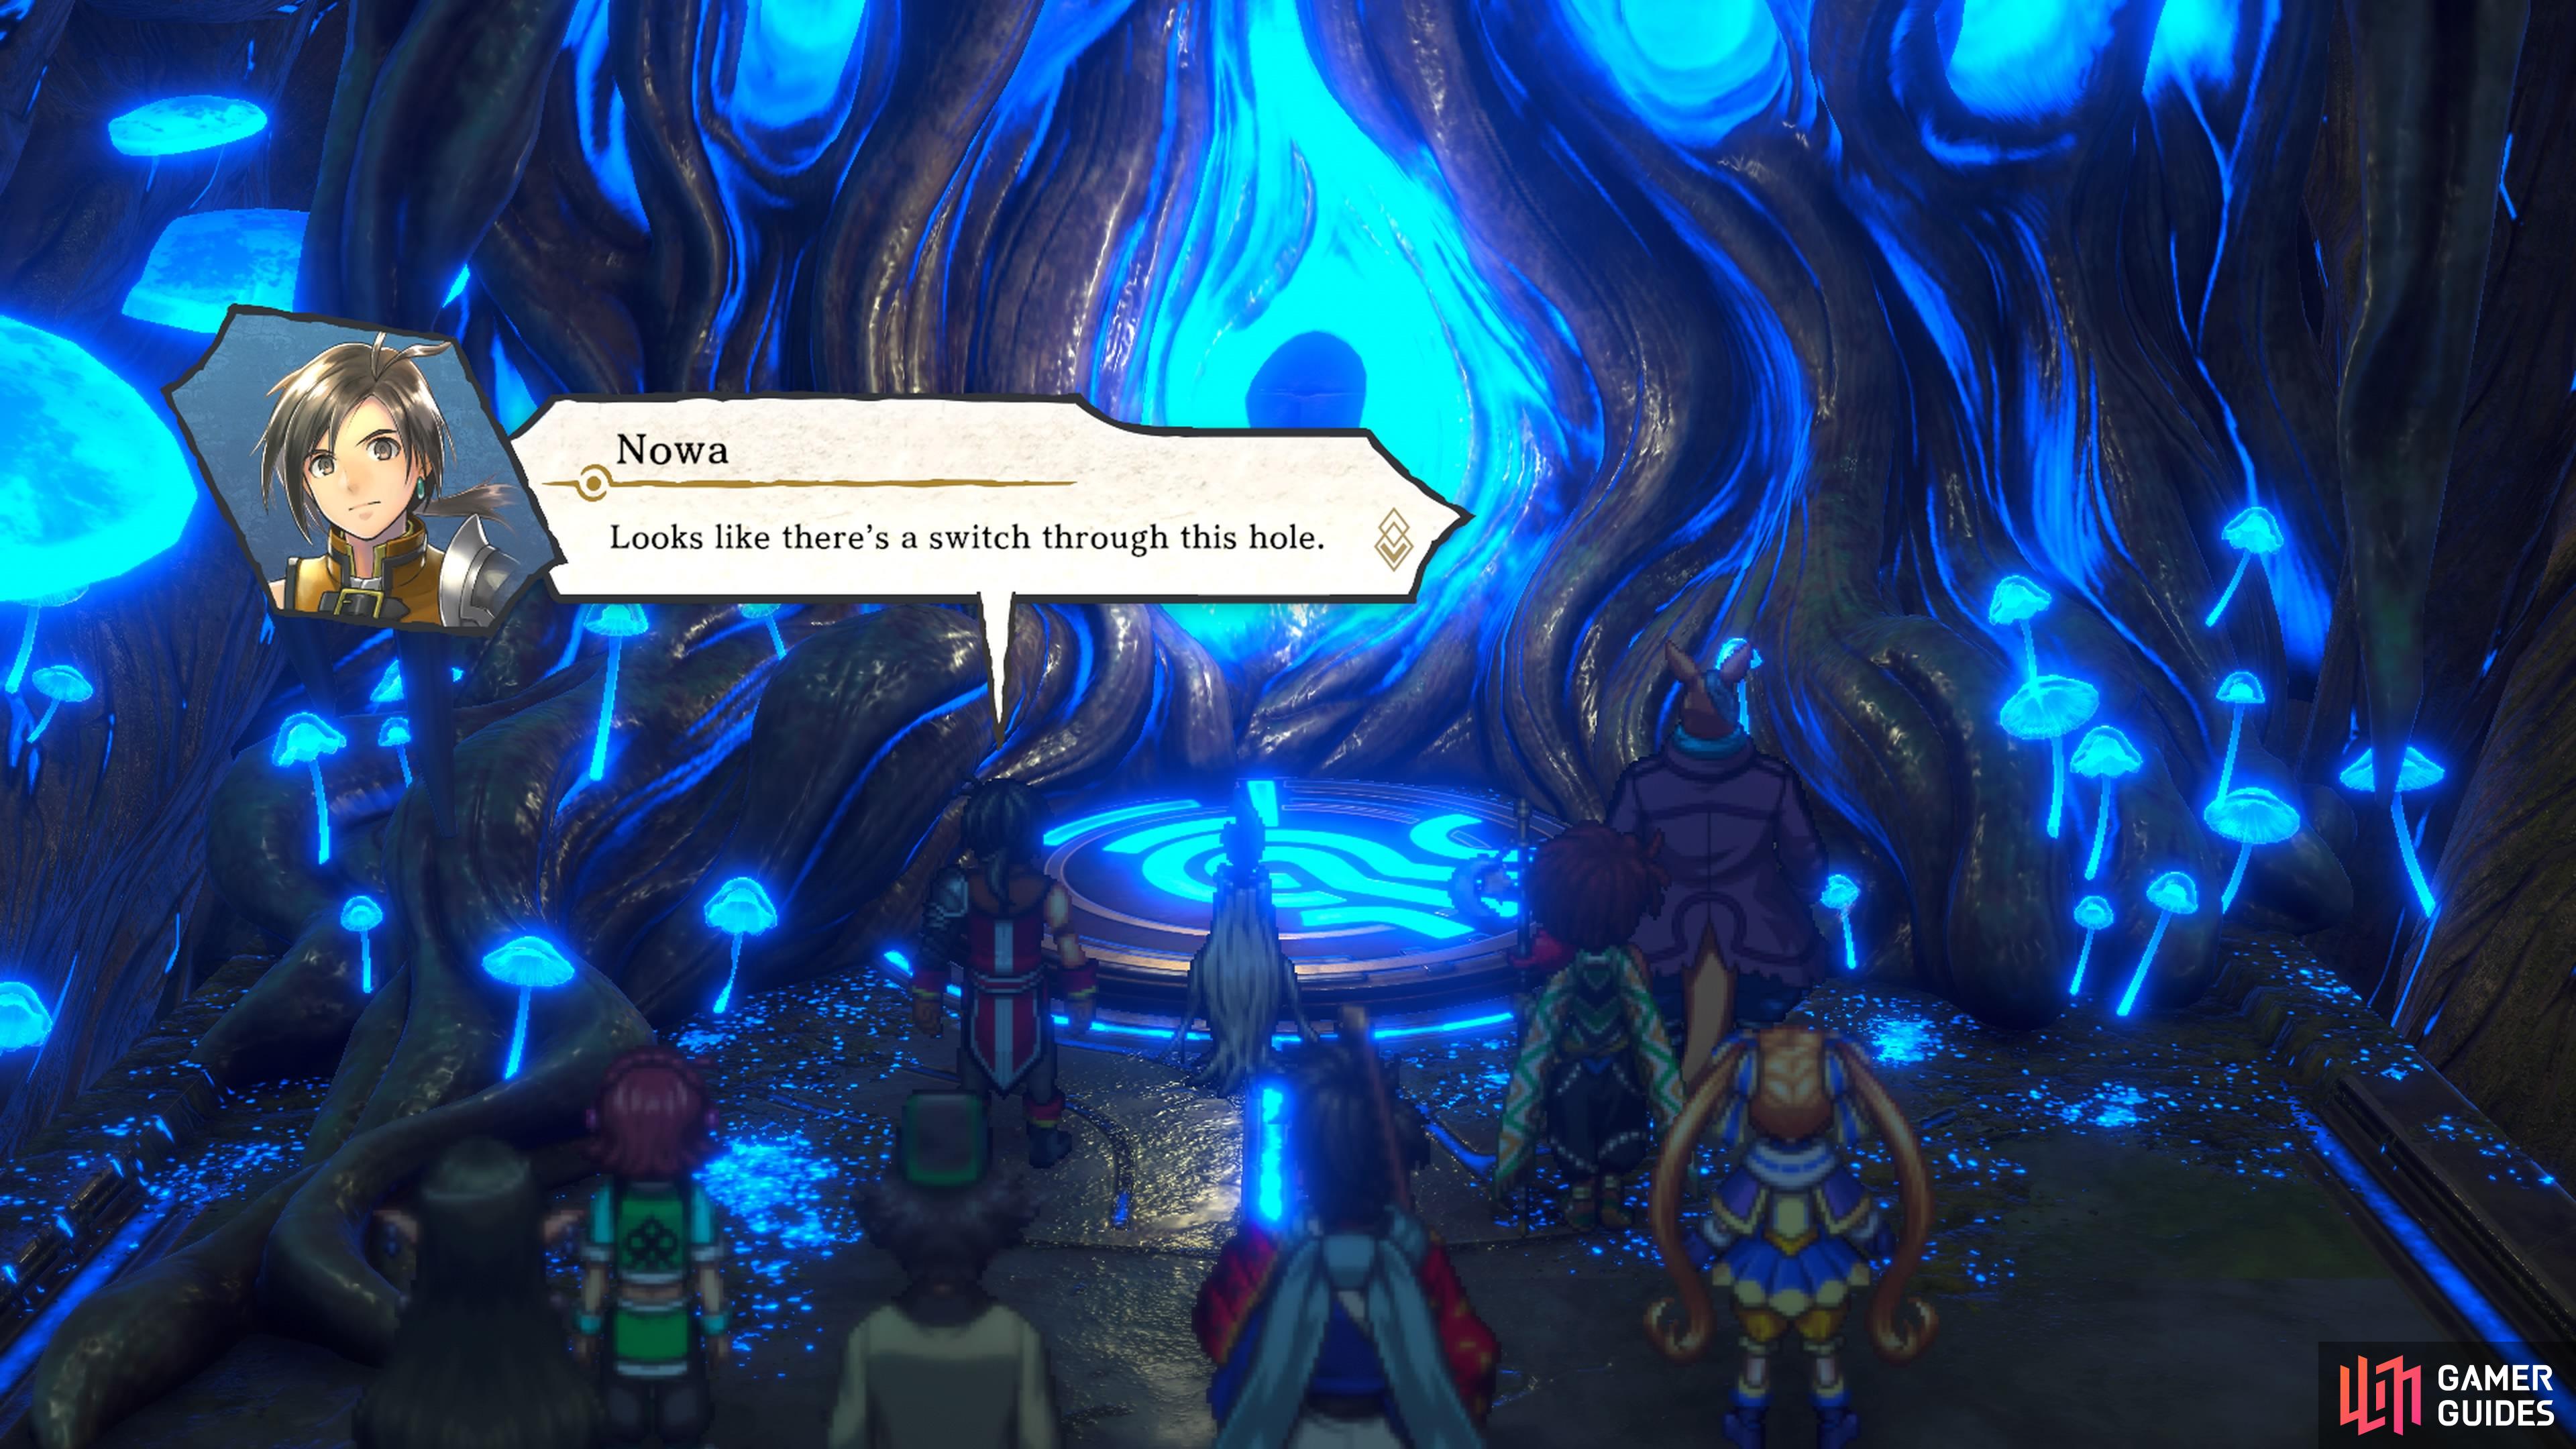
You’ll want to go for the path at the far end for the third bit. (left), If done right, you should reach this room that has a cutscene. (right)
You should appear right in front of a glowing hole, so approach it for a scene. After all is said and done, a switch will be pressed and something happens to the door at the far end of the main hallway. Make your way back to the main hallway now, as there’s one more thing you need to do to open the same door just mentioned.
Fourth Room Puzzle
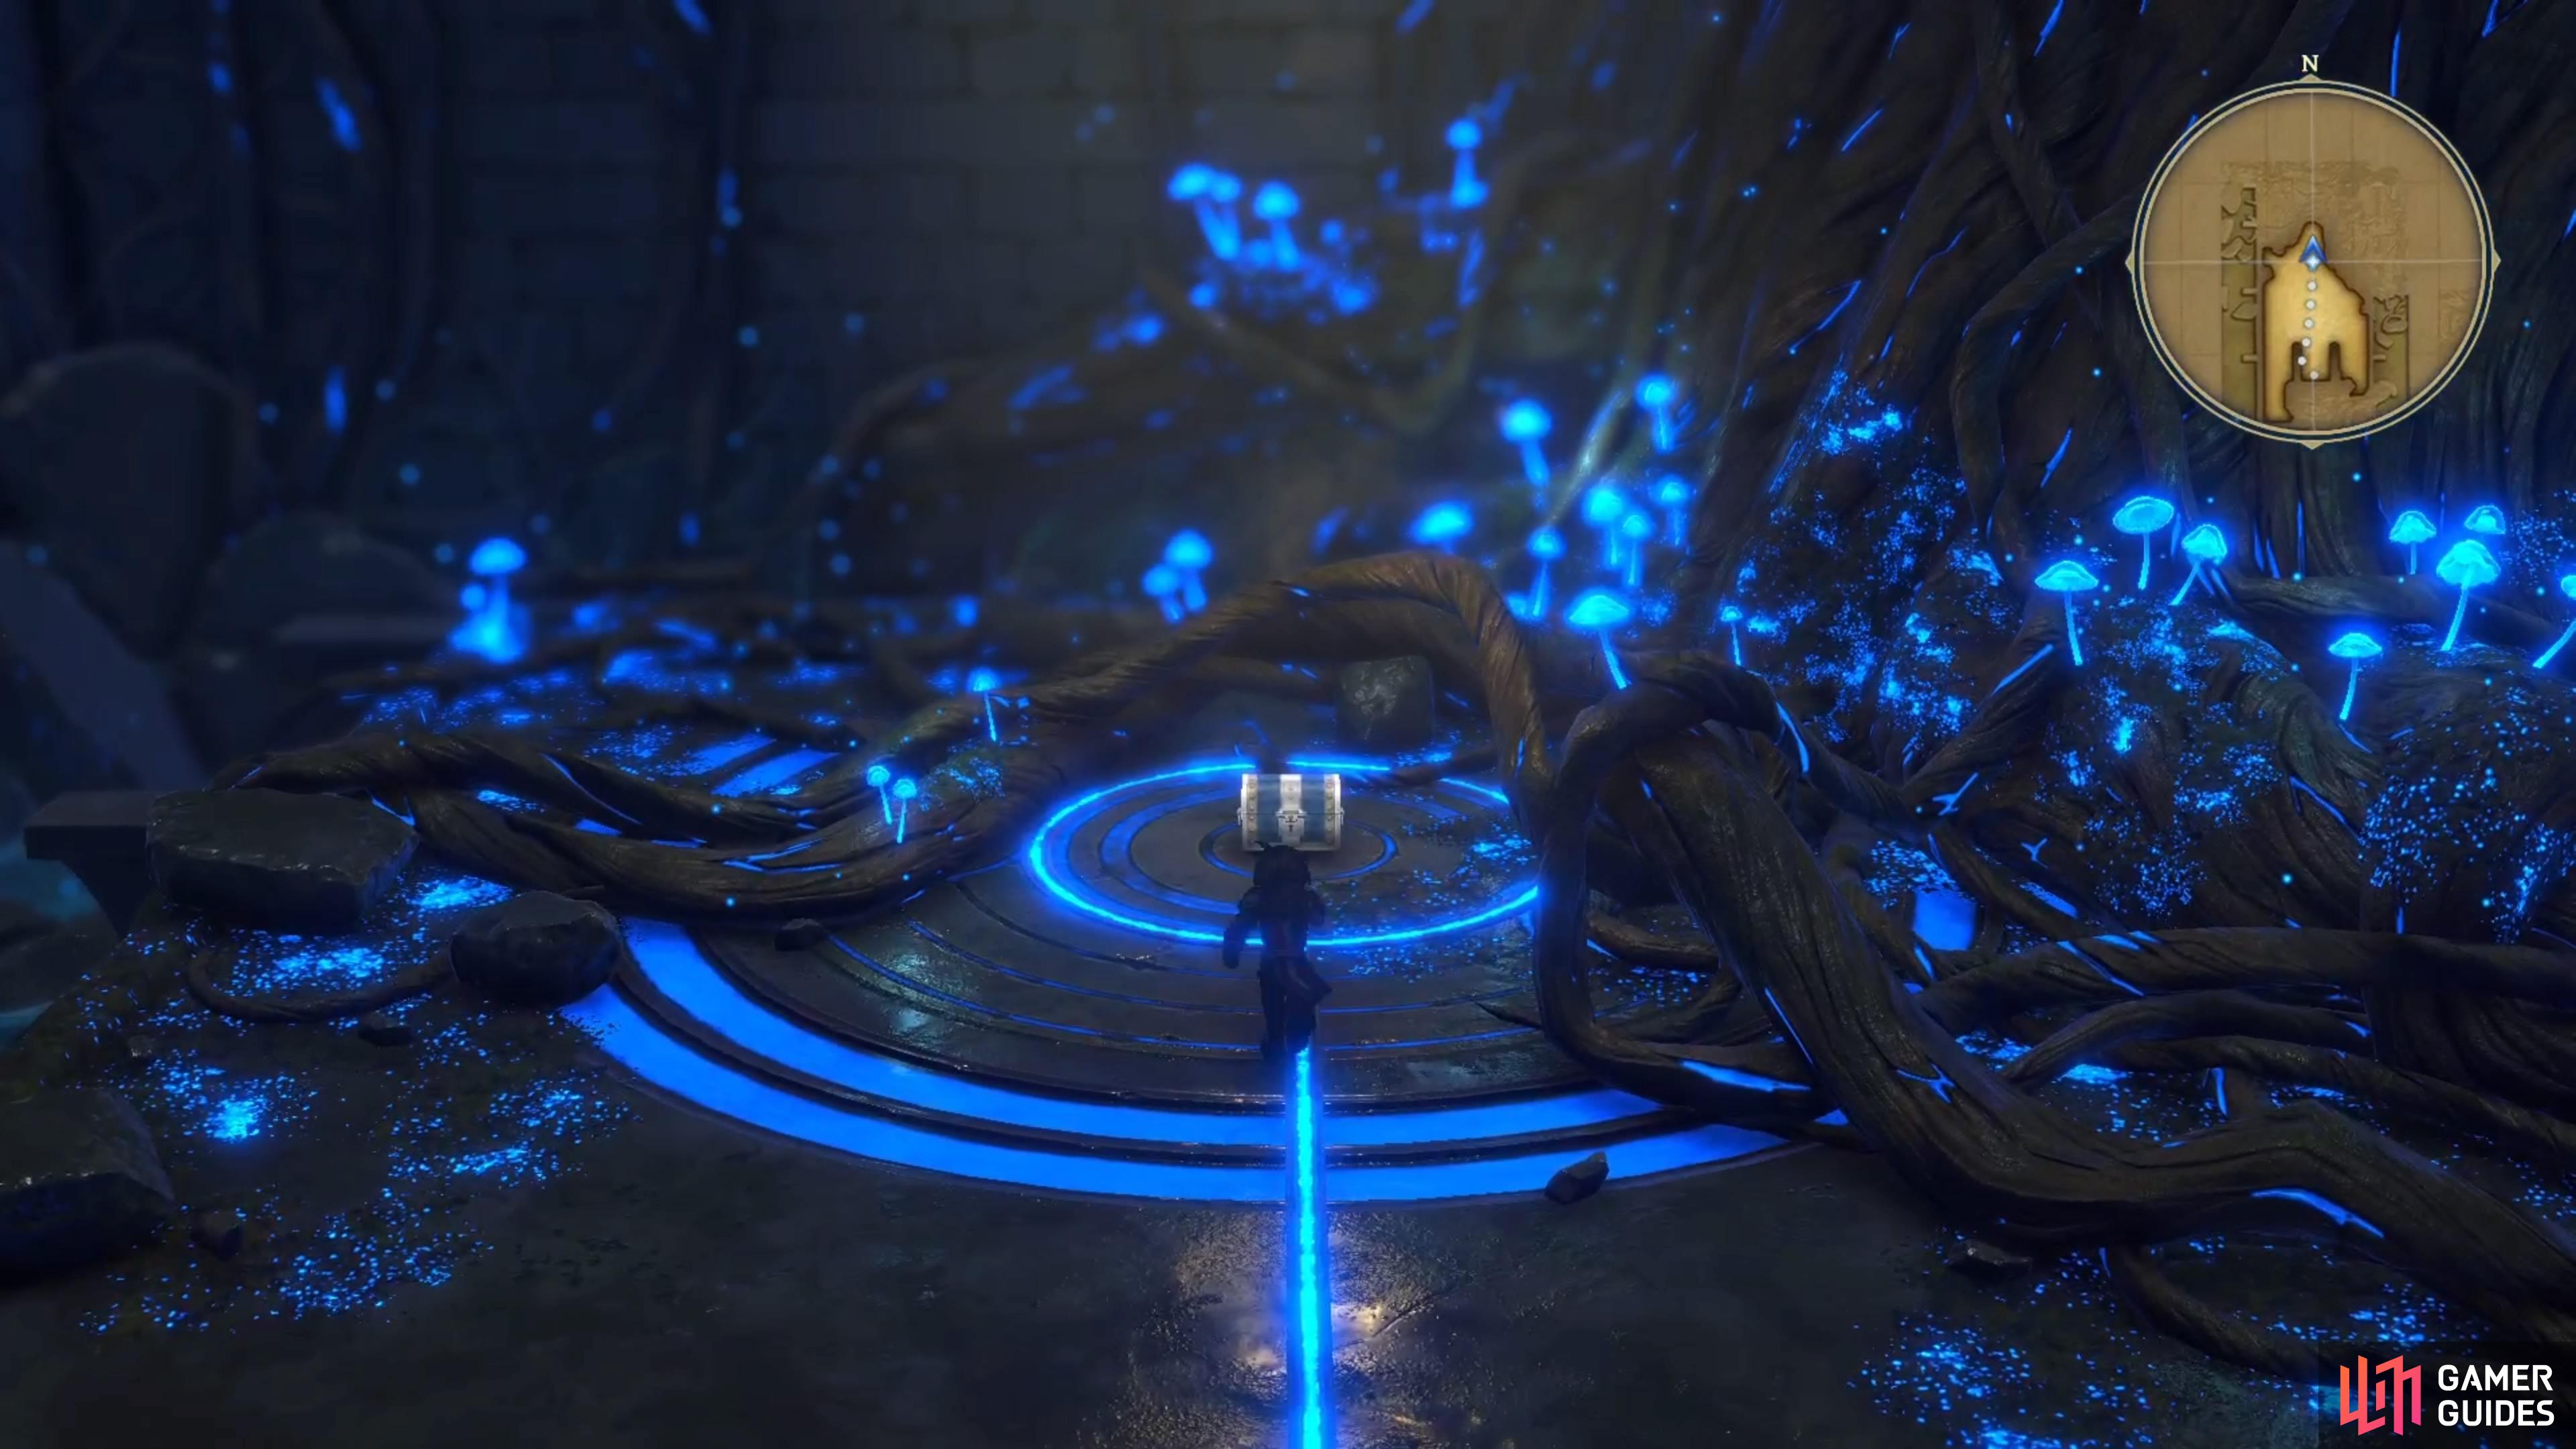
For the final mandatory bit here in the Proving Grounds, use the control panel to make it so you can still walk down the main hallway, but the only apparent room is one to the left. Although it’s hard to see from the main switch, there’s actually a second room you can enter on the left at the far end. Enter this second room to find a chest with x1,500 Baqua, as well as an elevator. Take the second elevator to a small area that has a button on the ground. Interact with it to finally open the large doors in the main hallway.
(1 of 4) Set up the main hallway so the red-colored elevator is on the ground.
Optional Treasure Chest 1
At the control panel, keep pushing it until you see a path coming out of the second room on the left. It will lead to another room on the right, which will be a little closer towards you. Head into the room to the right of the control panel and backtrack until you reach the room on the left side of your map, which will have the two exits to the main hallway. The northern of those two is the one you want, so use it to return to the main hallway, then head across to the room on the right side (this is the southern of the three rooms there).
In this room, there will be a chest to the right of the elevator, so open it for a Topaz Brooch. Take the elevator down to a section of a previous room, where you can go to the dead end to find another chest that contains a Rune of Fire Enchantment. Return to the main hallway and head to the northern end to find another elevator you can use. Take it to one final chest on this path, which will net you a Palenight Mail. You’re done here, so return to the control panel.
(1 of 5) When going for the first set of optional chests, set up the main hallway like this.
Optional Treasure Chest 2
Manipulate the control panel so the red-colored elevator will be on the ground. From there, take the exit to the room to the right of the control panel, then follow this path all the way back until you can take the southern of the two exits to the main hallway. You will now be able to reach that red elevator, which will bring you to a room with the treasure chest (Rune of Sidewinder).
Optional Treasure Chest 3
With the same layout as the previous optional chest, go left of the main control panel this time. When you reach the room with the fork, head north and take to the upper level. Upon using the exit up here, you should find a bridge laid out for you, so cross it to the other side. Follow the path to the end, use the elevator, then go to the dead end for another chest (Rune of Quick Slash).
(1 of 4) Set up the main hallways so the red-colored elevator is on the ground.
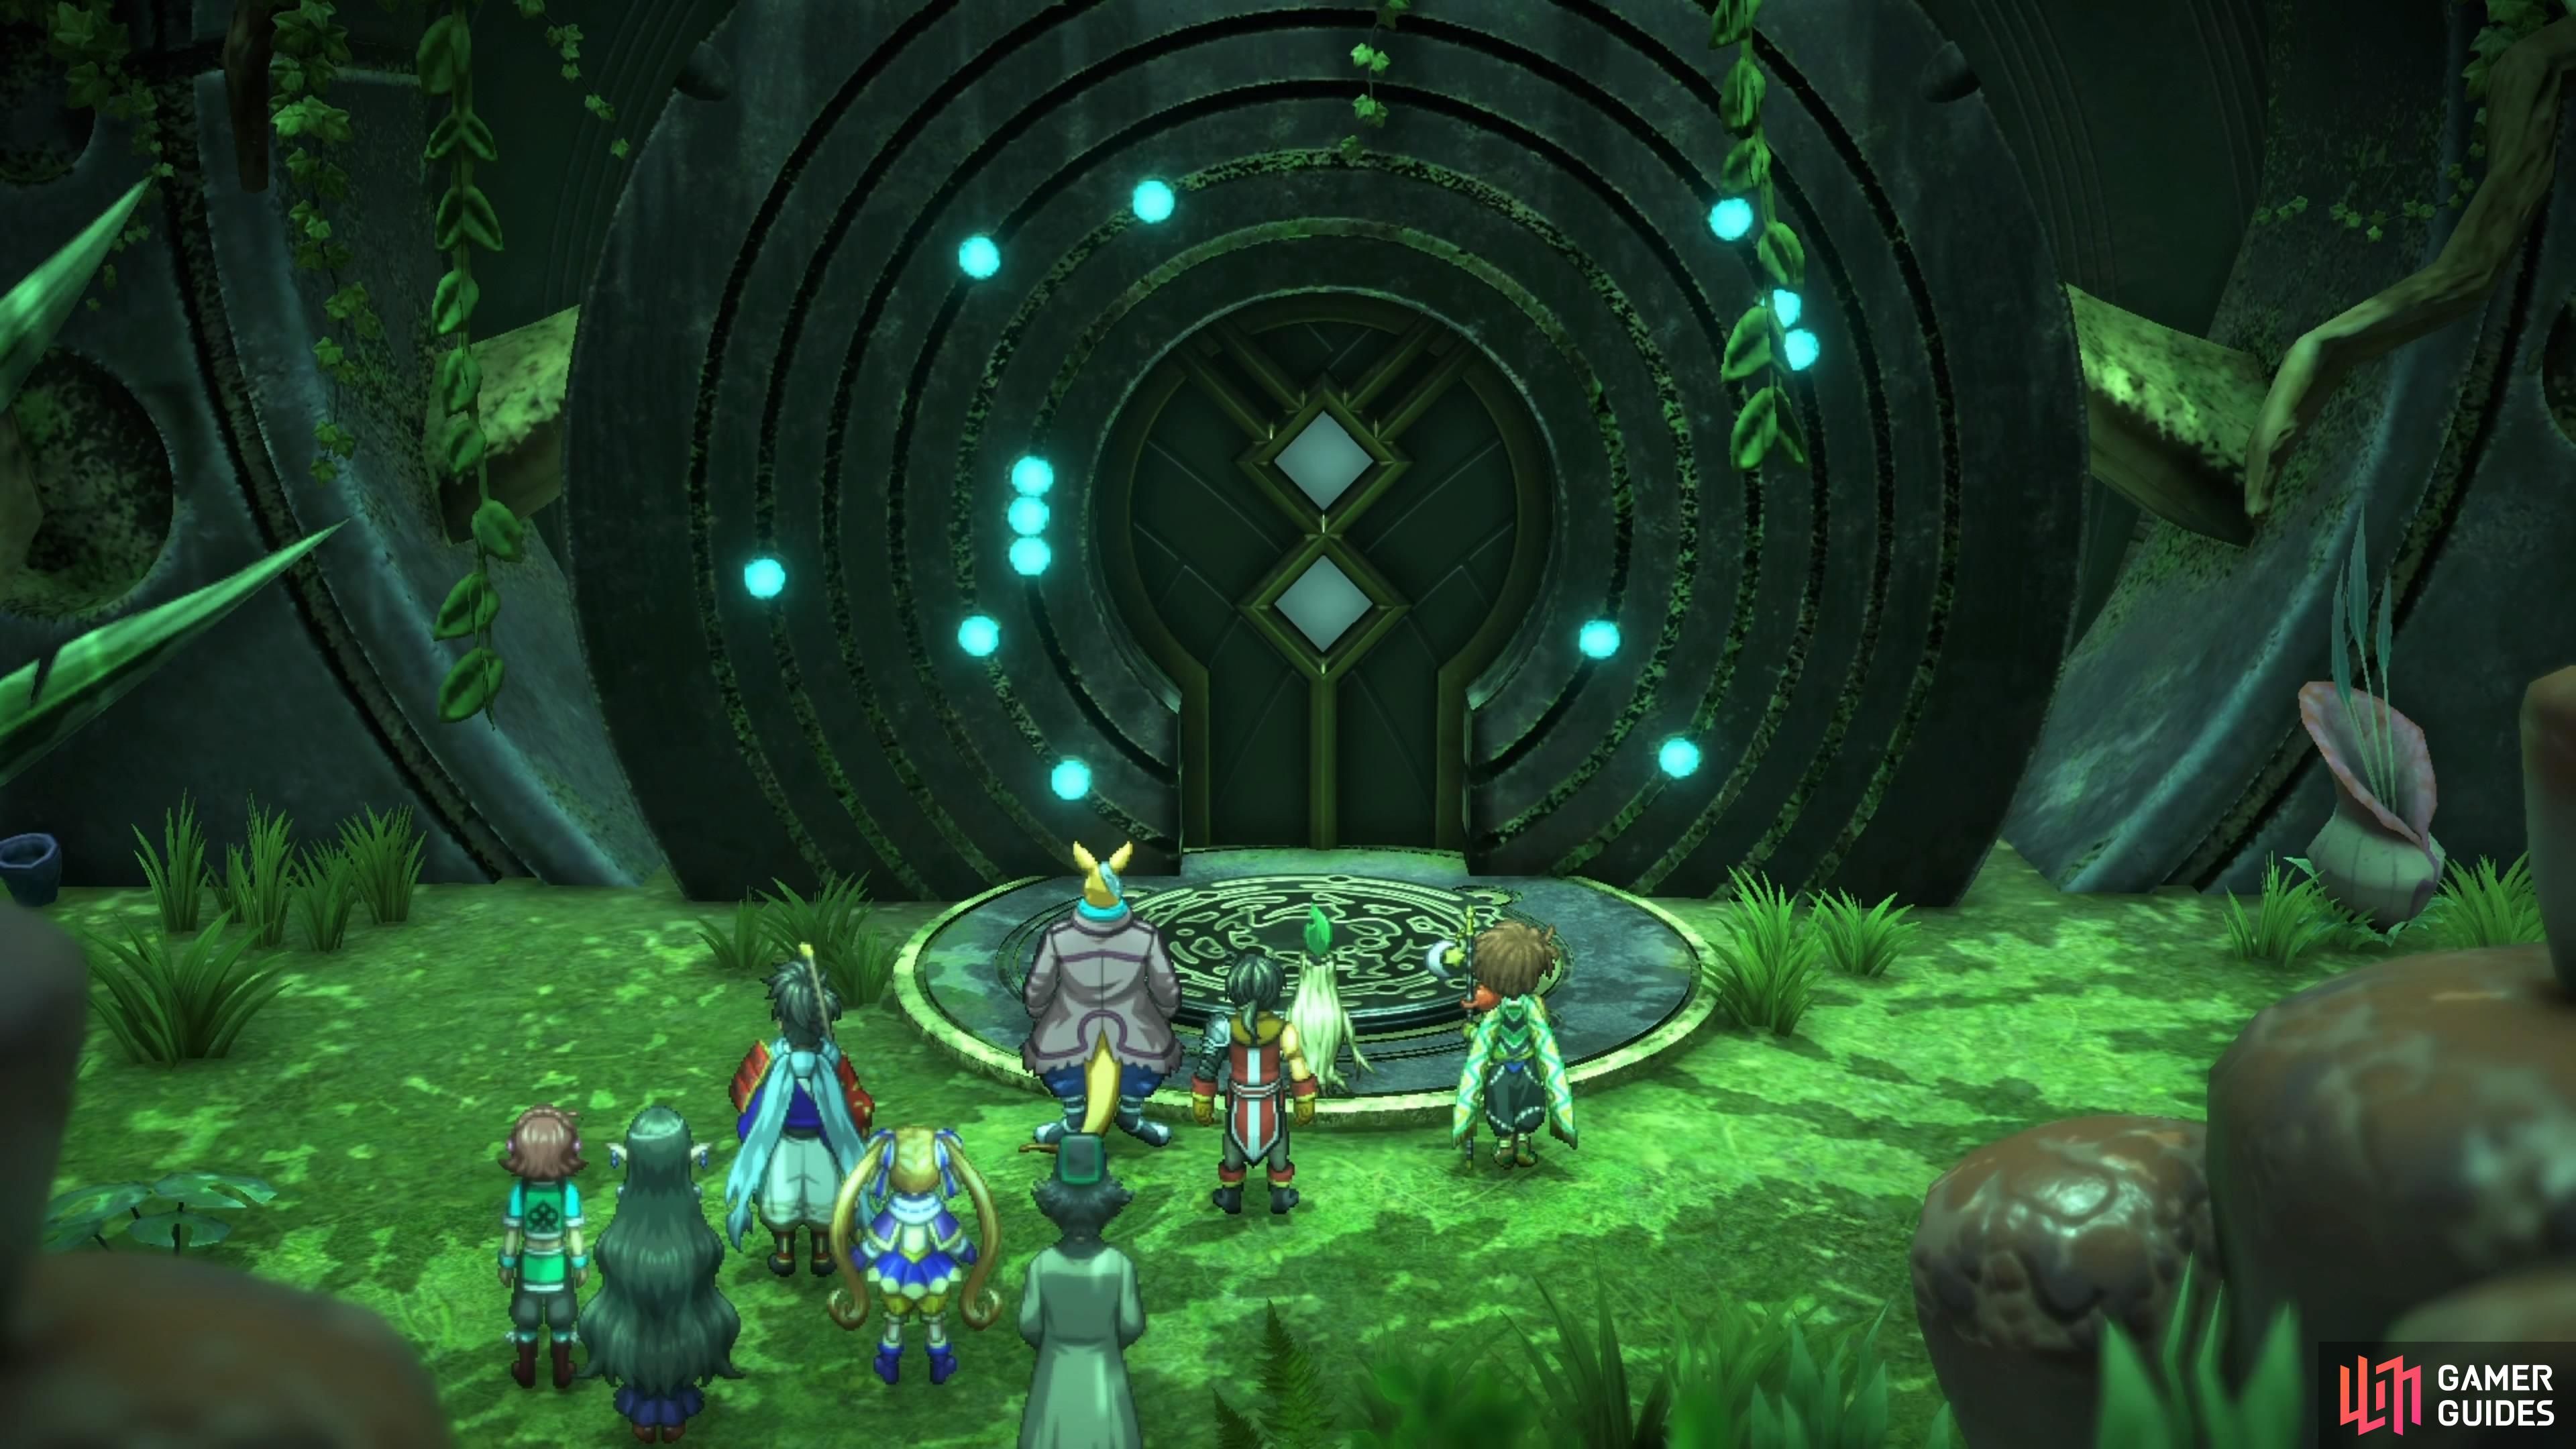
If you have been struggling here, it’s a good time to leave and restock on items and also rest up. Once you’re ready, manipulate the path so you can reach the door at the far end. Save your game, then pass through the door to find a large, inactive Rune Golem blocking you. After someone else appears, it’s time for the first of two bosses in this dungeon, Astrea the Judge and Slaosha the Enforcer.



 Sign up
No Comments