The Tainted Mountain Temple
You are Savan, an Arisen from the past en-route to face the Dragon. Your main Pawn Salde will bother you with some lantern-lightning. Hit “back” [Xbox] or “select” [PS3], scroll down to ‘Tools’, and use your Lantern if you wish. Head south-east and pick up some Greenwarish near some corpses. You don’t get to keep the loot in this tutorial, so it won’t be discussed in great detail.
Continue south-east along the linear path until you reach… the Dragon! No, seriously, there it is, perched on a rock, safely out of reach. Stay in the tunnel and it’ll talk to you, and spit fire, like Dragons typically do, before flying off. Continue past the Dragon and your Pawn will probably start screaming about Goblins. Savan can kill a Goblin in a few hits, so don’t worry too much, just use your Light Attack, or if you’re feeling adventurous, use ‘Blink Strike’. Also, do mind the ledge, death by falling is easily going to be the single most common cause of death in this game.
The Dragon makes an early appearance, and goads you into chasing it down (left). Touch the Riftstone to summon up more support (right).
Head down a narrow tunnel to the south and jump off a ledge into a watery cavern. Within you’ll find your first Rift Stone; you can only do so much with it now, but the game will make sure you notice it. They’re rather important. Walk up to it and press “B” [XBOX] or “circle” [PS3] to examine it. When you do you’ll automatically summon two more Pawns: Support Pawns. Enter Quince, the Strider, and Morganna, the Mage. Your little party is shaping up nicely, no? Remember your Pawn Controls, that almighty D-Pad.
Exit the Rift Stone chamber and continue down a tunnel to the south- east. You’ll eventually enter a chamber occupied by some Goblins and Hobgoblins. Never fear, these critters are push-overs. Experiment with skills, attempt to throw exploding barrels at them (don’t worry, they can’t hurt you, only knock you down), or just let your Pawns do all the work. If you’re feeling adventurous, you can jump over a wall to the west and claim a Gold Pouch (1000 gold) and some Smother Sap… and there’s probably other loot lying around, but it’s hard to get excited about any of it yet, since you don’t get to keep it. You’re in the past, remember?
Holding Room
Venture south, head up some stairs to the east, then head into a doorway to the south. You’ll get to see an ominous cutscene of some large beast stalking around.. with lion feet and goat legs. What, oh what, could it be? Continue down the tunnel to the west and enter the western-most room to the south-you know, the one without bars blocking the way? Kill some Goblins and talk to ‘Ser Ashrore, who tells you that the Duke’s forces have all but been annihilated by the Dragon. But at least he gives you a Panacea. Yay.. head back into the tunnels, go west, then south, until you’re back outside.
Temple Antechamber
Introduce new enemies: Snow Harpies! Harpies come in three varieties; Harpies, Snow Harpies, and Succubi. They can perform dive attacks, but their main means of frustration is their song. Harpies will sing while flying overhead, and attempt to put your characters to sleep. If successful, they’re fond of picking up sleeping characters, and dragging them off cliffs. Granted, their AI isn’t good enough to do this often, and when it occurs, it’s accidental, but it can still be annoying. Use Savan’s ‘Skyward Slash’ to deal with them, or better yet, ignore them, as Fighters are poorly equipped to deal with flying critters. That’s what your Strider and Mage are for. Snow Harpies can also use a frost breath attack. Lure them down with ‘Shield Summons’, and be sure that whenever one is knocked out of the air, you don’t let it get back up.
Head south and do a running jump over the break in the bridge. On the southern half of the bridge you’ll find some exploding barrels, which you can throw at the Goblins below. First you’ll fight a wave of Hobgoblins, then some Snow Harpies will show up. Exterminate them, and some guards will come out of a gate to the south-east. You can nab a chest just west of the bridge, on the ground floor, if you wish, but again, it’s hard to care right now, since you don’t get to keep anything you find here.
Grand Hall
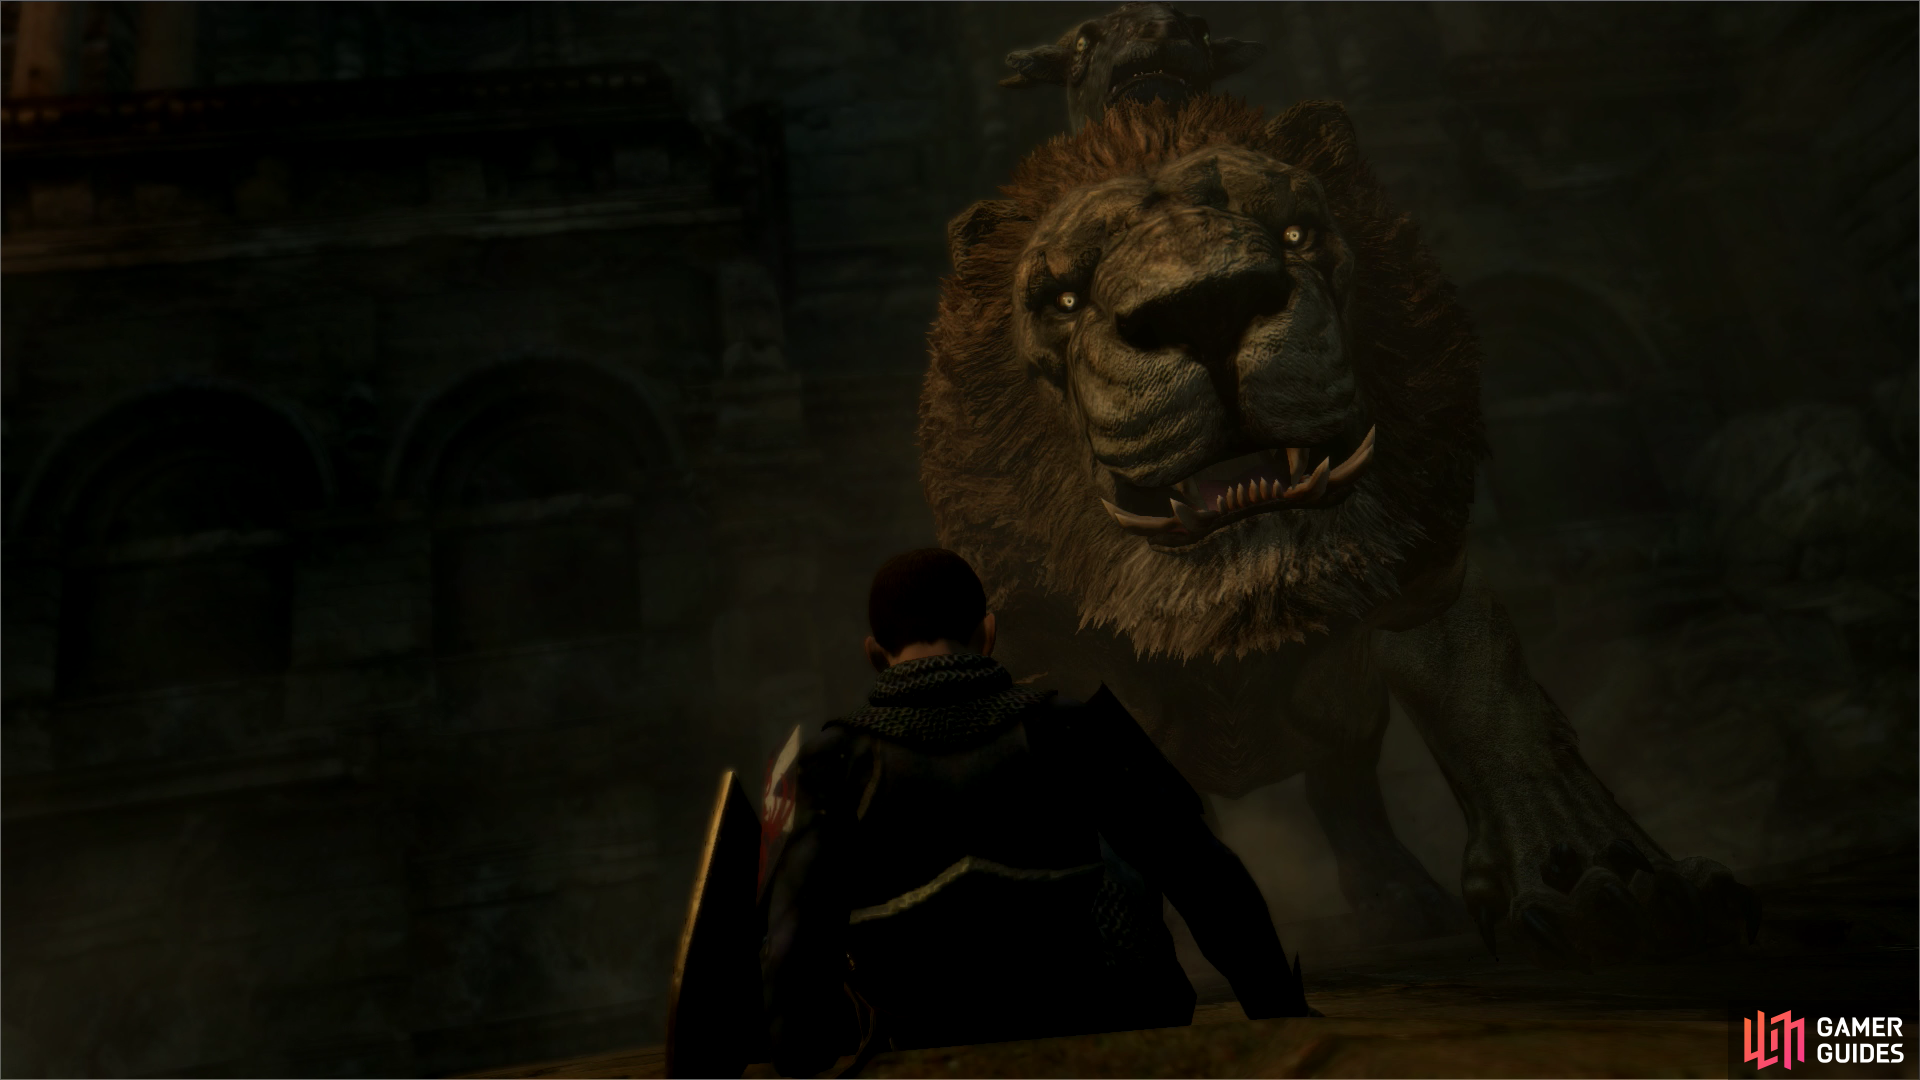
Go through the gate the soldiers came from, heading through some tunnels south, then east. Eventually you’ll come to a room where you’ll find another who-cares chest. Loot it and continue north to reach the ‘Grand Hall’, wherein you’ll find the game’s first sub-boss; a Chimera, which makes short work of an unfortunate soldier. Let’s call him Ser Jenkins.
Hobgoblins won’t pose much of a threat to Savan, and will serve you well as fodder for learning the basics of combat (left). The Chimera, however, will prove to be a somewhat more formidable foe, allowing you to practice targeting weak points and climbing large beasts (right).
Enemy Strategy: Chimera
Chimeras are triple threats-their Lion front, Goat head, and Snake tail can all act autonomously. The Lion roars (which knocks characters down) and attacks in melee. The Goat will cast spells (typically debuffs), while the Snake can spit clouds of poison, bite (even grapple), and cast offensive spells.
Slay the Snake:
For all that, however, they can be taken down pretty easily if they don’t have any support. A good strategy is as follows; run up to the Chimera and jump onto its hind-quarters. Climb up near the snake and start hacking away. Very rarely the snake might bite you, or the lion will roar and stun you, and of course the Chimera is typically fighting, running around, and, occasionally bucking, which drains your Stamina something fierce. Still, most times you’ll be able to climb up and hack off the snake in quick order.
When the Chimera is Down, the Goat Thou Shalt Pound:
Once the snake is cut off, the Chimera will fall over on its side. It’s a perfect time to smite that stupid goat on its back. Simply walk to its back and start attacking it. If the chimera recovers, simply jump on its back and attack the goat the same way you attacked the snake. The lion will be much more likely to roar when you’re so close to it’s head, but if you get knocked down, recover some Stamina and try again.
Not a Laughing Lion:
Once its two support heads are dead, the remaining lion will not be happy. It will go berserk for a while, leaping around (often aimlessly, but a several-ton Chimera landing on you still isn’t healthy). Attacking it in straight melee is not a good idea, as it will constantly attack you (it will win a slug-fest right now). Climbing is tricky, as it will try to shake you off often, and roar. Still, all things considered, the last option is the best. Just remember the golden rule of grappling-when your Stamina is low, get off. Running out of Stamina in the middle of the fight leaves you a sitting duck. Keep punishing the lion and it will go down, you don’t necessarily have to achieve hits on the lion to deal damage, but you will do a lot more if you actually hit its feline portions. Still, settling for damage on other parts is safe.
Poor Jenkins.. when the Chimera falls you’ll get some pointless quest update. The Dragon will talk more crap, and you’ll get to see a cutscene featuring an ominous portal, the hungry Dragon, and some unfortunate Harpies. Oh yeah, and you’ll score the Achievement/Trophy ‘It Begins’. After it’s over.. it’s character creation time!


 Sign up
No Comments