| Quest Giver | Reward | Lvl |
|---|---|---|
| Overseer - The Skydrowned Pulpit | Cash | 27~ |
Once you’ve accepted and completed the previous mission Discover the Trial of Fervor, head further into the Skydrowned Pulpit and speak with the Overseer to begin the challenge.
What are Eridian Proving Grounds?
Once you’ve completed the main story of Borderlands 3 you’ll be able to unlock six Eridian Proving Grounds by interacting with pedestals that are scattered in different locations around the galaxy. These missions have you going to different variations of previous zones within Borderlands 3, where you’ll have to take out different types of enemies across two to three areas until you’re greeted by a boss at the end.
General Tips
- Have a good build
You’ll be able to take on these Eridian Proving Grounds pretty easily without having the greatest build but if you’re someone that likes to complete all of the optional objectives, you’ll need to have an exceptional build set up so you can pretty much one shot most enemies in order to complete the mission within the 25 minutes.
- Upgrade SDUs
Before attempting these Eridian Proving Grounds you’ll want to make sure you’ve taken some time to upgrade your SDUs, as you’ll constantly be throwing grenades and using alot of ammo to take down the Badass enemies.
- Level up your Survior Tree
You’ll also want to make sure you take some time to farm up some Guardian Rank Token until you gain the Resilient perk from the Survior tree, which will allow you to revive from Fight For Your Life with full health and shields.
Enter the Trial
Accept the challenge by speaking with the Overseer and then enter the now open area to begin slaying the enemies.
Kill All Enemies / Continue Trial
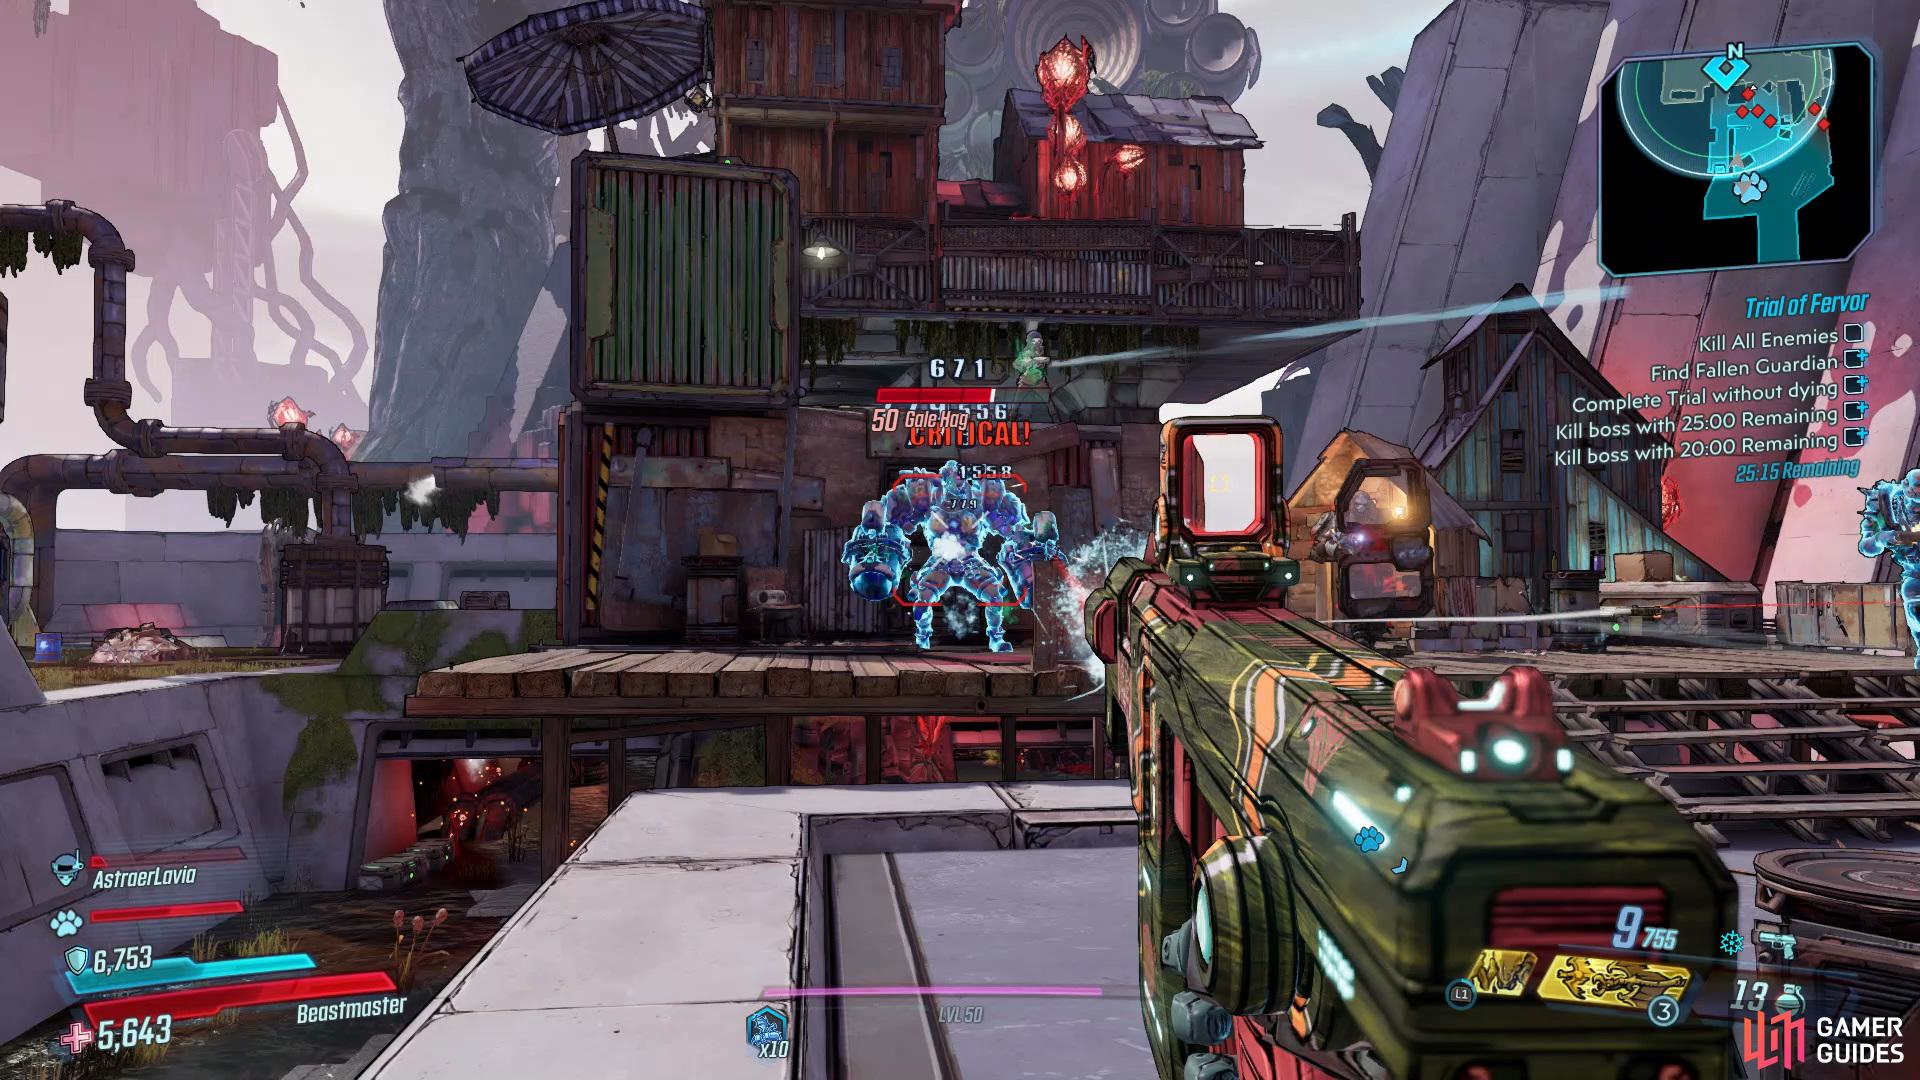
Take out the Hags and Badass Goliath’s in the area.
After you’ve entered the trial you’ll face alot of enemies that include different types of Goliaths and Hags. You’ll want to focus all your attention on the Goliaths first as they can evolve over time which will allow them to put out more damage. The fastest way you can take them down is using a weapon that has an element that they’re weak to aswell as using your characters Action Skill when available while also using any Grenades you may have.
Find the Fallen Guardian (Optional Objective)
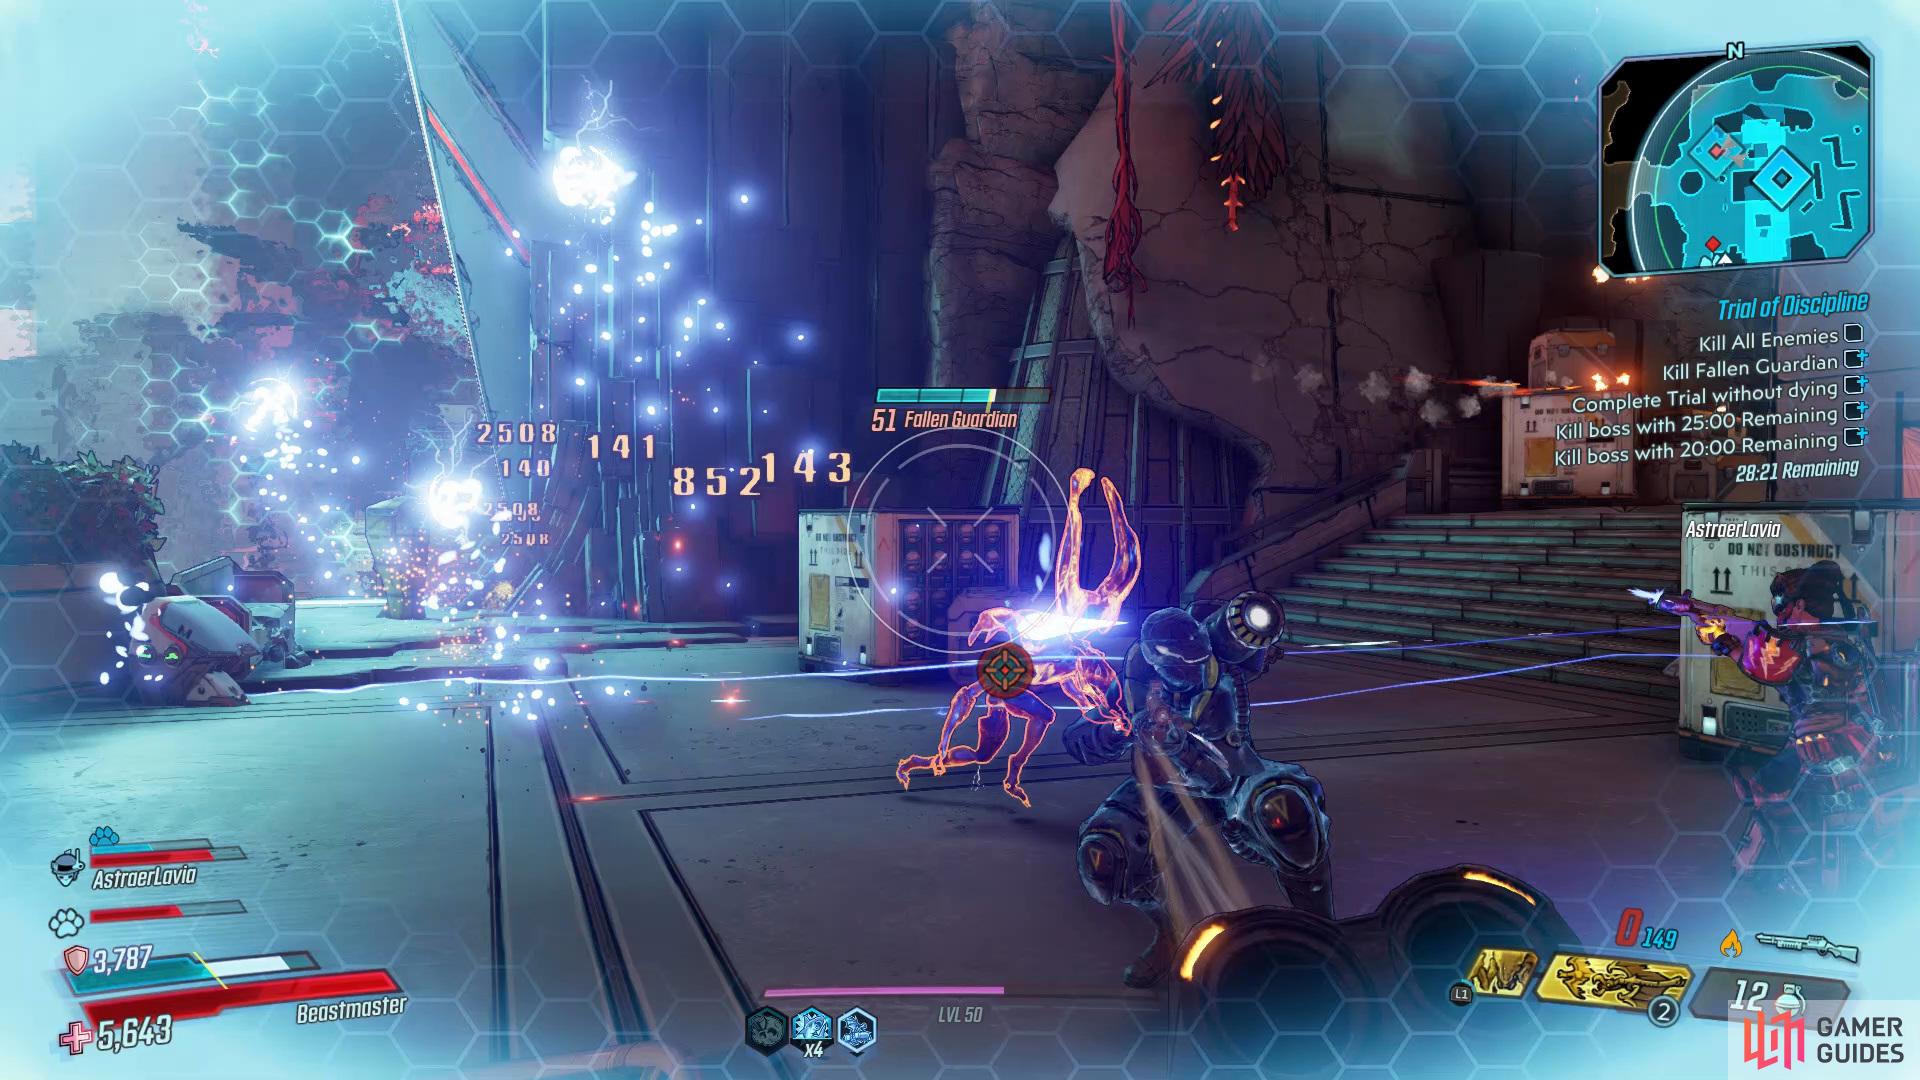
Take out the Fallen Guardian.
On your adventure through the area taking out the enemies, pay close attention to the end of the areas where the walls with the forcefield is blocking your path. A Fallen Guardian can spawn at any point near that area, which will drop a good amount of loot and cash if killed.
Optional Objectives
During these Eridian Proving Grounds you’ll be given four different Optional Objectives that you can challenge yourself to complete.
- Find the Fallen Guardian (Optional)
- Complete Trial without Dying (Optional)
- Kill Boss with 25:00 Remaining (Optional)
- Kill Boss with 20:00 Remaining (Optional)
Some of these objectives are pretty tricky if you arent well equipped with a decent build and good weapons, but dont worry if you’re are unable to complete these tasks as they only reward you with extra cash and XP at the end of the mission.
Boss: Hag of Fervor
Take out the Hag of Fervor.
Once you’ve cleared all the enemies out of the previous areas you’ll eventually come to an area where you’ll have to drop down to go head to head with the Hag of Fervor, the boss of this Eridian Proving Ground.
The Hag of Fervor has the most health out of all Eridian Proving Ground bosses, but you don’t need to worry as he is more of a bullet sponge because he rarely attacks you. The best way to take out this boss quickly is by focusing your attacks towards his head.
The main moves that you need to watch out for are when he decides to do his shockwave attack which will launch you up into the sky dealing some damage when you land. You’ll be able to tell when this attack is going to occur as his right arm will begin to glow orange.
Open the Chest
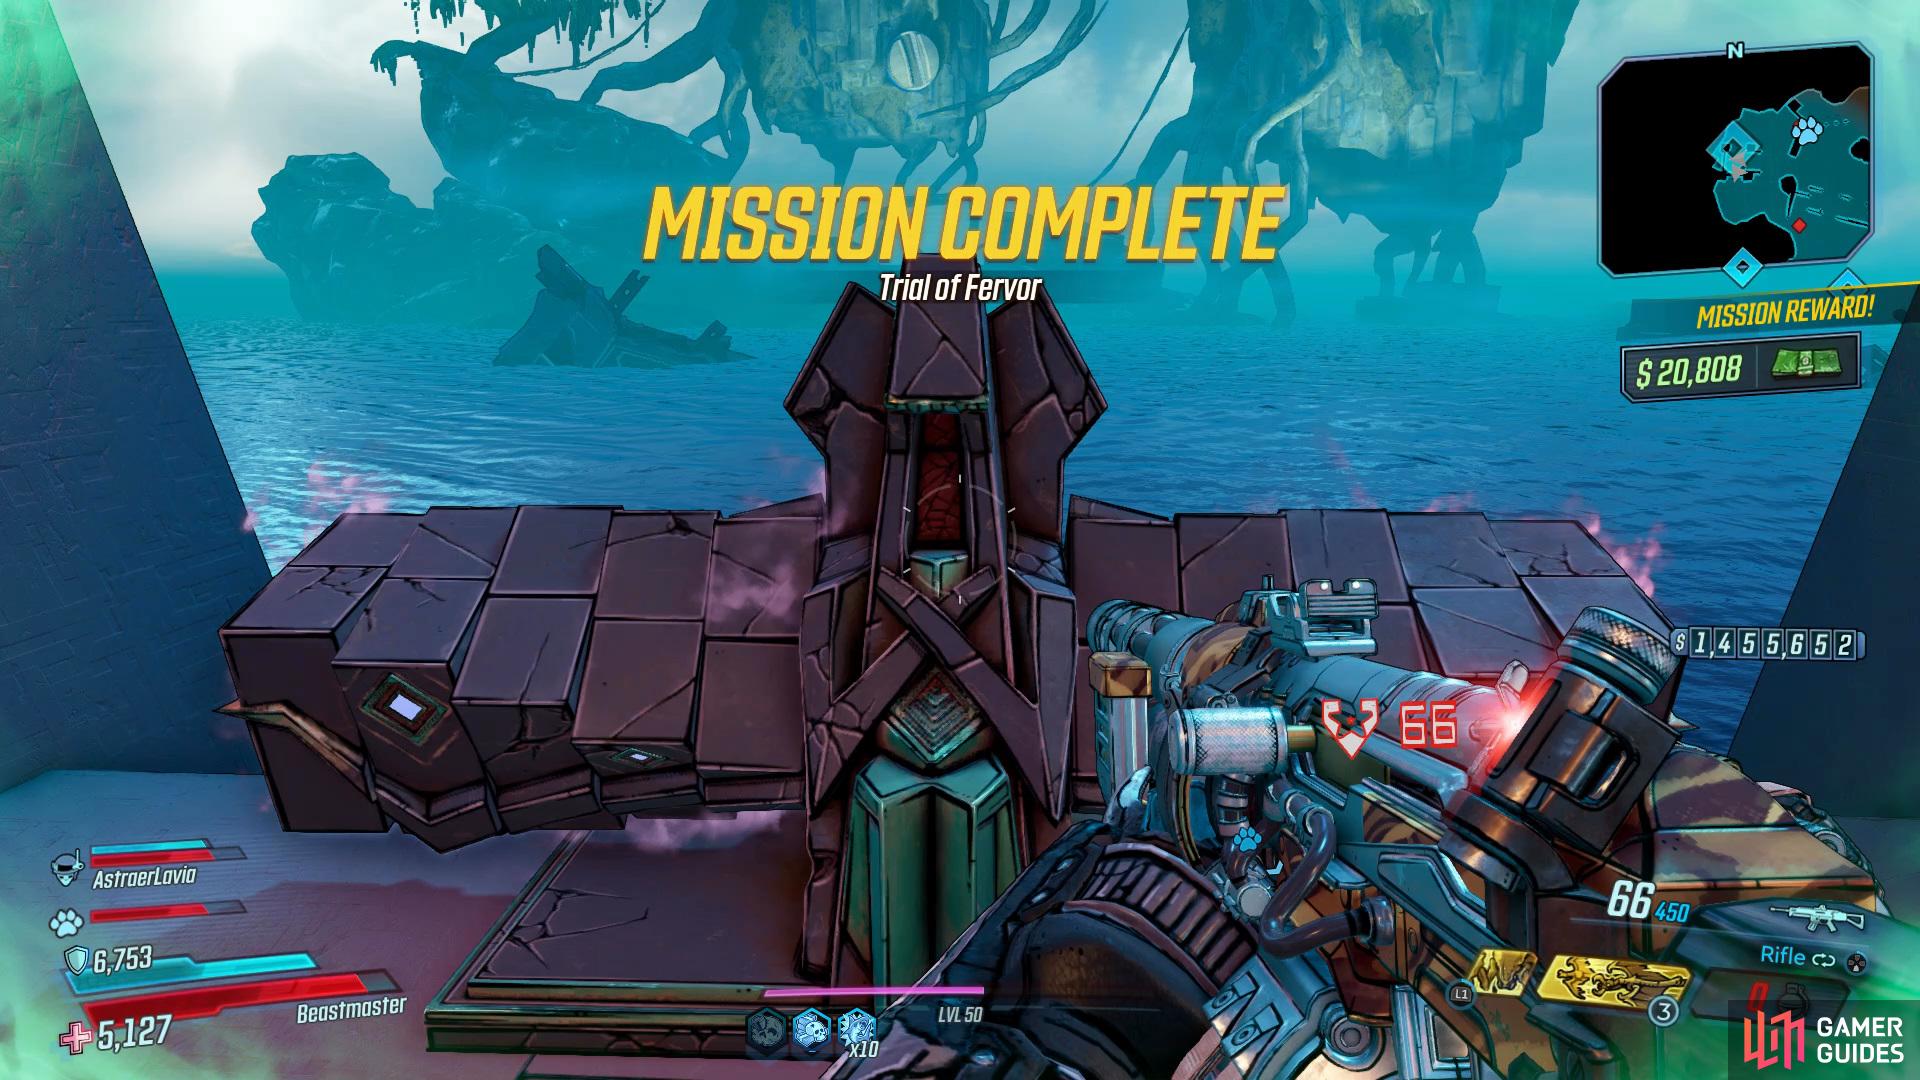
Now that you’ve taken out the boss, head up to the chest at the end of the area and open it to complete the Trial of Fervor.


 Sign up
No Comments